Buy or Make Your Own DIY Pattern Weights or Fabric Weights for Sewing
In this article, we bring you two fantastic tutorials on how to make pattern weights or fabric weights using washers. Pattern weights are essential tools for sewists as they hold patterns in place while cutting fabric. These DIY sewing projects are easy to follow and perfect for beginners who want to try their hand at making their own sewing accessories. Both tutorials offer step-by-step instructions, along with photos and tips, making it simple to create your custom-made pattern weights. Not only are these tutorials fun and practical but also a cost-effective way of acquiring necessary sewing tools or making a fun gift for one of your sewing friends.
What are DIY pattern weights and how do they work?
DIY pattern weights are small, weighted objects that hold down patterns and fabric while cutting or sewing. They can be made from materials like washers, coins, or small bags filled with rice or sand. Place them on the fabric to keep it in place without using pins.
DIY Pattern Weights or Fabric Weights
DIY Pattern Weight #1 | Resin Washer Fabric Weights
Does anyone else use whatever they have nearby as pattern weights? I have used nearly everything, but never an actual pattern weight! Most recently I was using the washers out of a backyard washer tossing game and they were nearly perfect, though a little large. So I set out to make my own pattern weights and I am here to share that process with you.
I will warn you, this project is a bit involved, but the results are beautiful and so fun to personalize to your own sewing workspace. Luckily, there are a few points along the way that you can stop and still have functioning pattern weights, but if you make it to the end you won’t regret it.
Resin Pattern Weight Supplies
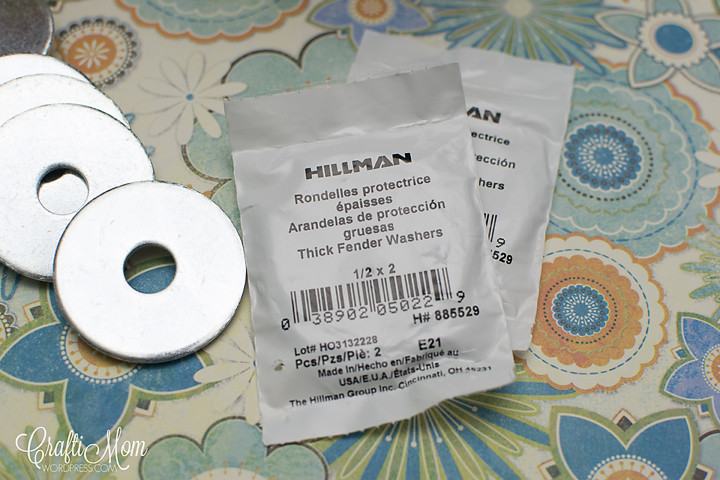
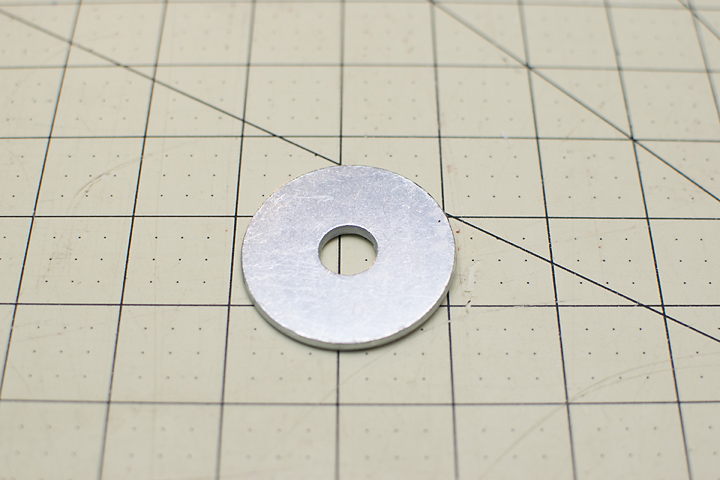
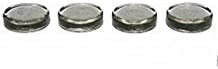
- 12 Washers – I used heavy weight 2″ washers with a 1/2″ center
- Card Stock Paper – Go crazy or not, whatever you want!
- Mod Podge – any kind will do
- 2 Part Resin Material – I found mine at Lowe’s
- Small Round Wooden Plaque – Mine is 5″
- 1/2″ Wooden Dowel – at least 6″ long
- 2″ Circle Punch (optional, but extremely helpful!)
- Craft Room Supplies: exacto knife/scissors, paintbrush
- Kitchen Supplies: disposable cups, plastic spoons or popsicle sticks, straw
- Garage Supplies: Stain and polyurethane or paint, wood glue, drill, 7/16″ wood drill bit
Resin Pattern Weight Instructions
I went to Lowe’s and dug through the drawers of washers until I found one that I felt would be ideal for weights. These are nice and heavy and a good size to hold the fabric. You can certainly play around with other sizes, but these seem to work well for me.
To make things easy for myself, I bought a 2″ paper punch and used that to cut circles for my pattern weights.
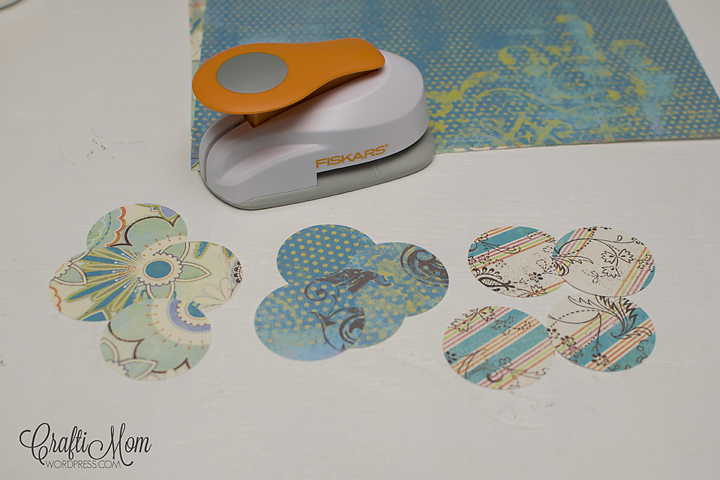
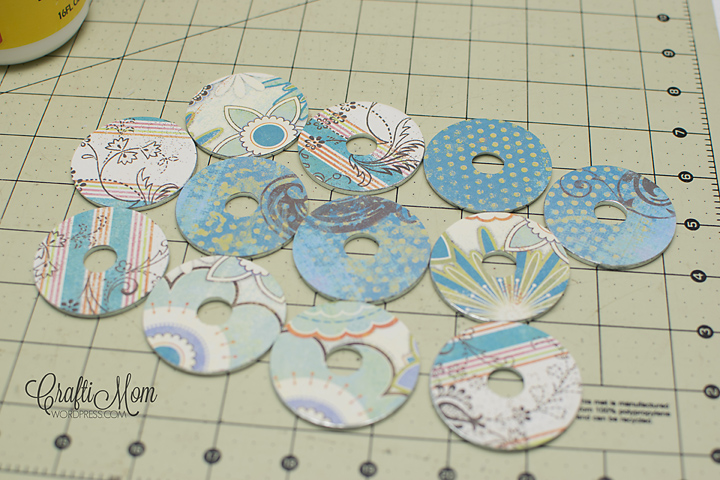
I chose 3 coordinating sheets of card stock paper to use for my pattern weights and cut 4 from each. I love that even the circles cut from the same sheet are not identical.
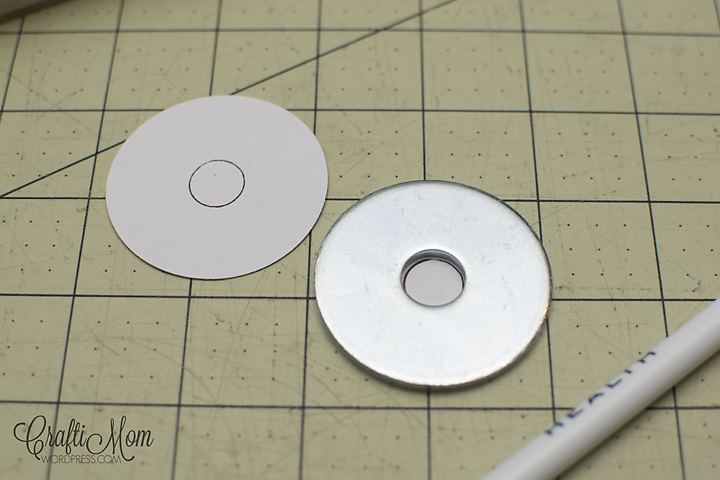
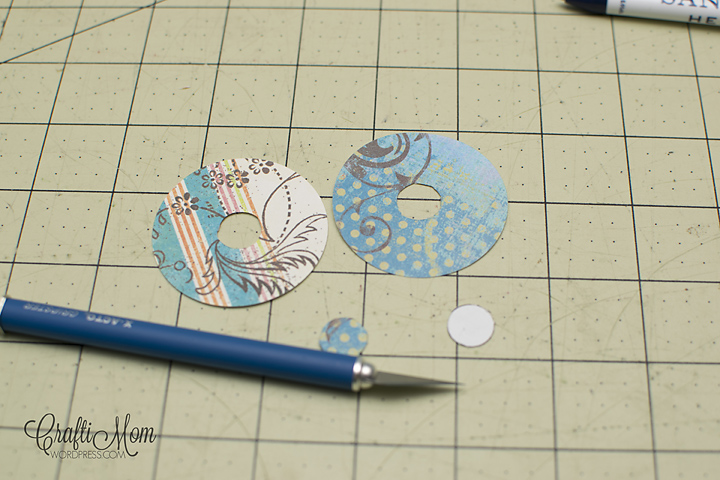
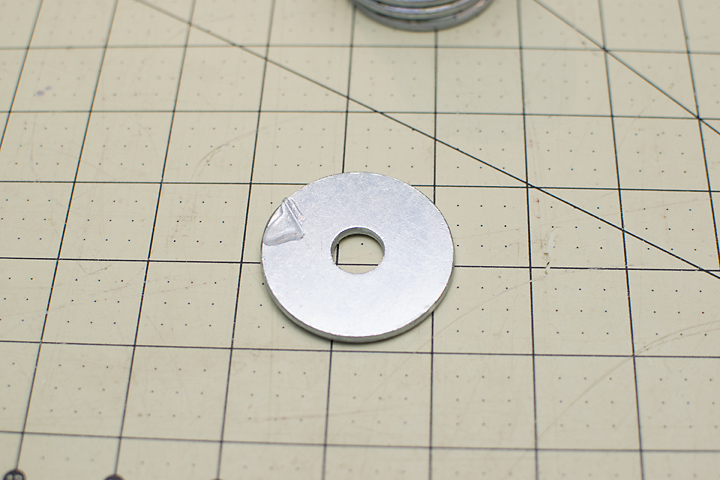
I used a washer as a template to mark the inner circle on the back side of the card stock, then with an exact-o knife, I carefully cut out this circle.
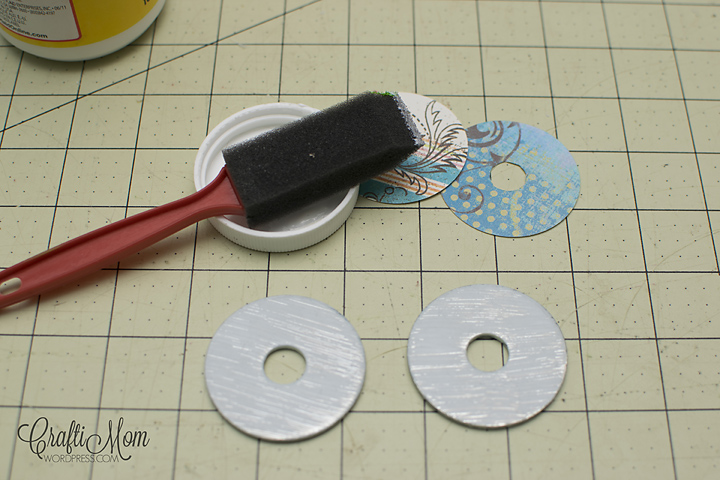
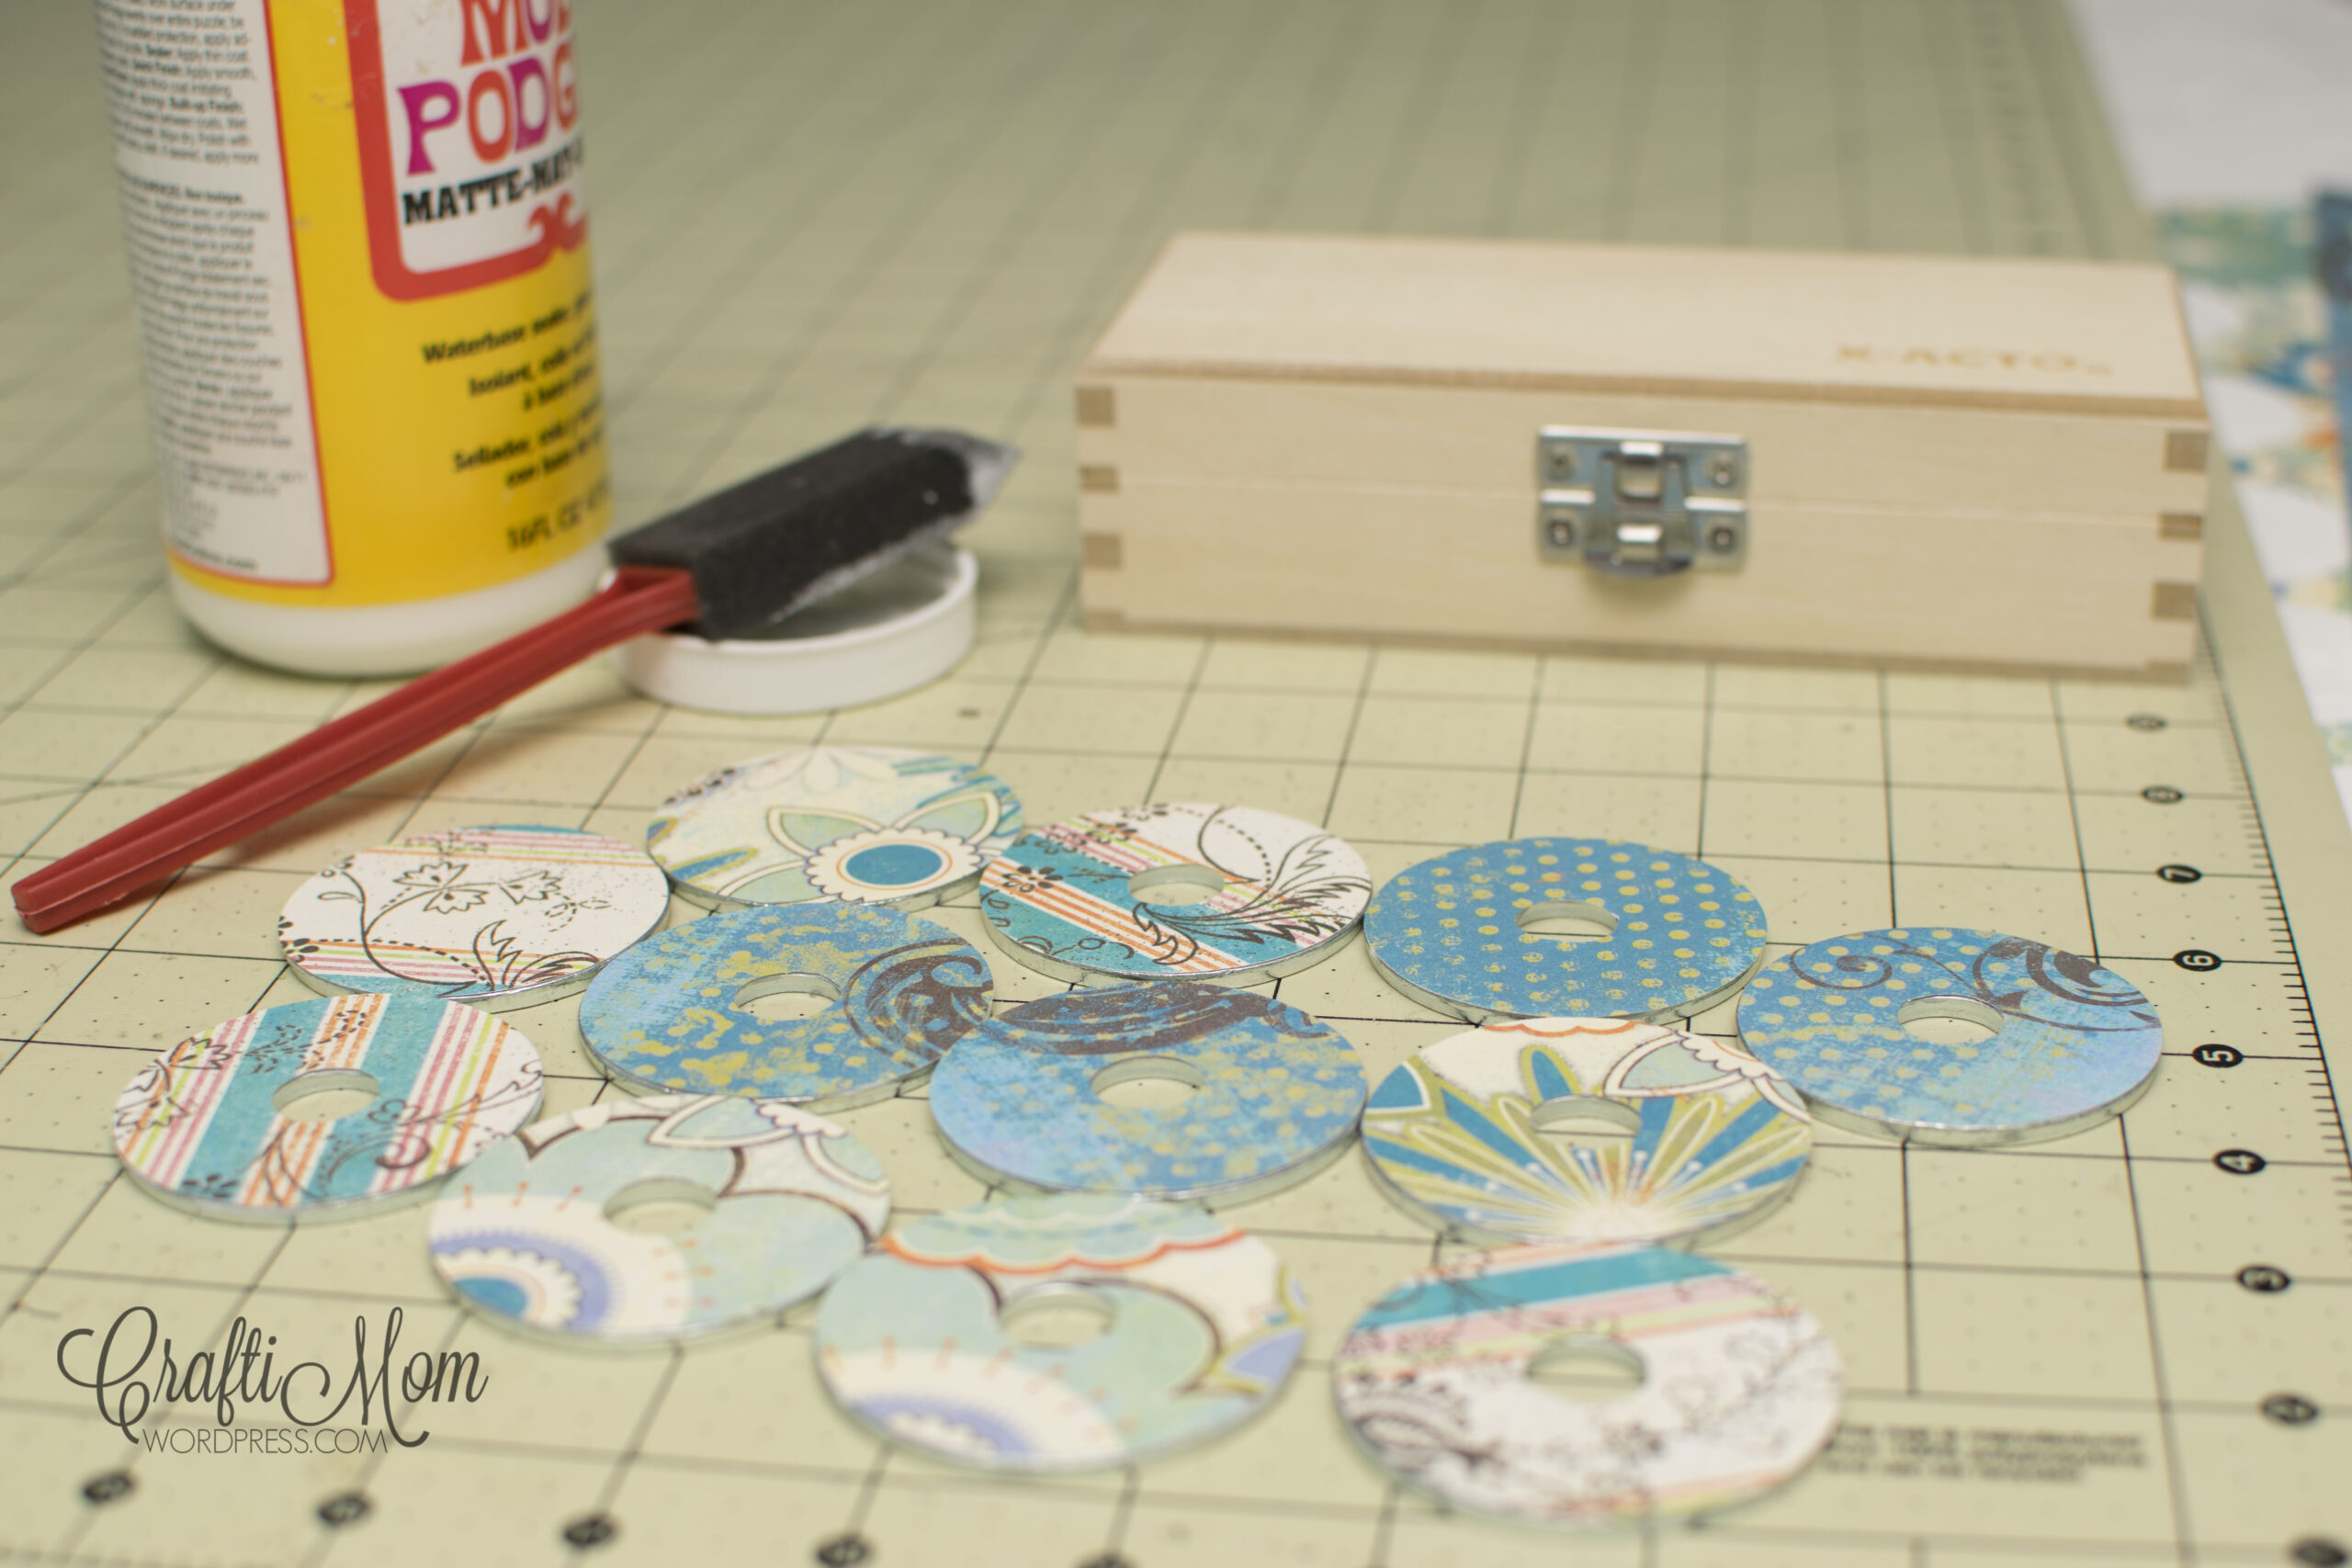
I then applied a thin layer of mod podge to attach my circles to the washers. I also applied a thin coat on top. Once dry, I went over with another coat of mod podge on top to ensure that the paper was completely coated.
STOP! If you have had enough and are happy with your weights, then you could easily use them as is and start sewing. But if you are crazy like me, you don’t go part way, you go all the way! So, all my fellow crazy crafters…. continue on.
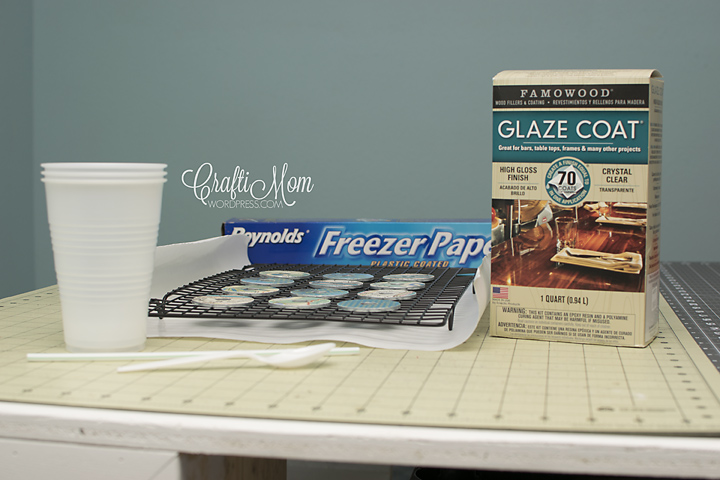
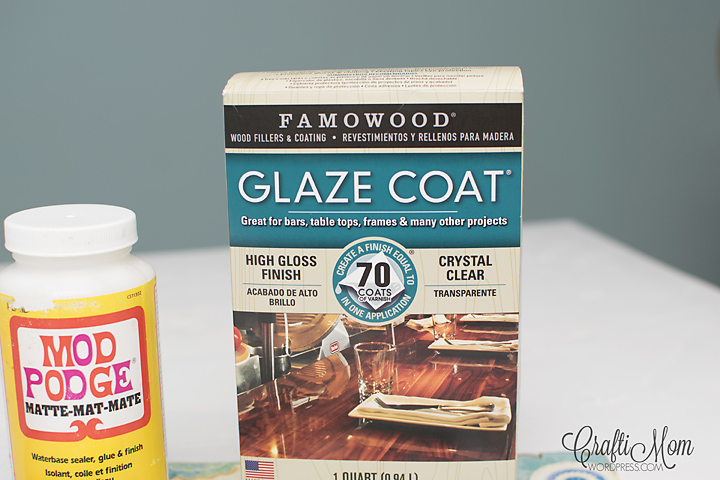
This is the resin that I picked up at my local Lowe’s, though I am sure you can pick it up at any hardware store or craft store. You won’t need much, so my quart-size box is a tad overkill!
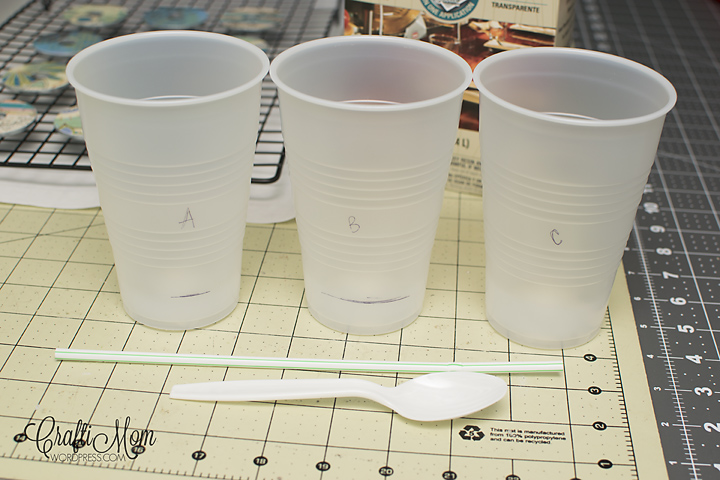
I am sure that all 2 part resins have similar instructions, but I advise you to follow the instructions that come with whichever brand you buy. My instructions called for equal parts of resin and hardener, which were then poured into 1 cup and stirred for 6 minutes. The mixture was then poured into a new cup and stirred for another 6 minutes…. I told you you could stop above, don’t say I didn’t warn you!

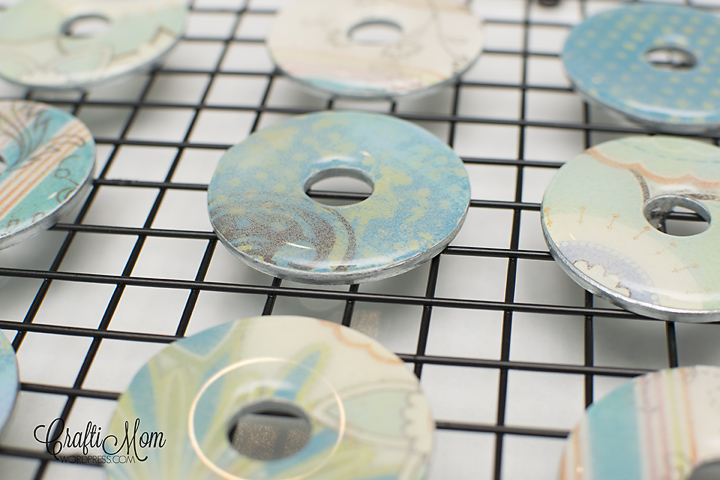
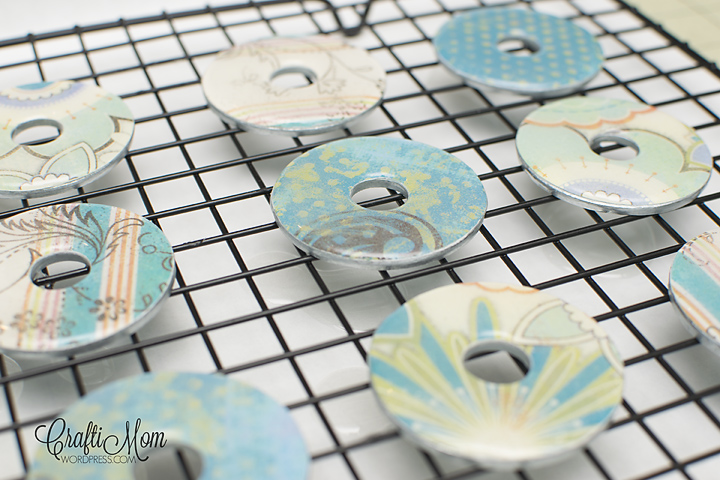
I worked on a couple of washers at a time for this step. Spooned a little resin onto a washer, then on to the next. I then went back to the first and worked out the little air bubbles and added more resin if needed. I did this until all 12 washers were covered and the bubbles were gone. Then you wait until they have cured, which for mine was 72 hours I believe.
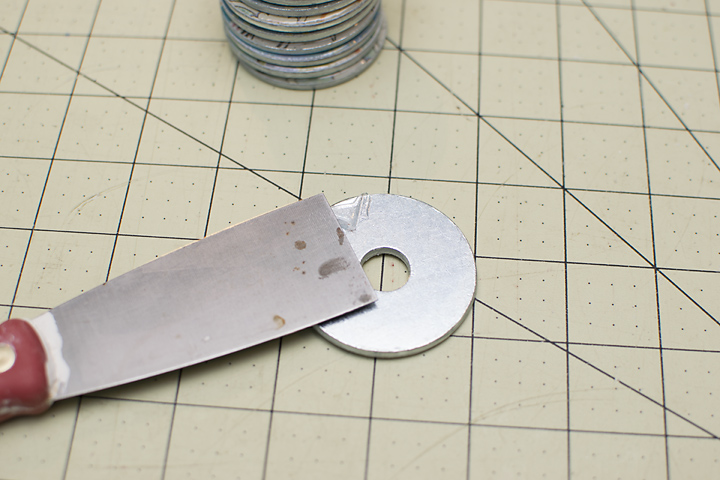
I was a bit heavy-handed with the resin application which led to resin spilling over the sides of the washers. The resin hardened to the bottom of the washers where there was contact with the cooling rack. Since you don’t want to potentially snag the fabric you are working with, I took a putty knife and chiseled the drips off.
STOP! Last chance to get off the crazy craft train. Now that you have beautiful shiny resin washer pattern weights, you can go on and use them. But where would you put them when you aren’t using them?!? No worries, I’ve got you covered.
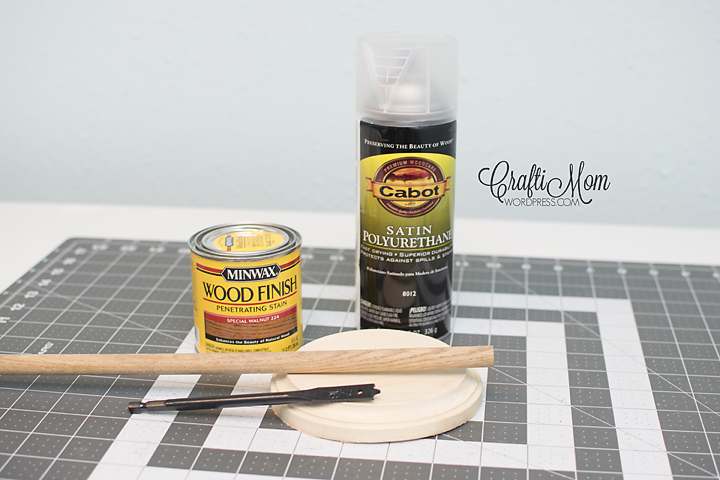
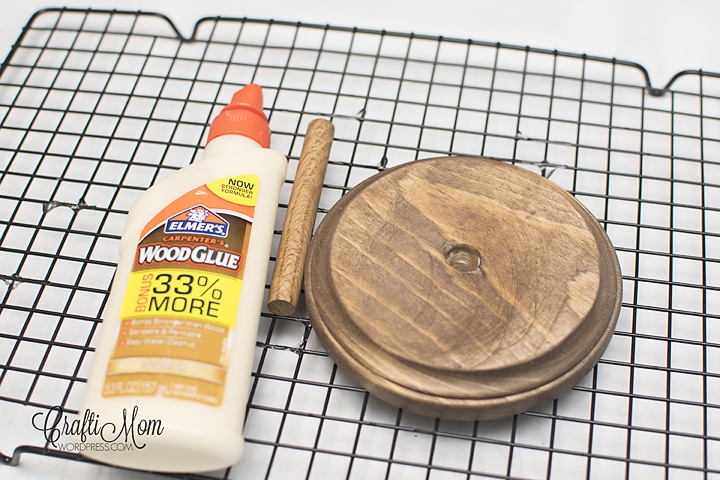
I bought a round circle plaque from Joanns and a 1/2″ dowel. You will also need a 7/16″ wood drill bit, stain and polyurethane or paint to finish, and wood glue (not pictured)
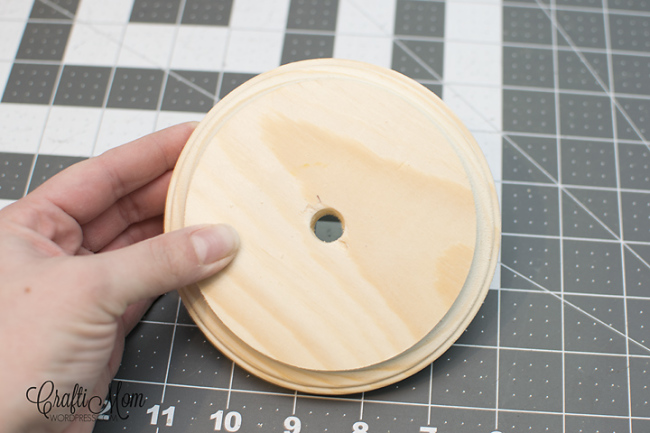
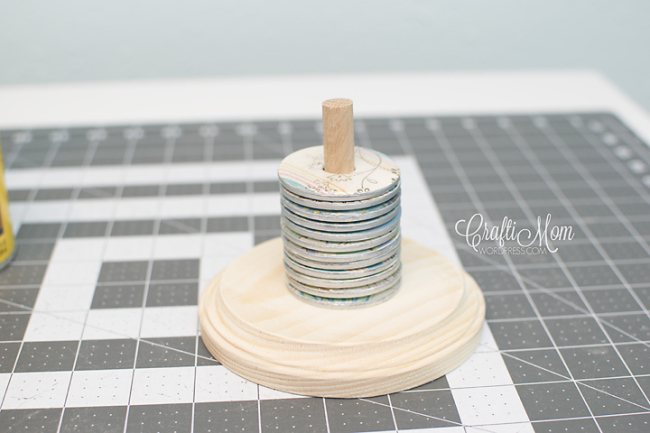
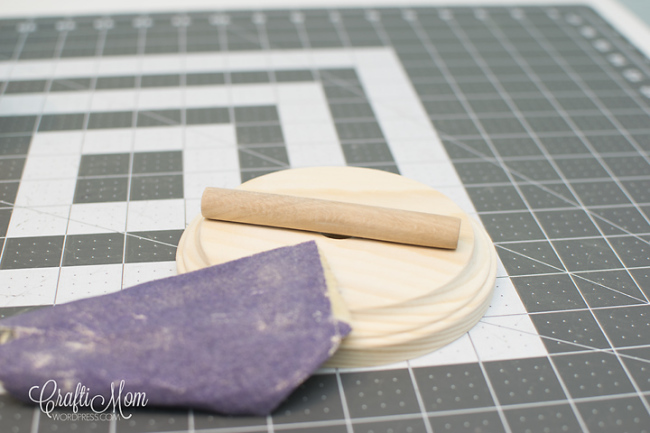
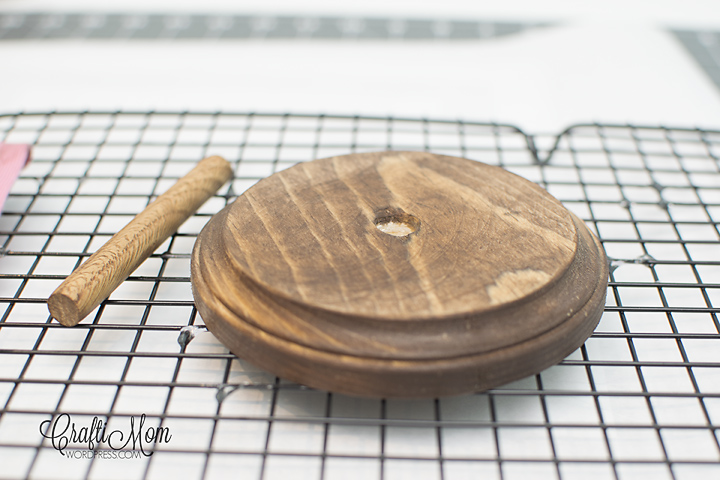
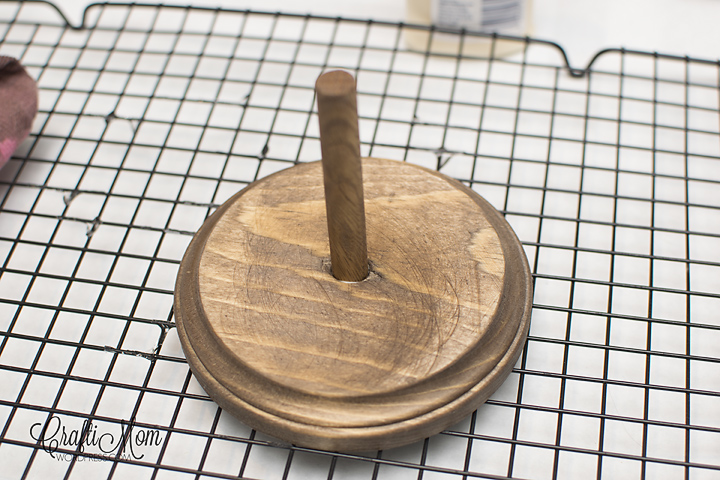
I marked the center of my plaque, then used the 7/16″ bit to drill completely through it. I went with a slightly smaller drill bit to ensure a nice tight fit. I used coarse sandpaper to sand down the end of my dowel until it fit into the hole I drilled. I then cut down my dowel to fit my washers and allow some extra on top for moving it around. I sanded each piece, then stained it with my favorite color stain. Once dry, I glued my dowel in with just a dab of wood glue. A little goes a long way. Once the glue has cured, I coated it with 2 thin layers of matte polyurethane.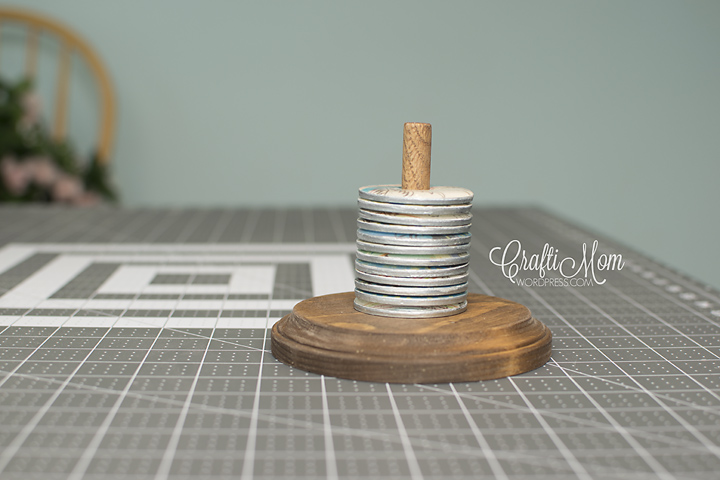
Ta-Da! Easy, right?! Now go sew with your pretty pattern weights!
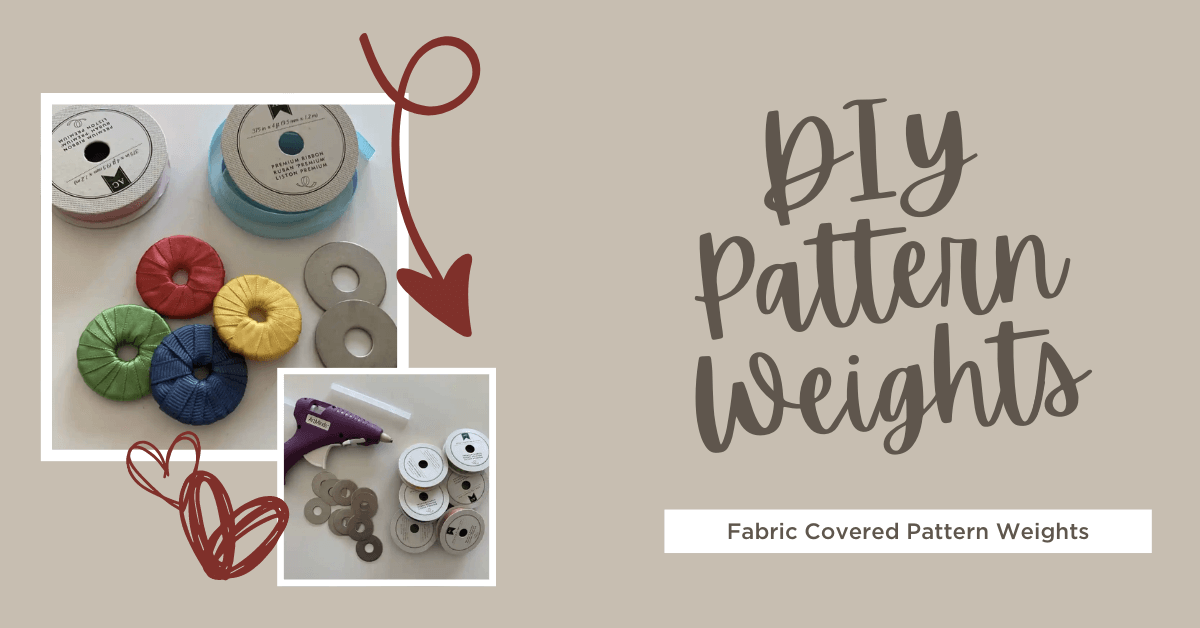
Sewing Weights Tutorial #2 | Fabric-Covered Pattern Weights for Sewing
Hello! It’s Stephanie from Stephie B’s Designs here again today with another fun, creative, and super easy tutorial – DIY Pattern Weights to hold down those paper patterns. Today I wanted to change it up a bit and do a fun little project… how to make fabric-covered pattern weights. You can use a piece of fabric or a ribbon like I show you below. These make great gifts for a fellow sewist.
I feel like there are two camps in the sewing community, those that use pins to hold down their pattern pieces while cutting out fabric, and those that have sworn pins off completely, especially when sewing with knits. I tended to pin a lot to ensure perfect edges that followed precisely along the pattern pieces – but have recently learned that pattern weights can work just as effectively pins and you really only need a few sewing pattern weights in key spots along the pattern in order to keep it in place. Such a great lesson to learn.
So let's gets started with the details!
Fabric Covered Pattern Weights Materials Needed
- Washers. I used 1 1/2″ x 3/8″ – I wouldn’t go any smaller than that size.
- Ribbon, about 36″ long. I had some thin ribbons in my drawer that had been waiting their whole lives for this one project. You could use various fabric scraps as well but this is super easy.
- Hot Glue Gun.
Fabric Pattern Weights Instructions
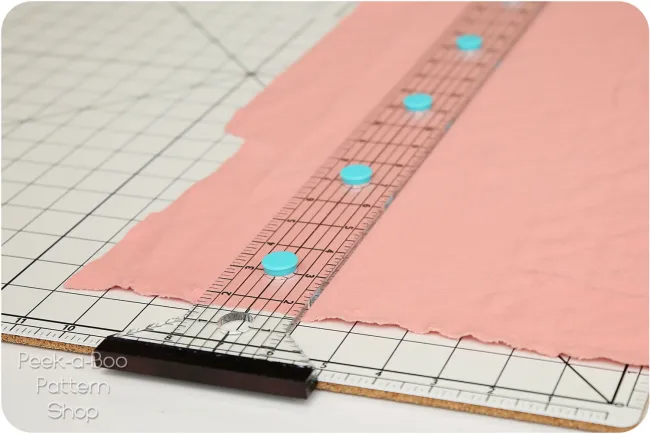
Fabric Pattern Weights Step 1. Decide how many washers you’d like to use for each weight. I chose to use two so that I could make a total of five weights with the washers I had on hand. Put a dab of hot glue on the bottom of one of the washers, then place the end of your ribbon over it to secure in place. Feed the free end of the ribbon up through the hole in the middle of the washers. Wrap the ribbon around towards the bottom, then feed it back up through the hole, overlapping the previous wrap as you progress.
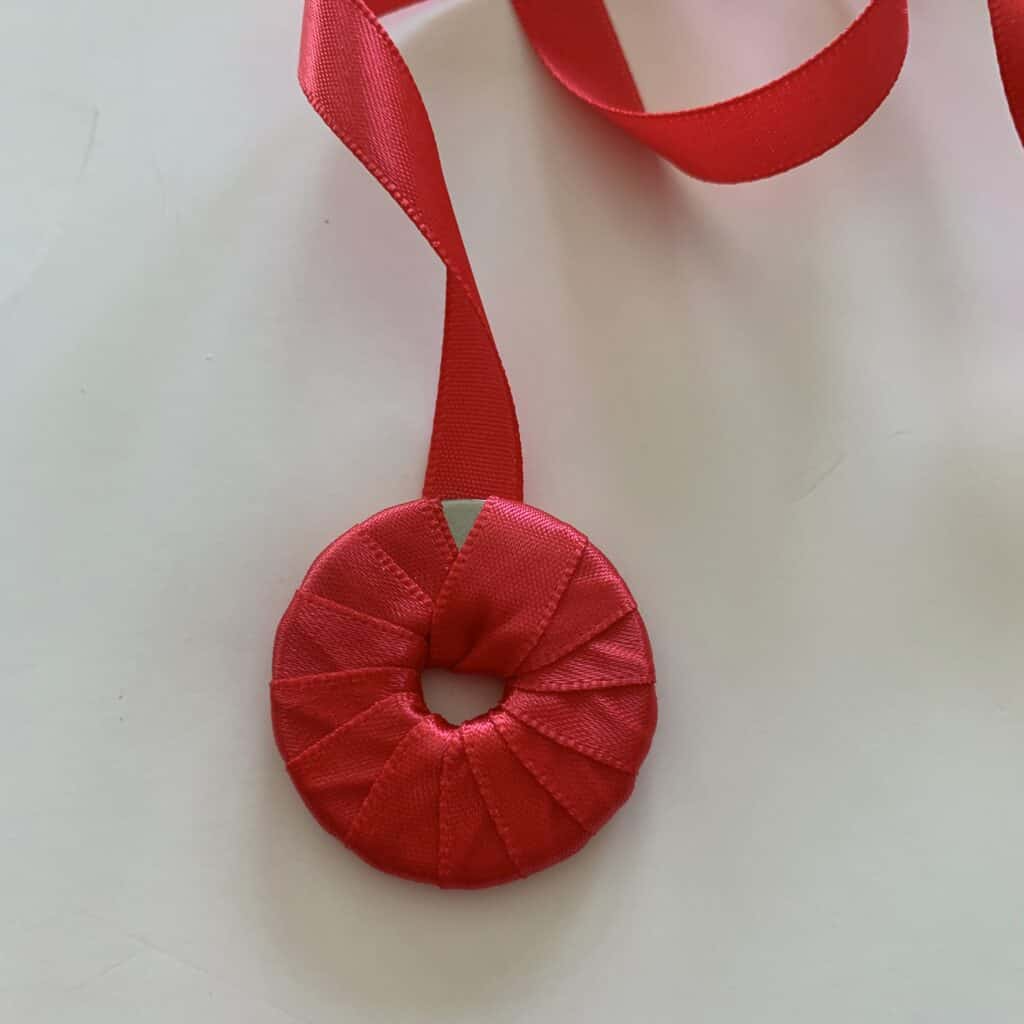
Fabric Pattern Weights Step 2. Trim the ribbon leaving just enough for the final wrap.

You can use pinking shears and/or fray check to ensure the end doesn’t fray, although chances are the hot glue will secure the raw edge well enough not to. I personally like to use my pinking shears whenever the opportunity arises! That’s it!! Yes…you’re all done and ready to sew! Repeat with the rest of your washers, then go buy more and repeat again!
Whether you decide to use weights, prefer to stick with fabric pins, or utilize some combination, the end result is always the same… an amazing hand-sewn item sewn with care and love.
Pattern Weights or Sewing Weights for Purchase or Sale
I’ll admit – the sewing weights that we use around here aren’t always homemade. I’ll show you a few you can buy that are worth not having to go get the washers, hot glue, resin….
- Glass Fabric Weights: Glass weights are popular and you’ll find different ones in shapes from squares, to hearts, to circles, and more. These stay clean, keep your fabric spotless, and are an easy-to-use substitute for pinning when sewing.
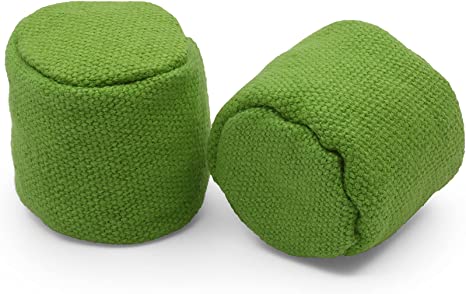
- Cloth Pattern Weights: These fabric covered weights come in various colors and are actually balls or cylinders of fabric that are filled with small steel balls. They’re a little more stylish than some options and work well. They have outstanding reviews.
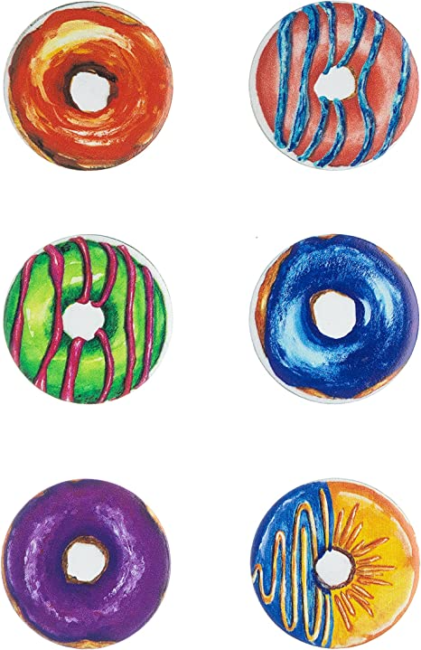
- Quilted Bear Pattern Weights: These weights will add something a little more fun to your cutting space – donuts! They are scratch resistant, waterproof, and have a smooth finish to hold your fabric down. They come in a wide variety of different designs so you’ll have to go sort them and take a look for yourself to see which design would be right for you.
- Magnetic Pattern Weights: Finally, and my personal favorite, are magnetic weights. I use a DIY Style Magnetic Cutting mat and did a review of one HERE. These little fabric weights really keep everything in place and work great for making precise cuts. The magnets are obviously magnetic so you can put the weights together and stack them for easy storage. That also makes them harder to lose! Combine these with the magnetic mat below and it will speed up your fabric cutting and sewing.
 Thank you so much for joining us today to learn a little something about DIY pattern weights. Whether you’re making them yourself or purchasing them, these weights are far easier than pinning your fabric and will be a great addition to your sewing space.
Also, make sure to join our Peek-a-Boo Pattern Shop Facebook Group for our latest deals and help with sewing projects.