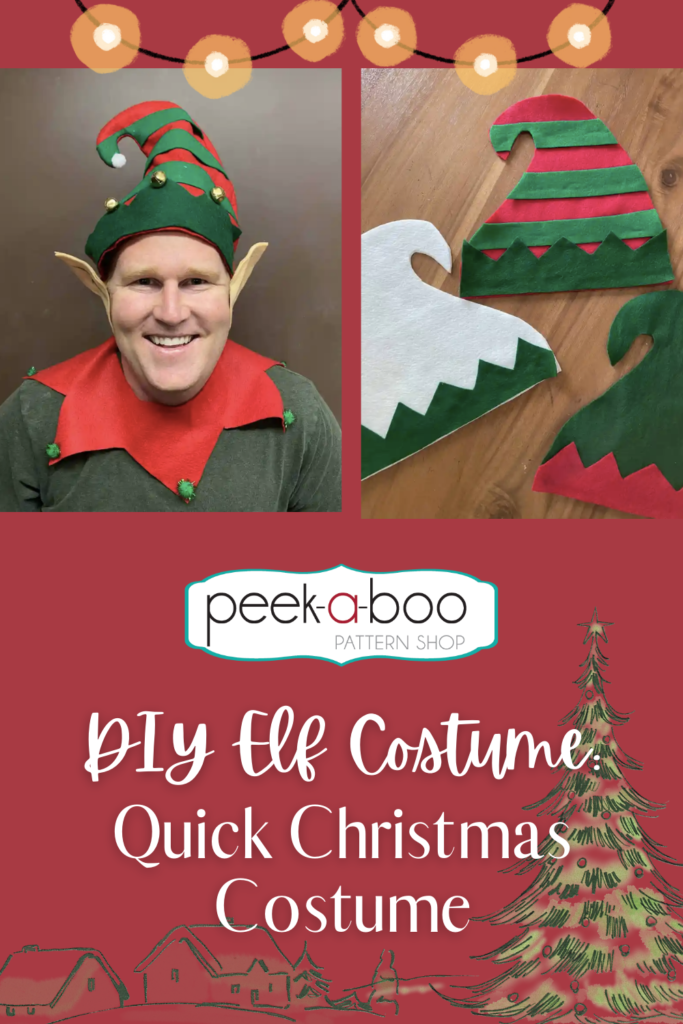
DIY Elf Costume | Make a Quick Christmas Costume
The DIY Elf Costume is a quick holiday sew. Normally, I’m a good Elf and work far ahead on sewing projects for events or other people. I never know what barriers I’ll run into and I like to make extra time for an emergency trip to the fabric store in case things go wrong! But, for this Elf project, I had only 2 hours notice before a community event, so I worked quickly and took precautions to make the Elf right the first time!

This Elf isn’t no-sew but it is low-sew. The DIY Elf costume would be fun to make for any Christmas party, caroling, festive outing, or even for Halloween! I spent $20 on supplies, here is what I used:
Materials to Make the Christmas Elf
- 1/3 yard white felt
- 1/3 yard green felt
- 1/3 yard red felt
- 3 squares flesh colored felt rectangles
- 2 packages puff balls from Dollar Tree
- Hot glue gun
- Fabric scissors

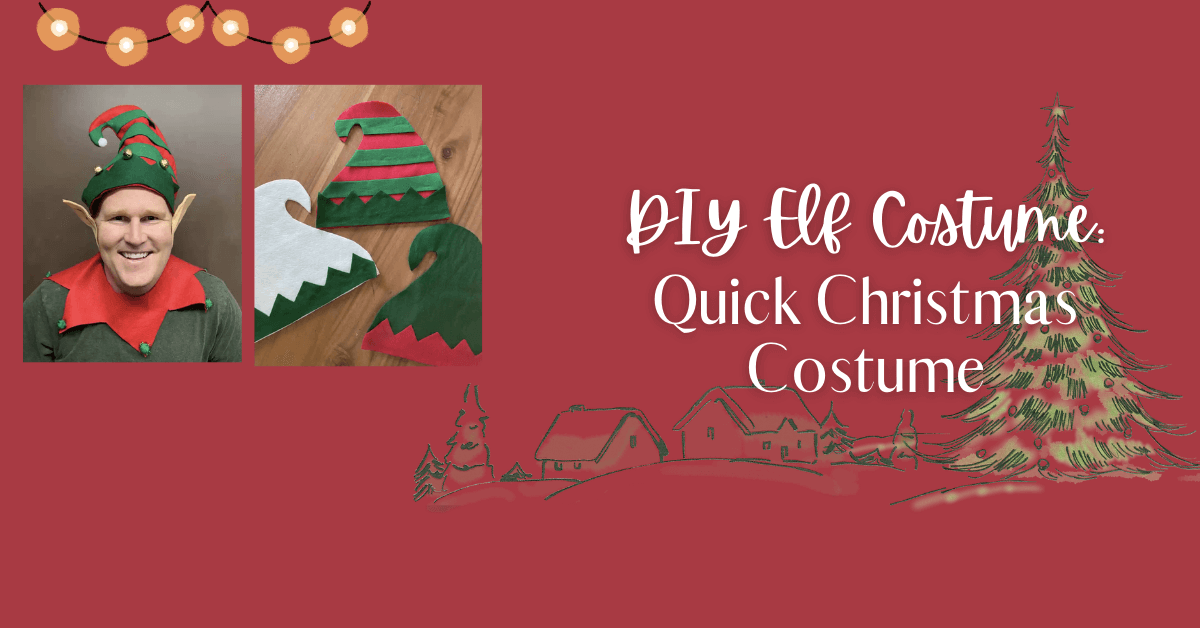
Elf Hat Construction
I used a Santa hat that I knew fit my model for sizing and cut the Elf hat shape to make it a little wider just to be safe! Cut 2 layers (front and back) of hat shapes from each 1/3 yard of green and red felt. Before decorating, think through which direction you want your Elf hat to point; you can’t change it once you make the front!
Next, I used my hot glue gun and extra scraps of felt to glue on stripes and a cuff onto the hat fronts. Tip: Don’t hot glue very near the edges since you’ll sew around the perimeter and don’t want to cause issues with your needle!

Once your Elf hats are decorated how you like, turn your 2 hat pieces RST (right sides together) and sew around the perimeter. When you flip it back around, you may need a pin to help pick out the bend in the tip of the hat. Now, you can use more glue to secure pieces how you’d like.


DIY Elf Costume Collar
Freezer paper or a roll of craft paper work great for drafting a collar shape to check for sizing. I folded my felt both directions, and cut out a neck hole as you can see here.


Next, cut a design as the fringe. You could do these all the same or all different, depending on the elf look you’re going for! I used my finished collar as a pattern to make the other two.

Embellish the elf collars as you wish, or use mine for an example!
As the last step, I cut out elf ears and just hot glued the two sides together and slipped it over the ear. The elf ears required no sewing and you can make them in a flash! Good luck to you in your festive sewing projects and “Have Your ELF a Merry Little Christmas!”
Thank you for reading this Elf tutorial by Stephanie today and hope you can use it to make yourself an Elf for Christmas or even Halloween. If you enjoyed this tutorial, you might also enjoy our Free Christmas Stocking tutorial. And Merry Christmas from Peek-a-Boo Pages!
For help with your sewing projects and to see our latest deals, join our Peek-a-Boo Pattern Shop Facebook Group.