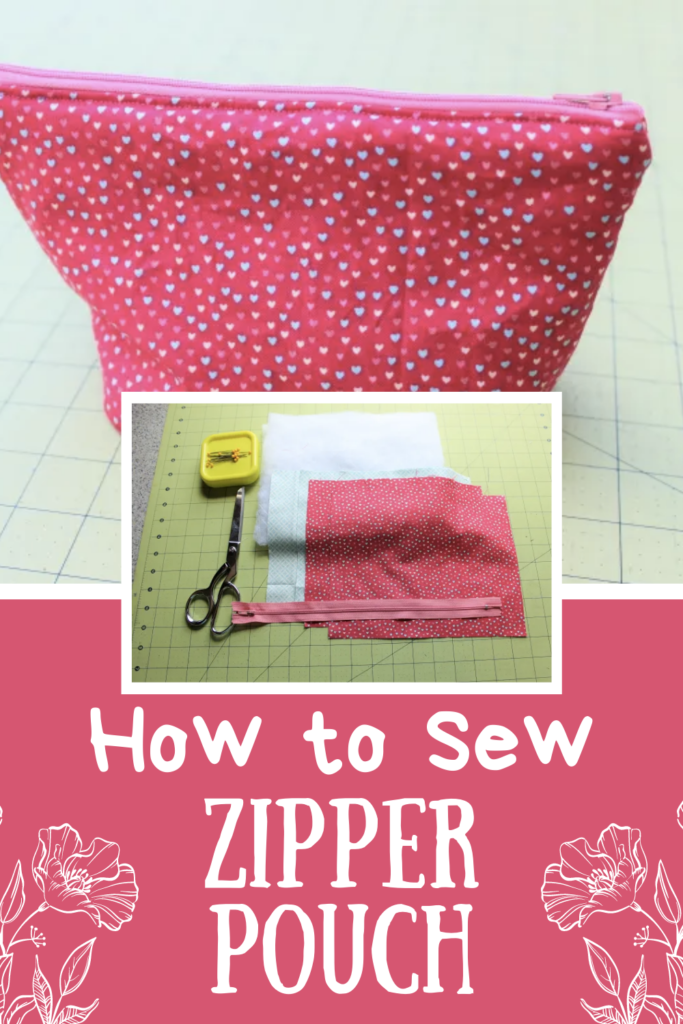
How to Sew a Zipper Pouch
Today we're going to teach you how to sew a zipper pouch in a few easy steps!
Zipper pouches are versatile and practical items that can be used for a variety of purposes. They're simple to make and can be customized to suit different needs, making them the perfect DIY project for anyone looking to get creative. Whether you need a pouch for your cosmetics, art supplies or even as a gift bag, zipper pouches are an excellent choice. With this easy-to-follow tutorial, you can create your own zipper pouch in no time! It's a great way to add a personal touch to your belongings or make thoughtful handmade gifts. Plus, once you master the basic technique, you can experiment with different sizes and fabrics to create unique designs.
How to Sew a Zipper Pouch | Step-by-Step
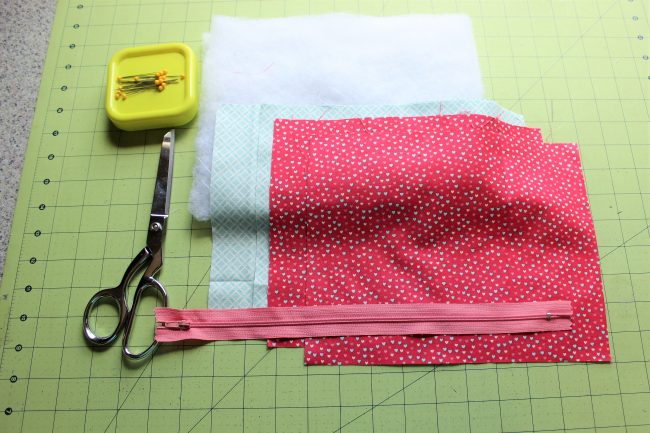
Zipper Bag Supplies:
- 1/4 yard outer fabric….check out KnitFabric.com for your fabric needs.
- 1/4 yard lining fabric
- Batting
- 12 inch nylon zipper
- Basic Sewing Supplies: pins, scissors, thread, etc.
Lined Zipper Pouch Tutorial Instructions:
Step 1: Start by cutting your fabric. You will cut 2 pieces of your main fabric, lining fabric, and batting. Each piece needs to be 8 x 10 inches.
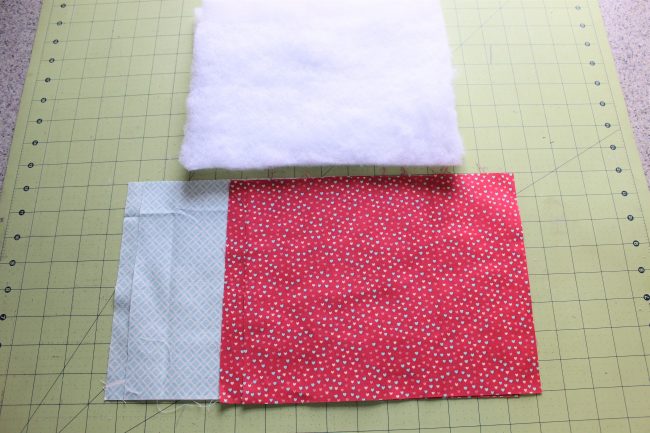
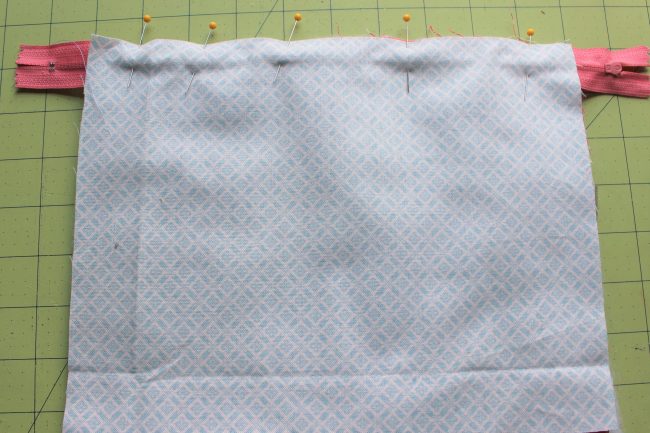
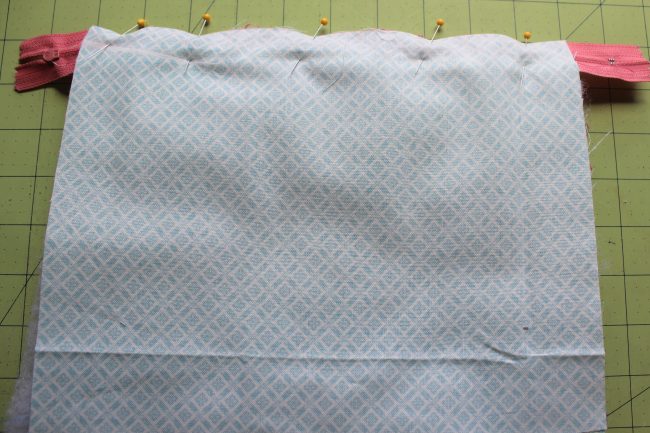
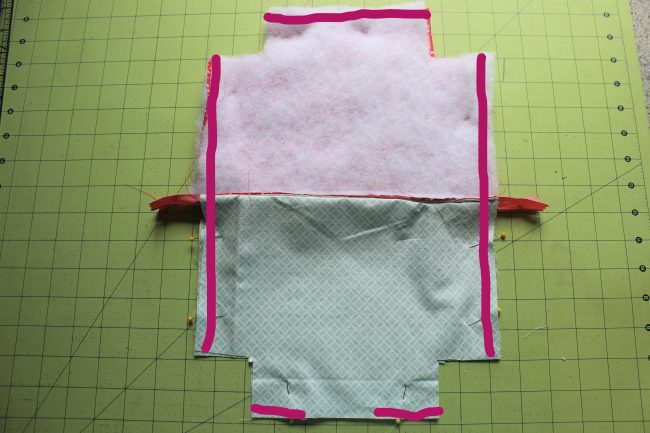
Step 2: Next, we’re going to layer our fabric and attach the metal zipper. First, lay down one piece of batting. Second, lay one piece of main fabric right side up on top of the batting. Third, lay the zipper right side down along the top edge. (Your zipper will be longer than the fabric. We’ll cut off the excess later.) Fourth, lay one piece of lining fabric right side down making sure to line up the edge with the edge of the zipper. Pin the zipper in place.
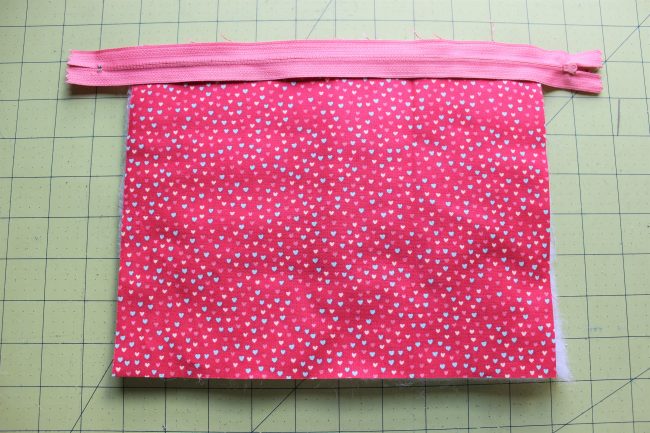
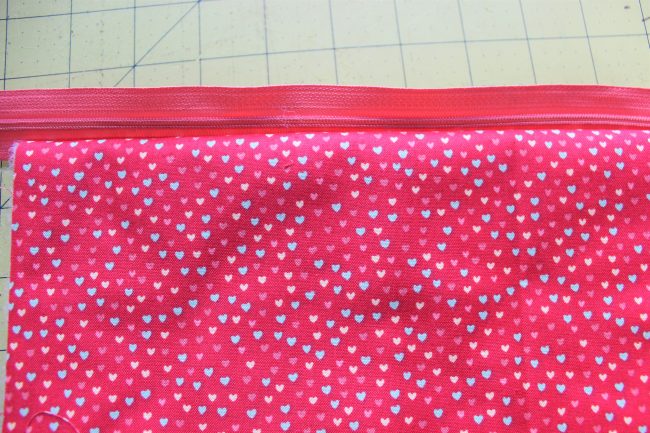
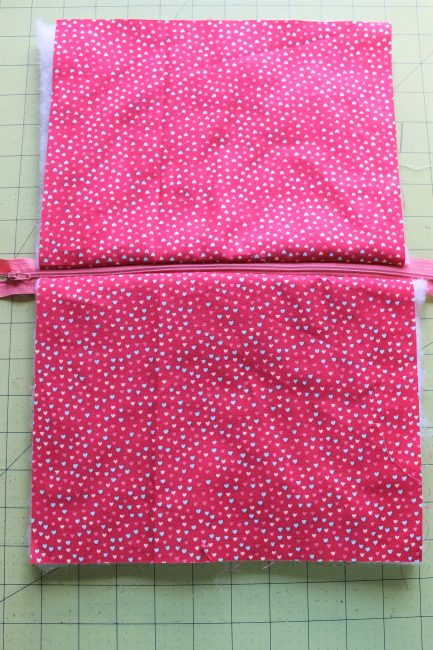
Step 3: Next, using your zipper foot, sew along that top edge to attach your zipper. Once you’ve stitched the zipper on, you can flip the lining to the back. From the front side, it should look something like the picture below.
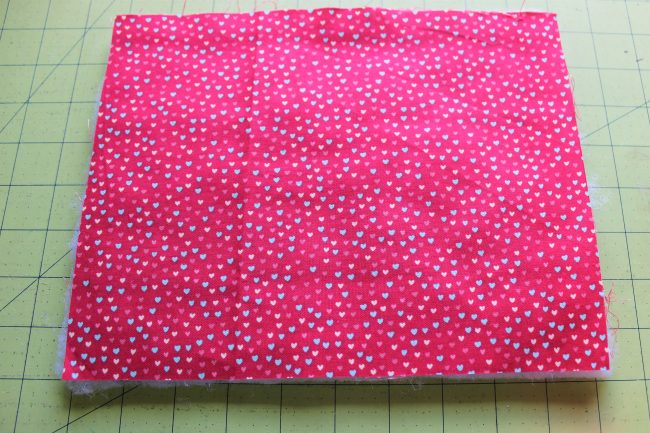
Step 4: Now we’re going to layer the remaining pieces of fabric in the same manner to attach the other side of the zipper. First, batting. Second, main fabric right side up. Third, zipper right side down. Fourth, lining right side down. Pin and stitch along the top edge to attach the zipper.
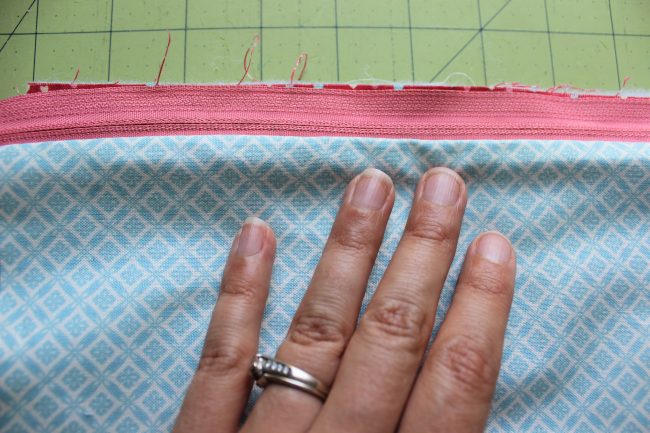
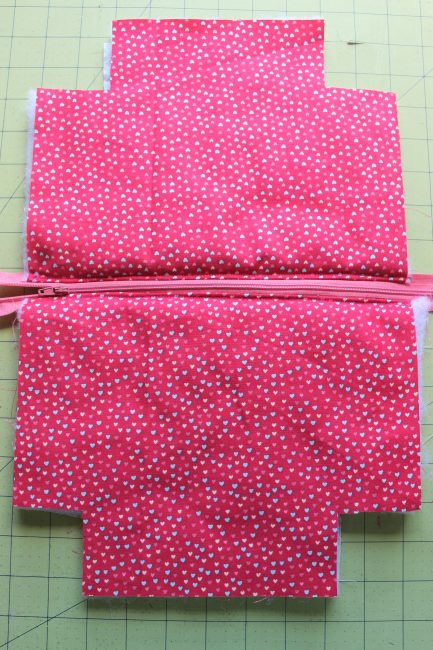
Step 5: When you open it up, both sides of the zipper should be attached as shown below. Topstitch along the zipper. Not only will it look nicer, but it will prevent the lining fabric from getting caught in the zipper.

Step 6: Then, cut out a 2 inch sqaure from each of the four corners. This will help us create the flat bottom. You can also cut those squares smaller or larger depending on how big you want the bottom to be.
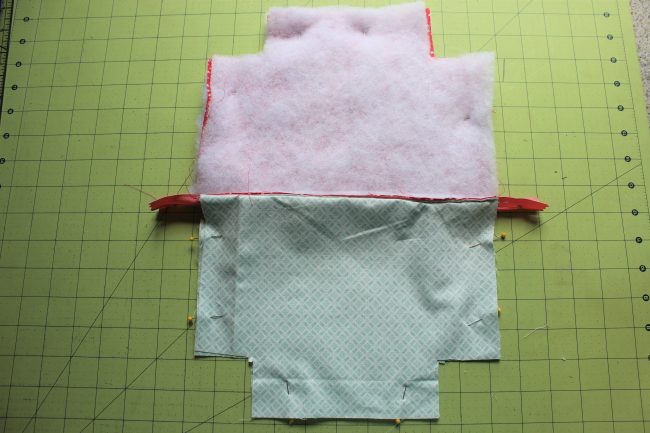
Step 7: Next, bring the lining pieces together, right sides touching. Also bring the main fabric pieces right sides together along with the batting. Pin along the edges. Very Important: make sure to unzip your zipper about half way. If you forget this step, you will not be able to turn your bag right side out and you will be sad!
Step 8: Using a 3/8 seam allowance, sew along the top and bottom edges as well as both sides. Do not sew the squares. Also Very Important: Make sure to leave a 3 inch opening along the bottom of your lining. If you do not leave an opening, you will not be able to turn your bag right side out and you will be sad. Once you have sewn the sides, you can go ahead and trim the excess zipper down to be even with the sides.
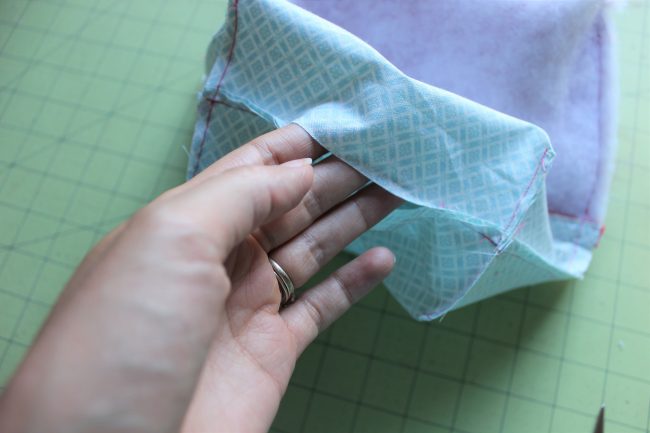
Step 9: Next we need to sew the corners. This part is a little tricky to describe and photograph, but trust me, it’s not tricky to sew. Start in one square, and pinch the corners together, matching the side seam to the bottom seam. You can pin these together if desired, and then sew them together using a 1/4 inch seam allowance. Do this for all four corners.

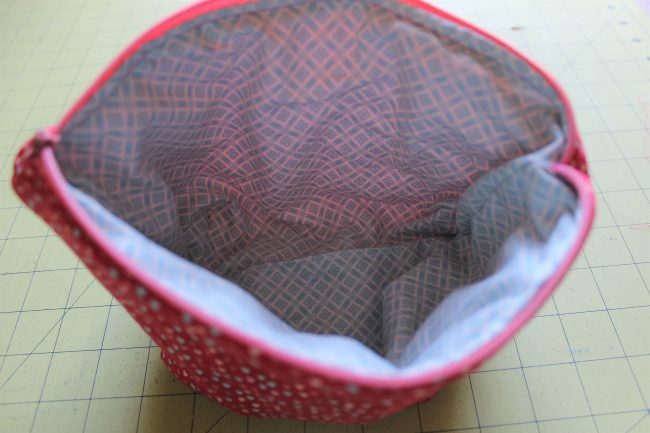
Step 10: Now the moment of truth. Did you leave an opening in the lining? Did you leave the zipper halfway unzipped? Then reach in the hole in your lining, and turn the whole bag right side out!
Step 11: Lastly, you just need to close the opening in the lining. If you’re fancy and patient, you can hand-sew an invisible stitch to close it. If you’re like me and don’t mind a little seam on the inside of your bag, just close the opening using your sewing machine.
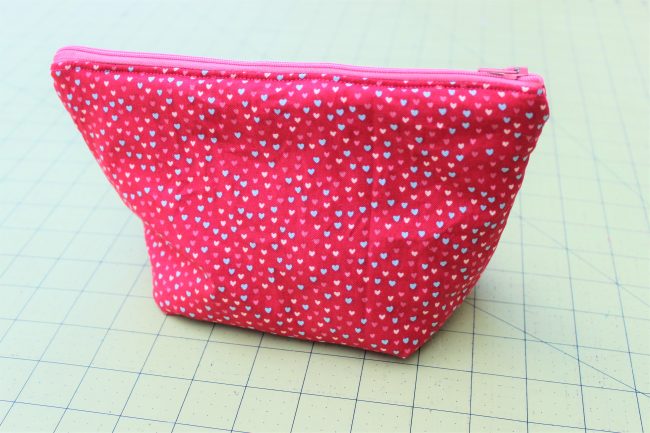
Feel free to fill your zipper pouch with whatever your heart desires. And now that you know how easy they are, go make a few more!
What is the best fabric to use for a zipper pouch?
You can use a variety of woven fabrics like we did above. Some also prefer something a little more sturdy and durable like canvas or denim - especially if you aren't lining the pouch and need something with more structure.
Thank you for joining us today to learn how to sew a zipper pouch. Sewing a zippered pouch can be a fun and rewarding project that allows you to showcase your creativity and sewing skills while using up a fat quarter or a little bit of fabric scraps. Whether you're using it to store small essentials or giving it as a gift, a handmade zipper pouch adds a personal touch to any occasion. By following the steps outlined in this blog, you can create your own lined zipper pouch in no time. So grab your fabric, thread, and sewing machine, and start sewing! Happy crafting!
Remember - for your sewing needs join us at: Peek-a-Boo Pattern Shop for Sewing Patterns and KnitFabric.com for your apparel fabric. As always, come join us in our Peek-a-Boo Pattern Shop Facebook Group to ask your sewing-related questions and show us what you make. You can also follow us on Pinterest or Instagram.