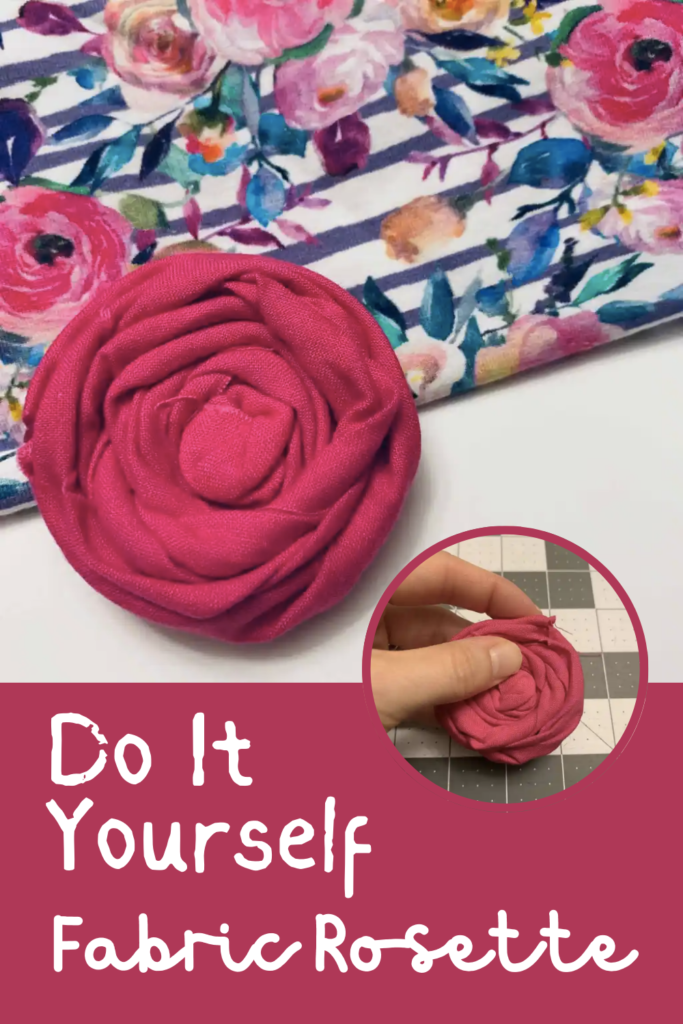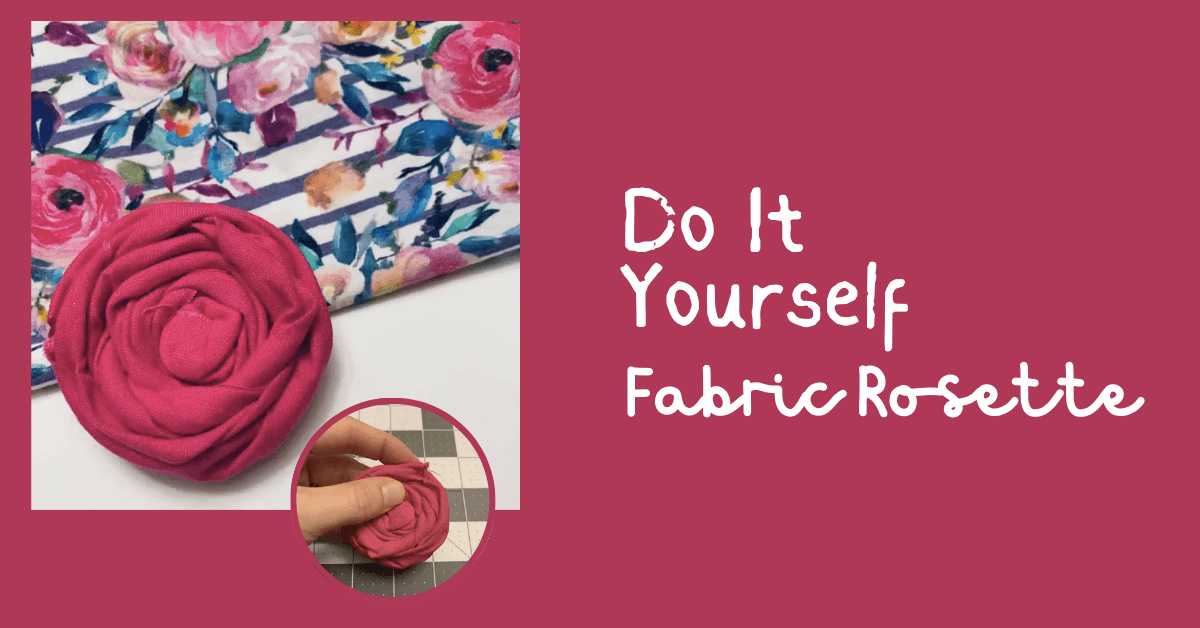
DIY Fabric Rosette | How to Make Fabric Rosettes
Hello again! Stephanie from Stephie B's Designs here again to teach you how to make a DIY Fabric Rosette. (I love teaching you How-Tos, so thanks for stopping by!)
Today I'll be walking you through the super easy process of making a fabric rosette. I think this style is absolutely beautiful, and while you will find many looks and variations out there on the World Wide Web, this one is my favorite, so I wanted to share it. Lucky you!
Do you have five minutes? Yes? Good! Lets get started then.
DIY Fabric Rosette | How to Make a Rosette
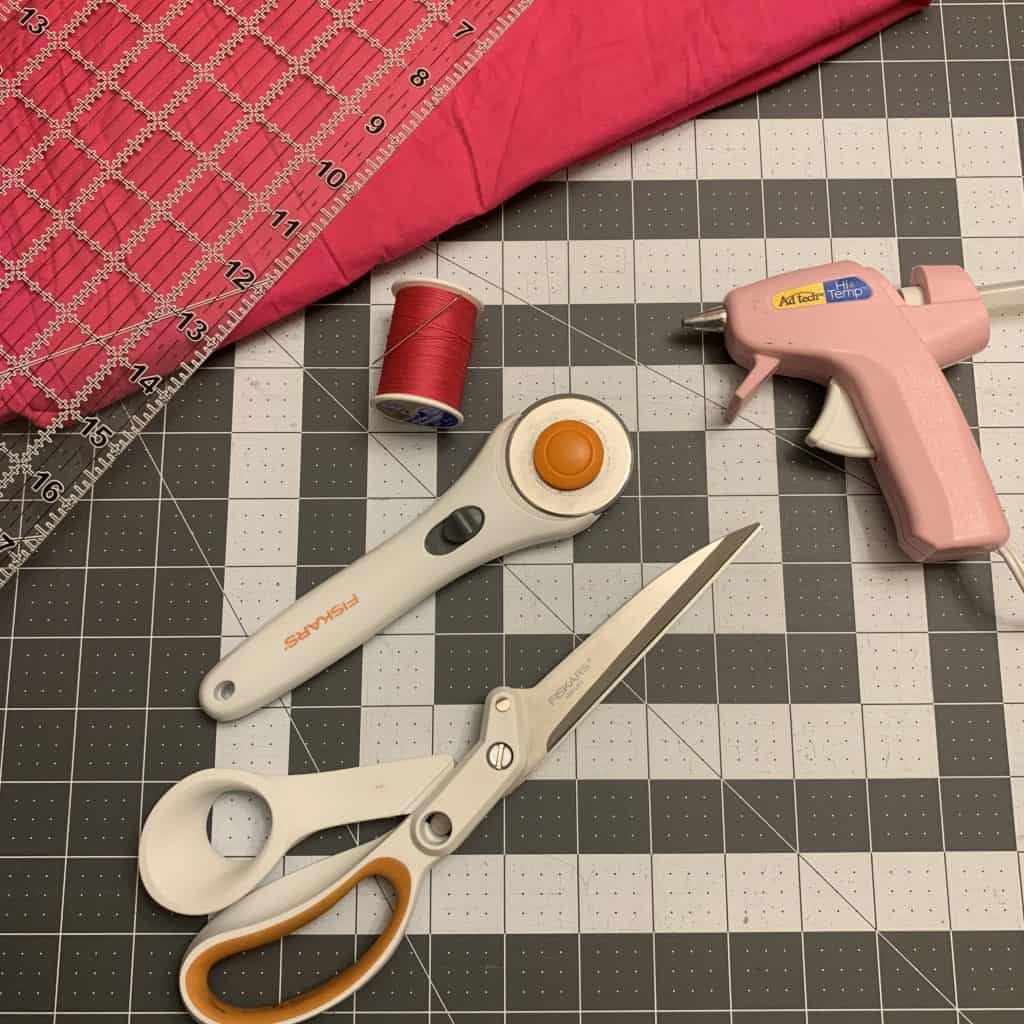
Fabric Rosette materials | Materials to Make a Fabric Flower
- Fabric (I suggest woven) - 3" x 22" is a great place to start
- Fabric scrap for the back of the rosette - a 3" x 3" square should be enough, but wait until after the rosette is finished
to cut a piece if possible - Iron (if necessary to press your fabric)
- Scissors or a rotary cutter
- Quilting ruler or measuring tape
- Hot glue gun and glue sticks - Don't have one? You can use a thread and needle instead
DIY Fabric Rosette Step 1: Prepare and Cut Your Fabric
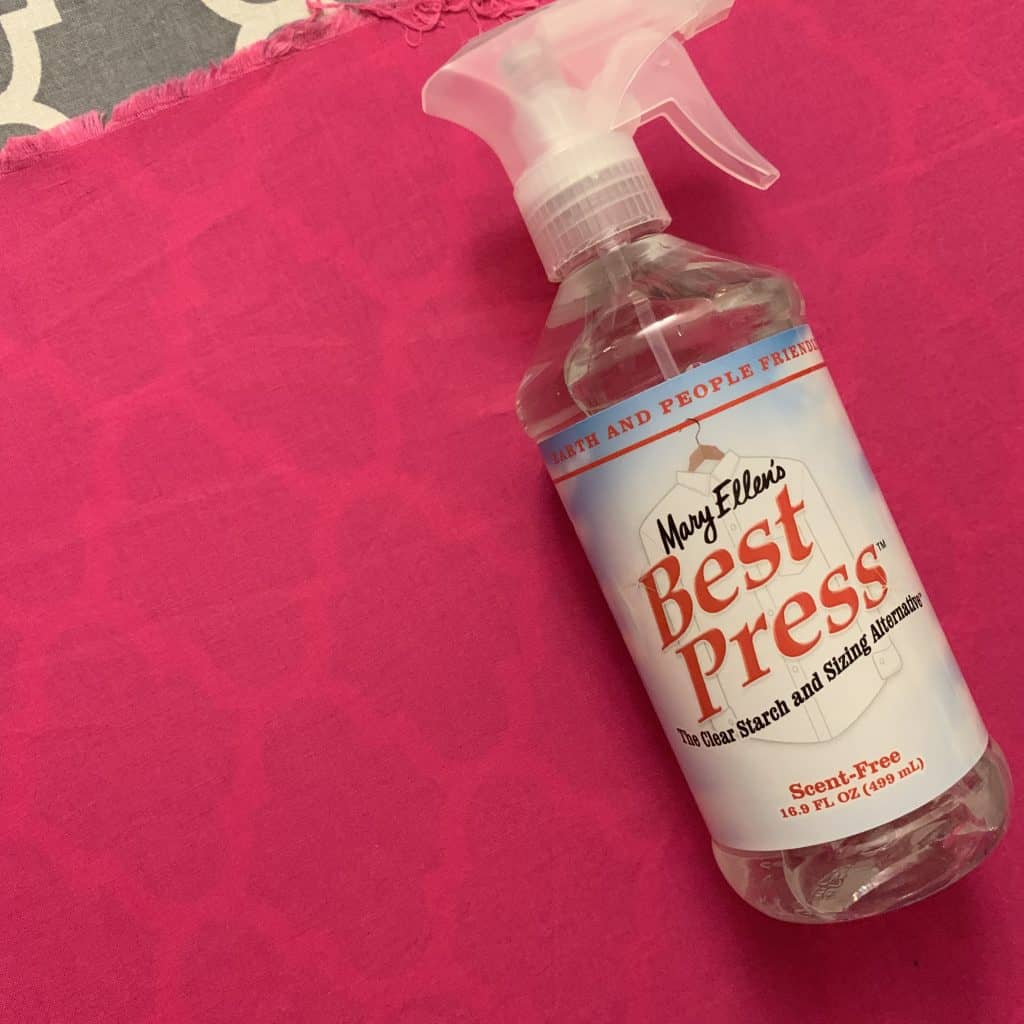
If you're like me, you have a limited amount of space to keep all your lovely fabrics, so inevitably, when you pull some out to use, you need to iron the heck out of it. Wovens are especially iron-needy, so you may need to take a few minutes to press out the wrinkles.
I always use a product called Best Press when I iron my troublesome wovens - and knits for that matter. A quilter friend of mine recommend it to me, and now I'm recommending it to you! I love that its not really a starch, so there is no residue, but it really truly aids in pressing and keeping fabric flat.
You can see in the images below the before and after... it's magic!

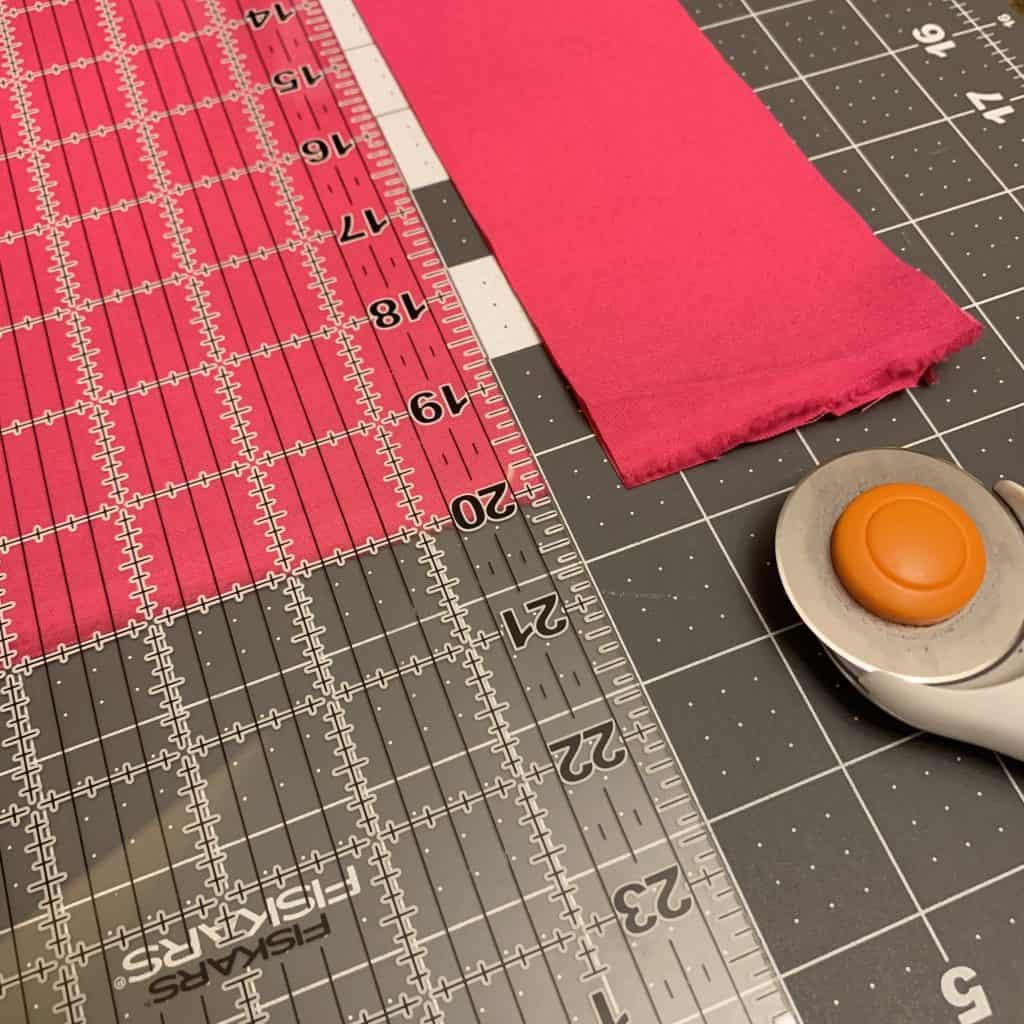
Cut your fabric to the desired length and width.
For a rosette roughly 2" in diameter, cut a 3" x 22" piece (I recommended that size in the materials section above). A longer piece will result in a rosette with a larger diameter, and a wider piece will make a thicker rosette.
DIY Fabric Rosette Instructions: Knot and roll!
Fabric Flower Step 1: Fold your strip in half longways,
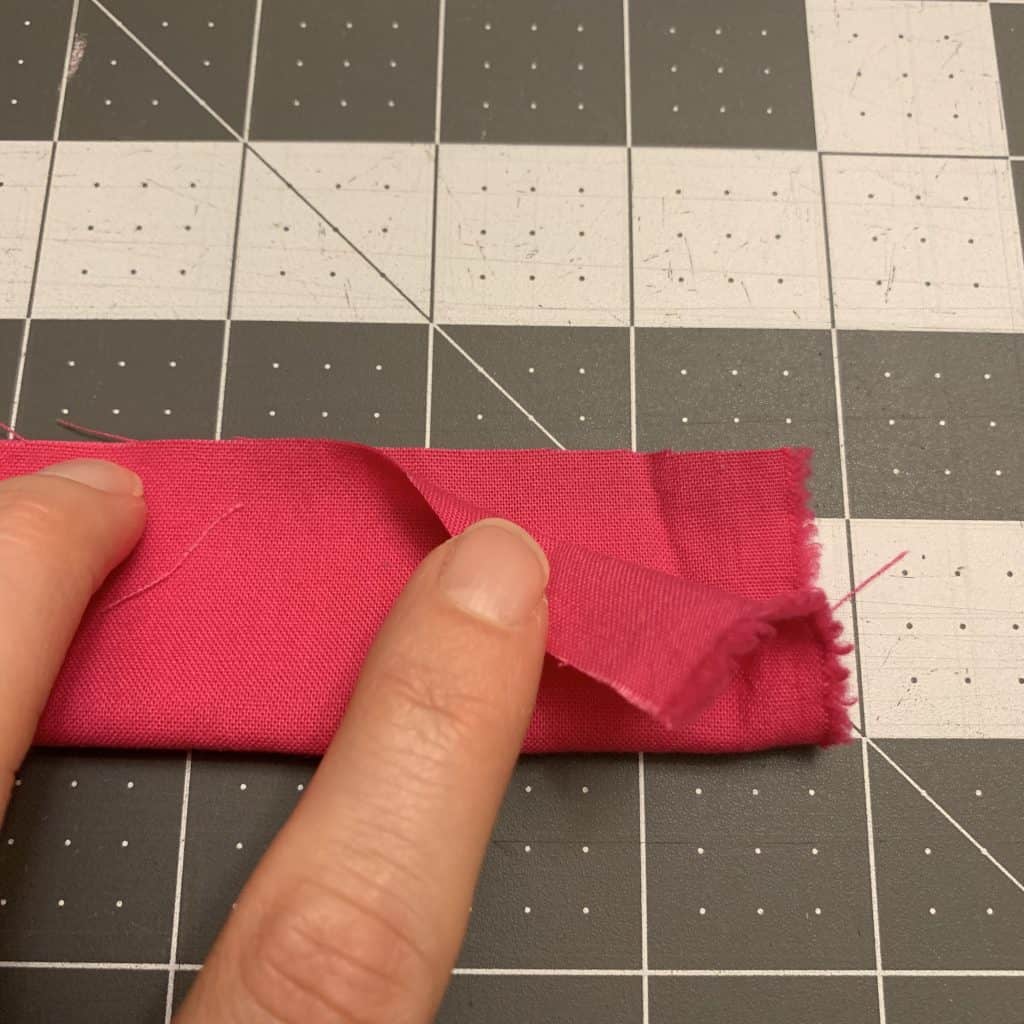
Fabric Flower Step 2: Then tie a knot on one of the short sides of your strip.
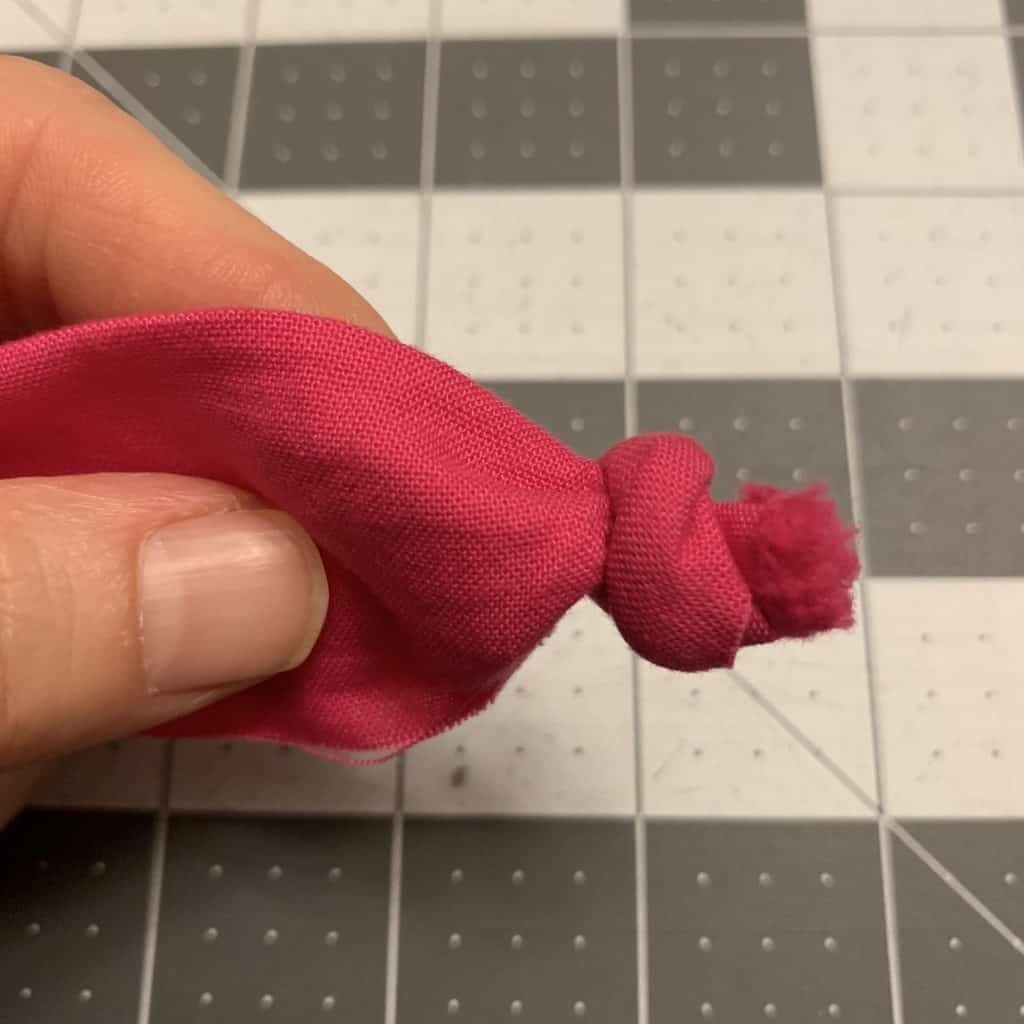
Fabric Flower Step 3: Fold the knot back into the strip (this is hard to explain in text, so see the picture below, comparing it to the image above).
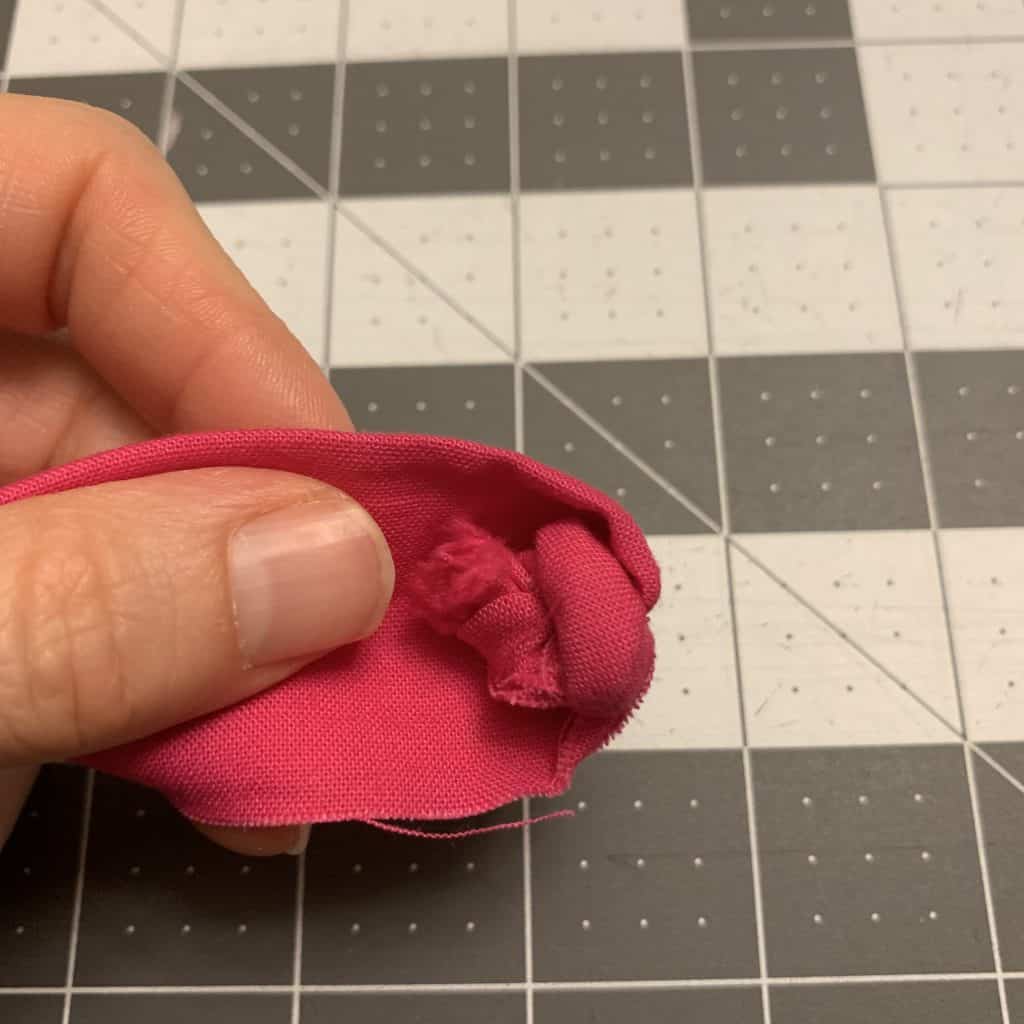
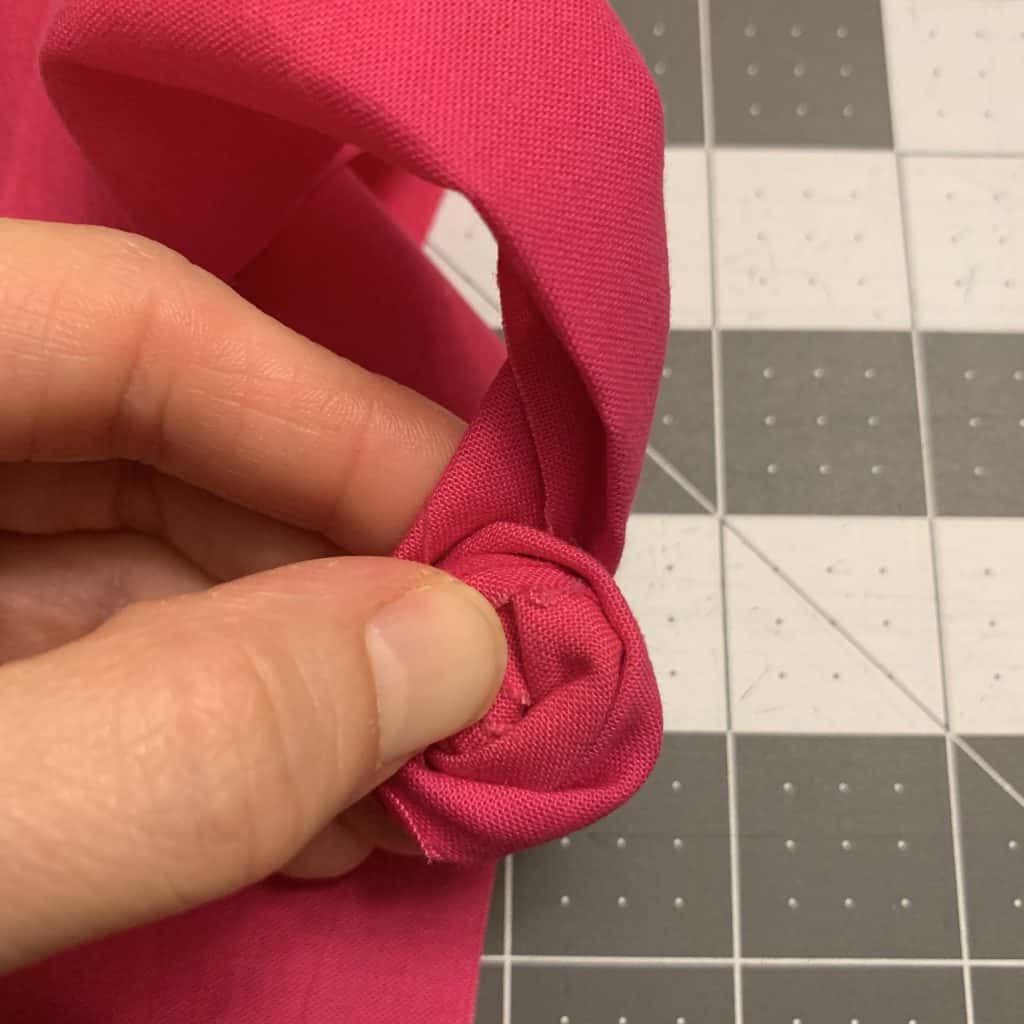
Fabric Flower Step 4: Pinch the strip around the knot...
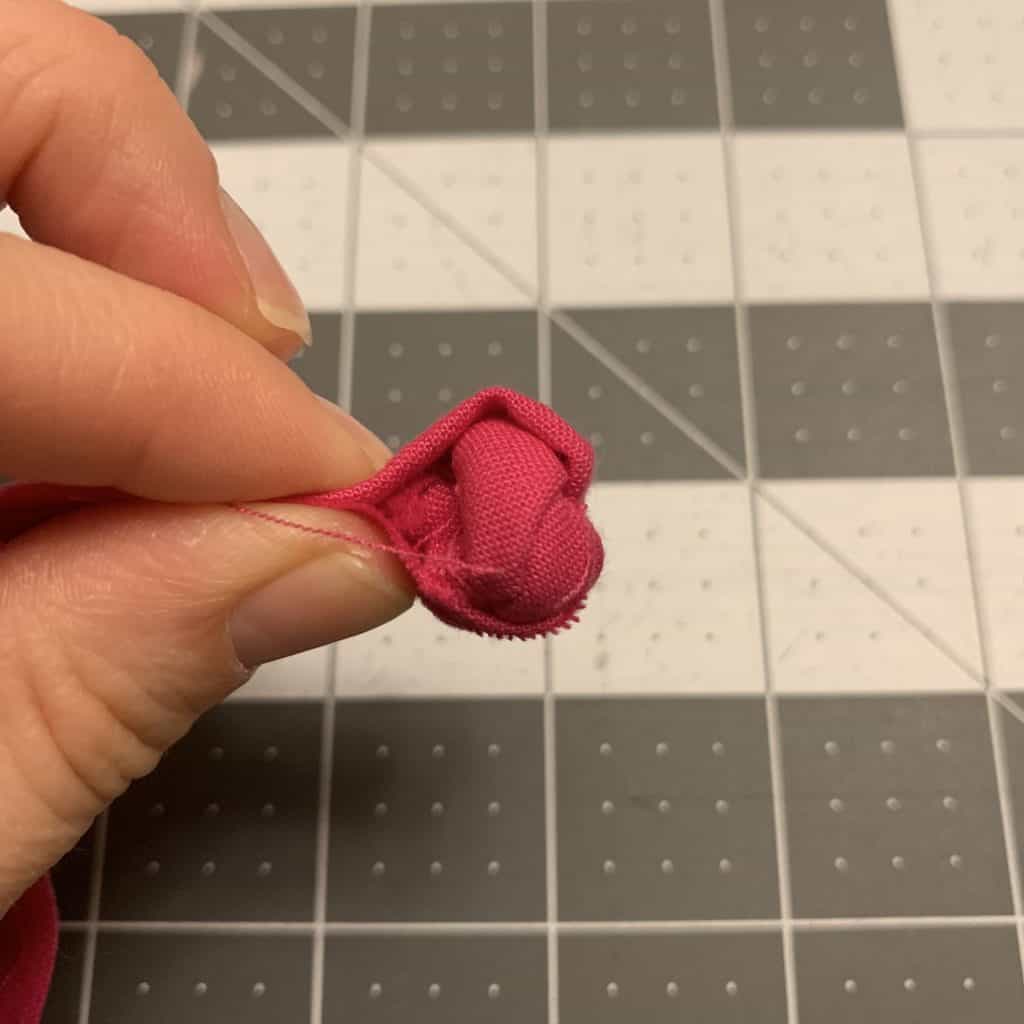
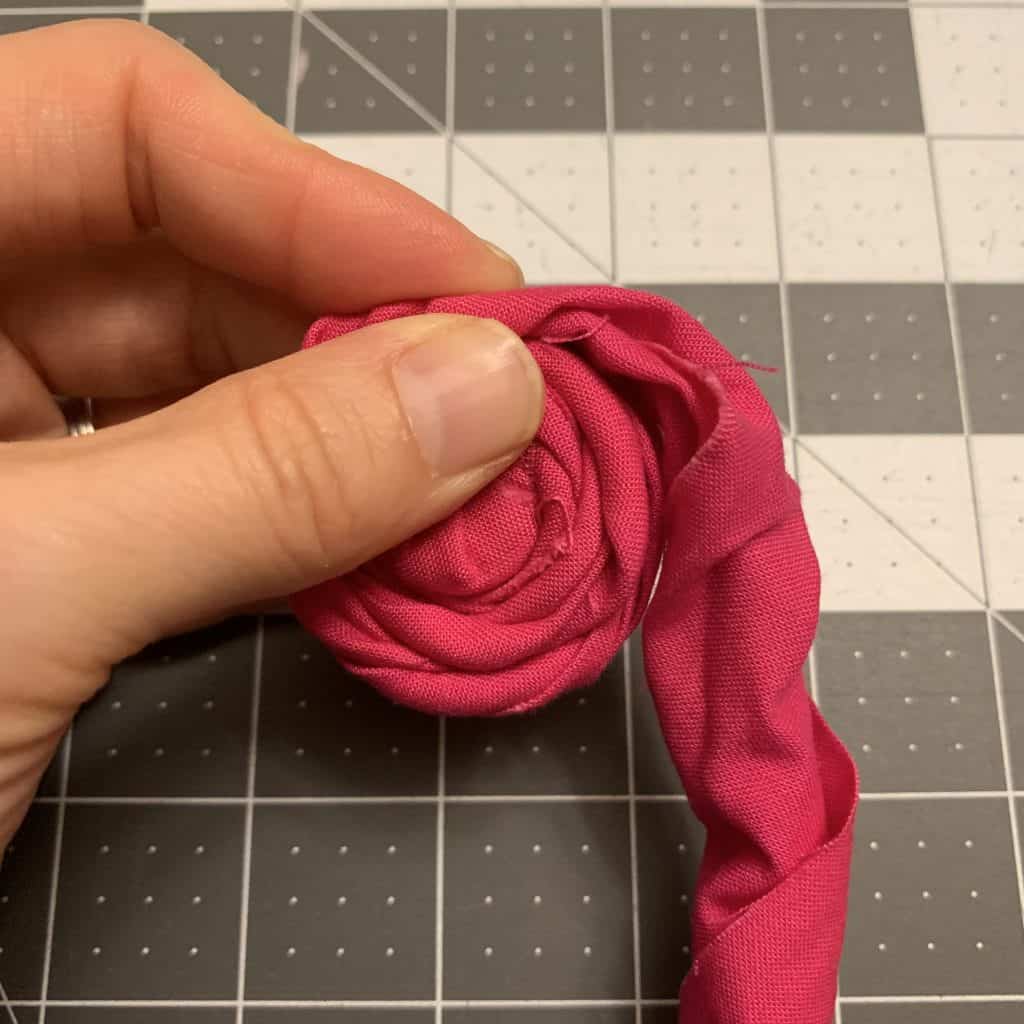
Fabric Flower Step 5: And start rolling clockwise, twisting the fabric slightly as you go around.
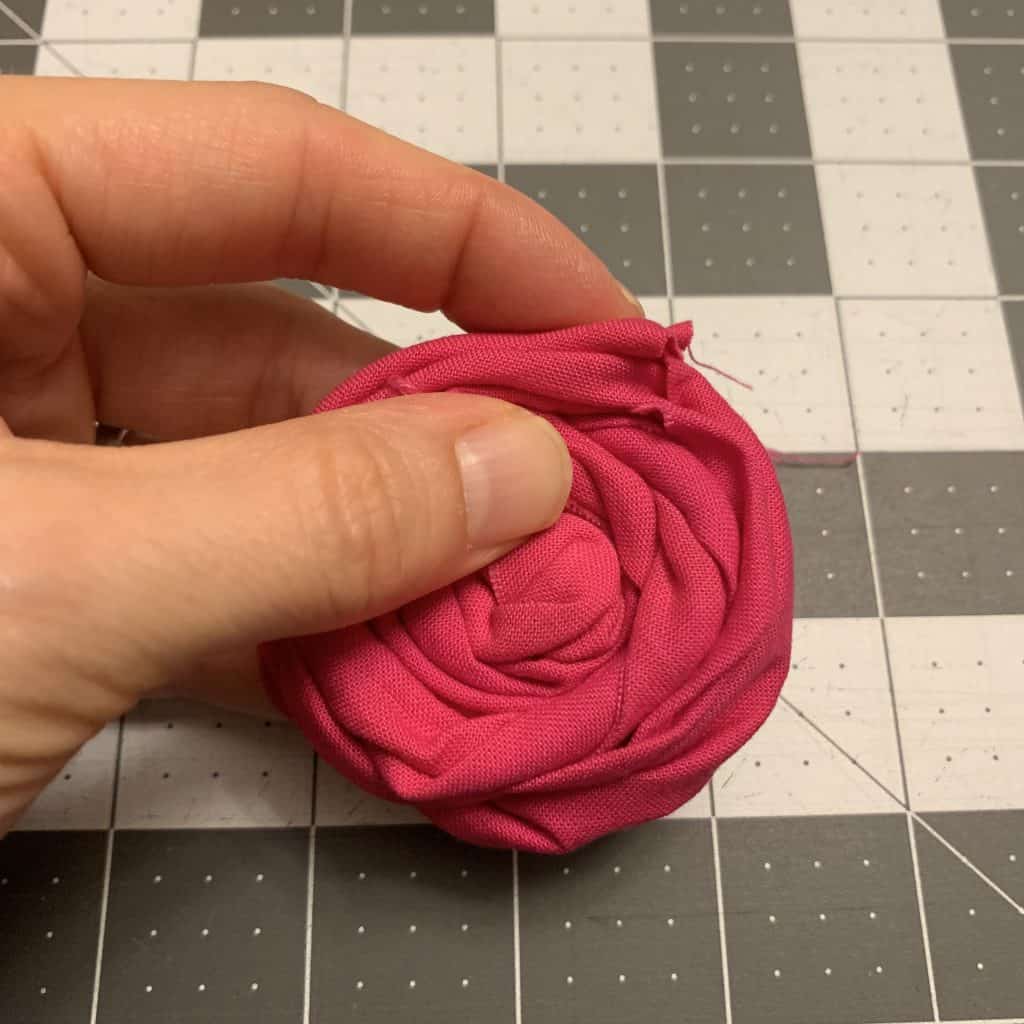
Fabric Flower Step 6: When you get to the end of your strip, tuck the raw edge under slightly, and glue or hand sew it down. In the image below, my finger is on the glued-down portion of the strip.
You're almost there!
Fabric Flower Step 7: Grab your fabric scrap and cut out a circle the size of the rosette.
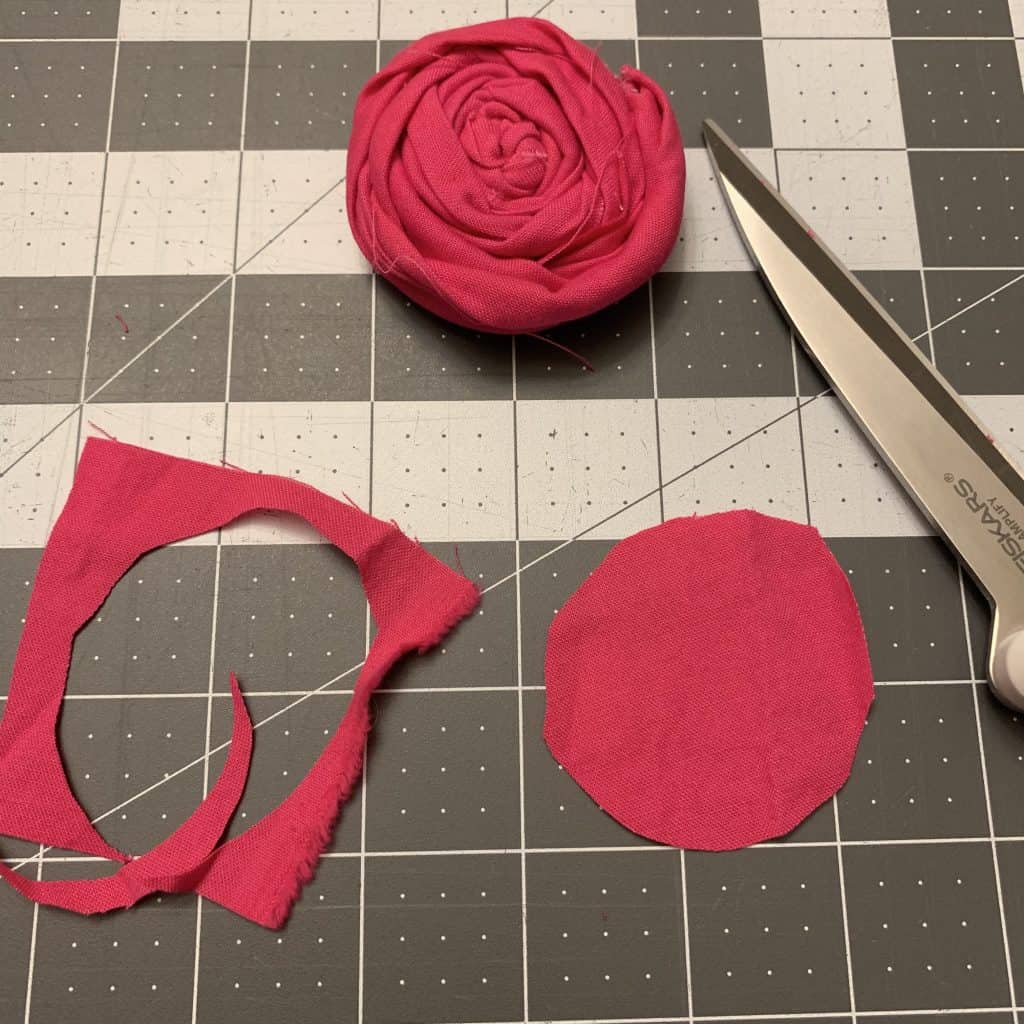
Fabric Flower Step 8: Glue or hand-sew the scrap to the back of the rosette. Try to include as much of the surface area as possible to ensure your rosette doesn't pop apart or unwind.
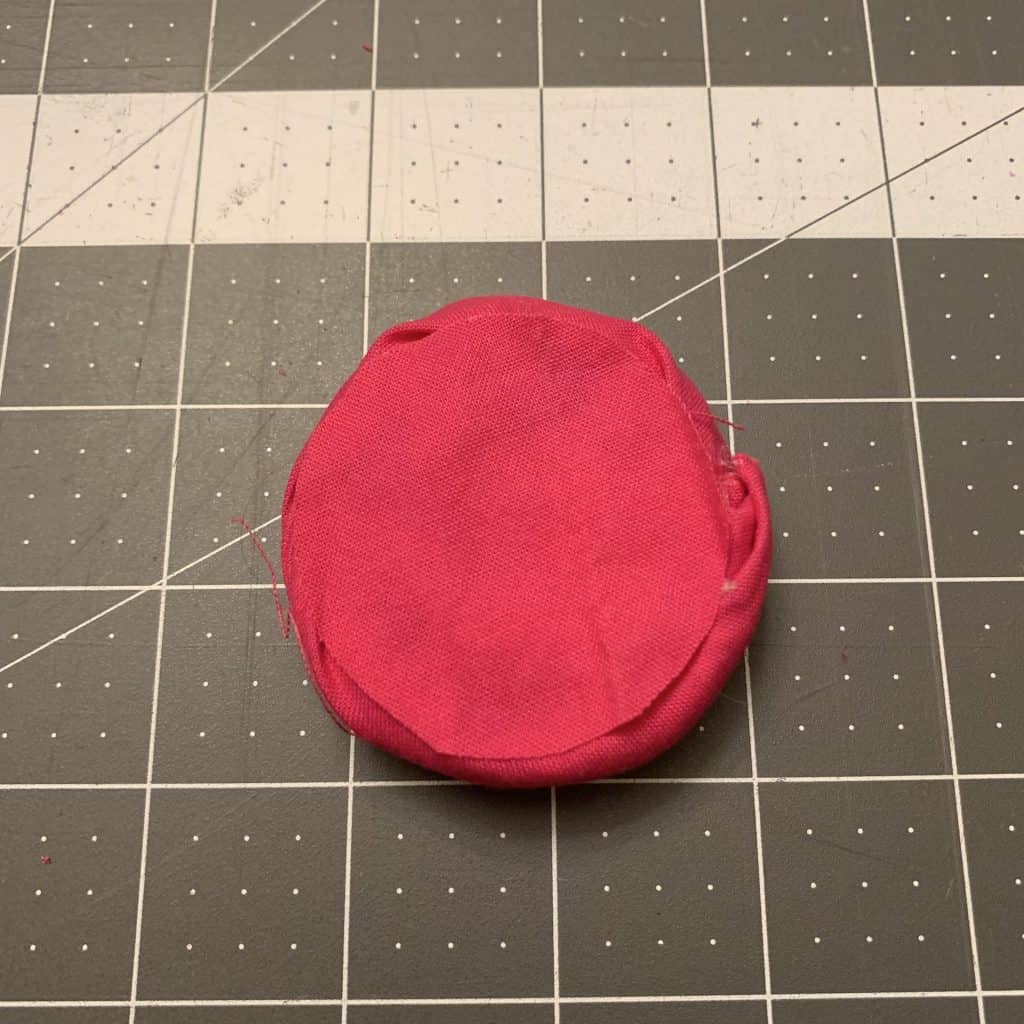
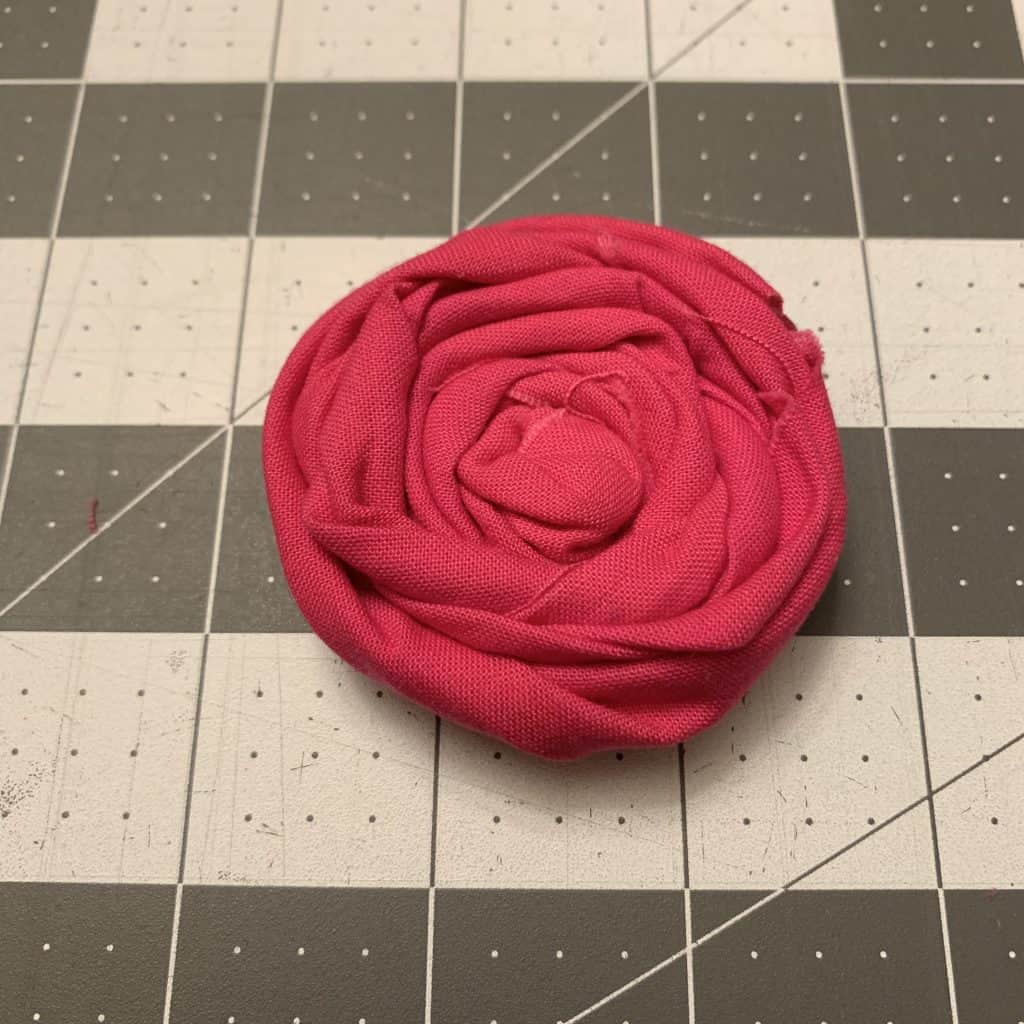
Fabric Flower Step 9: Flip it back over, and there you go!!!
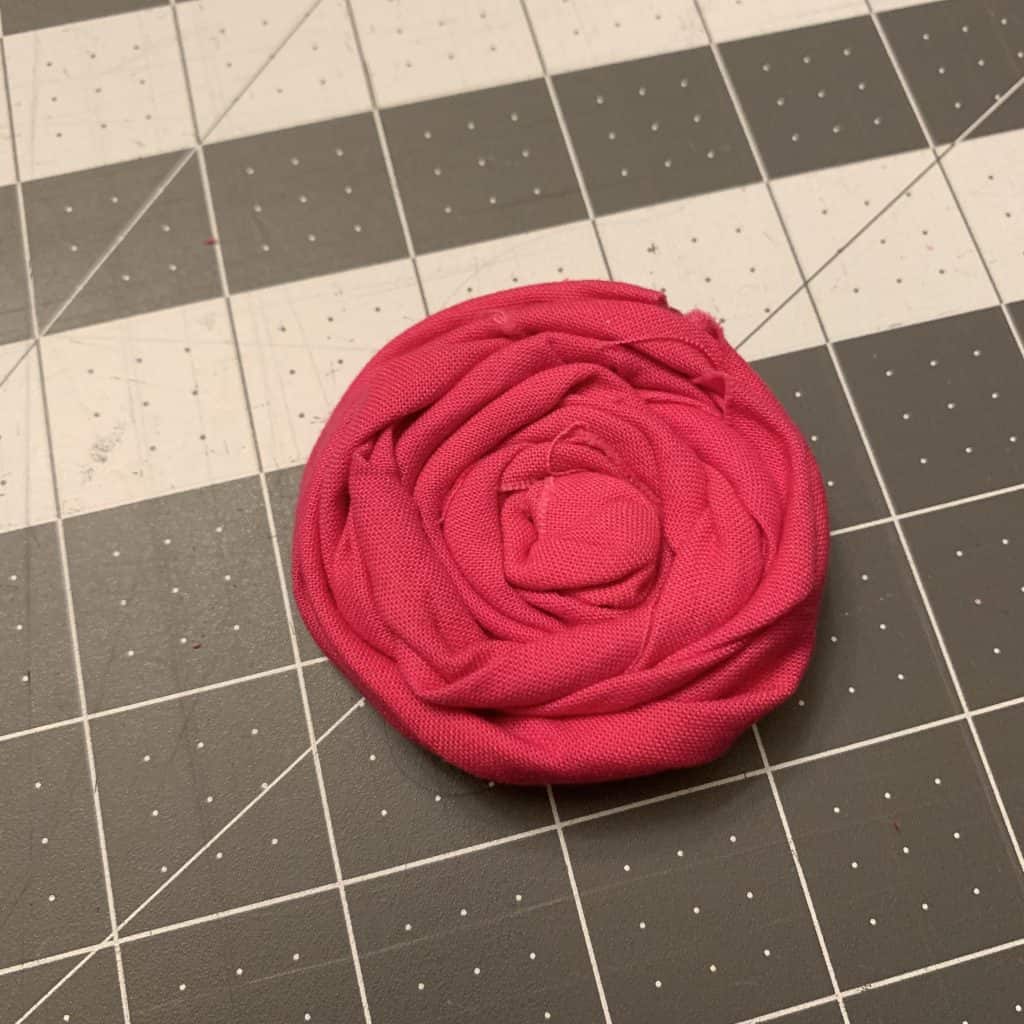
Aren't these rosettes lovely?!
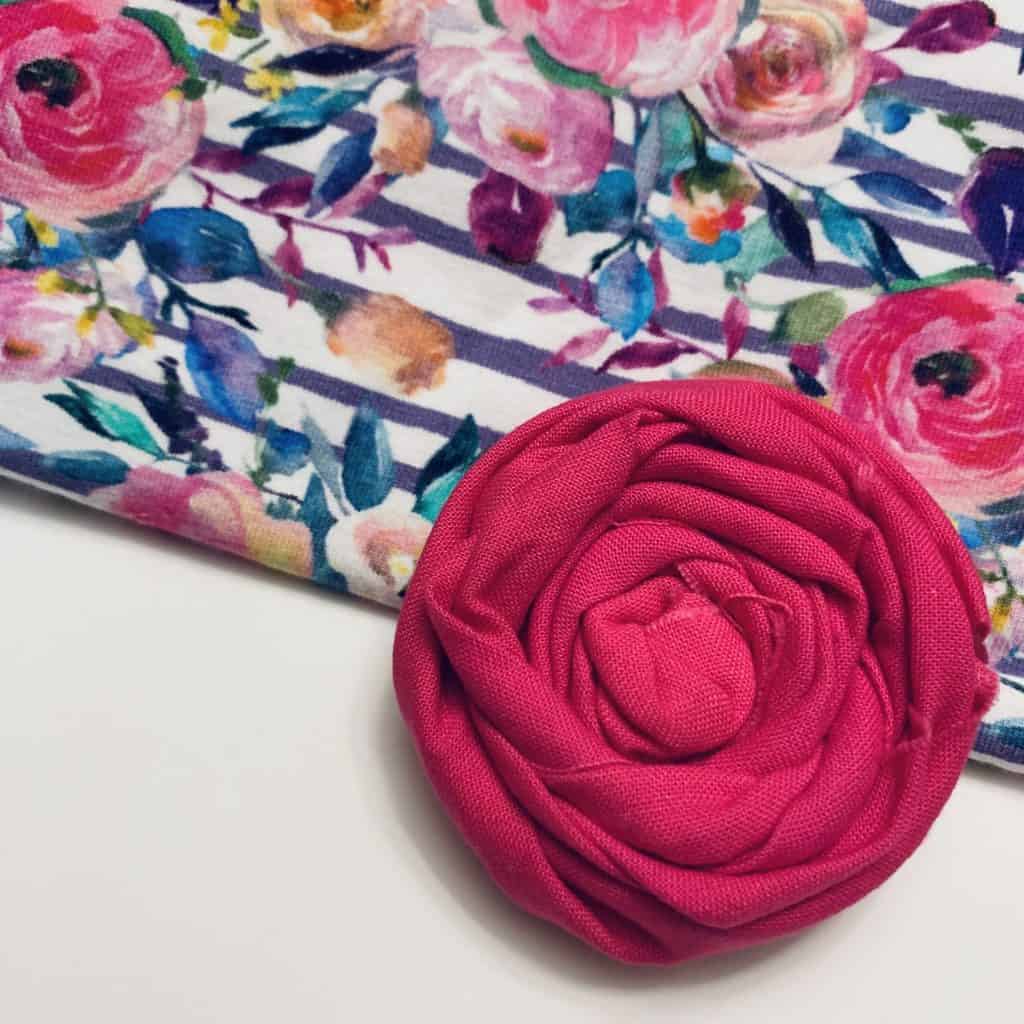
Go forth and rosette! These look wonderful on clothes, headbands, pictures frames... really anything you can think of. :)
Side note... the floral pattern in the final image above is one of the florals at KnitFabric.com!
What will you put your rosettes on?! Leave a comment below and let me know!