
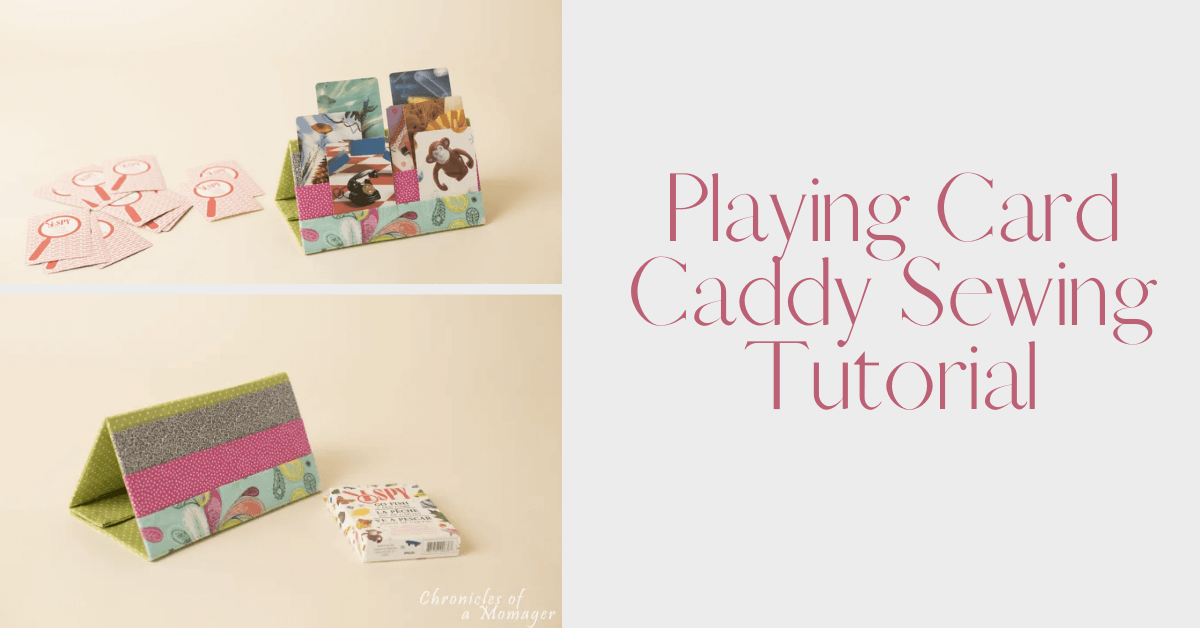
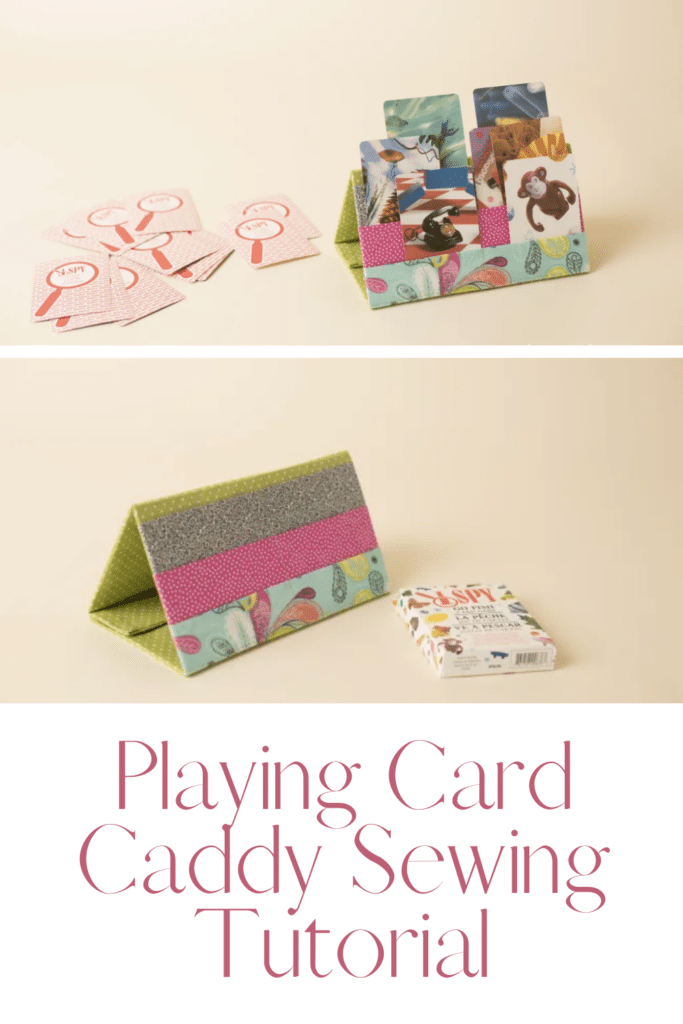
Playing Card Caddy Sewing Tutorial
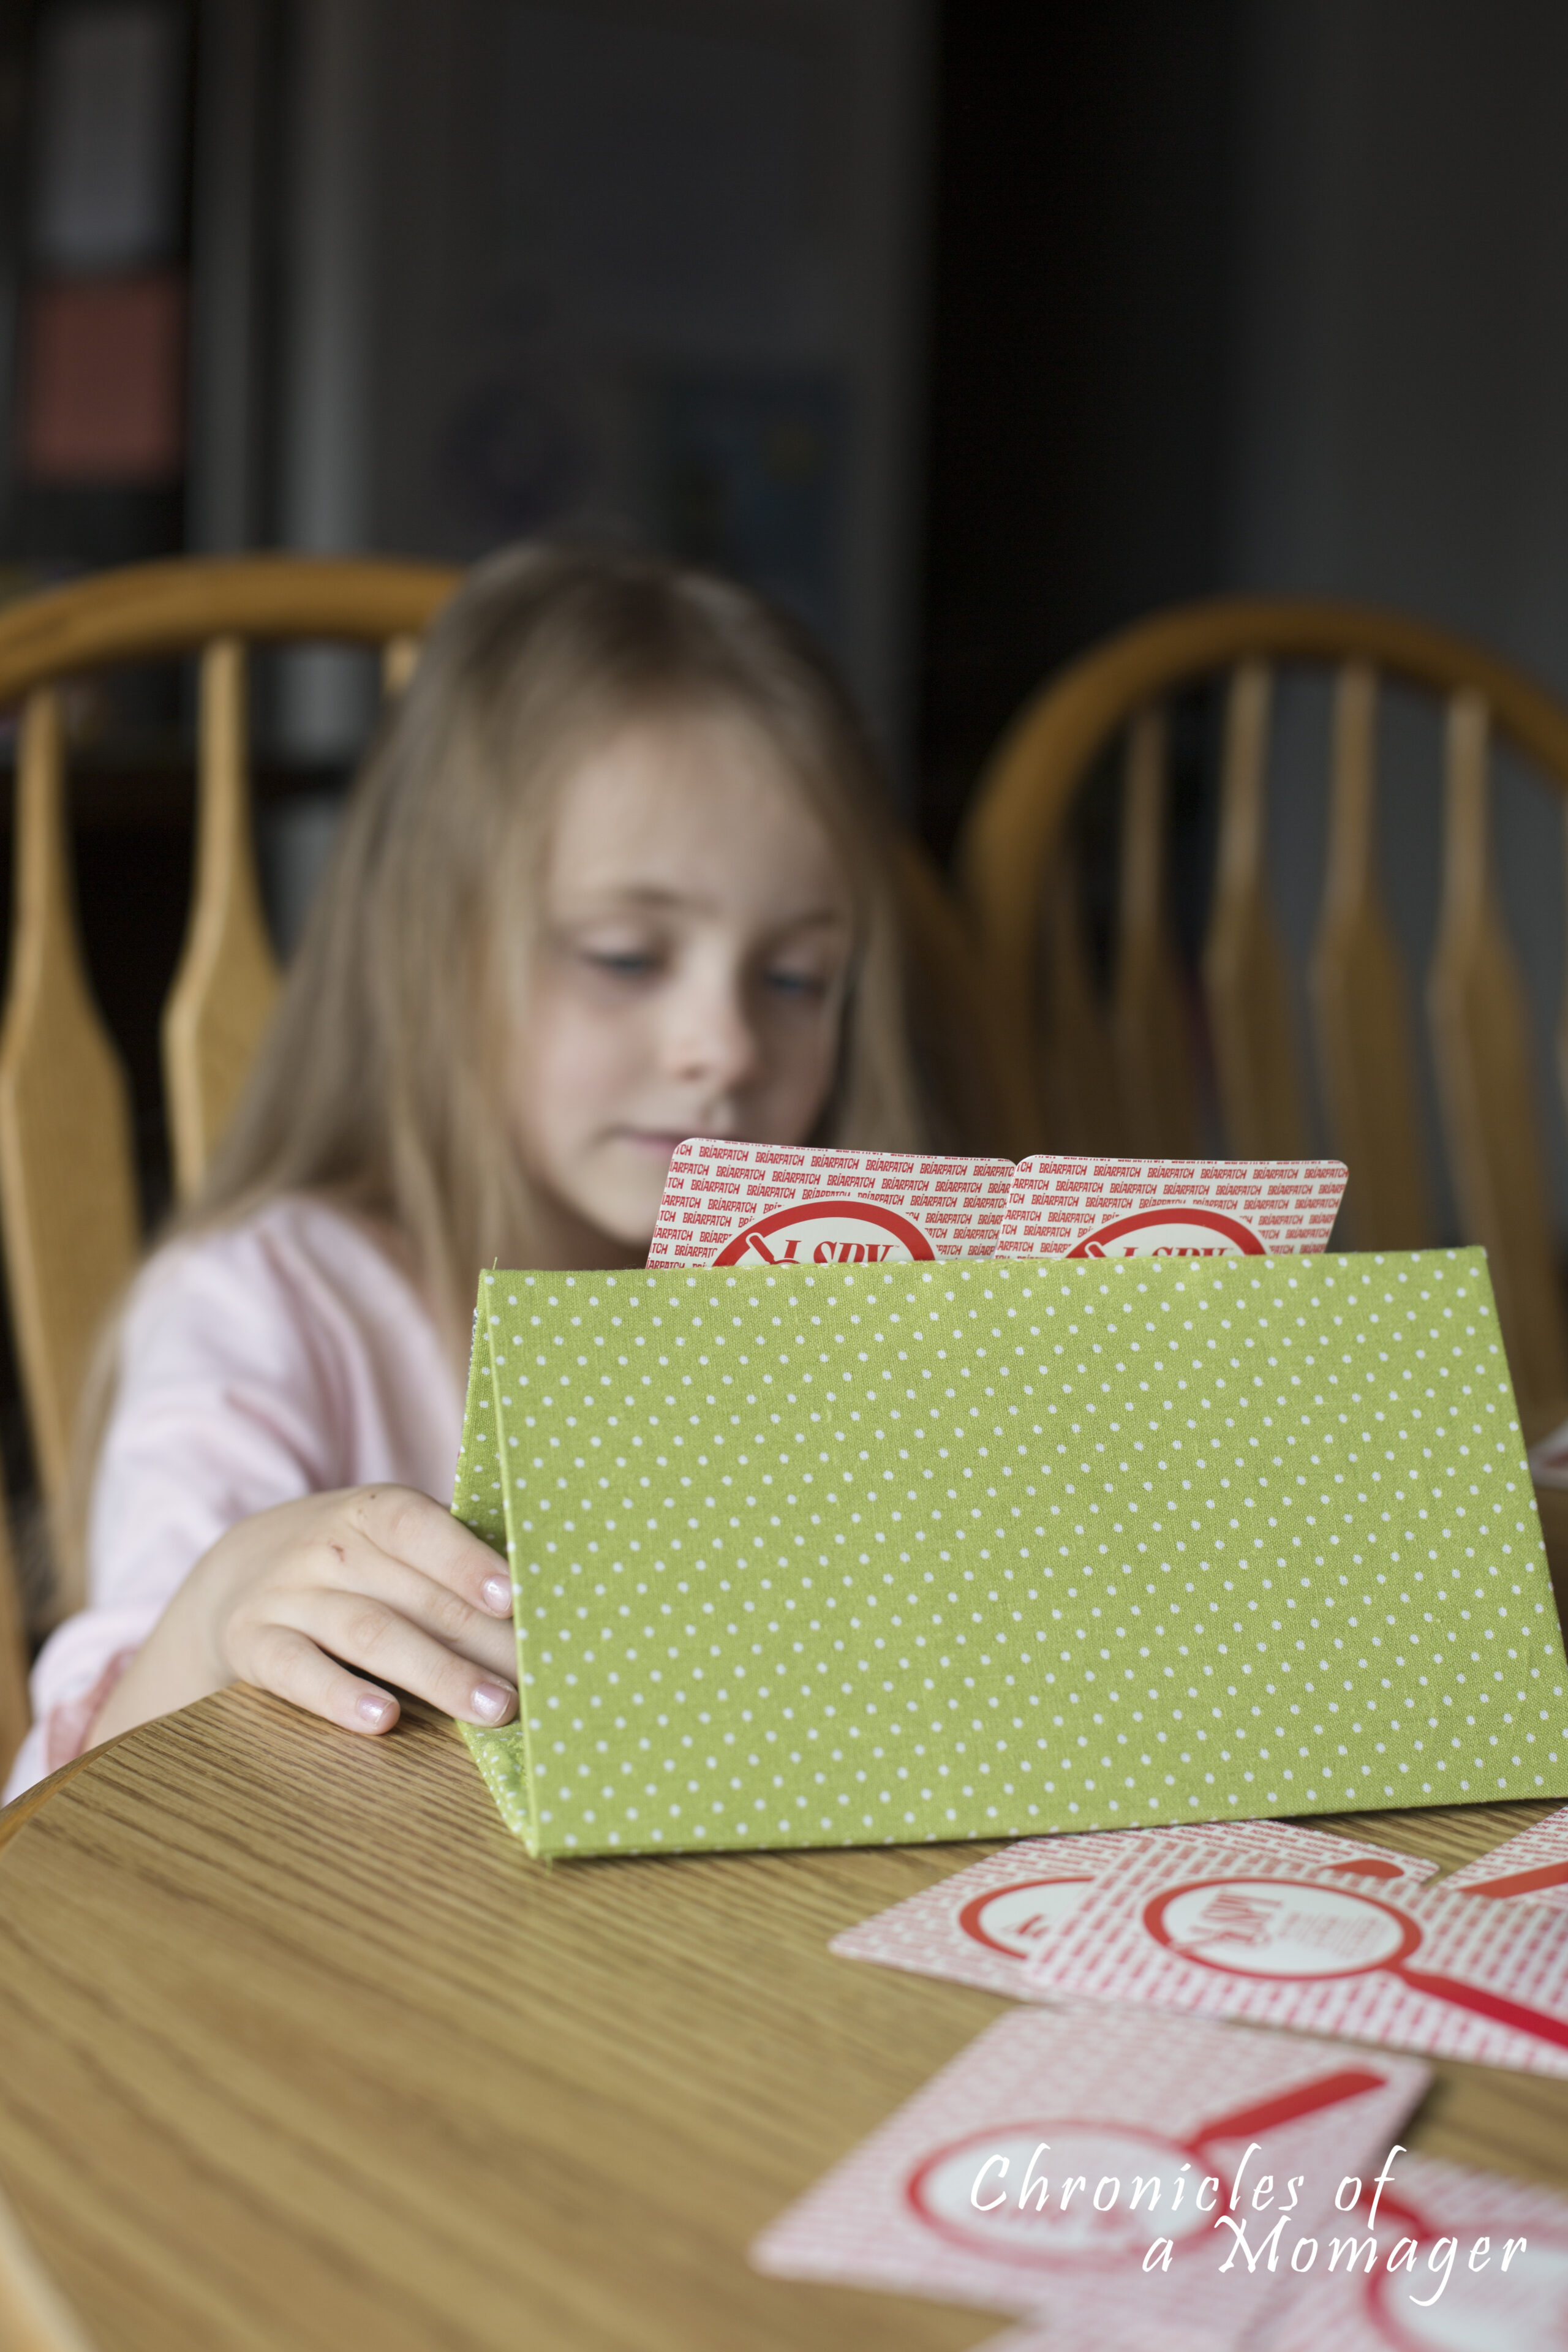
Let's sew up a playing card caddy today! Have you ever played cards with a young child? Maybe two small children? You know the type, the ones that have tiny hands. So small they can't seem to hold all their cards. Especially not fanned out so that they can actually see what they have.
So when they do need to look through them it either takes them about 5 minutes to shuffle through them all or they proceed to lay all their cards down on the floor so that everyone (including their older brother you are playing with) can see the cards. Now you will follow your word about not looking at these cards all spread out, but said older brother isn't quite so kind. He has winning on the brain and his little sister just gave him a first class ticket to it!
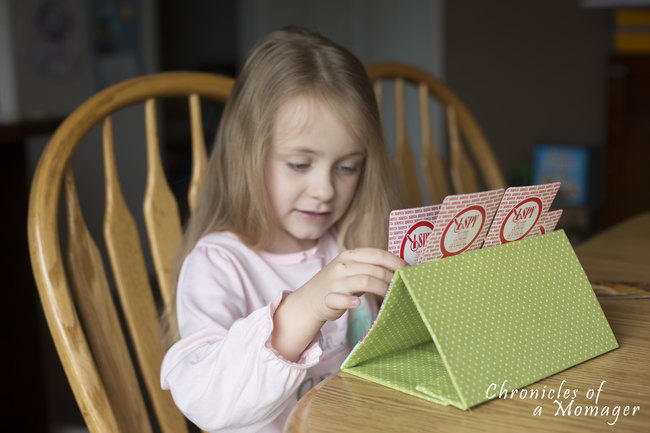
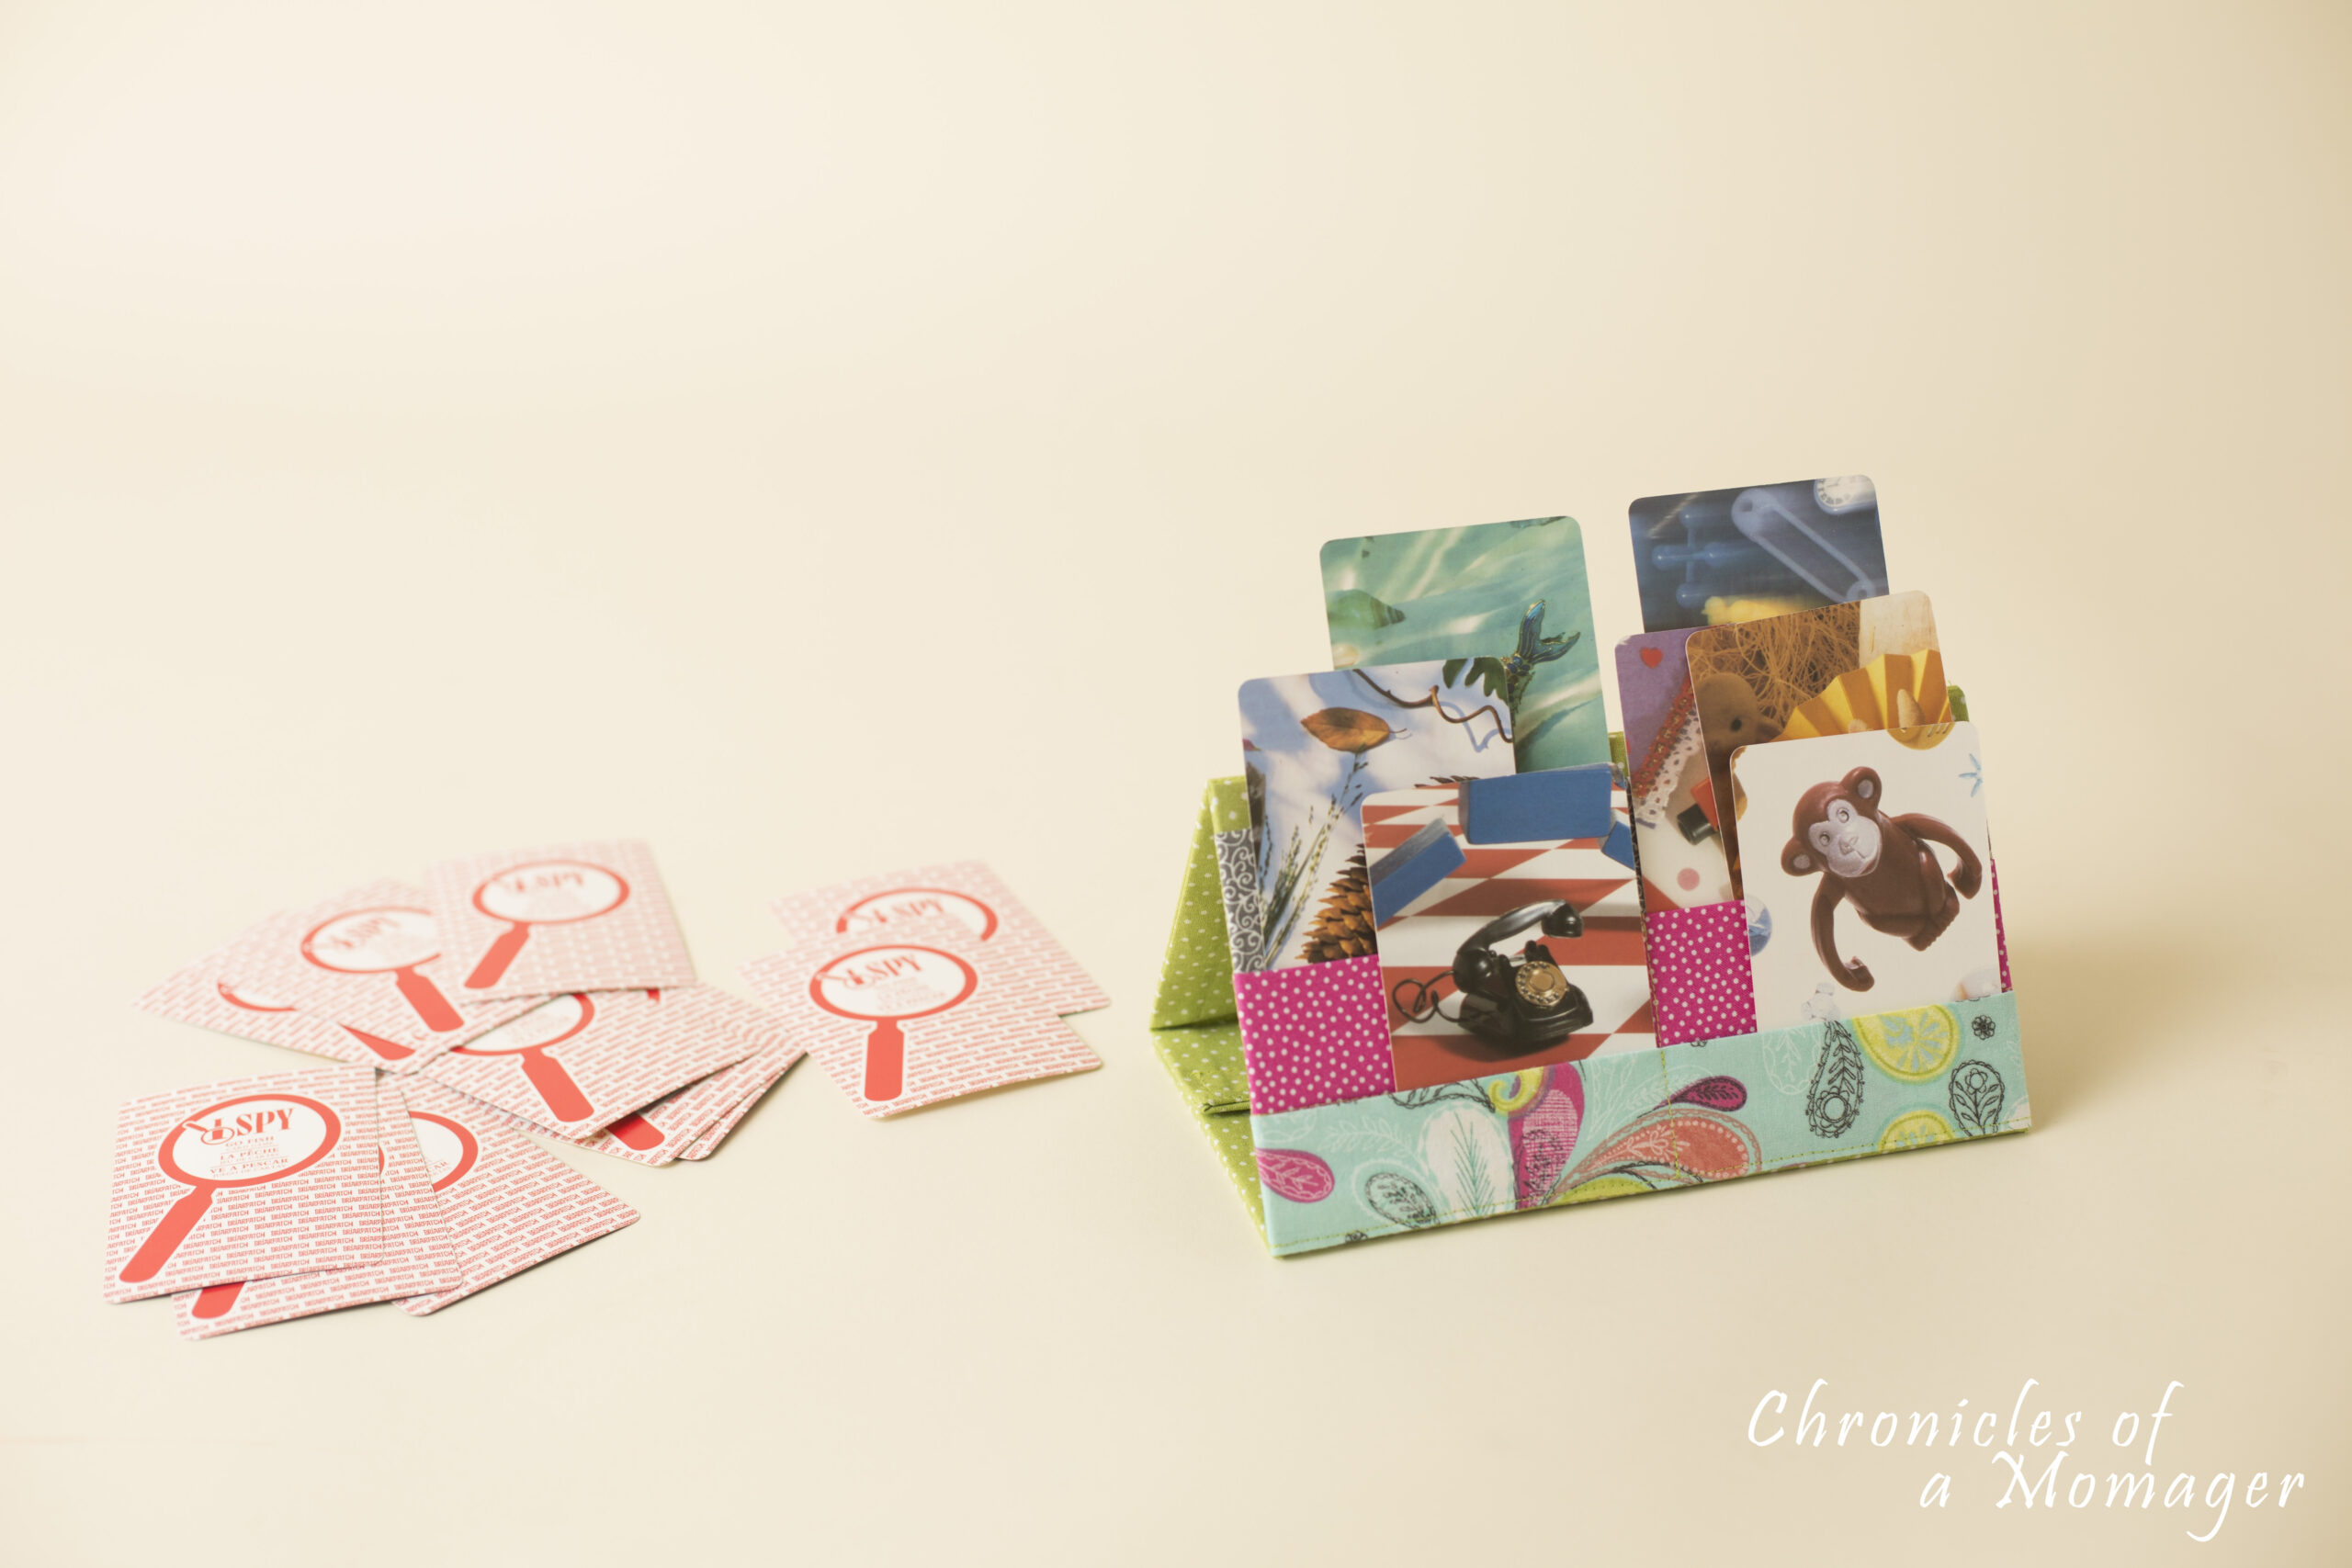
Insert the handy Playing Card Caddy!! After playing more games of Go Fish with my kids these last few months than I can count, and having the above problem every game! The need for a better way was needed.
So I worked up some plans, raided my scrap pile (did I mention this is a great project for scraps!) and set to work to create a far better system. Bonus it helps us all keep our sanity when the game keeps moving and no 4 year old girls are screaming because their brother just asked for every card in their hand (that he of course saw when she spread them all on the floor)!
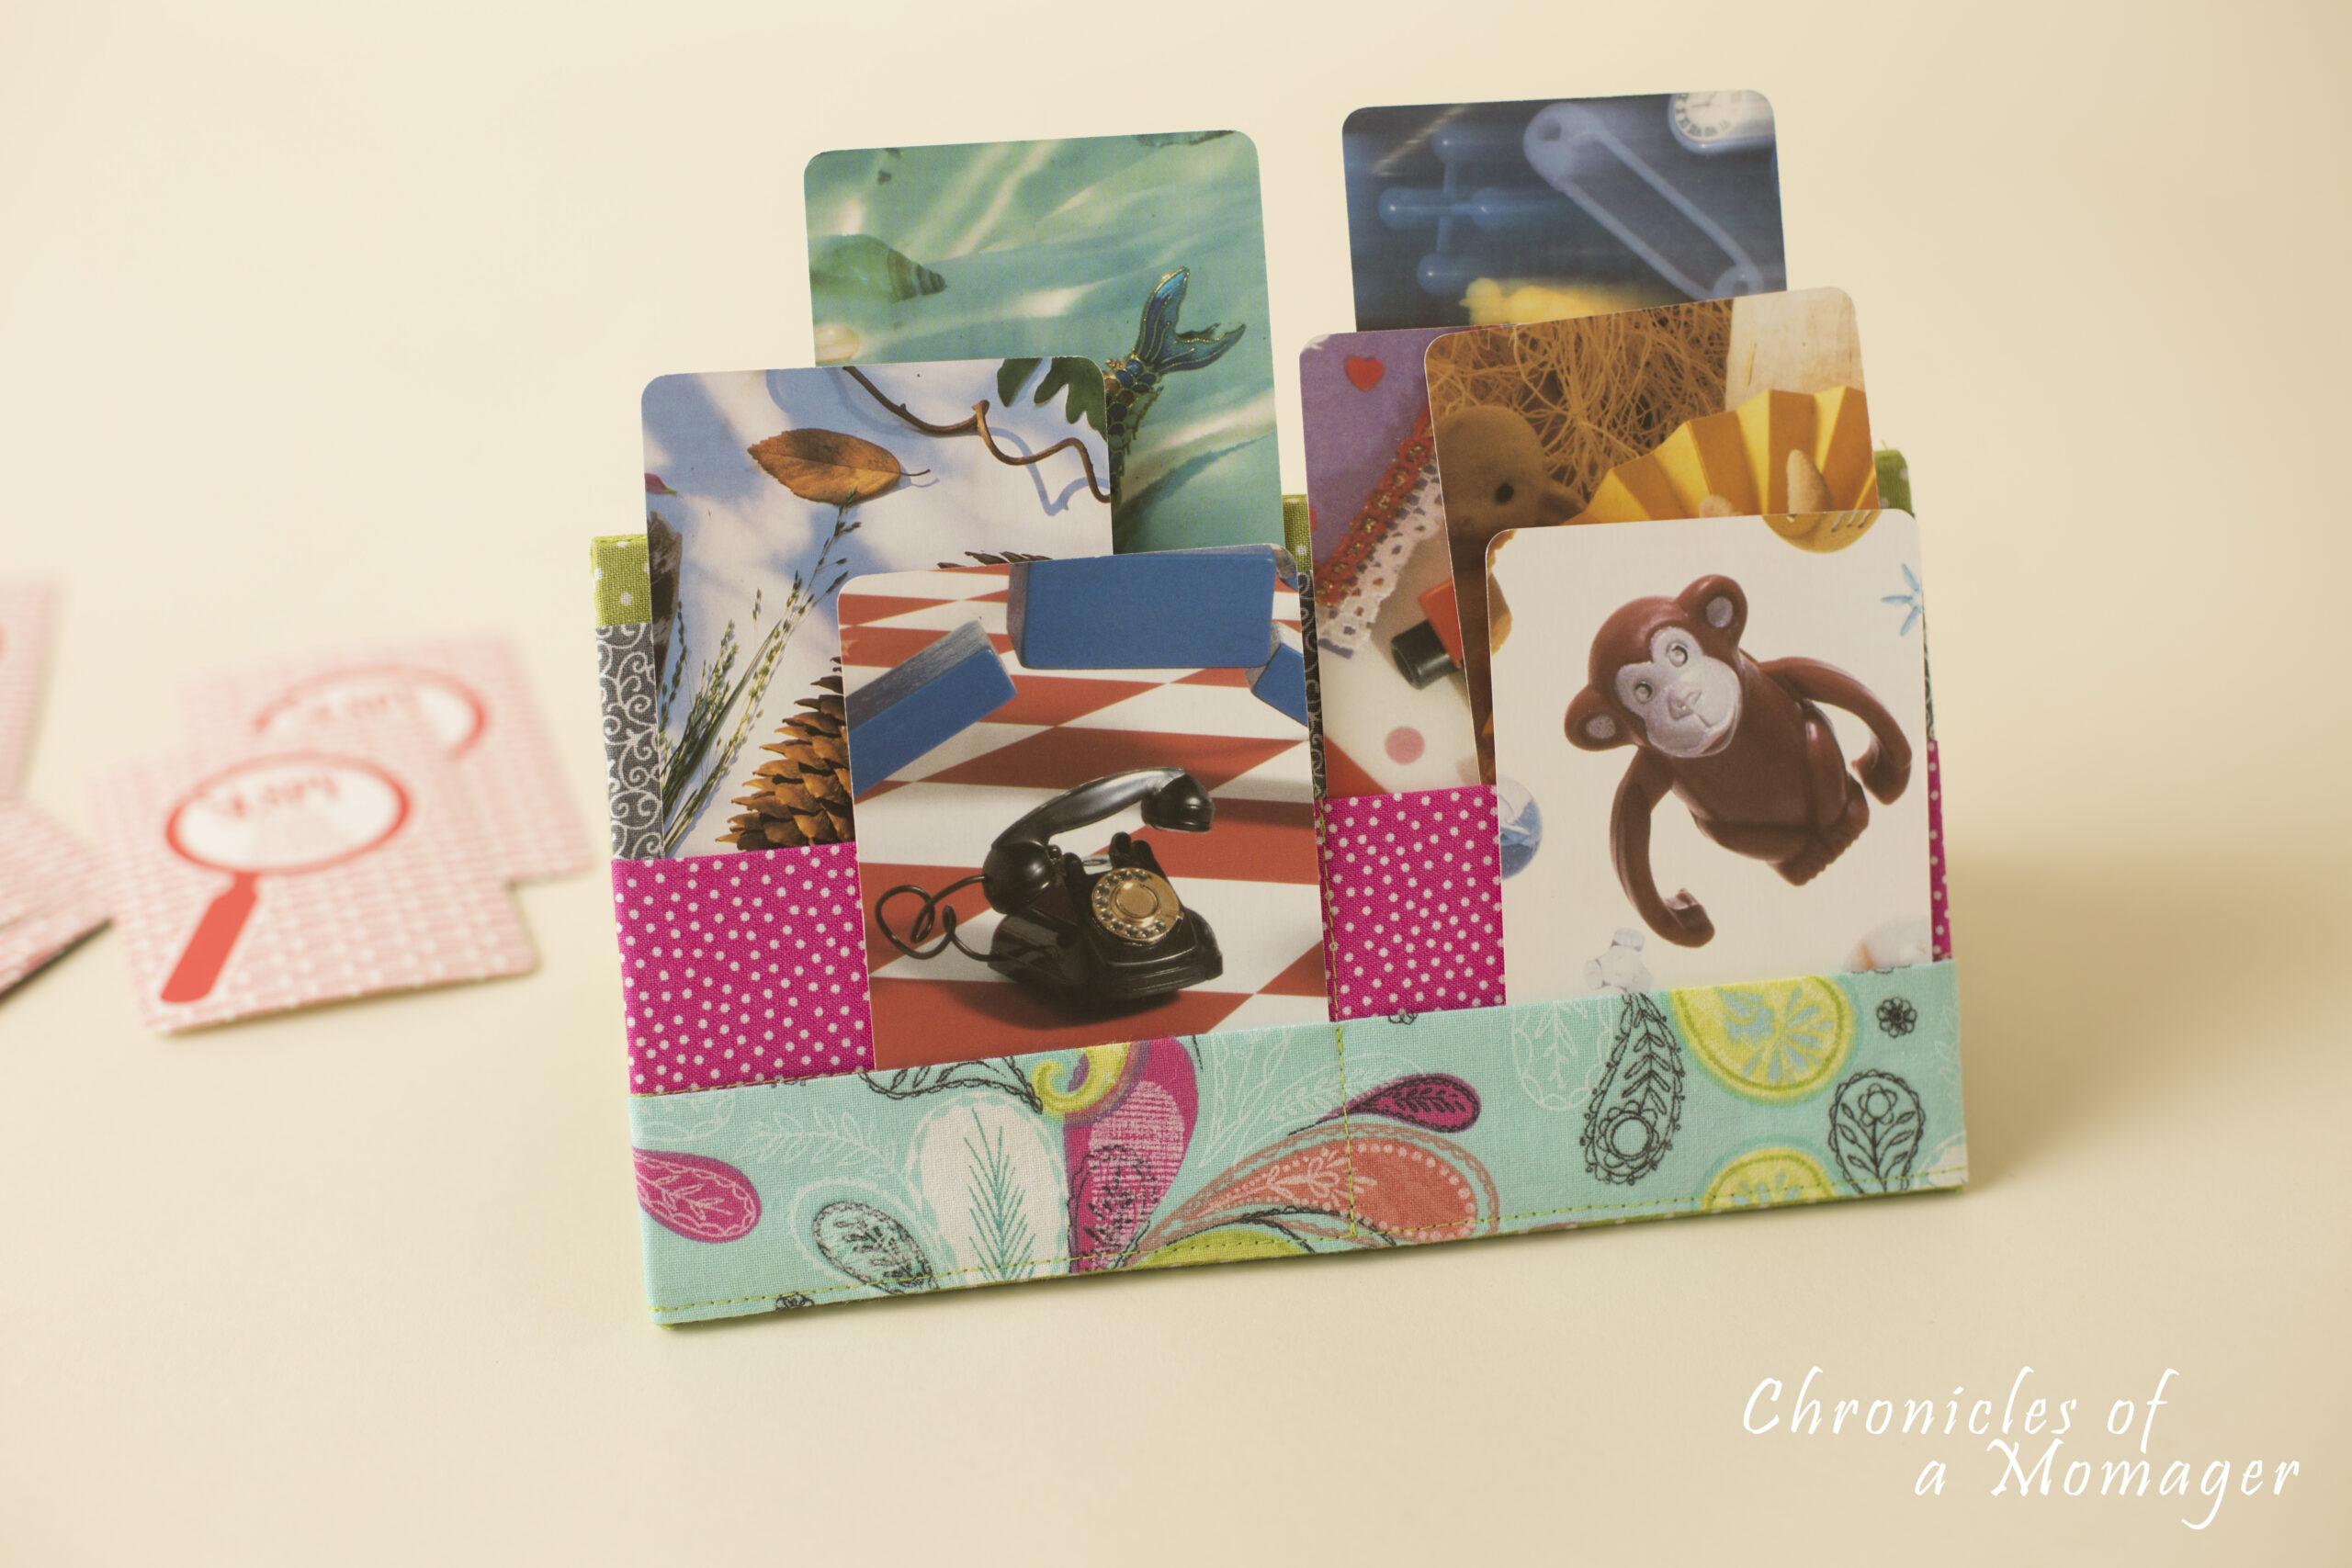
DIY Playing Card Caddy | How to Sew a Playing Card Caddy
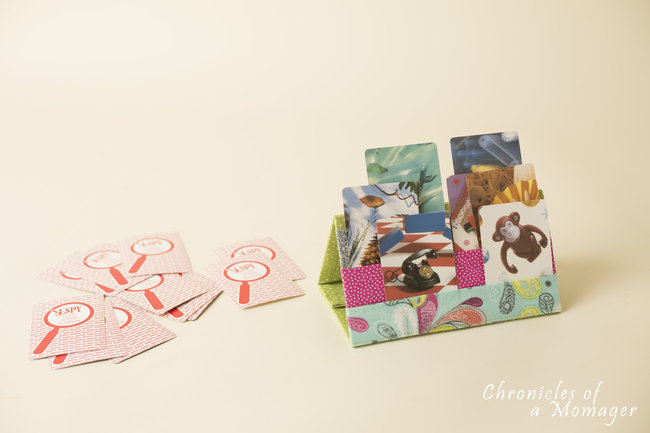
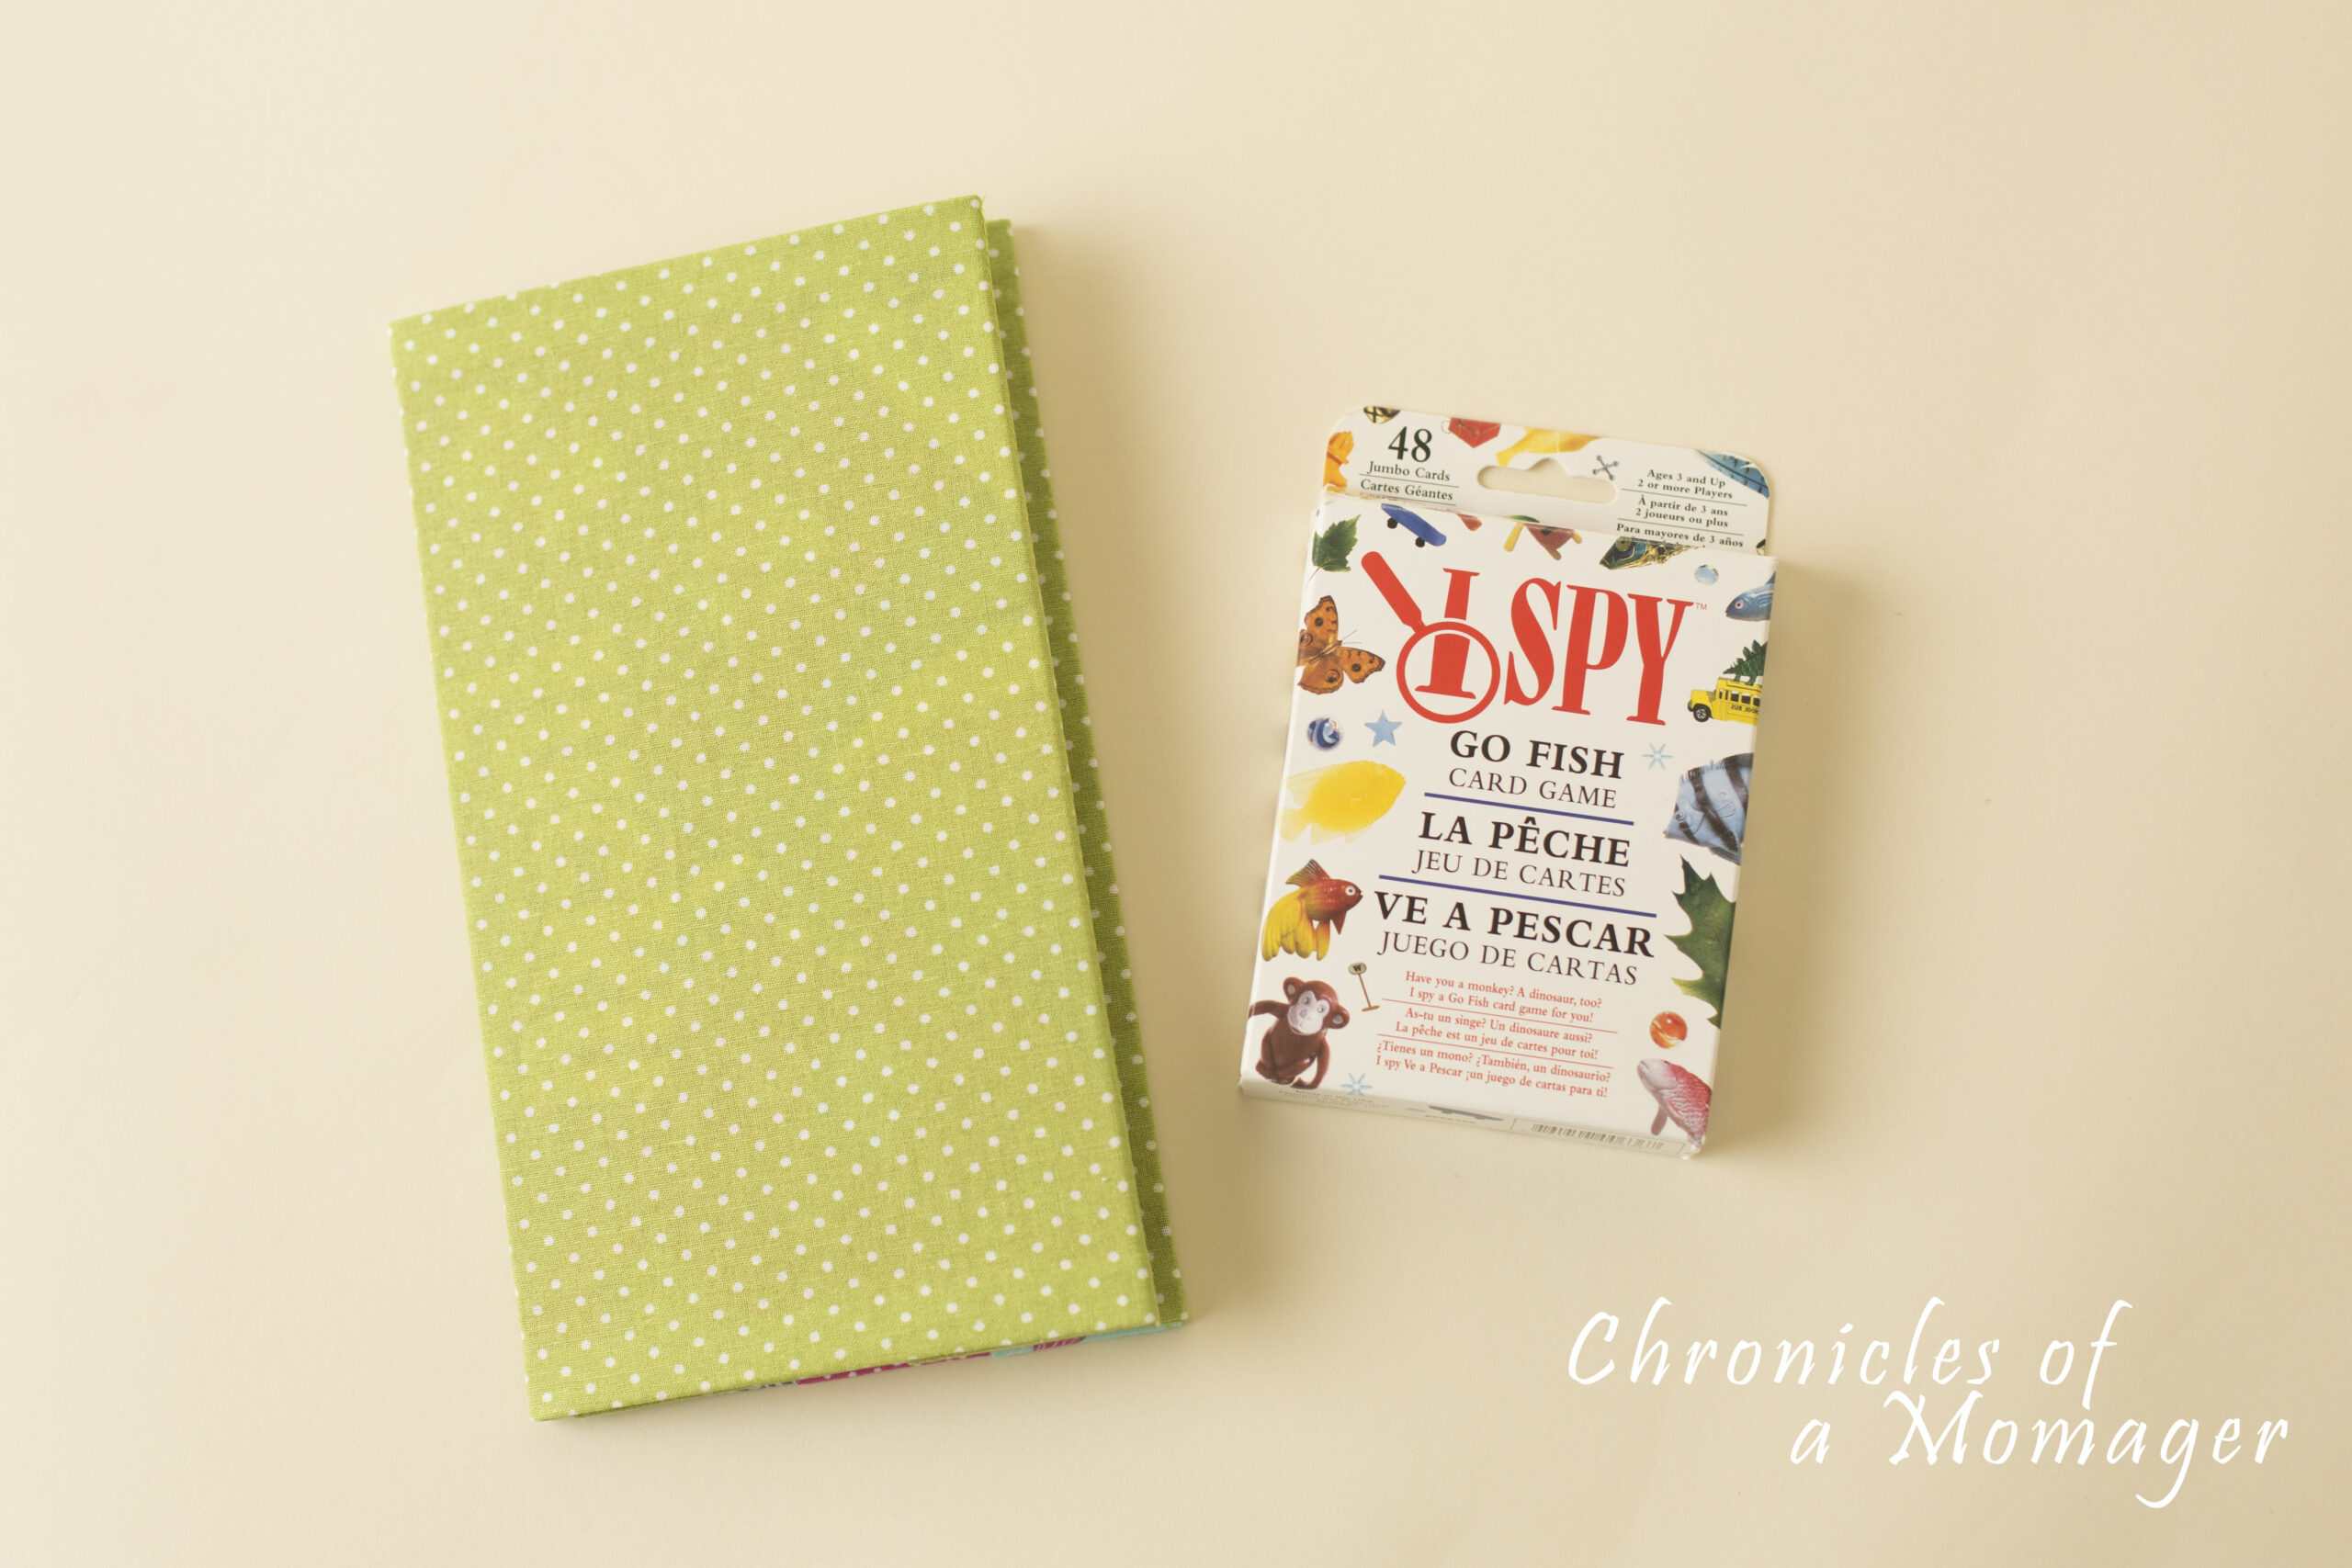
So if you are like me, get ready to make a super easy Card Caddy. Don't have small kiddos at home, they would make a great gift! Especially with a deck of Go Fish or other card games!
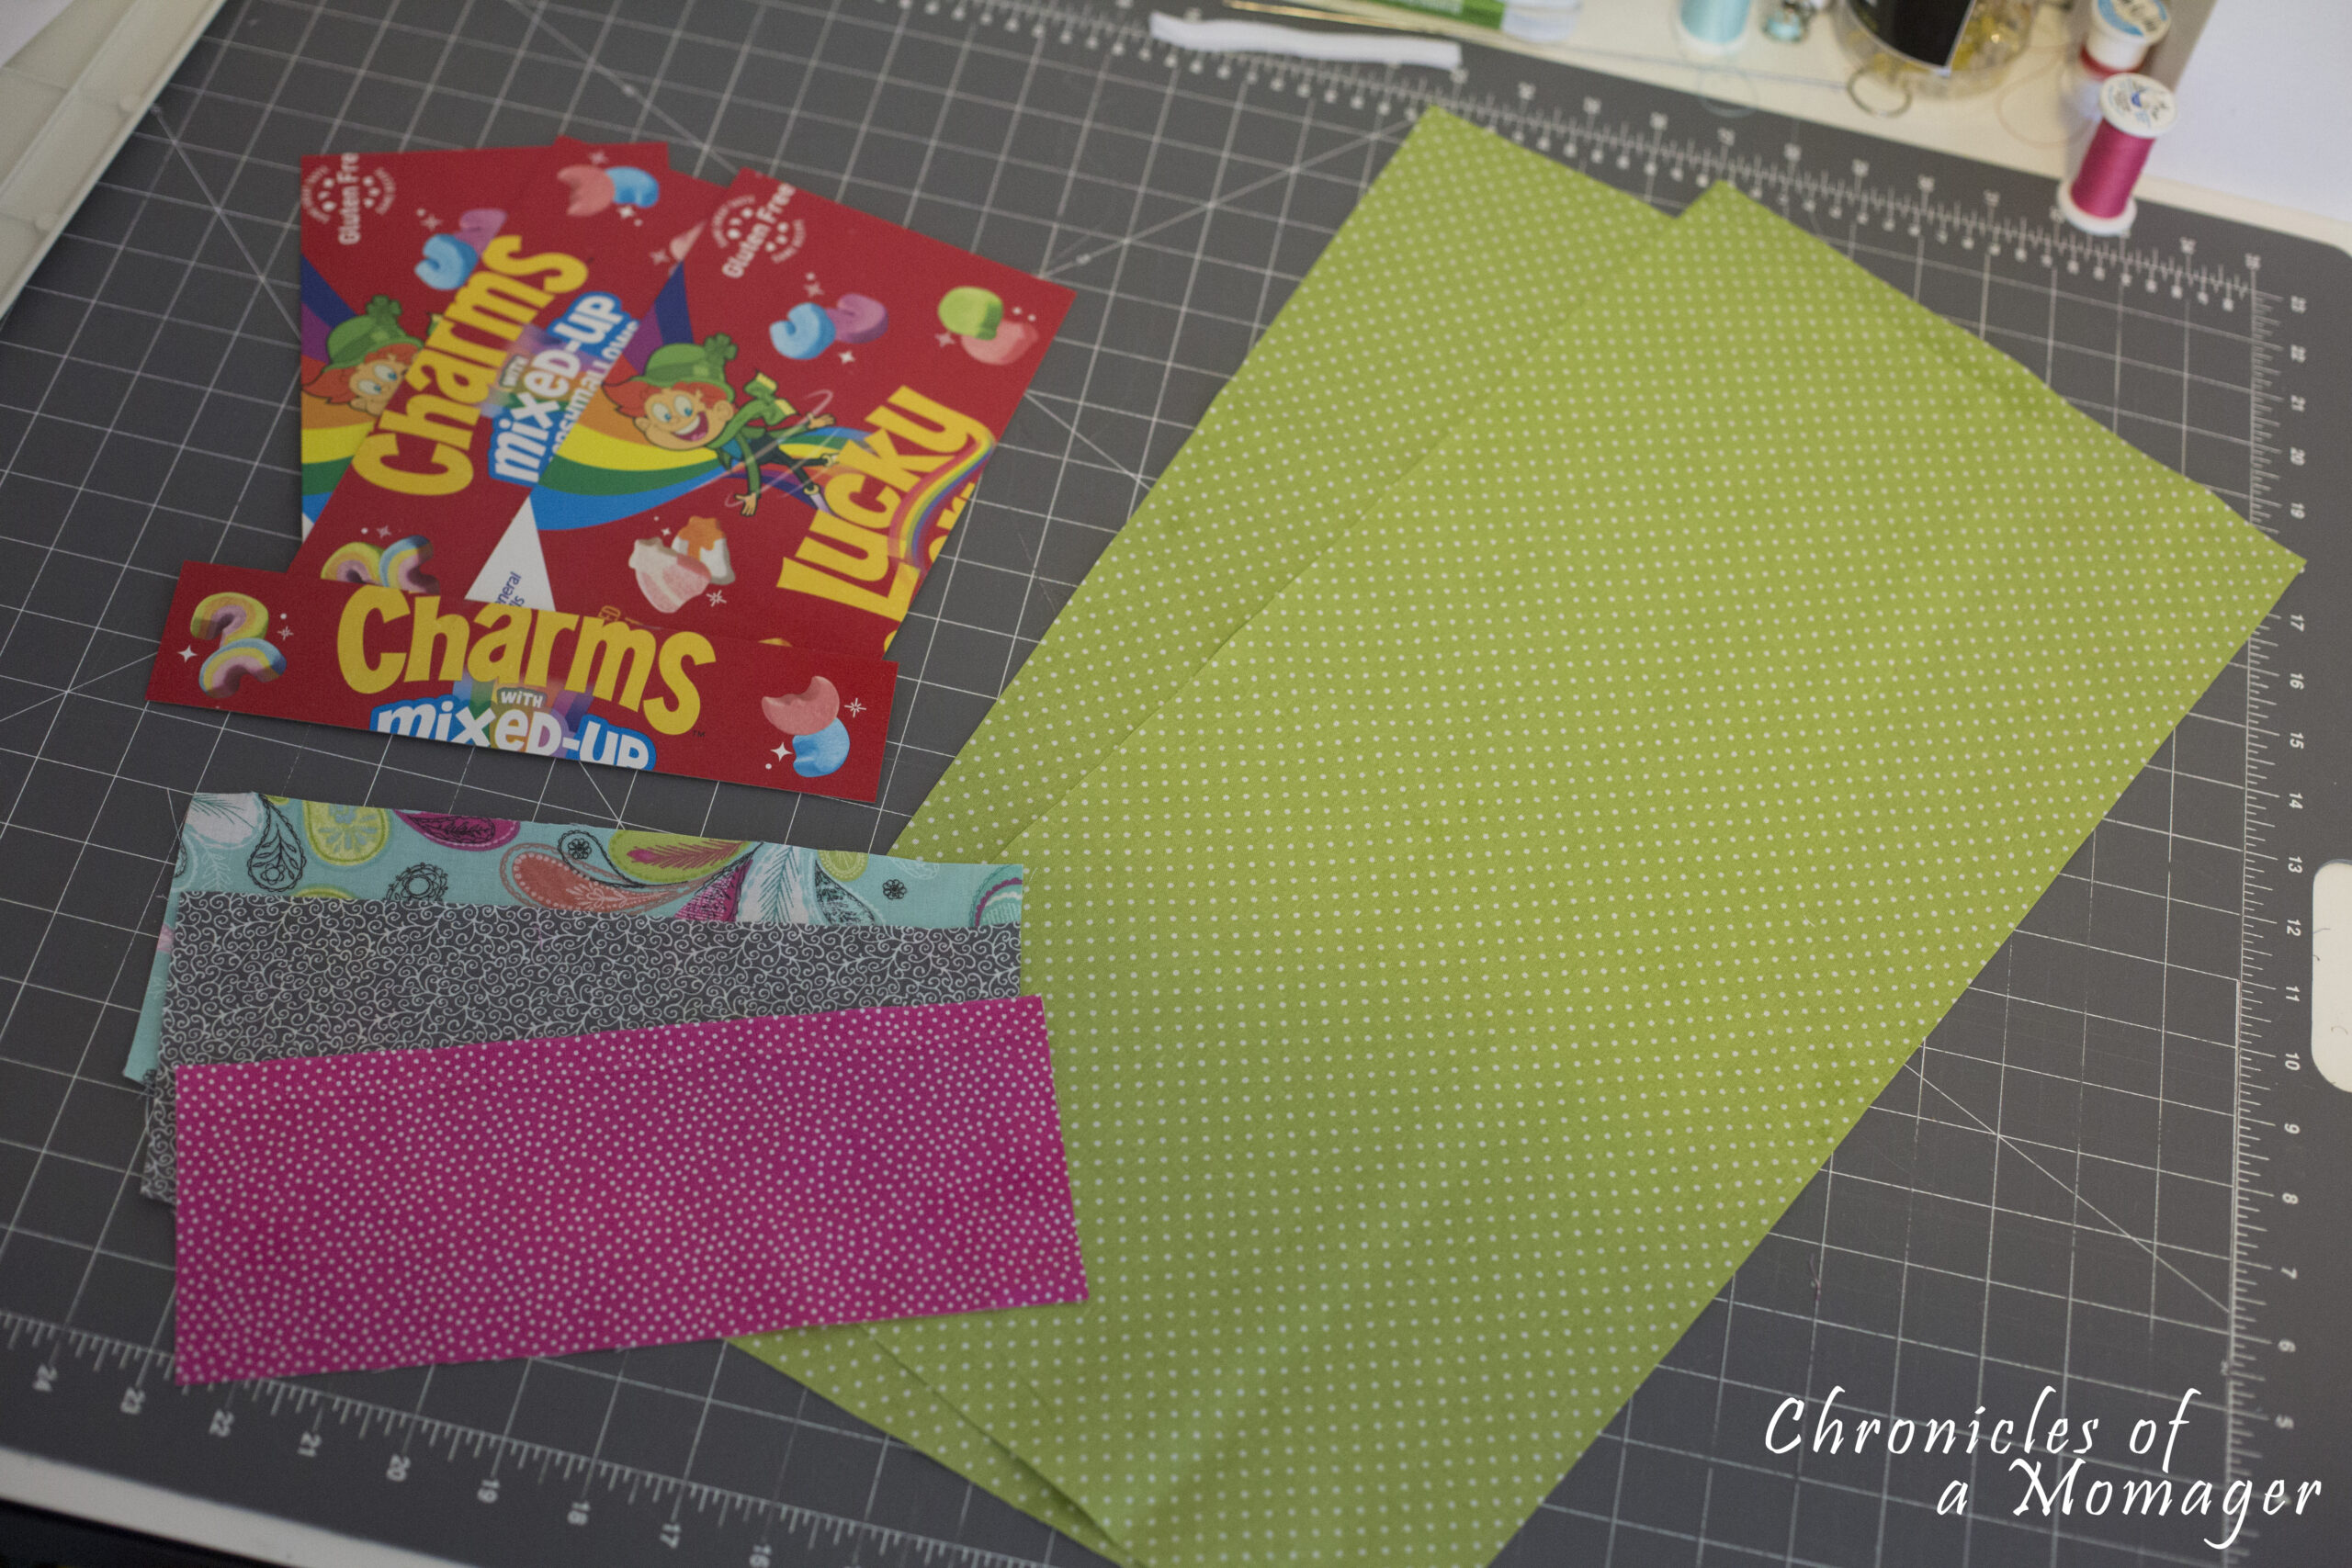
Playing Card Caddy Cutting Guide:
- 3 cereal box (or other lightweight cardboard) pieces that are 4 7/8 x 8 7/8
- 1 cereal box piece that is 2 x 8 7/8
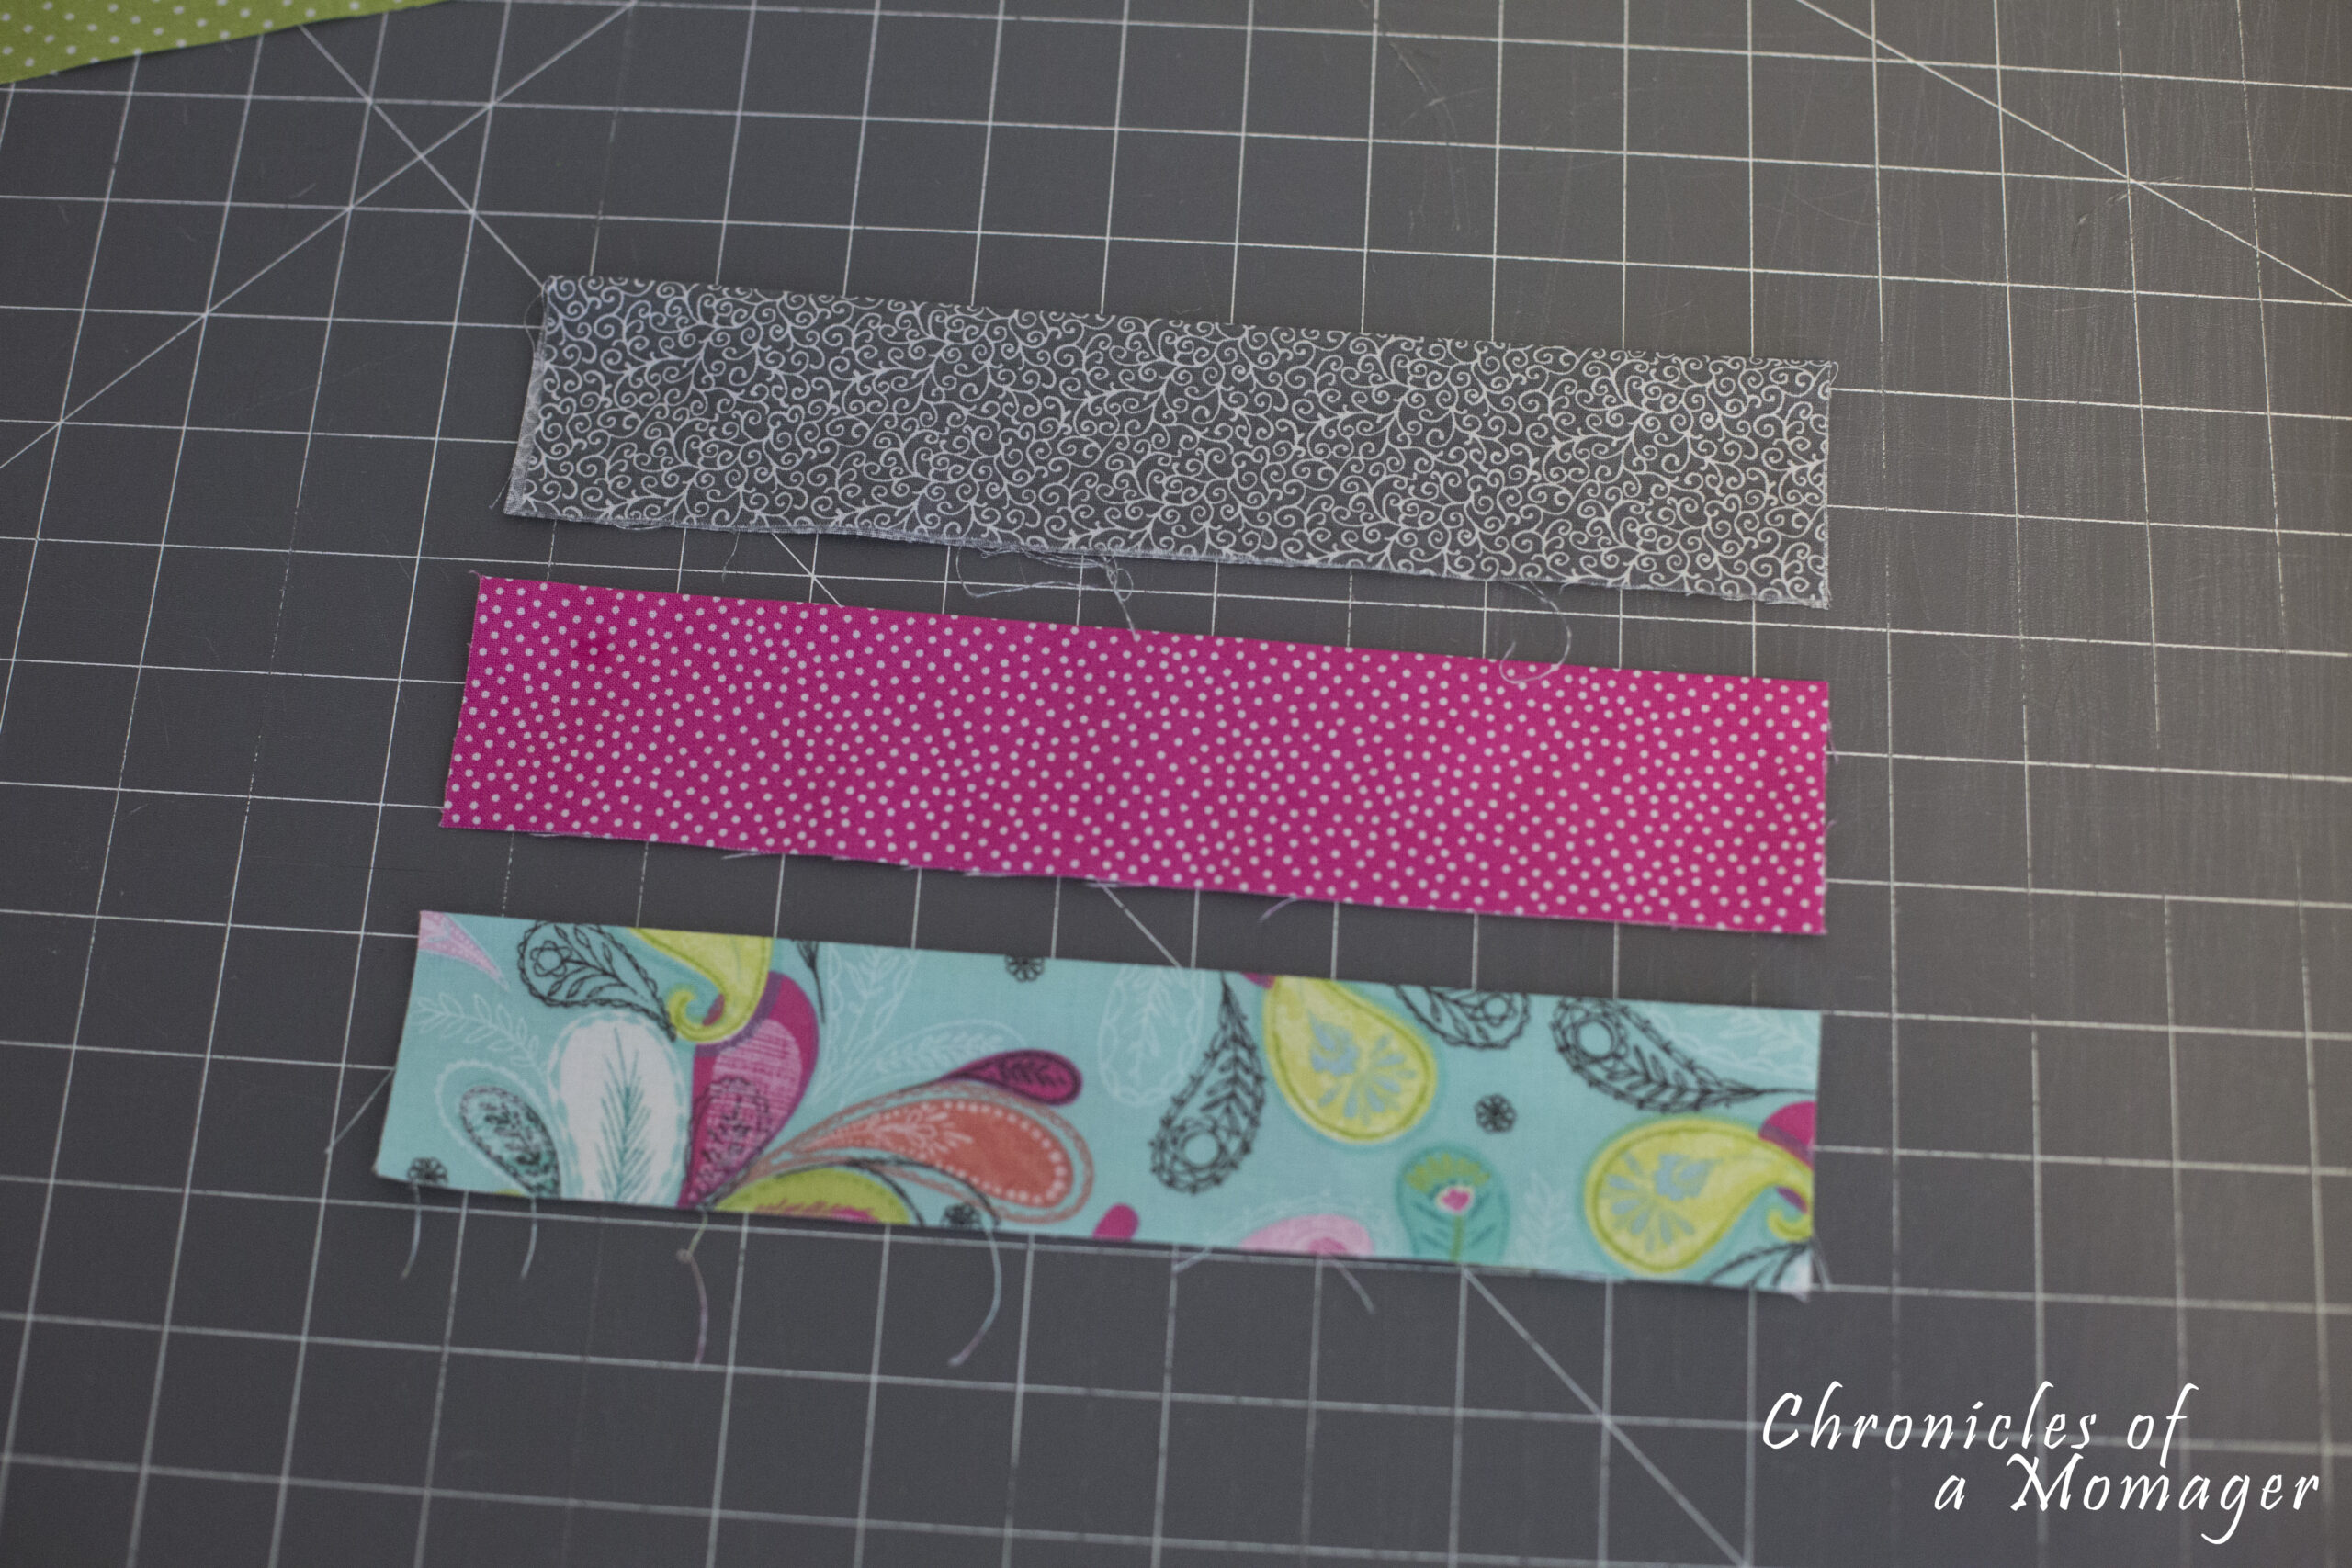
- 2 fabric pieces 10 x 18
- 3 fabric pieces 10 x 4
- 2, 3/4 x 2 pieces of Velcro

Playing Card Caddy Sewing Instructions:
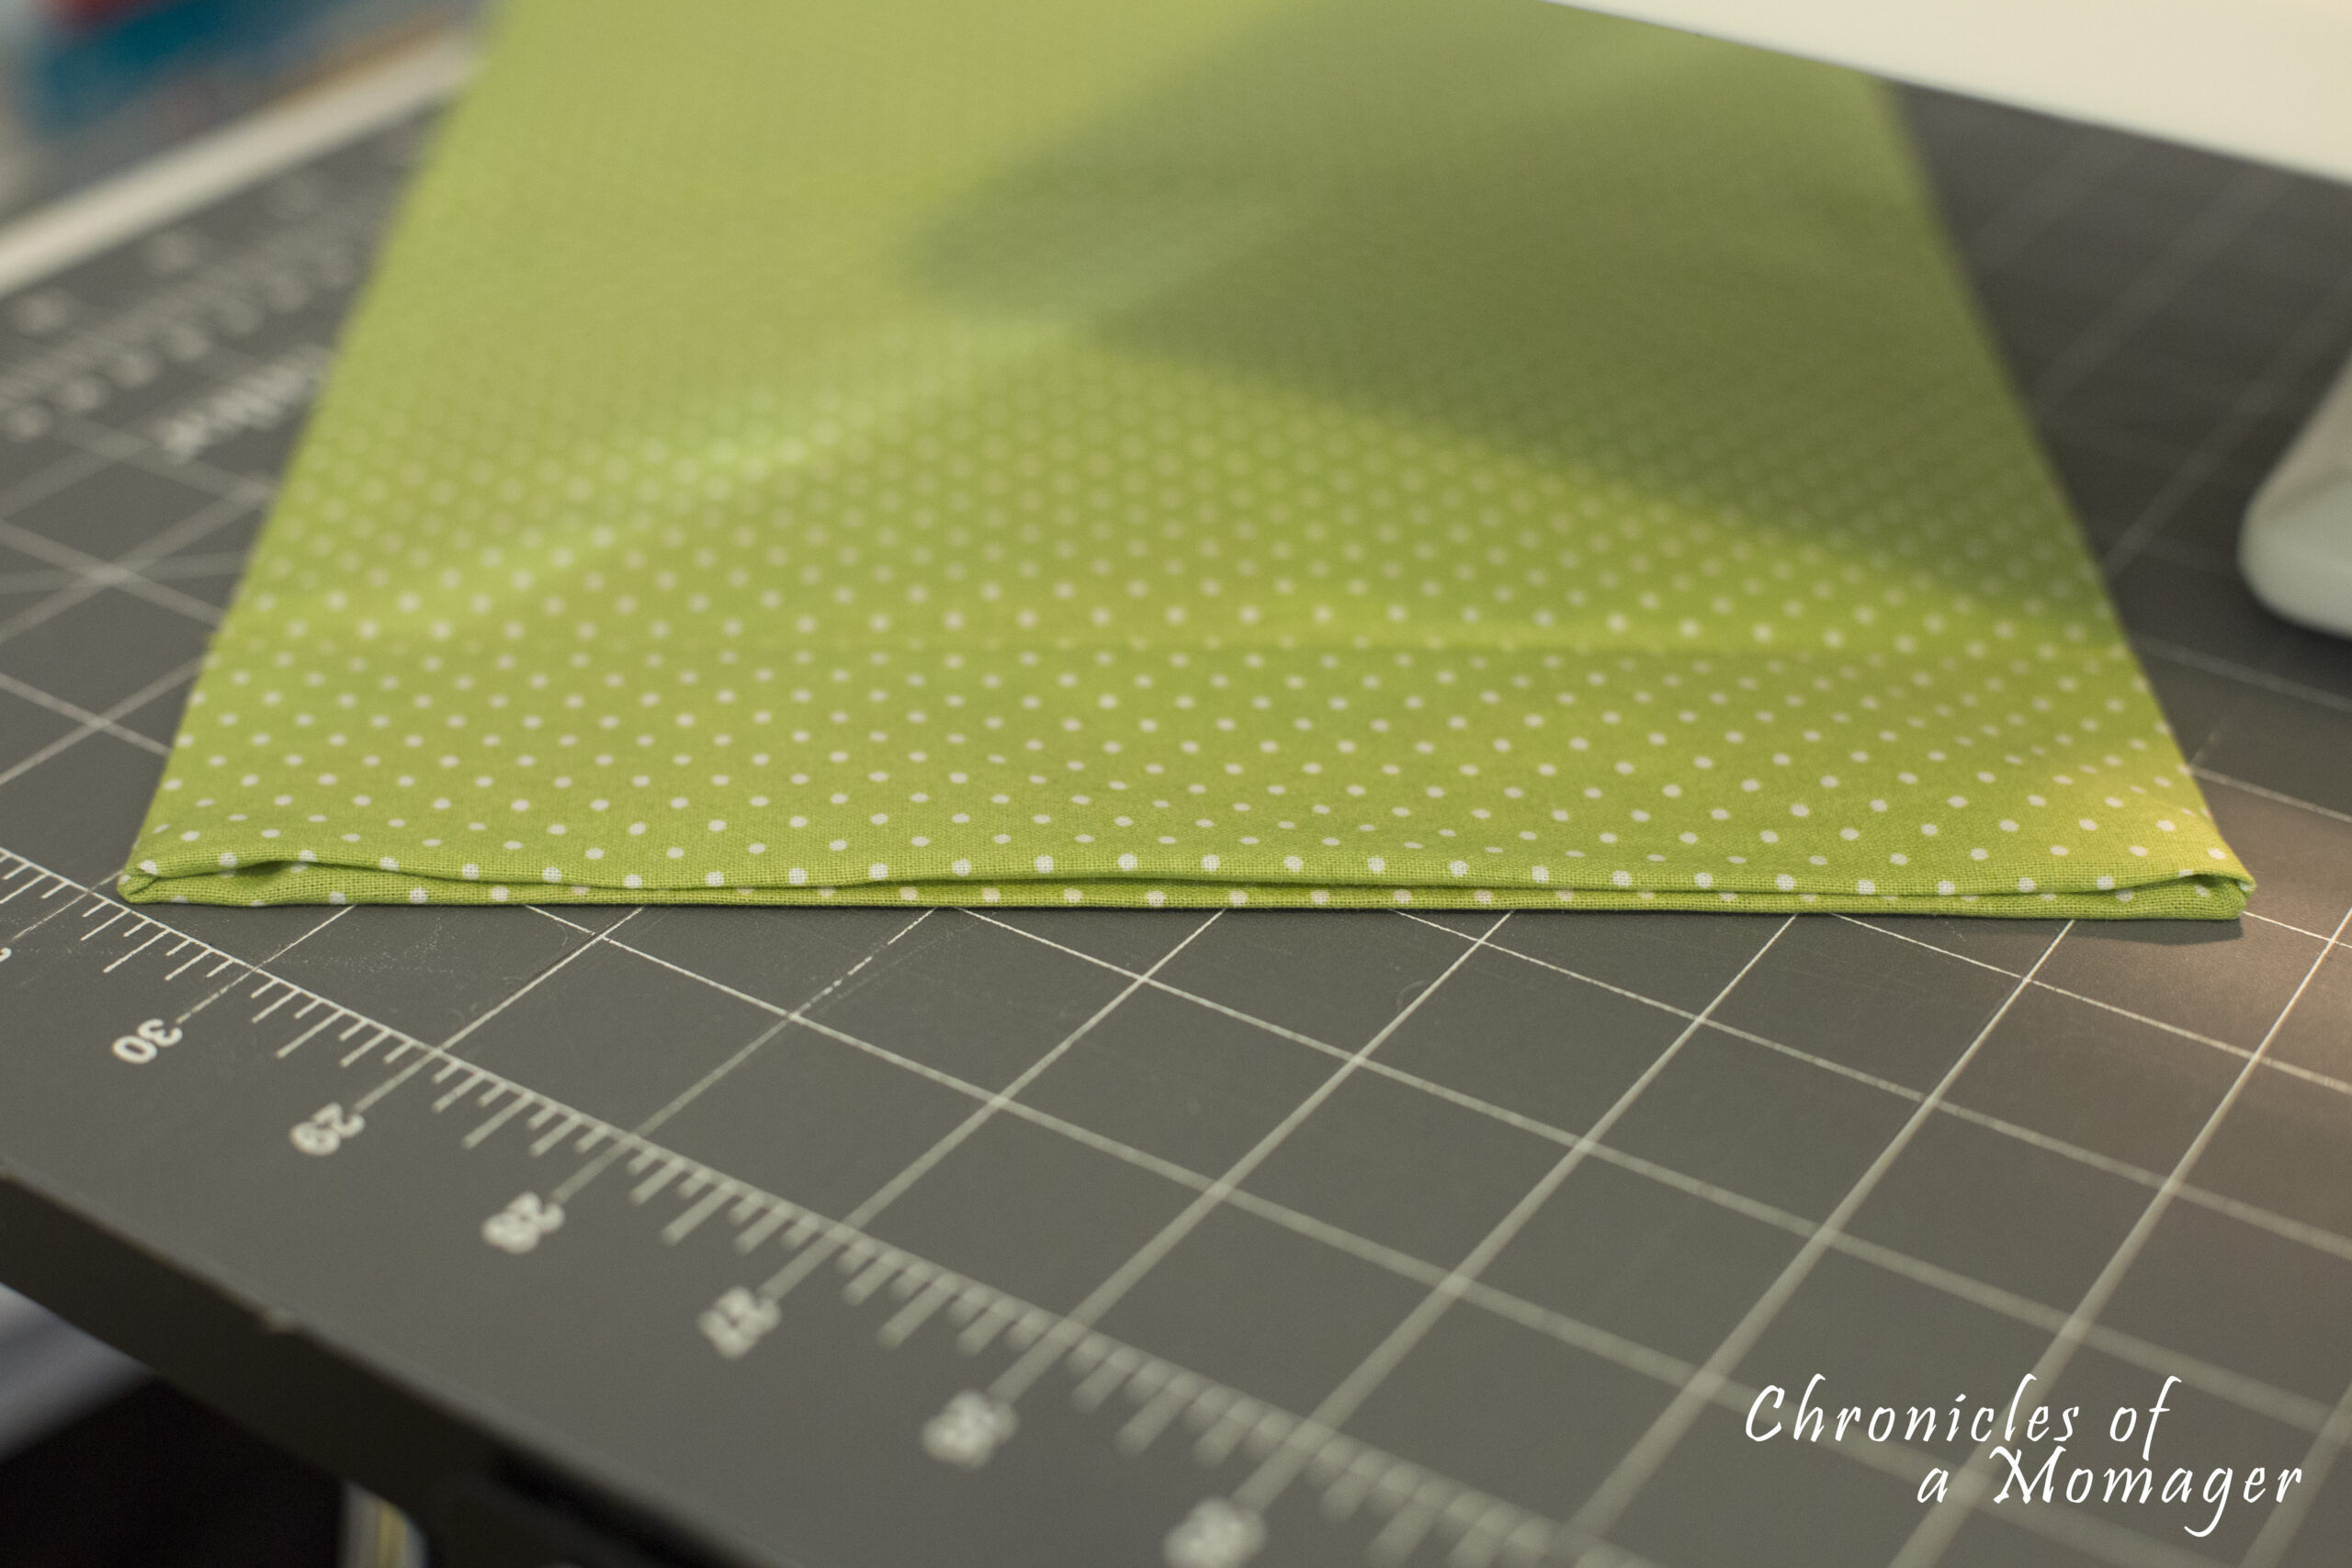
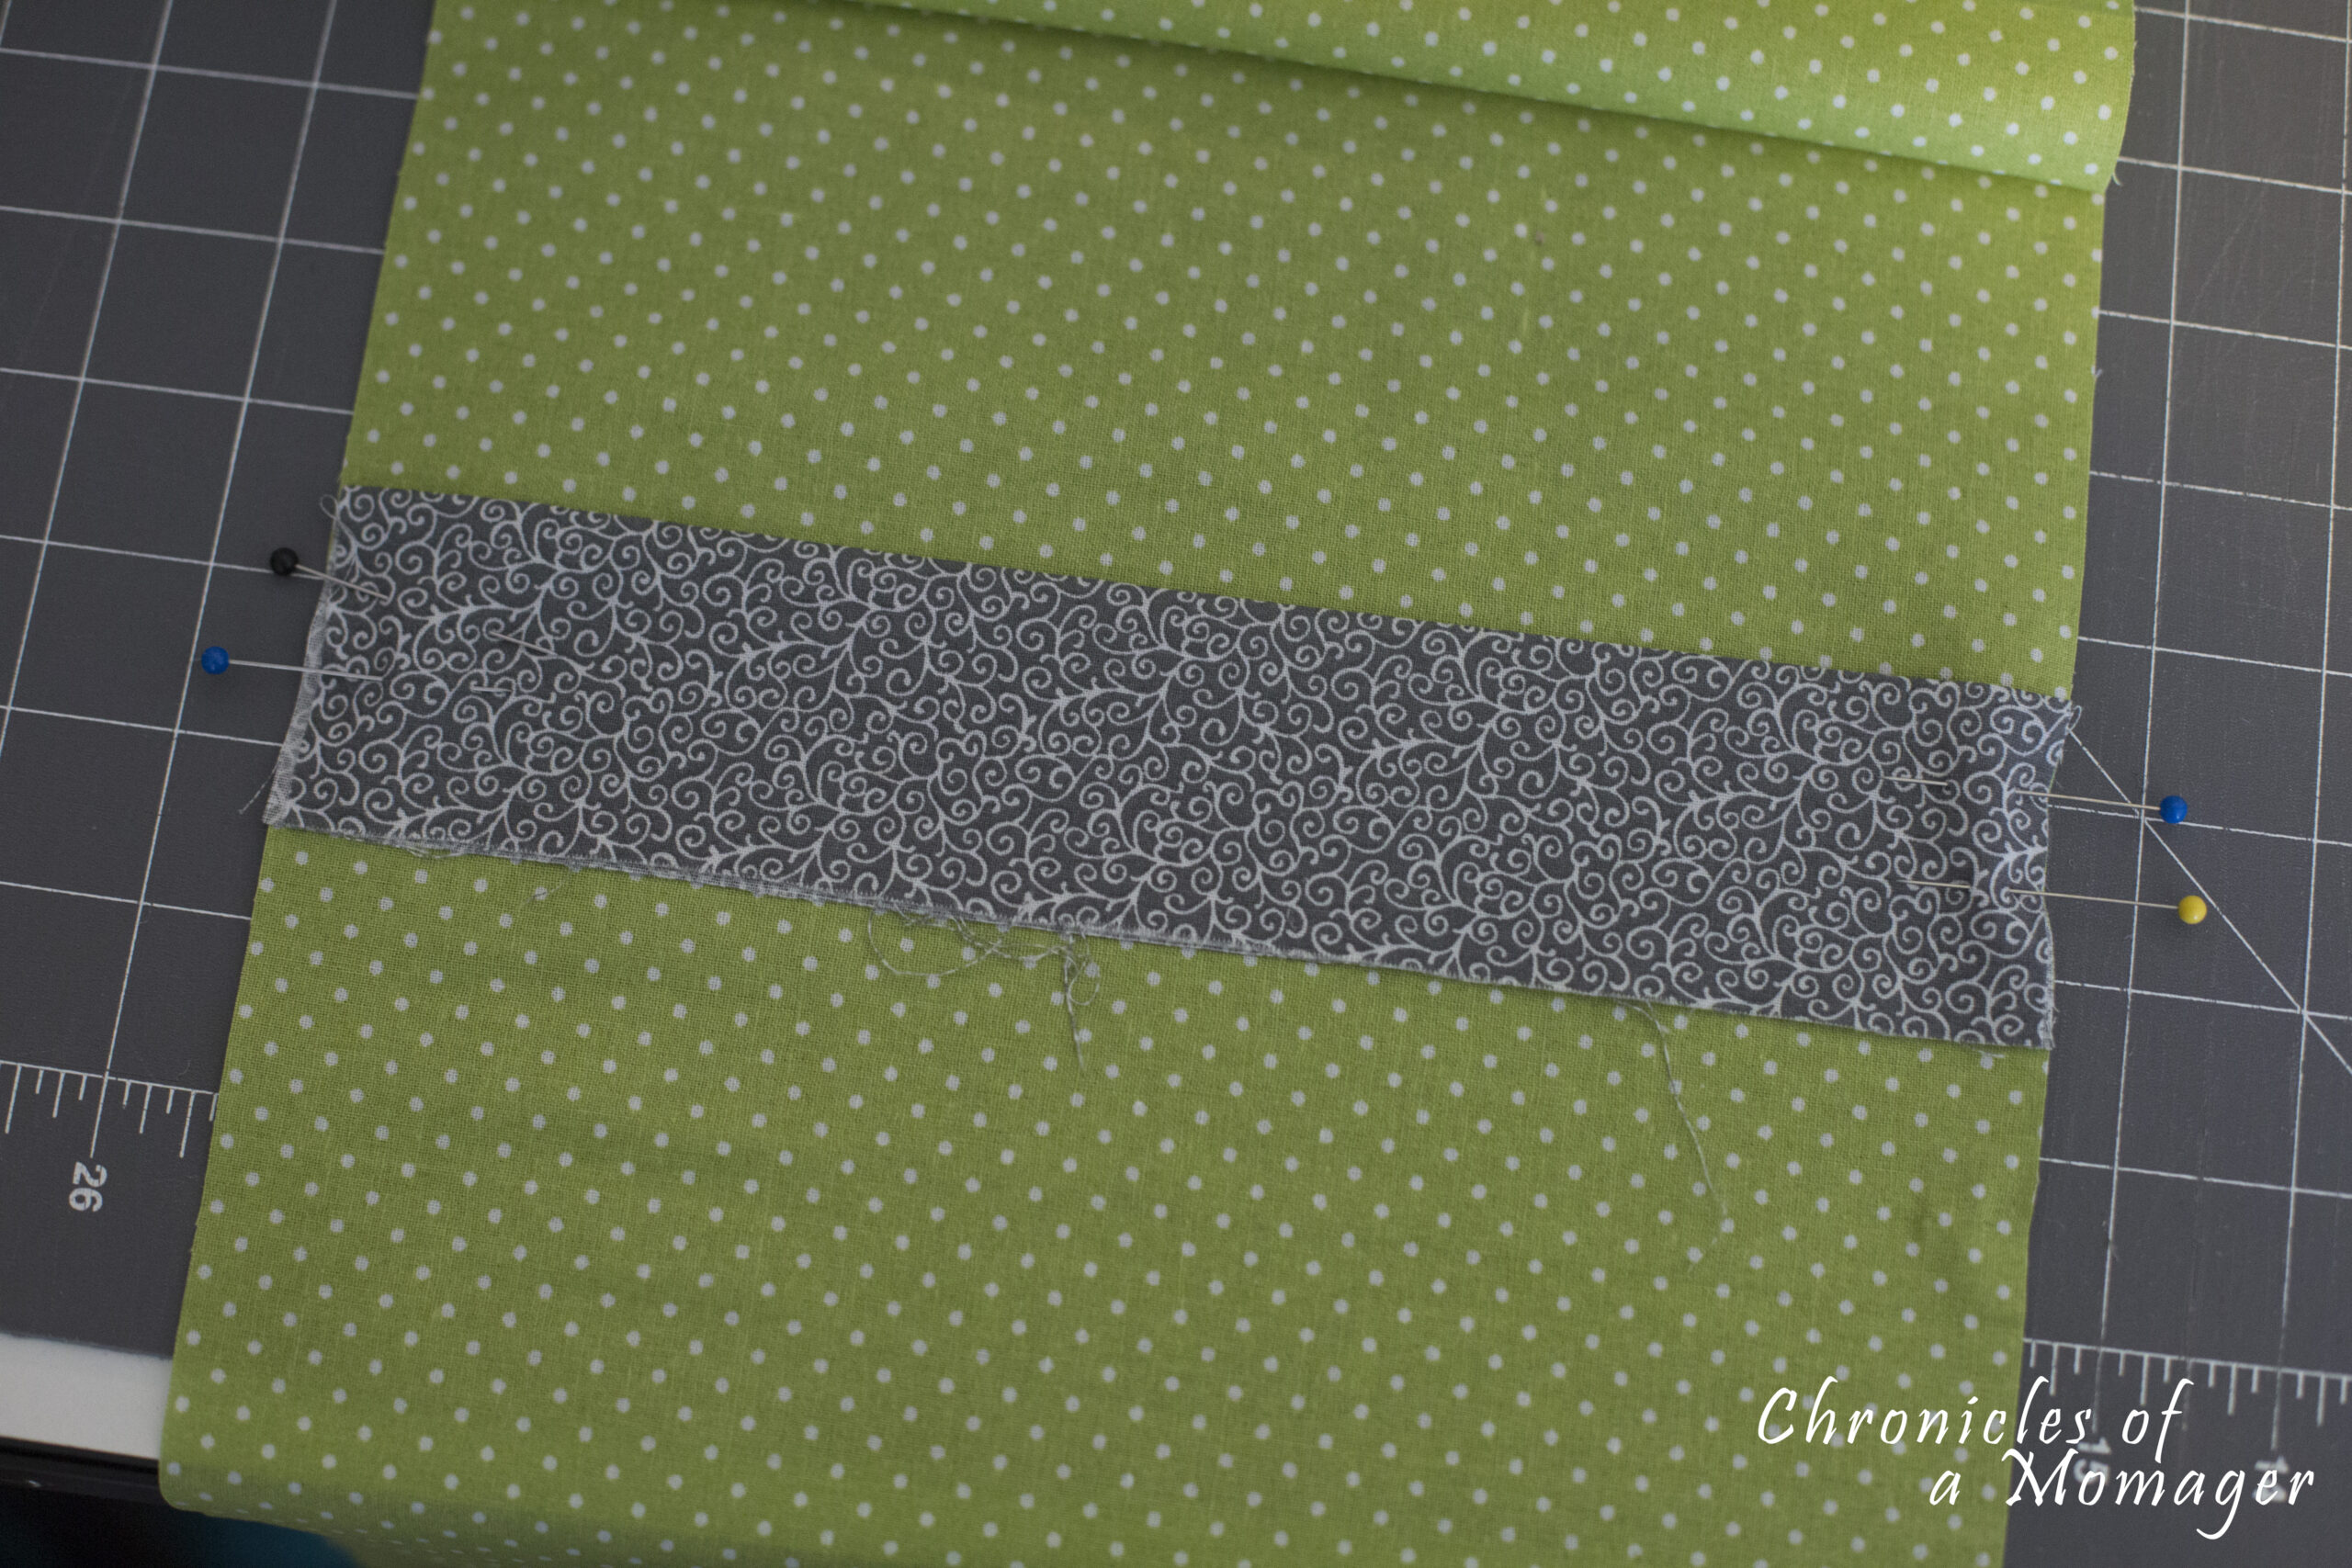
Playing Card Caddy Step 1: Fold each of your pocket pieces in half and press.
Playing Card Caddy Step 2: Measure the front panel and place a pin at the 8" mark from the top
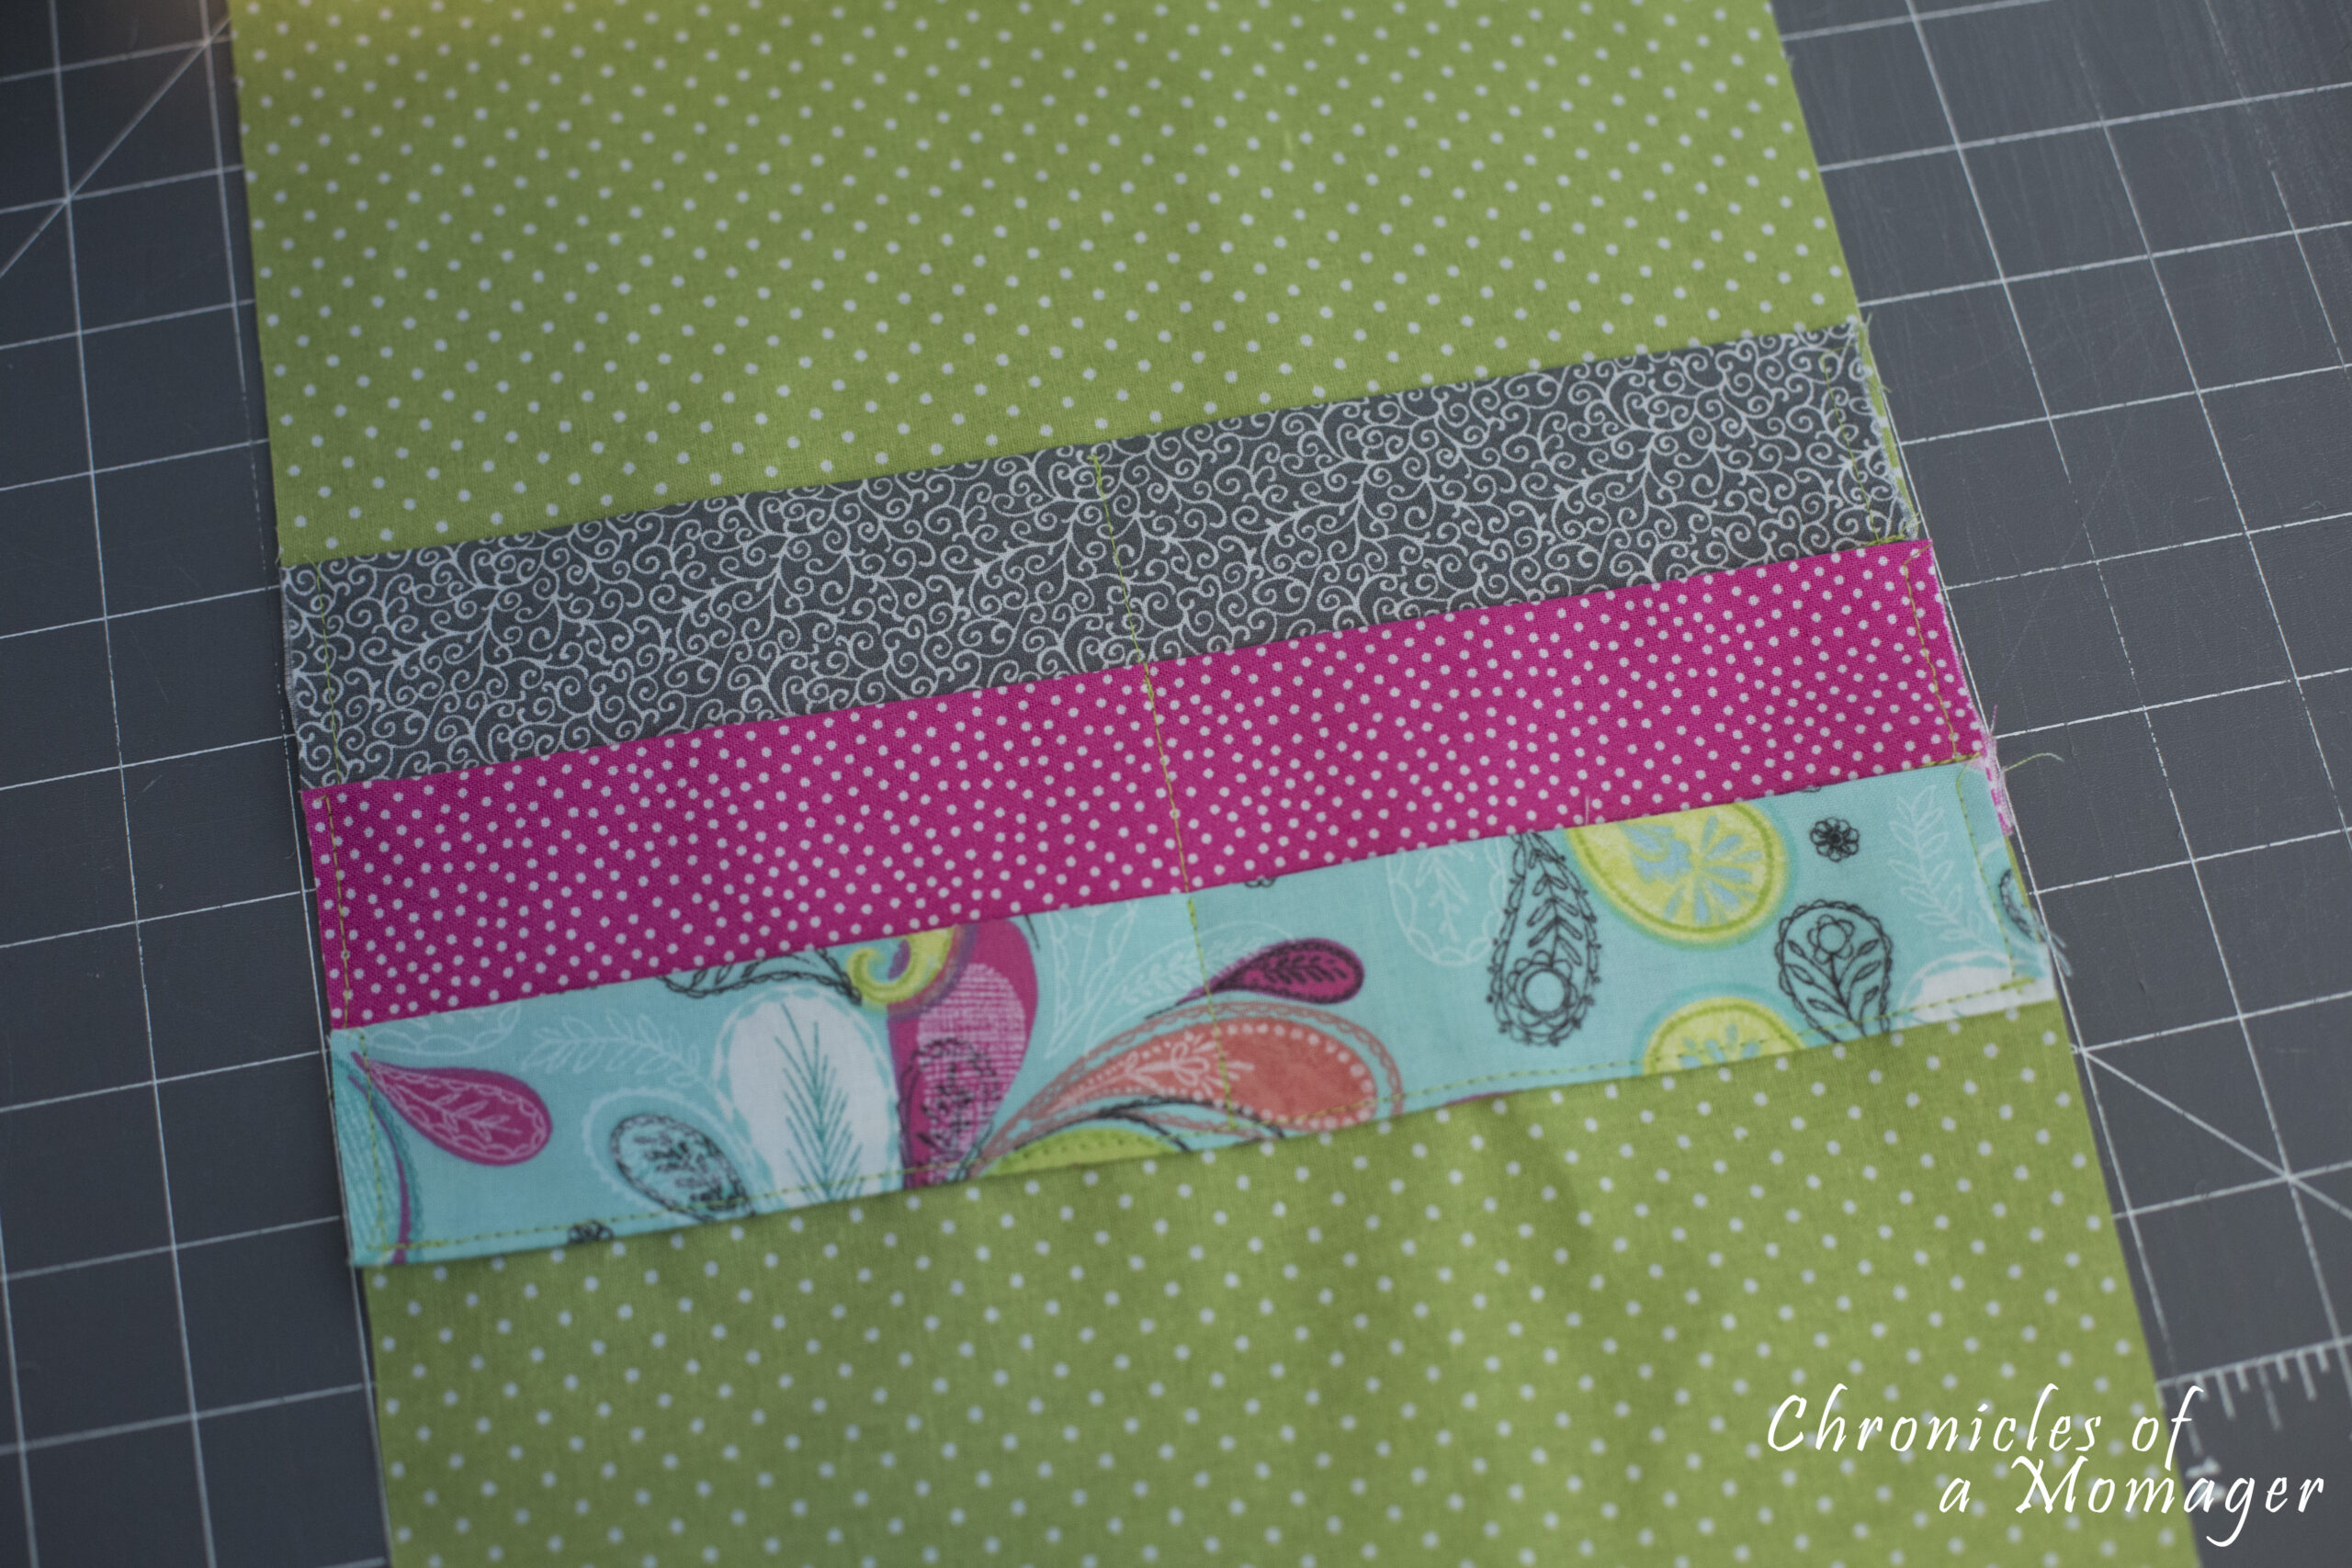
Playing Card Caddy Step 3: Line up the folded edge of your top pocket with the pin at the 8" mark. Pin in place. You will then sew the raw edge of the pocket onto the panel using a 1/2" seam allowance

Playing Card Caddy Step 4: Sew the sides down with a basting stitch.
Playing Card Caddy Step 5: Sew a line down the center of the pocket.
Playing Card Caddy Step 6: Repeat with the 2nd pocket. Lining up the folded edge at 9.5" from the top. This should line up right at the line you sewed across the first pocket.
Playing Card Caddy Step 7: For the last pocket press the long raw edge up 1/2". Place top folded edge at 11" from the top (right at the sewn line from the second pocket.) Topstitch to attach along the bottom edge of the pocket.
Playing Card Caddy Step 8: Sew sides and middle like the first two pockets.
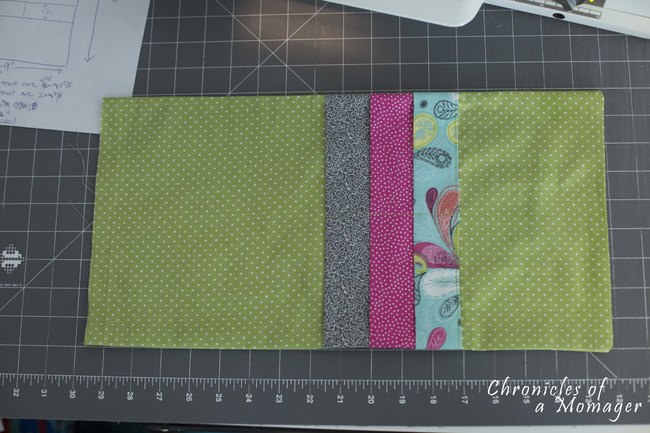
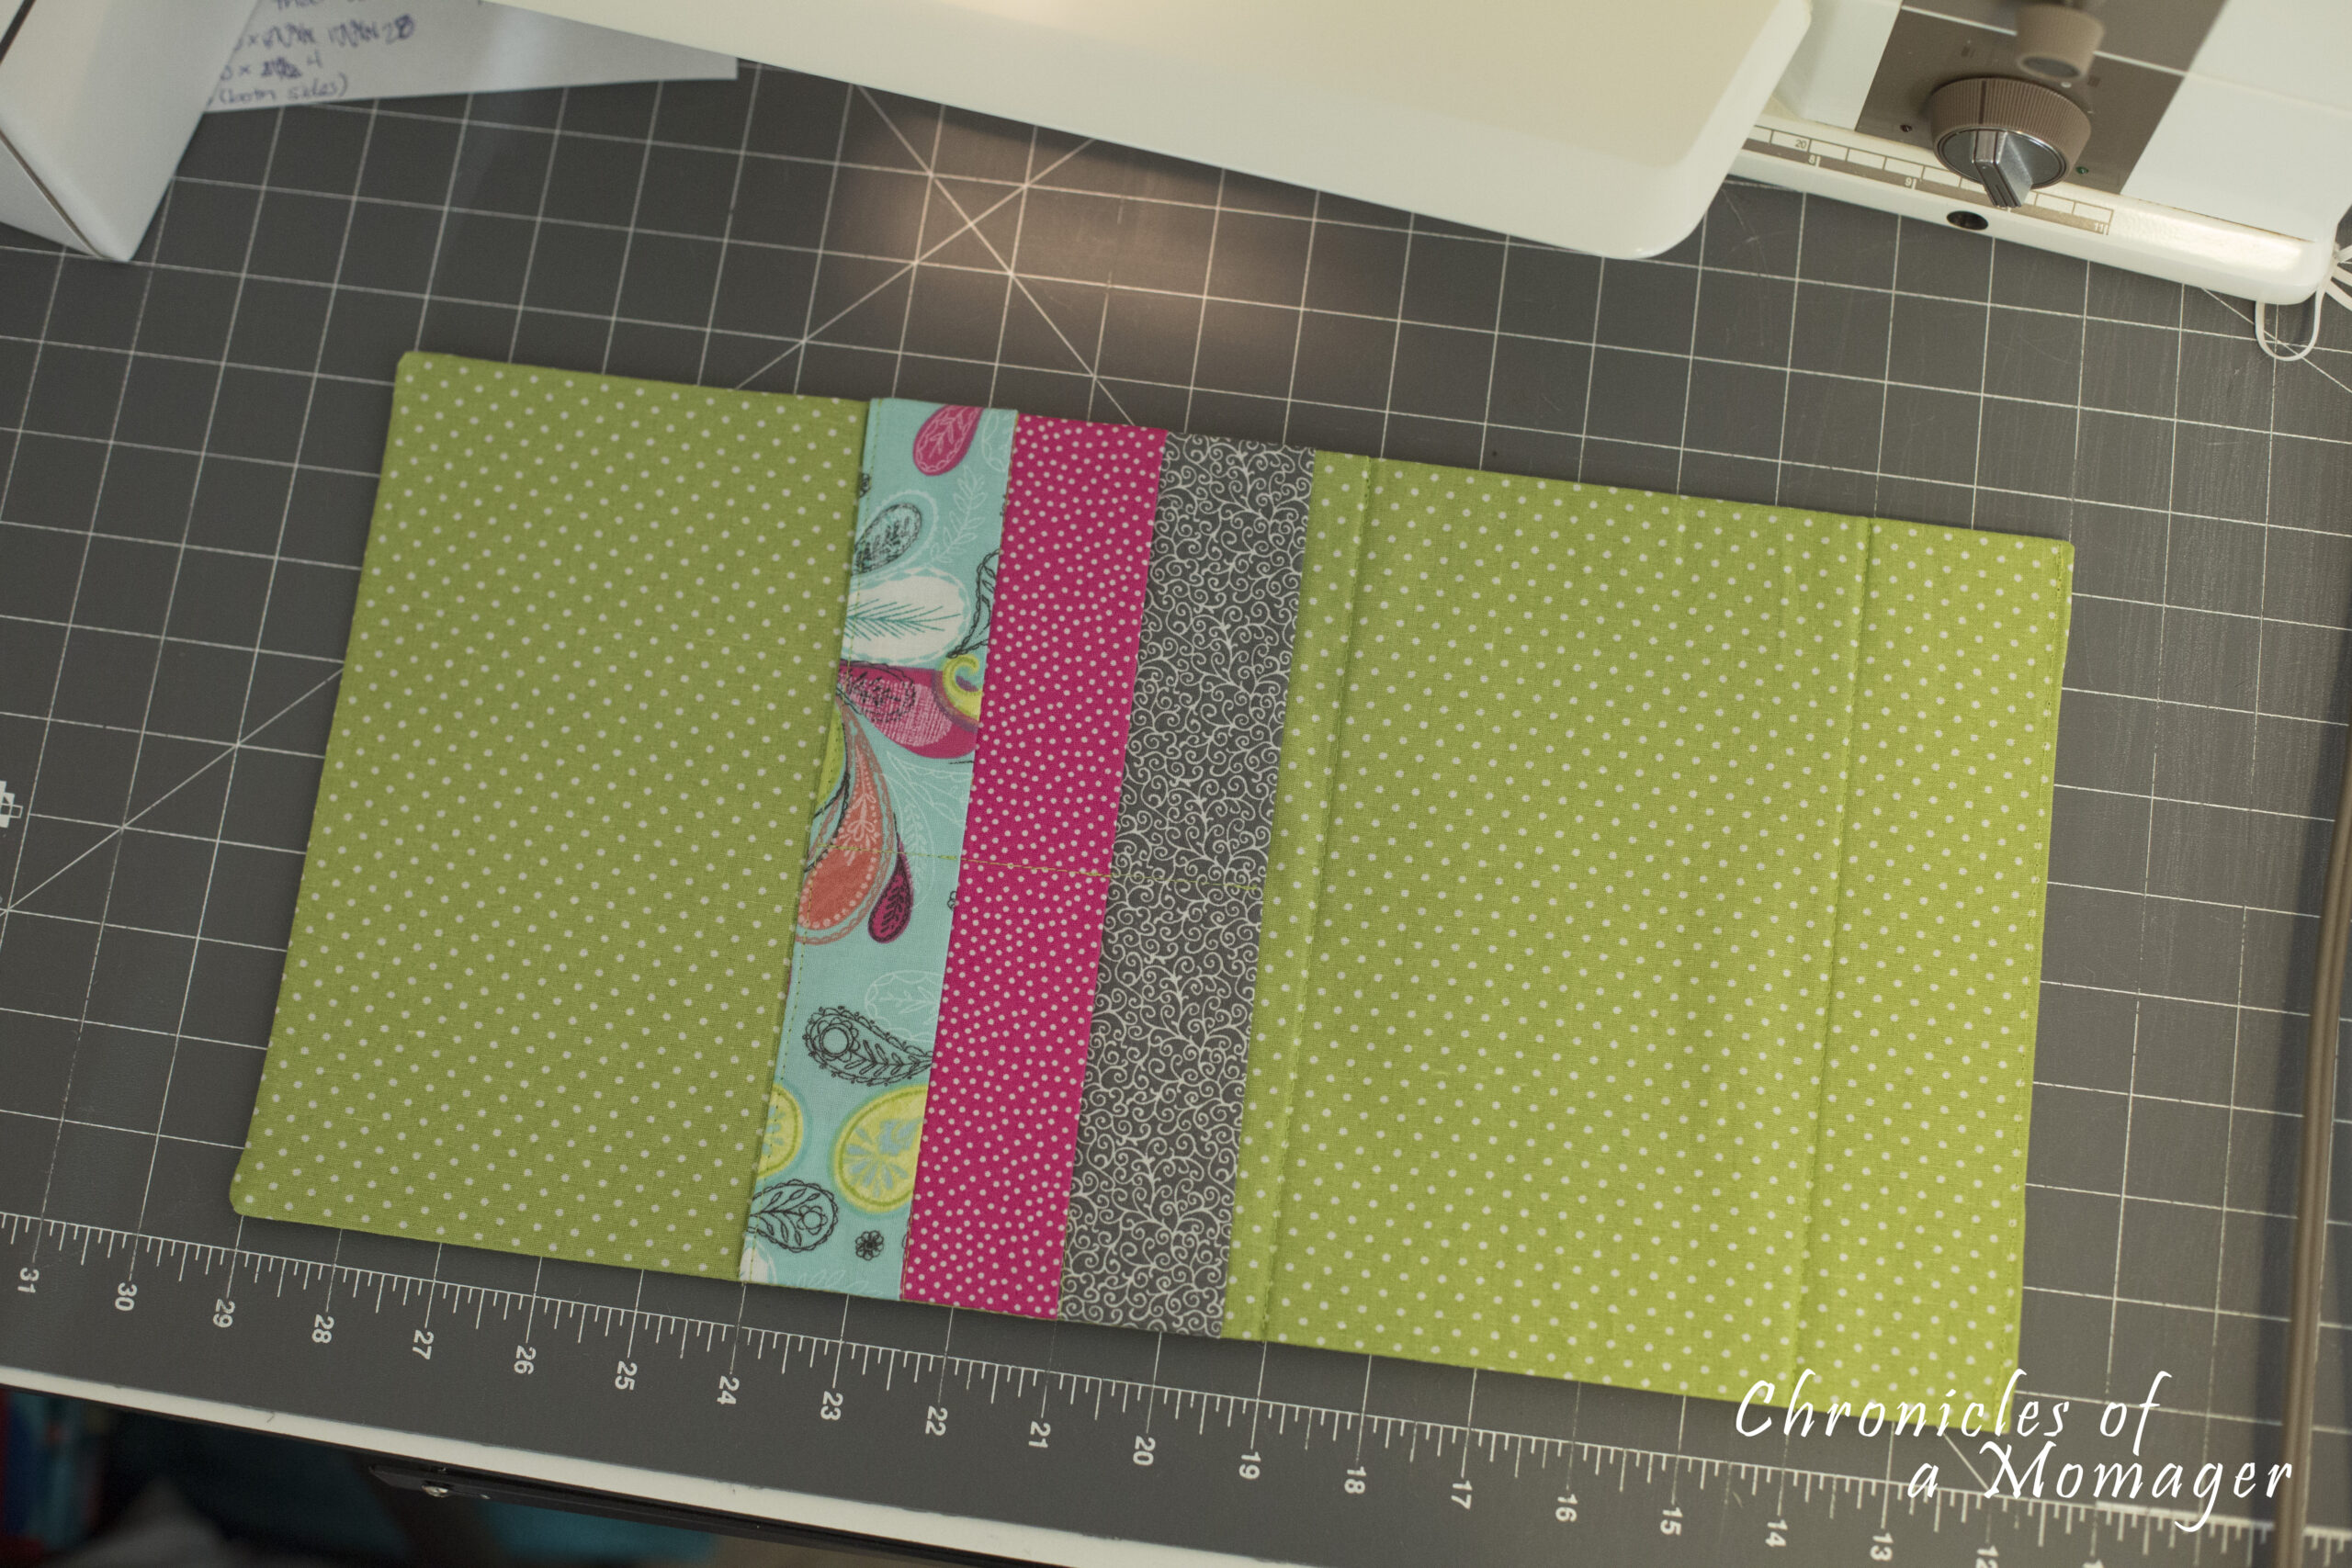
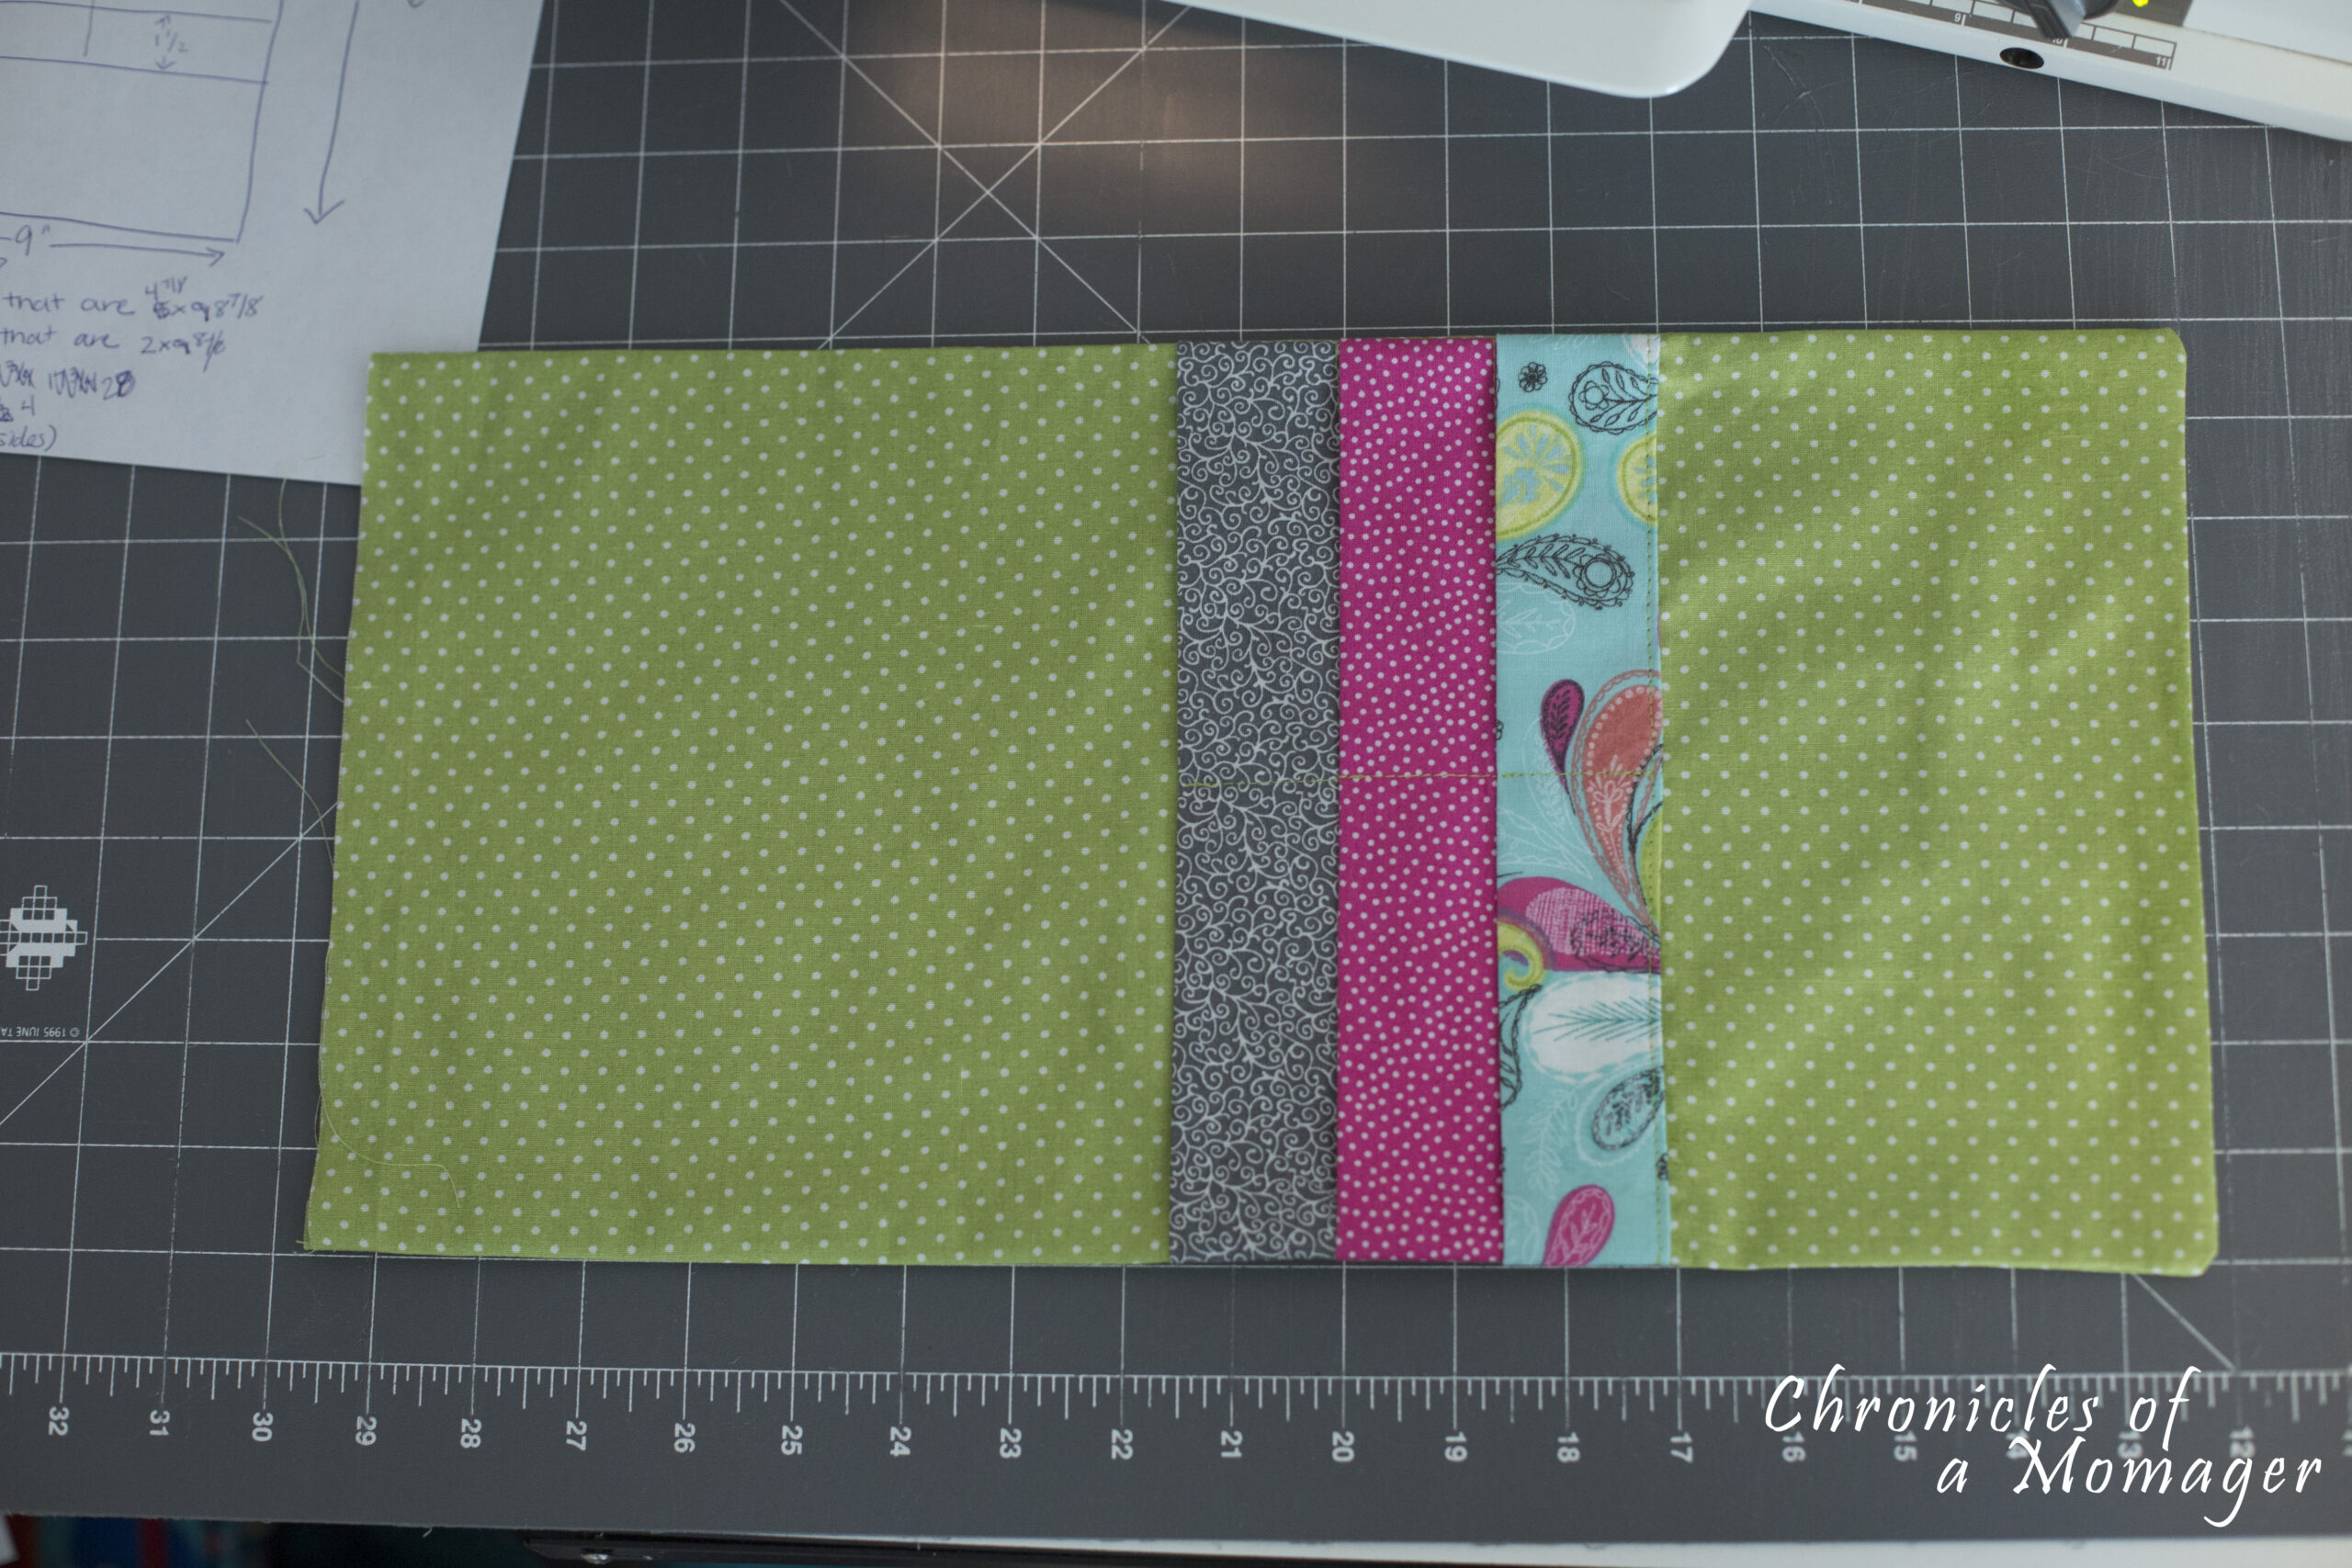
*Your front panel will now look like this.*
Playing Card Caddy Step 9: Place back panel on front panel RST.
Playing Card Caddy Step 10: Pin both long sides and bottom edge in place. Sew together with a 1/2" sew allowance.
Playing Card Caddy Step 11: Clip bottom corners and turn right sides out and press.

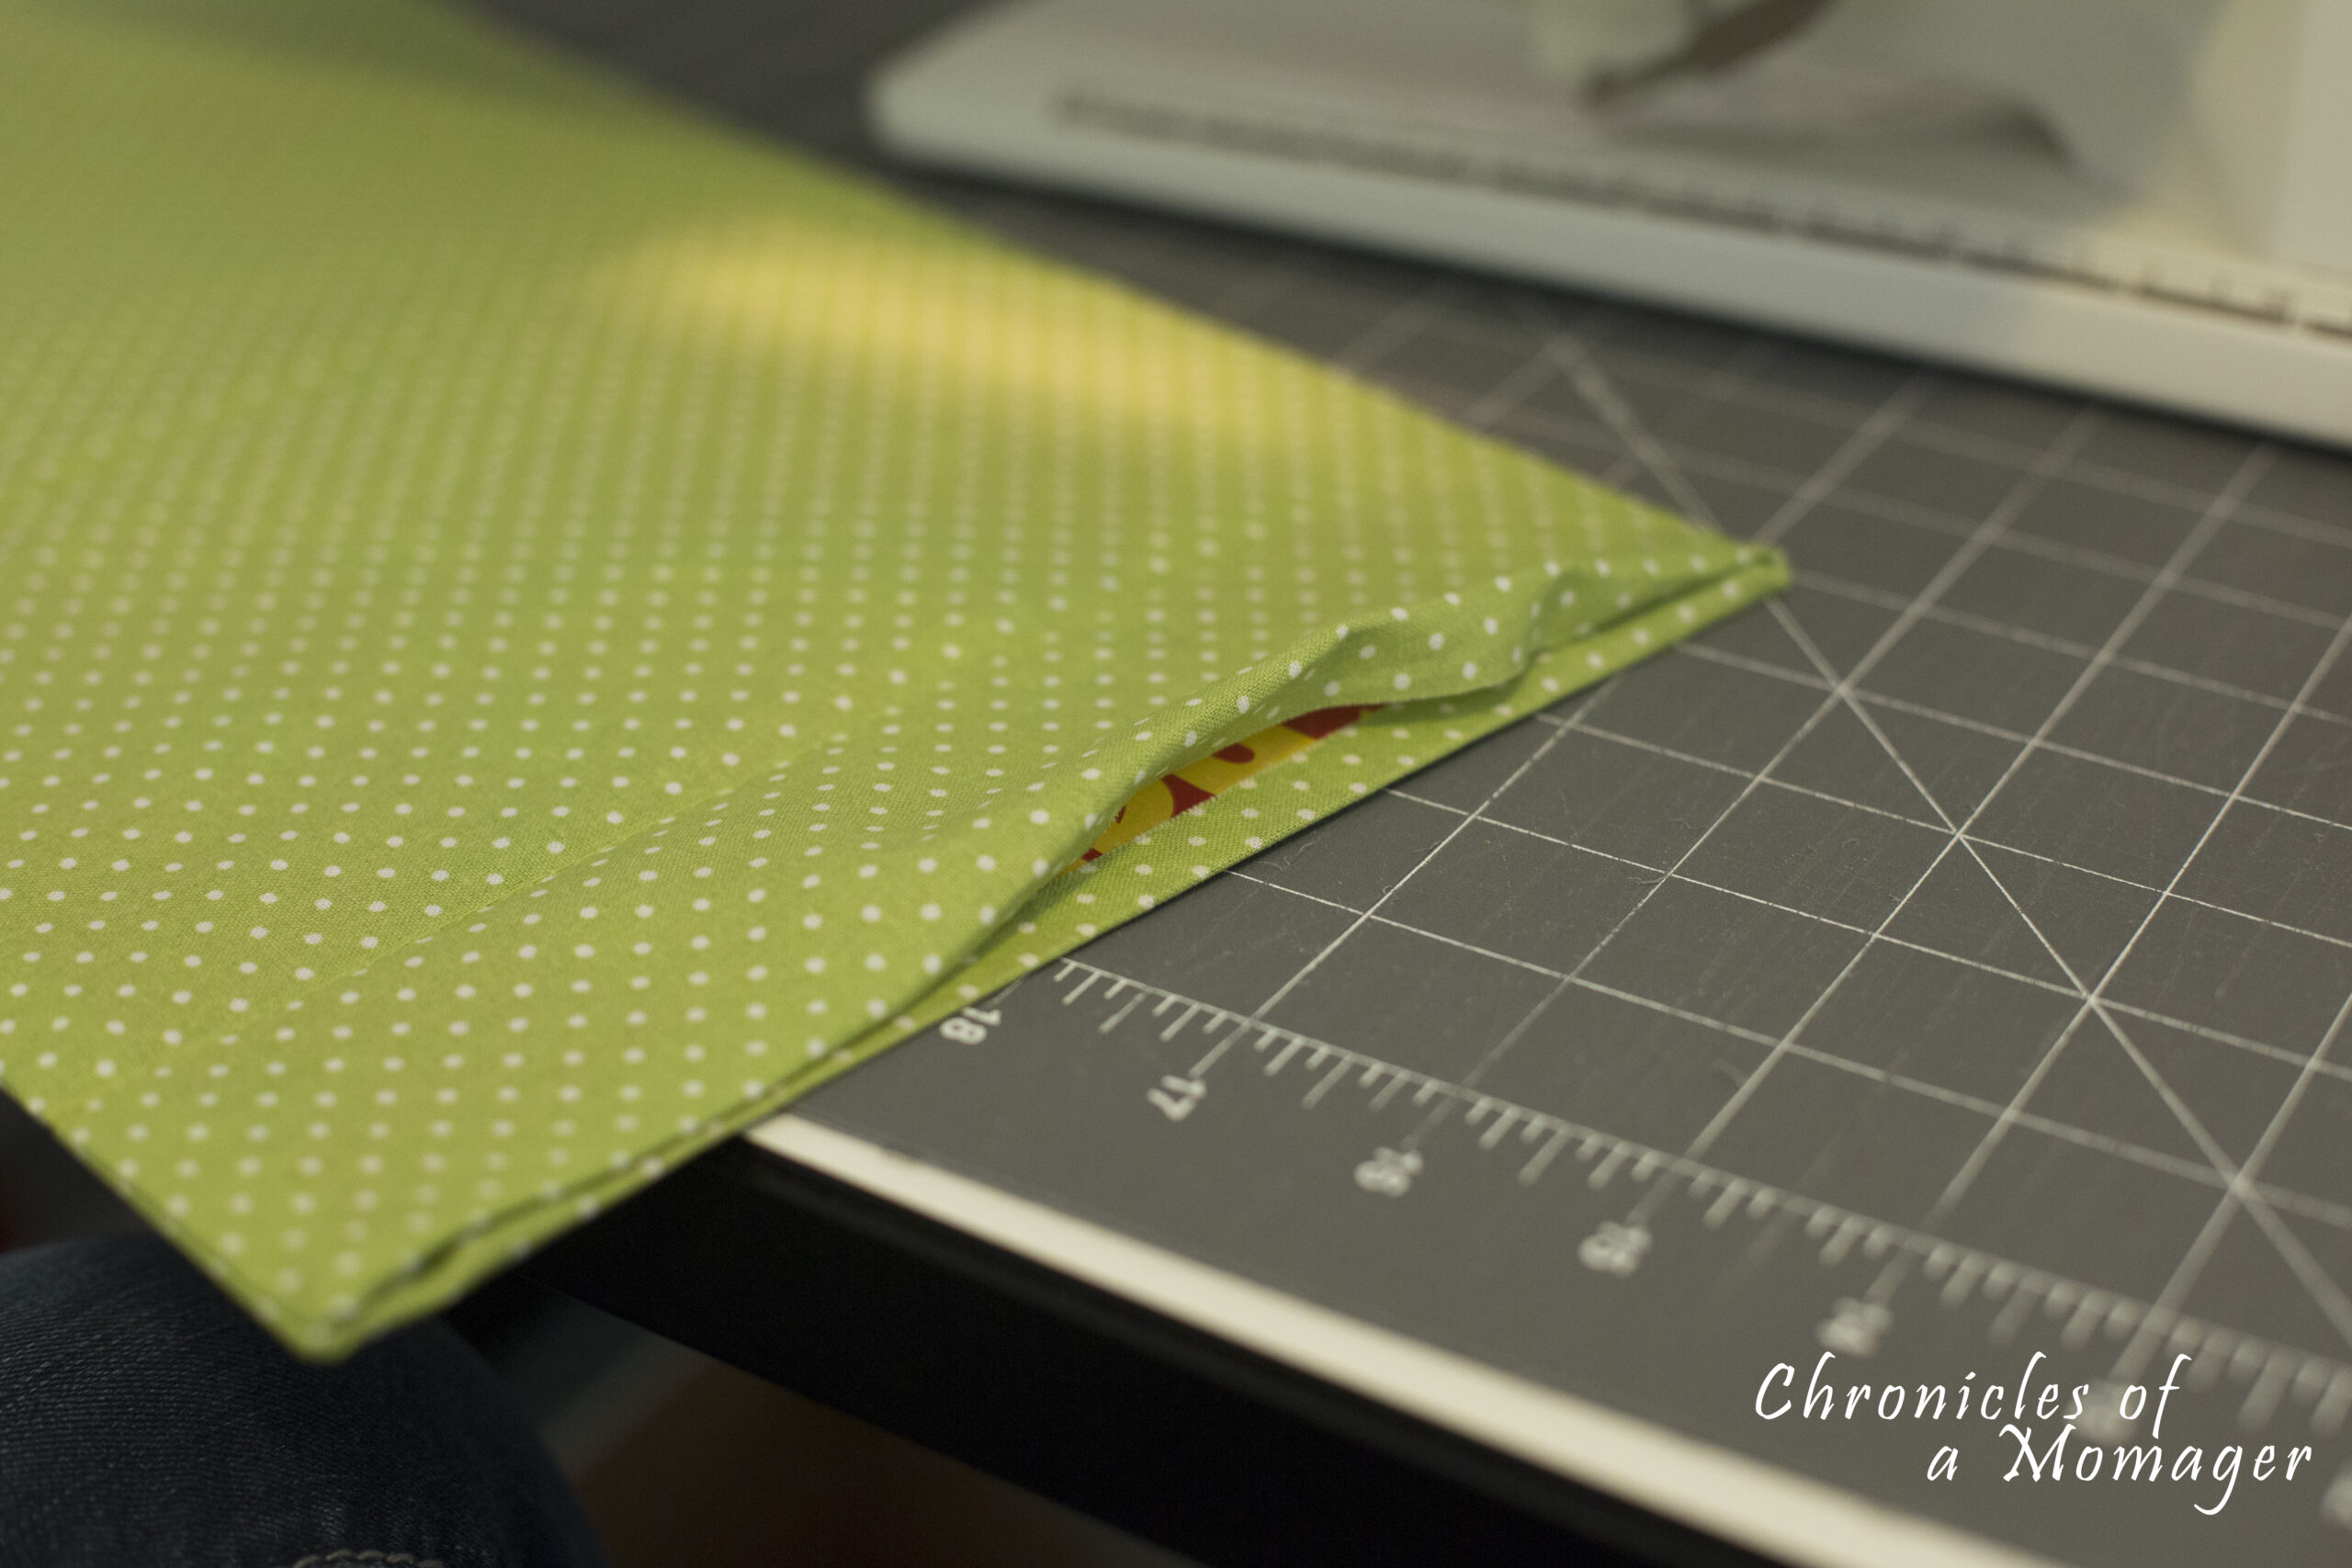
Playing Card Caddy Step 12: Slide 1 big cereal box piece into the panel and slide all the way to the bottom. I would suggest having the non-colored side up so you don't see it through light fabric.
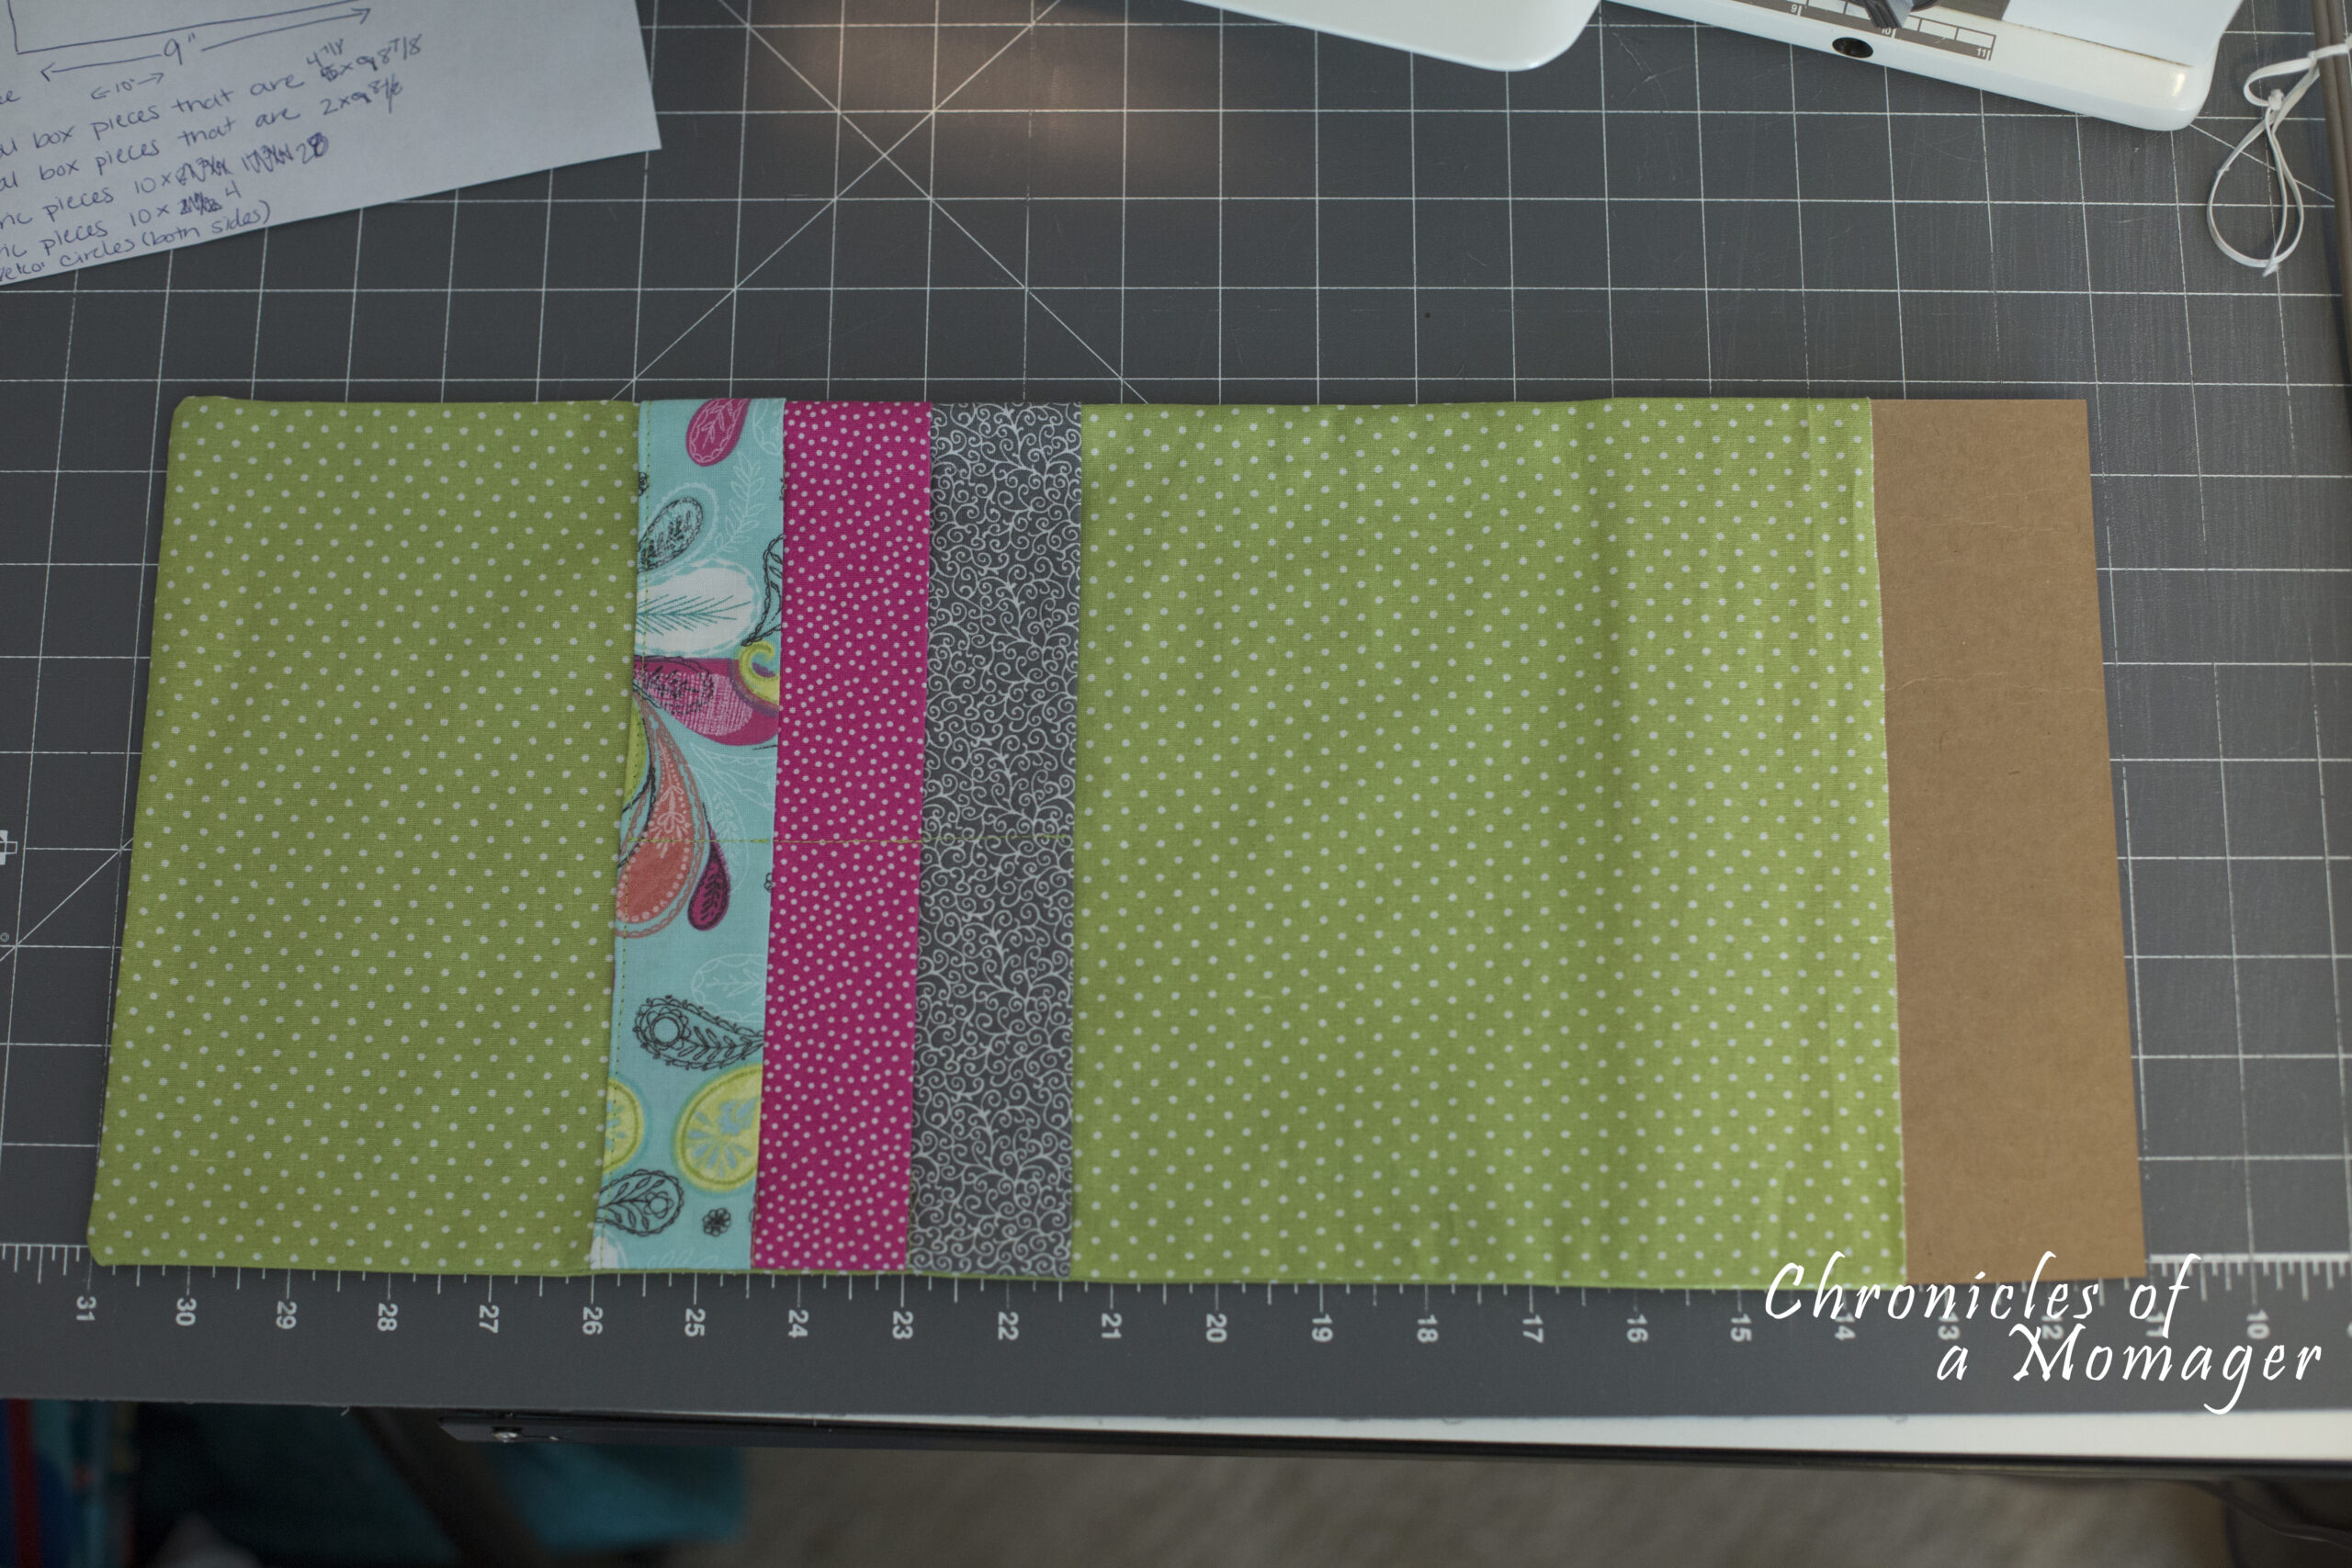
Playing Card Caddy Step 13: Sew right above the cardboard. Mine fell right below the last pocket.
Playing Card Caddy Step 14: Slide the next piece of cardboard in and sew 1/2' above the top pocket.
Playing Card Caddy Step 15: Slide the last large piece of cardboard in and sew directly above the cardboard.
Playing Card Caddy Step 16: Slide the small piece of cardboard into the top.
Playing Card Caddy Step 17: Fold front edge over cardboard. I used a glue stick to hold edge down. Then fold other side of fabric over and glue in place.
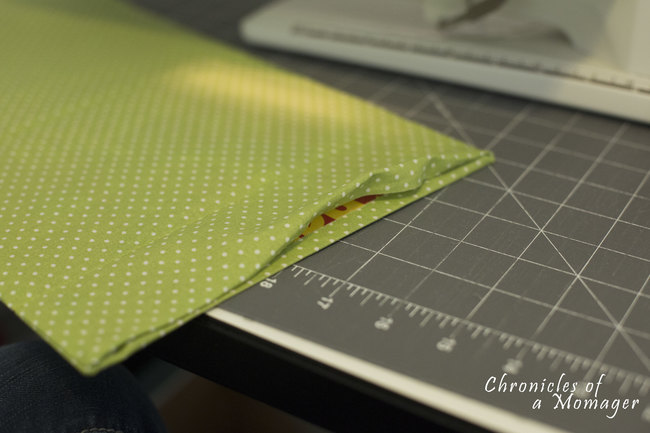
Playing Card Caddy Step 18: Top stitch along top edge to finish piece. You will sew through the cardboard.
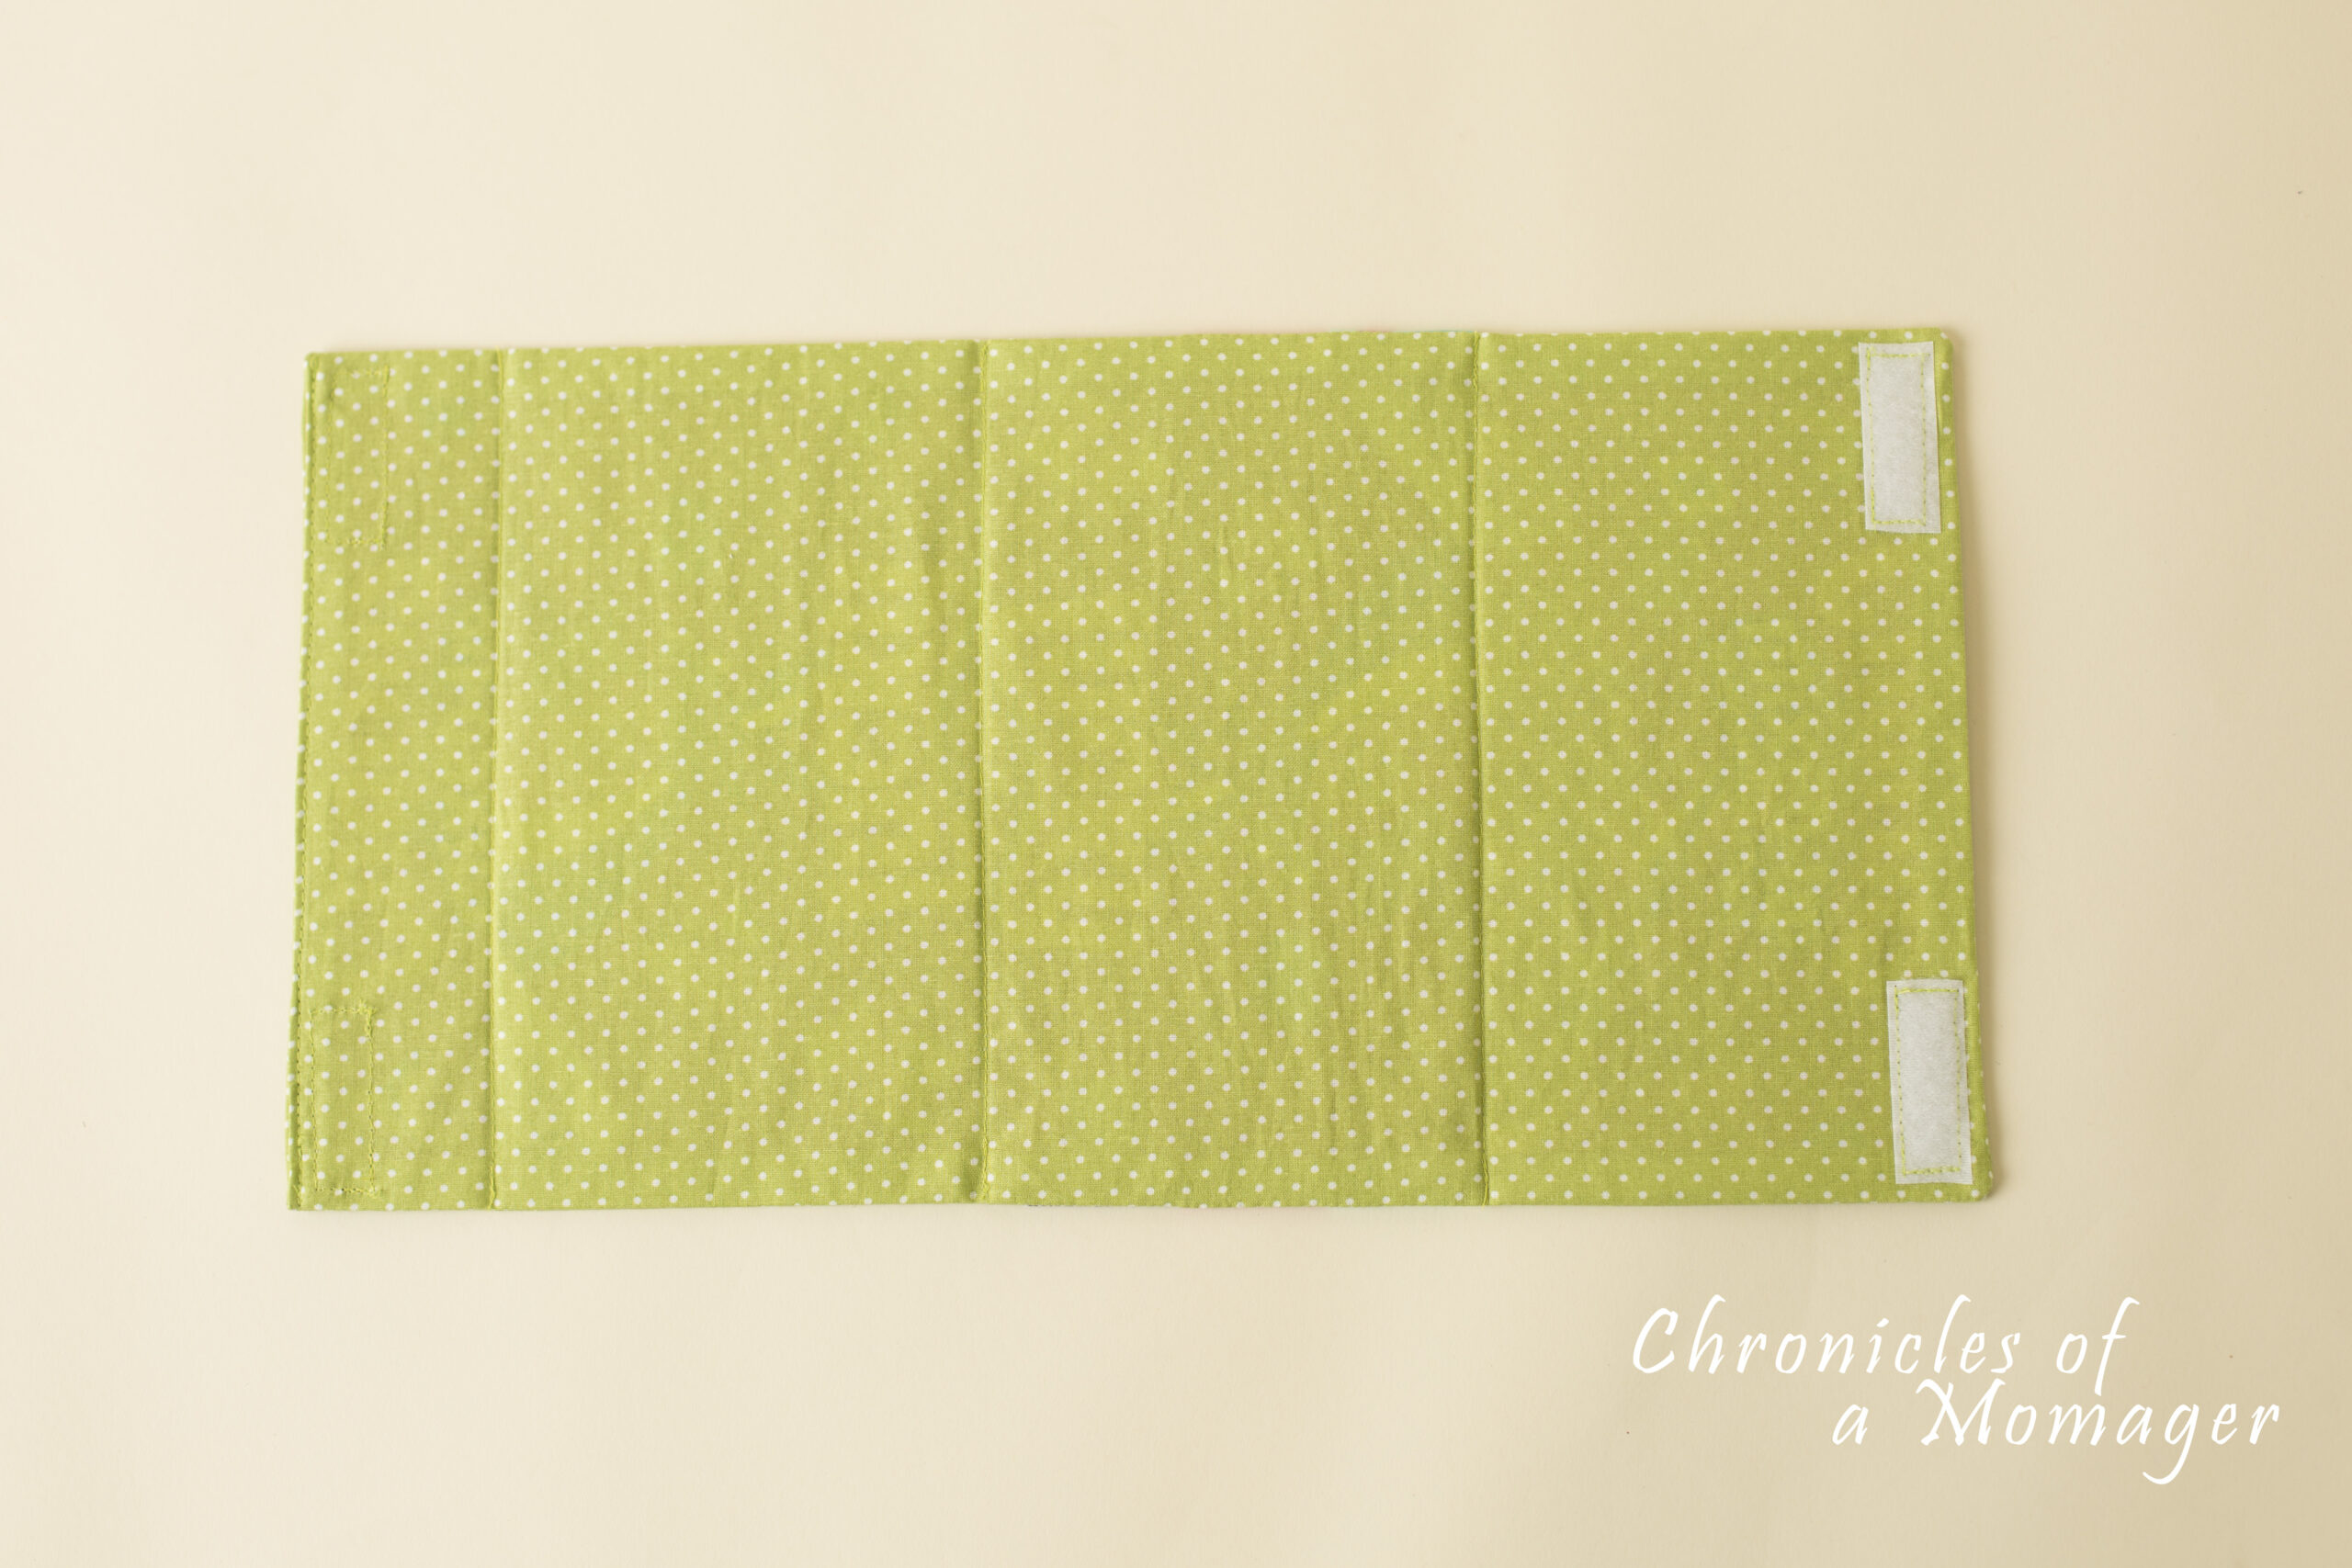
Playing Card Caddy Step 19: Sew 2 sides of the Velcro to the back bottom corners.
Playing Card Caddy Step 20: Sew the other sides of the Velcro to the bottom of the top panel.
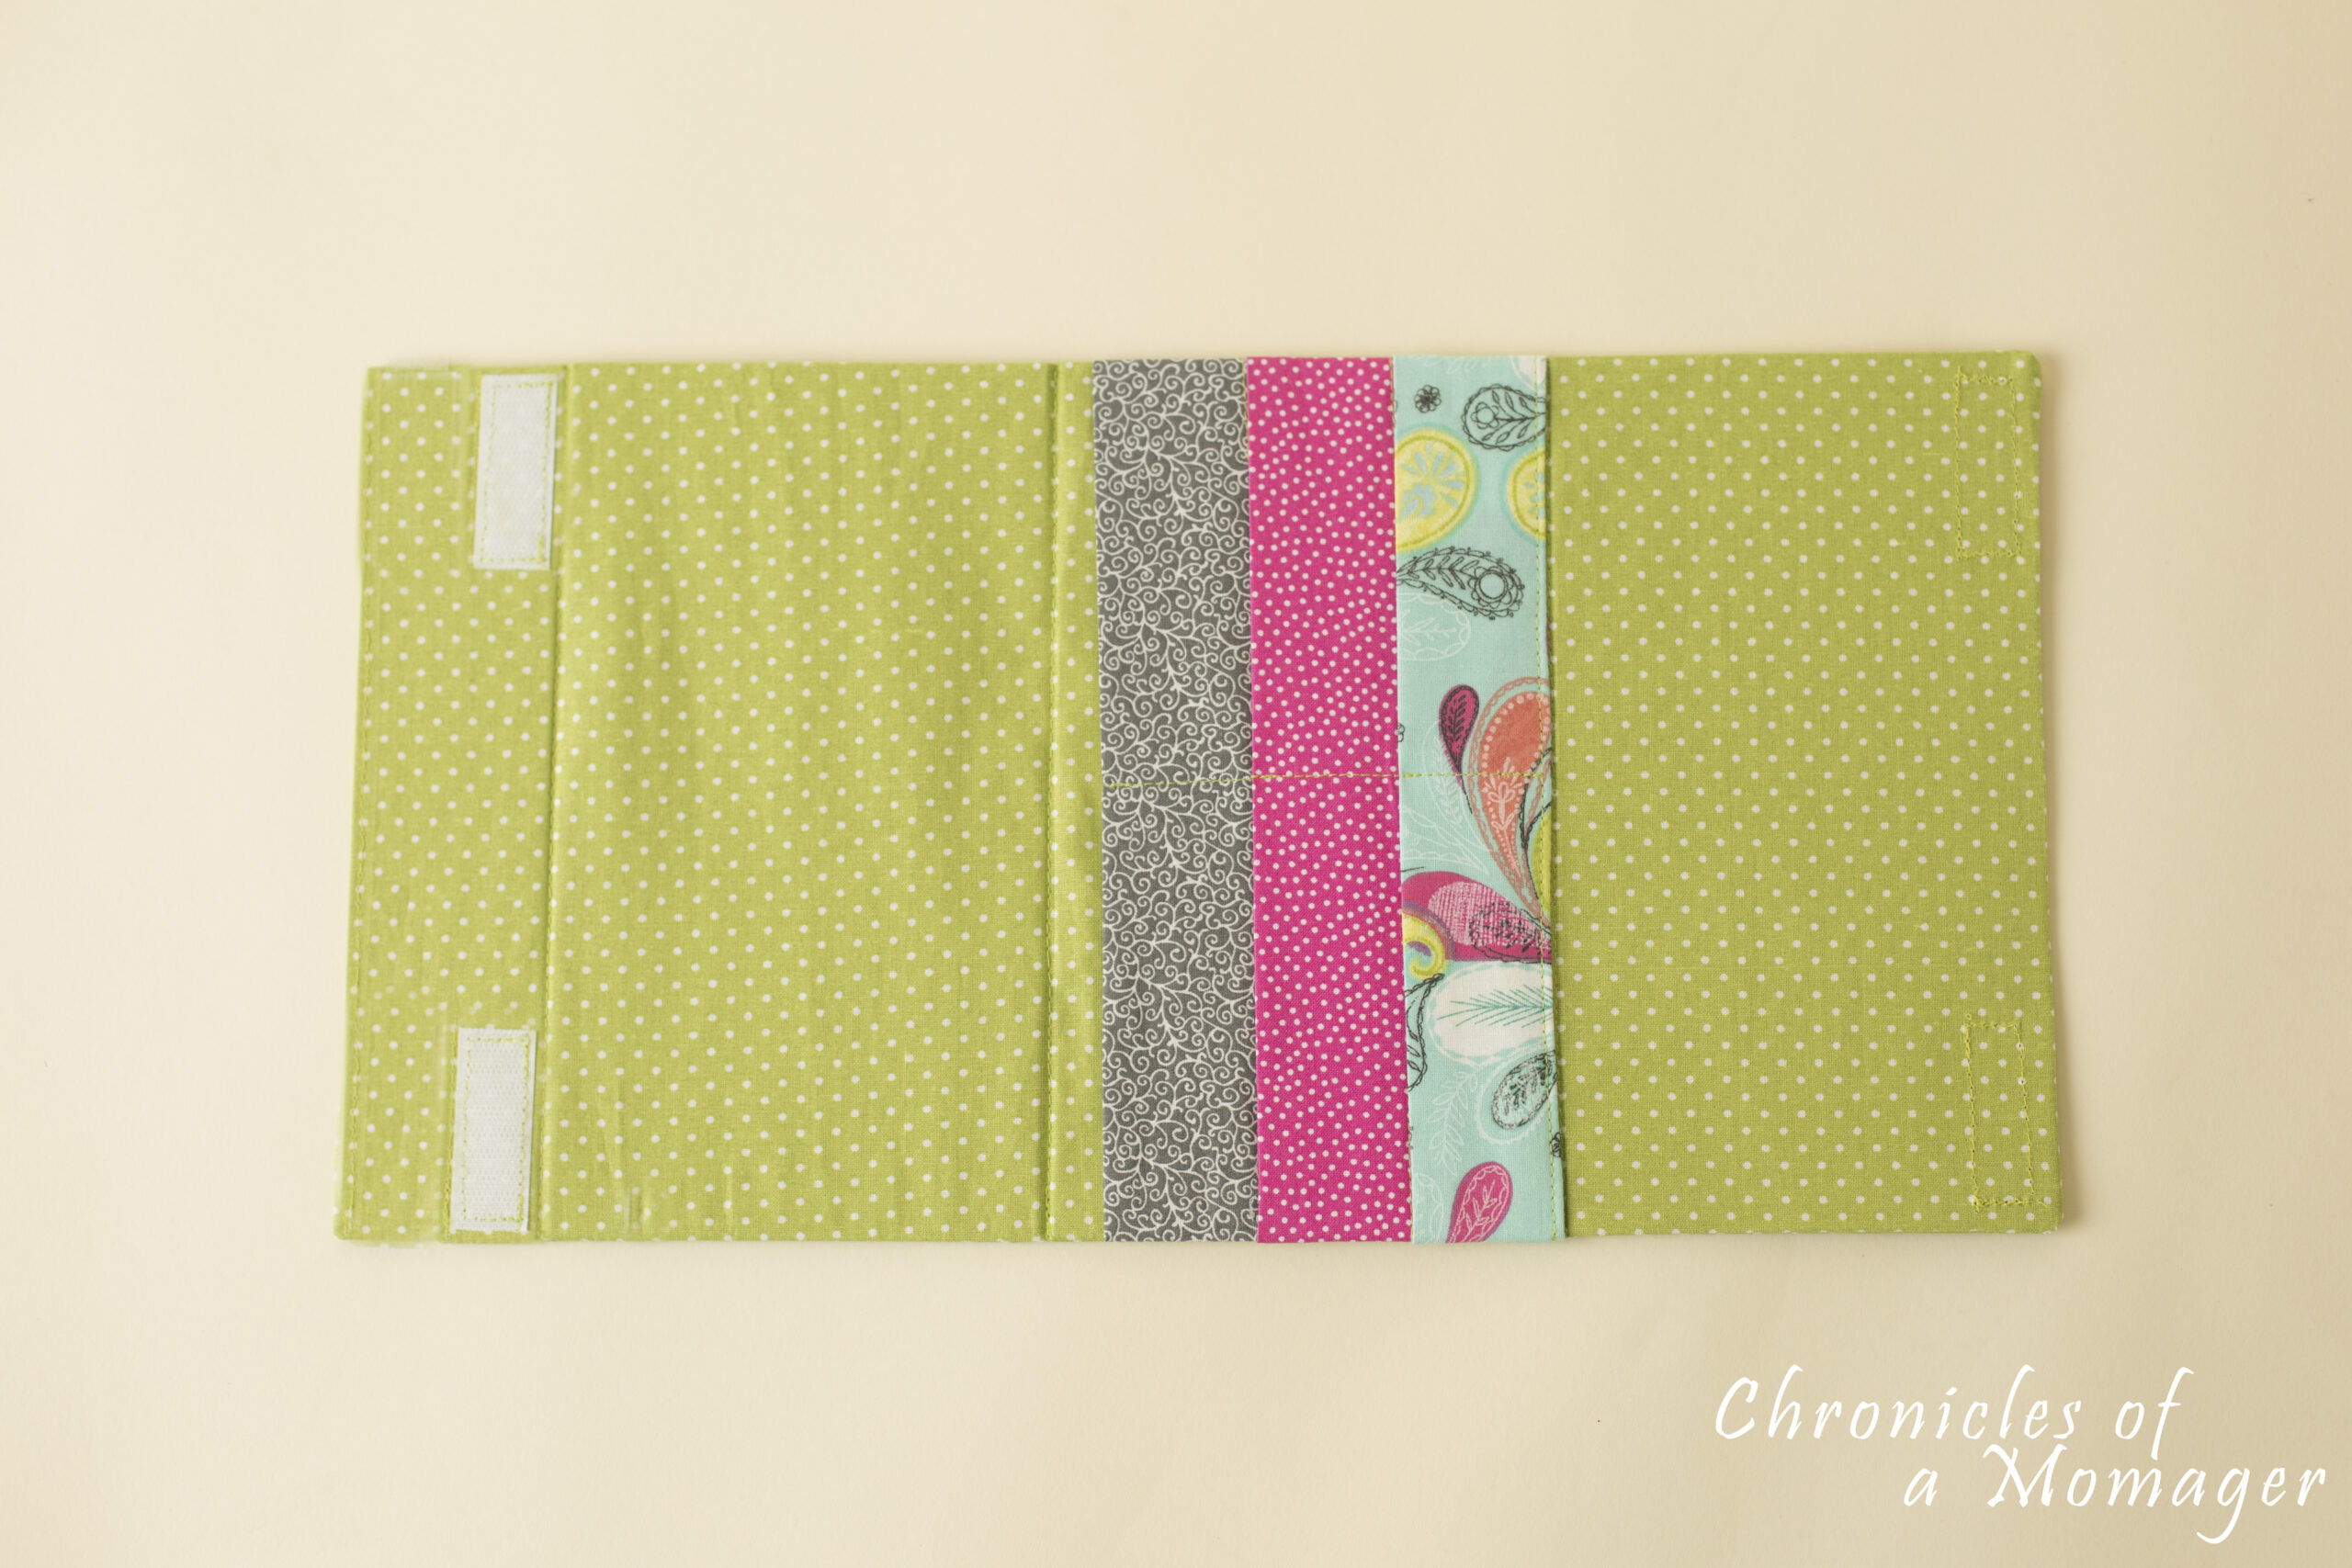
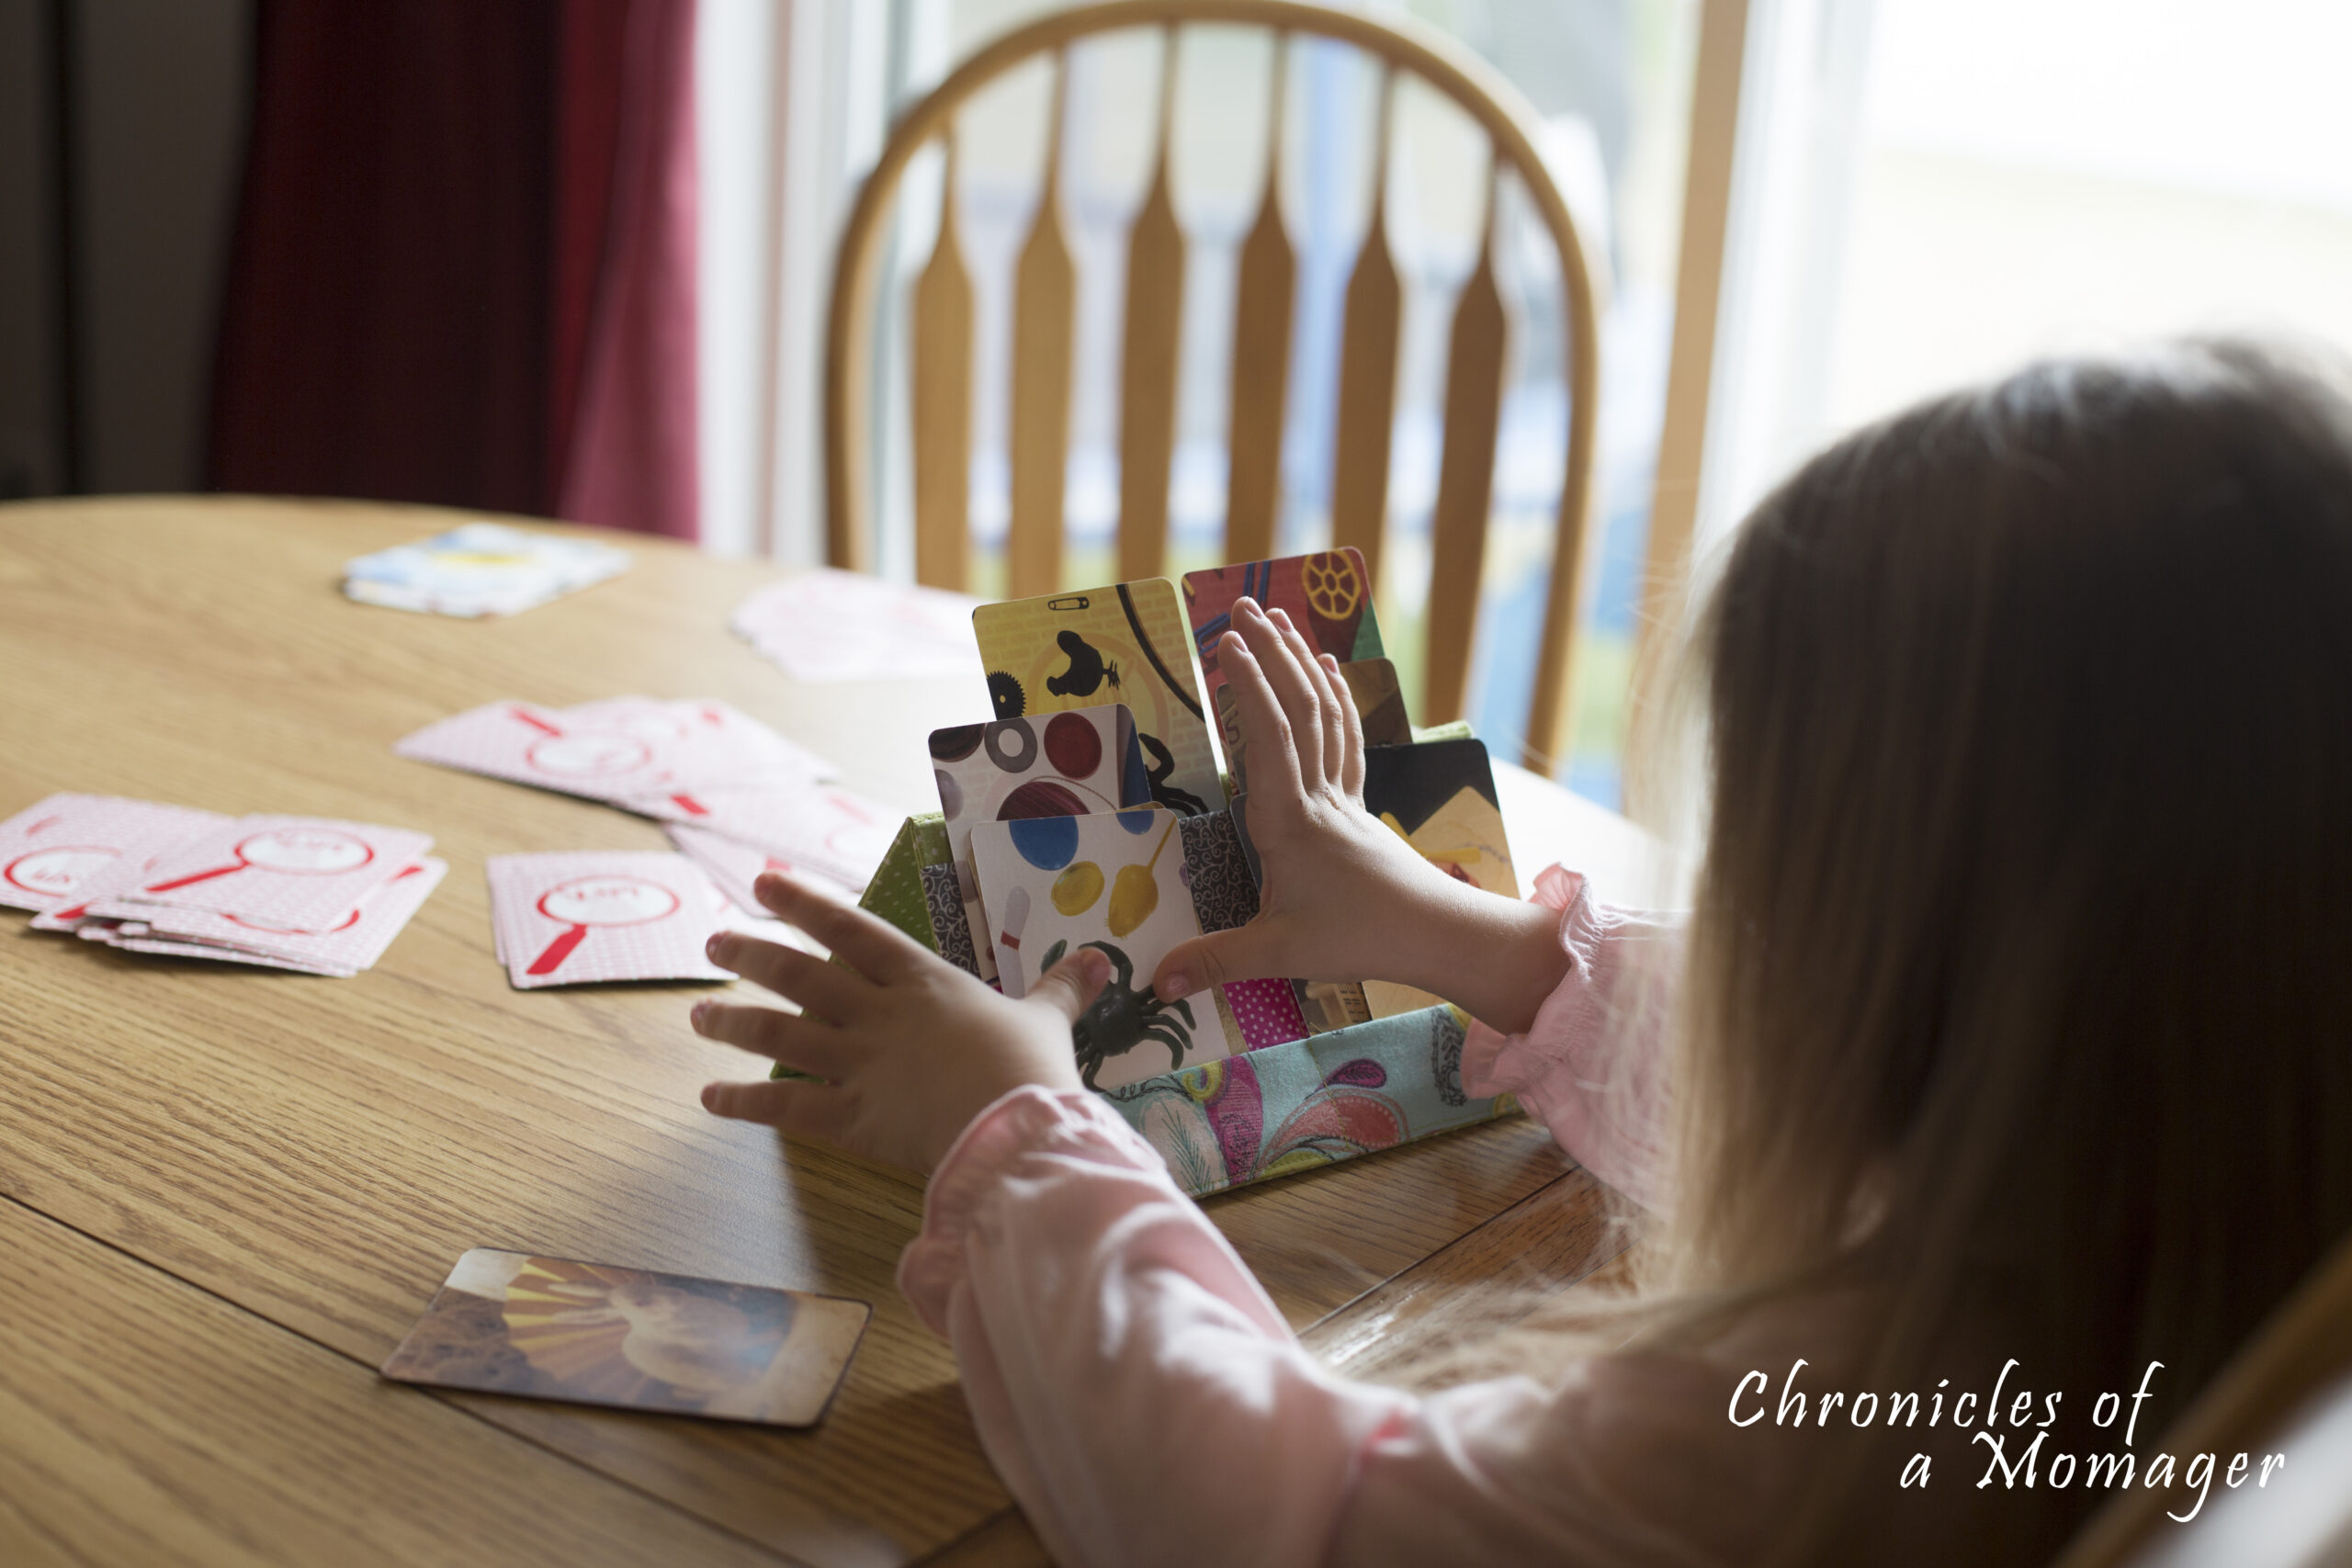
Now you are finished are ready to play endless games of cards with your littles!

Once you’ve made it, come share it at our Peekaboo Facebook Group. Until next time!
