How to Use Bias Tape: A Step-by-Step Guide
Bias tape is a versatile and essential tool that every sewing enthusiast should know how to use. It can be used to finish raw edges, add decorative accents, create piping, and more. However, if you are new to sewing or have never used it, it can be intimidating. In this post, we will guide you through the basics of bias tape: what it is, why it's essential in sewing projects, how to create your own, and practical tips on how to use it effectively. We'll also cover common pitfalls and how to avoid them. By the end of this post, you can confidently incorporate bias tape into your sewing projects and take them to the next level.
I use bias tape as a fast way to finish hems, especially curved ones, but mostly as a way to add a pop of color to a basic fabric. I’ll also teach you a little about what bias is in sewing, different types of bias tape, and what you need to look for when sewing it.
How to Use Bias Tape for Sewing

First, What is the Bias in Sewing?
When sewing with woven fabric there is a straight grain across the lengthwise horizontal section of the fabric. This is parallel to the selvage of the fabric (uncut bound edges). There is also a cross-grain through the vertical section of the fabric that runs perpendicular to the selvage. Finally, there’s the bias, which runs at a 45-degree angle.
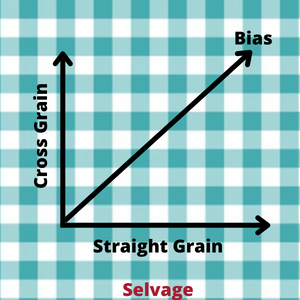
The reason that the bias is important is that it’s the most stretchy portion of the woven fabric. Fabric strips cut from this bias section will have more stretch than if they were cut in the vertical or horizontal sections.
What is Bias Tape and What is it Used for?
Now that you know what bias is, you can better understand what bias tape is. It is long strips of fabric that are cut from that “bias” section of the fabric noted above. They are stretchier than fabric that would be cut from the cross-grain or straight-grain sections of the fabric (although the bias fabric still isn’t overly stretchy like a knit fabric). The stretchiness allows these strips of fabric to more easily go around the curved edges of fabric that you’ll likely have in different openings or edges. Some people use the term bias tape and bias binding interchangeably although the term bias binding seams to be more often used in using bias tape when binding or finishing edges on quilts.
Bias tape is used for trimming or binding different portions of the garment such as the neckline or hems. It can finish the raw edges of an unlined garment. When you buy bias tape from the store you’ll find multiple types including single-fold and double-fold bias tape.
Single Foldv. Double Fold Bias Tape
The single-fold bias tape isn’t true to the name – it actually has two folds and folds out into 3 sections. It basically has the raw edges of the fabric tucked in on each side. It can be used for going around hemlines or curved edges on one side of the fabric. It can also be used to trim areas of the fabric outside the edge (for instance – you might want a strip of an accent fabric part way up a garment).
Double-fold bias tape has three folds and folds out into 4 sections. It goes around the edge of the fabric and finishes it with a more defined edge.
You can purchase bias tape at the store in about a ton of different colors…or you can Make Your Own Bias Tape. Bias tape comes in multiple widths.

OK – now that we have the academic stuff out of the way, let’s show you different ways to use bias tape in a project:
How to Use Bias Tape Method 1
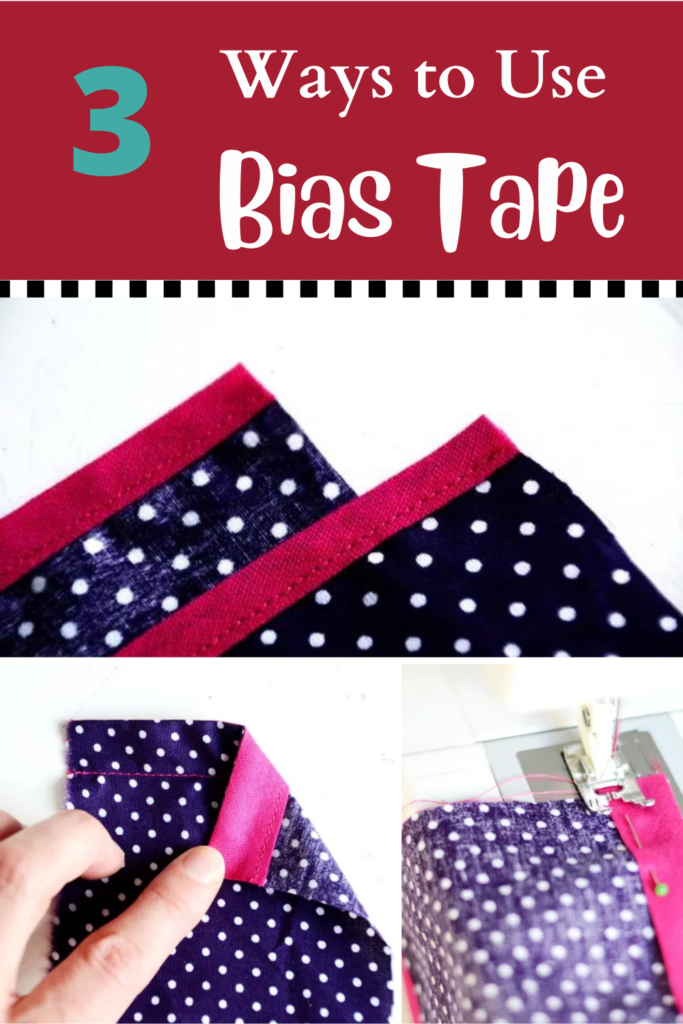
The first way to use bias tape is the fastest. This is actually taking single-fold bias tape and pressing it in half to make a double-fold bias tape with the defined edge noted above. Whether you’re using double-fold bias tape or single-fold bias tape pressed in half the process is the same.
Basically, you press the bias tape in half, fold it over the hem of the fabric and sew. This is very useful when sewing the tape in a basic curve. When pressing the tape in half, you can also press it in any desired curve.
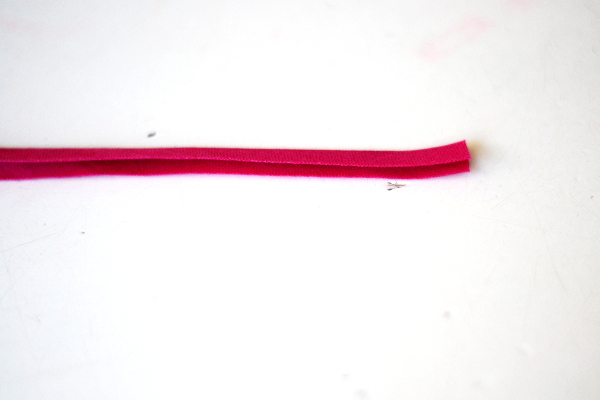
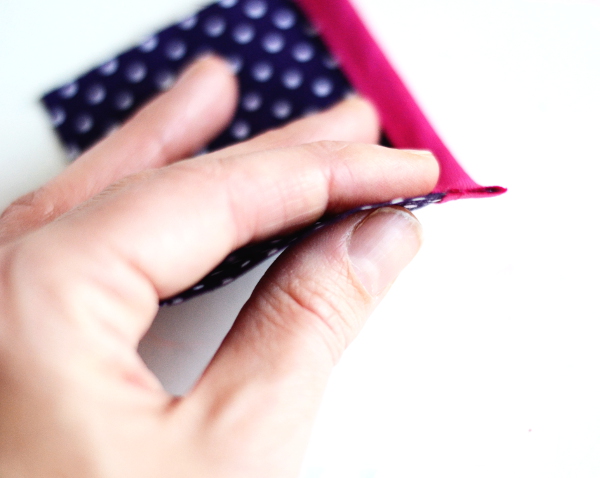
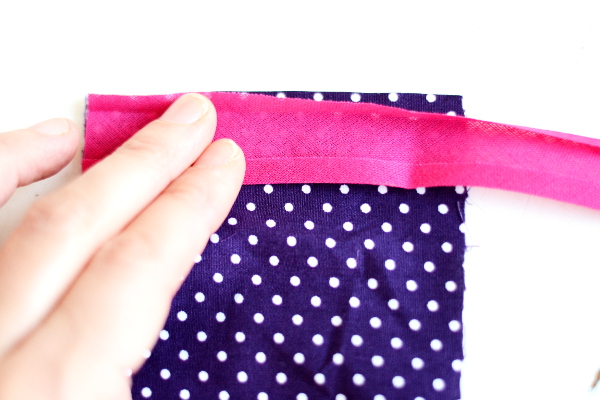
So, step by step! Fold the bias tape double, enclosing the raw edges, and press.
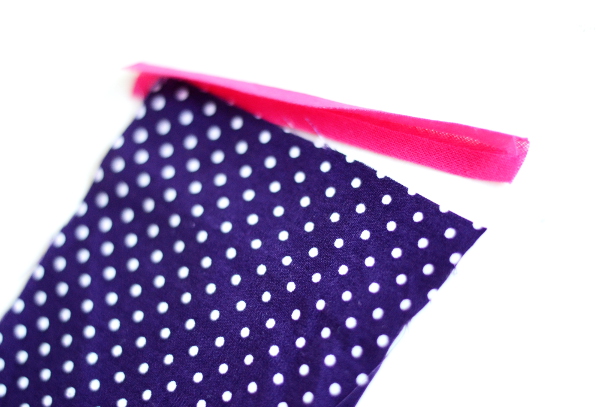
Place the bias tape over the raw edge of the fabric.
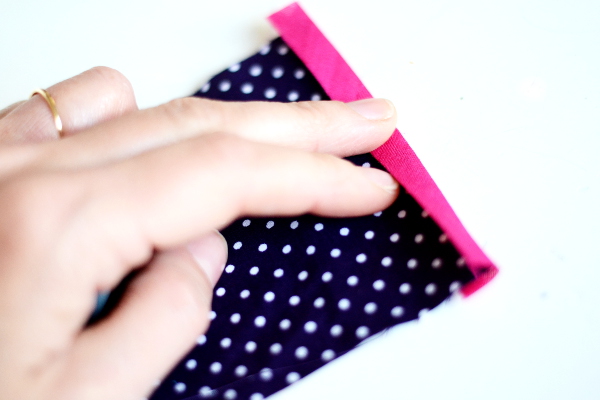
Make sure the raw edge of the fabric is in the pressed crease of the bias tape, so all the way in between the folded tape.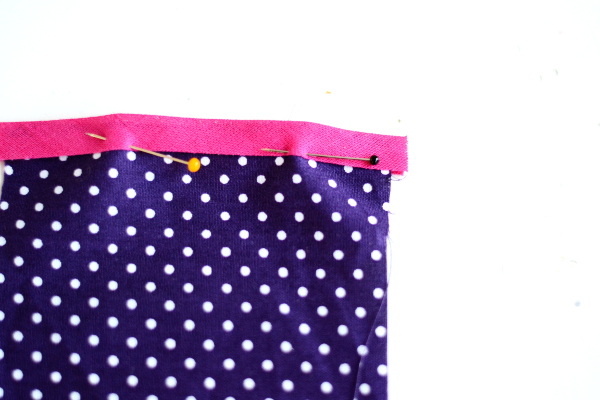
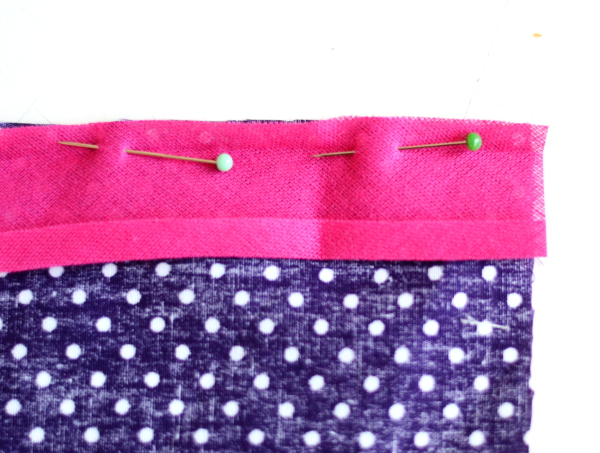
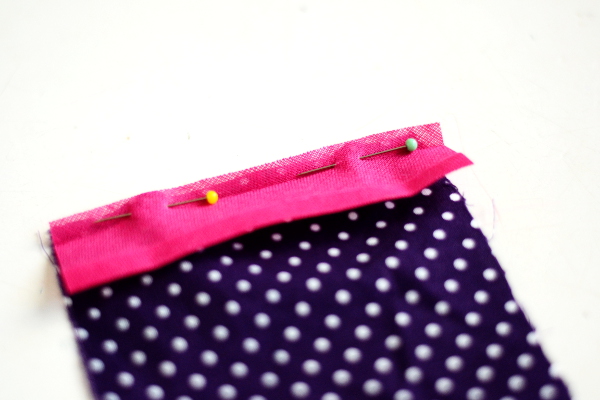
Pin the tape into place, catching both sides of the bias tape and the layer of fabric.
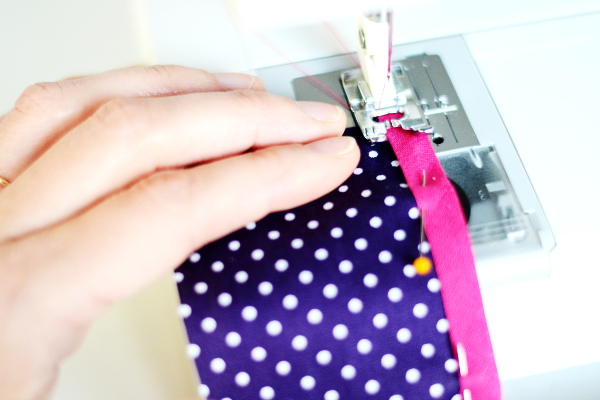
Stitch into place, using a straight stitch. Stitch close to the edge of the bias tape, catching all layers in your stitching.
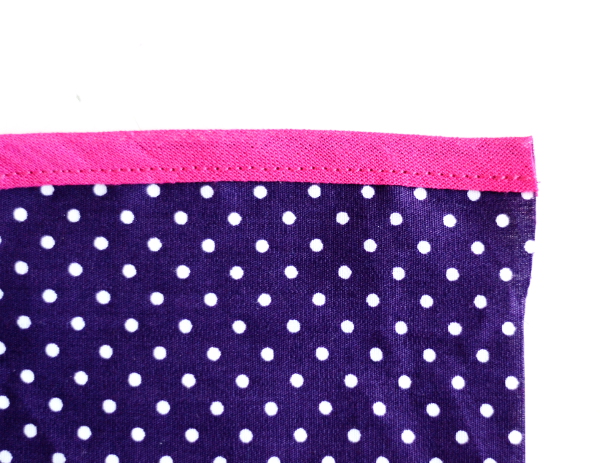
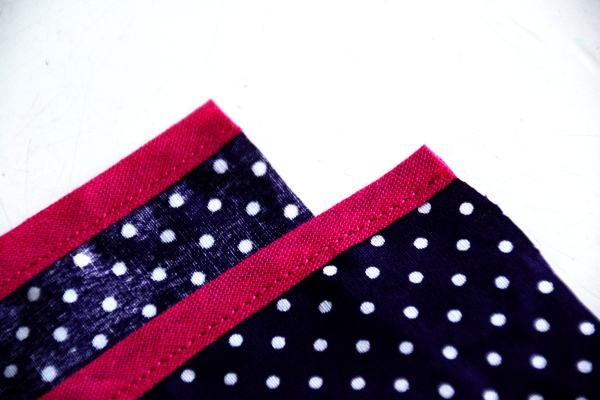
Above the finished hem. Thus the bias tape is visible on both sides of the fabric.
As seen above, the fabric is enclosed in between the folded bias tape.
Using Bias Tape Method 2
Now off to the next way of how to use bias tape. This second way of attaching, has the same end result as the first one. However, this method requires stitching twice. It does give a more accurate result oftentimes – at least for me.

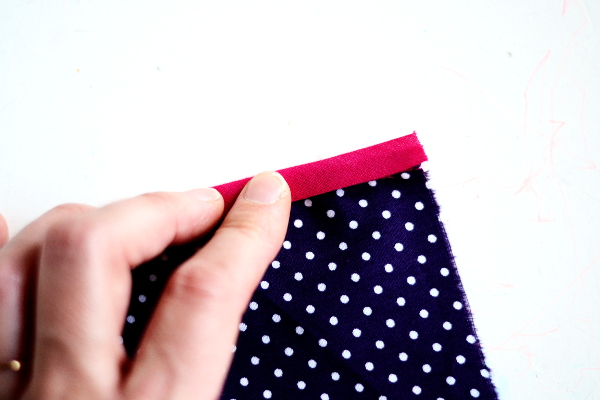
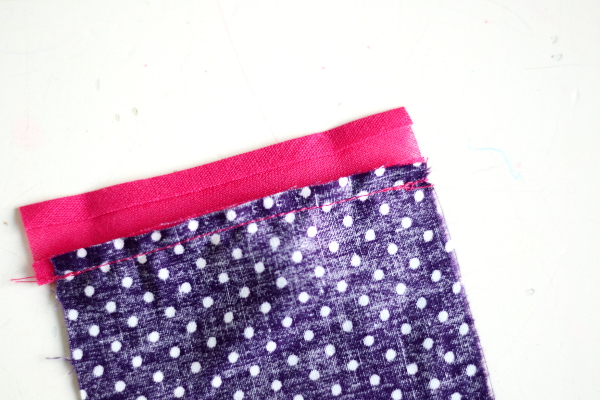
For this method, you open up one of the creases. This is pictured above.
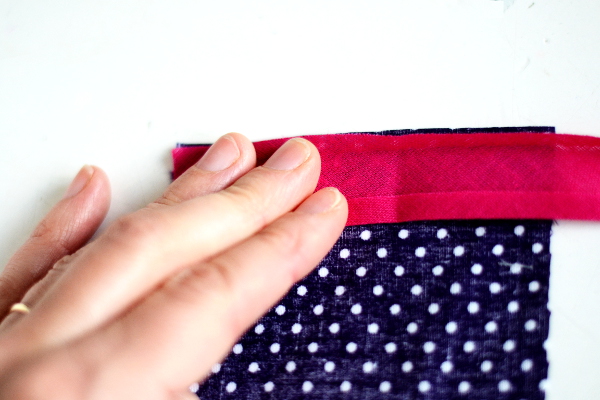
Place the bias tape with the open folded raw edge along the raw edge on the wrong side of the fabric.
Pin the tape into place.

Stitch in the crease of the bias tape.
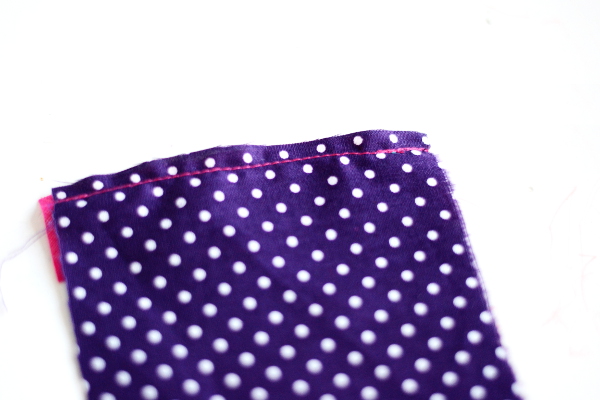
The right side of the fabric should look like the picture above now.
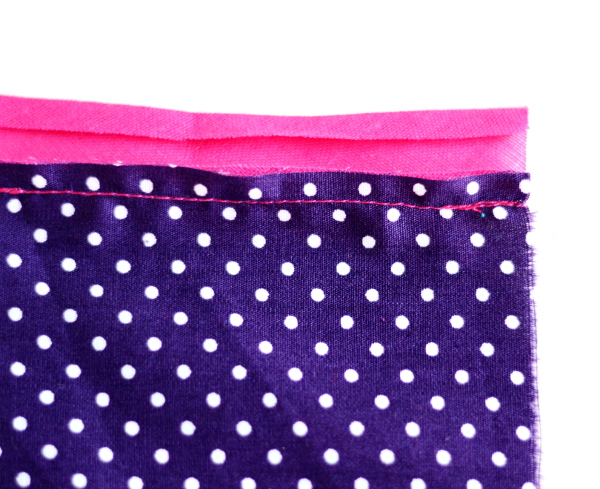
Press the bias tape up…
… and fold it over to the right side of the fabric. Make sure it just covers the stitching made previously.
Pin the tape and stitch it into place, neatly along the edge. Ideally, you should catch the back side of the bias tape as well. This isn’t necessary for keeping it in place, however, it does look neat.
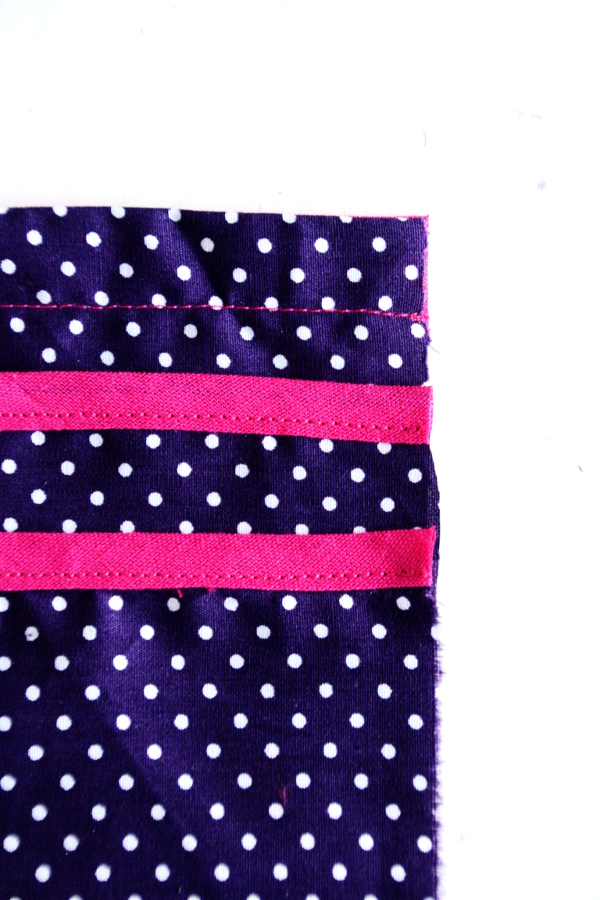
As you can see in the photo above, if not done very precisely the first stitching can peek out from underneath the bias tape. Provided you caught both sides of the bias tape in your topstitching, you can simply seam rip those peeking stitches.
Above then how it should look in the end, without any sloppy stitches showing.
So front and back of your fabric and bias tape. The bias tape should look pretty much identical on both sides.
How to Use Bias Tape Method 3
Now off to the third way how to use bias tape, which provides a different look! This way, the bias tape is completely on the wrong side of the fabric. Thus it is not visible on the right side. However, this does provide a neat finish, almost like a facing, on some items. Plus, it is easier to hem a curve this way than it would be to really hem it since the bias tape does adapt to curves easily. You can use double-fold bias tape in this application without any alteration or additional pressing.
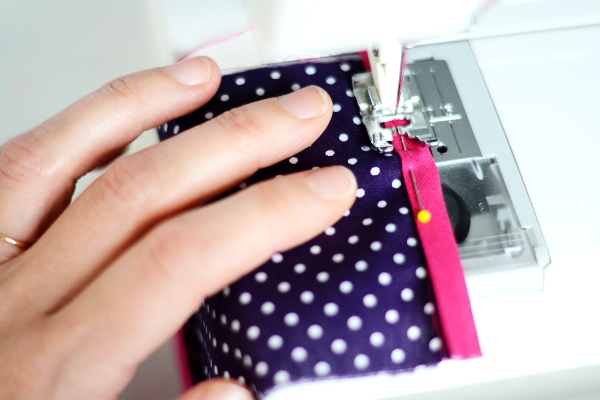
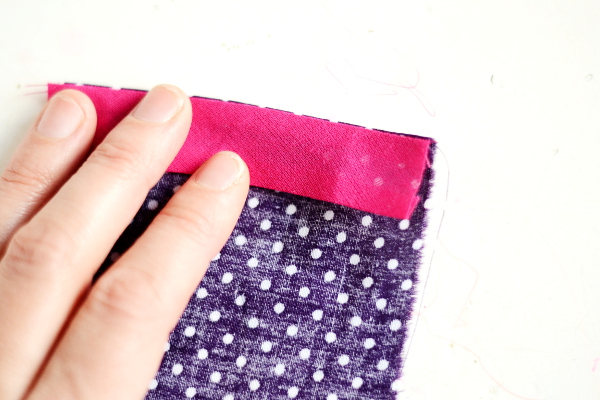
First, open up one folded side of the bias tape, just like you did at the second method. Place the raw edge of the bias tape along the edge of the fabric again. However, place it on the right side of the fabric now.
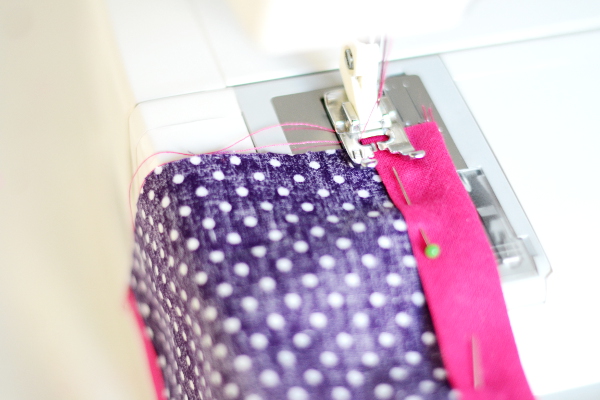
Pin into place.

Stitch in the crease of the bias tape.
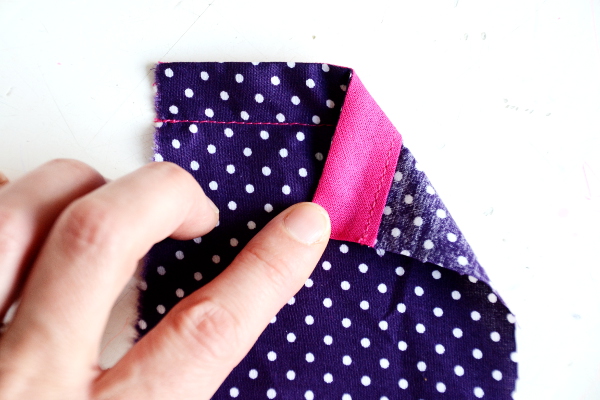
Fold the bias tape up and fold it completely over to the wrong side of the fabric.
Pin into place.
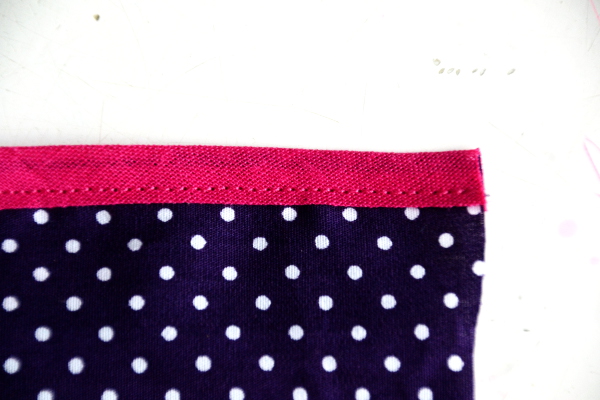
Stitch into place along the edge of the bias tape.
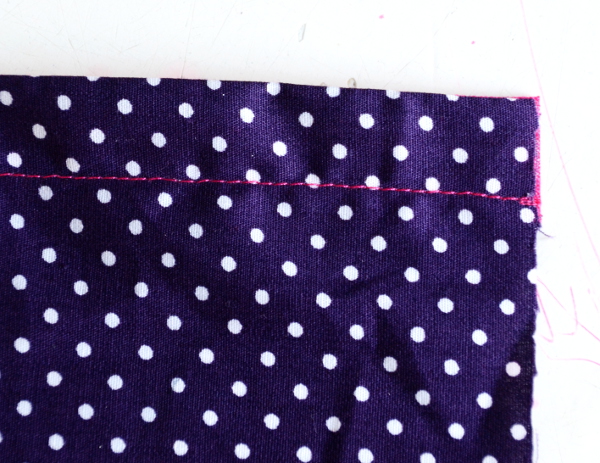
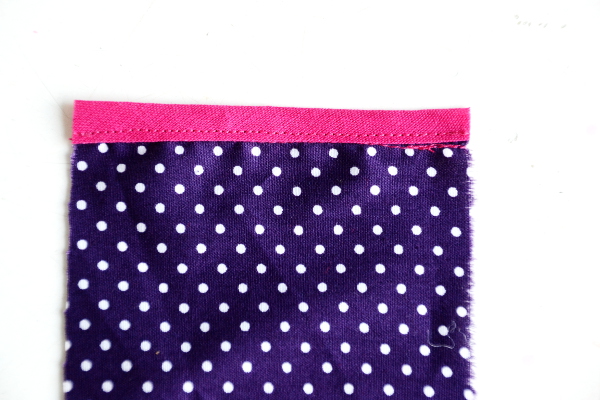
The right side of the fabric should look like the picture above, like any regular wide hem.
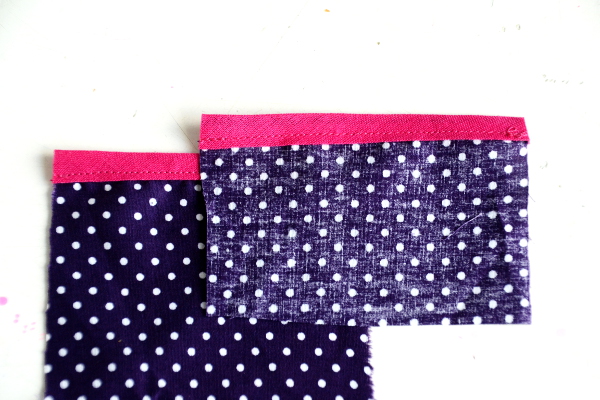
On the wrong side, the entire width of the bias tape is visible.
Can Bias Tape Be Used in Non-Sewing Contexts?
Discover the versatility of bias tape beyond sewing projects. Create handmade bias tape for crafts like quilting and placemats. Use it to bind edges, decorate pillowcases or curtains, and incorporate it into DIY projects found on Pinterest or Facebook. Explore the endless possibilities of bias tape in non-sewing creative endeavors.
So now you have it: three ways of how to use bias tape onto a hem. Which one is your favorite. Bias tape is a versatile and essential tool in sewing projects. Whether you're adding a professional finish to garment edges or creating decorative accents, bias tape can elevate your creations.
Before you leave, make sure to join us in our Facebook Group and follow us on Instagram or YouTube. Happy sewing!