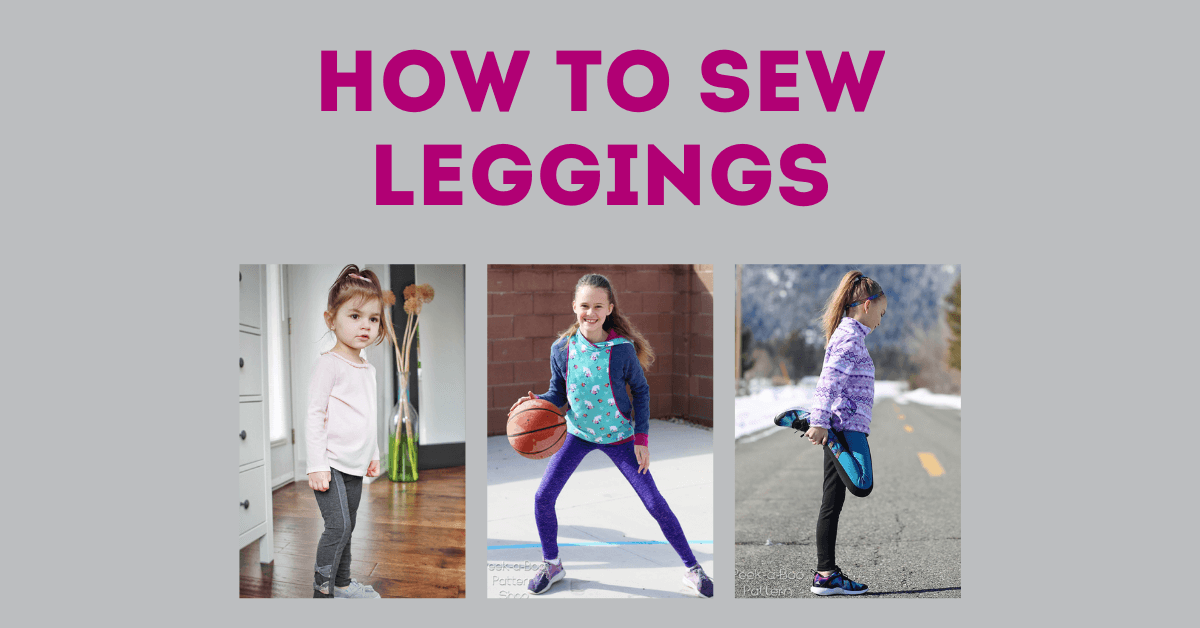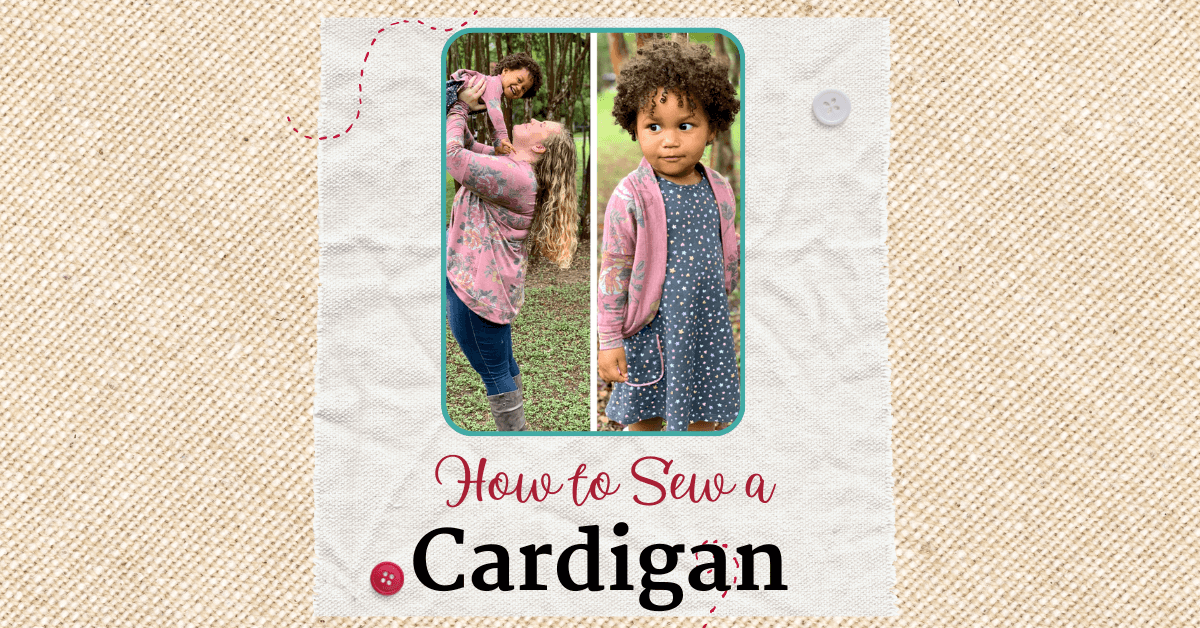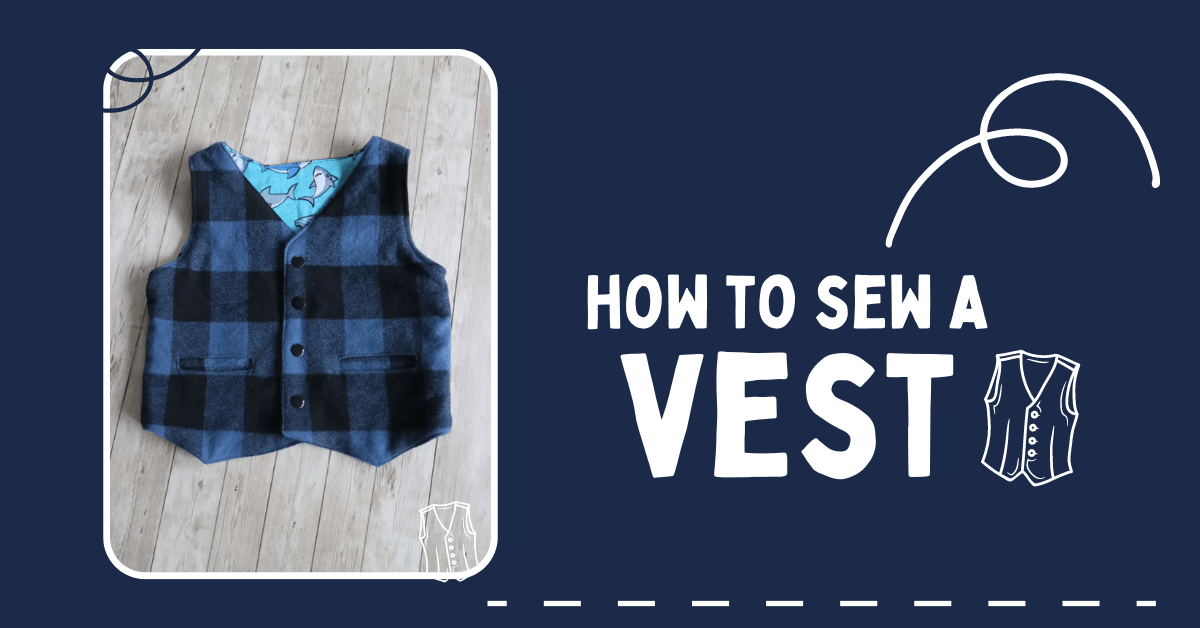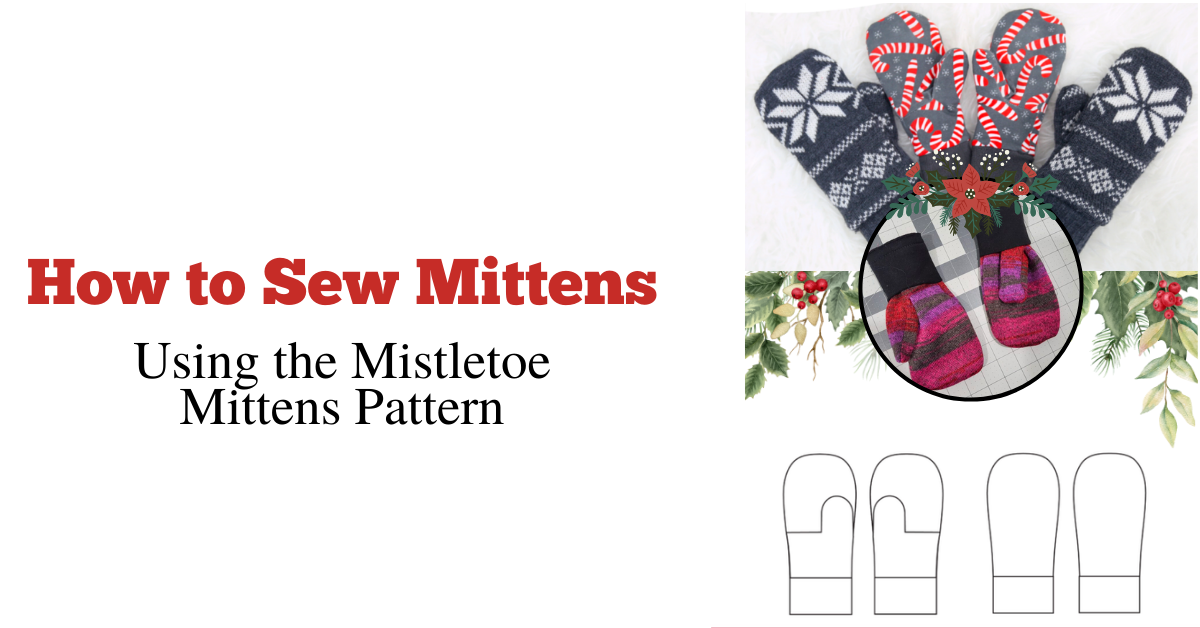
How to Sew Mittens | Using the Mistletoe Mittens Pattern
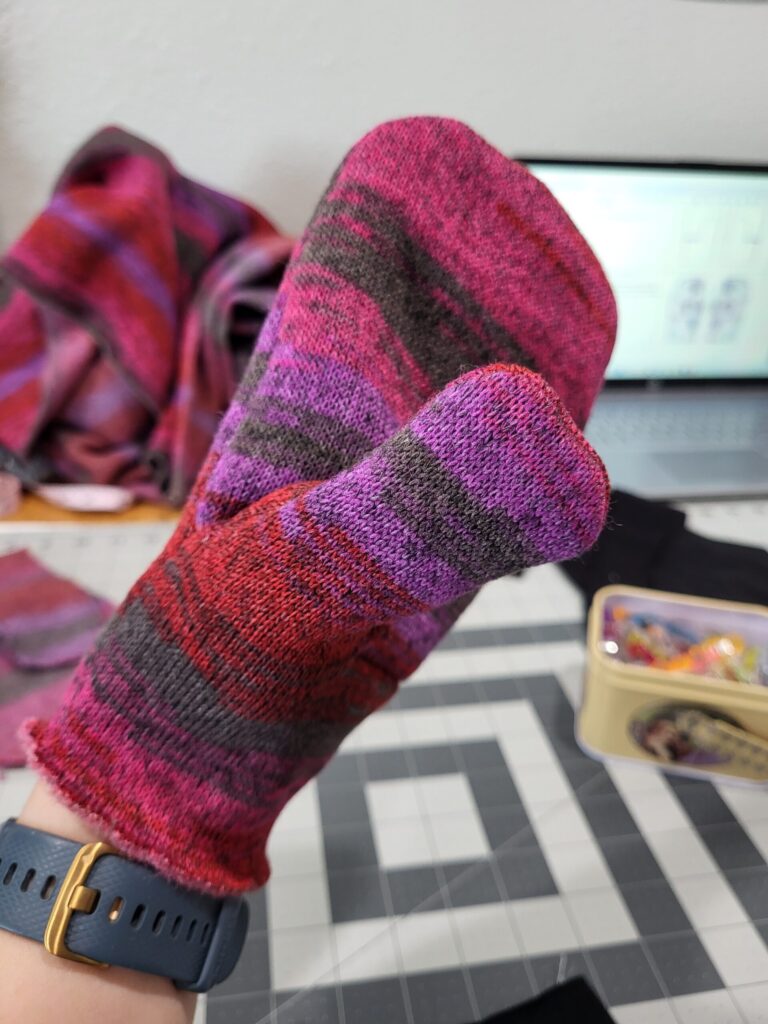
Today, we’re going to learn how to sew mittens. Where I live, we are currently in the depths of winter. As I type this, the temperature of my hands lies somewhere between frosty and frigid. Now is the season for bundling up, and the Mistletoe Mittens Pattern from Peek-a-Boo Pattern Shop is just the thing for my cold, cold hands. Let’s take a quick look at the pattern:
The Mistletoe Mittens Pattern includes an optional lining and a seam across the palm for optimal comfort and easy movement. It includes 13 sizes (infant to men’s large) and can be made from fleece, minky, knit, thermal, or even upcycled sweaters. Click below for more info:
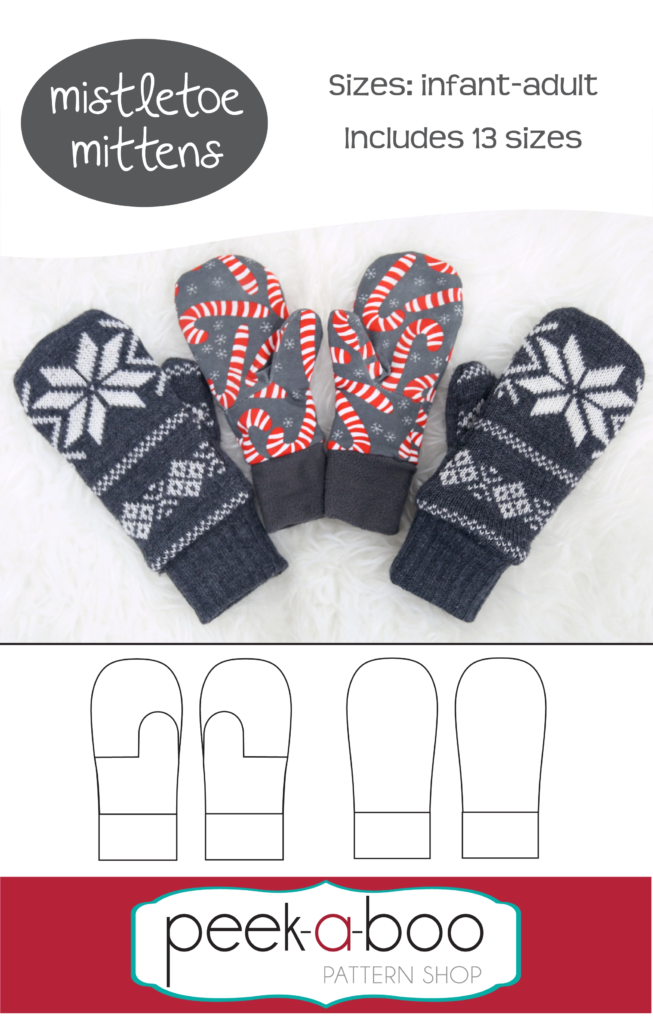
The Mistletoe Mittens are a big hit with our customers. Check out the list and see tons of reviews showing how easy they are to sew up. Then download the pattern and get to work.
Let’s make a pair together, shall we?
How to Sew Mittens Using the Mistletoe Mittens Pattern
Mitten Supplies
- Mistletoe Mittens pattern
- Sewing machine (serger is not recommended for most steps)
- Iron and ironing board
- Pins or clips
- Main fabric: fleece, sweater knit, minky, PUL, thermal, etc.
- Lining: fleece, cuddle, minky, etc.
- Cuff: knit with at least 30% horizontal stretch
Best Fabric for Making the Mistletoe Mittens
Good choices would be fleece, minky, cuddle, PUL, knit fabric, thermal, etc. The best fabric for making the Mistletoe Mittens is undoubtedly a soft and cozy knit fabric. Knit fabrics are perfect for creating warm and comfortable mittens that will keep your hands toasty during winter. Not only are they incredibly warm, but knit fabrics also have a natural stretch that allows for a snug and comfortable fit. The key is to select a fabric that is both durable and insulating - some even make their pairs of mittens out of an old sweatshirt front the local thrift store. With the right fabric, you can create a pair of Mistletoe Mittens that are stylish and practical for those chilly winter days.
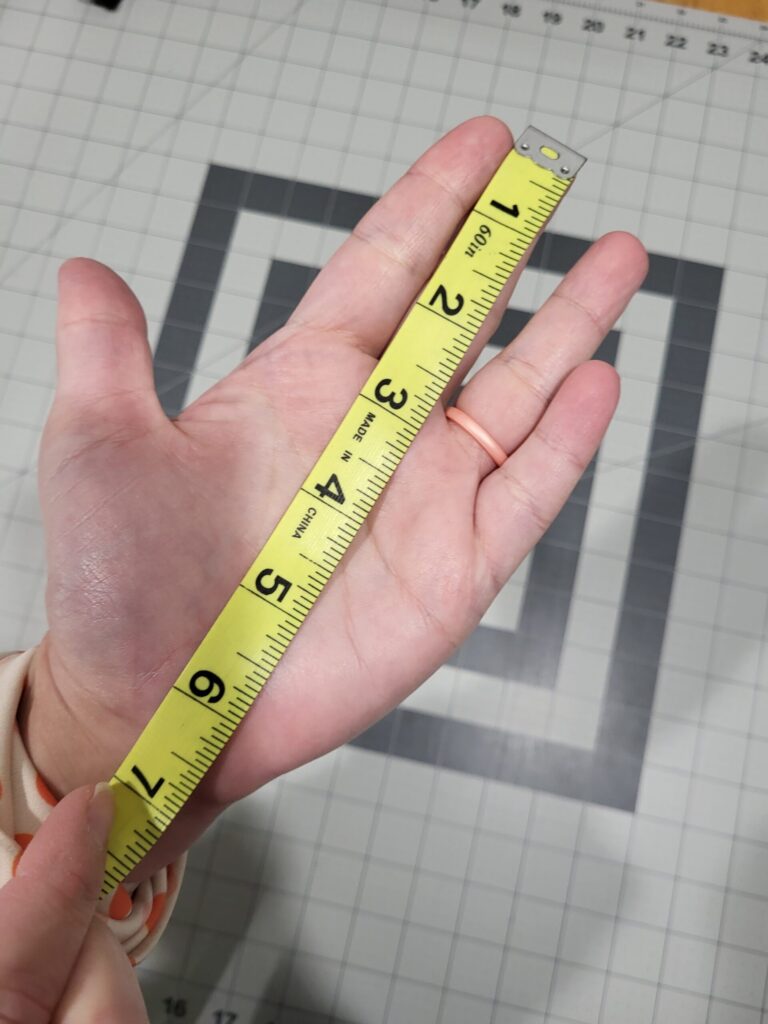
Measuring for the Mittens
These come in a variety of different sizes. I don’t know about you, but I am not as familiar with my hand measurement as I am with my waist. To get the most accurate fit for this pattern, you will need to measure the recipient’s hand from the wrist bone to the tip of the middle finger. If you can’t get measurements or outline of your hand, don’t worry – the size chart includes an age guideline that can help you make an educated guess. My hand measured about 7 inch, which makes me a size I or women’s small in the pattern.
Choose Your Mitten Options
The Mistletoe Mittens can be customized according to your preferences. You can choose to make them with or without a lining and with or without a thumb. However, for this particular sewing tutorial, we will be using a lining and thumb piece to make some fleece mittens. Adding a lining to your mittens can provide extra warmth and comfort during the cold winter months, while the thumb piece allows for better dexterity and flexibility when wearing them. Additionally, you can experiment with different fabrics and colors to make your mittens truly unique and personalized.
Cutting the Mitten Pattern Pieces
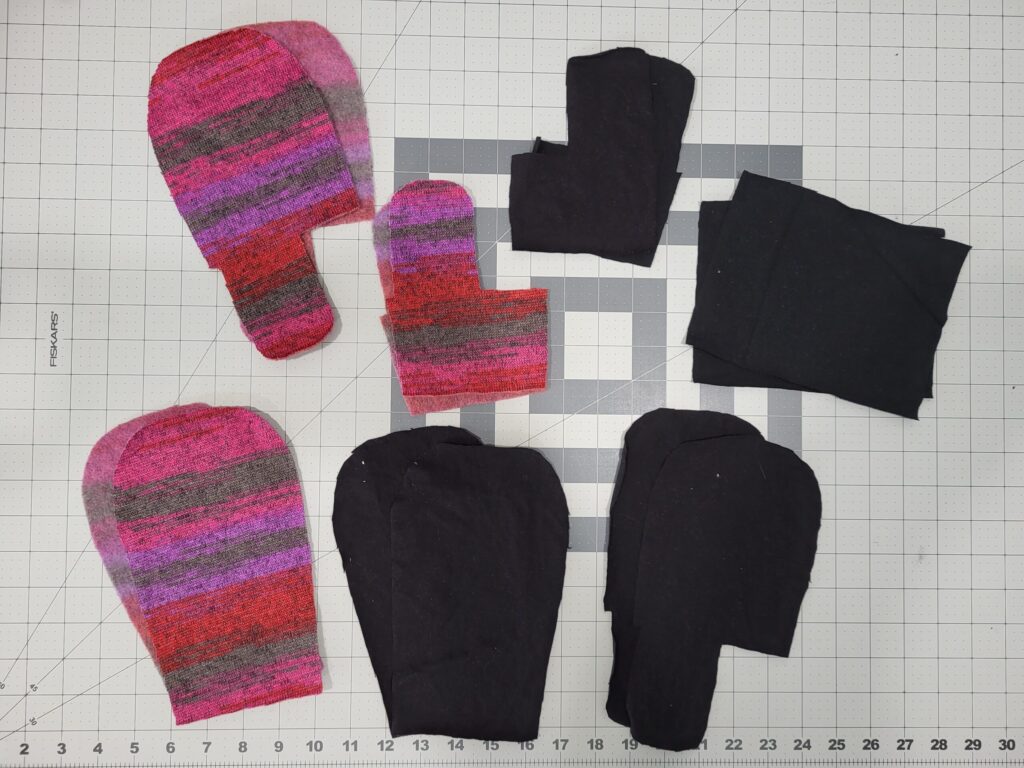
The next step is to cut out our pattern pieces. For my fabric, I used a cozy sweatshirt fleece for the main fabric and a thin black cotton spandex for the cuffs and lining. I used a projector to cut out my pieces, but the pattern also includes print-at-home pieces and an A0 file.
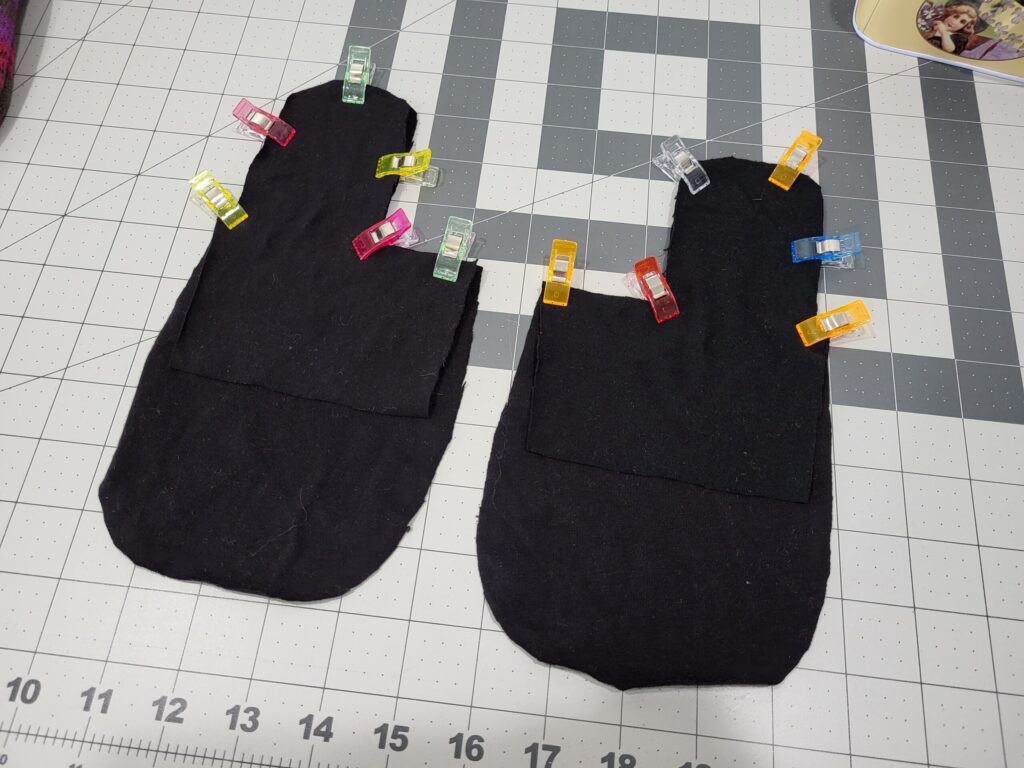
Make sure you mirror your upper front and lower front pieces so you have pieces for your left and right hands. You’ll end up with 4 back pieces (2 in main, 2 in lining), 4 upper front pieces (2 in main, 2 in lining), 4 lower front pieces (2 in main, 2 in lining), and two cuffs. Now, you’re ready to sew!
Sewing the Mittens
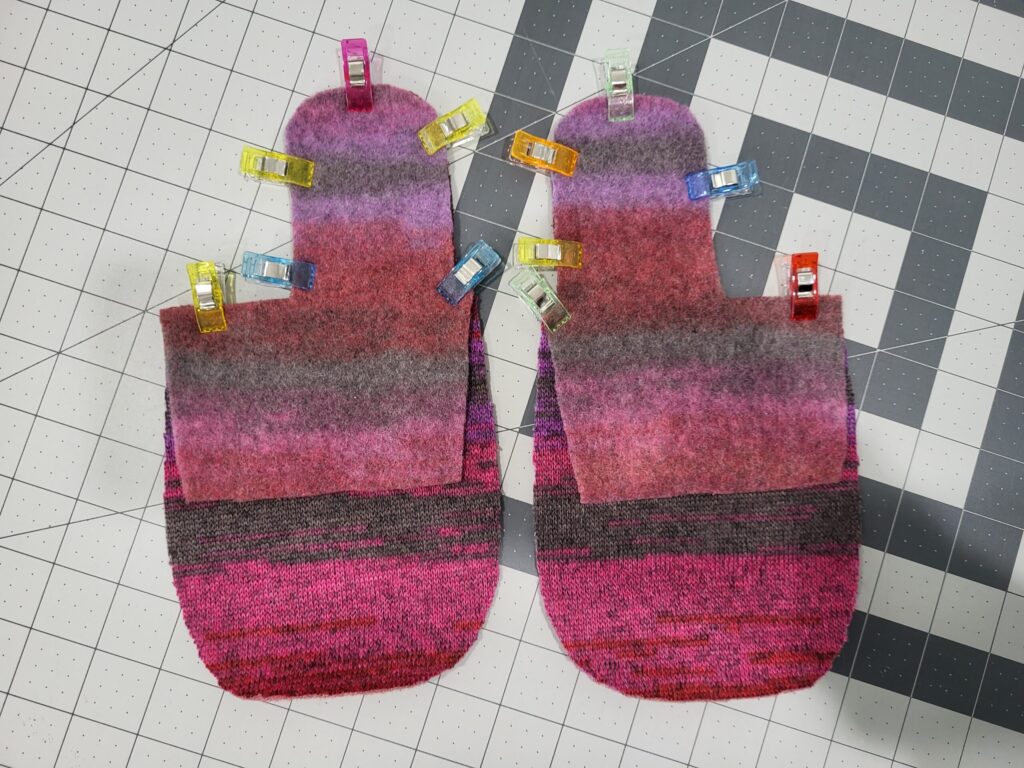
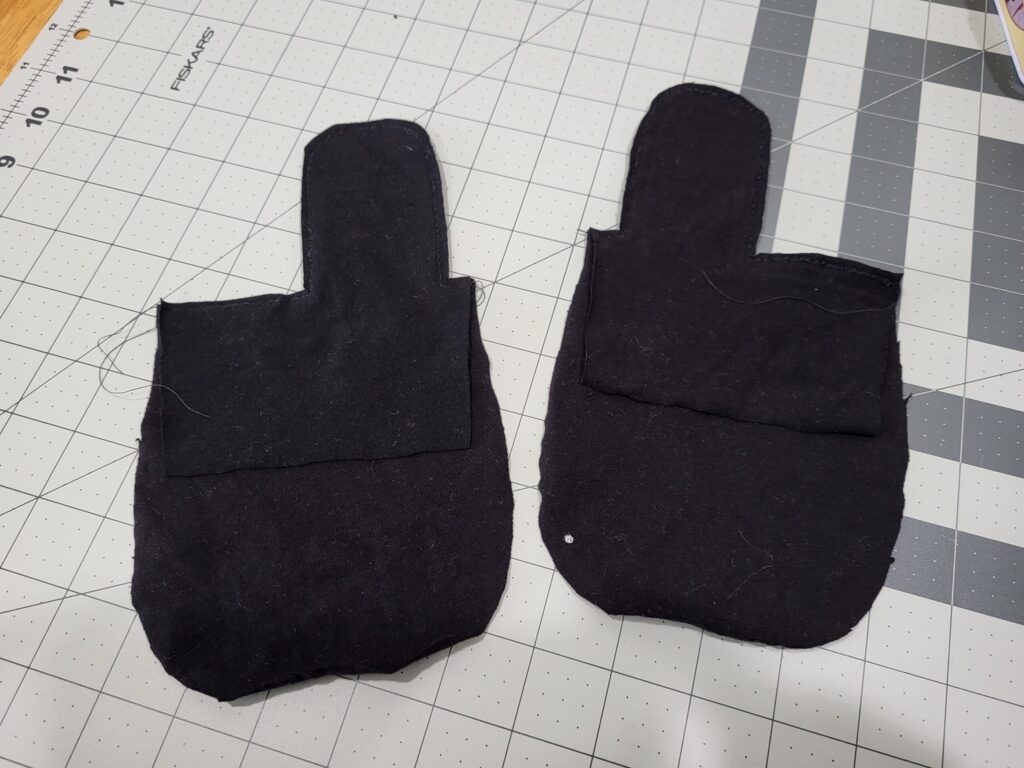
First, place your lower front and upper front pieces right sides together (RST) and sew. Then, trim your seam allowance to 1/8″ and press your seams open. Pressing can be a little tricky depending on your fabric type, so just take it slowly. Repeat for the second mitten.
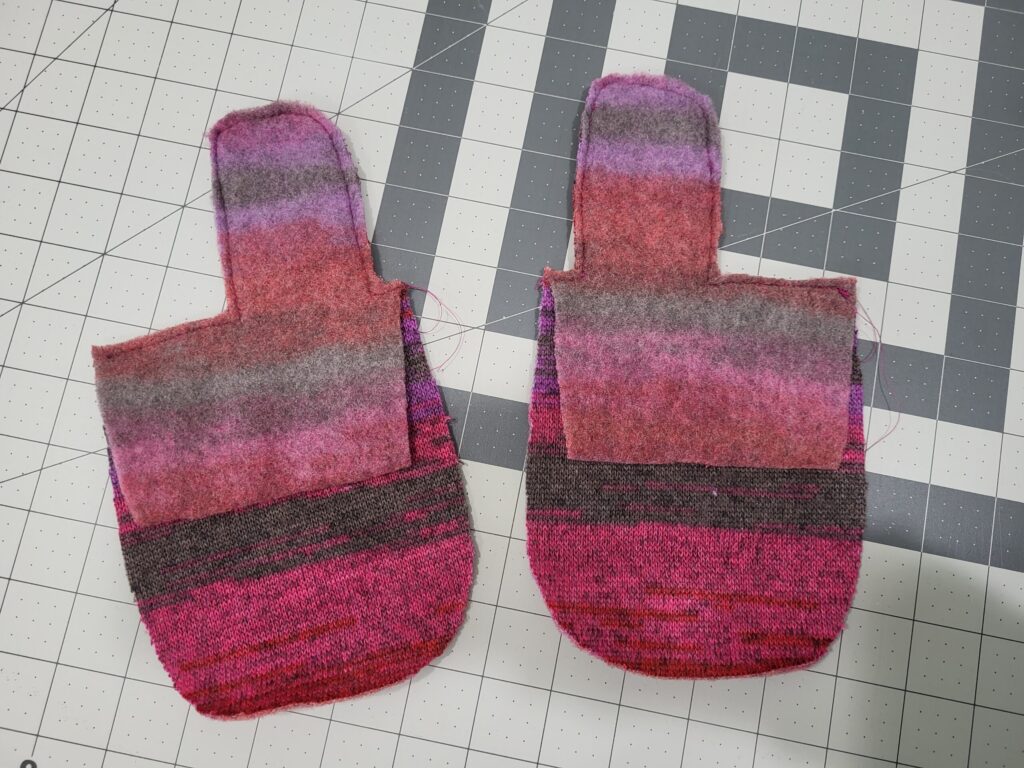 Next, lay the mitten front on top of the mitten back RST and sew along the curved edge, and again trim the seam allowance to 1/8″. Make sure not to get the thumb piece caught in the seam. Repeat for the second mitten.
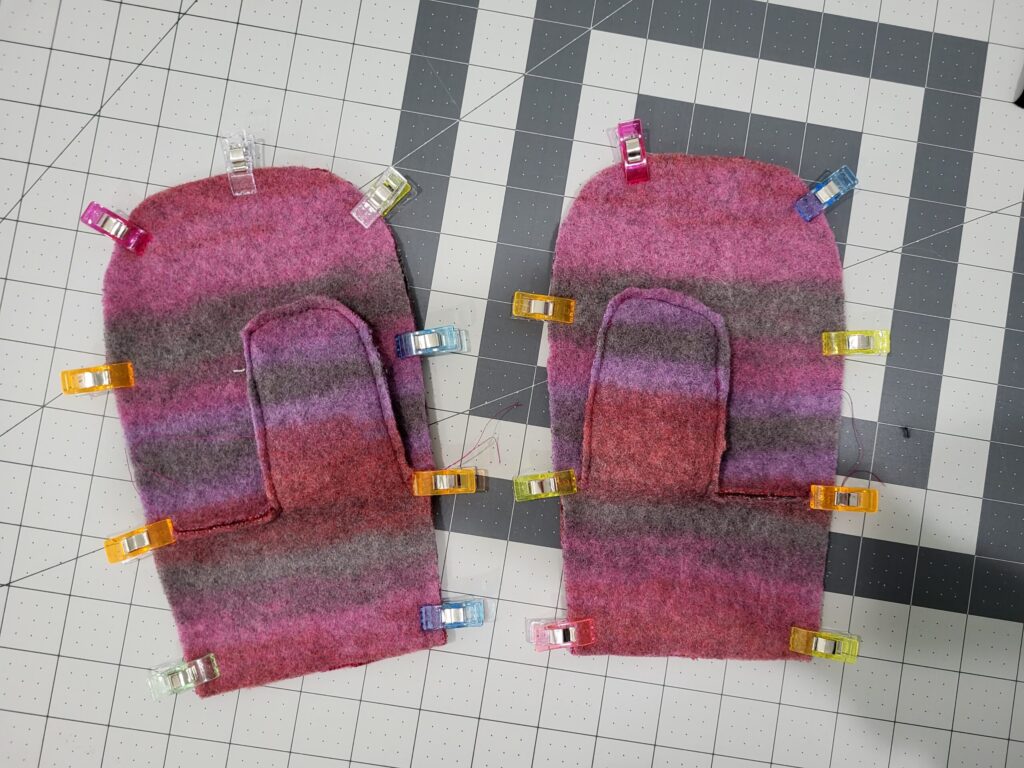
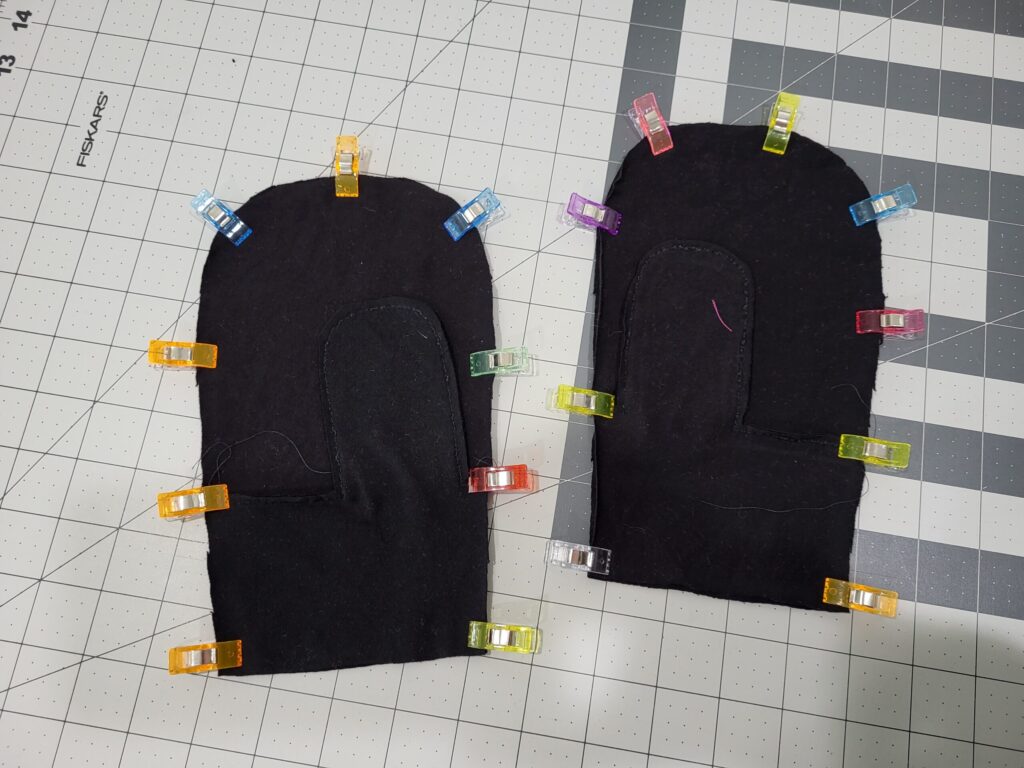
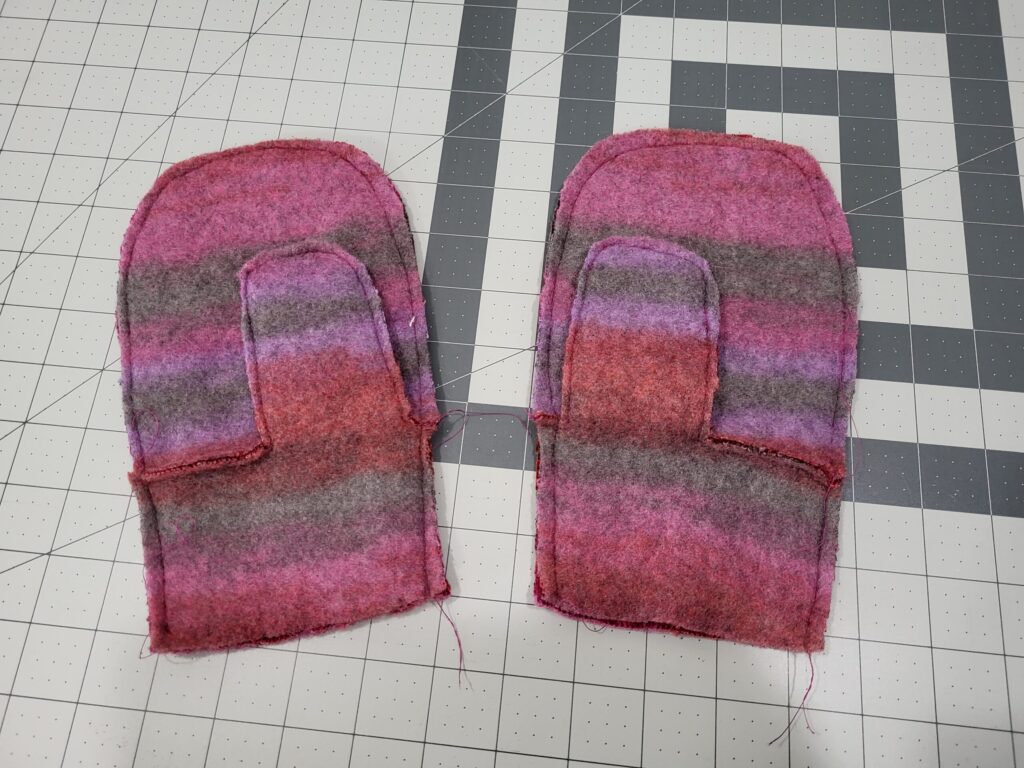 Turn the mittens right side out. You can try them on now to give you an idea how they will fit. Remember, adding a lining will make the fit a little more snug.
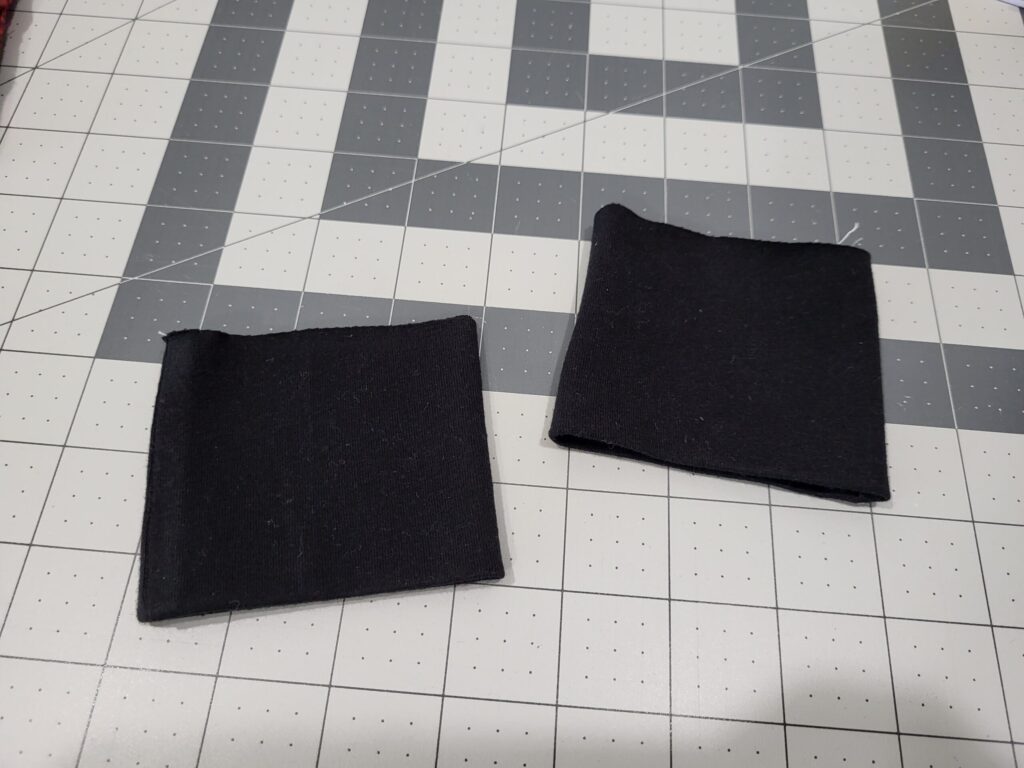
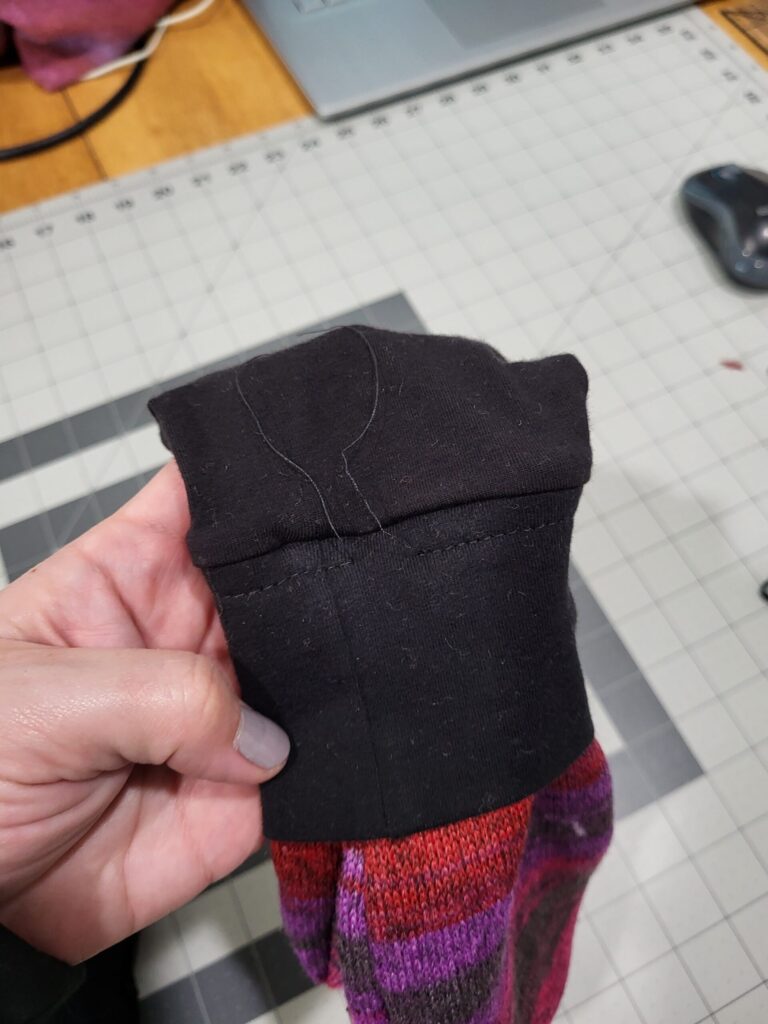
Now, let’s move on the cuffs. Bring one long edge of the cuff over to the other side RST and sew along the edge. Here, it’s okay to use a serger if you’d like. When serging cuffs, I like to fold the cuff in half longways and snip the seam along the fold right up to the outside stitch without going through that outside stitch.
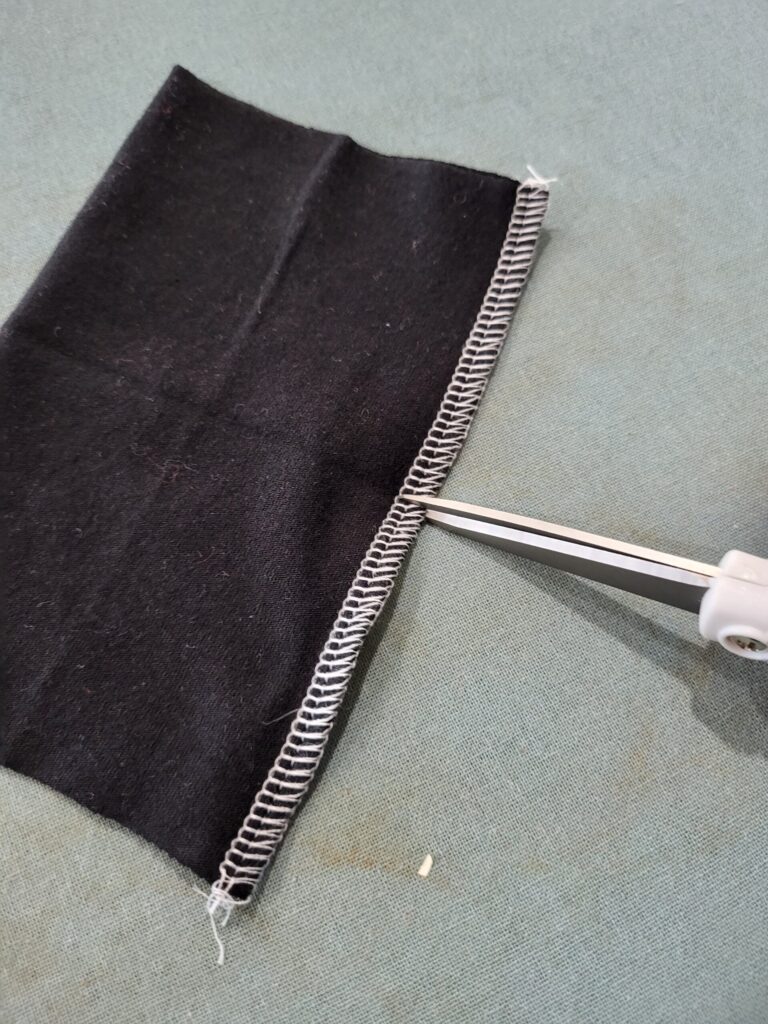
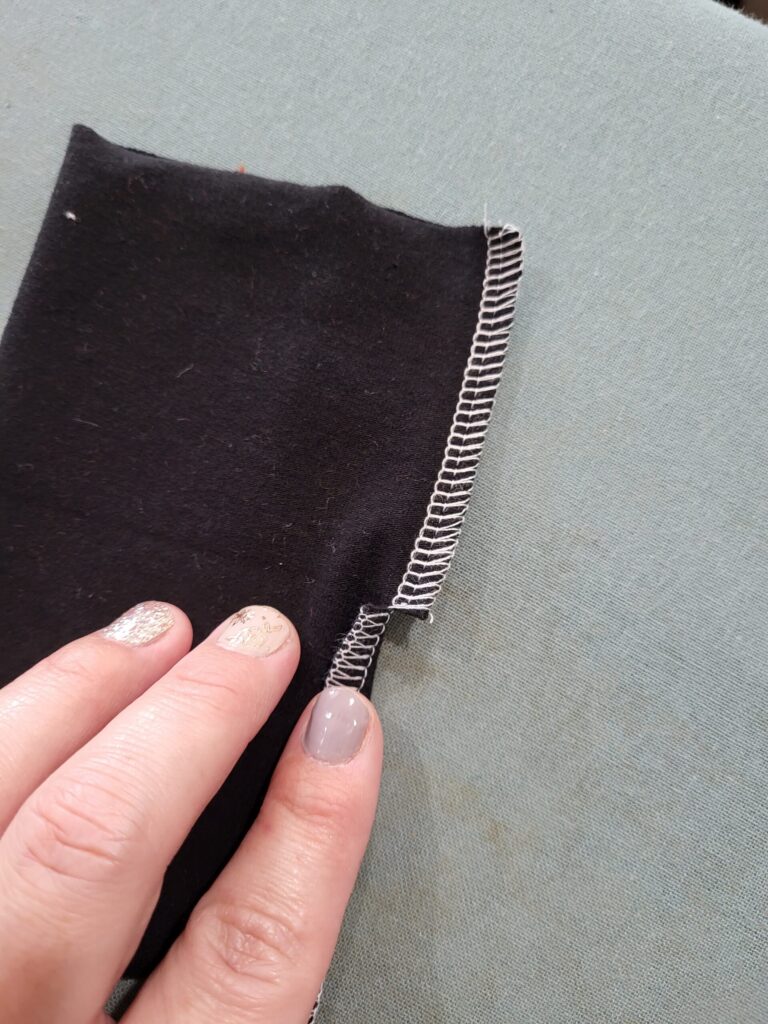
Then, when I fold the cuffs in half I can nest the seams in different directions to reduce the bulk. Repeat these steps for the second cuff piece.
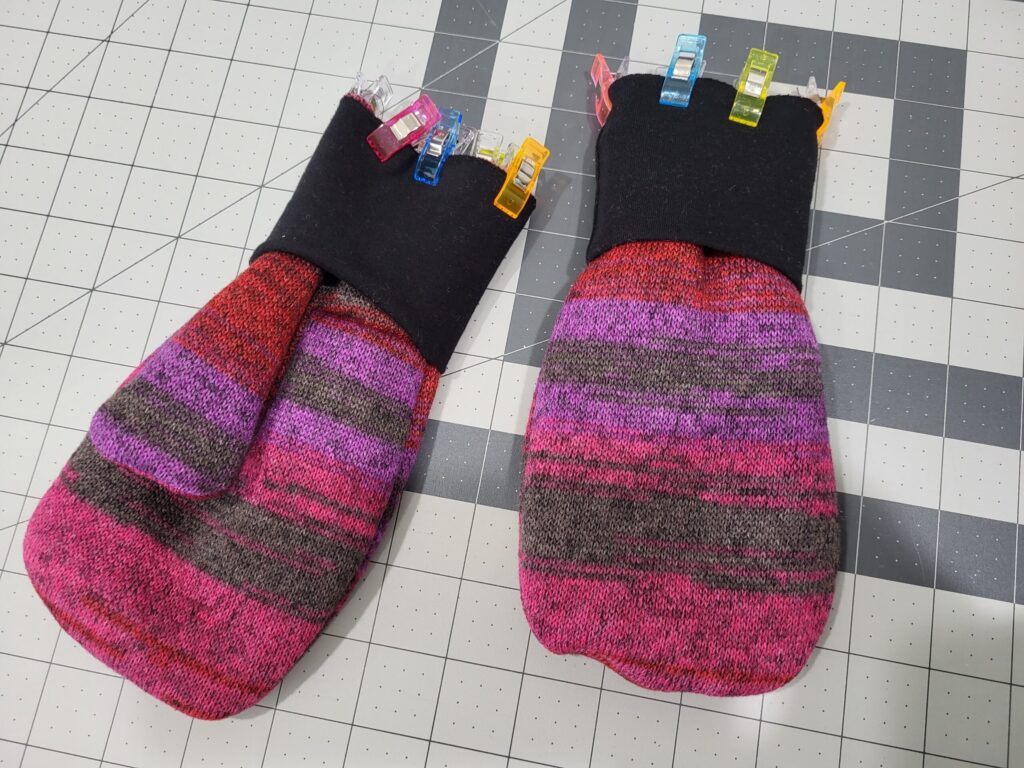
Now, place your cuff over the top of your mitten with RST, stretching it slightly to fit, and baste the cuff in place. I used a 3/8″ seam allowance for basting so it would be easy to remove my basting stitch later on. Repeat for the second mitten. Now, put those to the side while you work on the lining pieces.
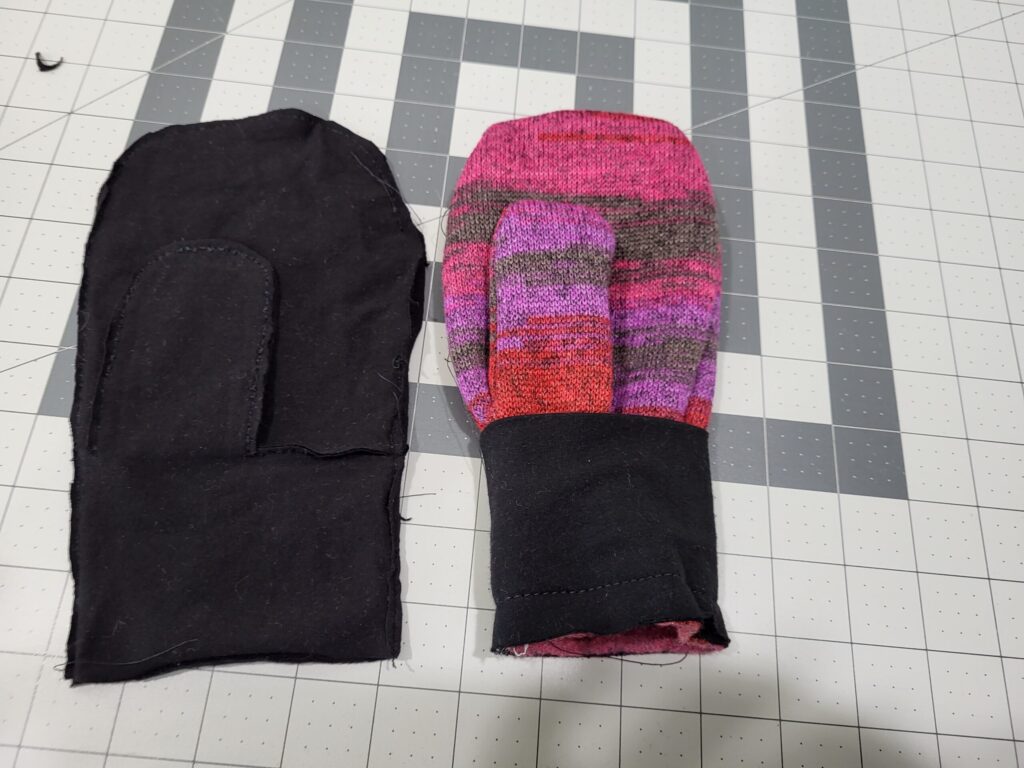
For the lining, you’ll repeat mostly the same steps as you did for the main fabric, with one important exception. First, sew your lower front piece to your upper front piece RST and then trim the seam allowance to 1/8″. Repeat for the second mitten.
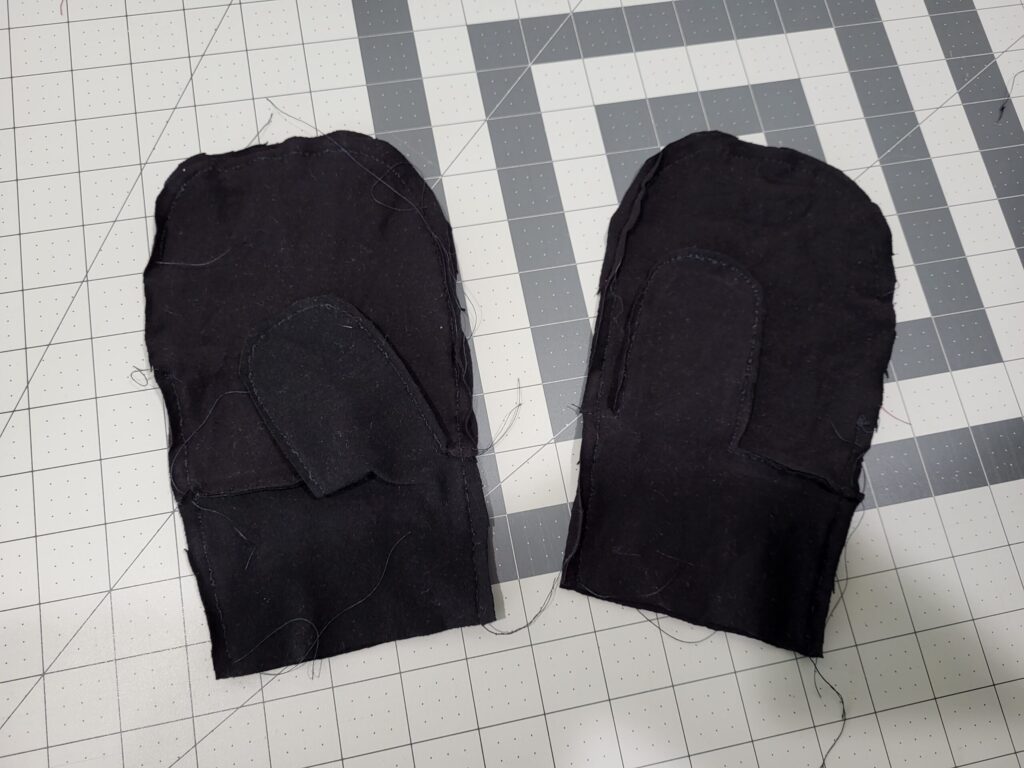
Now place your mitten front on top of the mitten back RST and sew along the curved edge, but leave a 1-2″ gap near the top of the mitten for turning right sides out. If you have a bulky fabric, a larger gap will make turning easier. I like to place the gap along a mostly straight edge. Trim the seam allowance to 1/8″, except along the gap. Repeat for the second mitten.
Now we get to put all of the pieces together! Slide the mitten lining over the top of the outer layer/cuff piece RST. The cuff will be sandwiched between the lining and main fabrics. Stretch the edge of the cuff to fit the lining piece and sew. I used a serger here since we don’t need to trim the seam allowance. Repeat for the second mitten.
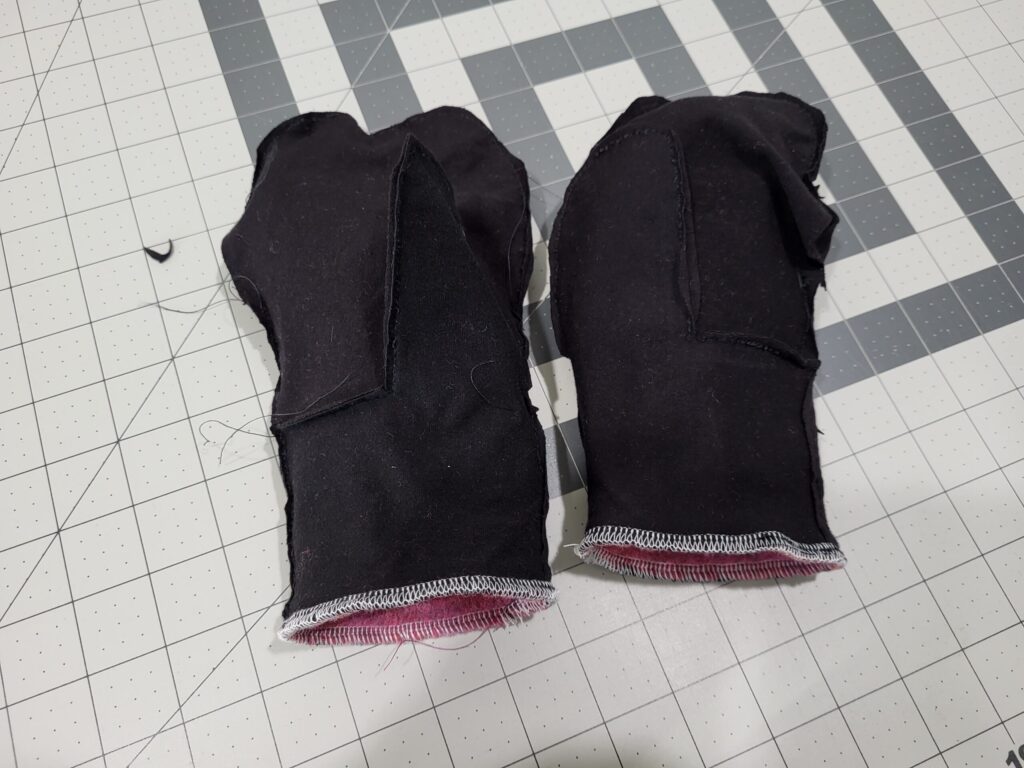
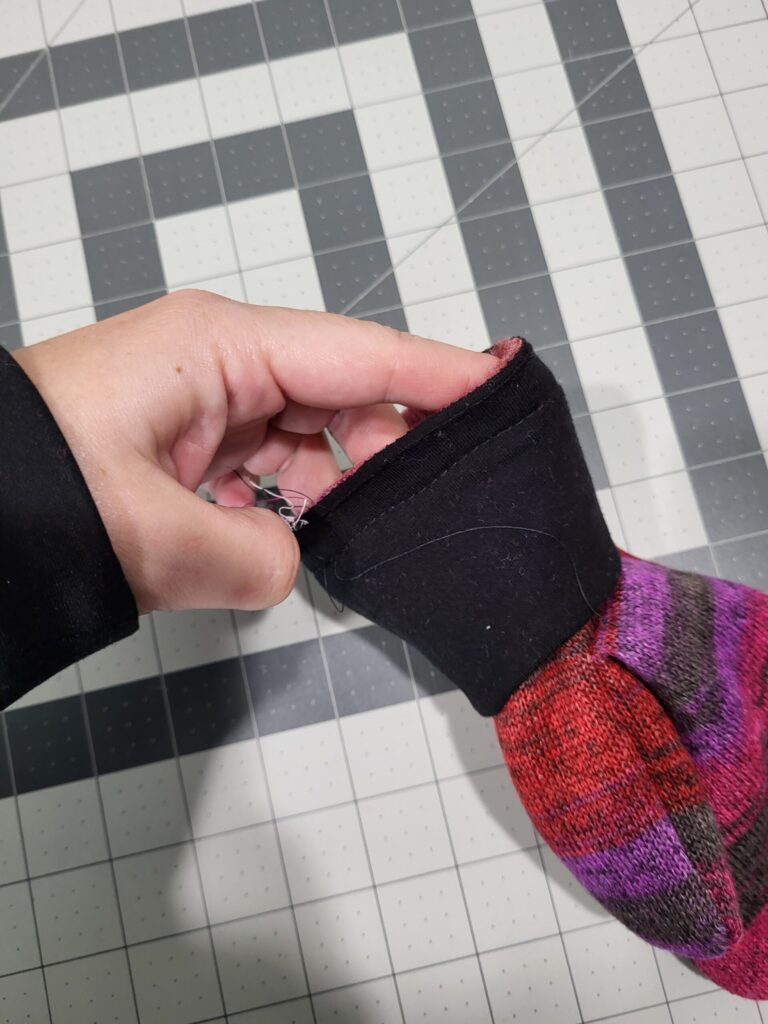
Using the gap in the lining, turn the mitten right side out. Remove your basting stitch if visible. (I basted with a straight stitch, and removing it helps the cuff to stretch without breaking the thread.) Repeat for the second mitten.
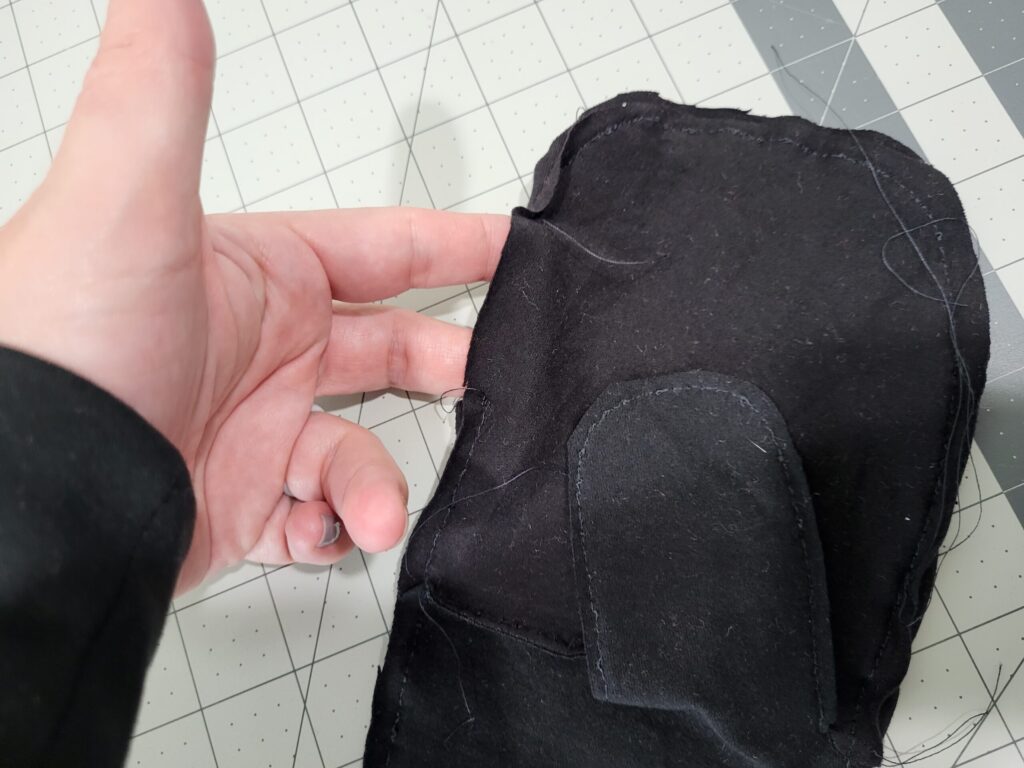
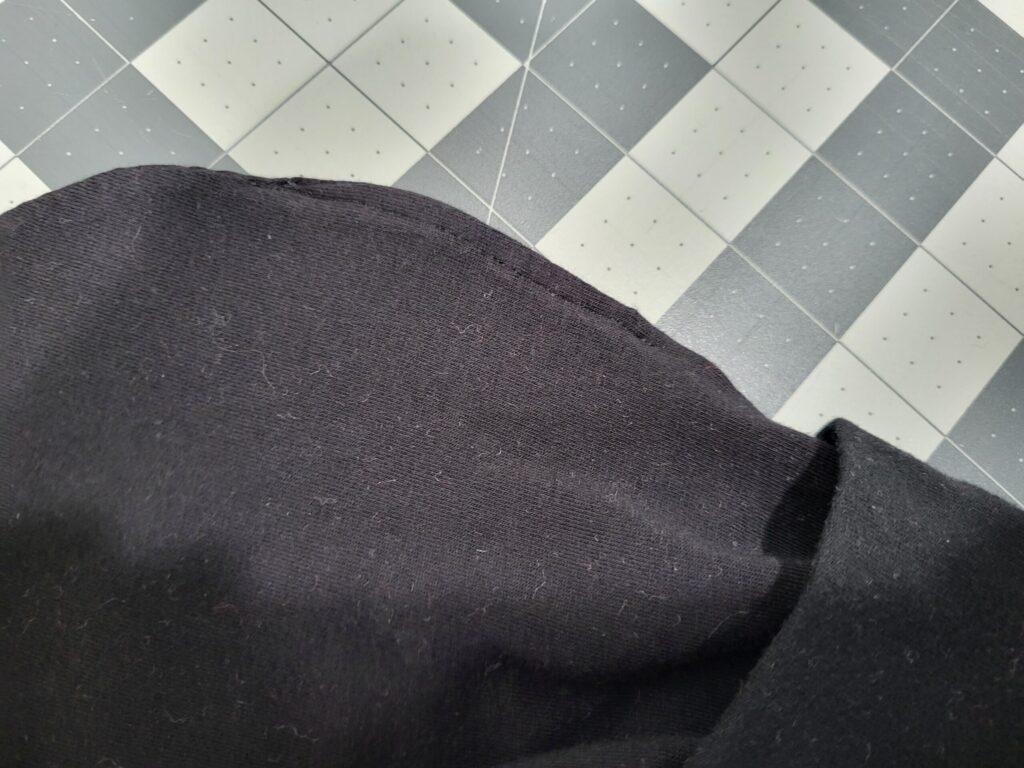
Where you left the gap in the lining for turning, take those raw edges, fold them under, and press them flat to hold them in place. You can either topstitch along the gap or hand sew it closed. Since no one will be seeing the lining, I chose to simply topstitch it shut. Repeat for the second mitten.
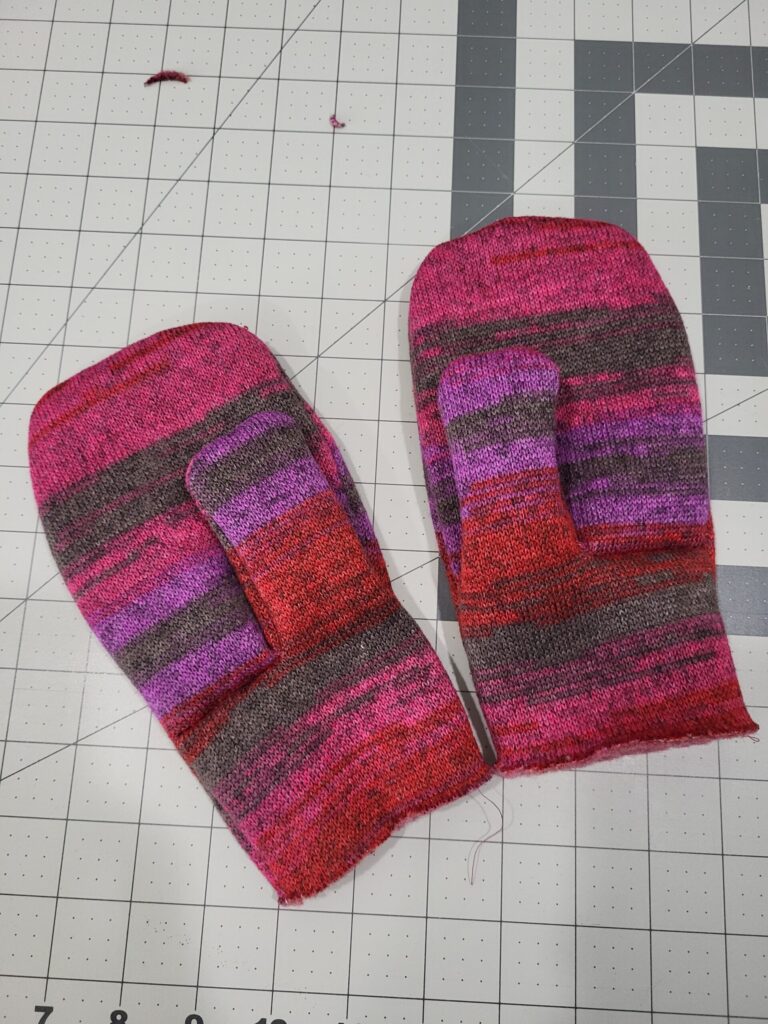
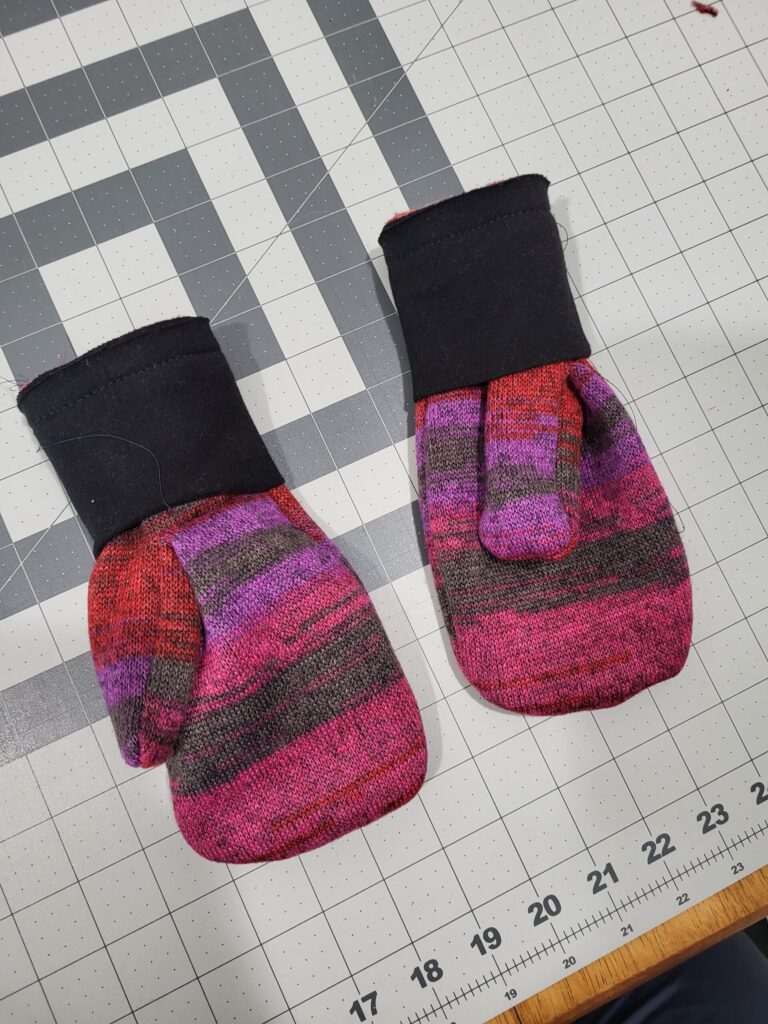
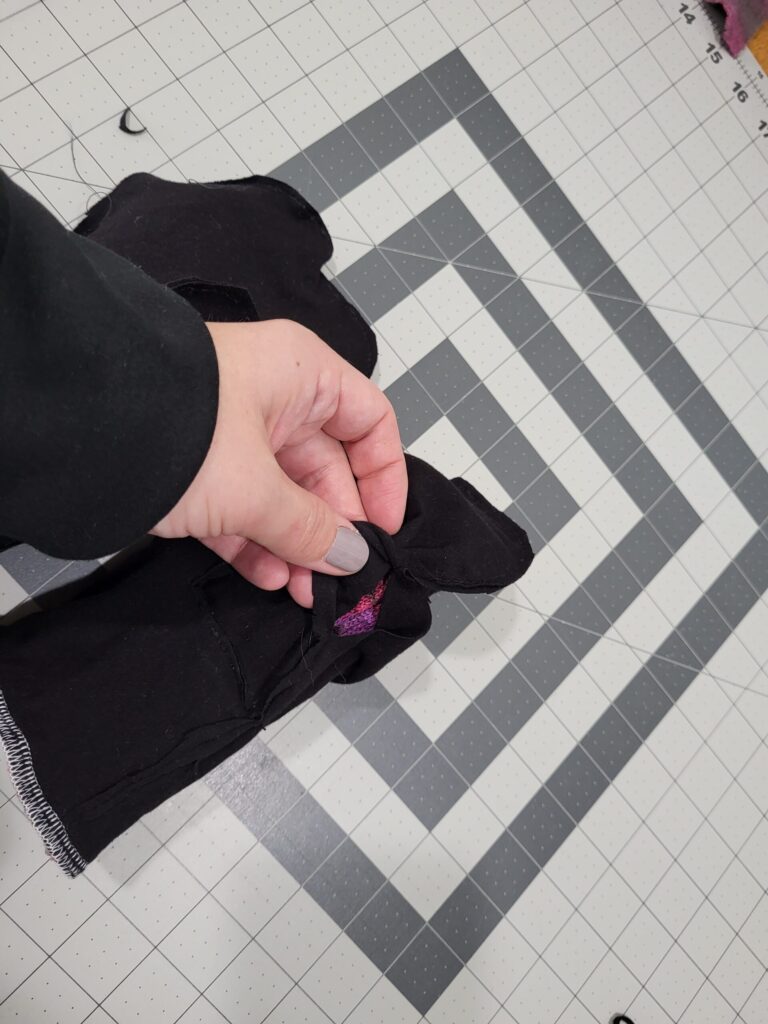
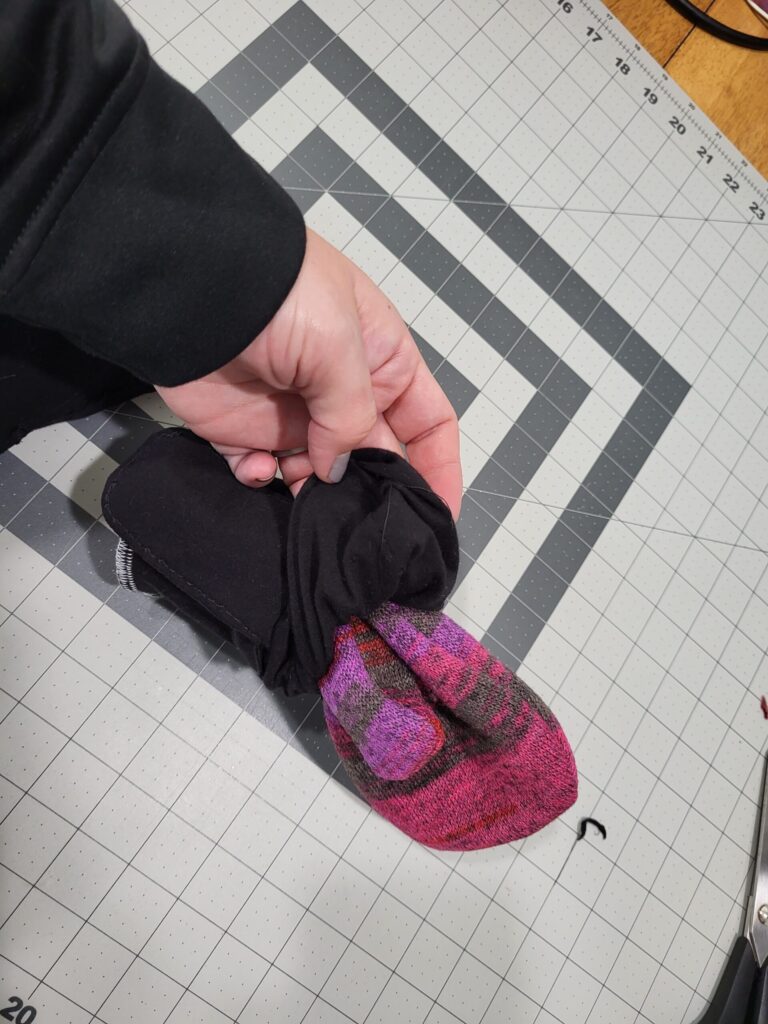
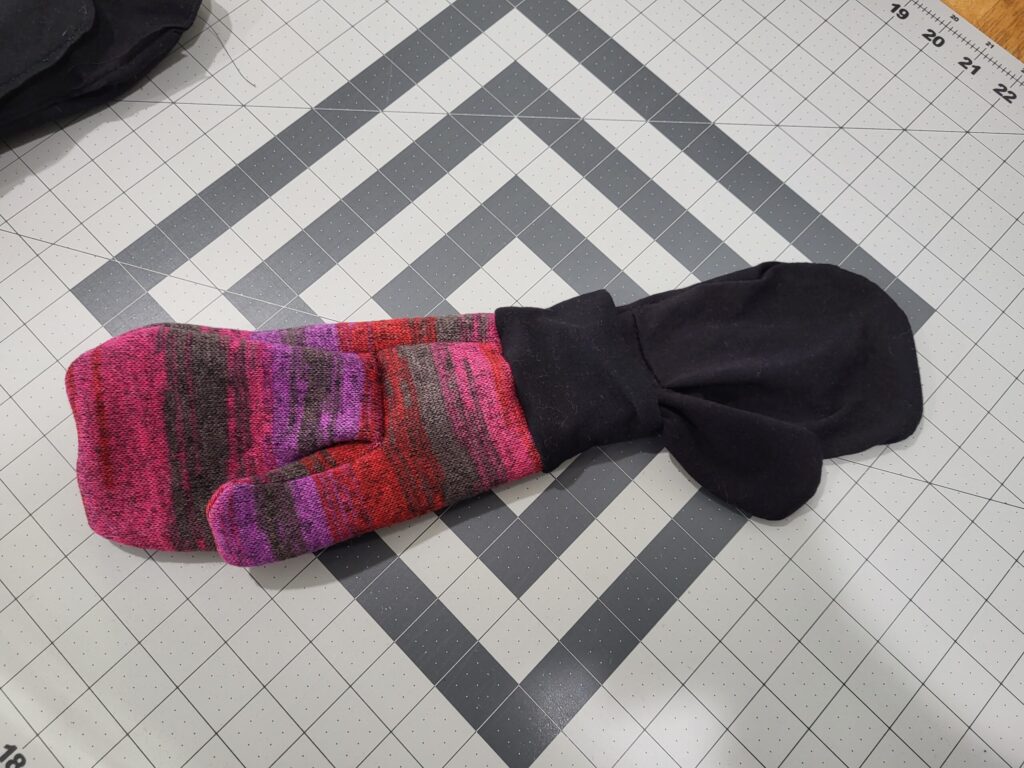
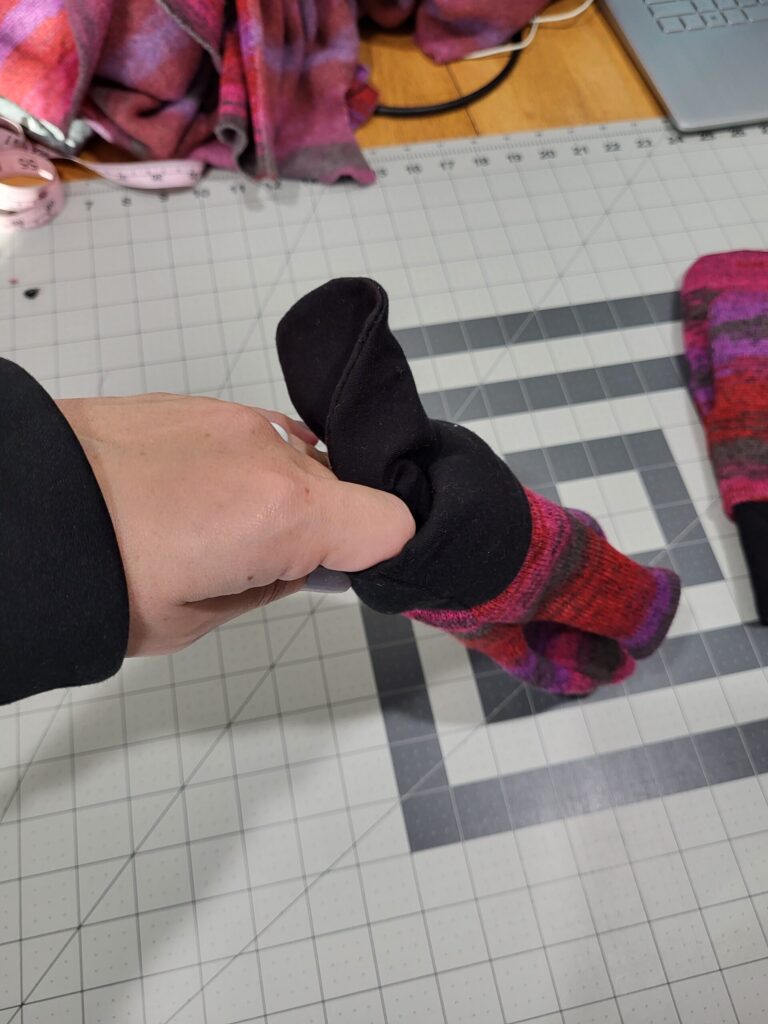
Finally, push the lining inside the mitten. Make sure to tuck that thumb lining into the main thumb piece to get a comfortable fit. Repeat for the second mitten.
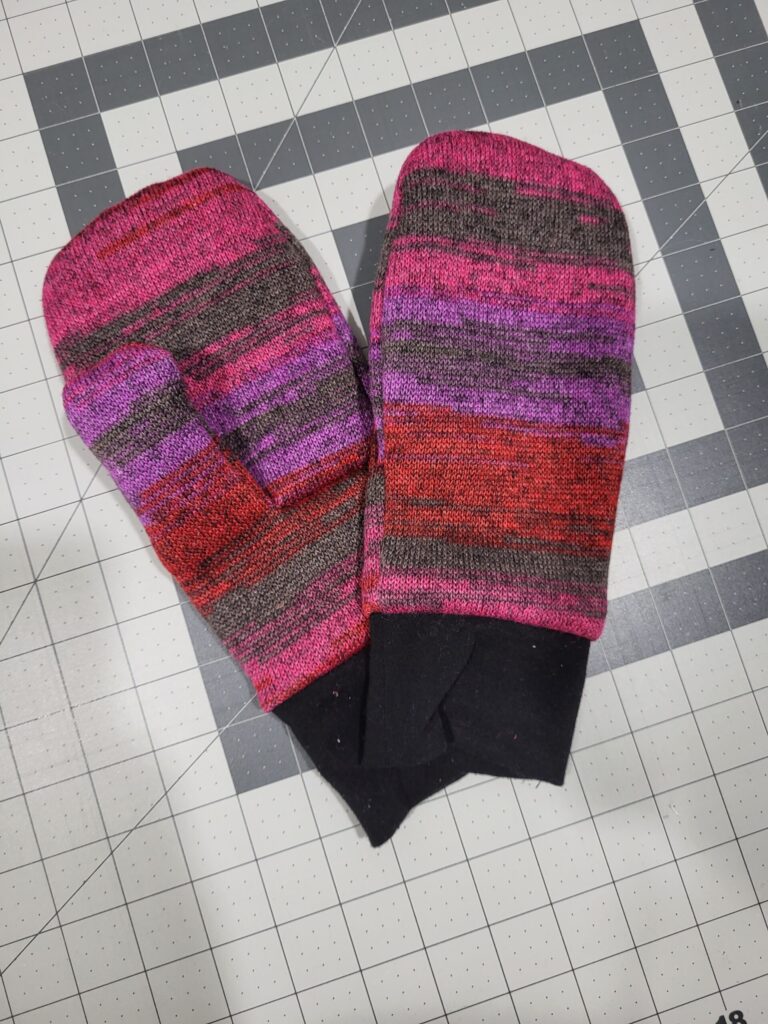
Great job! Now, you have a completed set of mittens, ready to keep your hands toasty warm!
Tips and Tricks for Sewing Mittens:
We've gone through how to sew mittens today. Remember these tips and tricks when trying it yourself:
- Choose the right fabric: Look for fabrics that are warm and durable, such as wool or fleece. These materials will keep your hands cozy while also being sturdy enough to withstand regular use.
- Use a a Pattern: Sewing mittens can be tricky, so it's helpful to have a pattern to follow. Of course, we prefer the Mistletoe Mittens!
- Take accurate measurements: To ensure a proper fit, measure your hand carefully before cutting out the fabric. Pay attention to the circumference of your palm, the length of your fingers, and the width of your wrist. Adjust the pattern accordingly if needed.
- Reinforce stress points: Mittens are subject to a lot of movement and stretching, so you might want to reinforce areas like the thumb seam and finger seams with extra stitching or double layers of fabric. This will make your mittens more durable and long-lasting.
- Finish with care: Once you've sewn all the pieces together, take the time to finish off any raw edges with zigzag stitches or by using bias tape. This will give your mittens a clean and professional look.
Remember, practice makes perfect! Don't be discouraged if your first pair of mittens doesn't turn out exactly as planned
What are some tips for sewing with difficult fabrics, such as thicker materials like fleece or wool?
When sewing with thicker fabrics like fleece or wool, it's important to use the right tools and techniques. Use a heavy-duty needle and a walking foot to prevent fabric from slipping. Adjust your machine's tension and stitch length for optimal results. Practice on scraps before starting your project.
Sewing your own cozy mittens can be a rewarding and practical endeavor. You can do it with just a little extra fabric you have laying around the house or even some excess fabric from an old sweater. They make great Christmas Gifts too! By following the step-by-step instructions in this blog, you can create personalized mittens that fit perfectly and showcase your unique style. Whether you're a beginner or an experienced sewer, this project is sure to bring joy and warmth to your winter wardrobe. So grab your sewing machine and start stitching your way to cozy and stylish mittens today!
Thank you for joining us today to learn how to sew mittens. Before you leave, make sure to stay in touch on social media by joining our Facebook Group or following us on Pinterest and Instagram. Happy sewing!