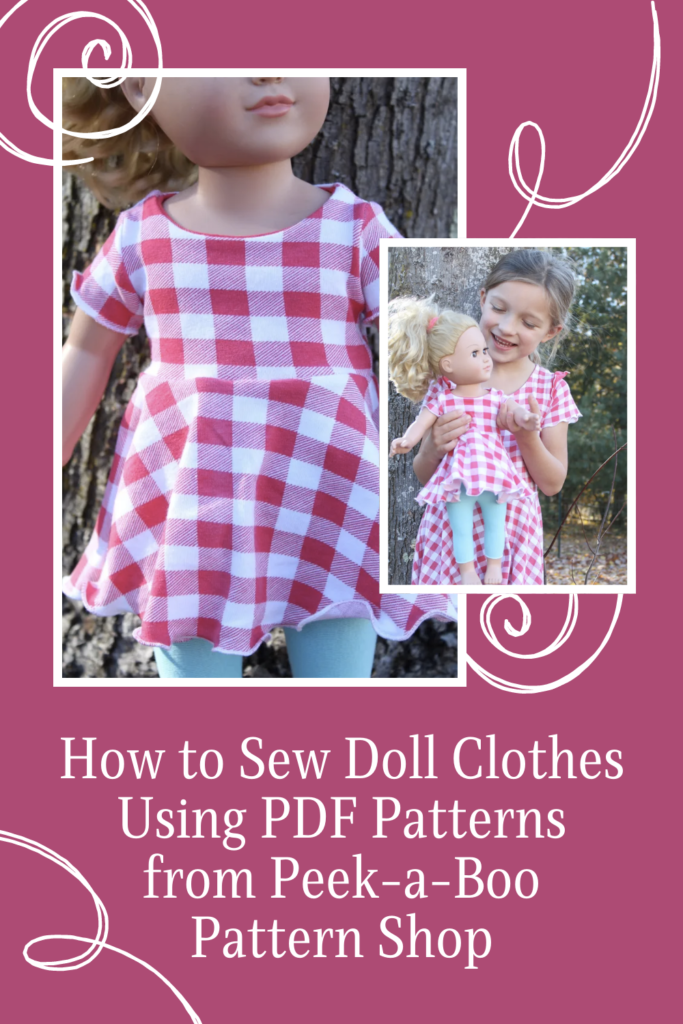
How to Sew Doll Clothes Using PDF Patterns
Today I'm going to walk you through how to sew your doll clothes using Peek-A-Boo patterns you already may own! As opposed to some of our other Doll Clothes Patterns, this article will show you how to use regular PDF Sewing Patterns made for normal size people and make them into doll clothes.
How to Sew Doll Clothes | Using PDF Patterns to Make Doll Clothing
When my daughter asked if I could make her doll some clothes, I pondered the idea for a bit before mentioning it to my husband to see how he thought I could make it happen for her. I wondered if it would be possible to use existing patterns I already owned that would allow her and her doll to match. So, I set off to make it happen with the help of my husband and his awesome math skills.
This will involve using some basic math. Disclaimer-I am not a math genius, but as with all sewing, there is always some math involved. I will walk you through the steps and process I used to make my daughter's doll an outfit!
Doll Clothes Supplies:
- Peek-A-Boo pattern of your choice (I chose the Melanie Dress and Agility Leggings)
- Printer or projector & computer/device
- A doll
- Tape measure, calculator, pen & paper
- Fabric scraps
- scissors, pins/clips, sewing machine & iron
Doll Clothes Patterns Step One: Measurements
I will be using an 18" doll for this tutorial. Any size doll should work though. My daughter asked for a dress and leggings for her doll. The first part of this tutorial will highlight the Melanie dress from peek-a-boo.
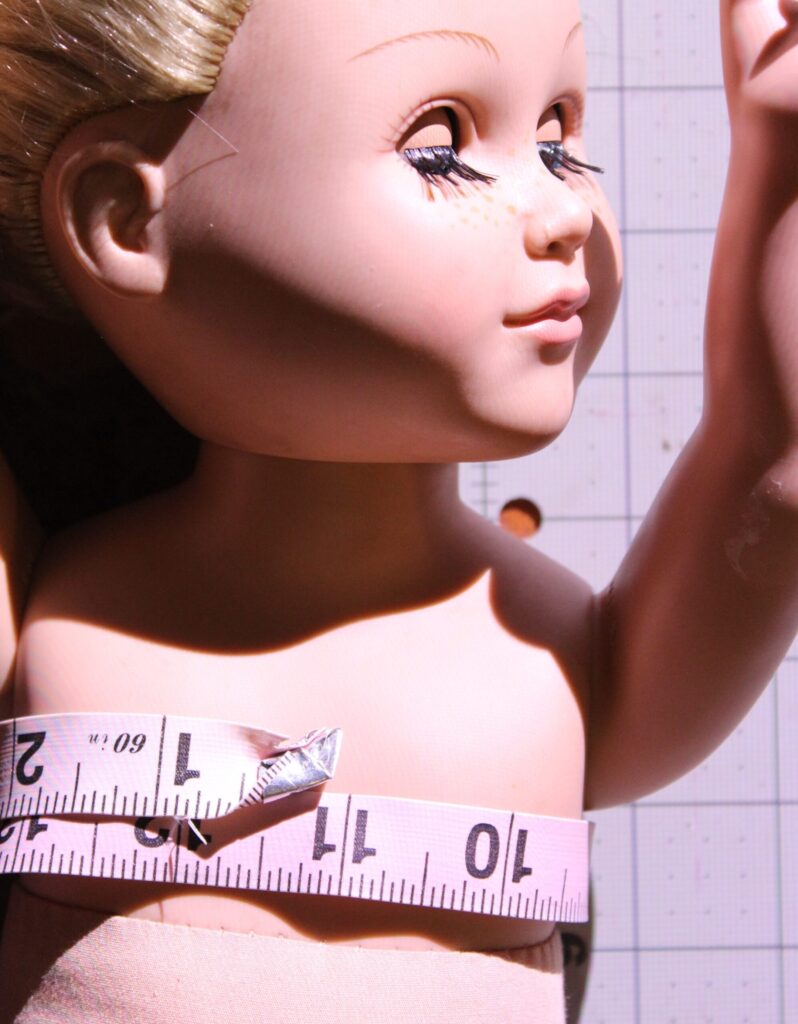
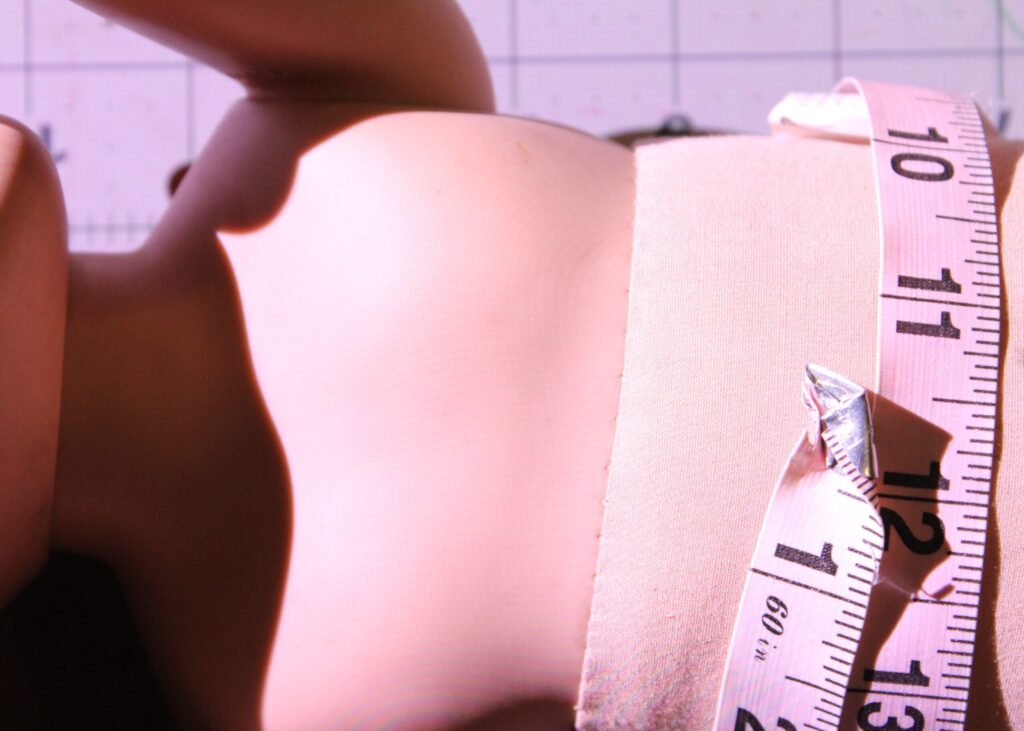
After the pattern was decided on, I began by taking measurements of the doll: Chest, waist and hip. I then wrote those numbers down. You will want to do the same as well.
I also want to note that I will be using a projector. If you are using an at-home printer, this formula will work as well. I tested out my math with my printer and paper and it checks out. Always measure the test box to be sure before moving forward. I will walk you through the math in the following steps.
Below you will find the measurements I ended up with and the math equations I used to work through the percentage decrease.
The waist measurement was 11.5". I divided that number by 18" which is the smallest chest measurement size listed for the Melanie dress pattern. That came out to 64% projected image size.
The chest measurement was 11". I divided 11 by 17.5" the smallest waist size listed in the pattern chart and came out with 63%.
17.5" = my normal projector image zoom. This is equivalent to 100% for paper printing.
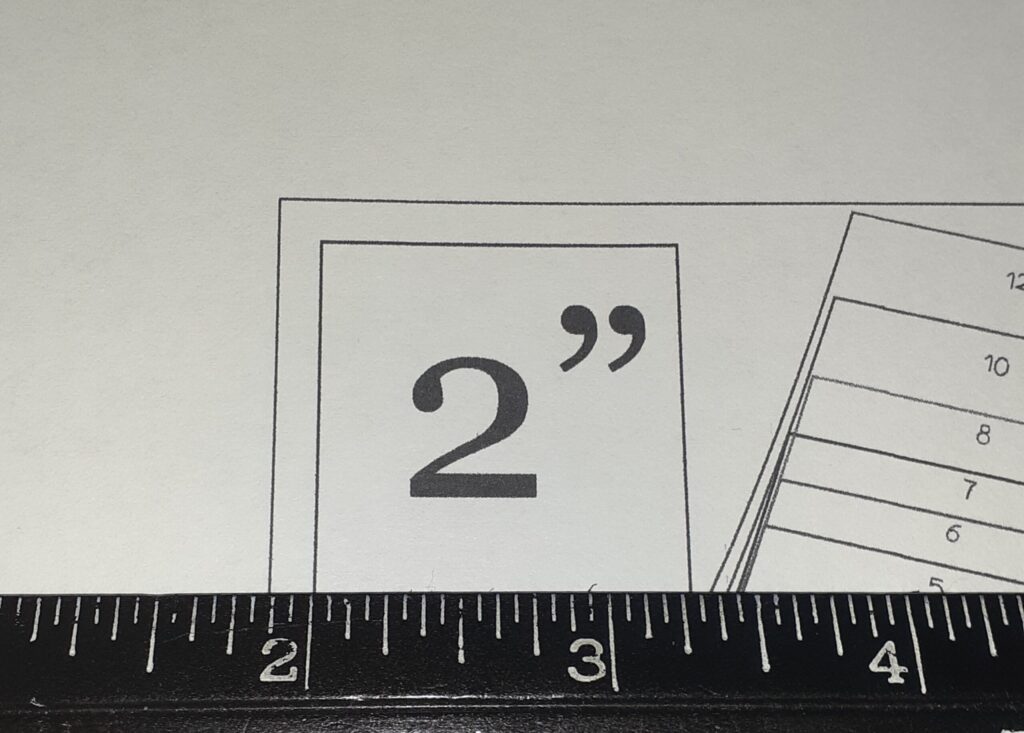
Next, I took 17.5 and multiplied it by 0.64 my largest percentage and got my new zoom percentage. To check the math, I took 2 which represents the 2" test box on the pattern and multiplied it by 0.64 to get my new test box square percentage. 1-5/16" is the measurement I went with (I rounded up) so the test box is accurate and ready for cutting.
If you are printing your pattern, click on custom scaling and type in the percentage you got based off from your doll measurements and math.

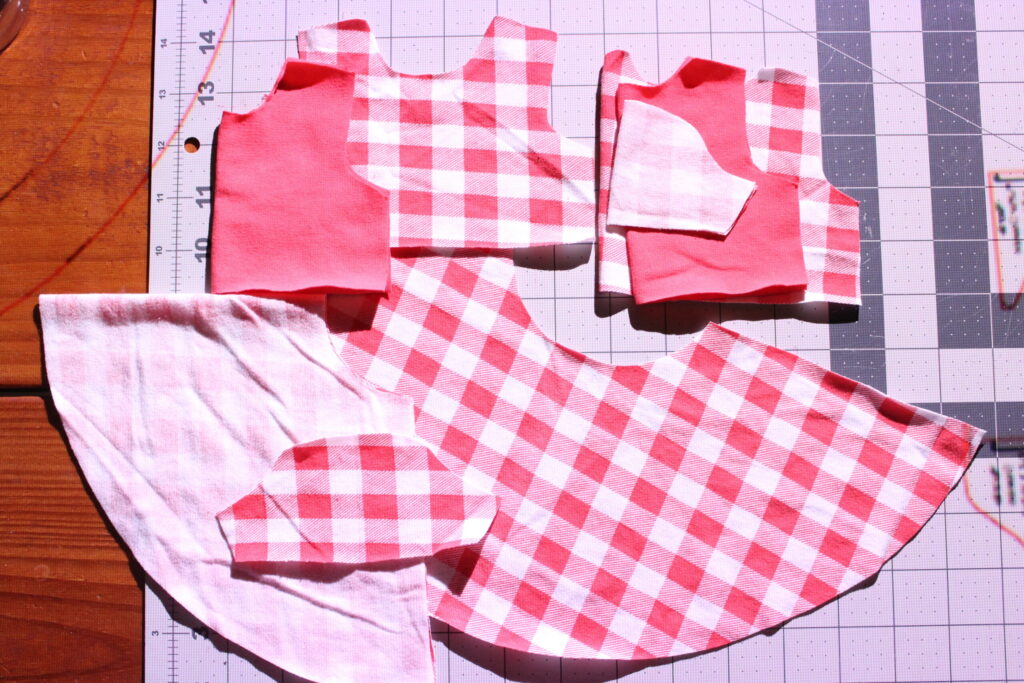
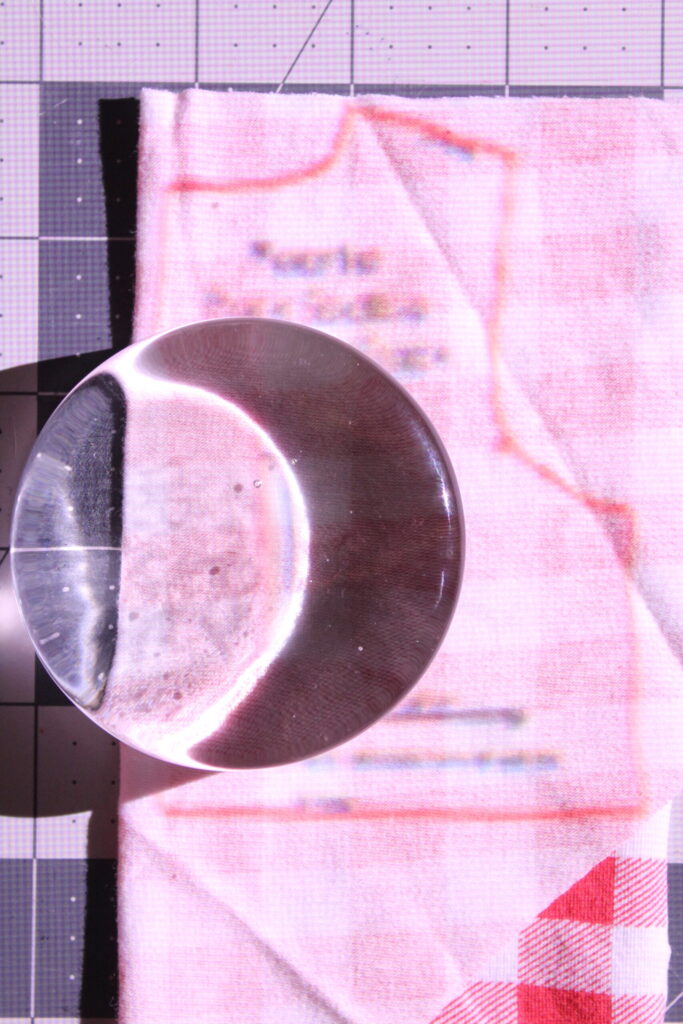
Sewing Doll Clothes Step Two: Cutting
This is an example of what my image looks like using a projector at our new zoom size. Everything looks good and my test box measures the above measurement. I would recommend printing out page A with the test box 1st before printing out the rest of your pattern pieces just to be sure your math checks out.
Here is the paper version of the pattern printed at 64%. I wanted to include this as a visual for anyone printing on paper. I did not print out every piece. This is page A with the test box and as stated above, it also checks out.

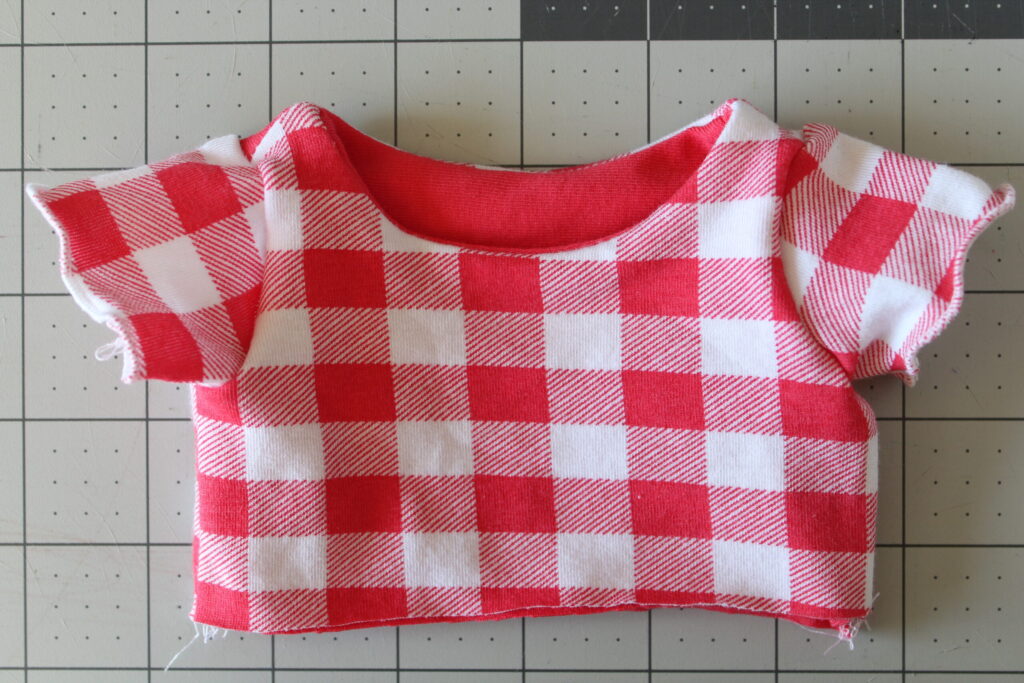
I have the Melanie dress pieces cut out and ready to sew up. Let's start sewing!

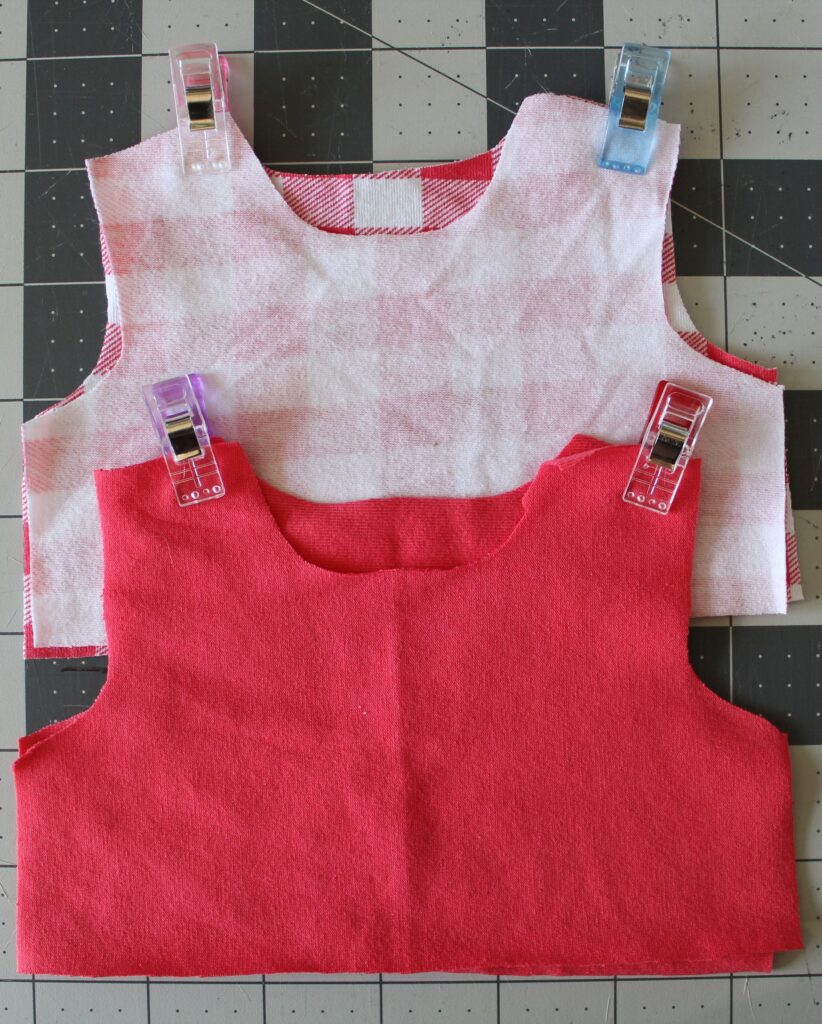
Step Three: Sewing assembly-Shoulder and side seams
We're going to sew this up exactly as the pattern states except I used a 1/4" seam allowance just to be safe.
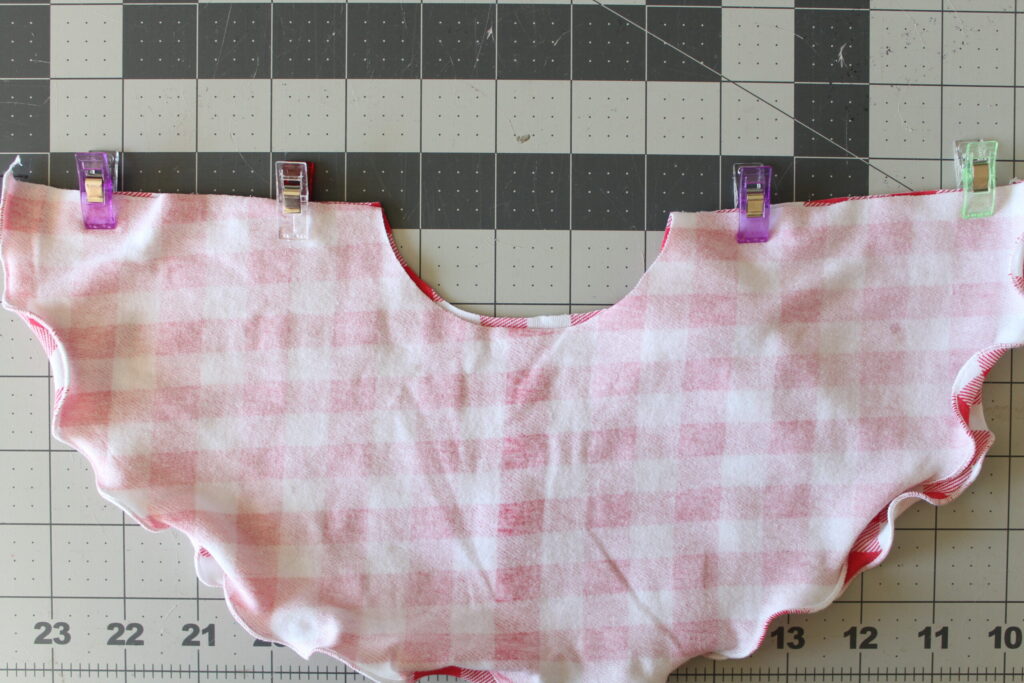
Clip or pin both shoulder pieces with right sides together for the main and bodice lining. We will also sew up the sides on both as well.
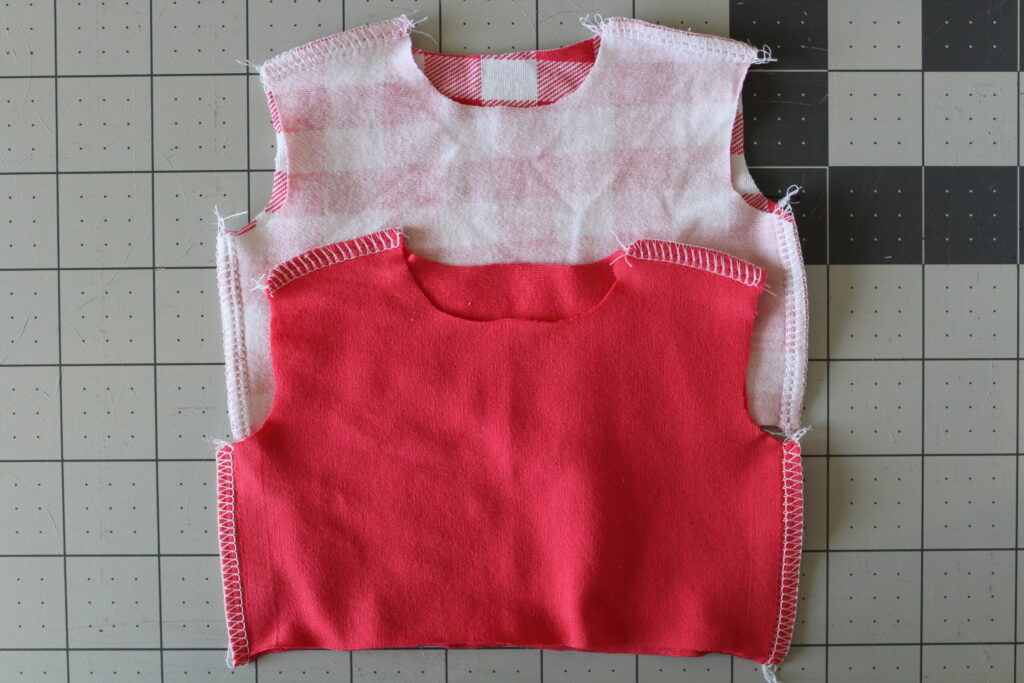
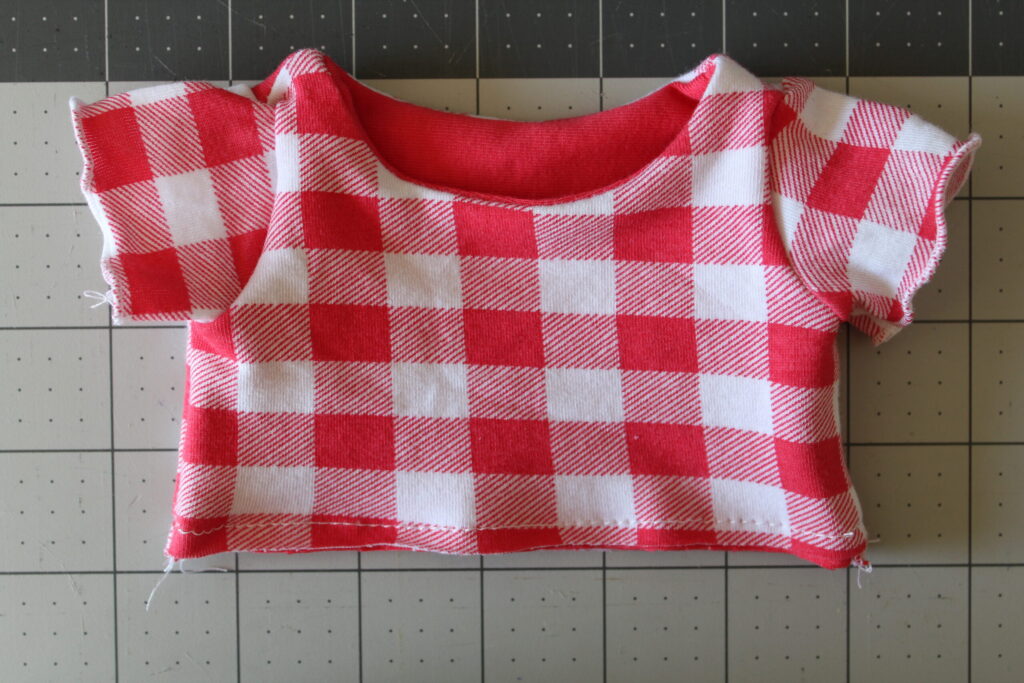
Shoulder and side seams sewn up.
Turn the bodice lining right side out.

Place the lining inside of the main bodice piece with right sides together. Clip/pin together and sew around the neckline.
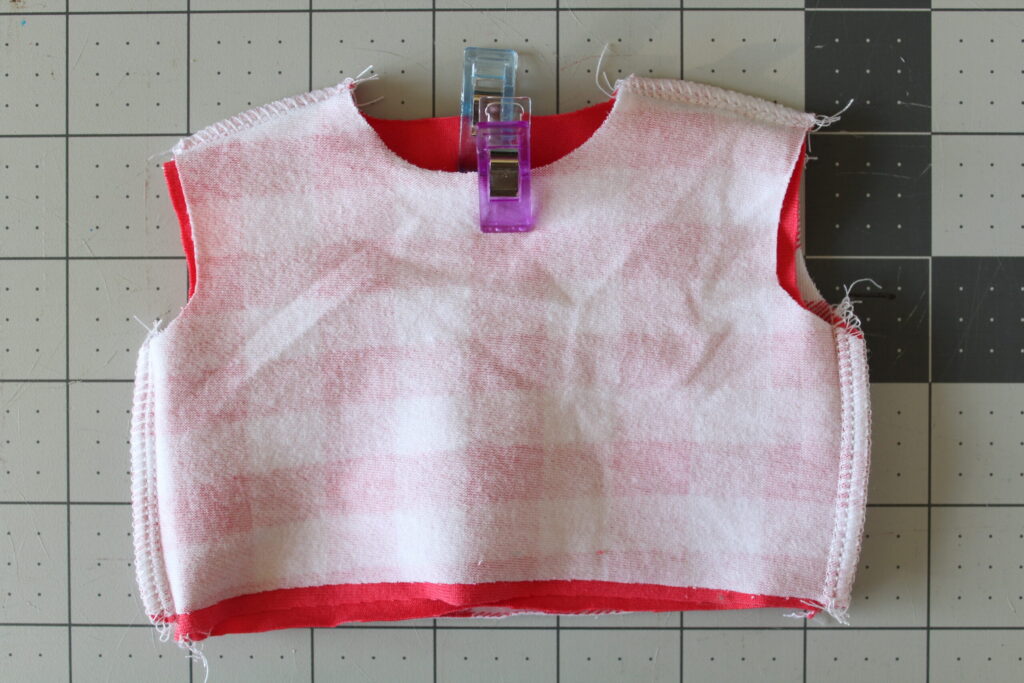
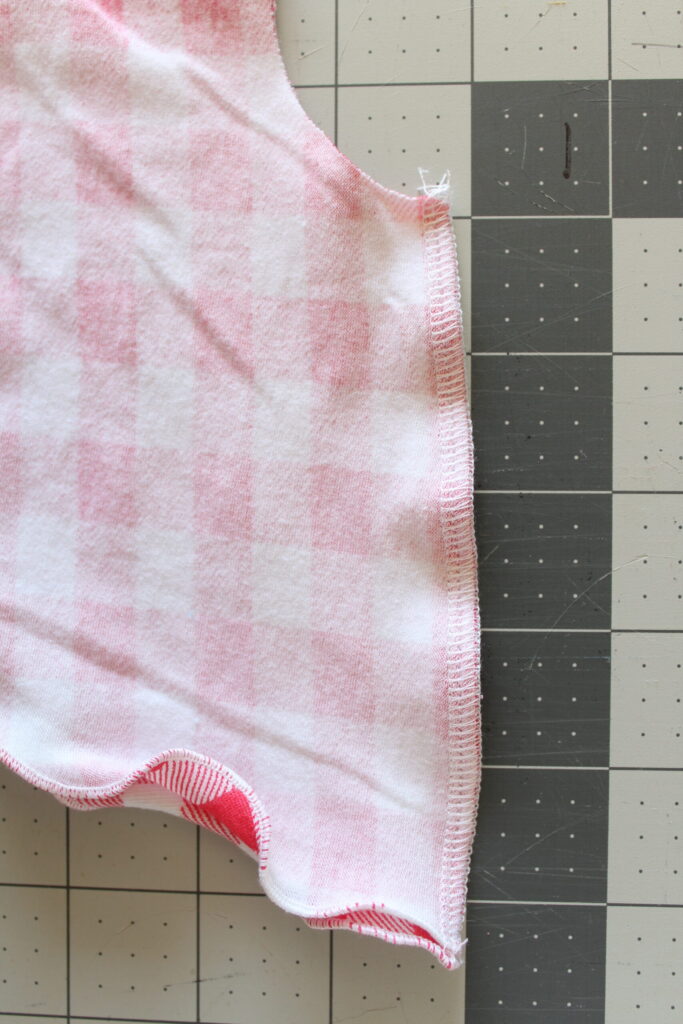
Neckline sewed up.
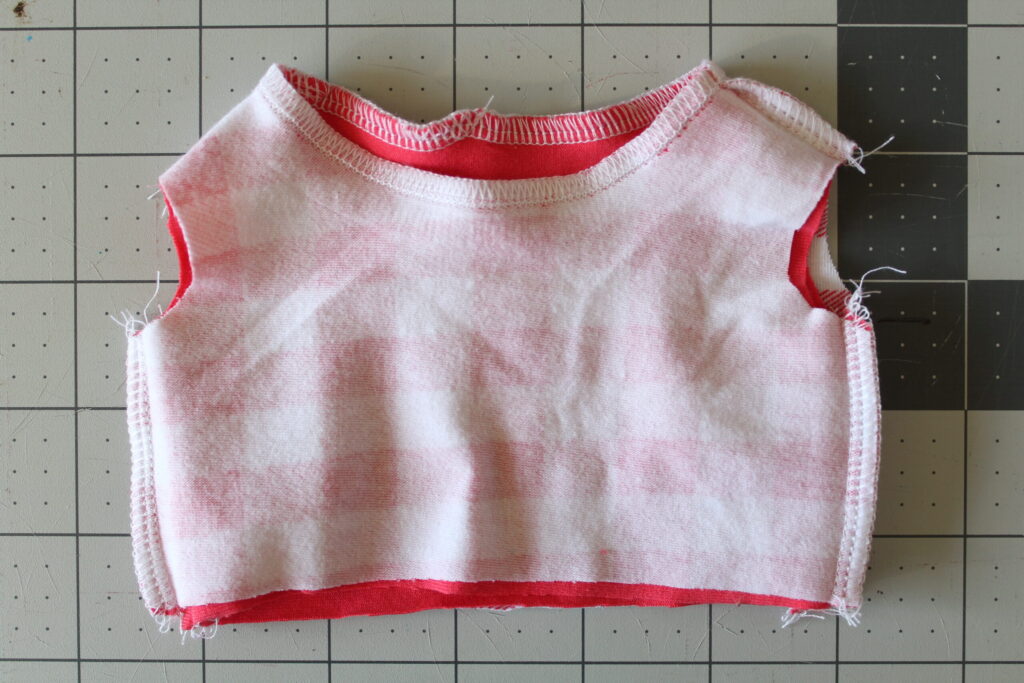
Turn the bodice right side out.
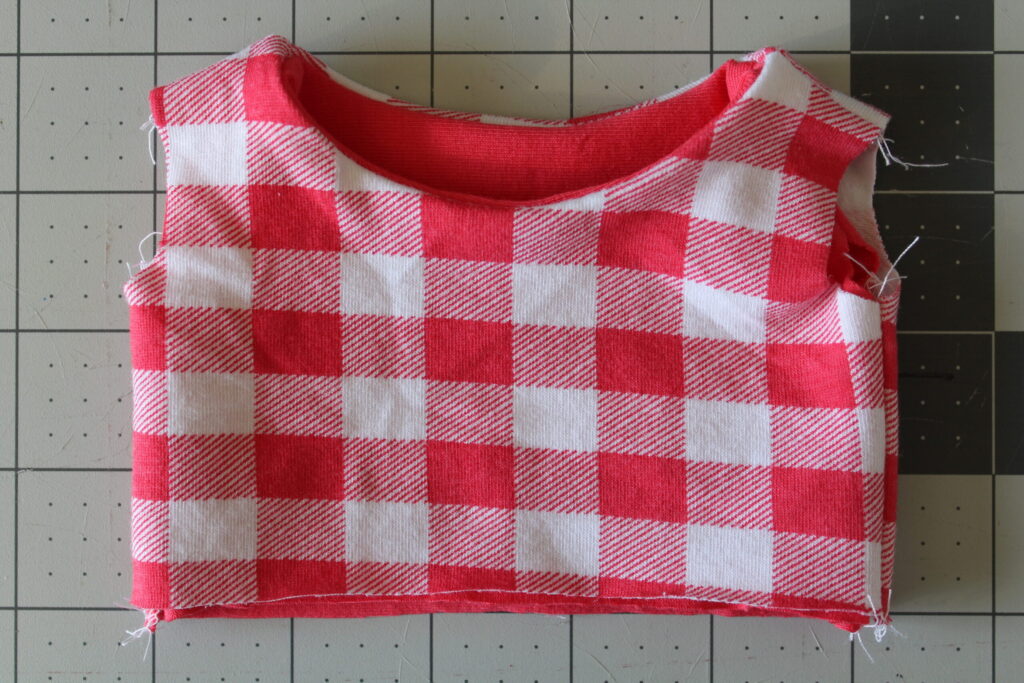
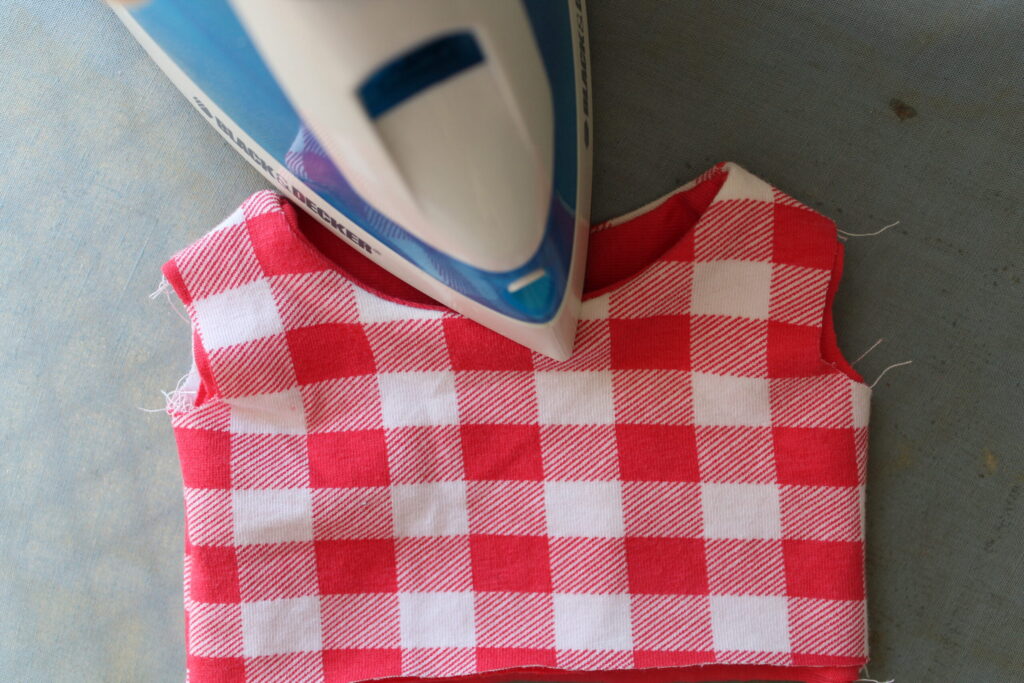
Press the neckline. Topstitch if you'd like. I chose to leave mine as is.
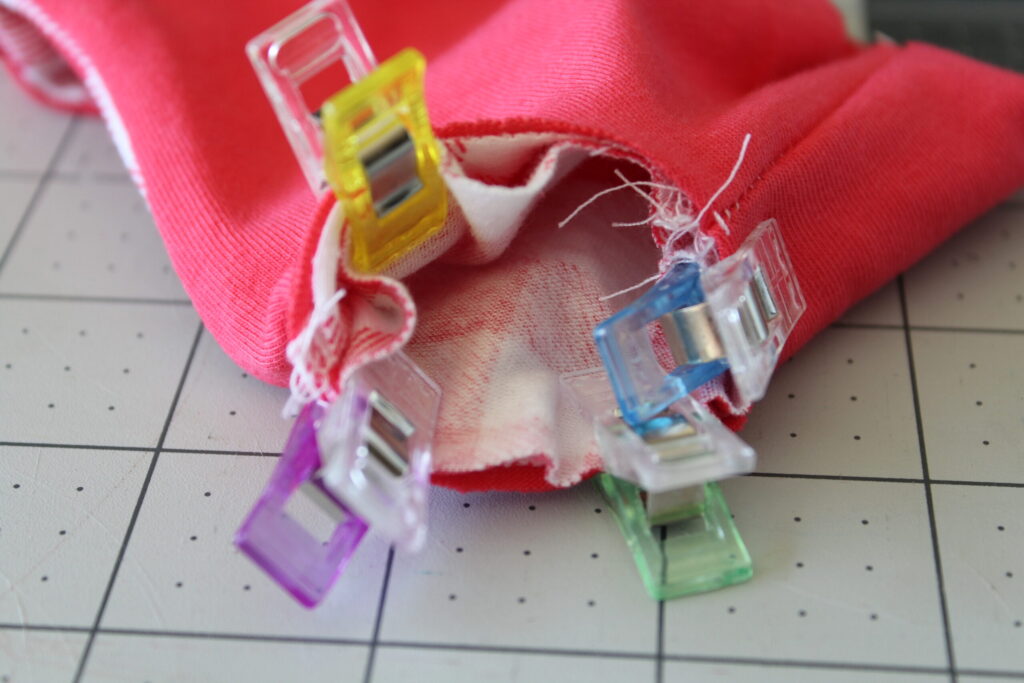
Step Four: Sewing Doll Sleeves
I decided to do a lettuce hem (rolled hem) on the sleeves before sewing the inseam together. I found this to work out well with the pieces being smaller.
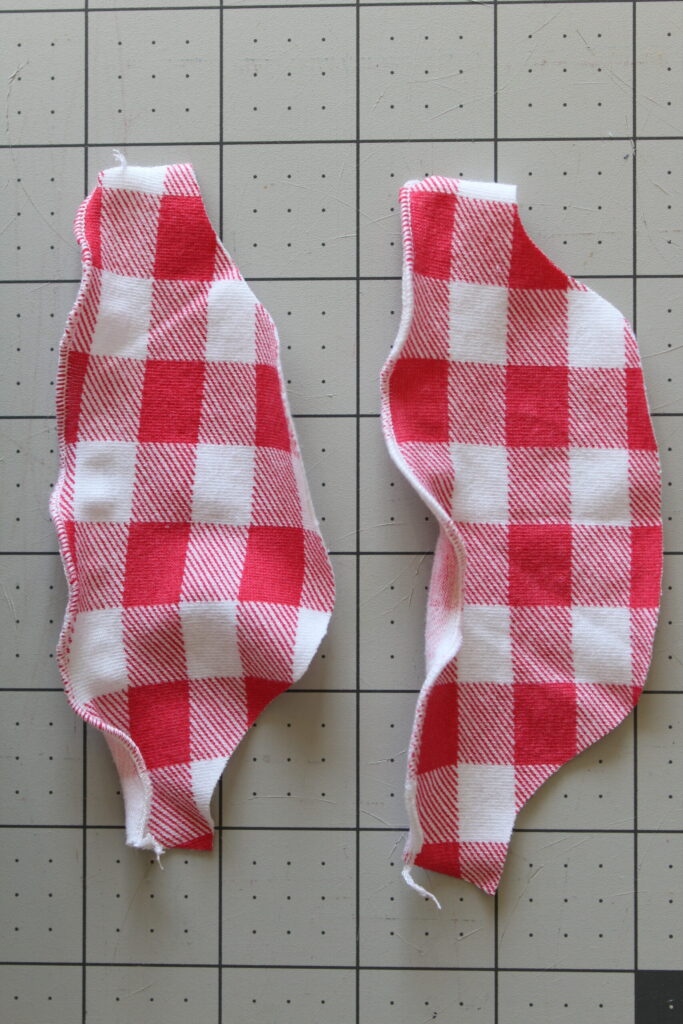
Clip/pin the sleeves right sides together.
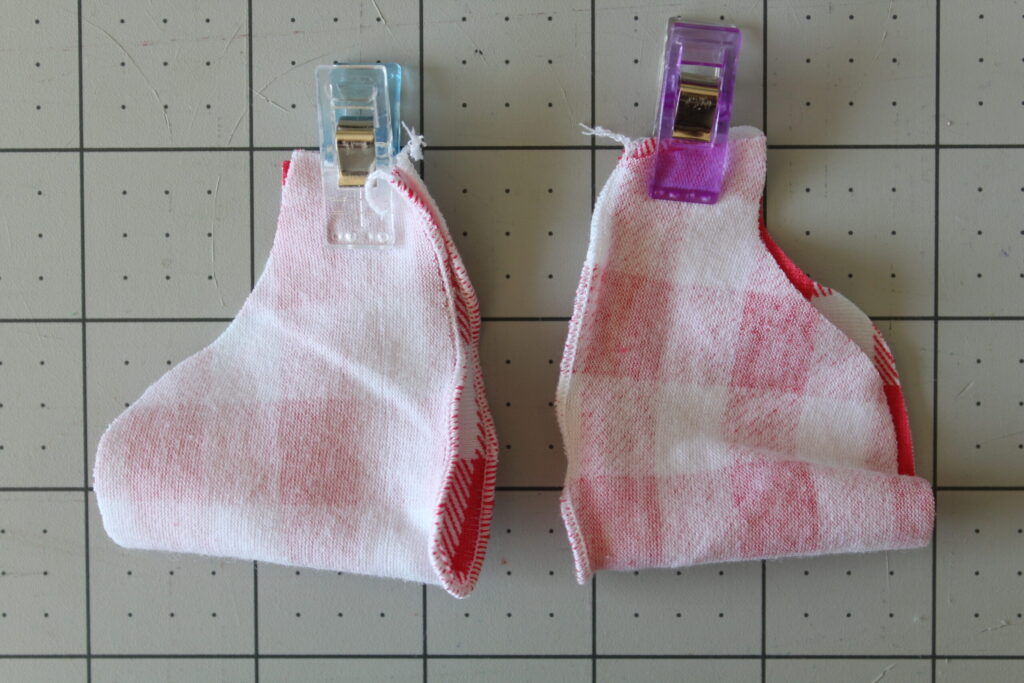
Sleeve inseams sewn.
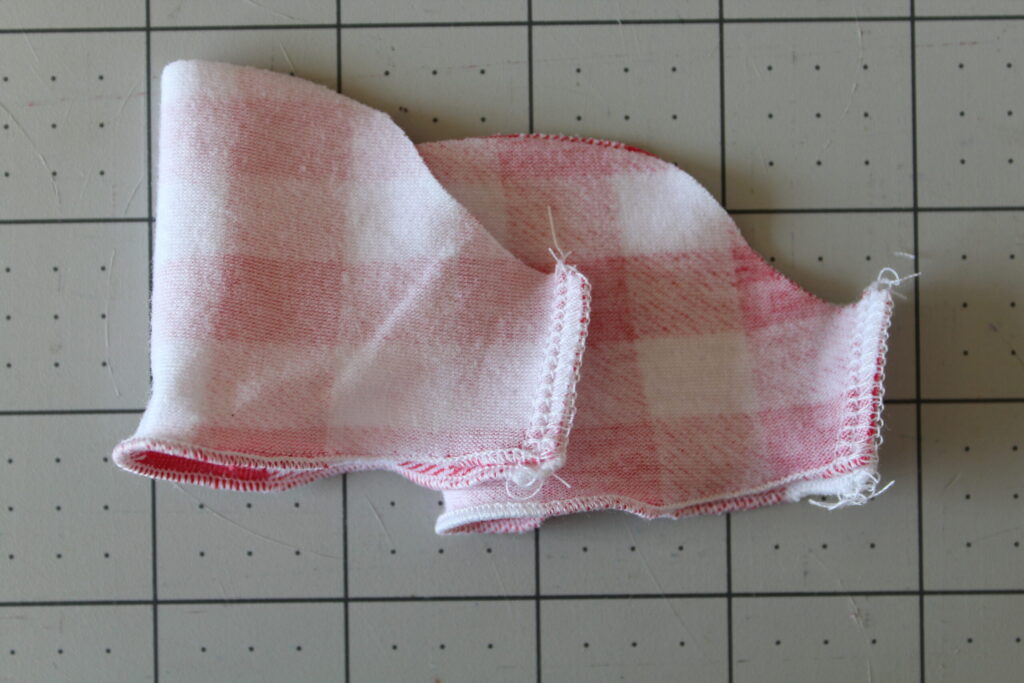
Turn the bodice inside out and the sleeves right side out.
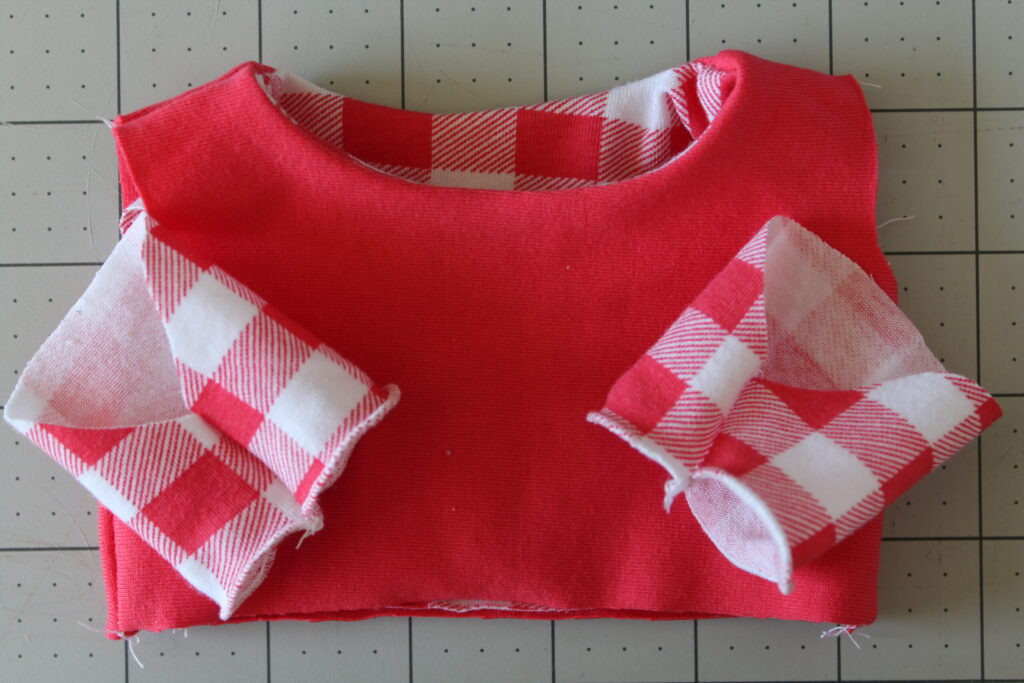
Pin/clip the sleeves to the bodice with right sides together.
After sewing the sleeves to the bodice, turn right side out.
Baste the bottom edge of the bodice layers together.
Step Five: Skirt
I did a rolled hem on the skirt pieces before sewing them together.
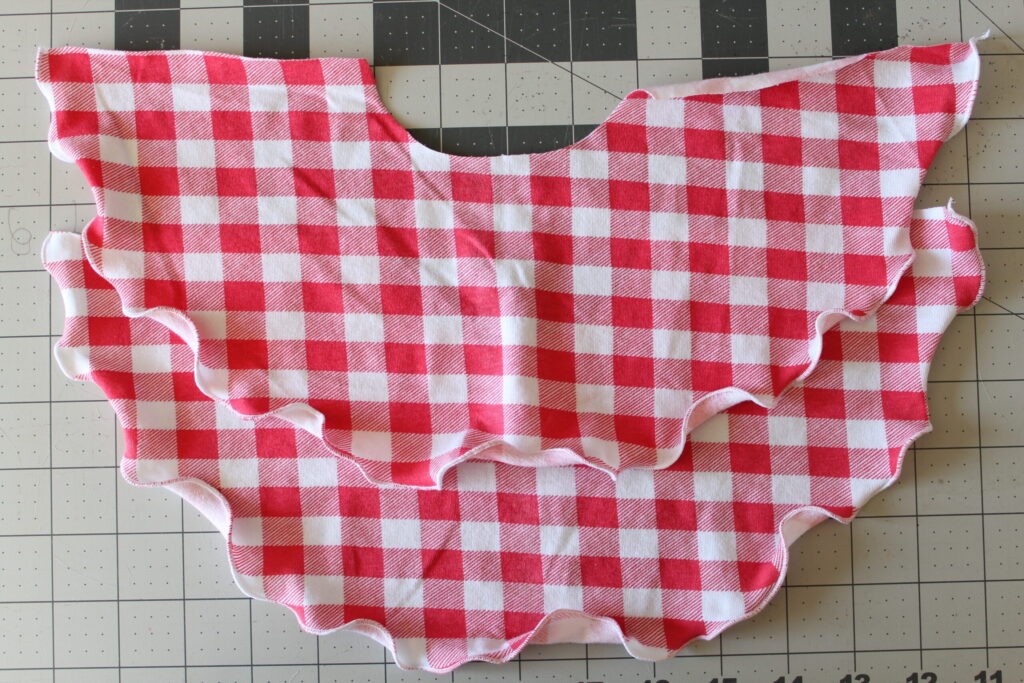
With right sides together clip/pin the skirt pieces.
Skirt seams sewn together.
Place the bodice inside the skirt with right sides together and clip/pin. Sew the bodice to skirt.

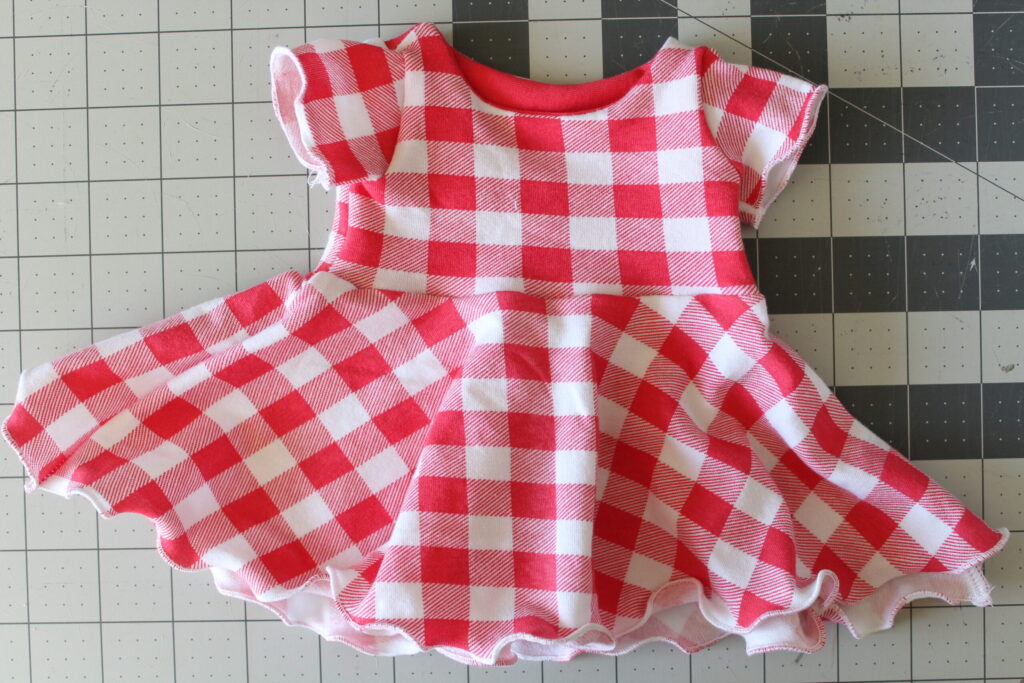
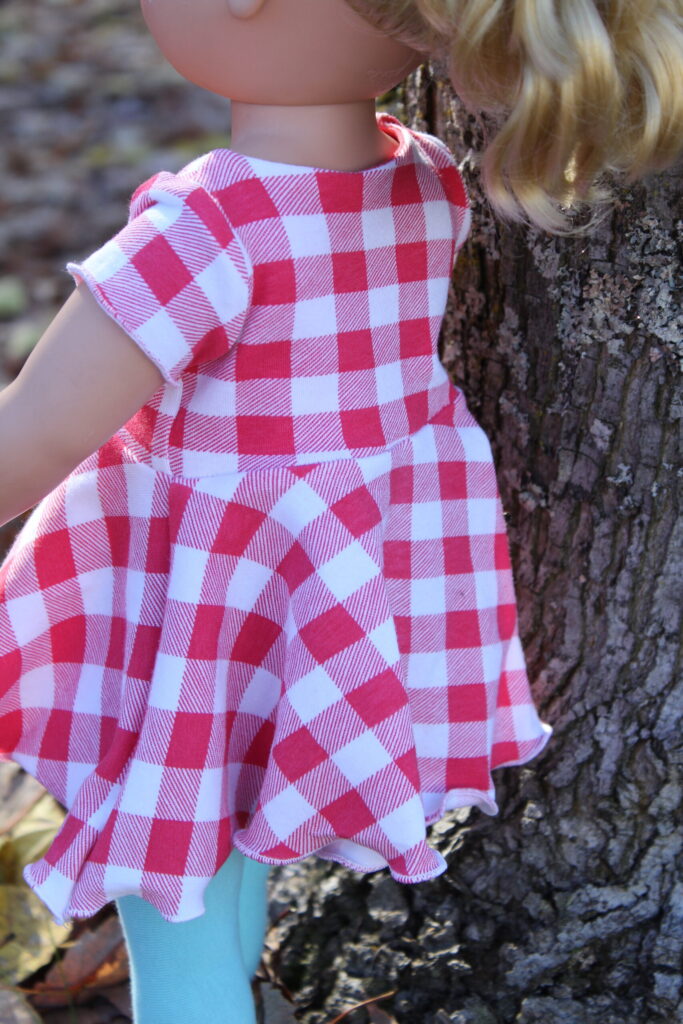
Melanie dress completed!
Next, we will make our leggings.
Doll Leggings Step One: Agility leggings Basic view leg assembly
With right sides together, sew each of the leg inseams. Prior to this step, I did go ahead and do a rolled hem for these as well.
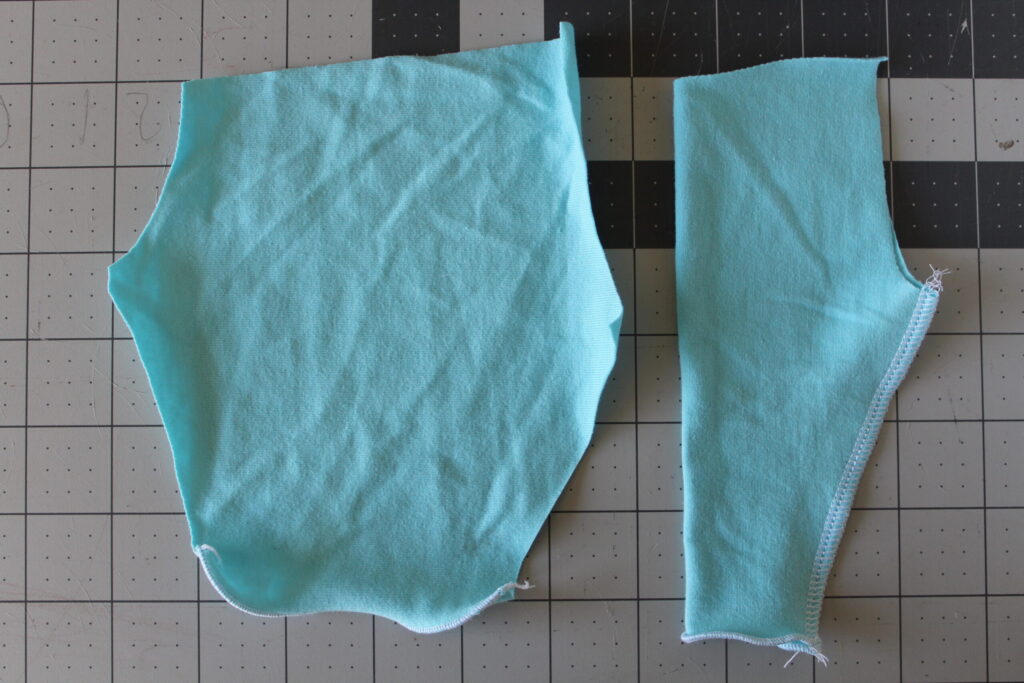
Turn one leg right side out.
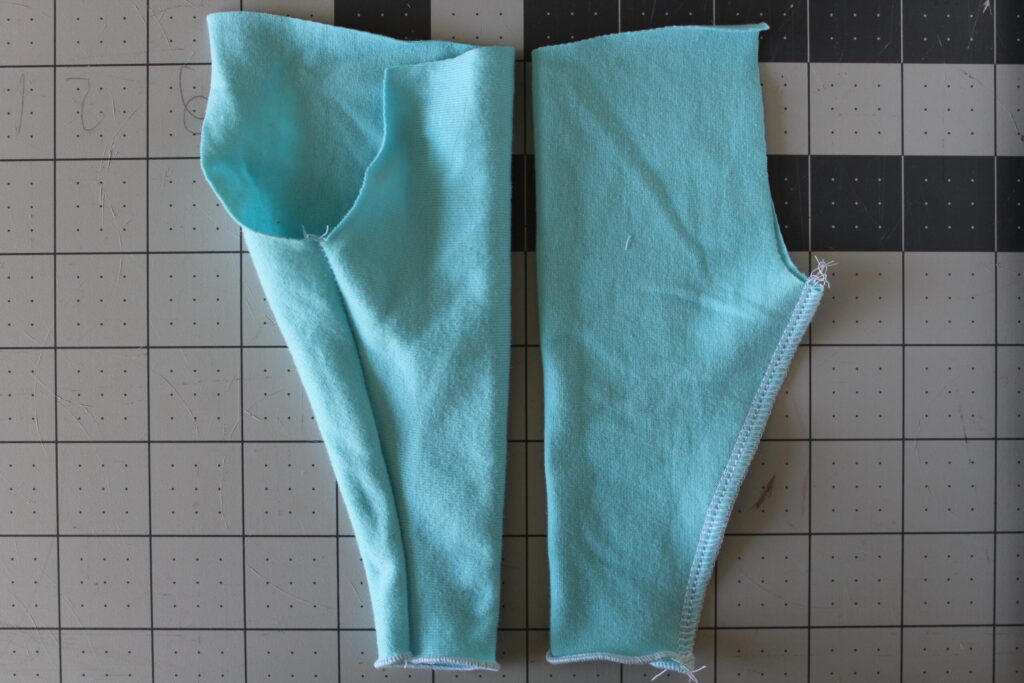
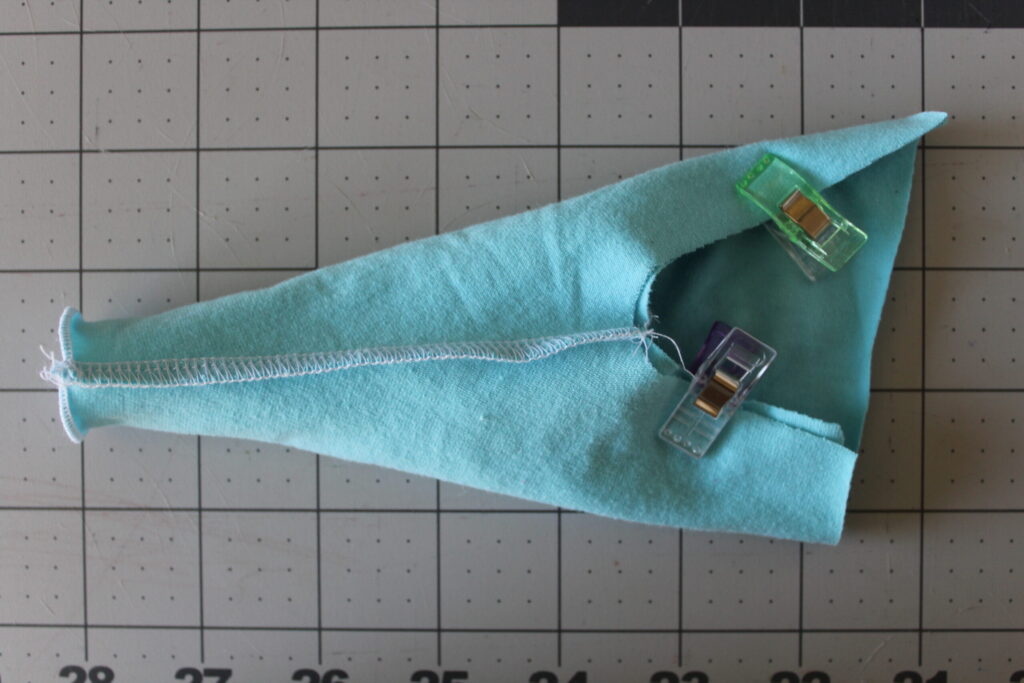
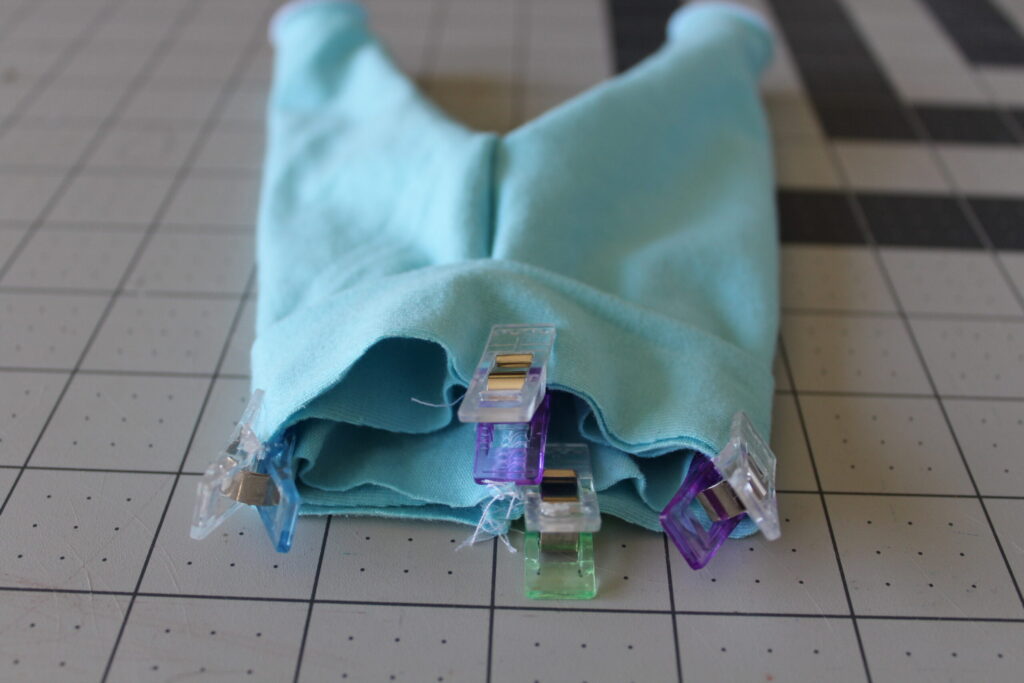
With right sides together, slide one leg inside the other and clip/pin. Sew the crotch inseam.
Doll Leggings Step Two: Waistband
With right sides together, sew the short ends of the waistband together.
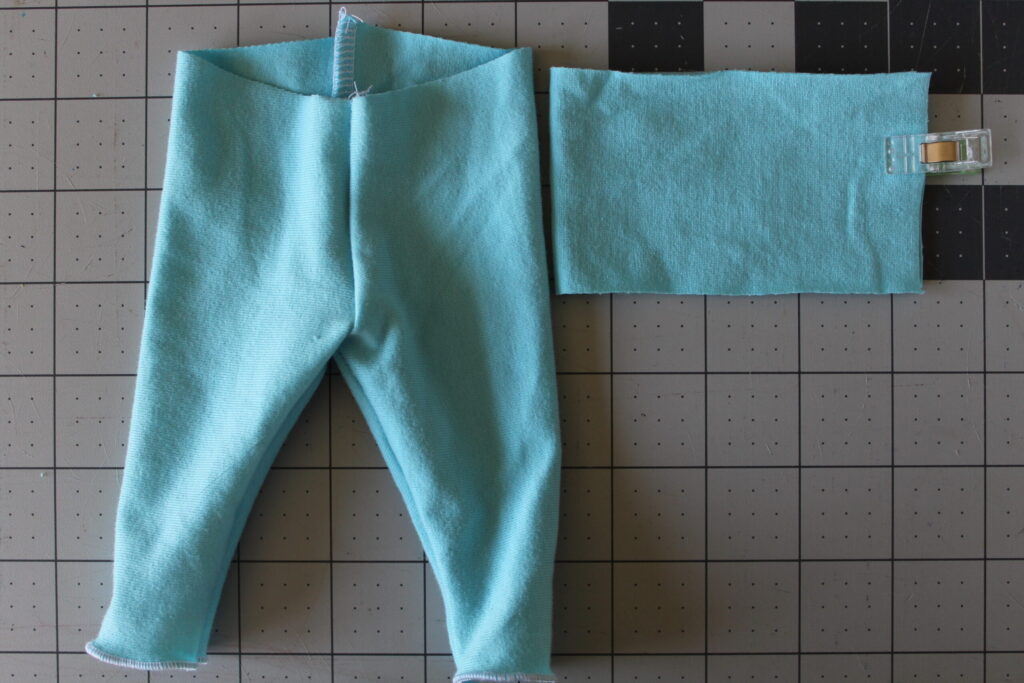
Fold the band with wrong sides together.
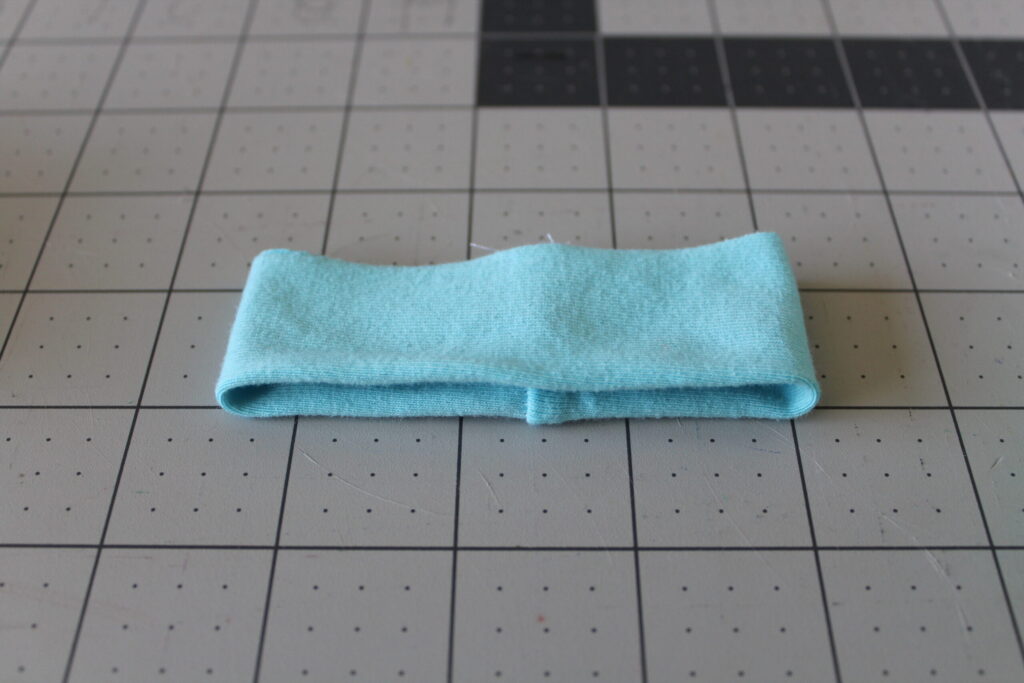
With right sides together, clip/pin the waistband to the leggings and sew.
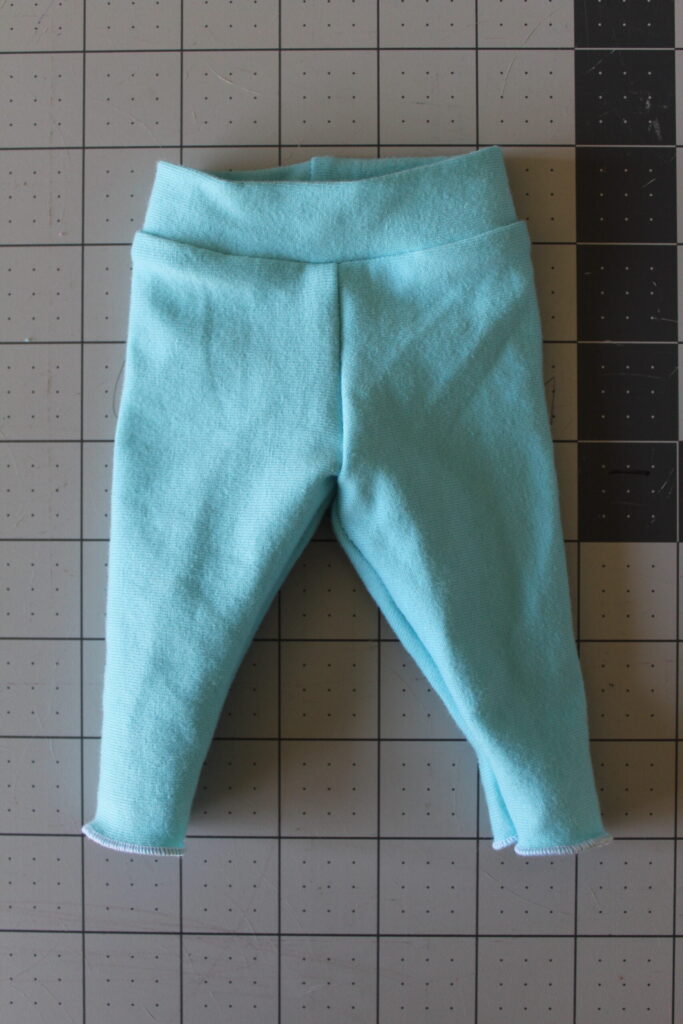
Basic leggings are complete! Time to try our outfit on our doll!

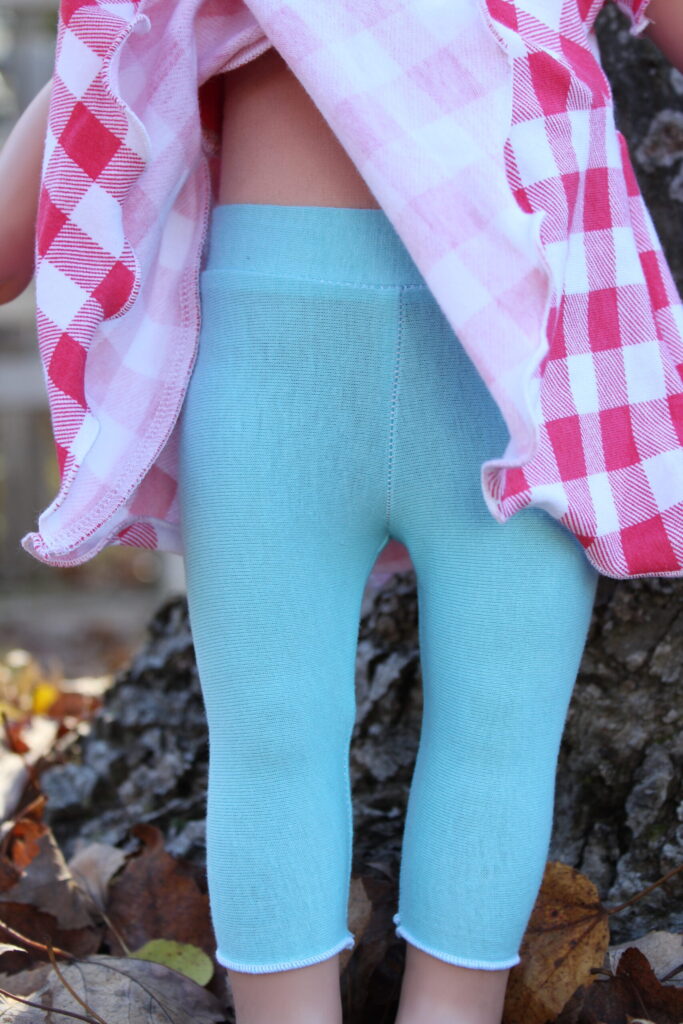

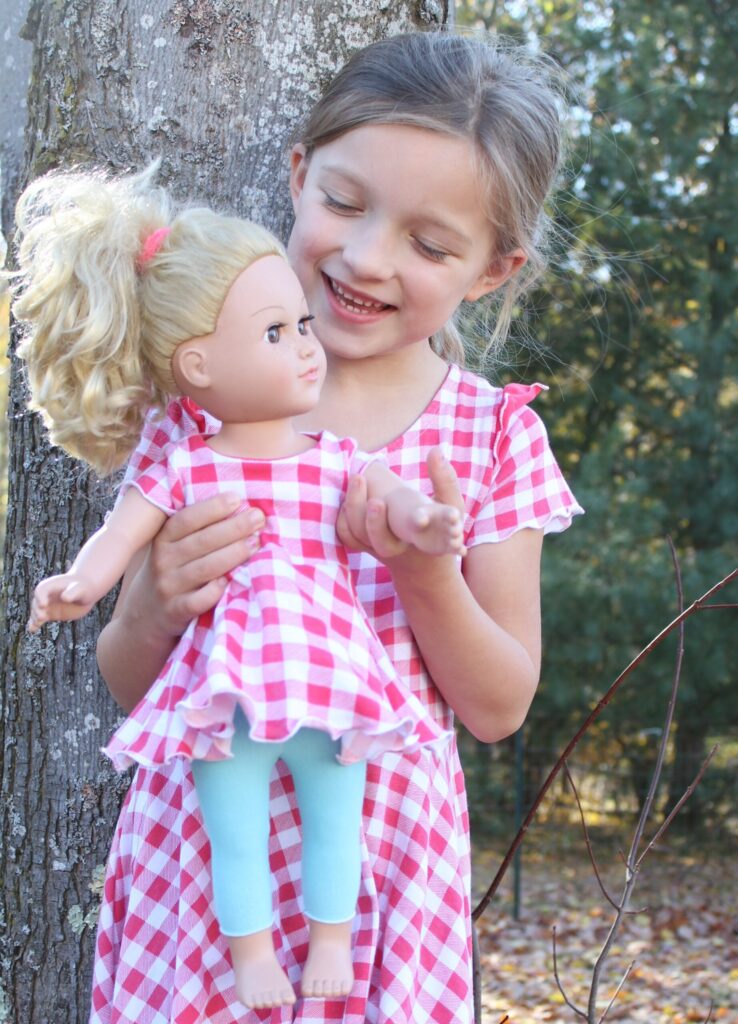
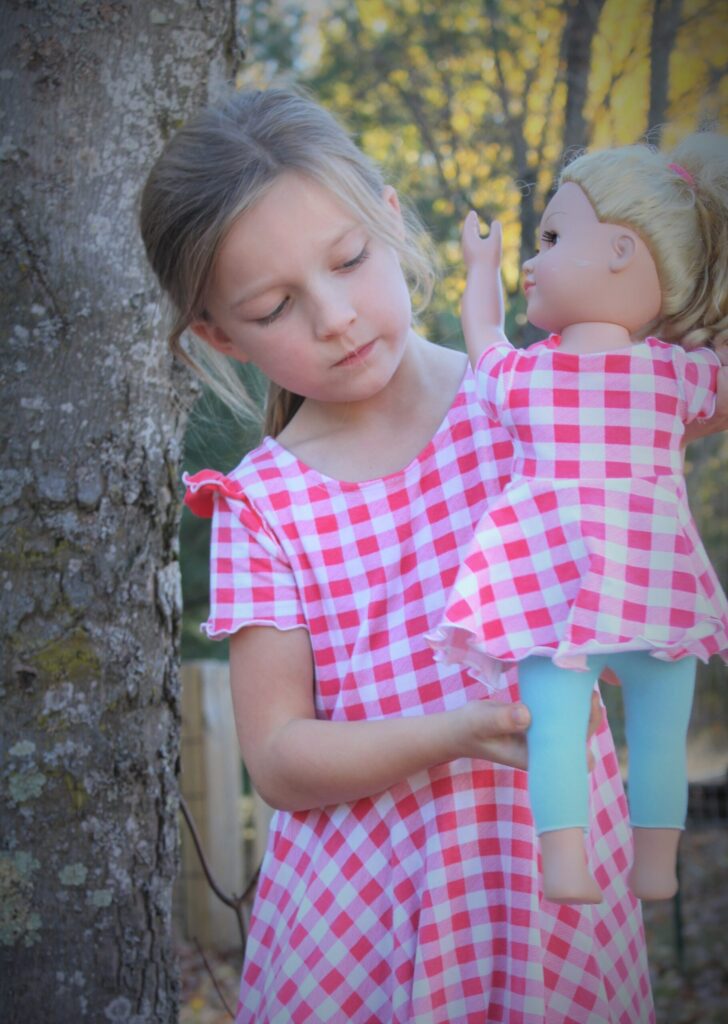
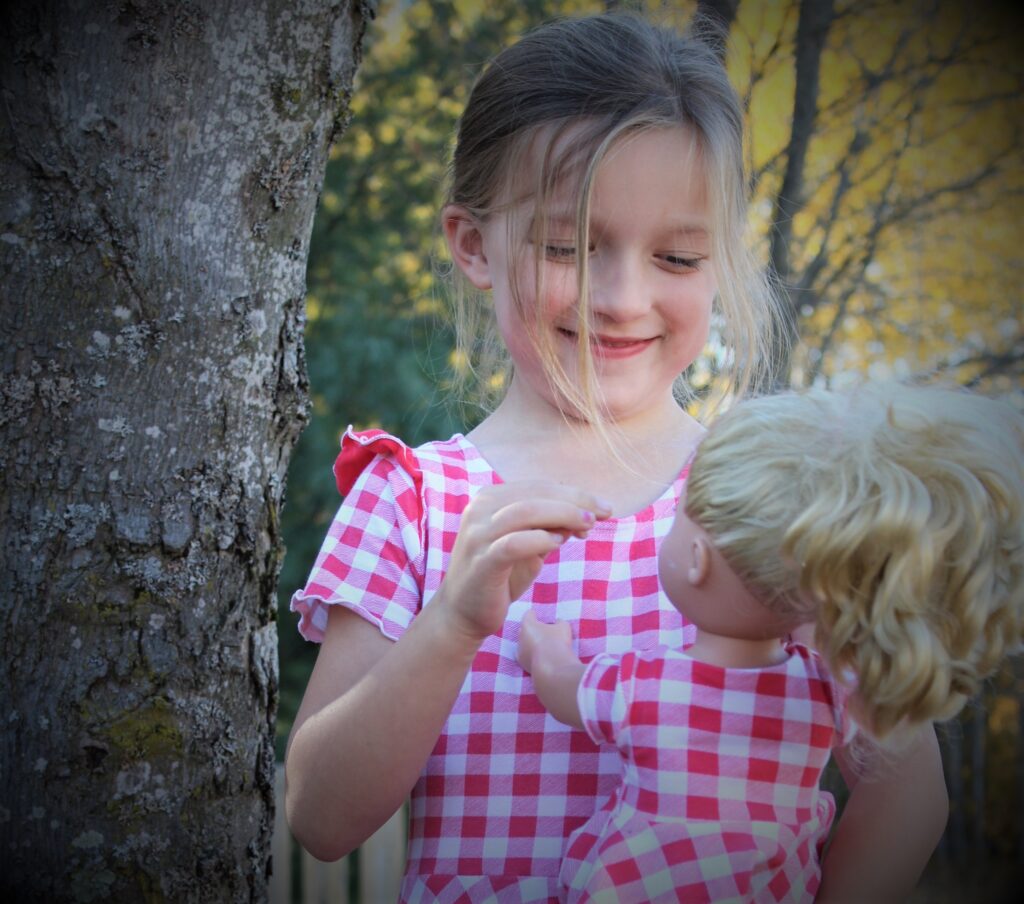
I think it's safe to say my daughter was thrilled to be able to match her doll! I love how well this outfit came together and it was a lot of fun taking on this challenge which turned out to be pretty easy. This is just another example of why sewing is an awesome skill to obtain. I enjoy making what others envision come true through this talent and I hope this tutorial will be a game changer for you and your sewing adventures!
Thank you again for joining us. Before you leave, make sure to join our Peek-a-Boo Pattern Shop Facebook Group. Happy Sewing!