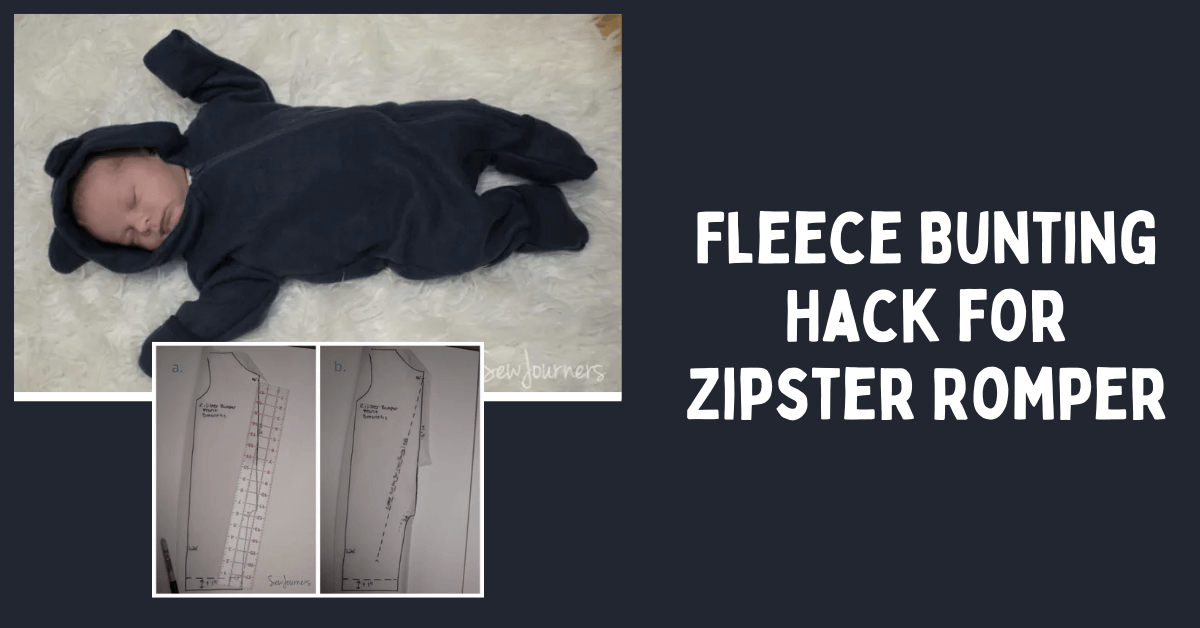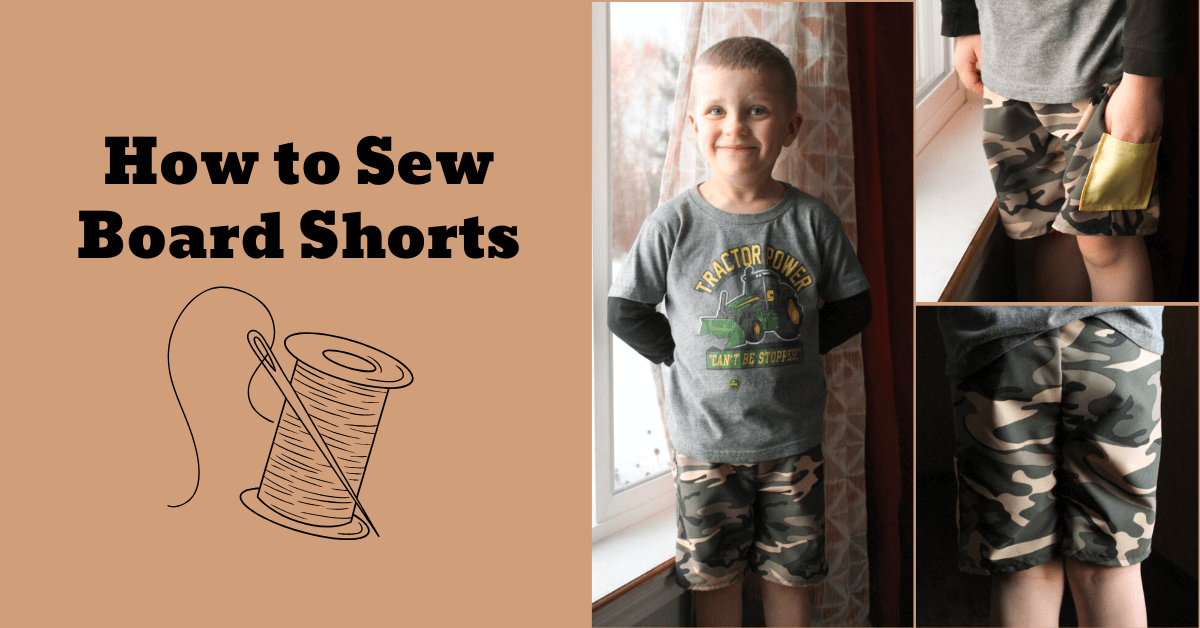
How to Sew Board Shorts | Using Cowabunga Board Shorts Pattern
Today we'll learn how to sew board shorts. Have you ever thought about trying to sew a pair of swim trunks for your family? Or maybe the thought of working with board short fabric sounds a little intimidating and scary to you?
Well, the Cowabunga Shorts from Peek-A-Boo Pattern Shop offers a great shorts pattern that can be made out of woven for everyday play or board short material for water fun. I'll walk you through step by step on how to sew your own pair of swim trunks with a lining and hopefully by the end of this article, you'll be intrigued to try your own pair!
Board Short Supplies
Peek-a-Boo Pattern Shop has a number of different board shorts patterns. At our sister shop, KnitFabric.com we also stock a fun array of Board Short Fabrics including solids, prints, and customs. For today's project on how to sew board shorts, we'll use the following:
- Peek-A-Boo's Cowabunga Shorts Pattern
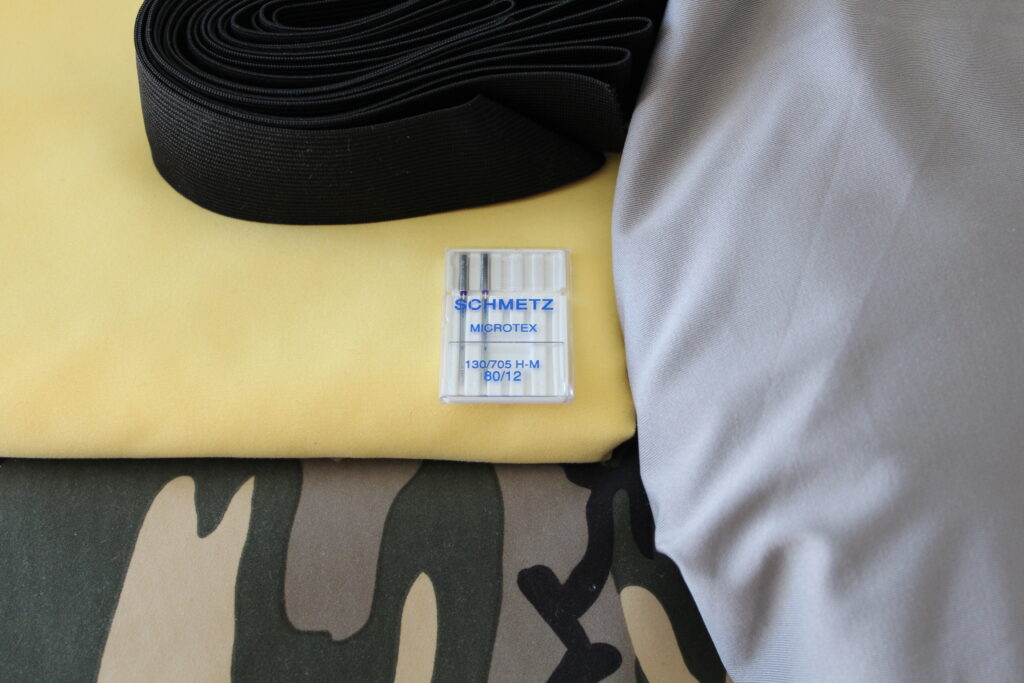
- Sewing machine, Thread, Microtex Needle (Recommended for board short fabric)
- Iron
- Board Short Fabric- You could also use a midweight woven to make these for play.
- Optional lining- I will be using Swim fabric.
- Elastic- 1.5" for sizes 5-12 and 1.25" for 3 mo. to 4T.
For this tutorial, I will be sewing view B mentioned in the pattern, which is the knee-length version with a pocket and a boxer brief lining.
I would also like to take a moment to talk about the microtex needle. I sewed these shorts with zero hiccups on my regular sewing machine using a microtex needle designed explicitly for board short material. I purchased mine online from a sewing supply company for pretty inexpensive, and it's worth keeping a few on hand. They come in different sizes like other needles, so choose the size that suits your material weight best.
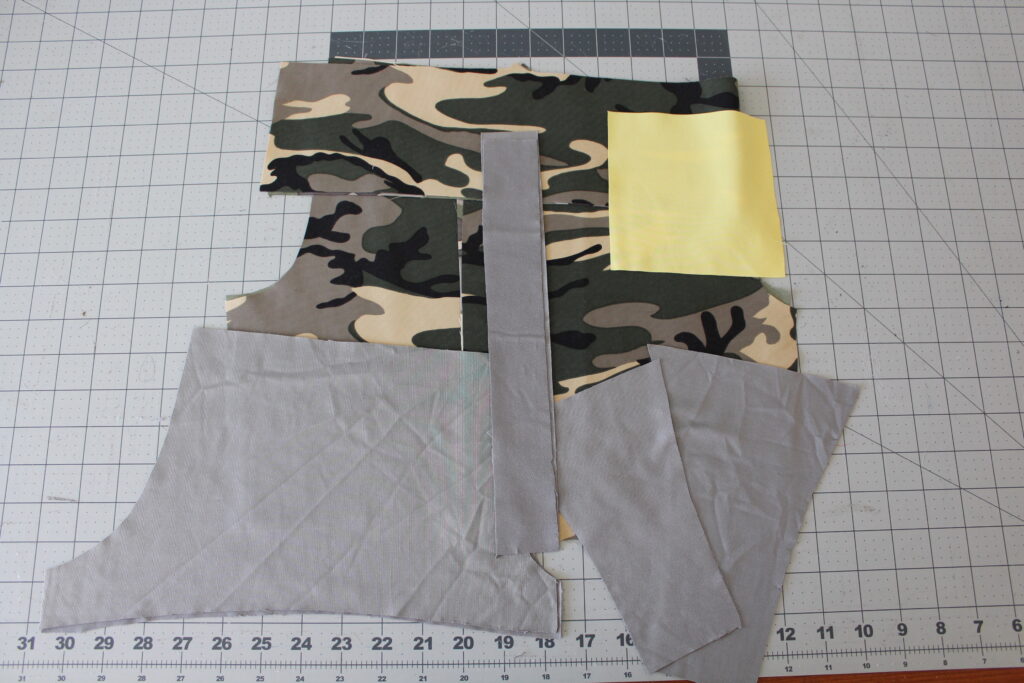
All of the fabric in today's tutorial was purchased from knitfabric.com. They offer good quality priced options for every budget and when I saw this camo board short fabric, I knew my 3-year-old camouflage-loving boy would appreciate it and this pattern doesn't require much fabric, so it was a win-win. If you're not sure where to buy quality swim fabric and board short fabric, check out their website and see if it's something you would like to try out!
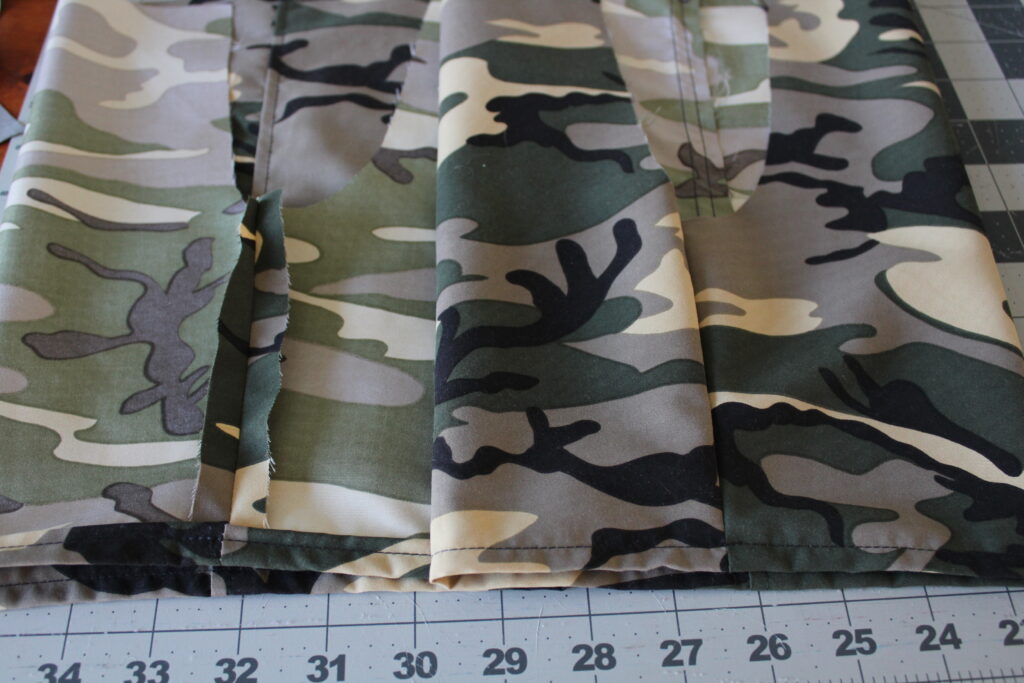
My pieces are cut out and we are ready to get started with our Cowabunga Shorts!
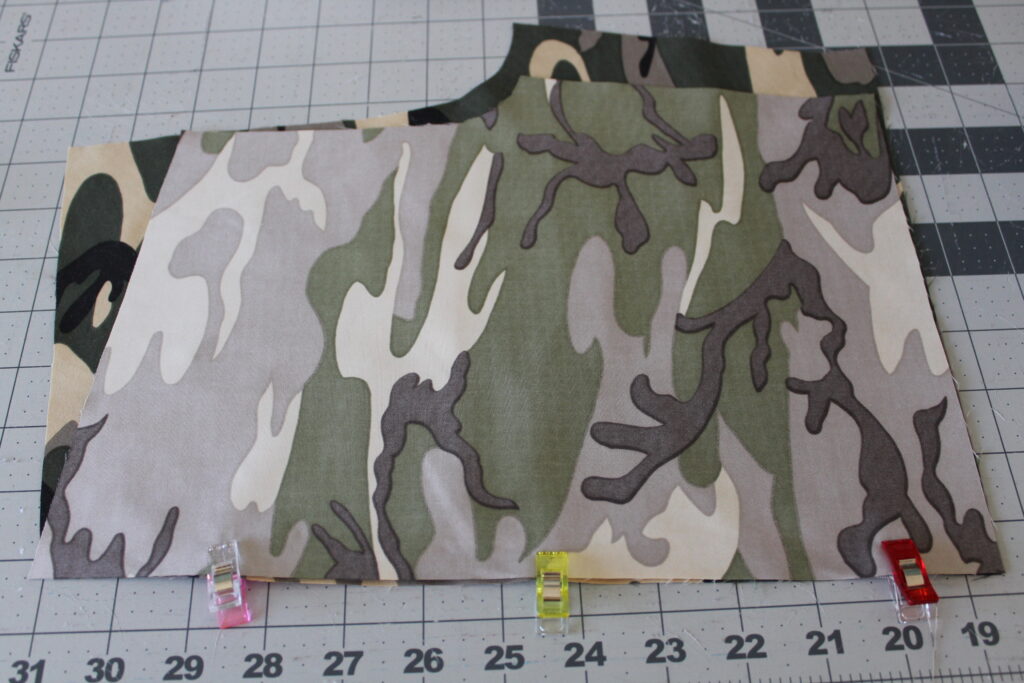
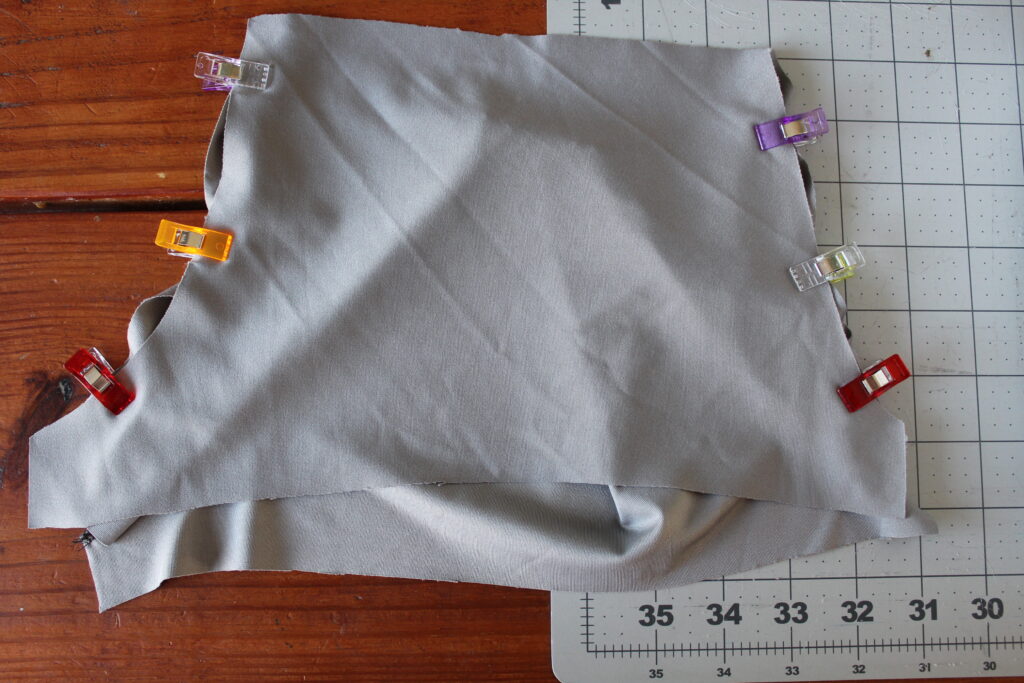
Board Shorts Step One: Front and Back Side Seams
Grab one front and one back and clip or pin them right sides together along the side seam. Sew together using a 1/2" seam allowance. Repeat for the other leg.
Press the seam towards the backside of the shorts. Repeat for second piece.
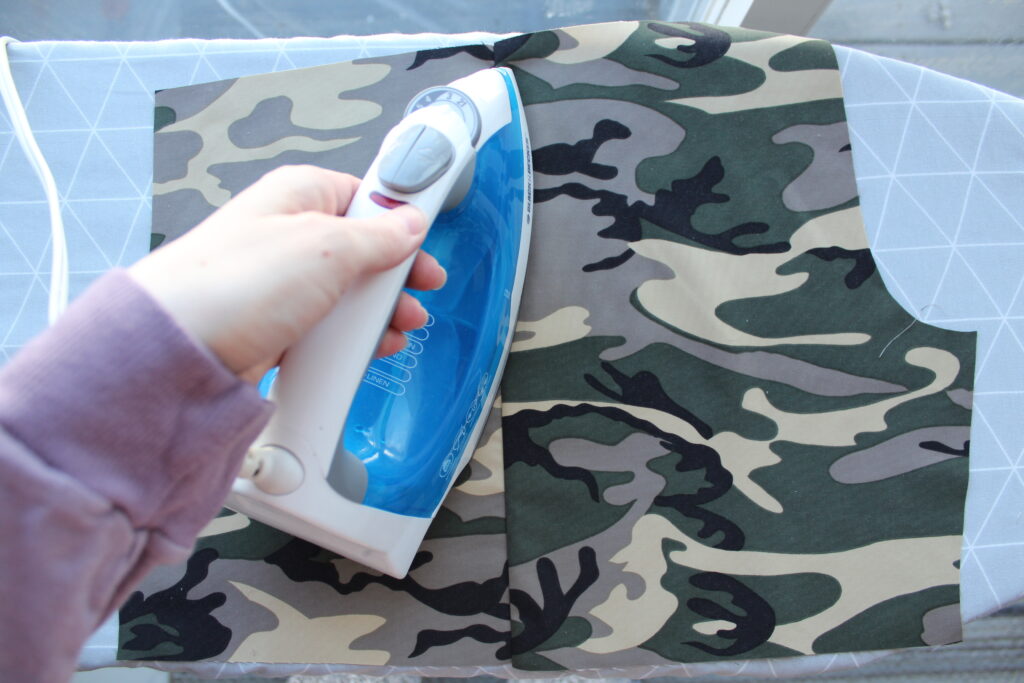
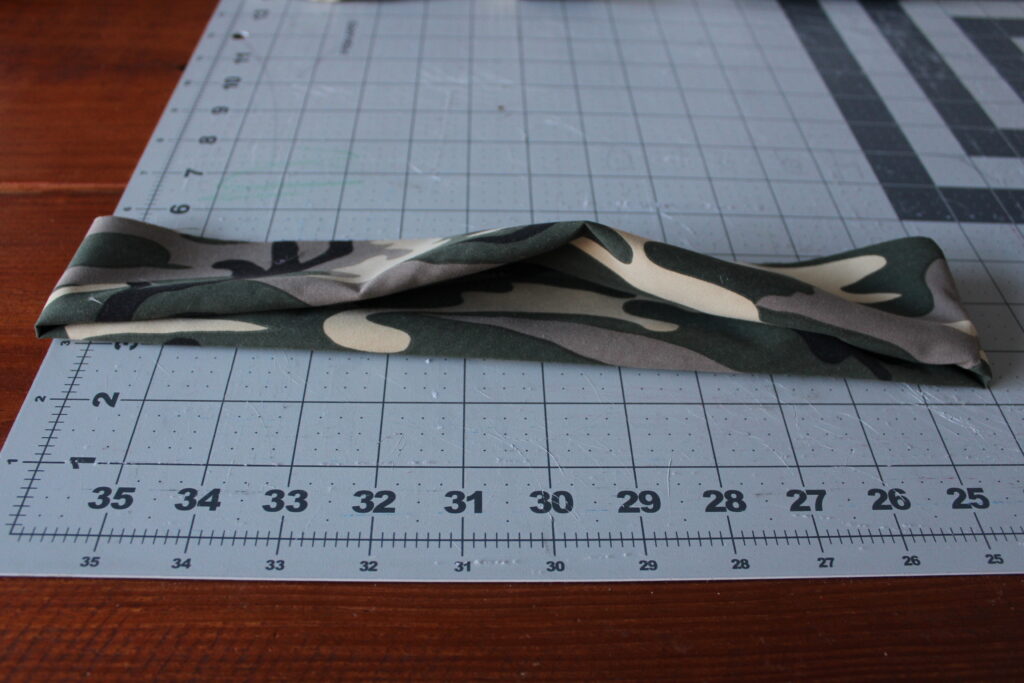
Seam pressed and ready for topstitching.
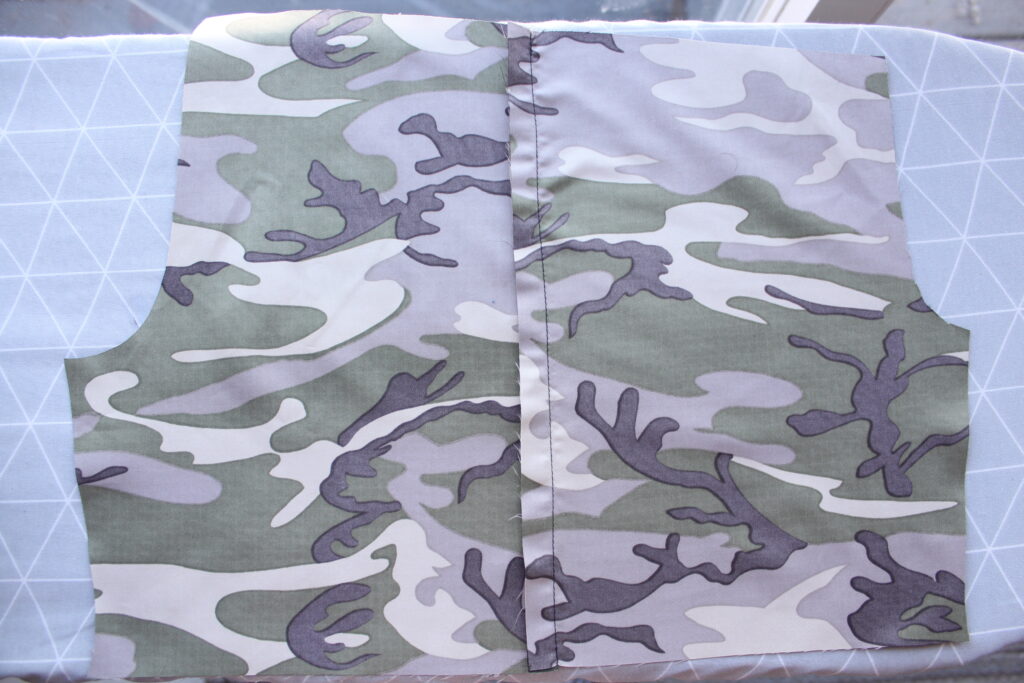
Topstitch the pressed seam.
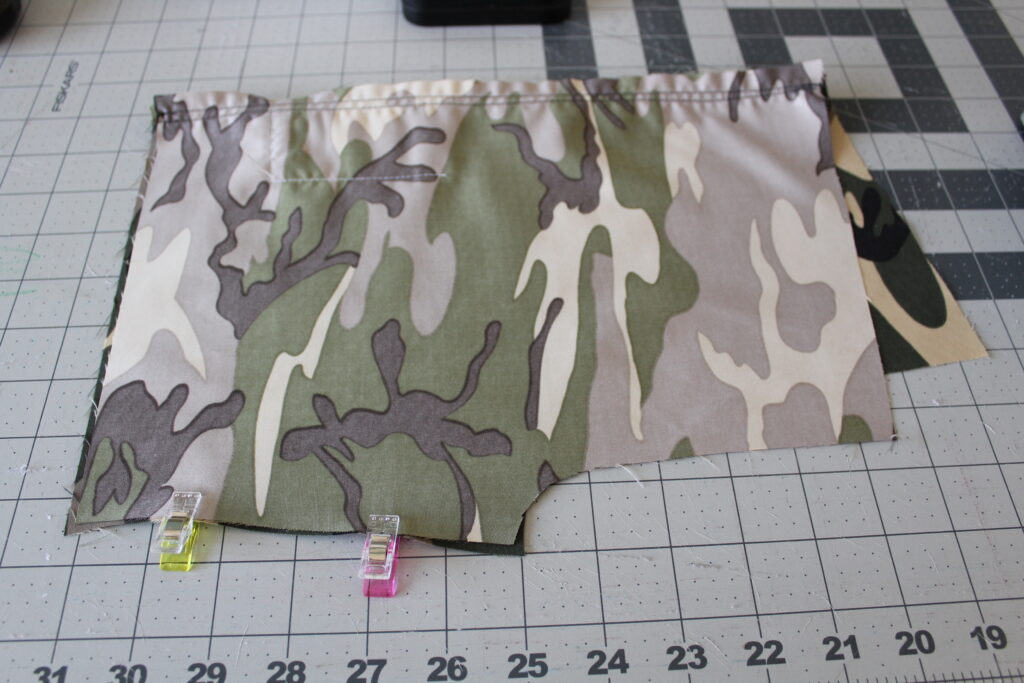
Board Shorts Step Two: Optional Pocket
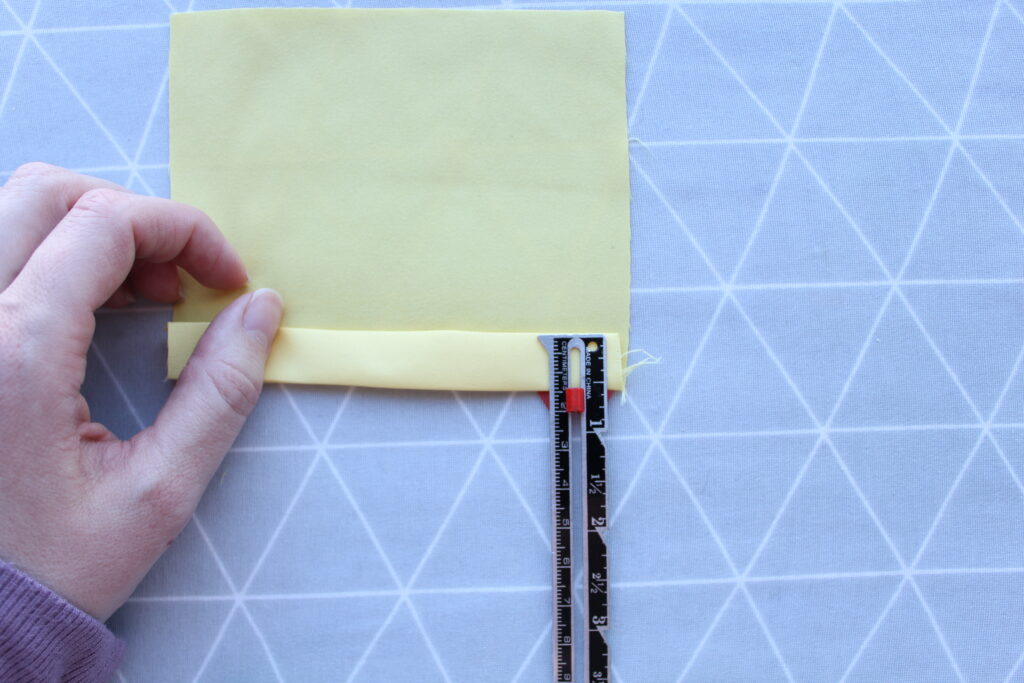
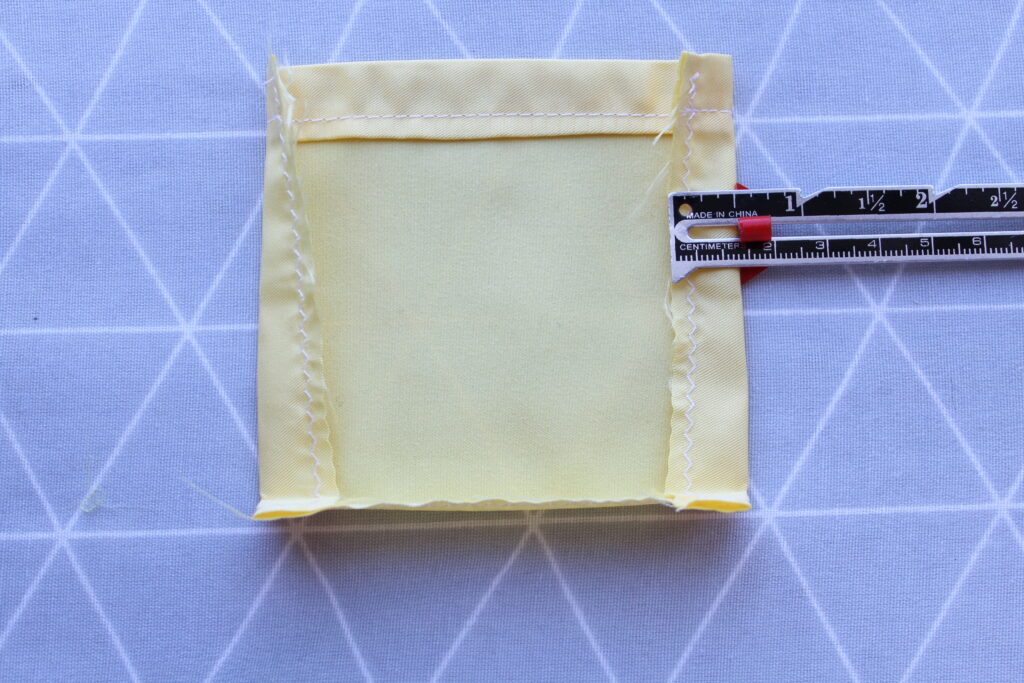
Skip to step three if omitting the pocket. Grab your pocket piece and press the top edge towards the wrong side. Fold 1/4" and then another 1/2" in and press in place.
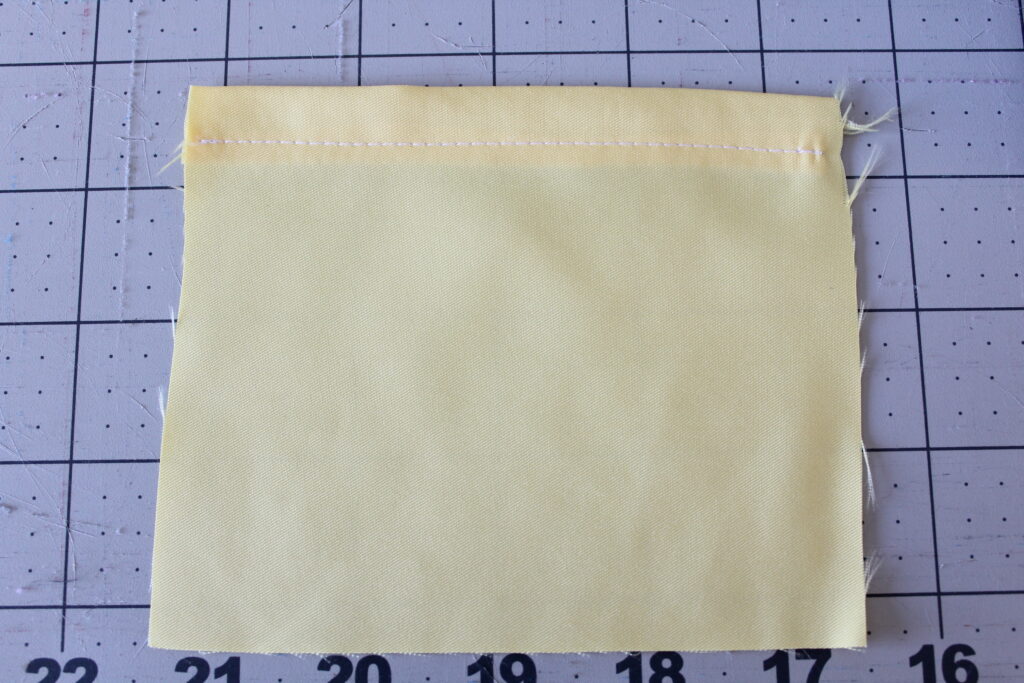
Topstitch the top edge of the pocket along the pressed edge.
To finish the edges, I chose to do a small zigzag stitch.
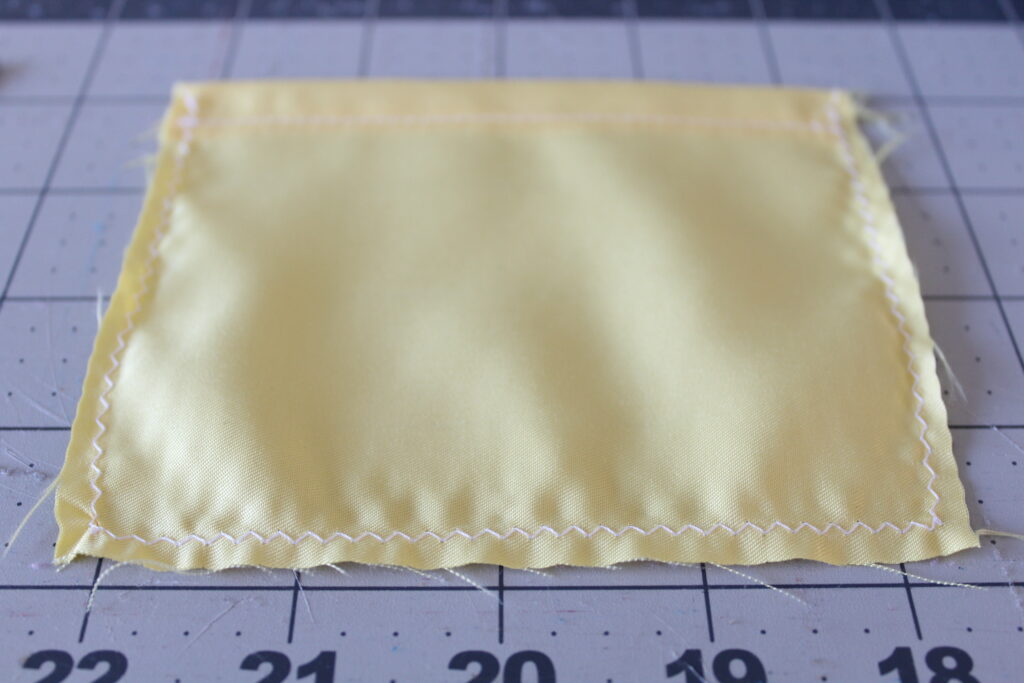
After finishing the edges, fold the bottom and side of the pocket in 1/2" and press. Optional per pattern instructions- if you would like to add eyelets to the pocket piece, add those now. I chose to omit mine. See pattern directions for details.
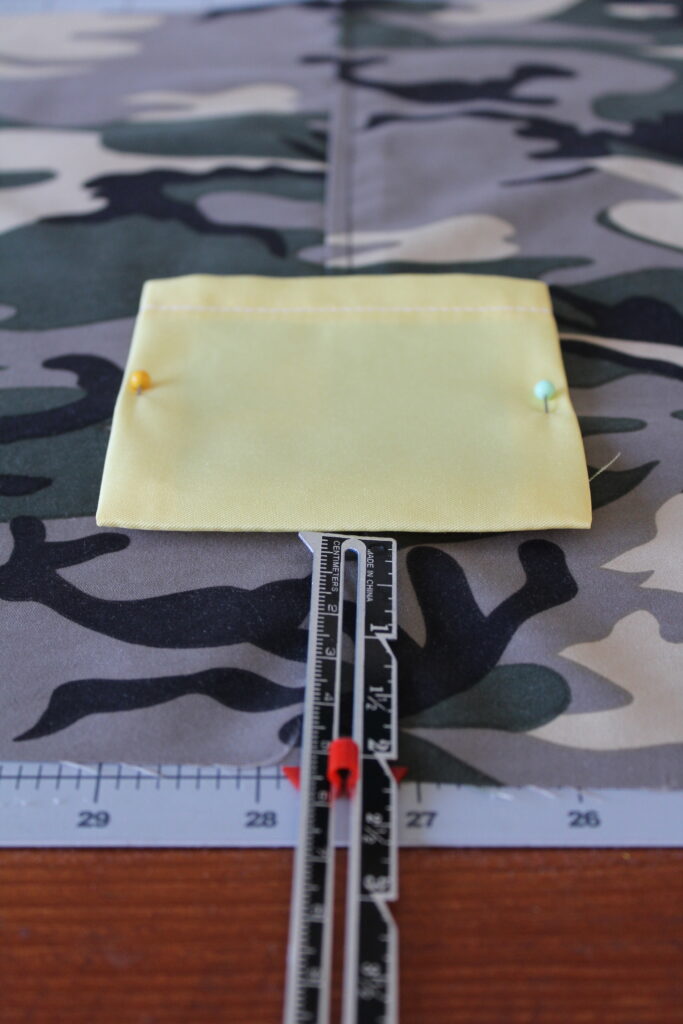
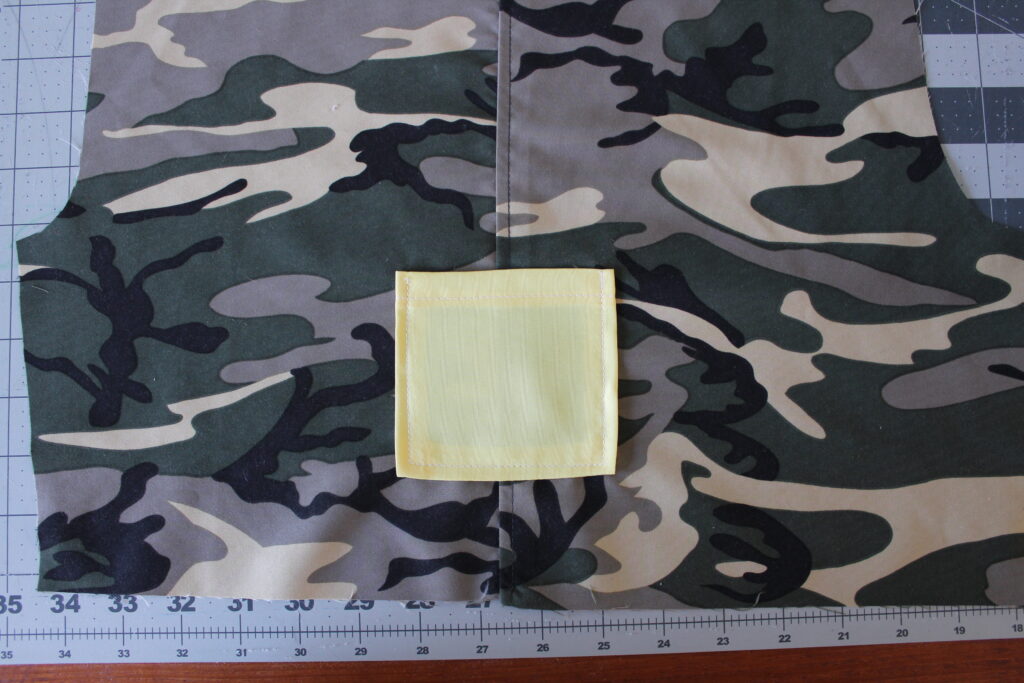
Place the pocket on one of the side seams of either leg piece of your choosing. Mine is about 2" above the bottom edge. Topstitch the pocket to the leg around the sides and bottom of the pocket piece.
Pocket has been topstitched.
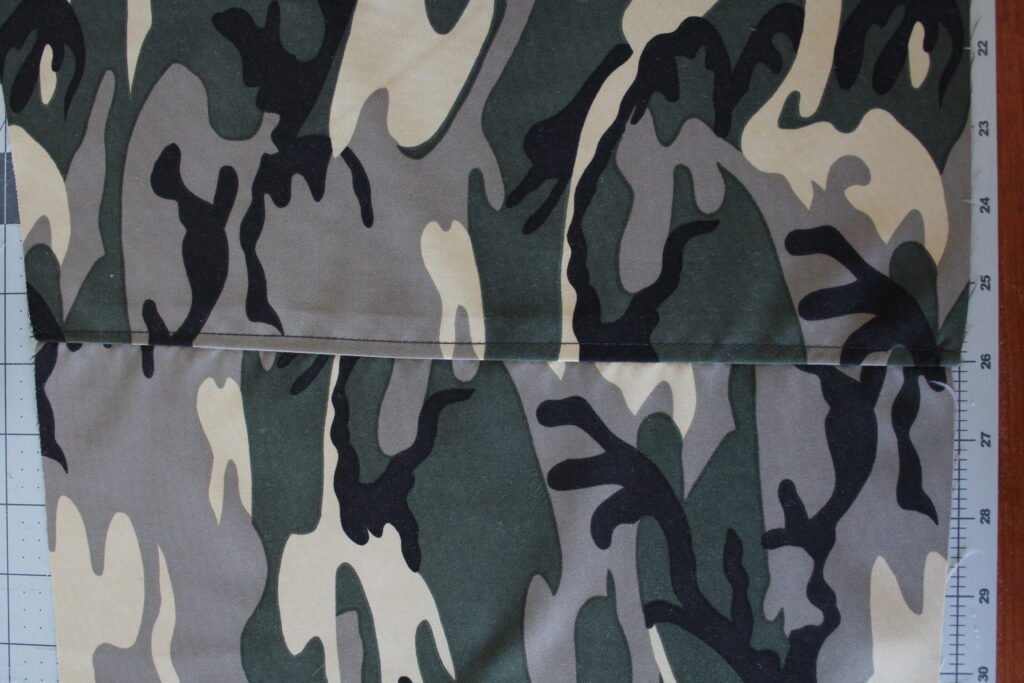
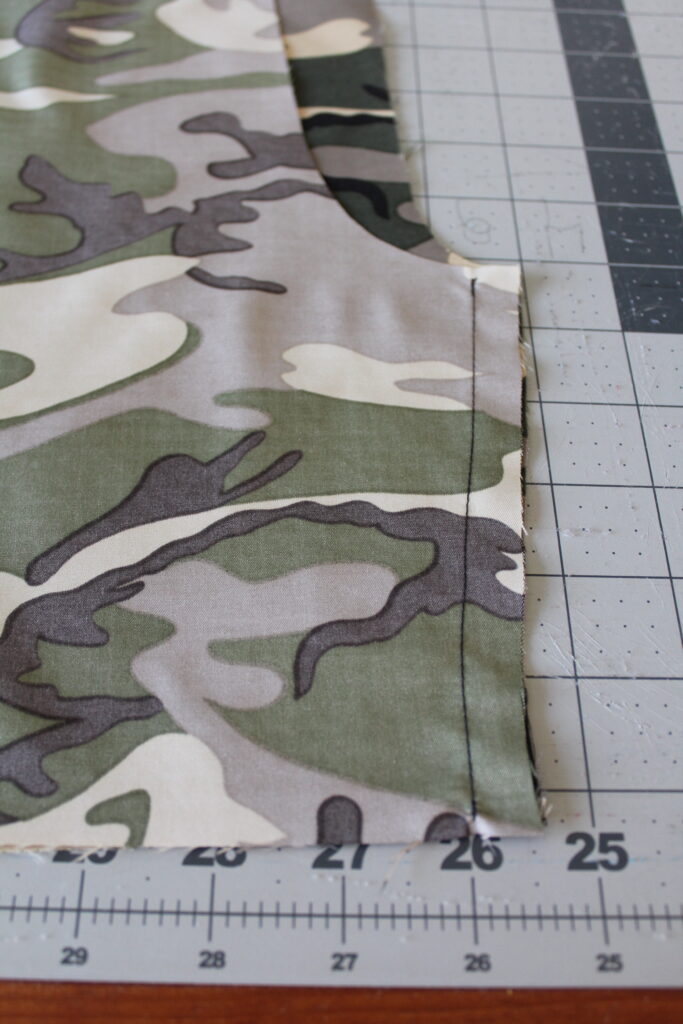
Board Shorts Step Three: Front and Back Inseams
With right sides together, clip or pin the front and back pieces and sew using a 1/2" seam allowance. Repeat for the second leg piece.
Front inseam sewn.
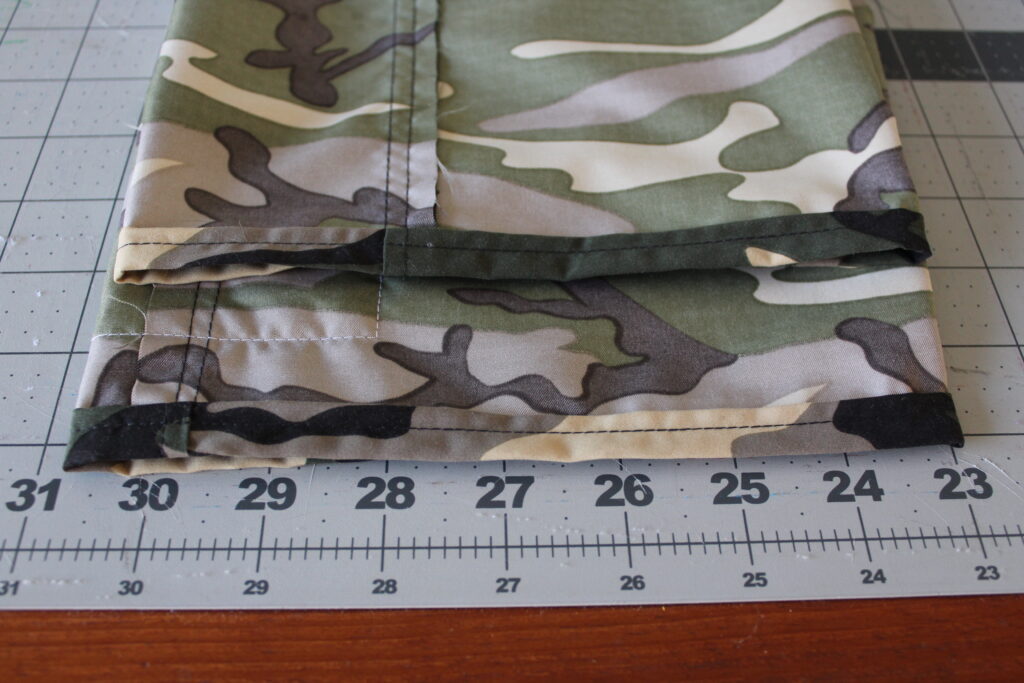
Board Shorts Step Four: Hemming
Fold up the bottom leg pieces 1/4" and then another 1/2" and press. I clipped (pinned) mine as I went along to hold the pressed edge in place.
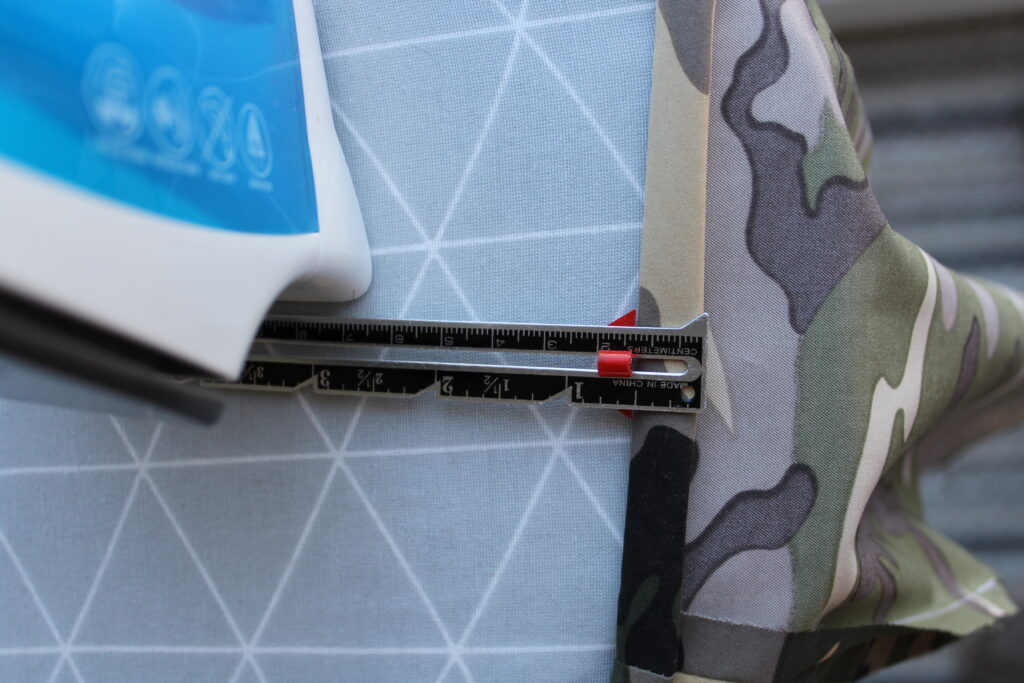
We are ready to topstitch our hemline.
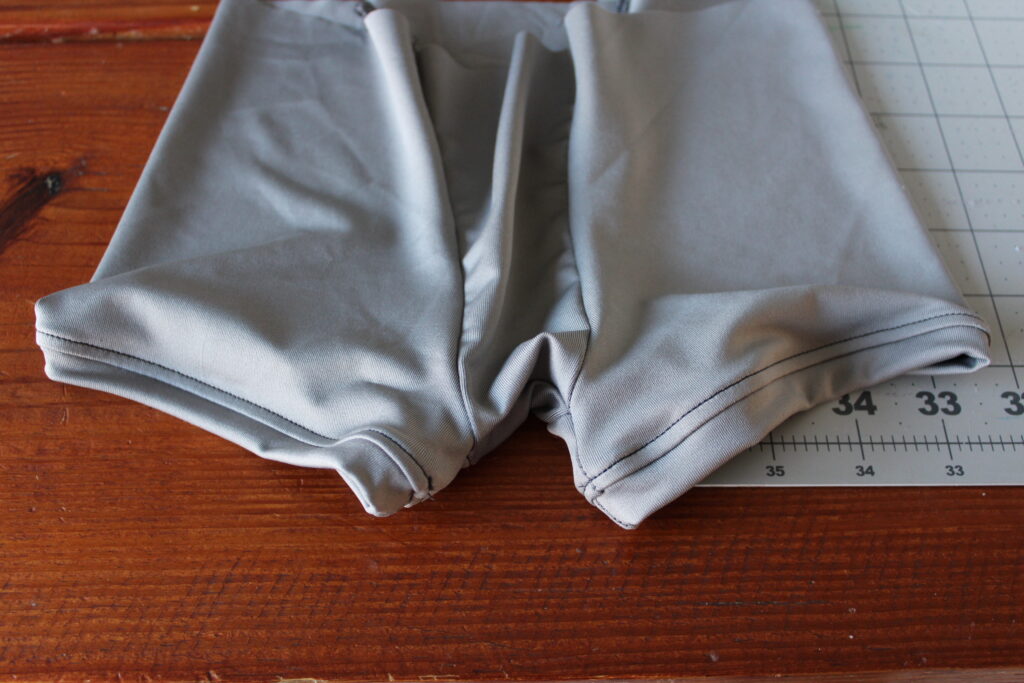
Hemline completed.
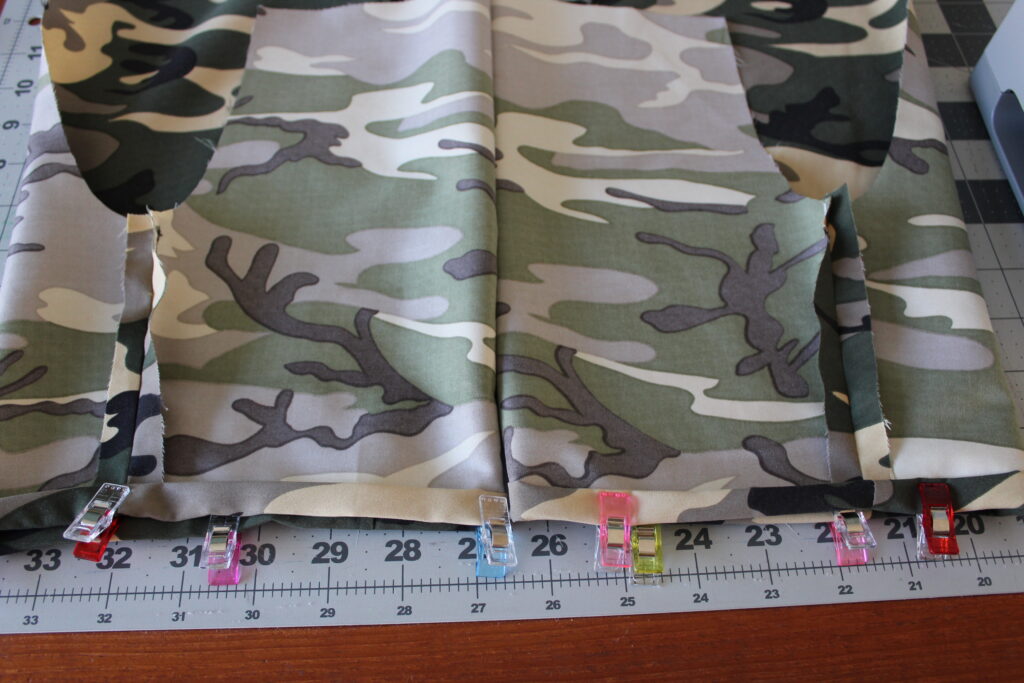
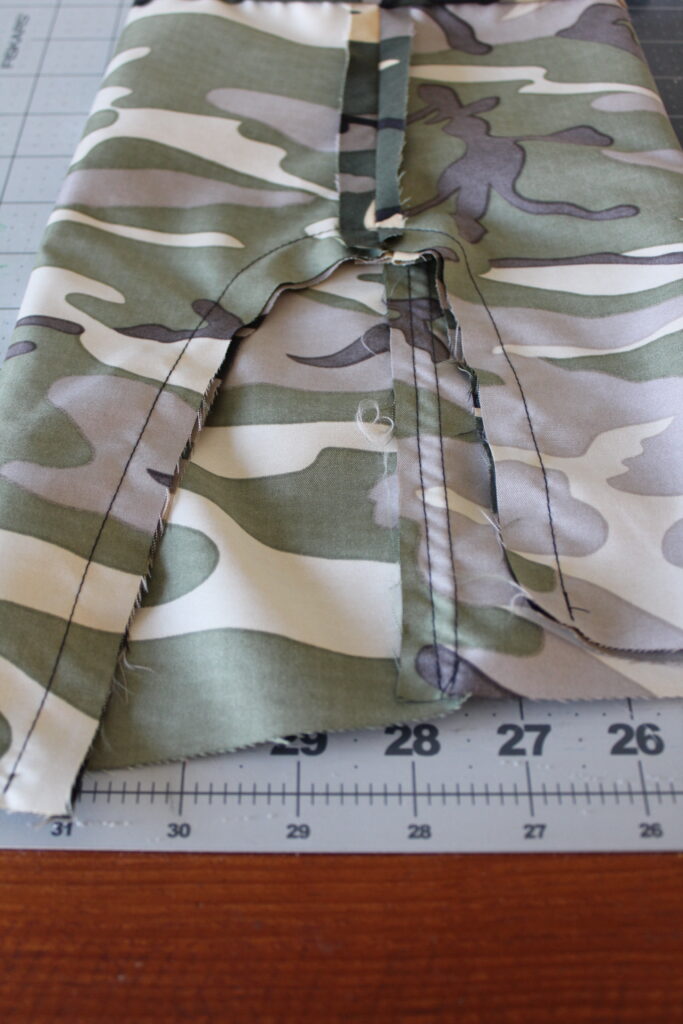
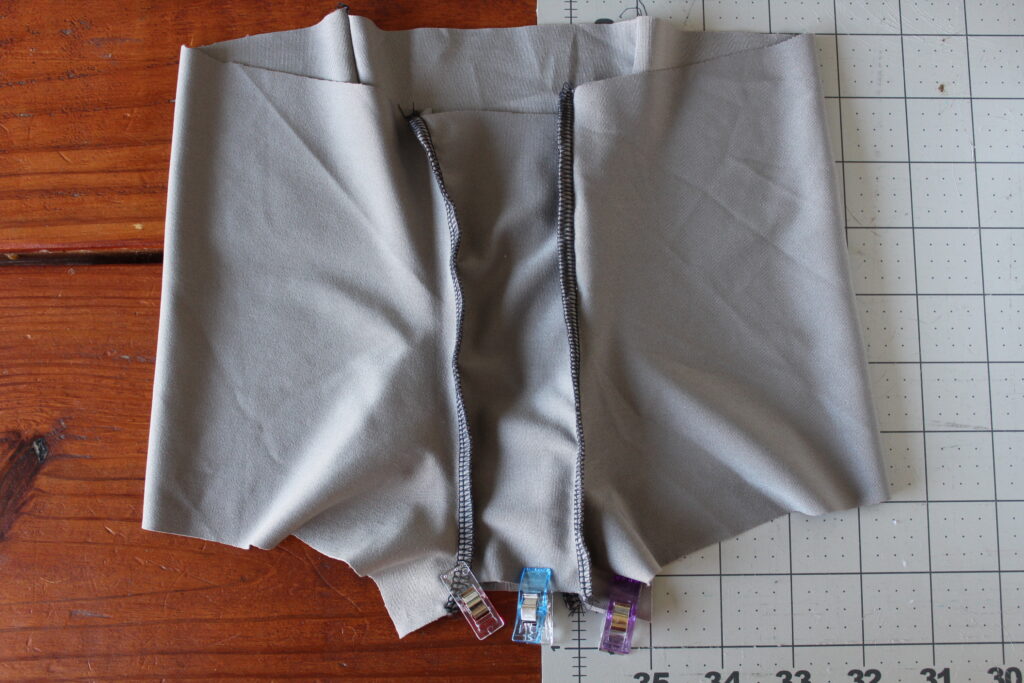
Board Shorts Step Five: Center Inseam
Turn one leg right side out and the other leg inside out.
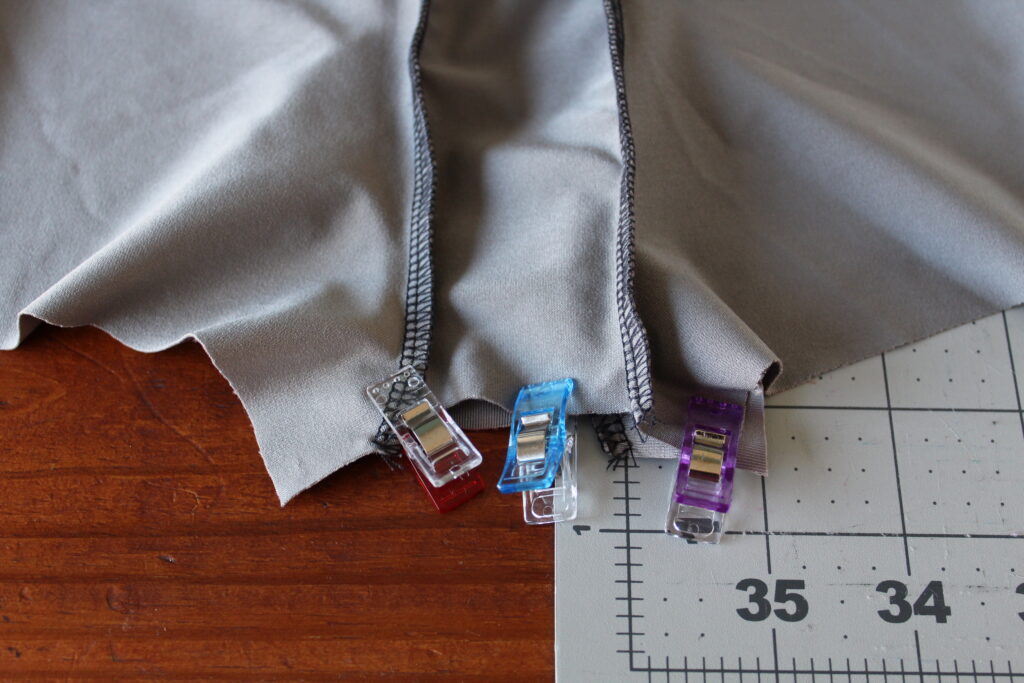
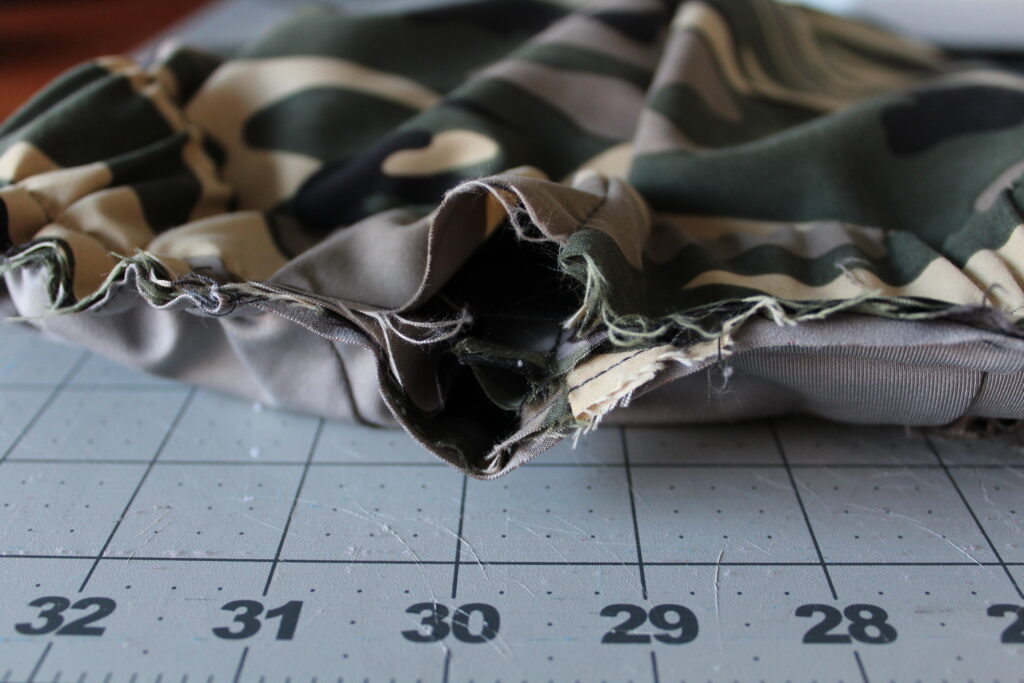
Slide one leg piece inside the other with right sides together and clip or pin the center inseam.
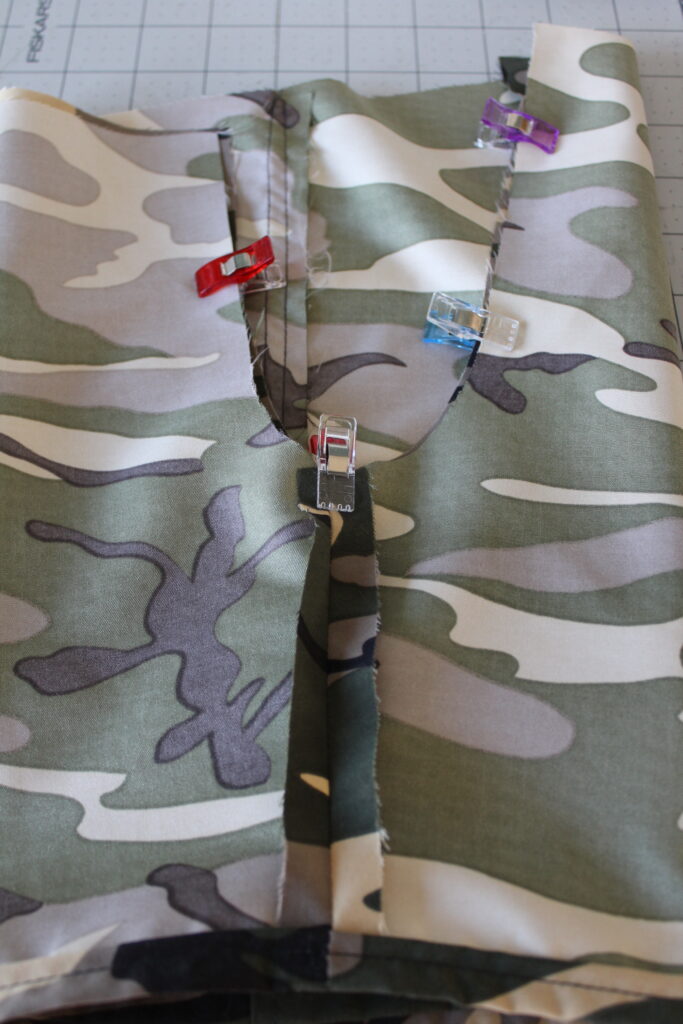
Another view of the center inseam.
Sew the inseam using a 1/2" seam allowance.
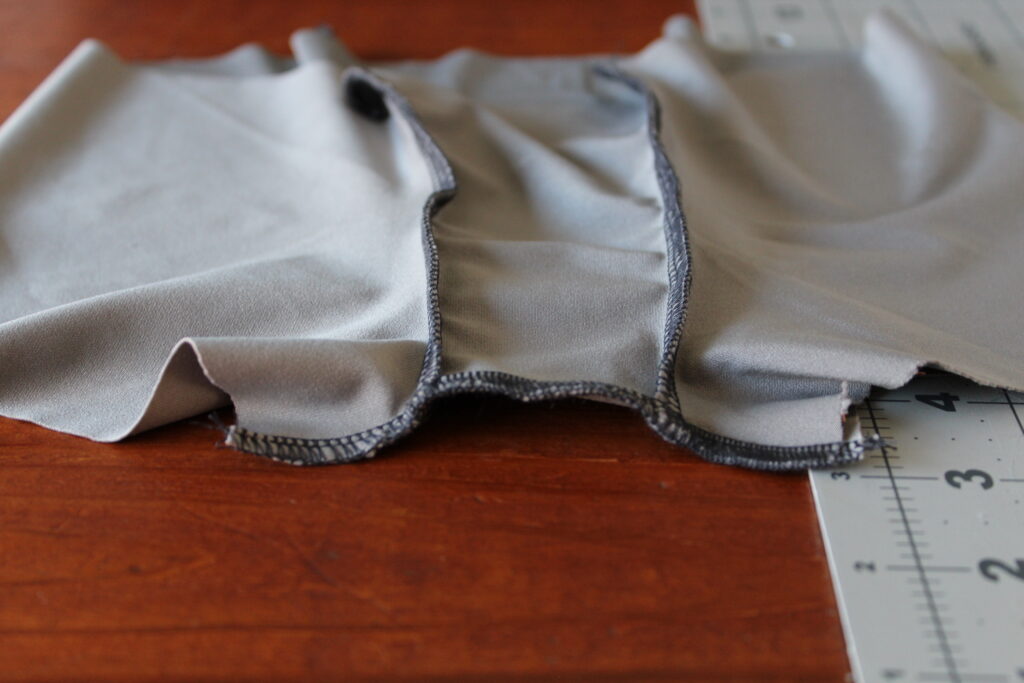
The shorts portion is done. We will move onto the lining next. If omitting the lining, move onto the waistband step to complete the shorts. Step Seven.
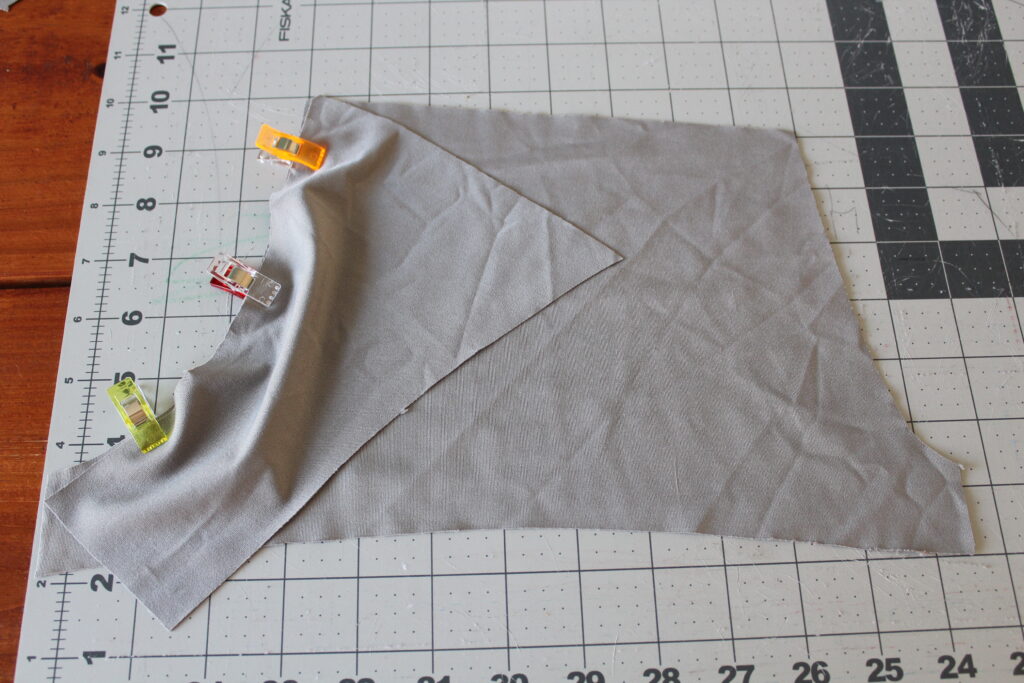
Board Shorts Step Six: Boxer Brief Lining
Grab the back panel piece and lay it onto the back rise (longer side) with right sides together. Sew along the long curved edge.
Next, we will grab our front panel piece and sew it to the front rise with right sides together.
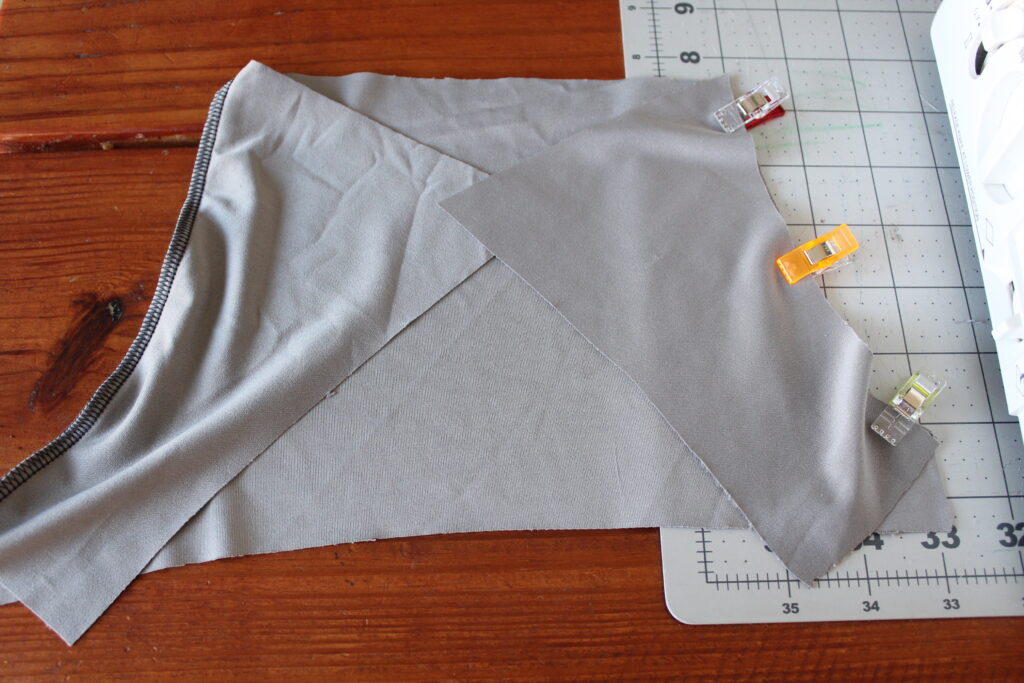
Now we will sew the other leg piece onto the front and back pieces with right sides together.
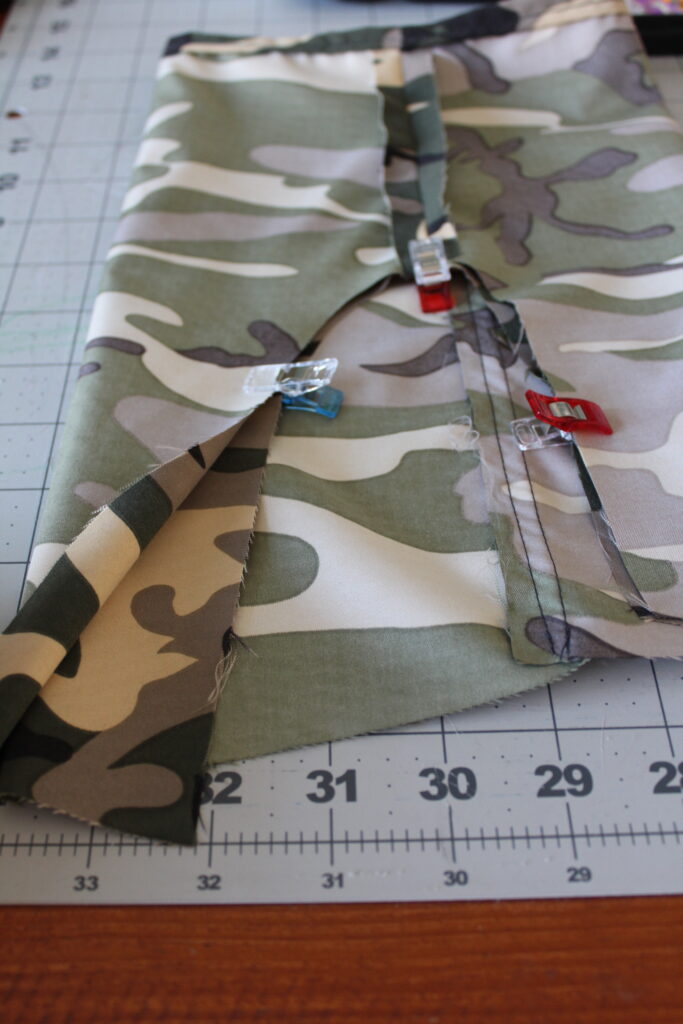
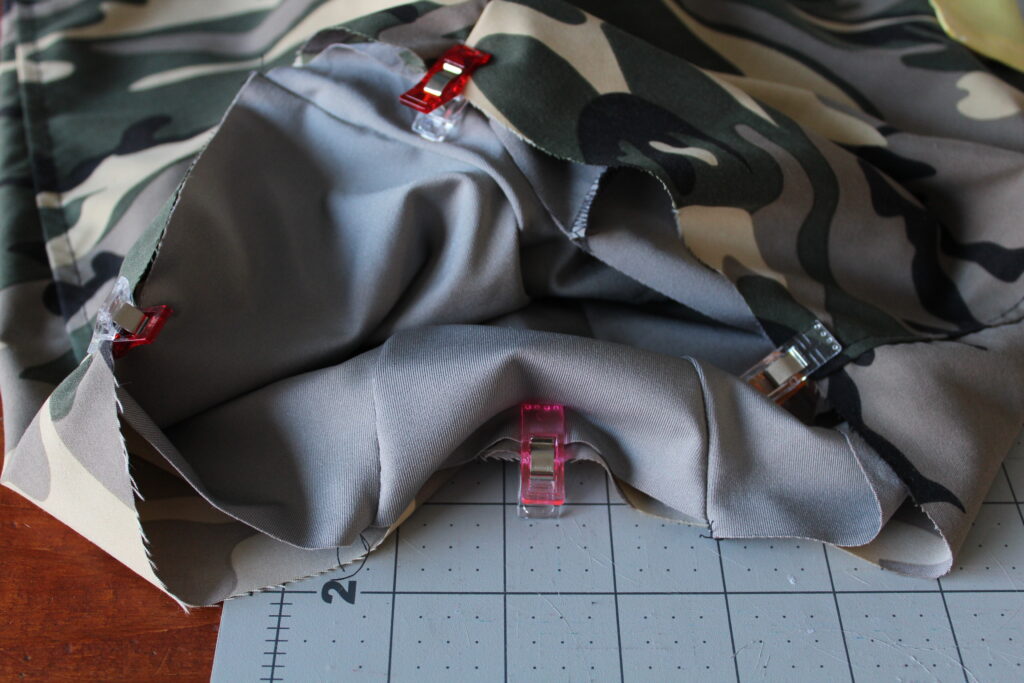
Now we will line up the front and back pieces at the center crotch and clip or pin in place.
Close up view. Go ahead and sew along the edge using a 1/2" Seam.
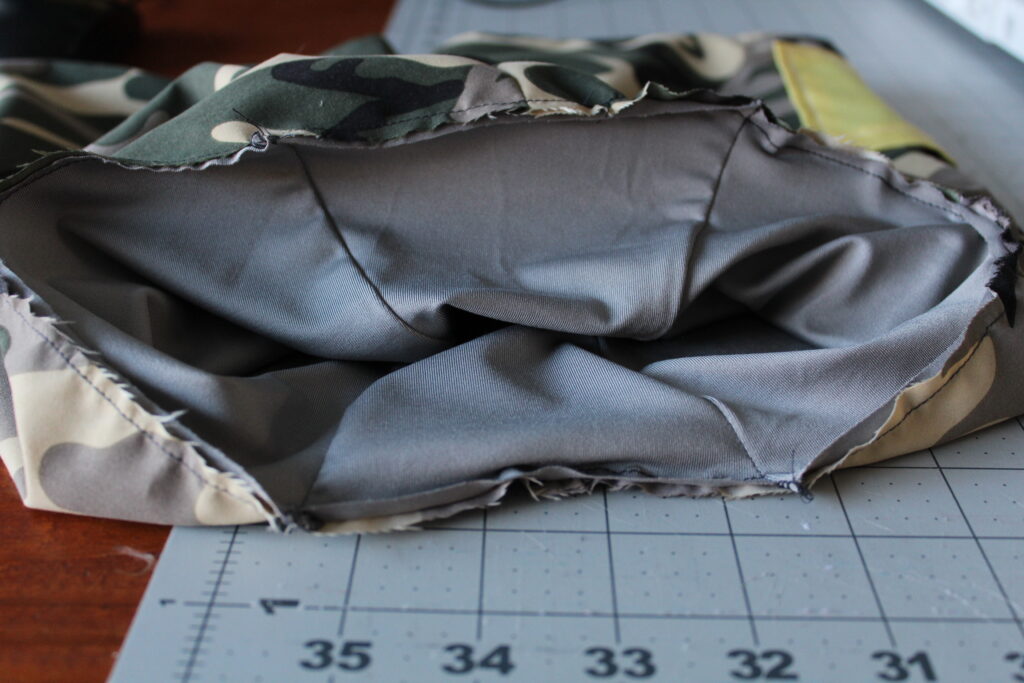
Crotch seam has been sewn.
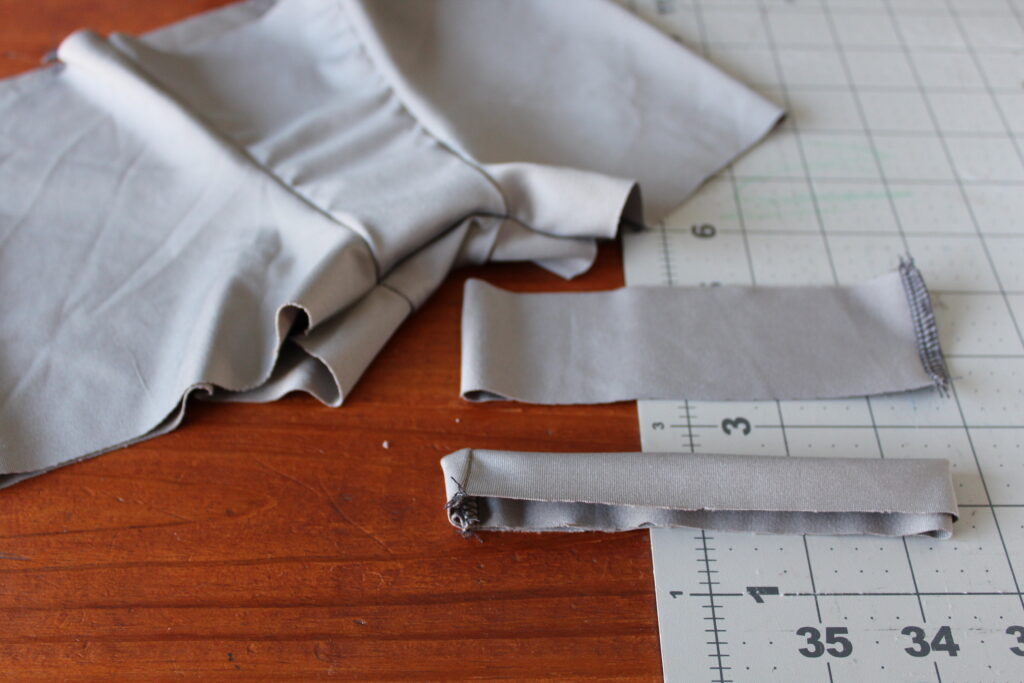
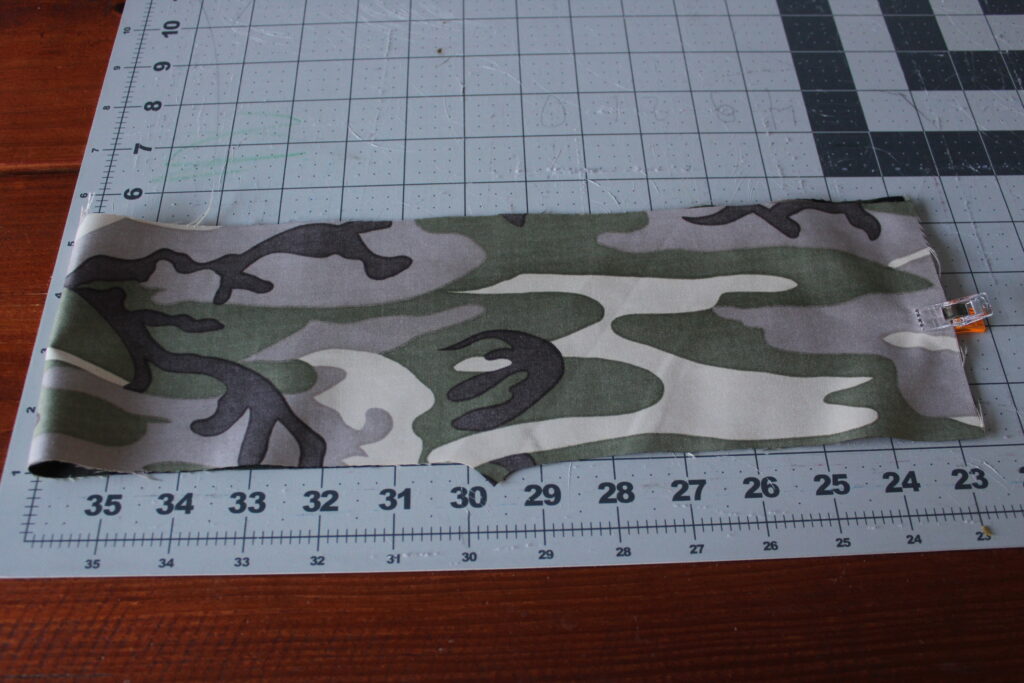
Fold the short edge of each leg band piece with right sides together and clip in place. Sew the short edges.
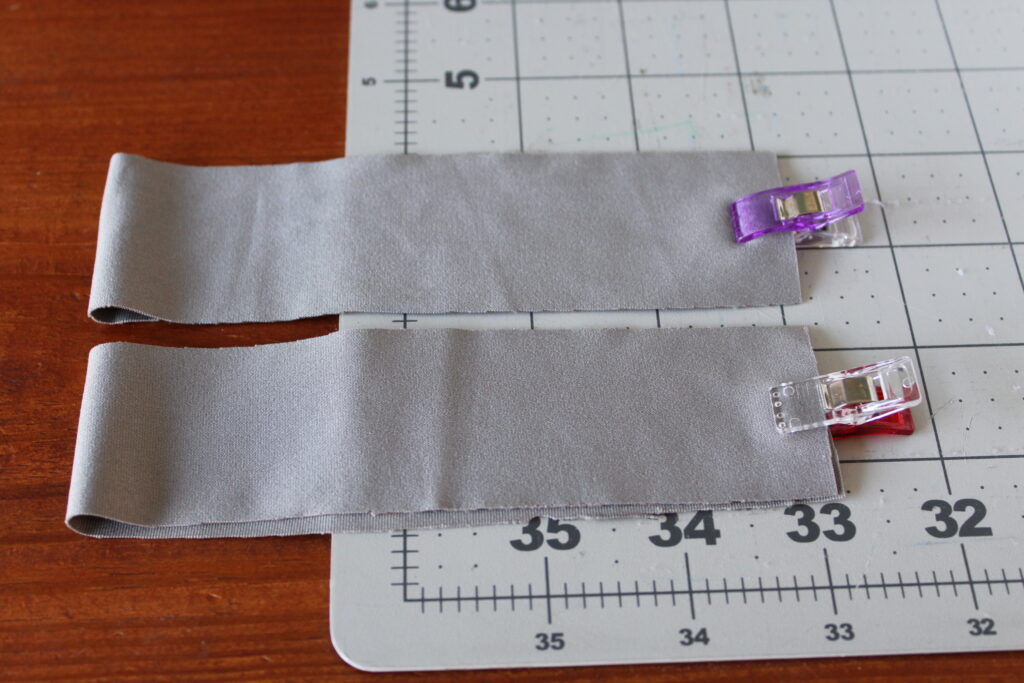
Now we will form a loop by folding the leg bands in half with wrong sides together.
Turn the boxer briefs right side out and place the leg bands over each leg opening. Clip or pin in place keeping the edges aligned and sew using a 1/4" seam allowance this time gently stretching as you sew.
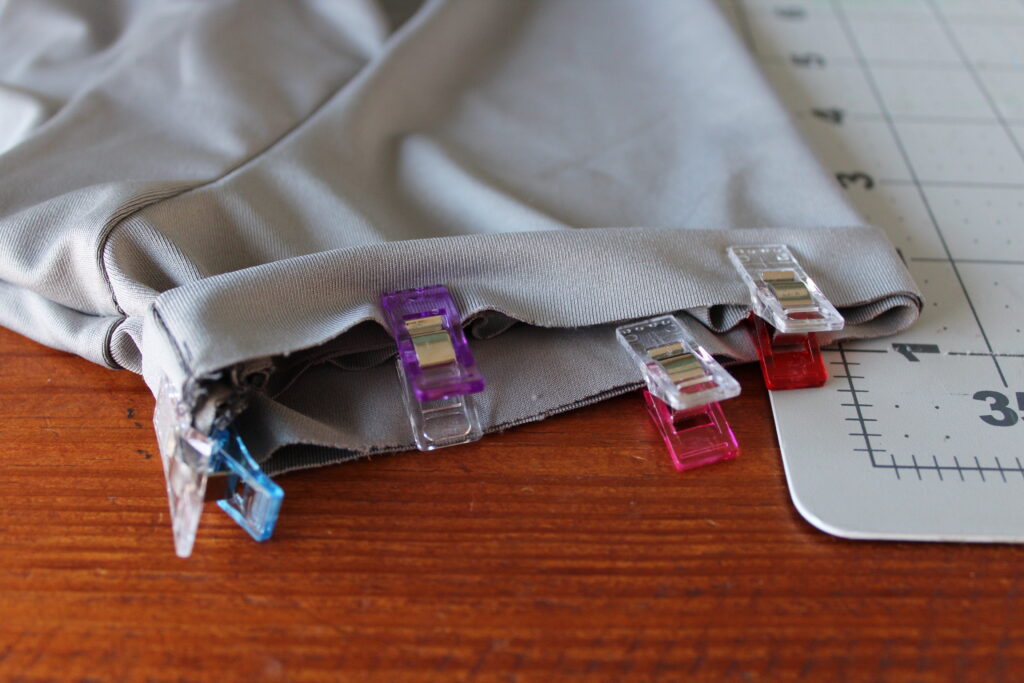
Flip the leg bands down.
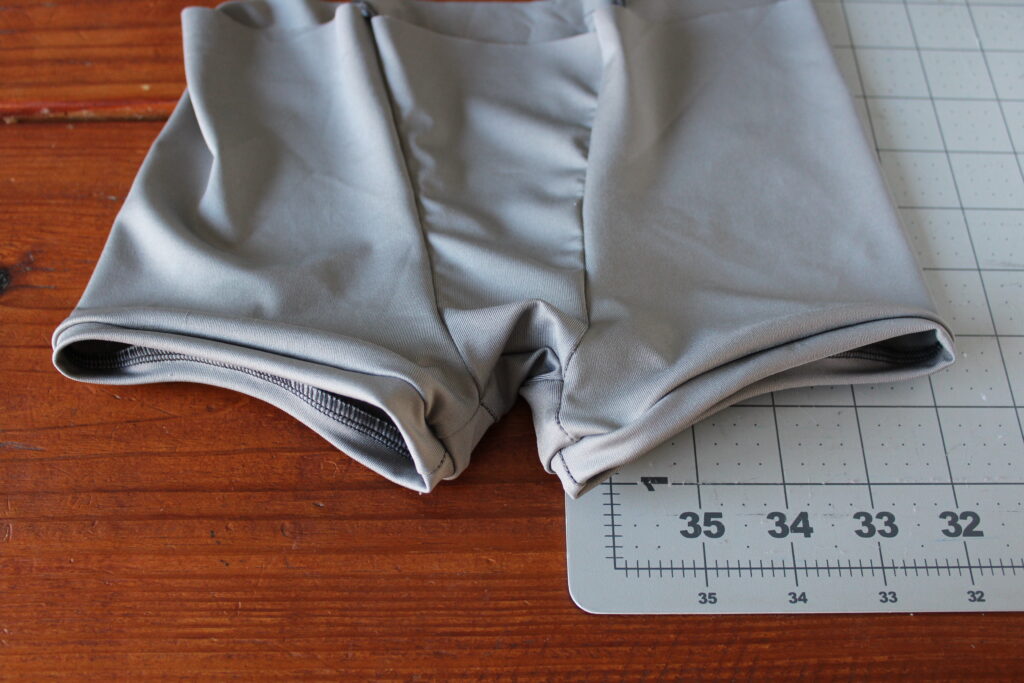
Topstitch the seam allowance to the legs.
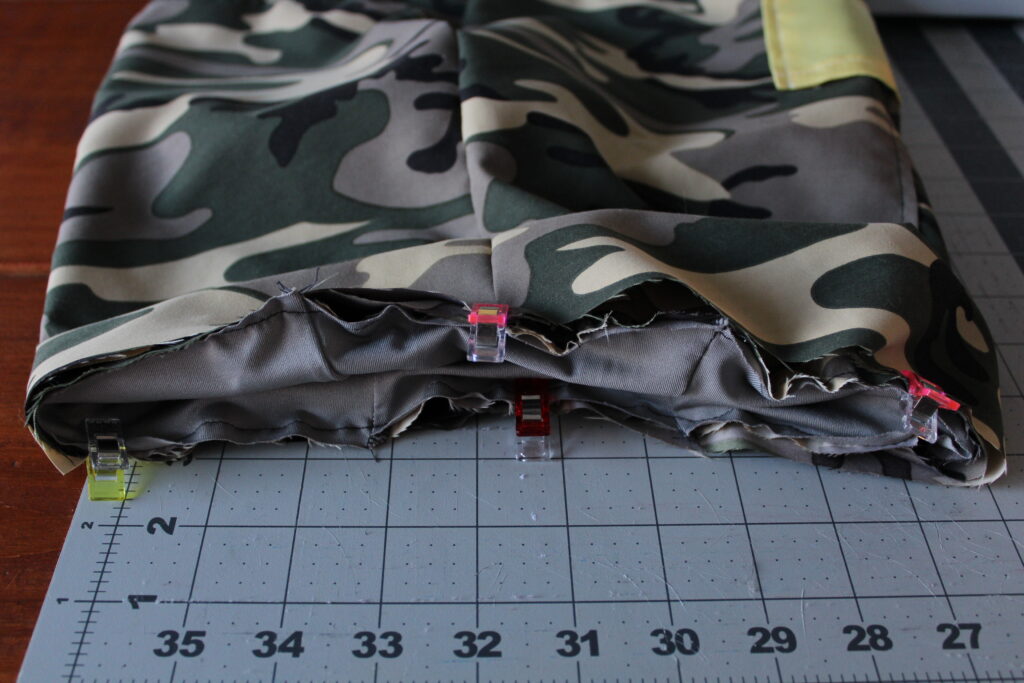
Turn the boxer briefs inside out and place them inside of the shorts. Line up the center front lining panel with the front seam a well as the back lining panel with the back seam. Clip or pin in place and baste together, gently stretching the lining to match the shorts using a 1/4" seam.
Basting completed.
Board Shorts Step Seven: Waistband
Grab your waistband piece and fold it right sides together. Clip or pin the short ends and sew using a 1/2" seam allowance.
Fold the waistband in half with wrong sides together.
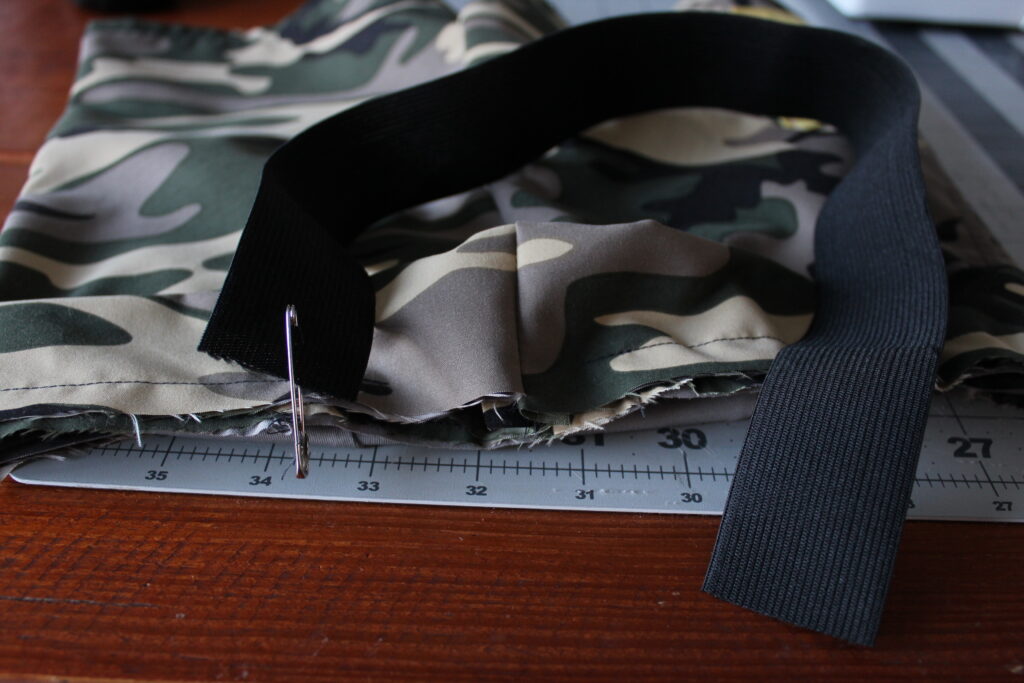
Slide the waistband over the shorts, lining up the back shorts seam with the waistband seam. Clip or pin in place and sew leaving a 2" gap in the center back for the elastic.
Grab your elastic and cut to the size specified in the pattern instructions. Using a safety pin, slide the elastic through the waistband.
Overlap the elastic edges by 1/2" and use a zigzag stitch to secure the elastic ends together.
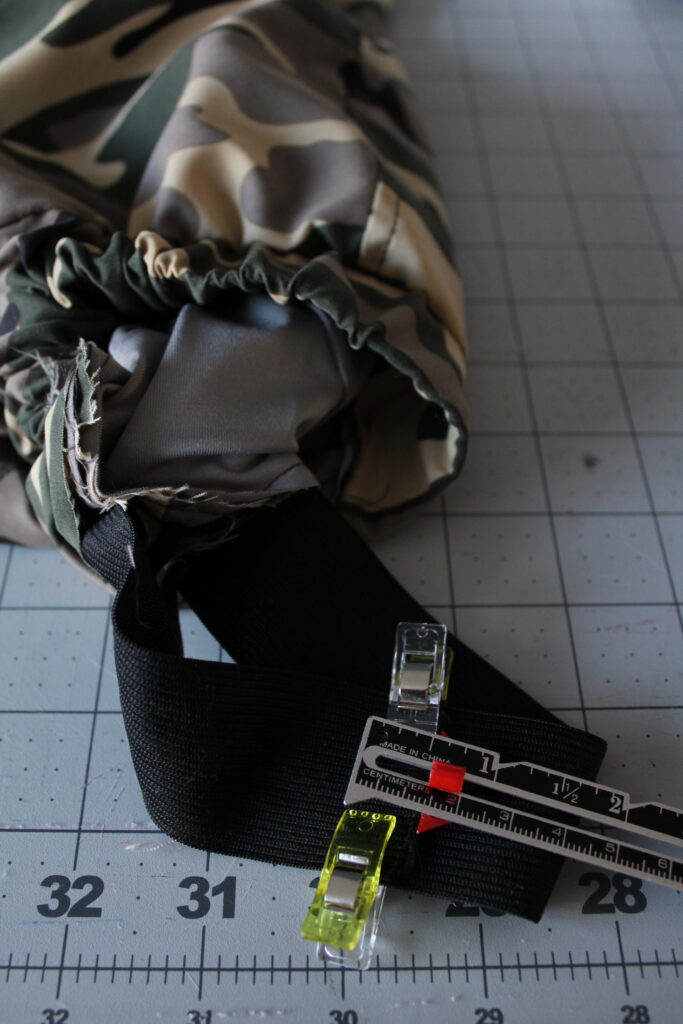
Sew the 2" opening in the back.
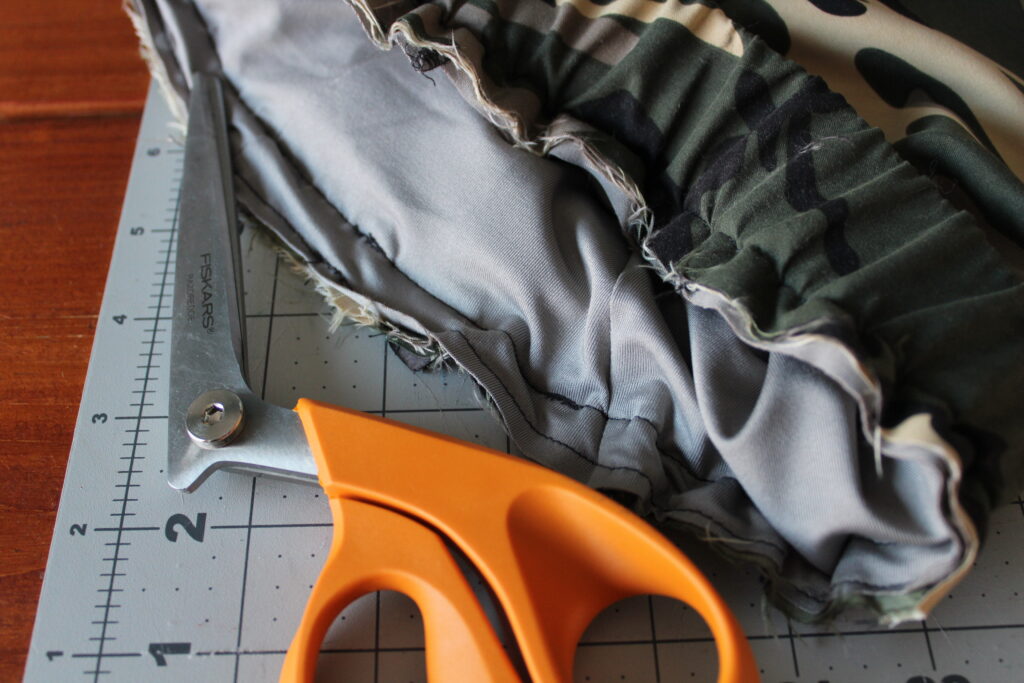
Trim the seam allowance down to 1/4" and finish the edges. I used a zigzag stitch to finish mine.
Flip the waistband up and sew two rows of topstitches using a long straight stitch, stretching the elastic as you sew.
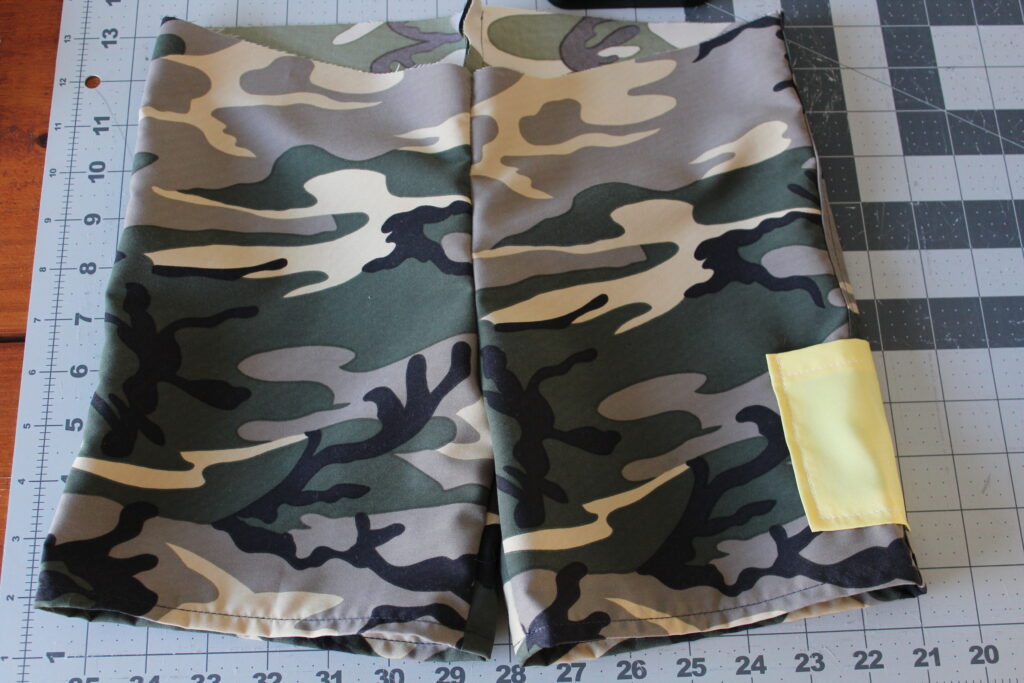
The Cowabunga Shorts are now complete!
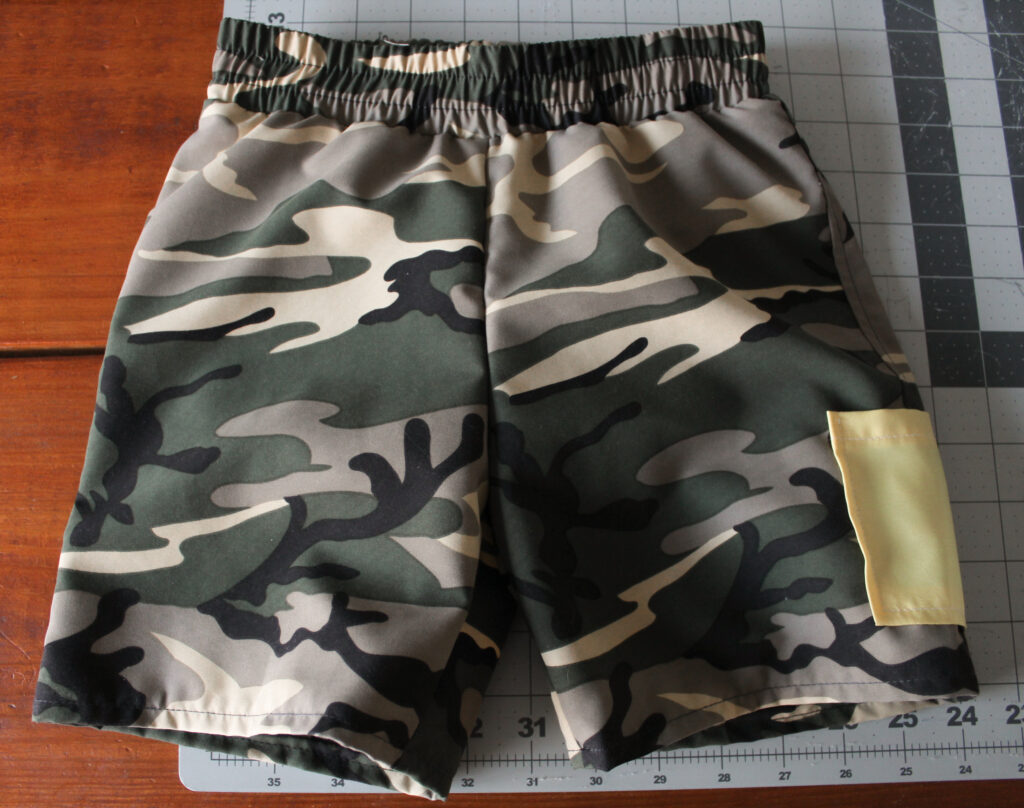
Front view.
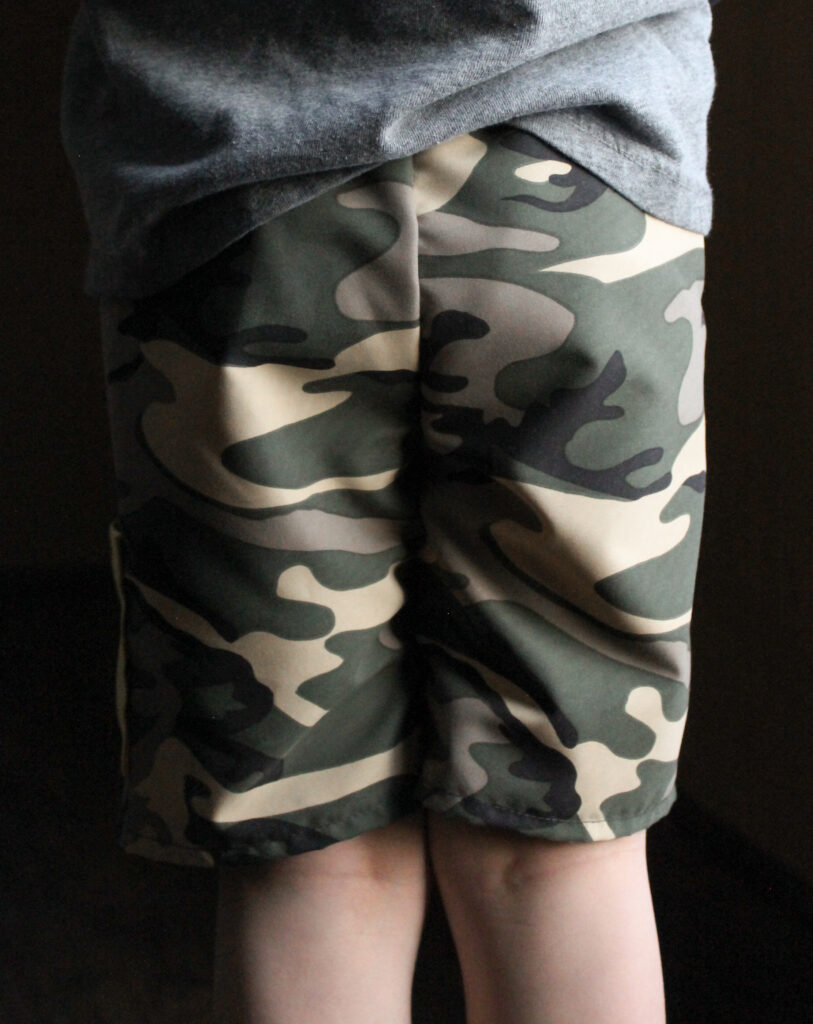
Back view.
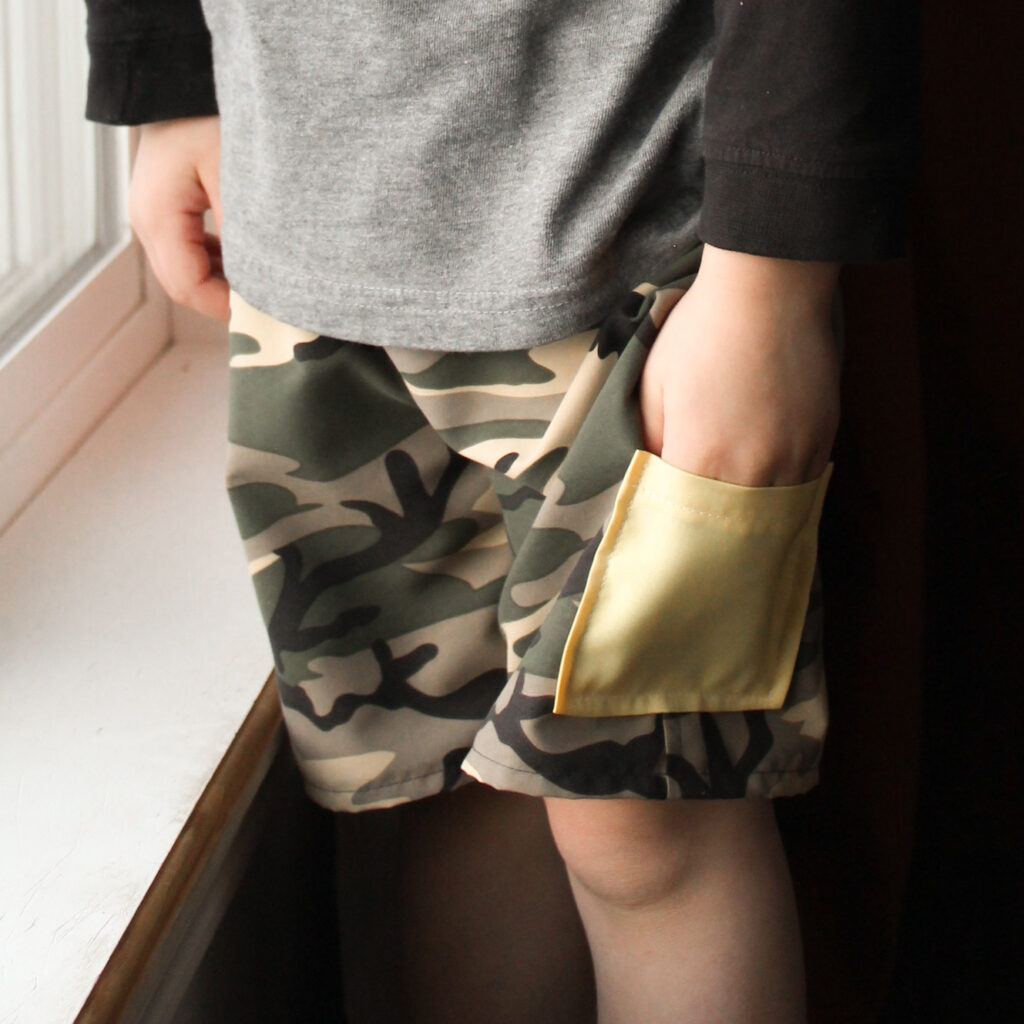
Got to have a pocket!
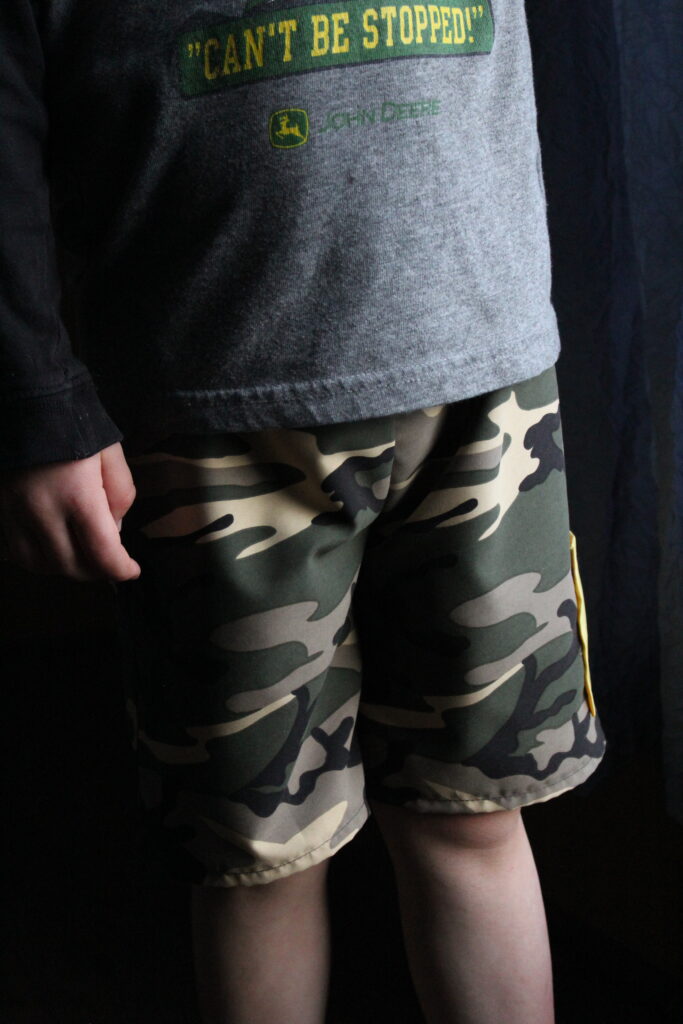
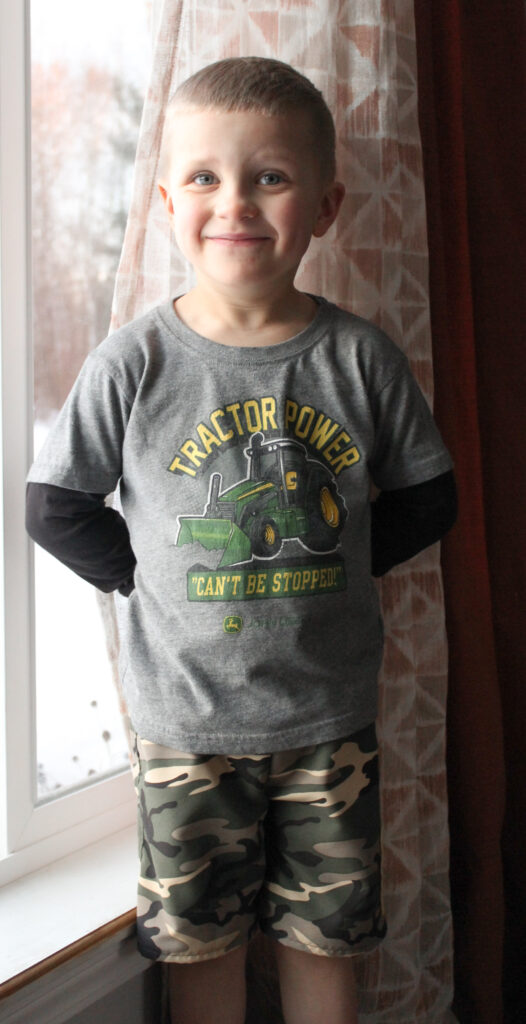
One very happy boy! He wore these to bed, and the next day and so on (when they weren't in the washer) ...so they must be comfortable!
Now that we've gone over the steps to sewing the Cowabunga Shorts, I hope you will consider trying this pattern out soon. If you're still unsure about working with board shorts and swim fabric, maybe just try out a pair in another woven to get a feel for making these shorts before testing out the swim trunks.
I enjoy working with board short material, and as with any project, ensuring you have the right materials for the job makes a world of difference in the finished product. Thank you for joining us today to learn how to sew board shorts. Before you leave, make sure to join our Facebook Group. Happy Sewing!