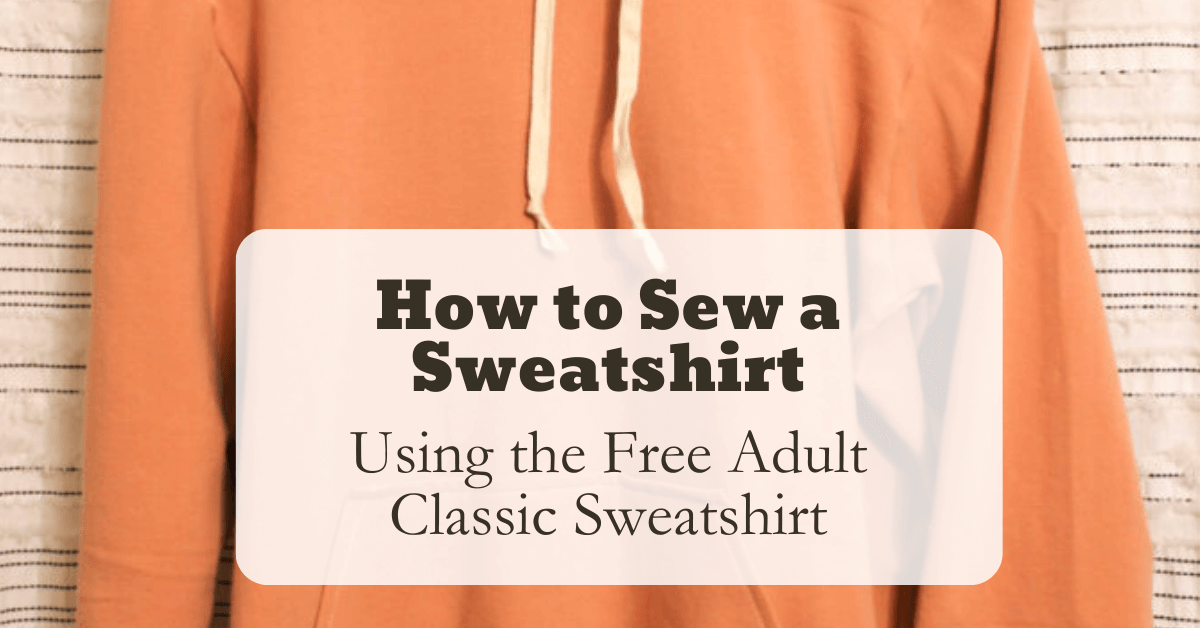
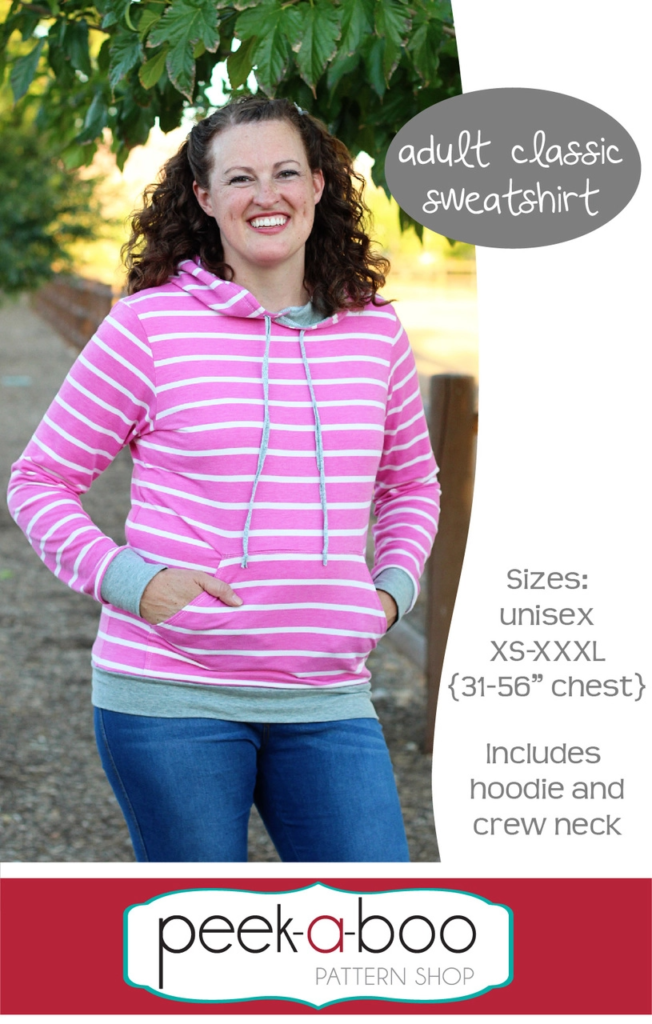
How to Sew a Sweatshirt | Using the Free Adult Classic Sweatshirt
Today we’ll go over how to sew a sweatshirt using a FREE pattern – the Adult Classic Sweatshirt sewing pattern from Peek-a-Boo Pattern Shop. The pattern is free for Facebook Group Members (code in the pinned post at the top of the group) or for Newsletter Subscribers. Sewing your own clothes can be a rewarding experience. You can get clothes that fit well and a sense of accomplishment from what you create.
The Adult Classic Sweatshirt pdf pattern was one of the first patterns I downloaded upon discovering Peek-a-Boo. I decided to give it a try after seeing it was free for Facebook Group members. After that point, I really got on board with printing out my own patterns (no more store-bought tissue patterns) at home and then I eventually switched over to a projector format which has been amazing! This pattern is perfect for making a great sweatshirt for the colder months of the year.
 What I love about Peek-a-Boo Pattern Shop is that it never disappoints. The patterns are very well designed and well thought out for even the newest of beginners to approach. Peek-a-Boo has several Free Patterns available other than the adult classic sweatshirt. I would encourage anyone to come join the group and check it out for yourself! Today, I will walk you through how to sew the Adult Classic Sweatshirt using the pocket and hood options with cording. If you would like a simple or basic sweatshirt, you can always skip the pocket and hood and just do a basic neckband for a quick sew.
How to Sew a Sweatshirt Using the Adult Classic Sweatshirt
DIY Sweatshirt Supplies:
- Peek-a-boo’s Adult Classic Sweatshirt Pattern
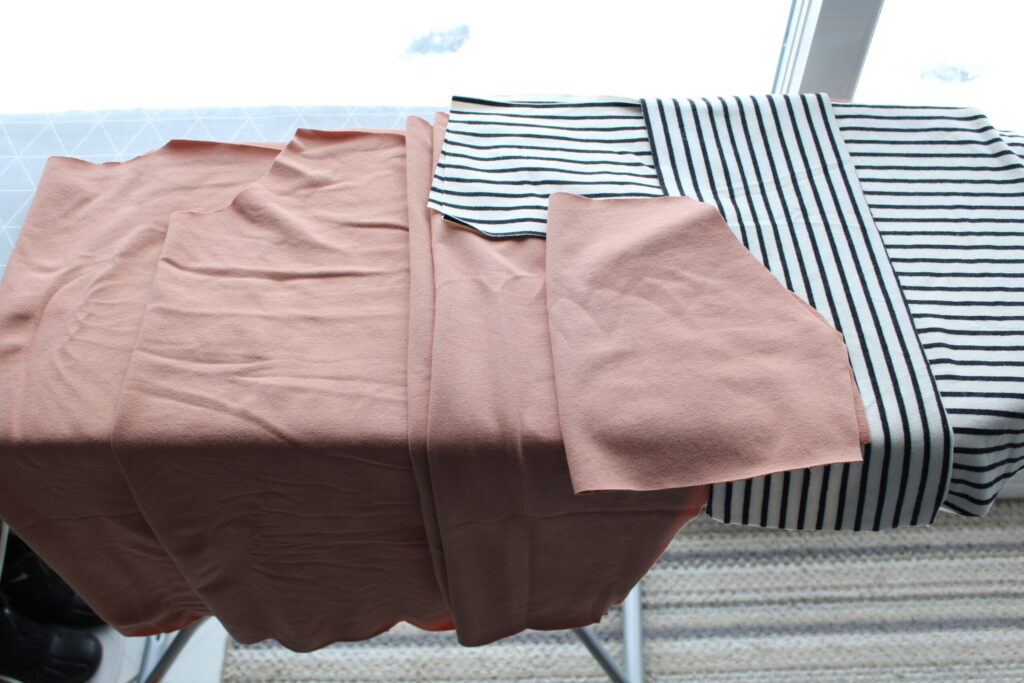
- French Terry fabric, sweatshirt fabric, sweatshirt fleece, etc. for the main, a 50% stretch fabric for the cuffs and French Terry, Jersey, Fleece etc. for the pocket and hood lining pieces. (I used organic FT and Rib Knit).
- 1.5 yards Cording for the optional hood and two small squares of fusible interfacing
- Sewing machine, needle, scissors, thread and pins or clips
- Iron
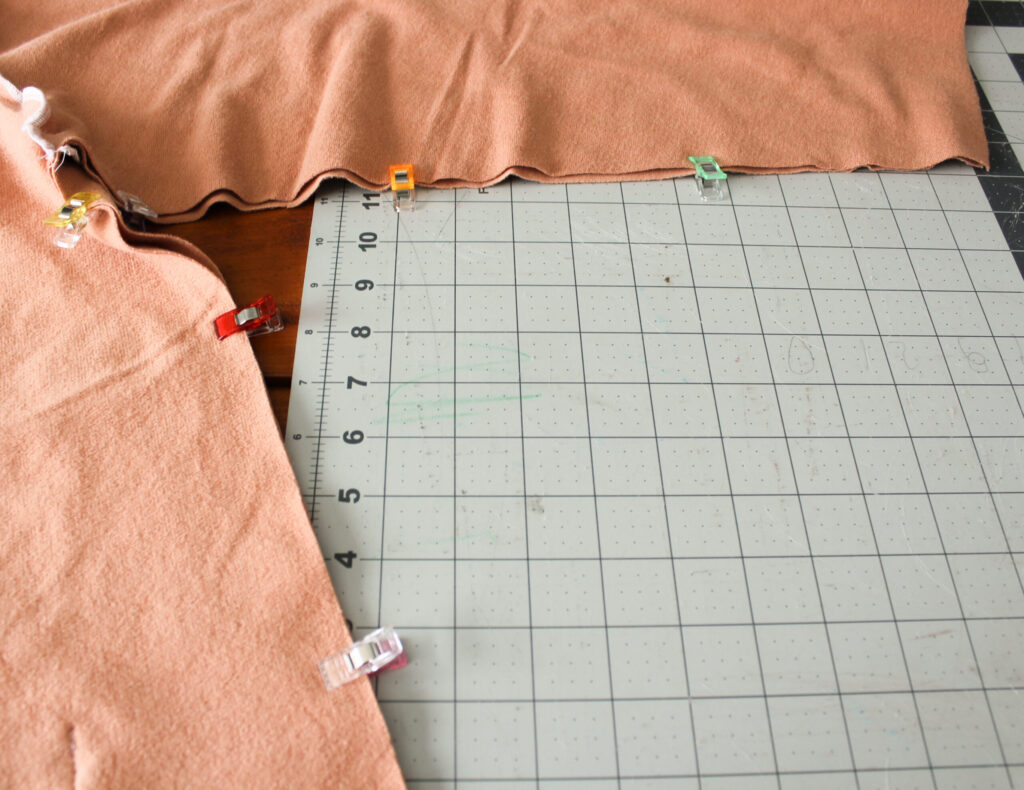
We will be using a 1/2 inch seam allowance for the garment unless otherwise noted. Let’s begin. First cut out each pattern piece and the corresponding pieces of fabric.
Tutorial Step One: Optional Kangaroo Pocket Assembly
Skip to step two if you omit the kangaroo pocket. Fold the angled sides over 1/2″ towards the wrong side and press. Topstitch in place.
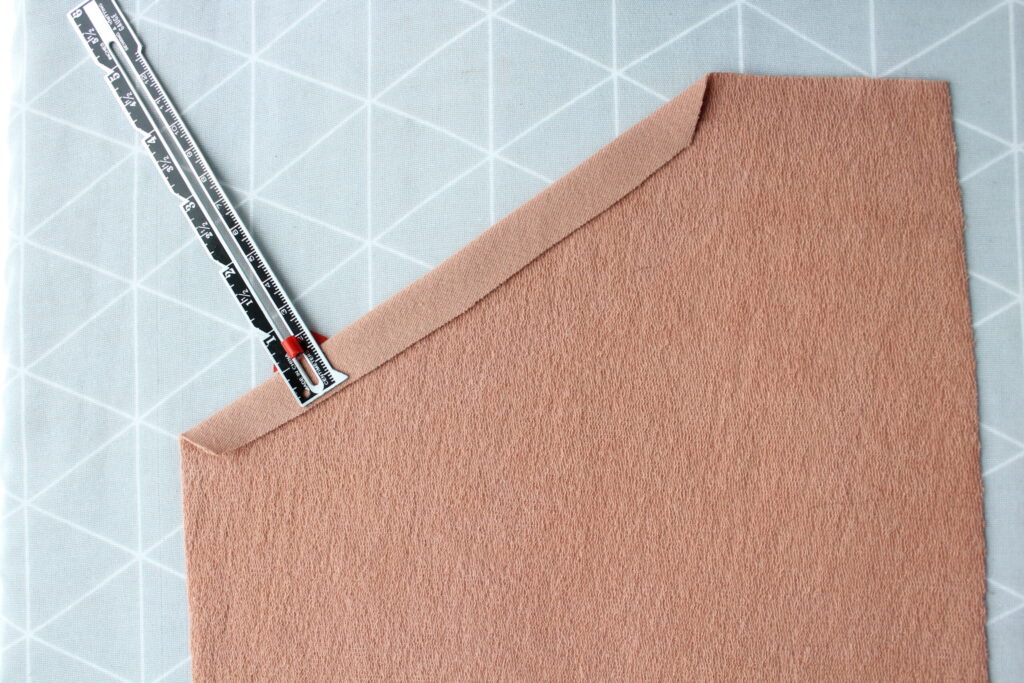
The angled sides have been topstitched. Now we will fold the top and sides in 1/2″ and press.
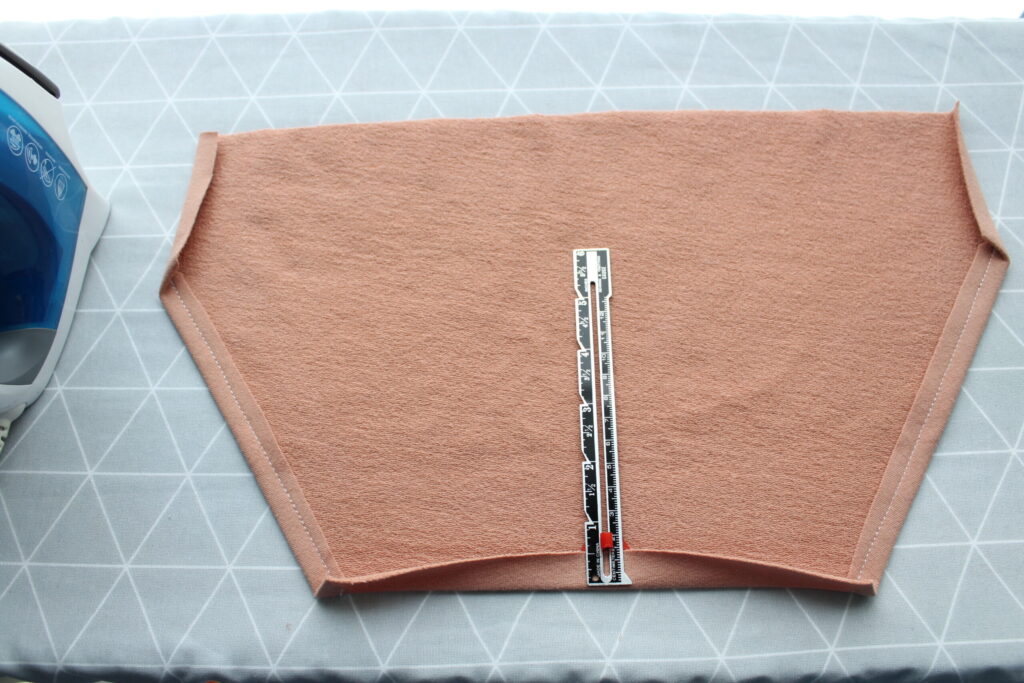
Center the pocket onto the front of the sweatshirt and pin in place.
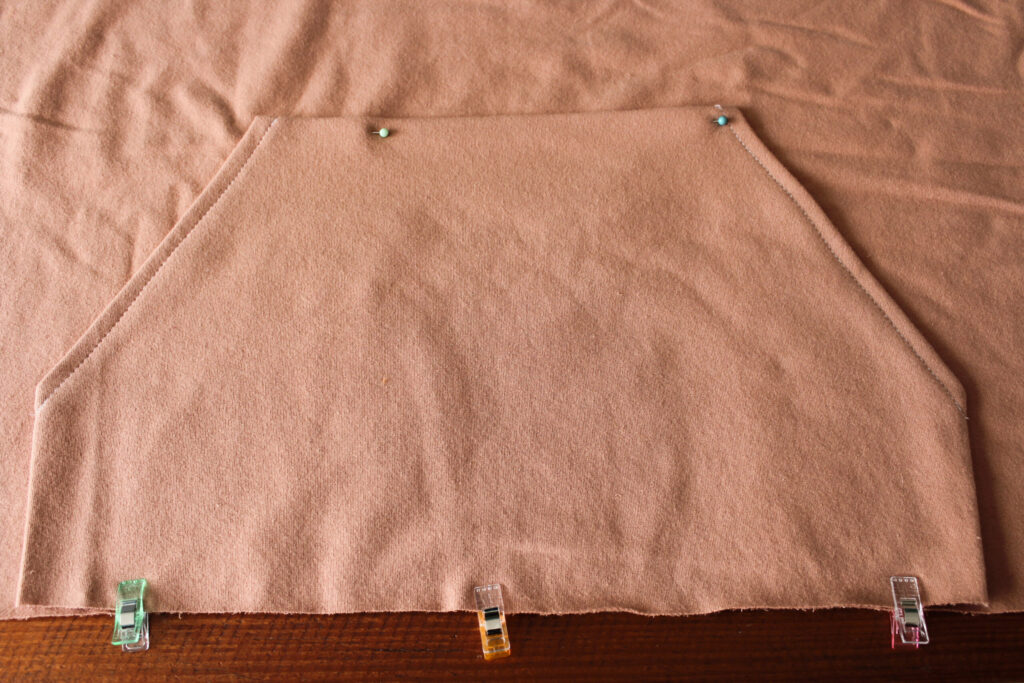
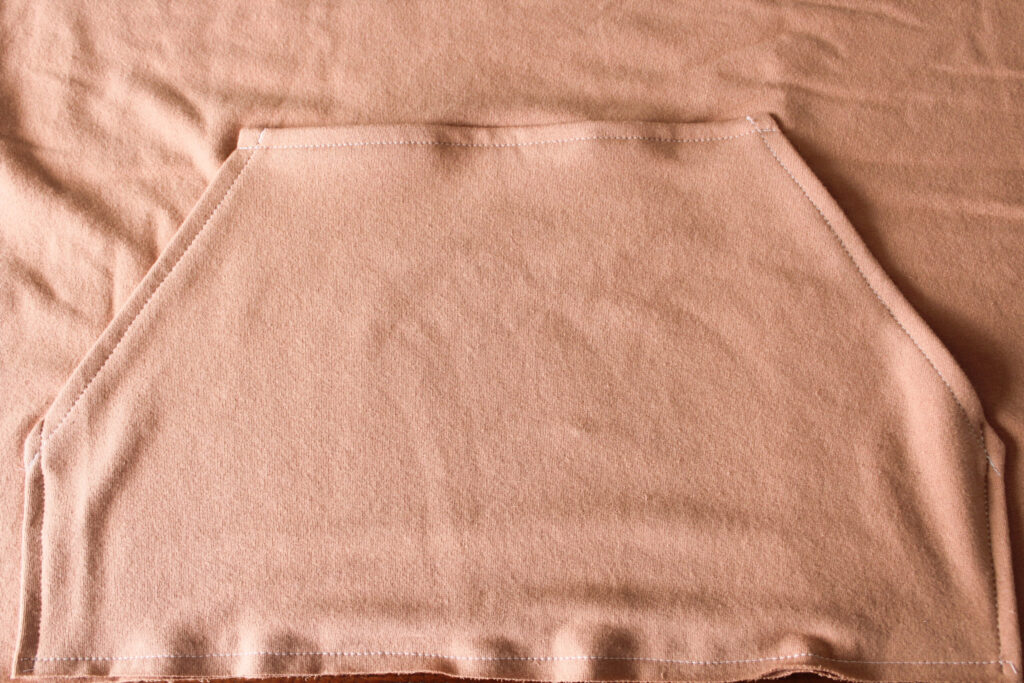
Topstitch the top and sides that we just ironed to the front. Baste the bottom part of the pocket to the bottom of the front sweatshirt.
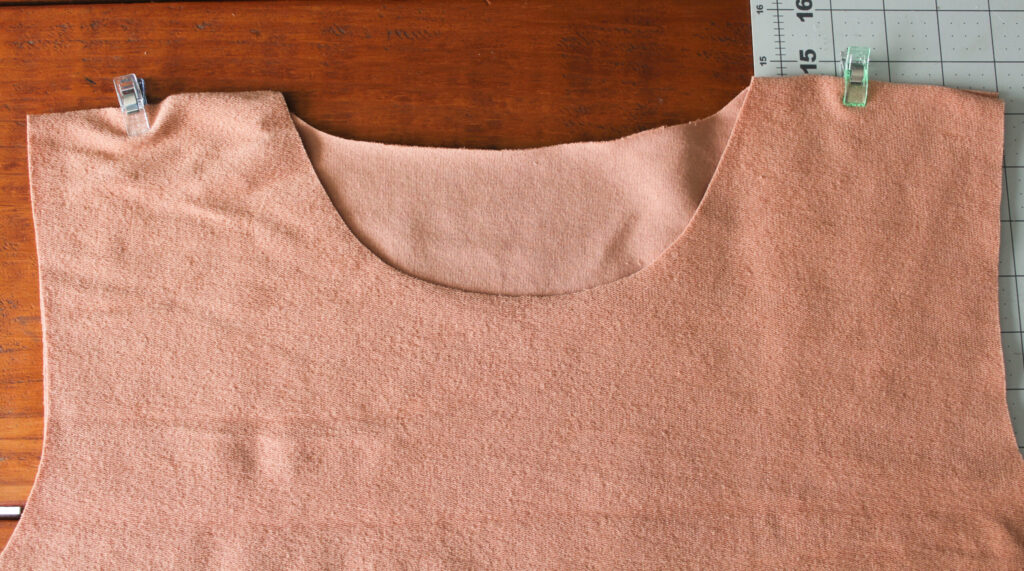
How to Sew a Sweatshirt Step Two: Shoulders
With right sides together, clip or pin the front and back pieces together and sew using a 1/2″ seam allowance. You can preferably sew with your serger. If you are using a regular sewing machine, then you might try a zigzag stitch or other stretch stitch.
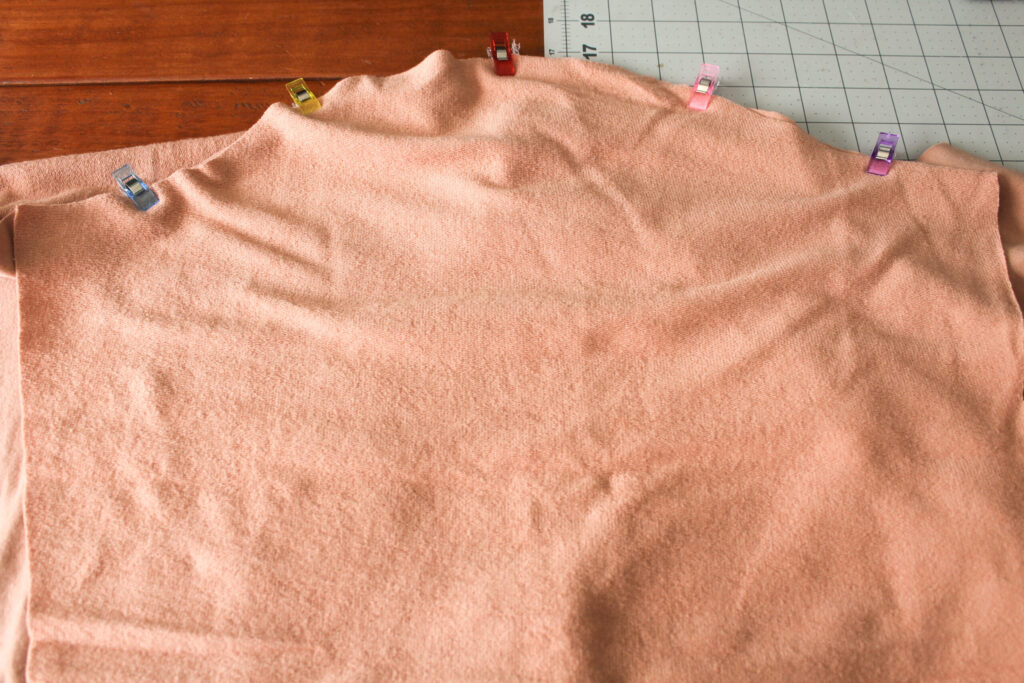
How to Sew a Sweatshirt Step Three: Sleeve Piece Assembly
Place the sleeves right sides together with the shoulder seams and clip or pin in place. Sew the sleeves on.
How to Sew a Sweatshirt Step Four: Front and Back Assembly
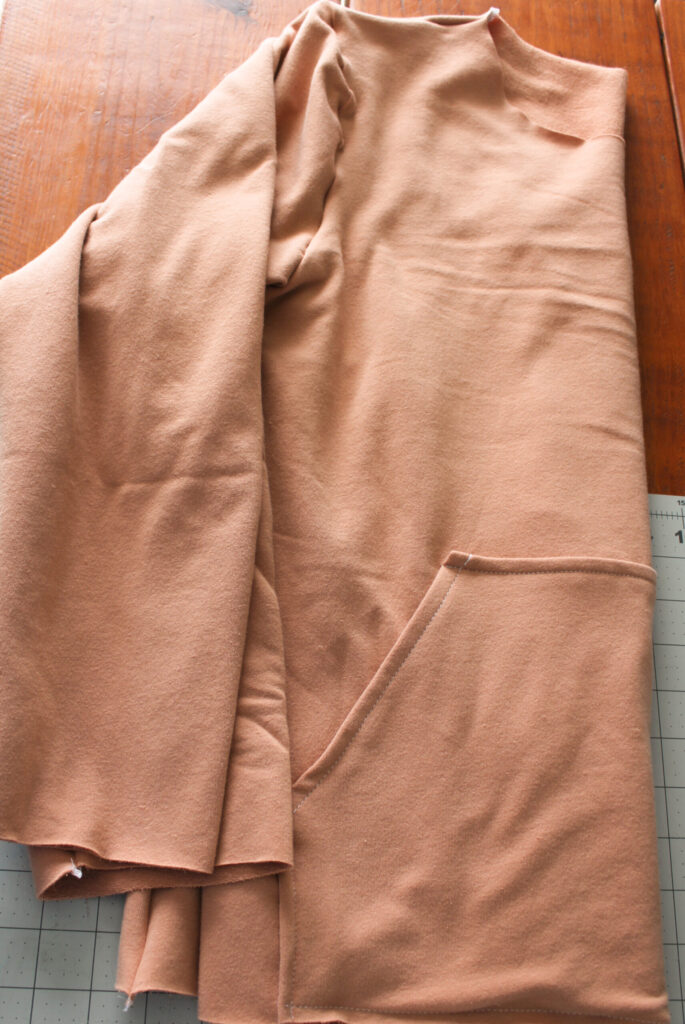
With the right sides together, clip or pin the front and back pieces together. Sew from the edge of the sleeve down to the bottom to create one seam.
The body of the sweatshirt is now complete!
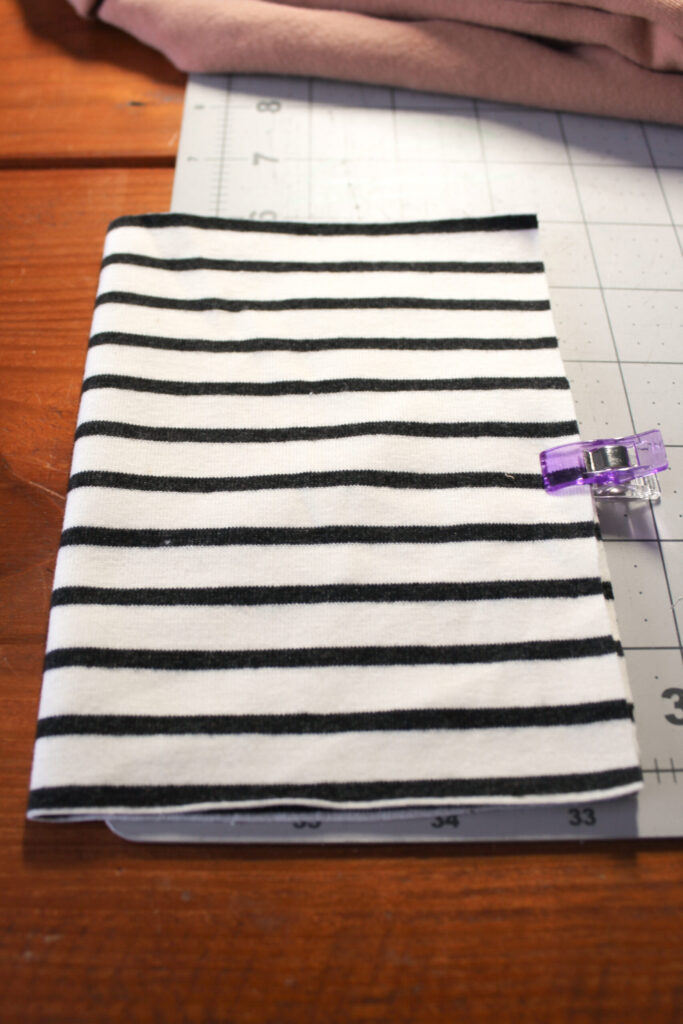
Step Five: Cuff Assembly
With right sides together, fold each cuff piece and clip or pin. Sew together.
With wrong sides together, fold the cuff in half so that the raw edges are aligned, and your seams are enclosed.
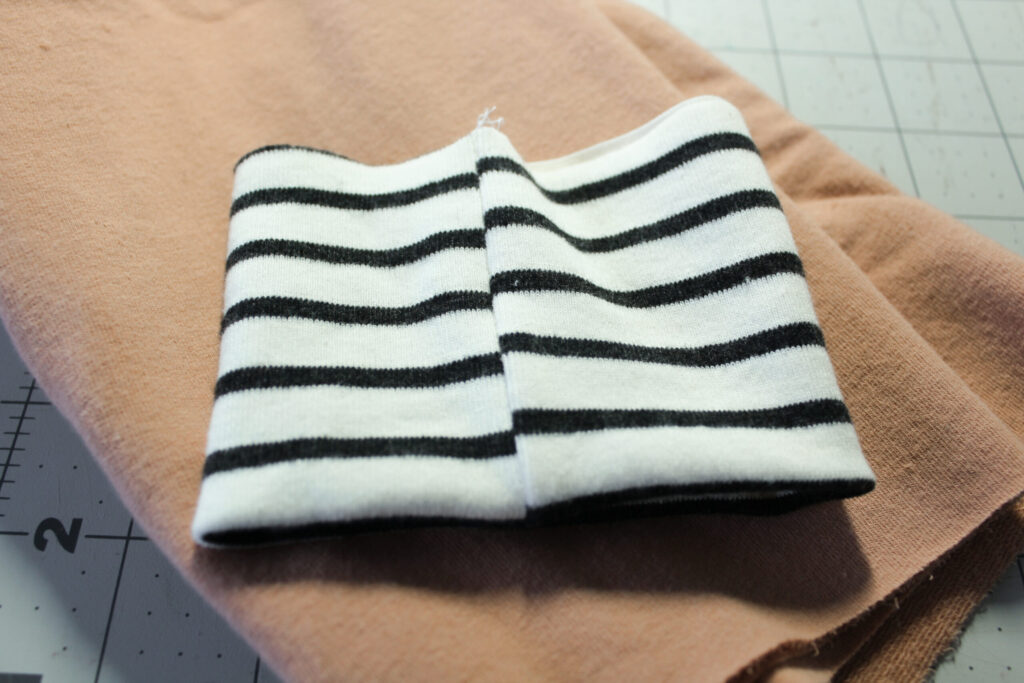
Slide the cuff over the sleeves, keeping the raw edges aligned. Clip or pin in place and sew the cuff to the sleeve.
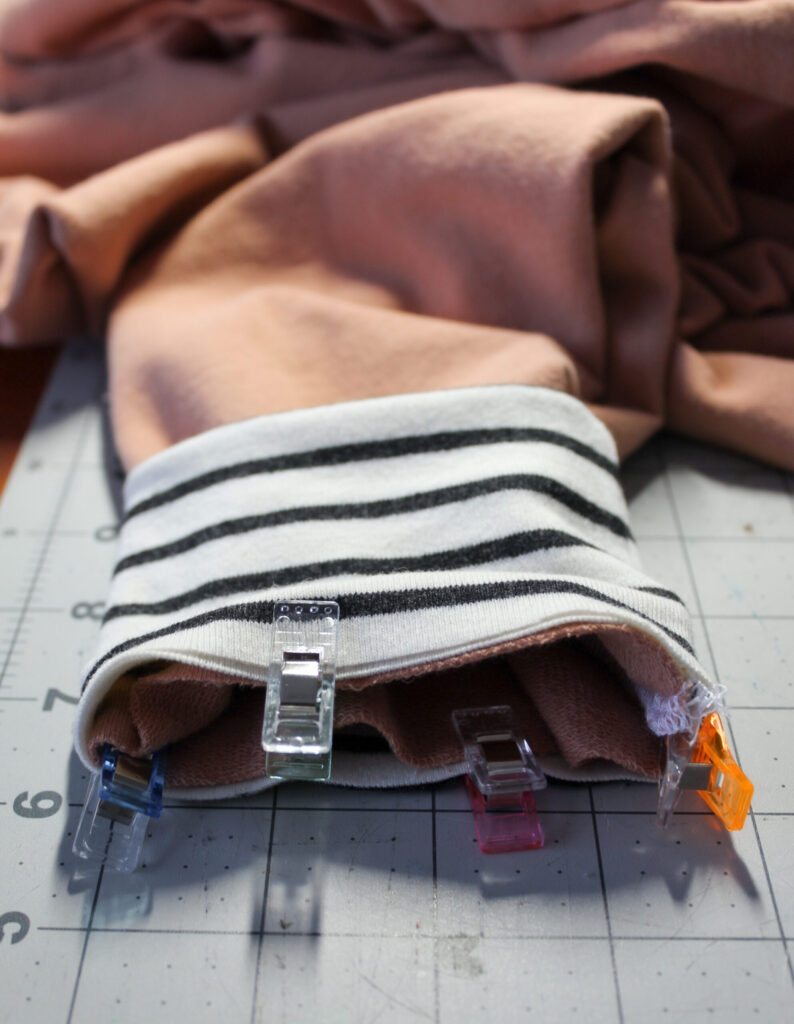
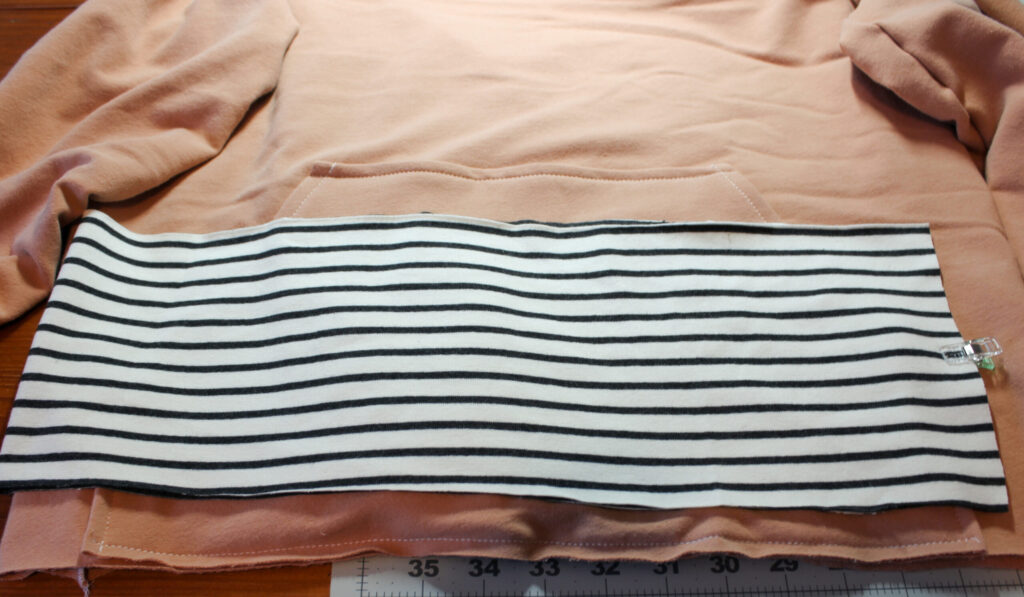
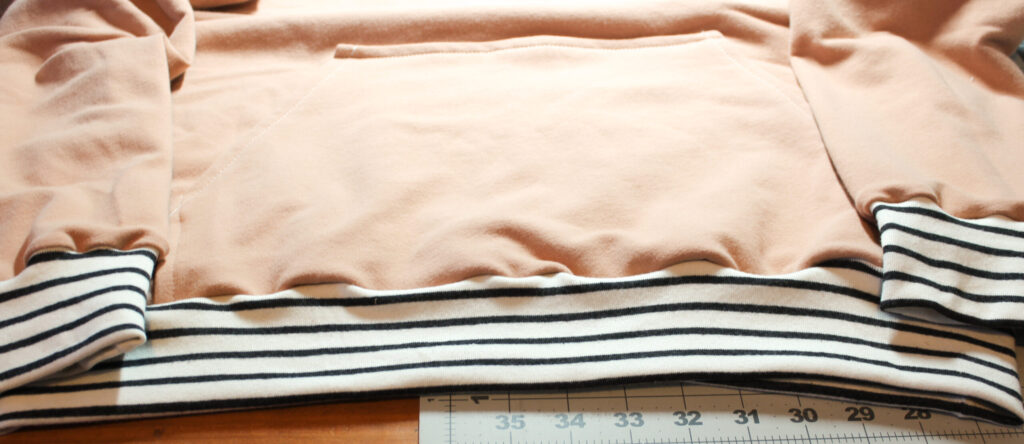
Step Six: Bottom Band
Fold the band piece in half with right sides together and clip or pin. Sew along the pinned edge.
Fold the band in half with the wrong sides together and your seam enclosed.
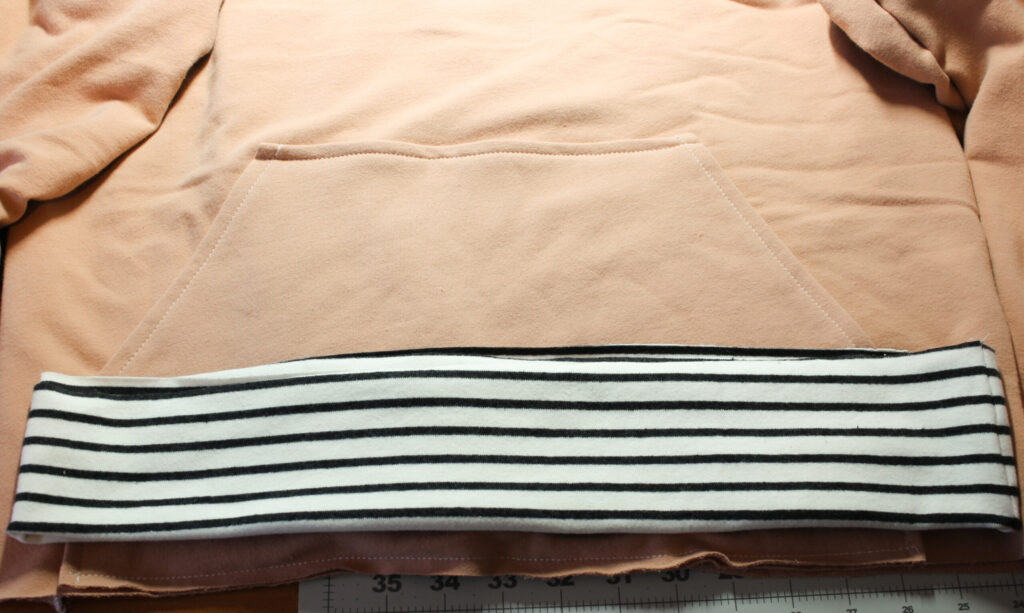
Slide the band onto the bottom and line up the seams. With raw edges aligned, pin or clip in place and sew the band on gently stretching as you go.
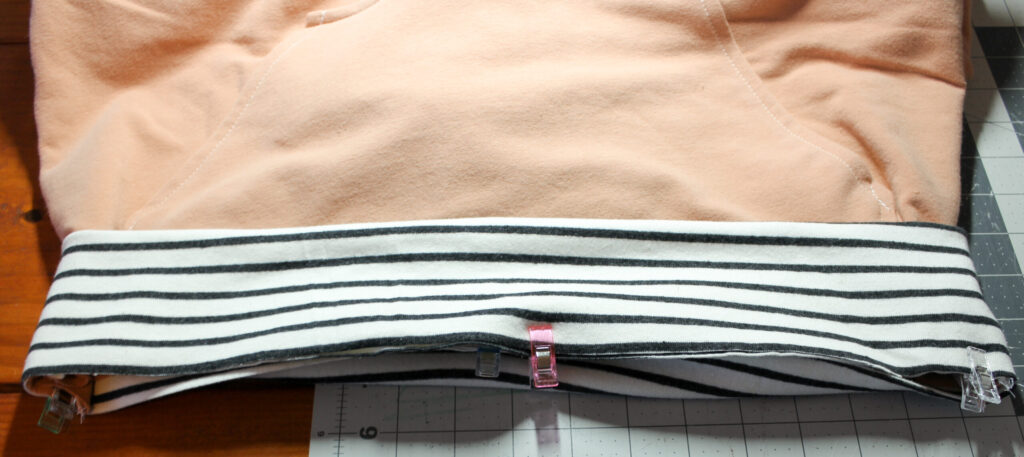
Band is now complete. *Tip-Using an iron over your seams may help with any waviness you may encounter.
Step Seven: Hood Assembly
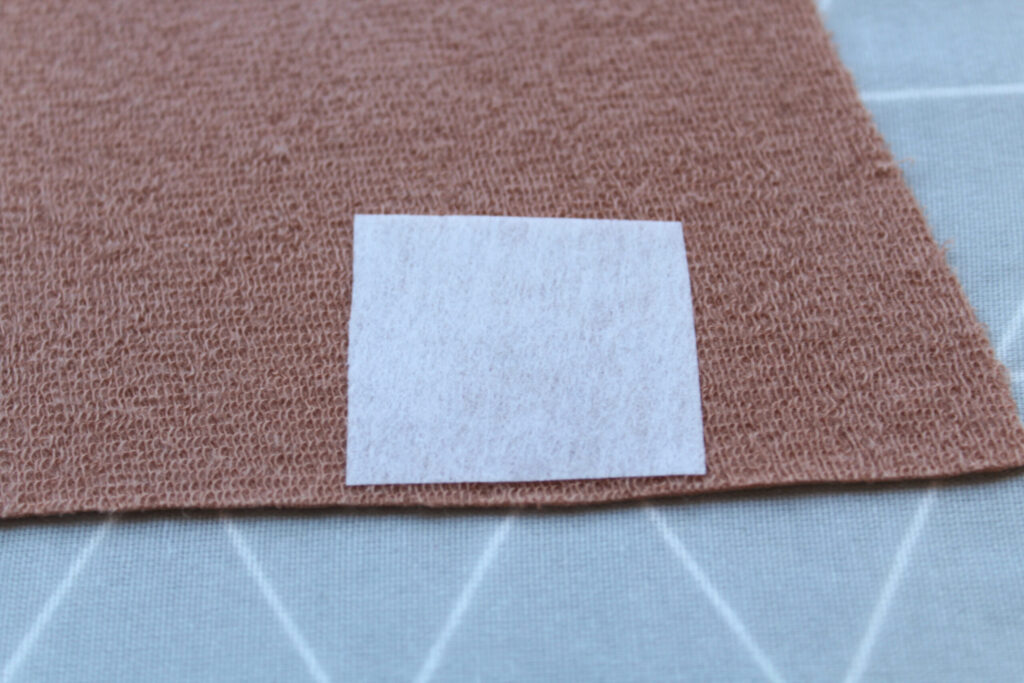
I love having a hood for cold weather. Go ahead and grab your two square pieces of fusible interfacing. Iron them onto the backside of the outside hood pieces right behind the buttonhole or eyelet opening markings. I will be using a buttonhole opening for mine.
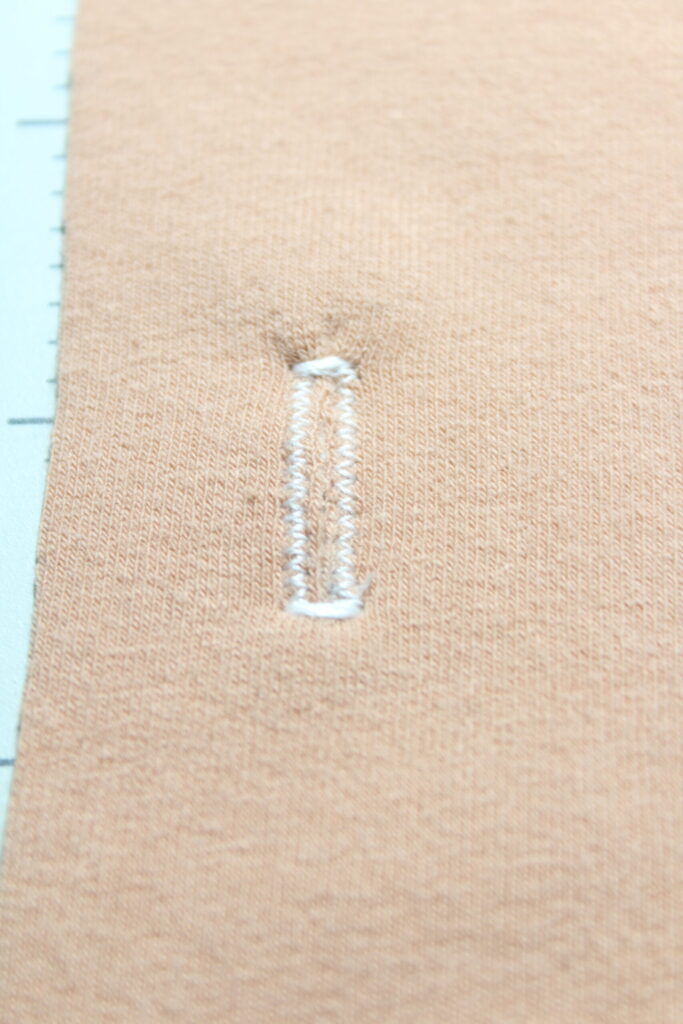
I went ahead and sewed my buttonhole openings onto each of the outside hood pieces.
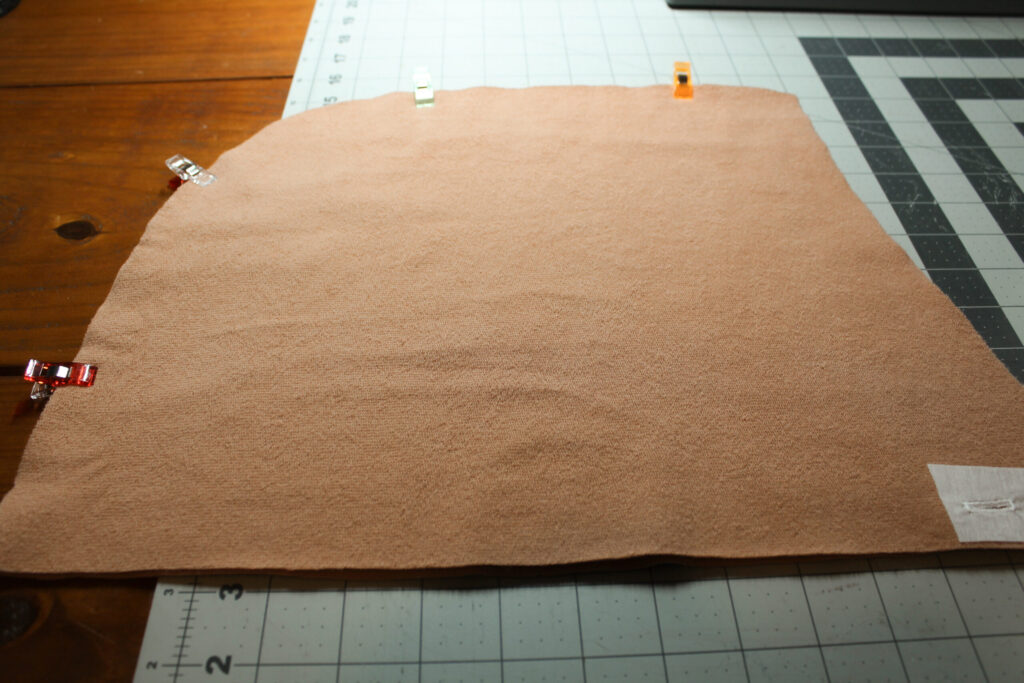
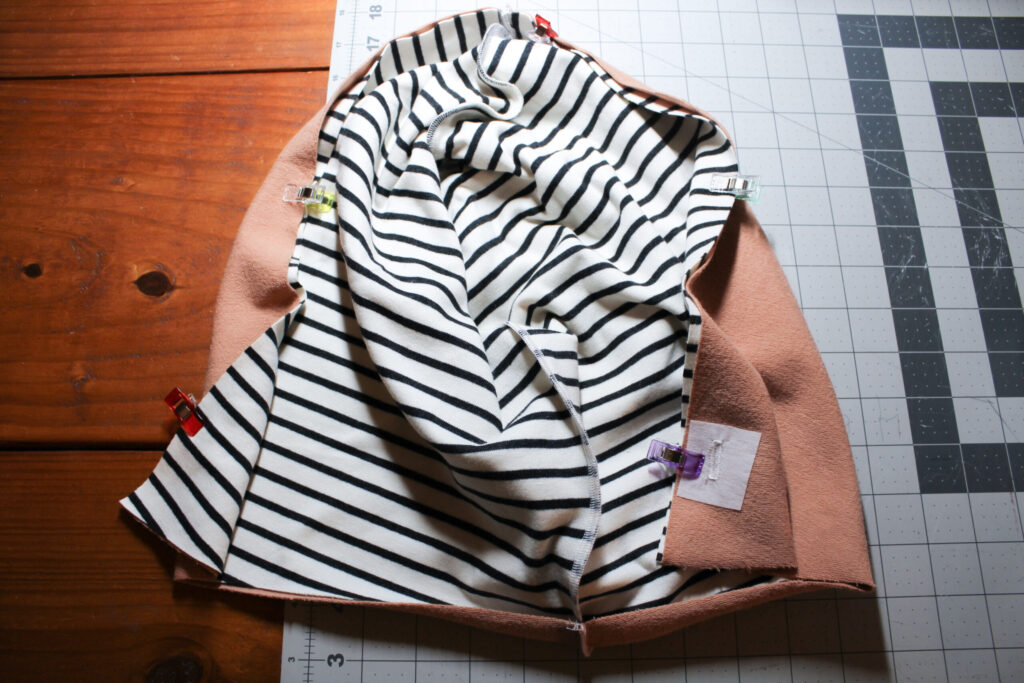
With right sides together, place the mirrored hood pieces onto one another. Clip or pin in place and sew around the curve. We will do this for the lining and the outside hood pieces.
After sewing the lining and main hood pieces, we will place the hood lining inside the main hood piece with right sides together. Clip or pin in place and sew around.
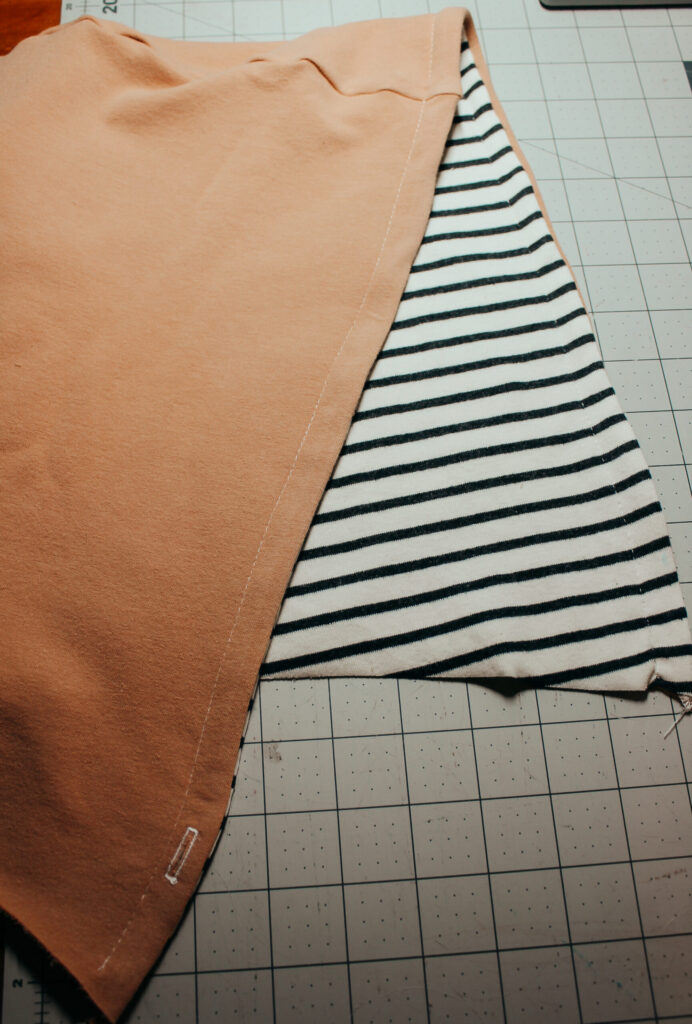
Next, I pressed the edge of the hood to prepare for topstitching. Pull the outer hood piece just slightly over the lining piece. Topstitch the hood in place 1/2″ from the outer edge.
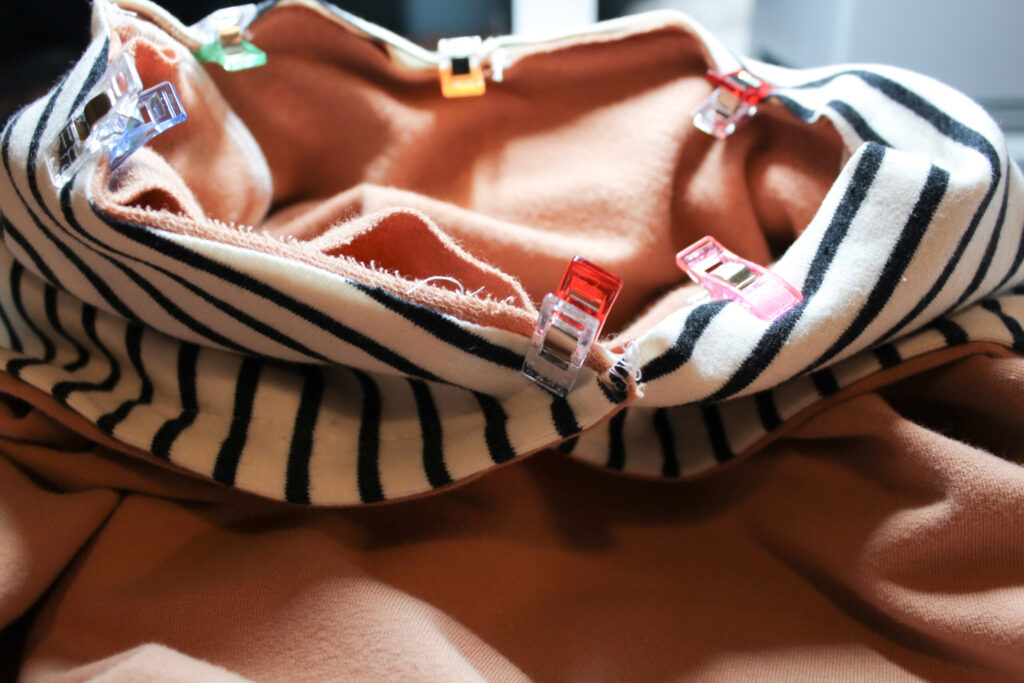
With right sides together, line up the hood seam with the middle back of the shirt. Overlap the two front edges and clip or pin in place. Sew the raw edges to the neckline.
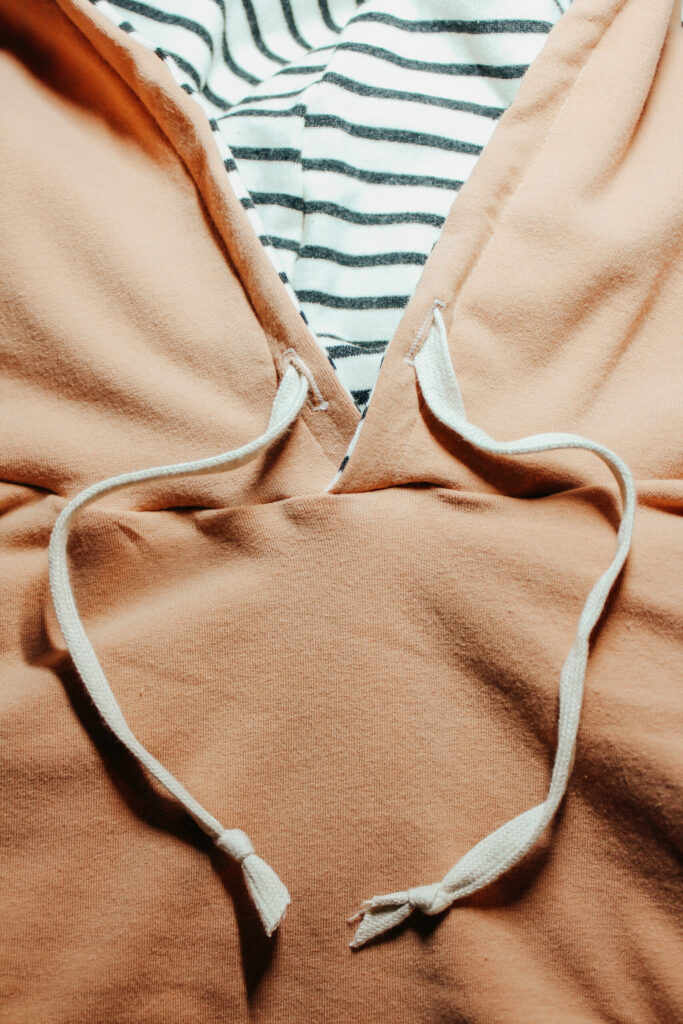
Next, we will grab our cording and a safety pin to thread it through our hood casing using the buttonhole openings.
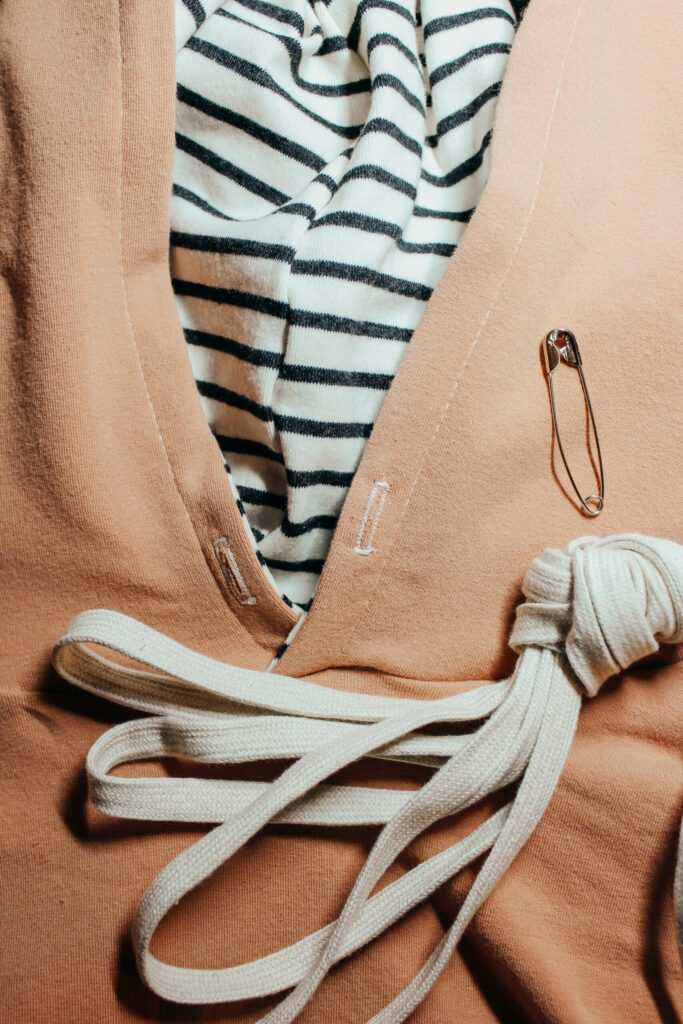
Tie off the ends of the cording and I like to trim the ends as well.
It is now complete - now you know how to sew a sweatshirt!
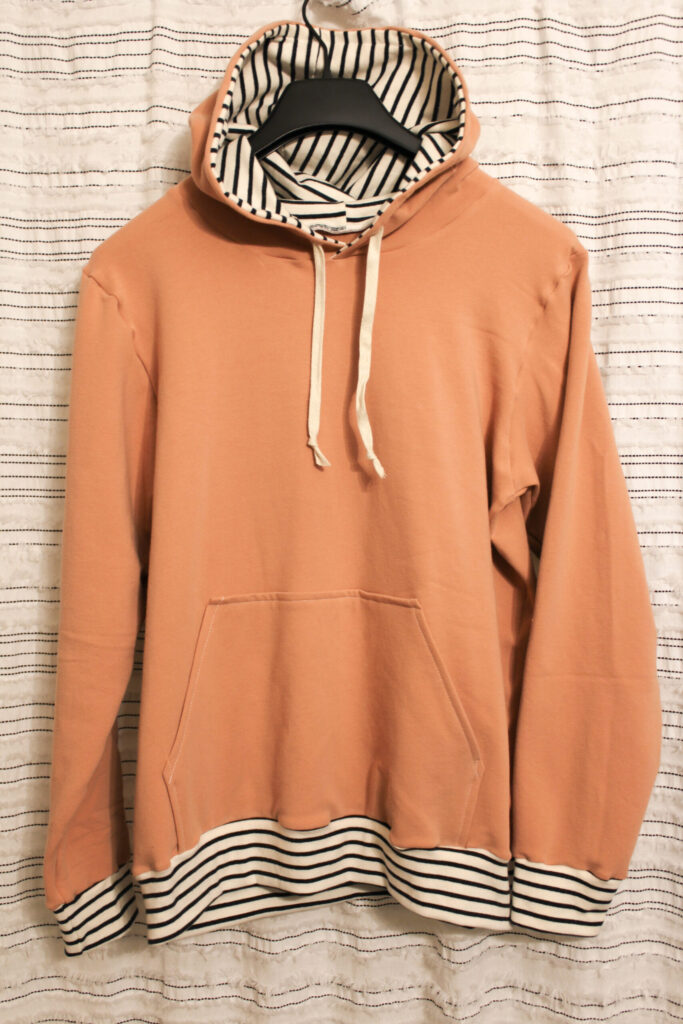
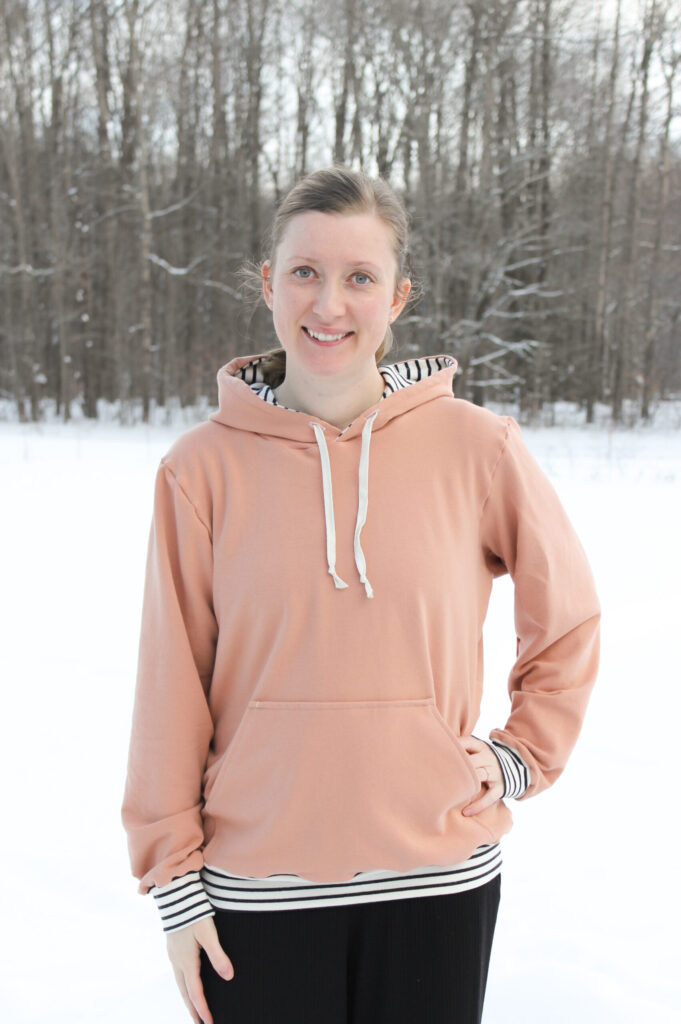
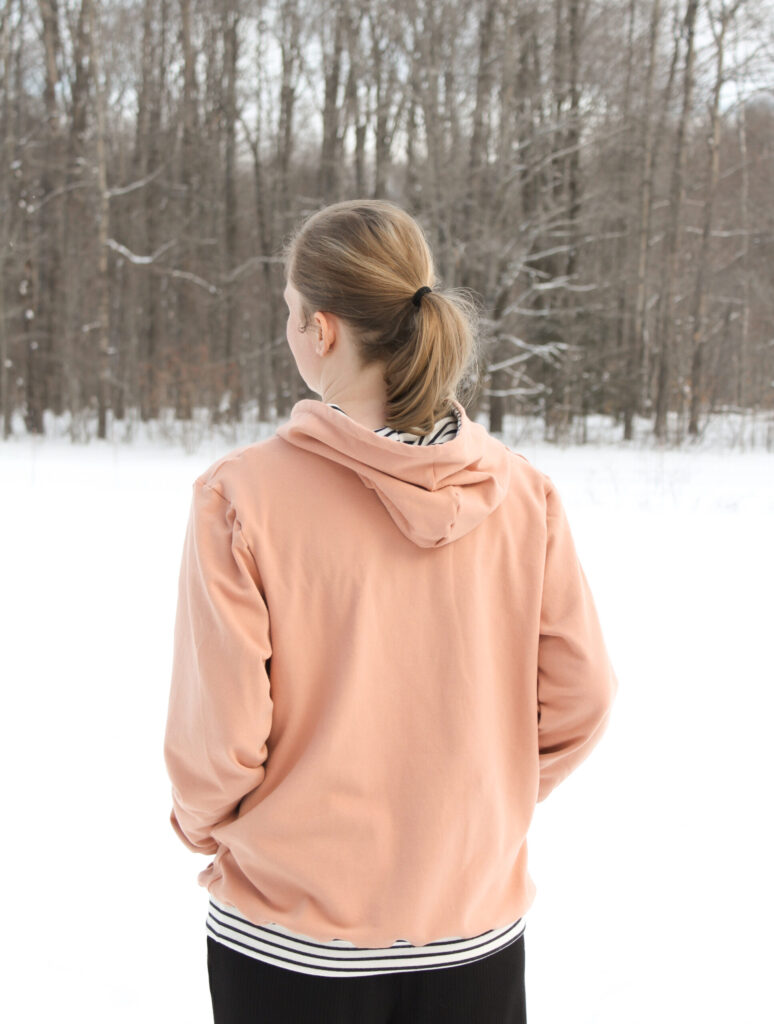

This is so comfortable, and the fit is great. It would be perfect to go with a pair of leggings or sweat pants. I contemplated sizing up, but I’m glad I didn’t because as the pattern states, it is meant to be oversized and I definitely have some wiggle room which I prefer for myself. This pattern also features a fitted sleeve option if you prefer that verses the basic sleeve option like mine and this pattern can be used for men as well! If my husband was a hoodie guy, I’d make him one too. Luckily my younger brother is, and he works on a farm which means early chilly mornings. I think I’ll make one for him next!
Can I modify the pattern to make it my own design?
Yes, you can modify the pattern to make it your own design. You can experiment with different fabric choices, add embellishments or embroidery, change the neckline or sleeves, or even alter the length and fit of the sweatshirt. Get creative and make it uniquely yours!
What Options Does the Adult Classic Sweatshirt Include?
Peek-a-Boo Pattern Shop's Adult Classic Sweatshirt includes options for a hoodie or crew neck. The sleeve options include a semi-fitted or relaxed fit. This is a unisex sewing pattern. We also have a TON of other Sweatshirt and Hoodie Sewing Patterns. These include patterns for everyone - kids, women, women, and even babies. Make sure to take a look.
Thank you for joining us today. Before you leave, make sure to join our Facebook Group and follow us on Instagram. Happy sewing!