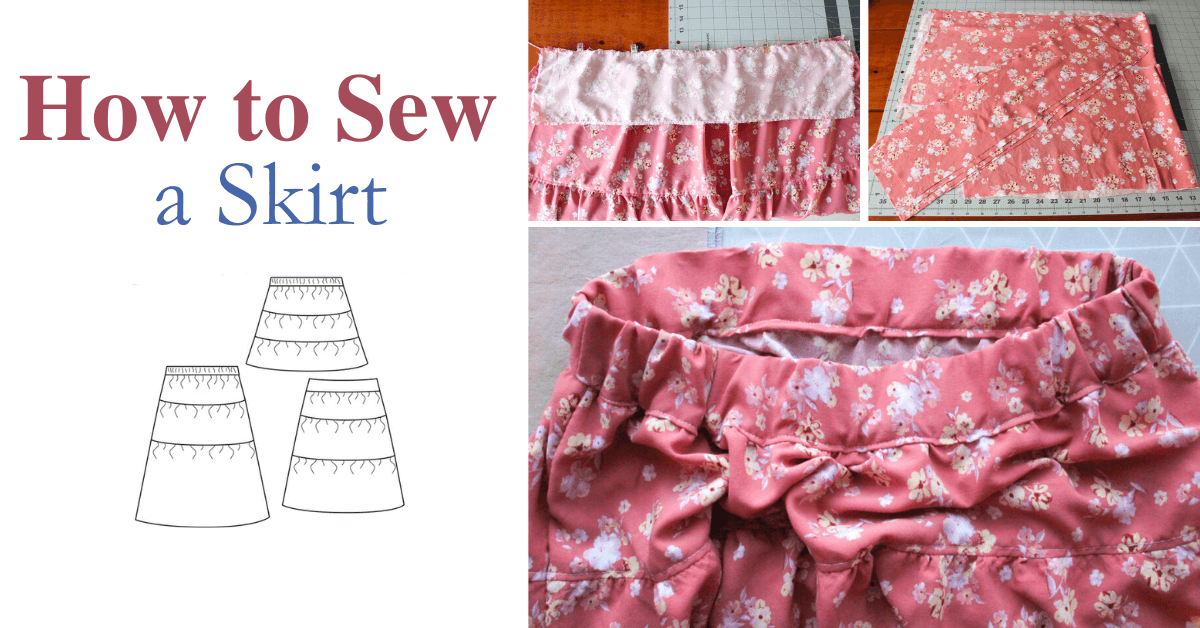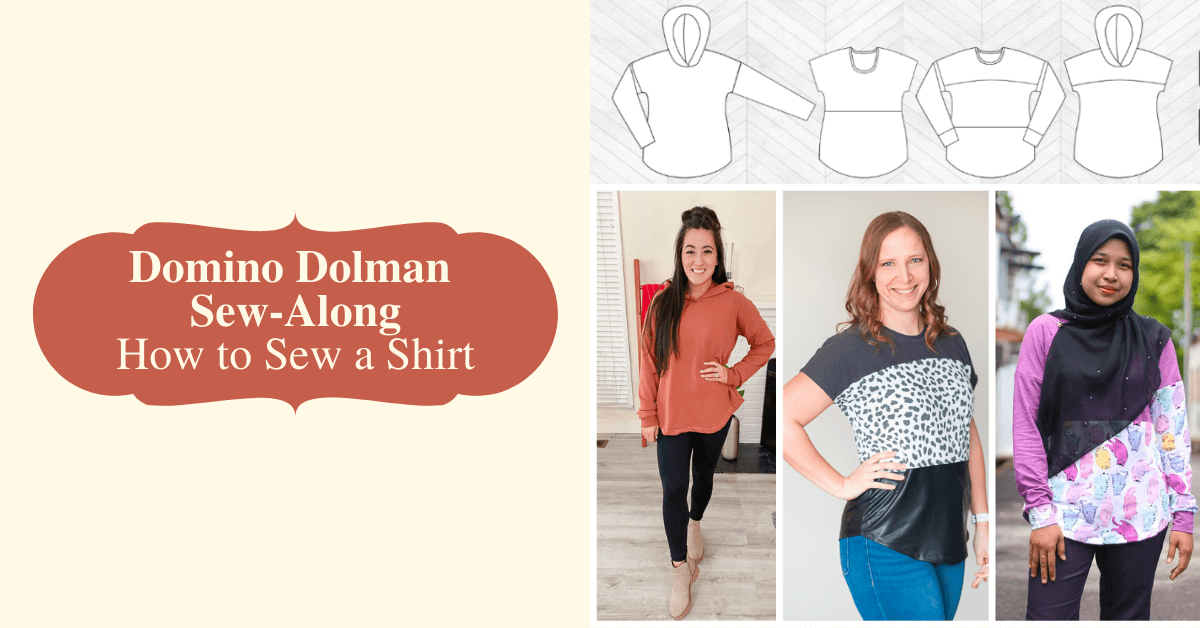
How to Sew a Shirt | Domino Dolman Sew-Along
In this comprehensive guide, we will cover all the basics that you need to know how to sew a shirt from scratch. The first step is understanding some general tips and tricks for sewing shirts. Then, we will walk you through the step-by-step tutorial of sewing the Women's Domino Dolman Pattern from Peek-a-Boo Pattern Shop. Whether you're new to sewing or looking to improve your skills, this guide will provide you with everything you need to create a stylish and comfortable shirt that fits perfectly. From selecting fabric and patterns to cutting and stitching, we'll cover it all in detail. So, grab your sewing machine and let's get started!
How to Sew a Shirt | Getting Started
What are the Basic Steps to Sewing a Shirt?
To sew a shirt, follow these steps: 1. Choose a pattern and fabric. 2. Cut out the pattern pieces and transfer markings. 3. Sew darts and seams to assemble the shirt. 4. Add pockets or buttons as desired. 5. Finish edges and hem the bottom to complete the shirt.
Choosing the Right Fabric for Your Shirt?
When choosing the right fabric for your shirt, it's important to consider factors such as comfort, durability, and style. Cotton lycra knit fabric is a popular choice for shirts because it has 4-way stretch and a soft had. It's comfortable and versatile. Other options include double-brushed poly which is a medium weight-knit with an extra soft hand. If you are sewing for winter or fall then you might also want a little bit thicker fabric. Some good options would be French Terry Fabric or one of our other Cozy Knits. Ultimately, the choice of fabric depends on personal preference and the desired style of the shirt.
What Other Tools and Materials do I Need?
Besides fabric, you'll need a variety of basic sewing supplies. First and foremost, you will need thread that matches or complements the color of your fabric. This will be used to sew the various pieces of fabric together and create the seams. In addition to thread, you will also need sewing needles. It's a good idea to have a few different sizes on hand to accommodate different types of stitching and fabric weights. Other essential materials include scissors for cutting the fabric, pins for securing the fabric in place before sewing, and a measuring tape or ruler for taking accurate measurements and marking your fabric. Depending on the style of shirt you are making, you may also need buttons, interfacing for adding structure to collars or cuffs, and elastic for gathering sleeves or creating a waistband. By having all of these materials ready, you'll be well-equipped to start your shirt-making project.
Of course, sewing a shirt is much easier if you have the proper tools. We'll be showing you how to sew a shirt using a serger but it can be done on a regular sewing machine too if that's all you have.
Taking Accurate Shirt Measurements?
Taking accurate shirt measurements before sewing a shirt is the right way to ensure the perfect fit. Make sure to get familiar with your sizing chart! You might not be the size that you expect. There are several key measurements that need to be taken, including the neck circumference, shoulder width, chest circumference, waist circumference, and sleeve length. To measure the neck circumference, wrap a tape measure around the base of the neck. For shoulder width, measure from one shoulder bone to the other. The chest circumference should be measured at the widest part of the chest, while the waist circumference should be measured at the narrowest part of the waist. Lastly, sleeve length can be measured by starting at the shoulder bone and measuring down to the desired length. By taking these precise measurements, you can create a custom-fit shirt that will look and feel great on whoever wears it.
Selecting Your Sewing Pattern.
We have a variety of great shirt patterns at Peek-a-Boo Pattern Shop. Our shirt patterns include something for everyone - women, men, and children. You'll find summer, spring, fall, and winter patterns at every level. From a t-shirt, to hoodies, to long sleeves and more. Most of our shirt patterns are designed for beginners. Today, we will take you step-by-step through one of our most popular shirt patterns for women - the Women’s Domino Dolman Tee. The Domino Dolman is packed with options for every day of the week and any time of the year. Mix and match options include:
- Hood
- Neckband
- Short or Long Sleeves w/ Optional Cuffs
- View A: Solid Front / Back
- View B: Colorblocked (2-piece colorblocking with colorblocking below the bust)
- View C: Colorblocked (3-piece colorblocking with colorblocking above the bust)
- View D: Colorblocked (2-piece colorblocking with colorblocking above the bust)
- Maternity
- Nursing

I first had the chance to sew up the women’s domino dolman pattern back when it was in its testing phase. I had never been a tester before and was very excited to be given the chance to try. I was about 7 months pregnant at the time so naturally, I sewed up the maternity version which I was very much in need of. It was a fairly quick sew, but I loved how comfortable it felt.
When the Kid’s Domino Dolman Tee was made available, it was a no-brainer that my kids would probably love it as well and they did! My son loves hoods and pockets for anything I make him and that’s what so great about this pattern. It has various options to choose from and with that, so many different looks can be achieved from just one shirt pattern!
Choose from a list of options such as: long or short sleeves, color-blocked or solid front/back, hood or neckband, maternity or nursing, etc. Whichever you choose, this pattern will fill your wardrobe with various shirts to wear throughout the week and all year.
With that, let’s get to how to sew this shirt up:
How to Sew a Shirt | Step-by-Step Instructions
Supplies Needed to Sew the Dolman Shirt:
- Peek-a-boo’s Women’s Domino Dolman Tee Pattern (or sew the Kid’s Version)
- Medium weight knits w/ at least 40% 4-way stretch (I chose slub & rib)
- Sewing machine
- Iron, thread, needle, shears, pins or clips & a ruler
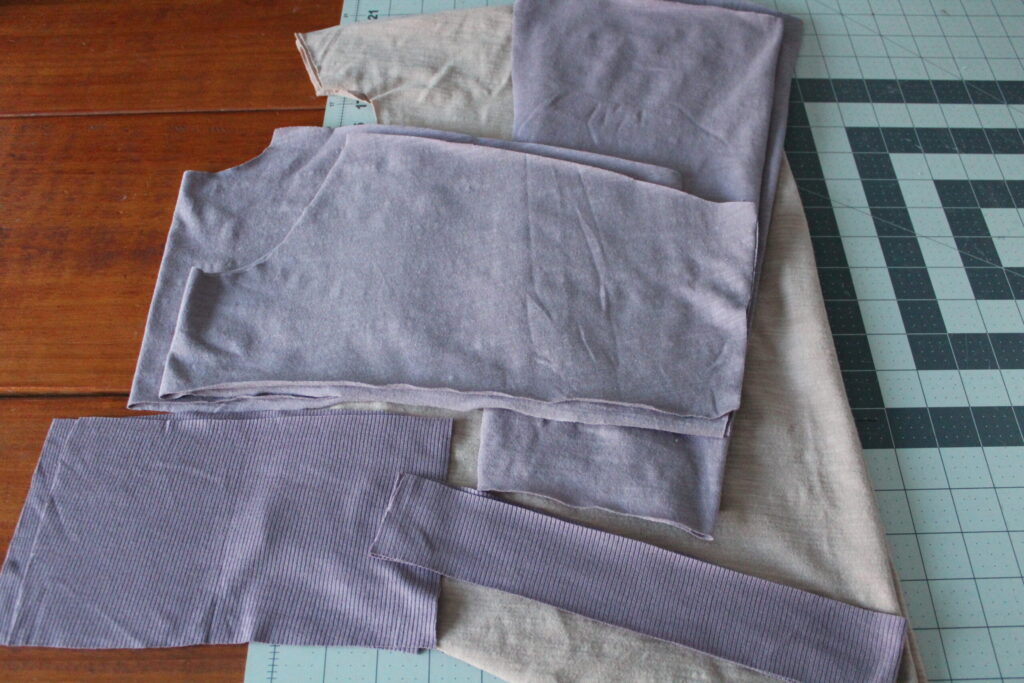
Pattern pieces are cut out and we’re ready to begin! For this tutorial, I will be sewing up the standard version view D. All seams will be sewn using a 1/2″ seam allowance unless otherwise noted.
Dolman Part One: Front and Back Tee Construction
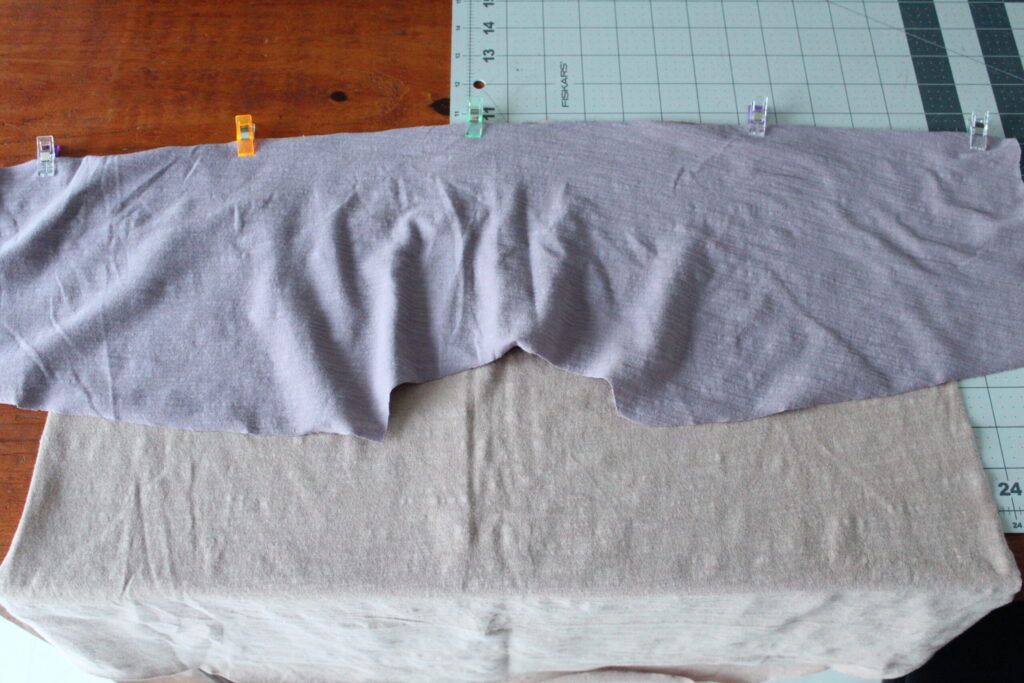
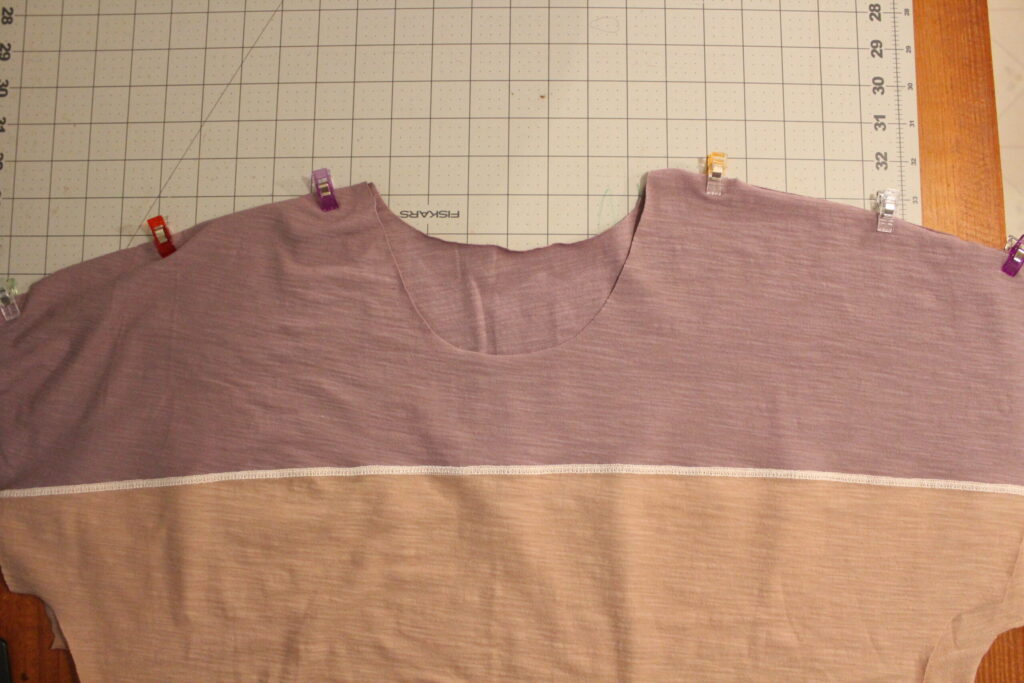
Step 1: Clip/pin the upper front piece to the lower front piece with the right sides together and raw edges aligned. Sew using a 1/2″ seam allowance.
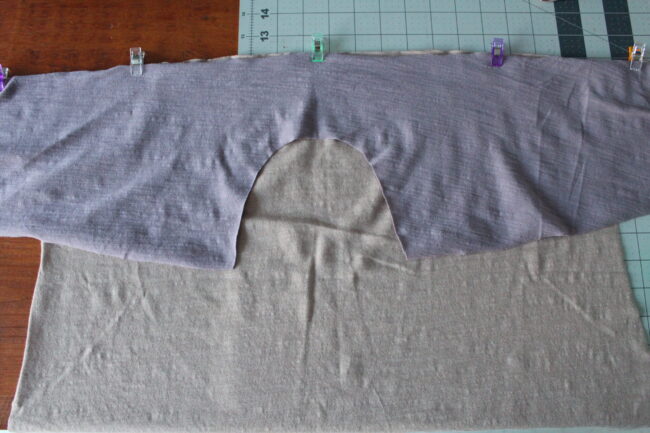
Step 2: Repeat for the upper and lower back pieces with the right sides together and raw edges aligned.
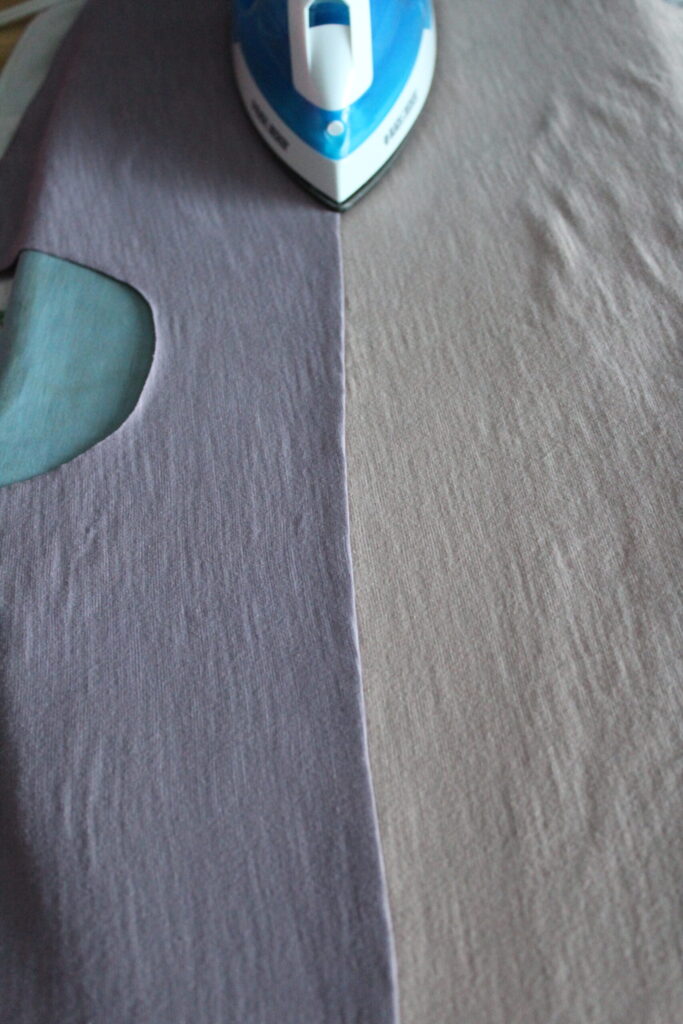
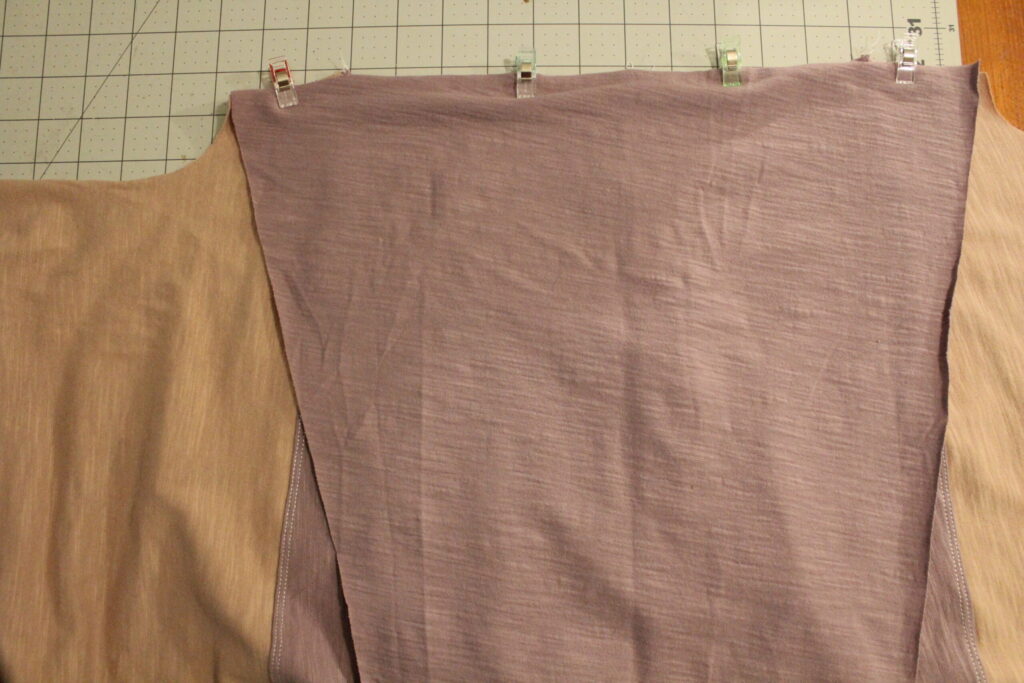
Step 3: Now we will press the front and back seams that you just created. Topstitching is optional but I decided to topstitch mine. It gives a more professional, finished look in my opinion with the overall look.
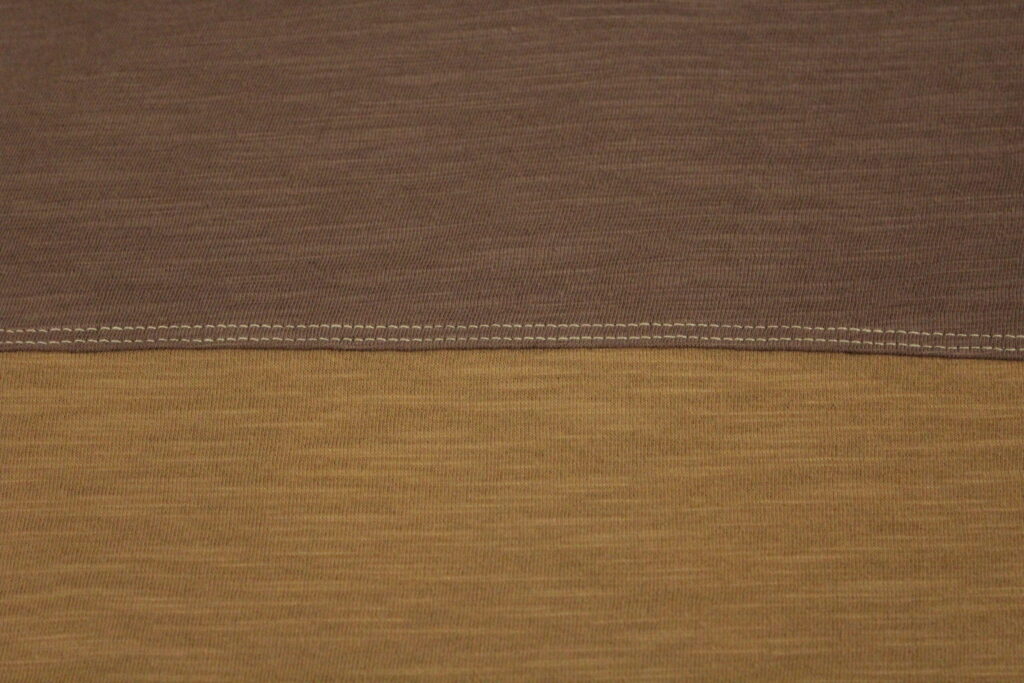
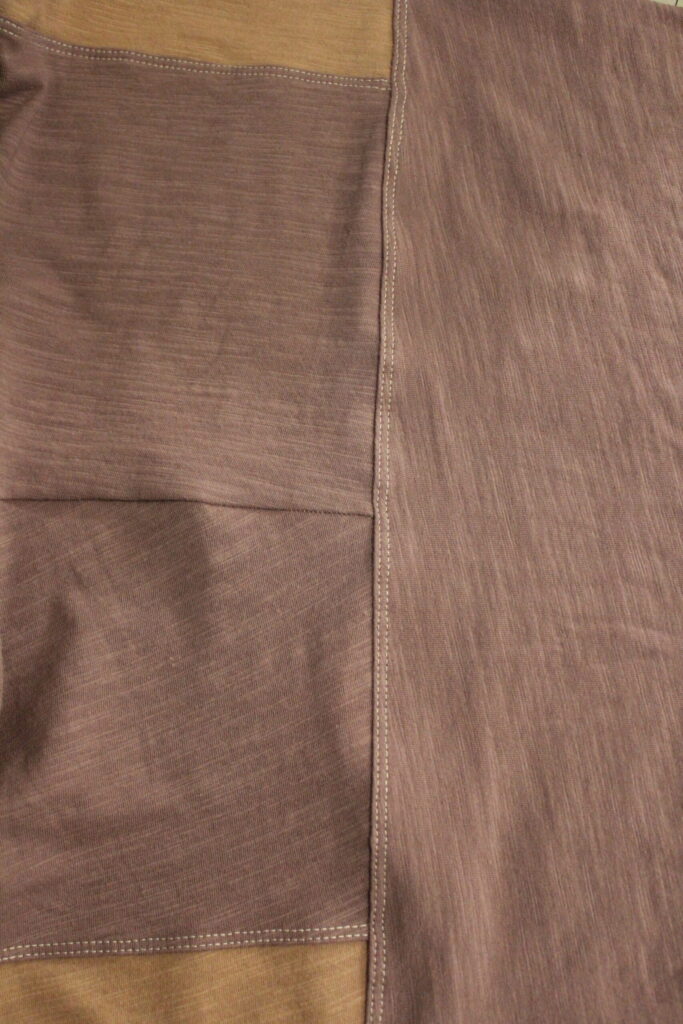
Step 4: Topstitching is complete for both the front and back pieces. (Please forgive the color tone changes to my pictures. I tried to beat the daylight before it went down but it won).
Dolman Part Two: Shoulder Seams
Step 5: With the right sides together, clip/pin the front and back together at the shoulder seams and sew.
Dolman Part Three: Long Sleeves
Step 6: I went with long sleeves for mine. If you chose short sleeves, you would hem them at this point. Please refer to the pattern instructions for further detail. With right sides together, clip/pin the sleeves to the upper arm and sew.
Step 7: Press the seam allowance away from the tee and topstitch if you wish. Again, I chose to topstitch mine.
Part Four: Sewing the Front and Back Together
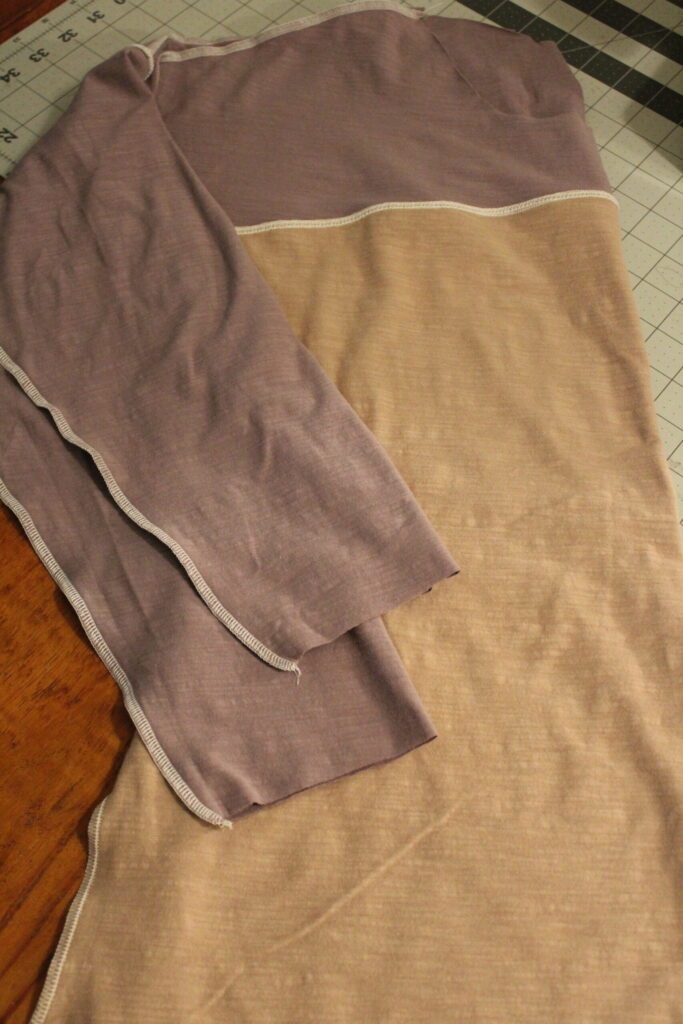
Step 8: With the right sides together, clip/pin the tee together along the sleeve and side seams. If you sewed the short sleeve version, it would be the same sewing format. Now we’ll sew the front and back together. *Make sure the color-blocking seams are lined up as you sew for your version.

Step 9: Alright, our shirt has been enclosed and we will move on to the cuffs next. If you chose the non-cuff long-sleeve option, you would just hem the sleeves now. I chose cuffs for mine.
Part Five: Long Sleeve Cuffs
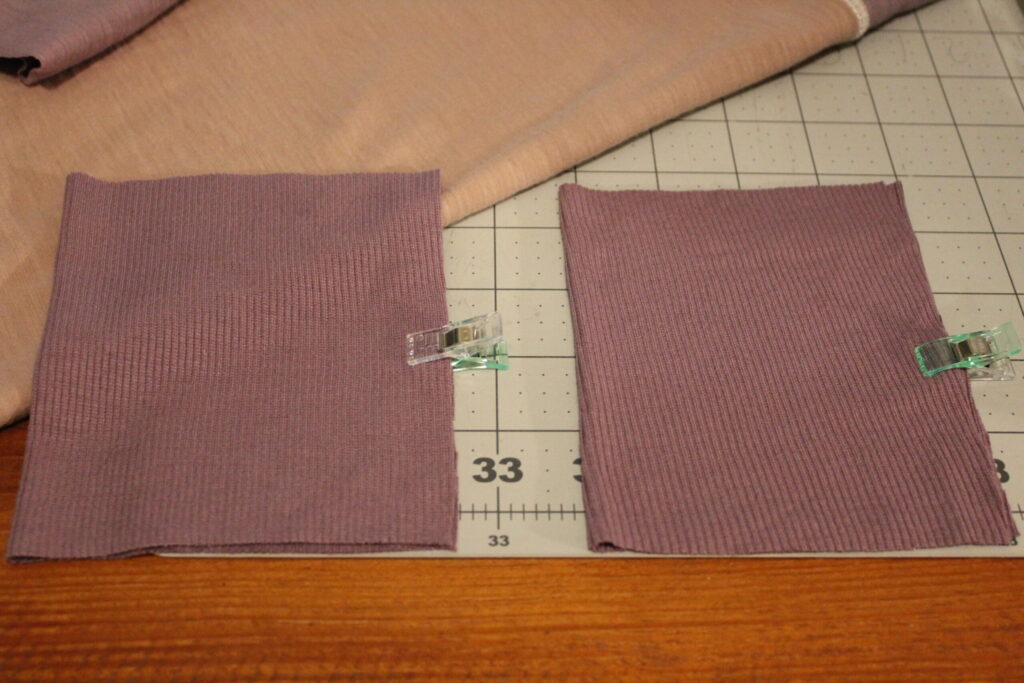
Step 10: With the right sides together, clip/pin and sew the short ends of each cuff together.
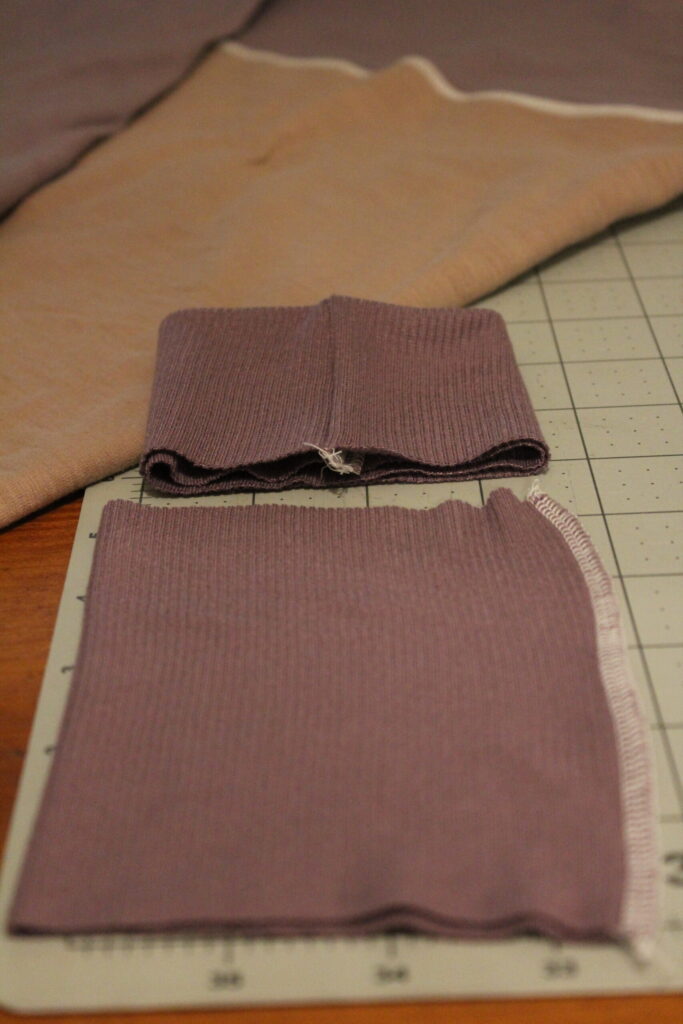
Step 11: Fold the long edges of the cuffs together so the seams are enclosed, and it is double thickness.
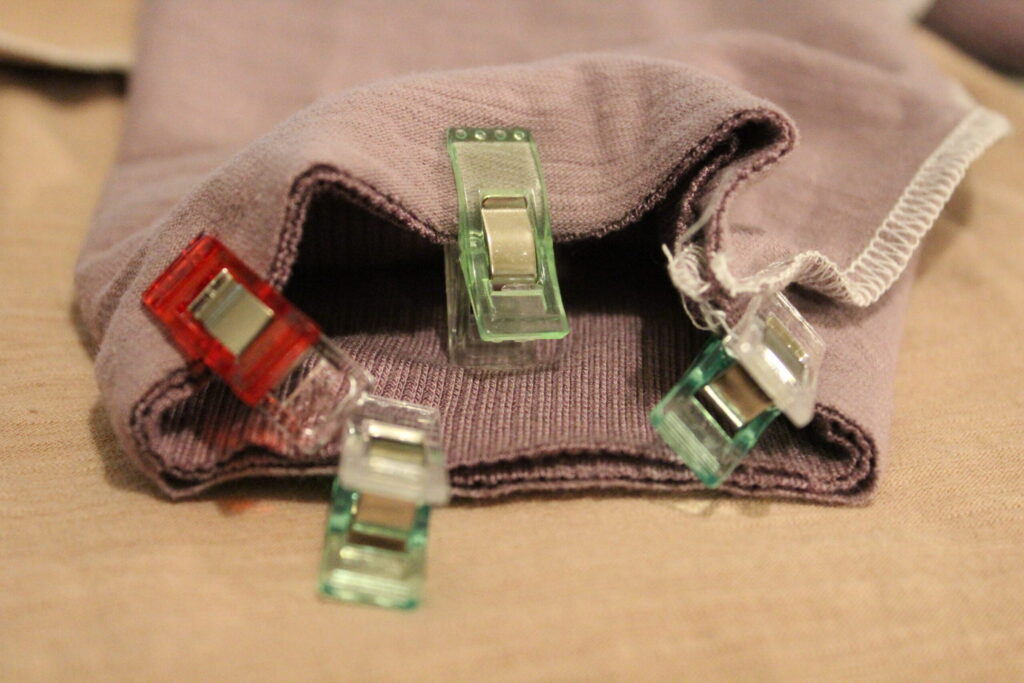
Step 12: With the right sides together, clip/pin and sew the raw edges of the cuff and sleeve together.
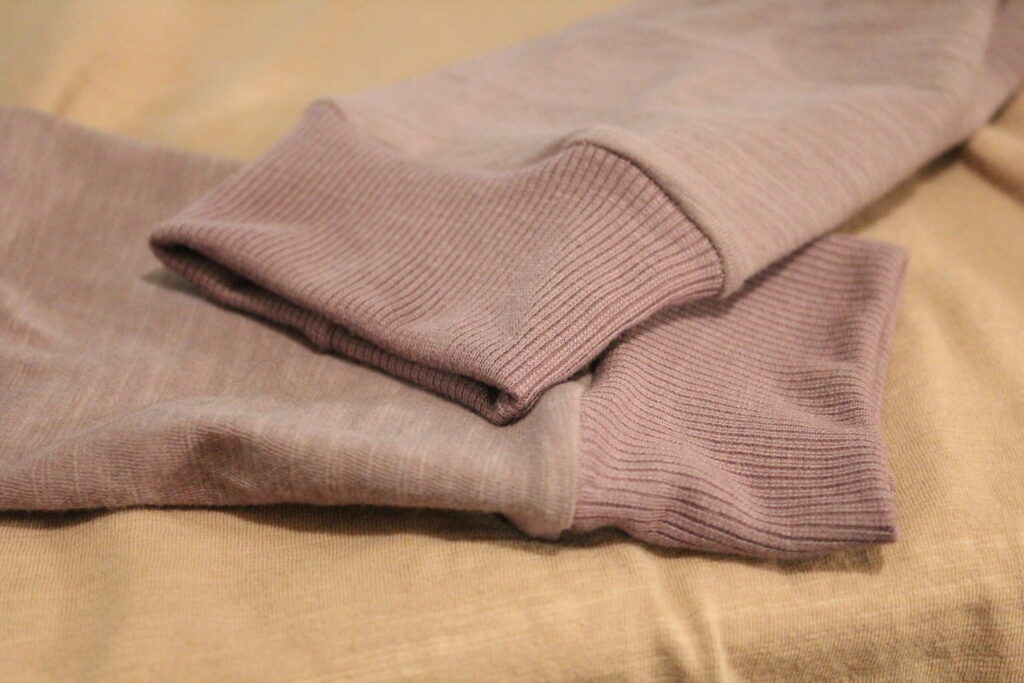
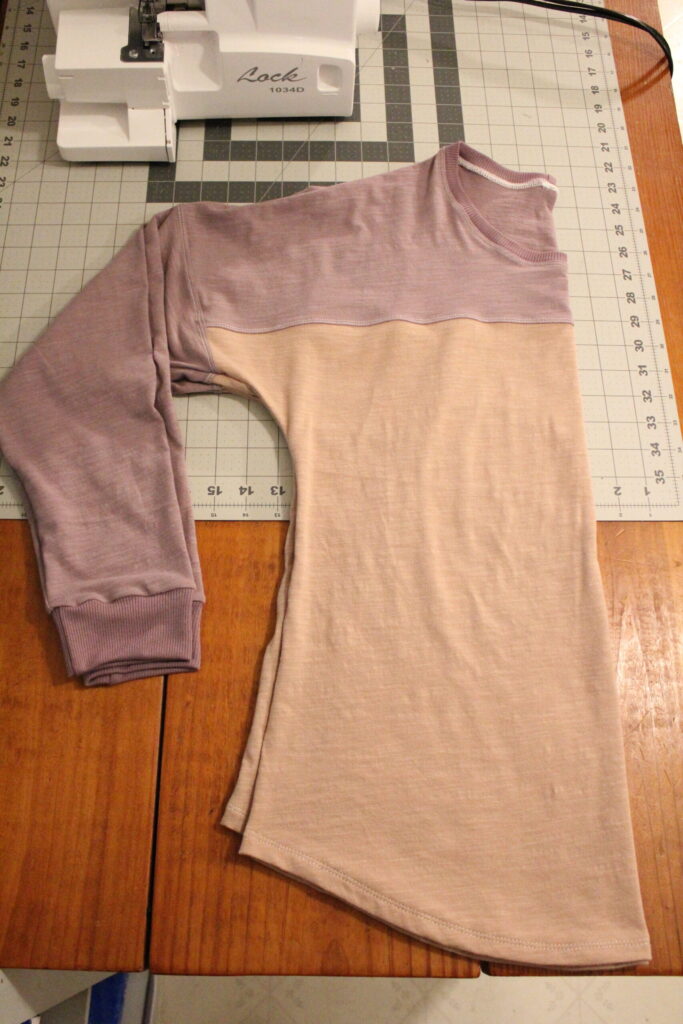
Step 13:The cuffs are now complete, and we will work on our neckband next. If you chose a hood, please reference the directions in the pattern for hood assembly.
How to Sew a Dolman Shirt Part Six: Neckband
How to Sew a Shirt Step 14: With the right sides together, clip/pin the short ends of the neckband together and sew.
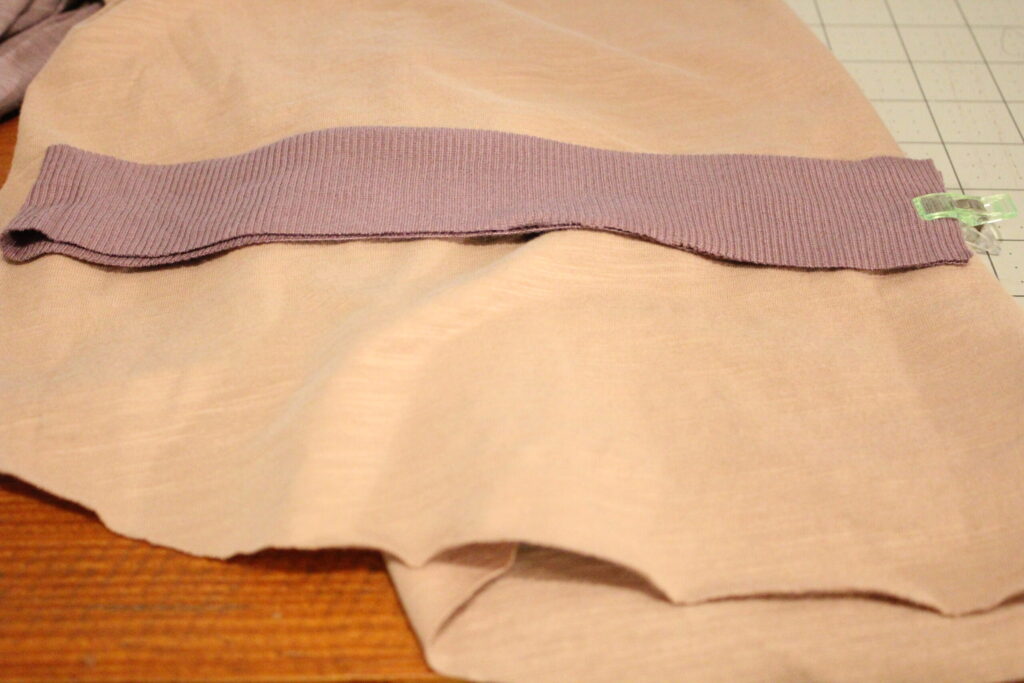
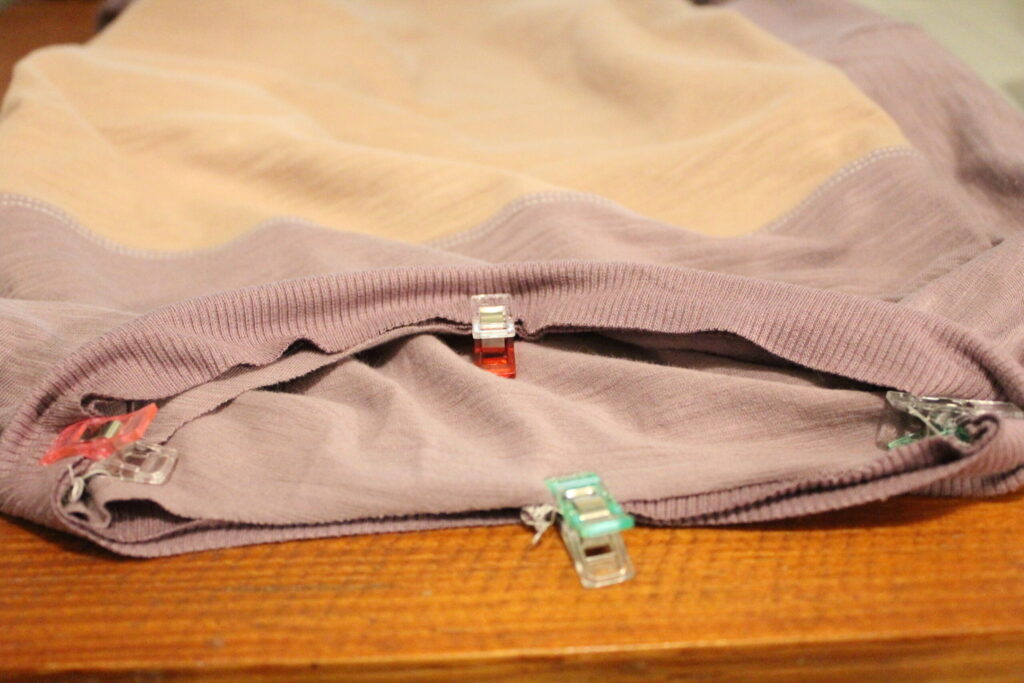
How to Sew a Shirt Step 15: Fold the neckband piece in half with the wrong sides together so that your seam is enclosed and clip/pin the raw edges to the neckline. Sew using a 1/4″ seam allowance. Gently stretch the neckband as you sew.
How to Sew a Shirt Step 16: Press the sewn-on neckband and we’ll topstitch the seam allowance to the neckline next.
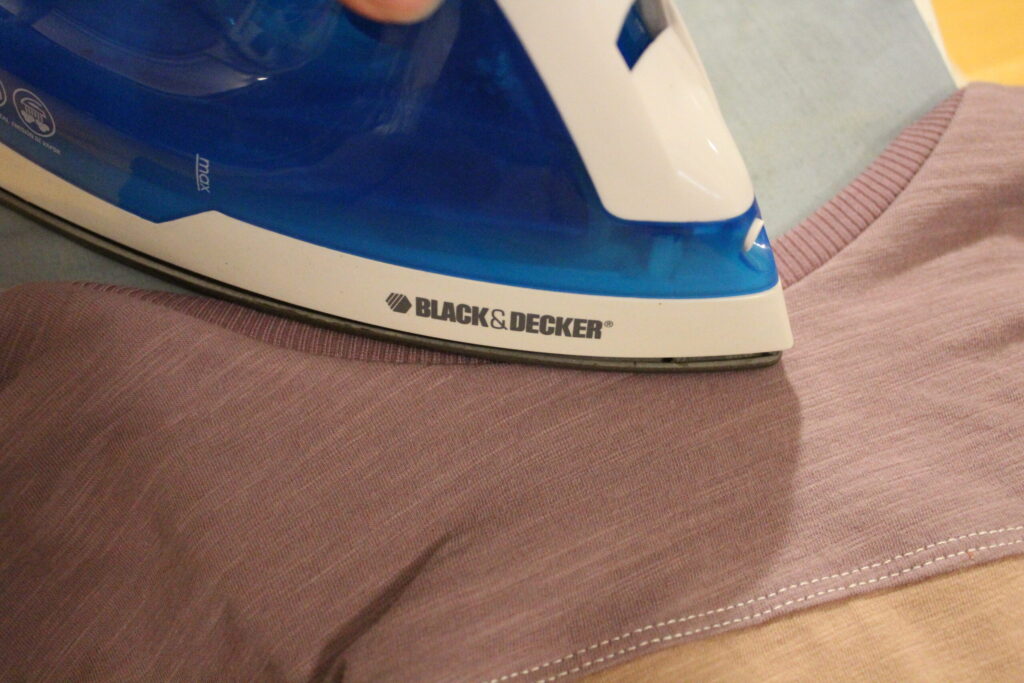
How to Sew a Shirt Step 17: Topstitching is now complete!
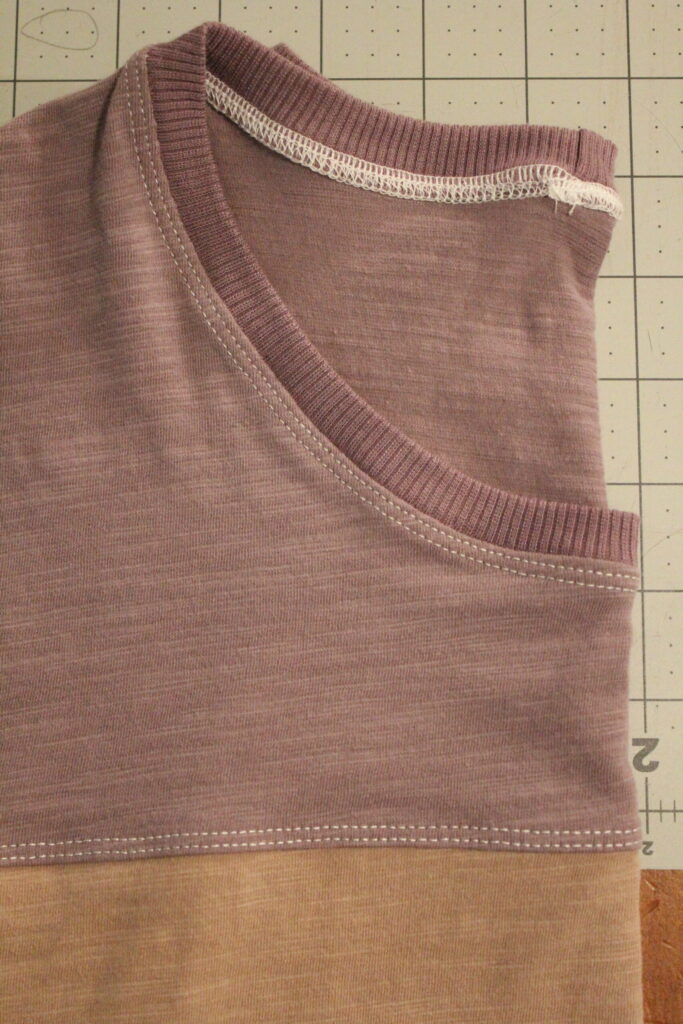
Sewing a Shirt Part Seven: Hemming
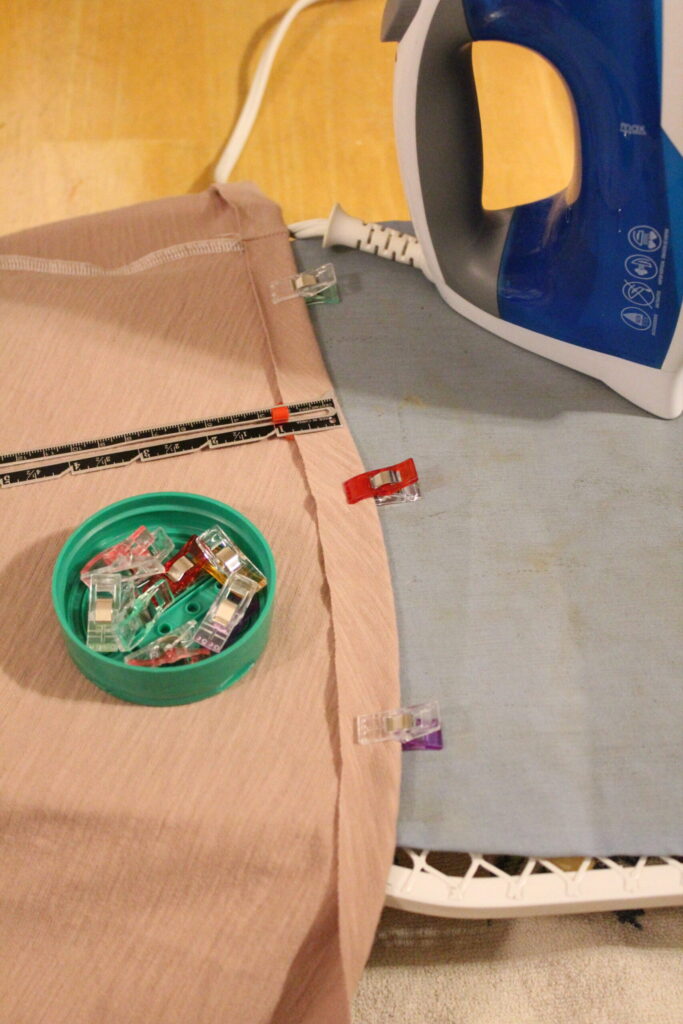
How to Sew a Shirt Step 18: Fold the bottom edge of the tee up towards the wrong side 3/4″ and press as you go along. Topstitch 5/8″ above the folded edge.
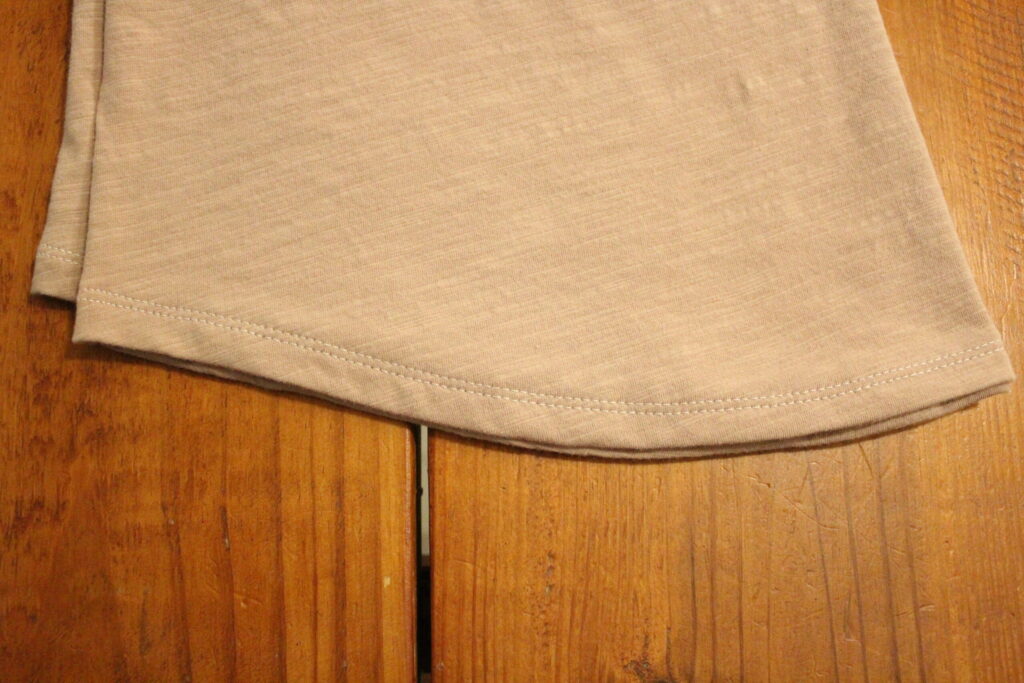
How to Sew a Shirt Step 19: Hemming Is complete. The curved hemline is so flattering!
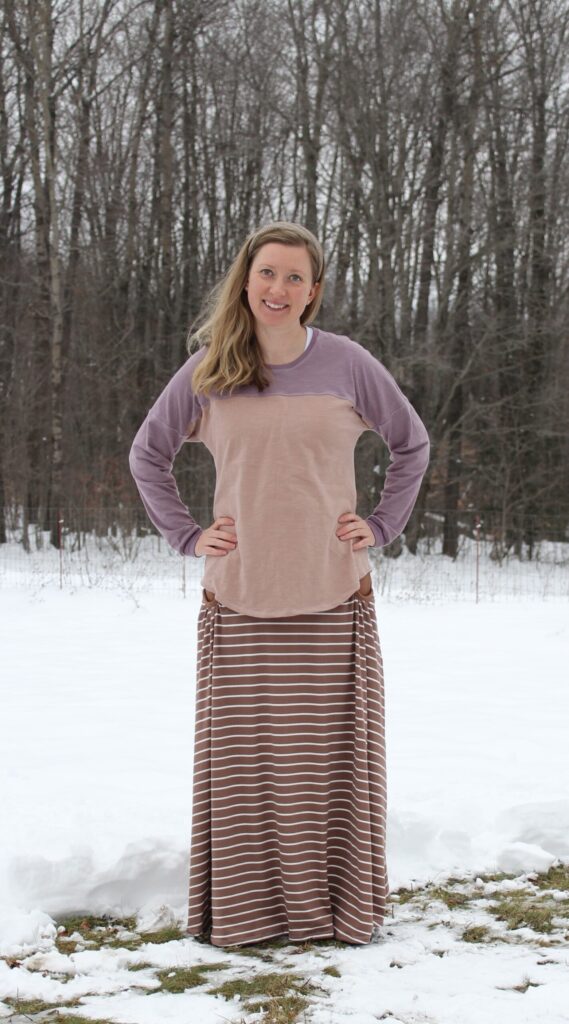
The Domino Dolman Tee is finished! Now it’s time to try it on and see what we think?!
It is super comfortable and ready to wear for an outing! I could probably size down the next time, but I generally prefer my clothes to fit looser, and this pattern works great for sizing up or down, depending on what you like for yourself.
If you’re looking for a quick shirt pattern to sew up this, is it! Dress it up or down, either will look great! I’ve got another domino dolman on my sewing table waiting for me and I’ll probably try out some of the other options this pattern has to offer too.Don’t forget to check out the kid’s domino dolman pattern as well if you haven’t already! My youngest could use some more long sleeve dolmans right about now. W
Troubleshooting Common Sewing Issues When Sewing a Shirt
Sewing a shirt can be a rewarding and creative endeavor, but it is challenging. Fortunately, many common sewing issues can be easily troubleshooted with a few simple tips. One common issue is fabric puckering or gathering. This can often be caused by incorrect tension settings on your sewing machine. Adjusting the tension or using a stabilizer can help alleviate this problem. Another issue that may arise is skipped stitches. This can occur if the needle is dull or if the fabric is too thick for the needle size. Changing to a fresh needle and selecting the appropriate needle size for your fabric can help prevent skipped stitches. Finally, another common issue is uneven hems or seams. Using pins or clips to secure your fabric before sewing, as well as using a ruler or measuring tape to ensure even seam allowances, can help create more precise and professional-looking results. By troubleshooting these common sewing issues, you can overcome obstacles and create beautiful shirts with confidence and ease.
Thank you for joining us to learn how to sew a shirt. Sewing your own shirt can be a rewarding and fulfilling experience. Following the steps outlined in this blog is the best way to create a unique and stylish shirt that fits your body perfectly. Whether you're a beginner or an experienced seamstress, sewing clothing allows you to express your creativity and showcase your personal style. So why not give it a try? Grab your fabric, thread, and sewing machine, and start stitching your way to a one-of-a-kind wardrobe. Before you leave, make sure to come join us over in our Peek-a-Boo Pattern Shop Facebook Group to get help with you sewing projects and sew what you make. You can also follow us on Instagram.
Happy sewing!