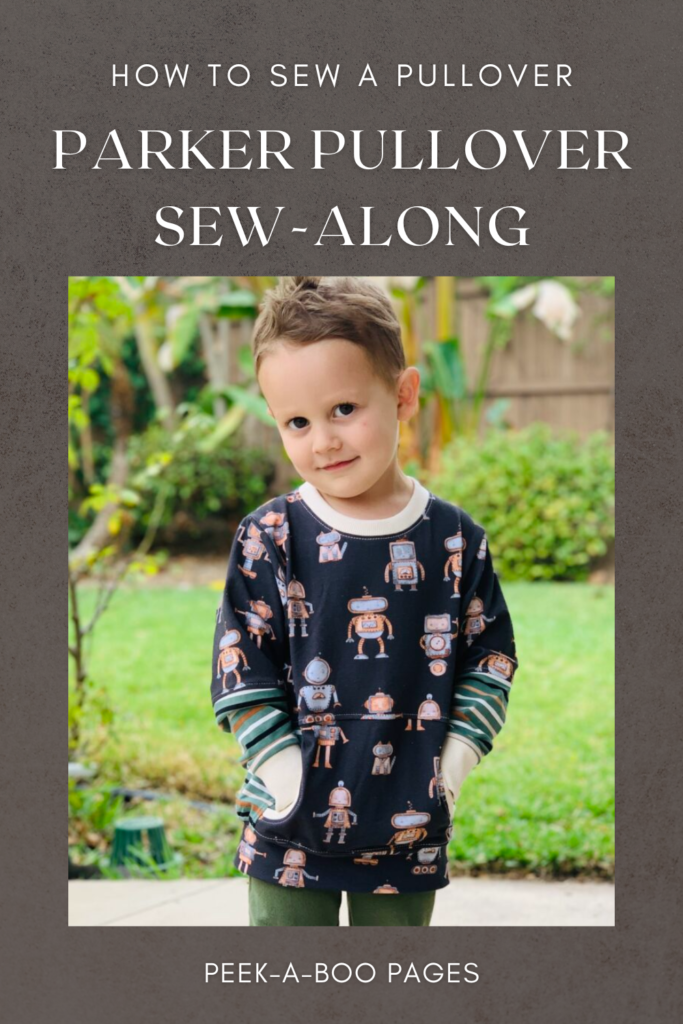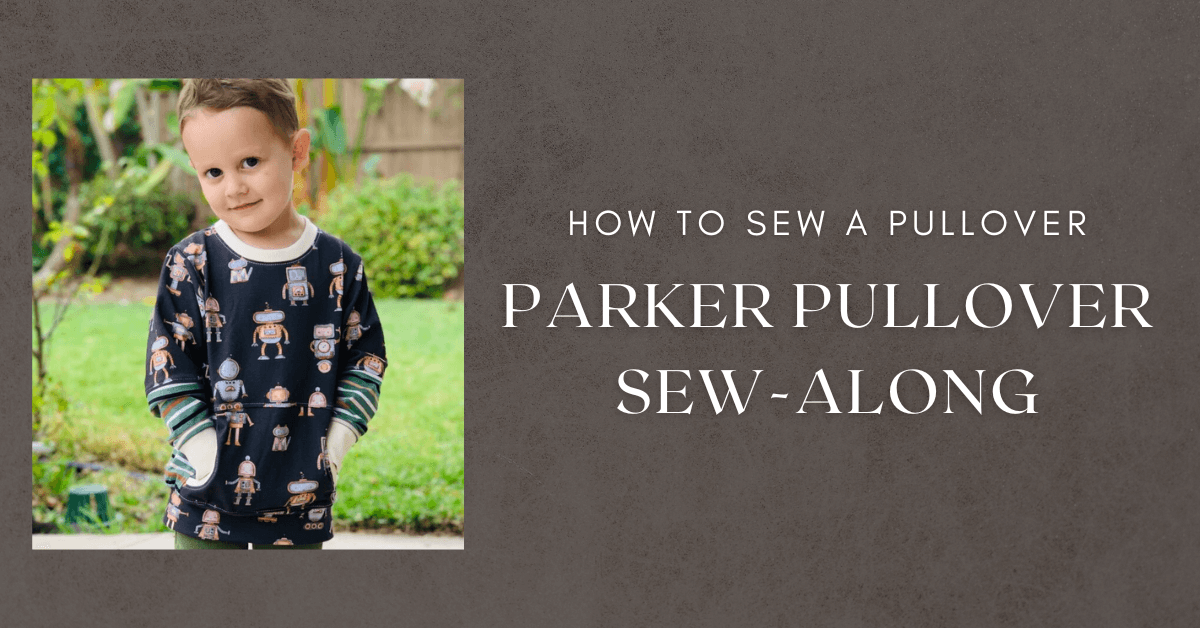
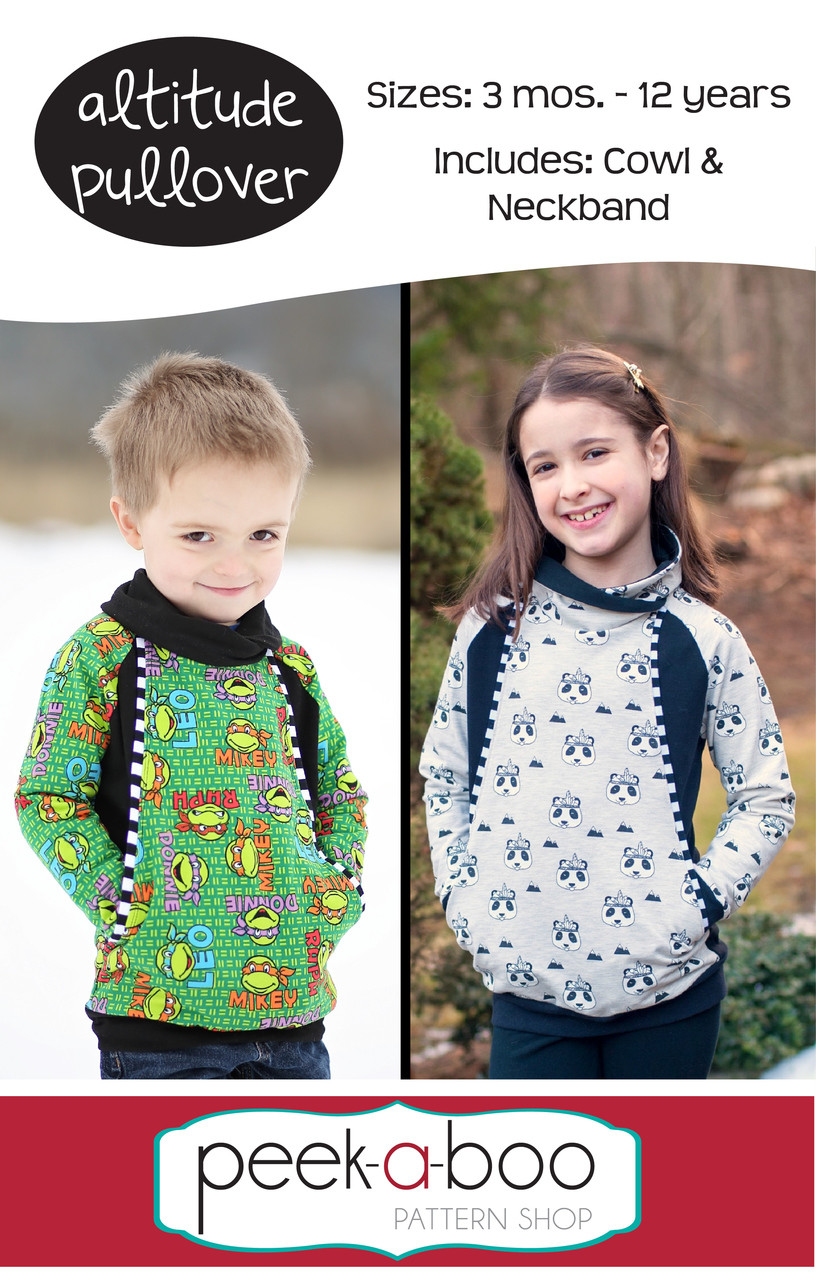
Youth Parker Pullover Sew-Along | How to Sew a Pullover
Today, I’ll be showing you how to sew a pullover as we go through the Youth Parker Pullover from Peek-a-Boo Pattern Shop. As the weather gets cooler it’s time to start making good transition pieces. Even though we don’t get super cold in Southern California we do get cool enough to layer. The Parker Pullover is the perfect addition to our wardrobe.
Youth Parker Pullover Sew-Along | Learning How to Sew a Pullover
Get Your Sewing Pattern
To get started, here’s a little bit about the Youth Parker Pullover and the Adult Parker Pullover (a lot of the sewing in this article also lines up well with the adult version. The Youth and Adult Versions of the Parker Pullover are made to be sewn with knit fabric. The pullover patterns feature a relaxed fit with room to layer, color-blocked front and back, basic or color-blocked sleeves, two pocket styles, and your choice of hood or neckband.
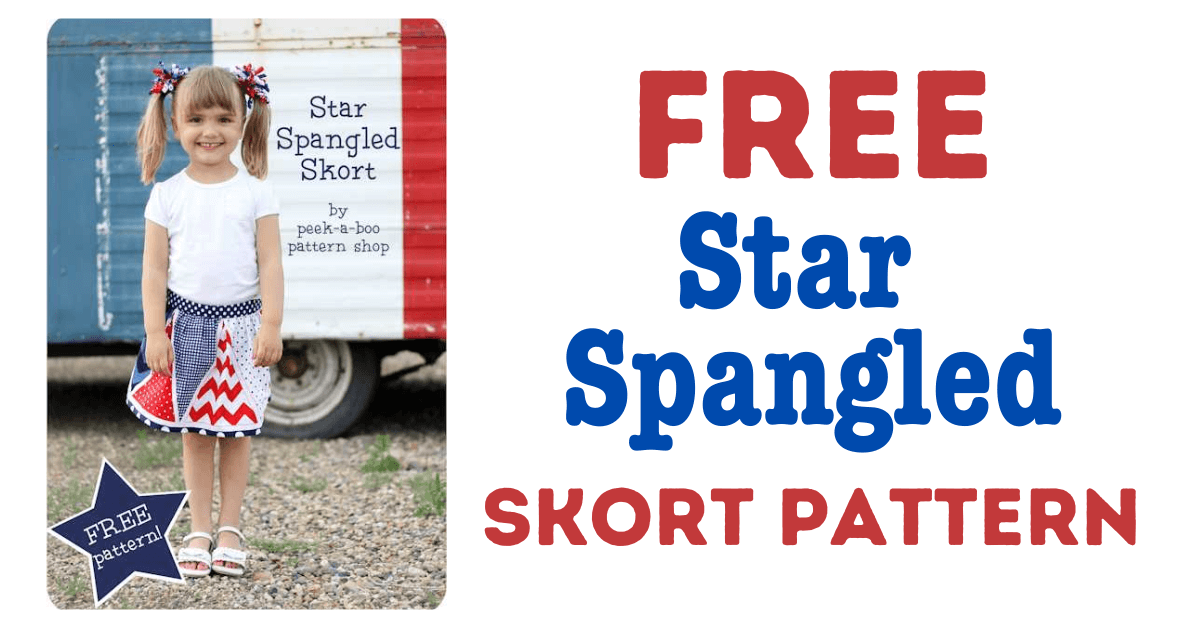
We have a variety of other sweatshirt patterns too here at Peek-a-Boo Pattern Shop. These include a free pattern for the Adult Classic Sweatshirt and many, many other patterns for all.
 |
 |
Today I’ll be making the youth version in cotton lycra view b without the hood (my littles typically don’t wear them). It also comes in the adult version as well (I’ll get those made later).
With that being said, let’s get our DIY sweatshirt supplies together.
Choose Your Fabric | Best Pullover or Sweatshirt Fabric
There are several excellent knit fabrics to consider for a pullover. For a thicker sweater fabric you might choose french terry, minky, or sweatshirt fleece. For something more lightweight, you could use a variety of other knits fabric like cotton lycra, athletic, or interlock. Choose the right fabric for the season.
Youth Parker Pullover Sewing Tools and Supplies
- Sewing Machine or Serger
- Thread
- Cutting Mat
- Pins or Clips
- 4-Way Stretch Knit Fabric
- Scissors / Rotary Cutter
Instructions for Sewing the Parker Pullover
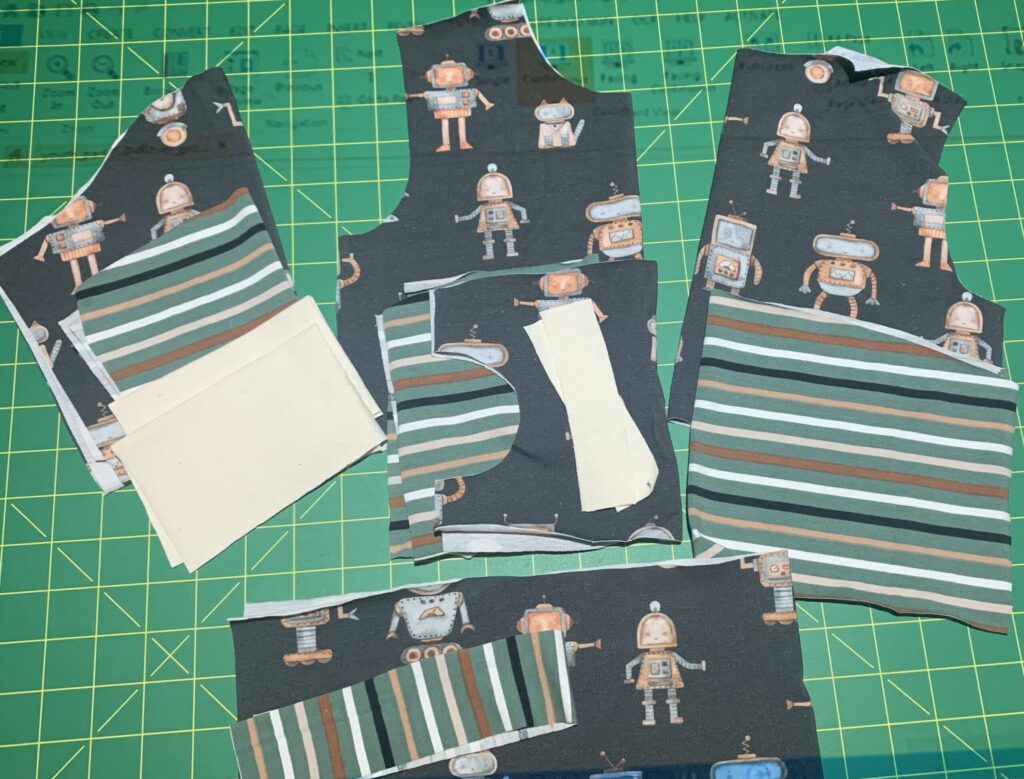
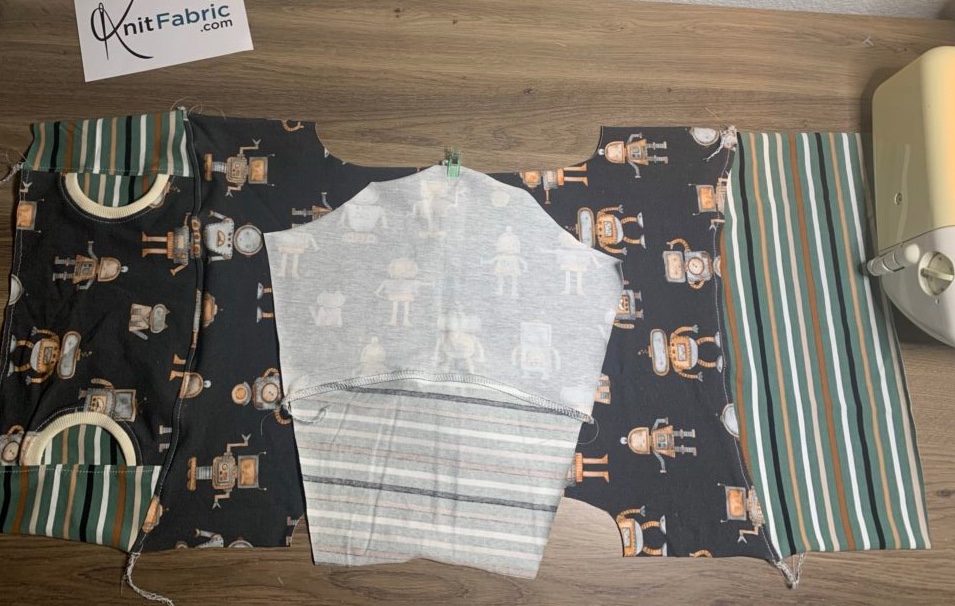
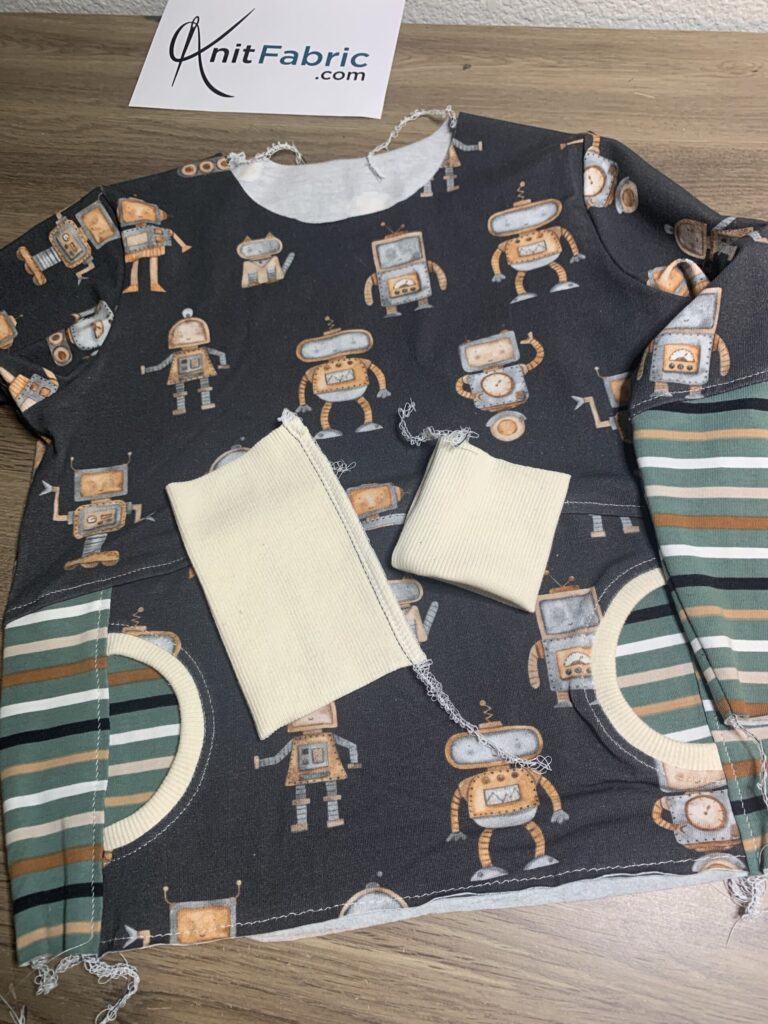
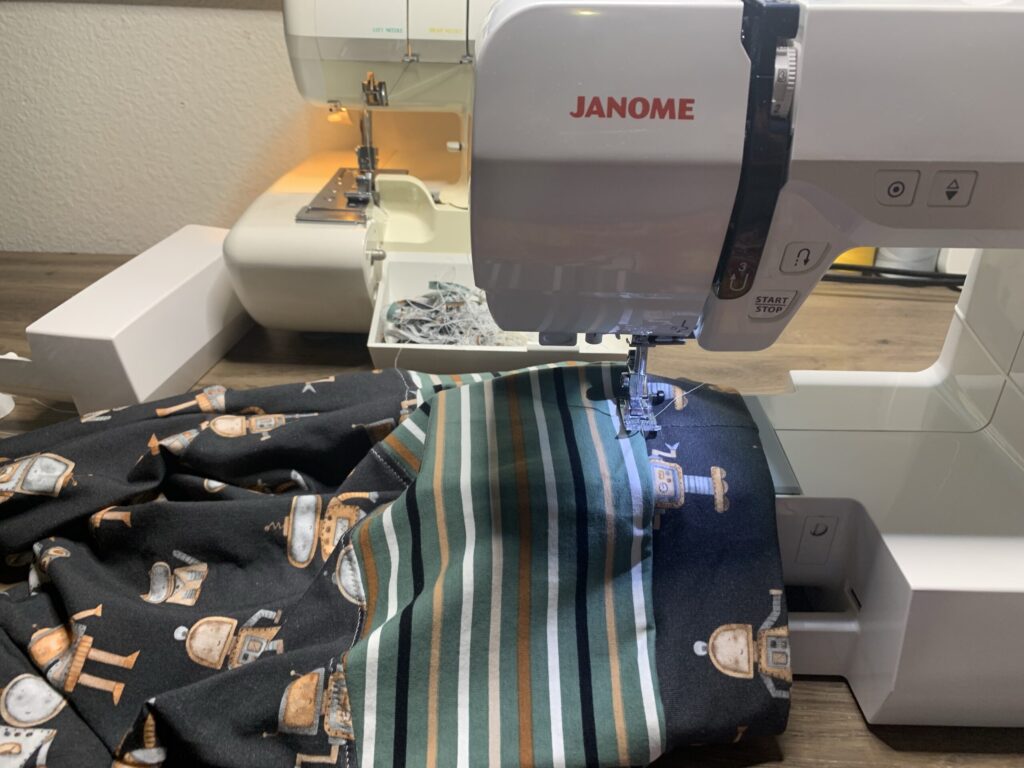
Cut Your Pullover Pattern Pieces: Once the pattern is cut out you should have a pile similar to the picture below. We’re making option B with color-blocked sleeves and curved pockets.
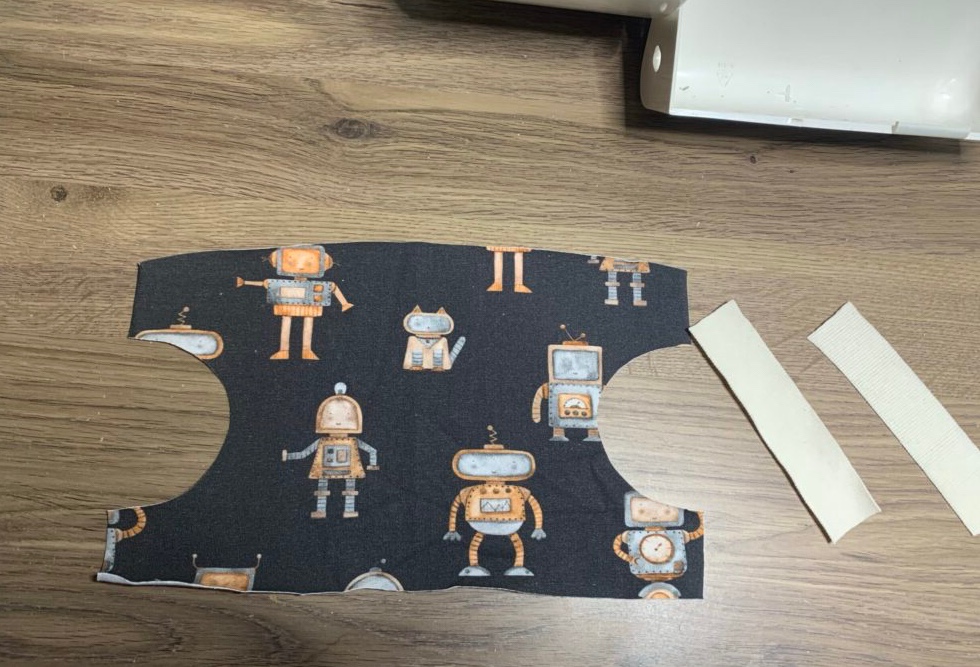
Step 1: We’re going to get our front pocket and pocket bands.
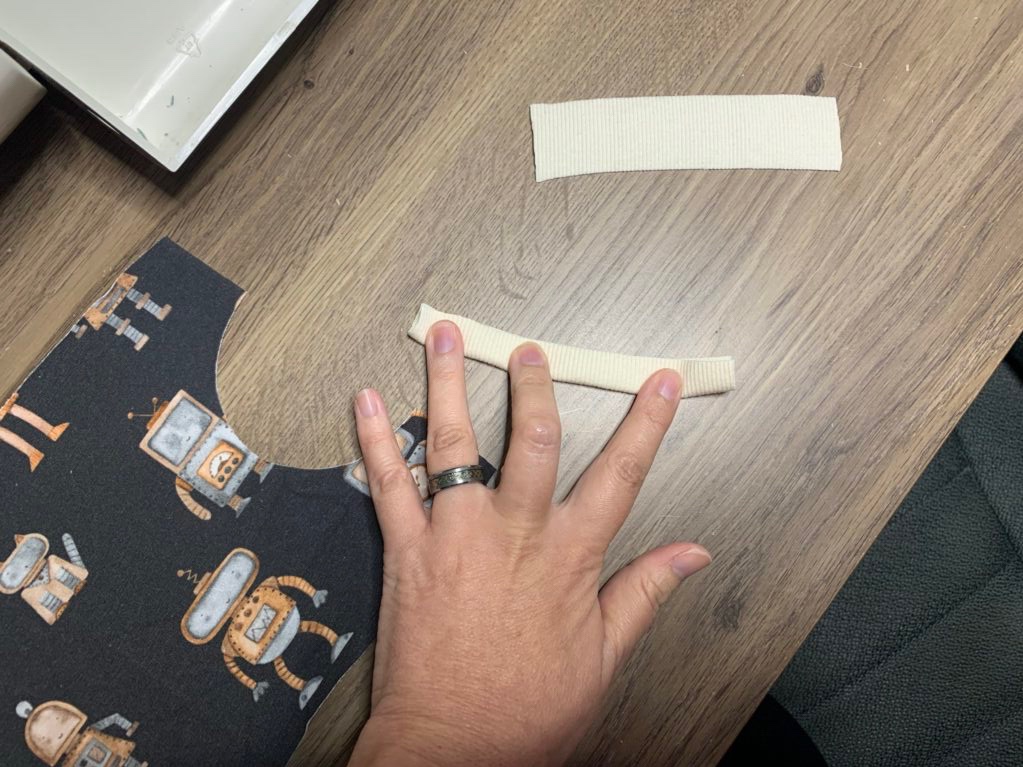
Step 2: take the bands and fold in half lengthwise and press.
The bands on the circle pocket will need to be stretched more than option A. For this reason, I like to find the center of the band and the center of the pocket and clip them together.
Then clip the ends and the quarters. Your piece should look similar to this pocket opening on the left. Because this is a small curved edge, I like to do this on my sewing machine because I am able to have better control of the band and curve. I should also mention that this is done with a 1/4” seam allowance.

Step 3: Now your pocket should look like this. After you have turned the raw edge toward the wrong side of the fabric. Go ahead and give a quick press to make sure everything is ready to top stitch.
Step 4: Grab the back pocket piece and lay the pocket on top.
Clip the 2 pieces together right sides facing up and baste stitch the pieces together. Use a 1/4” seam allowance so this will not be visible when the pull over is complete.
Your piece should look similar to this.
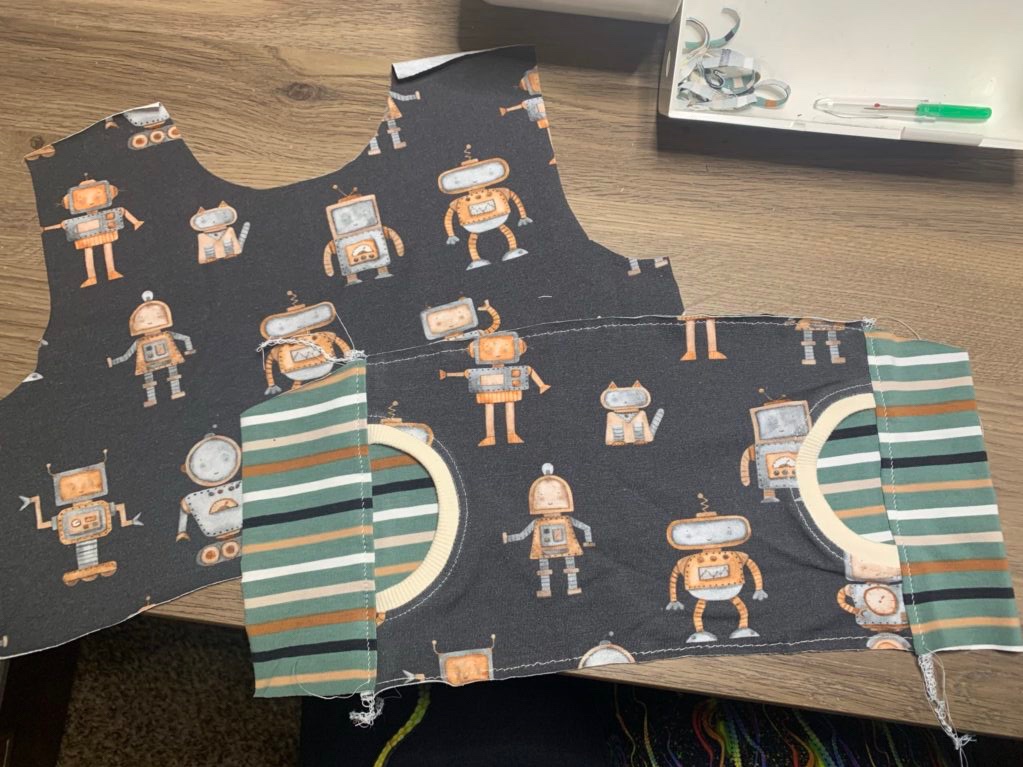
Step 5: Next we will get the 2 smaller side pieces. Make sure to pay attention to the curve when lining them up.
Lay them right sides together and sew up.
Open the side pieces up and straight stitch the seam allowance.
It should look similar to this.
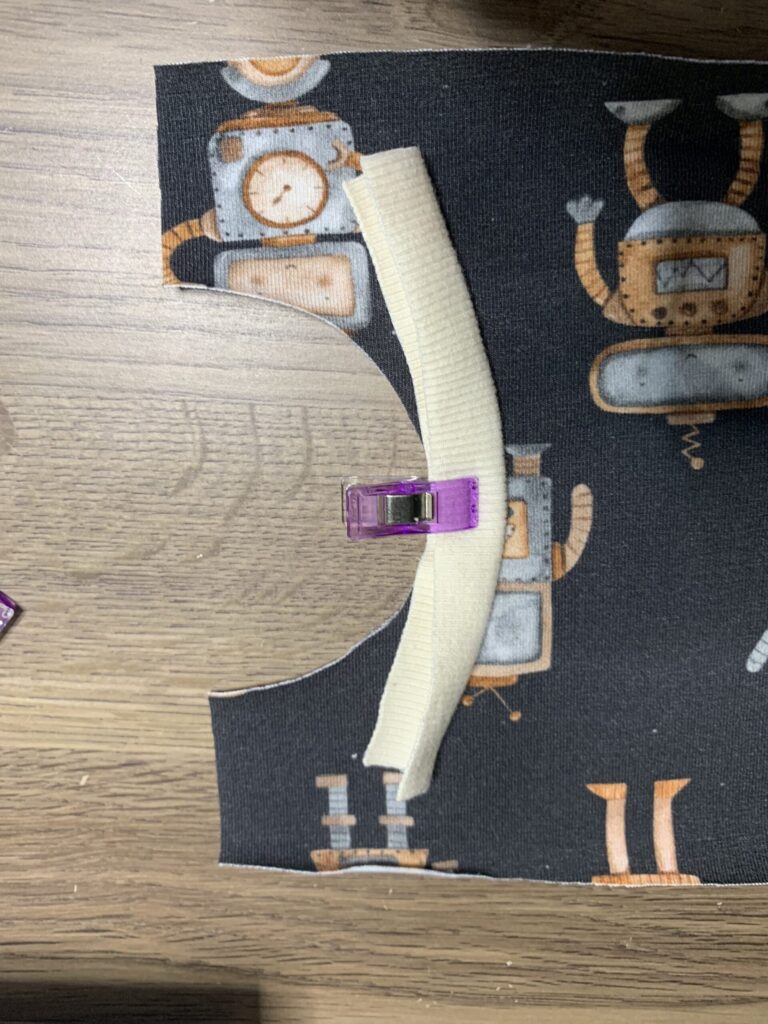
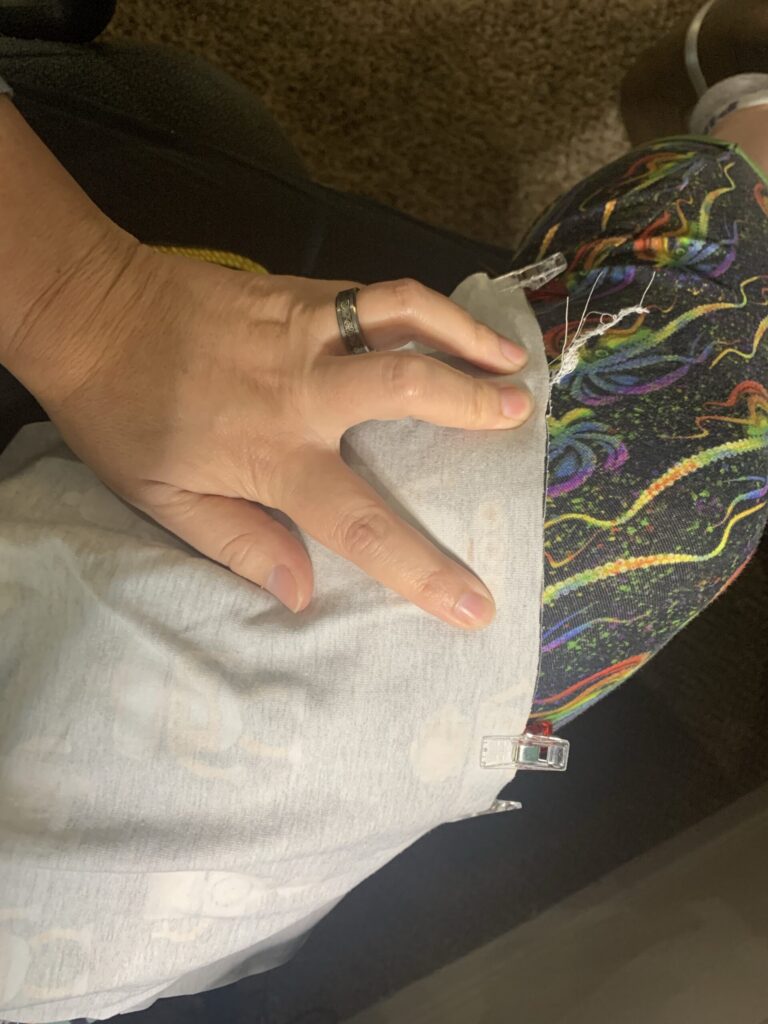
Step 6: Now we will sew the two front pieces together. Because this is a curved piece, I like to find the middle and pin there first.
Then I pin each side.
I like to lay this on my thigh to help pin the curve.
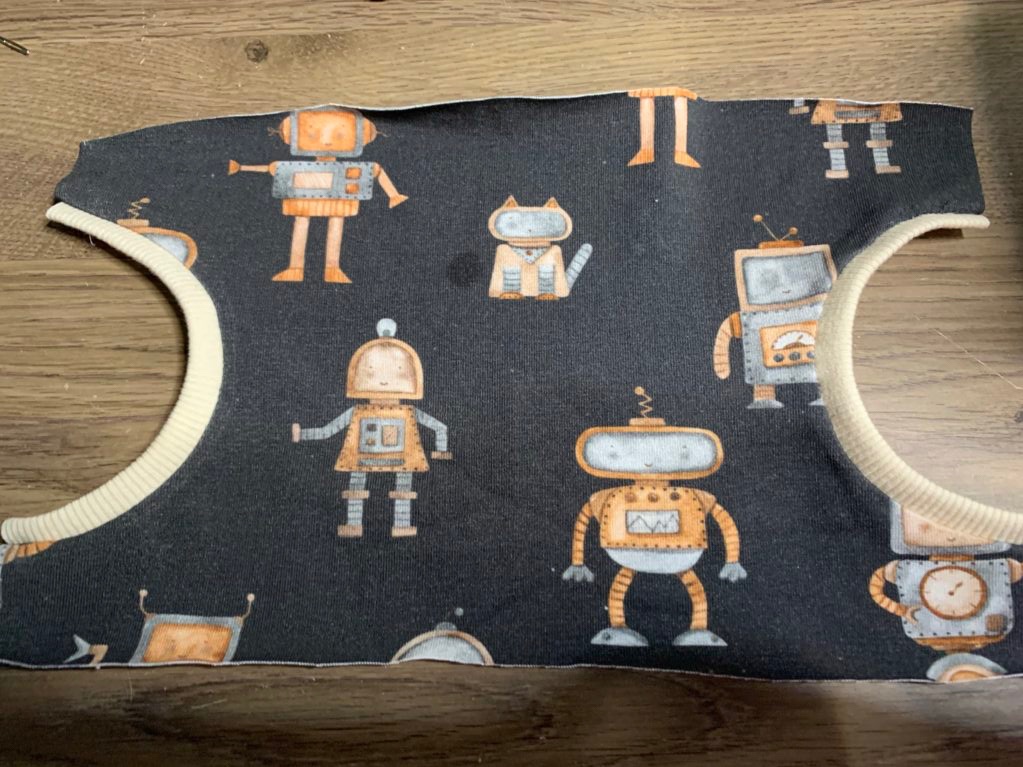
Step 7: Next we will sew the two back pieces together to complete the body of the sweatshirt.
Step 8: now we’ll top stitch the seam allowance down on the front and back of the shirt.
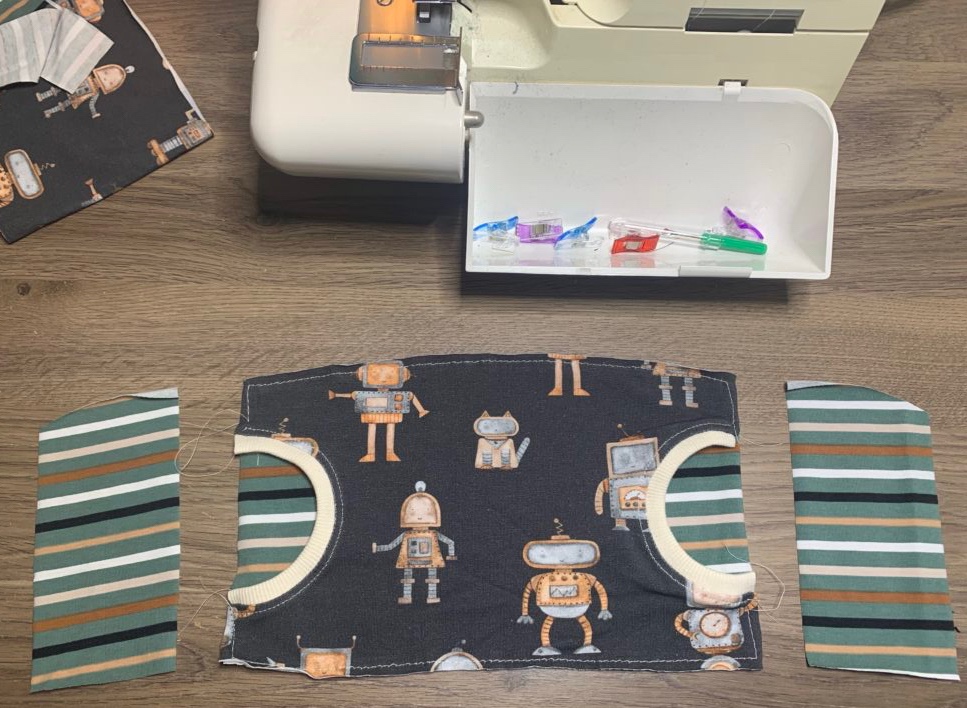
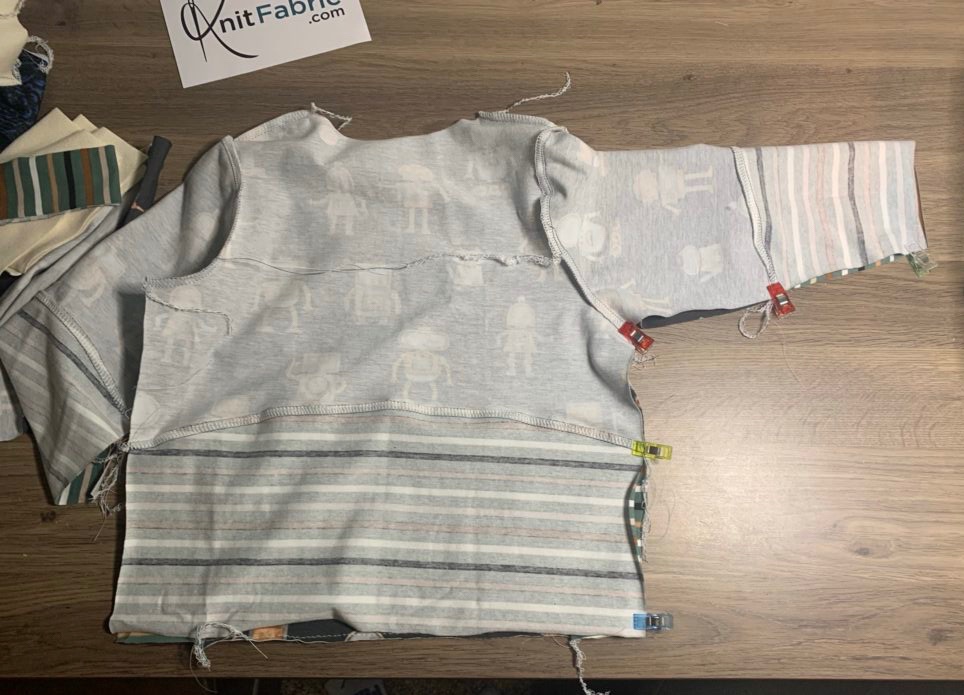
Step 9: for the sleeves, we will grab the two pieces and pin and sew them together.
The sleeve piece should look like this after they’re sewn together and top stitched.

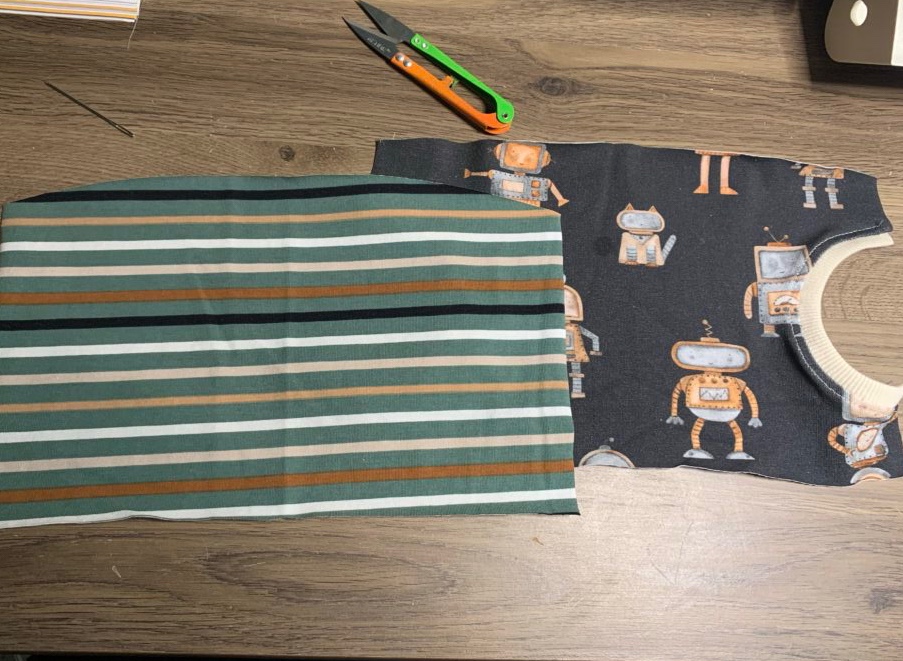
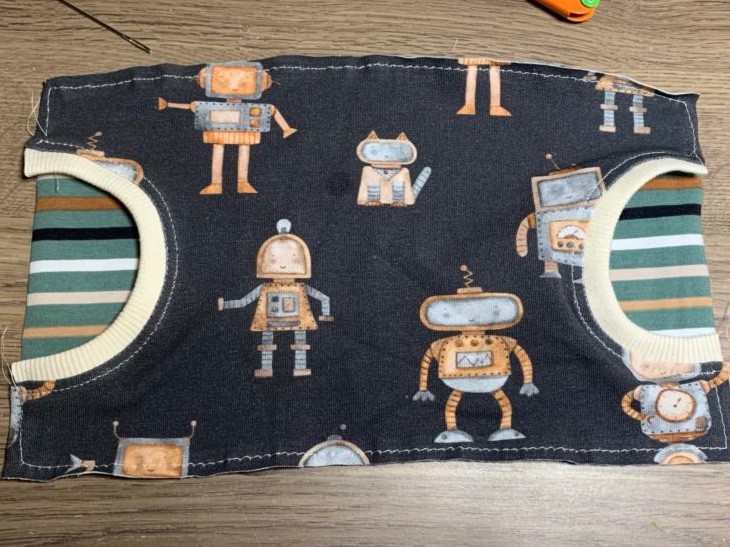
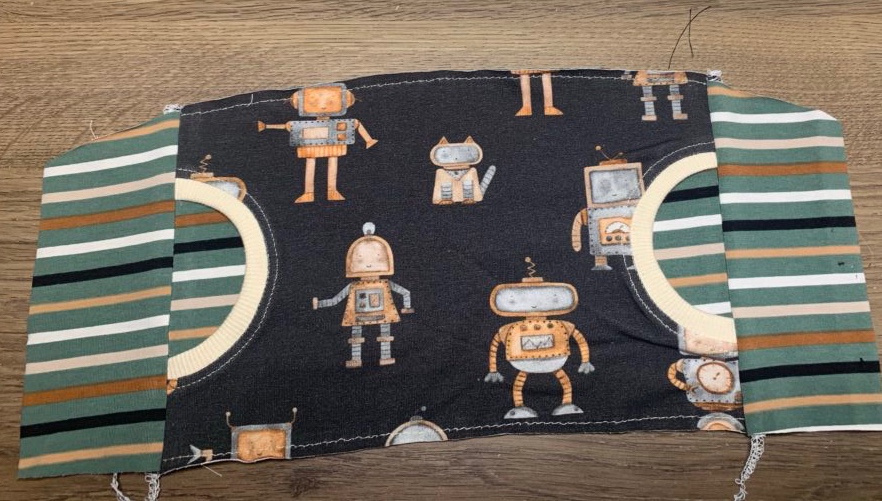
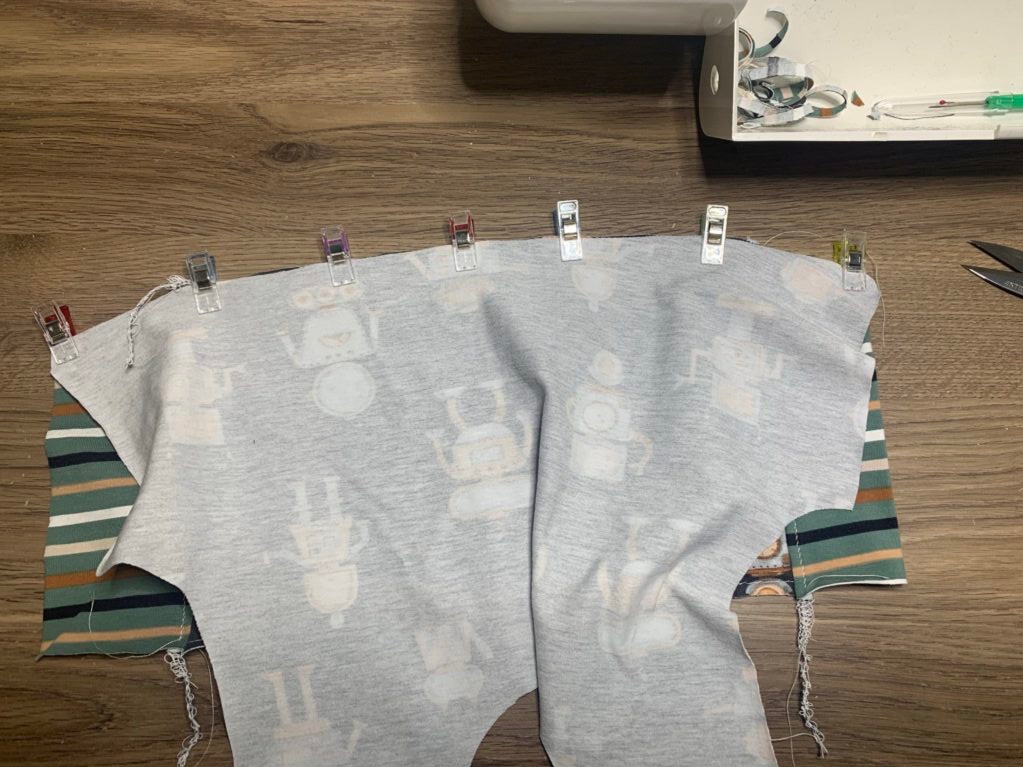
Step 10: Grab the front and back pieces and lay them together, right sides facing and pin at the shoulders and sew up.
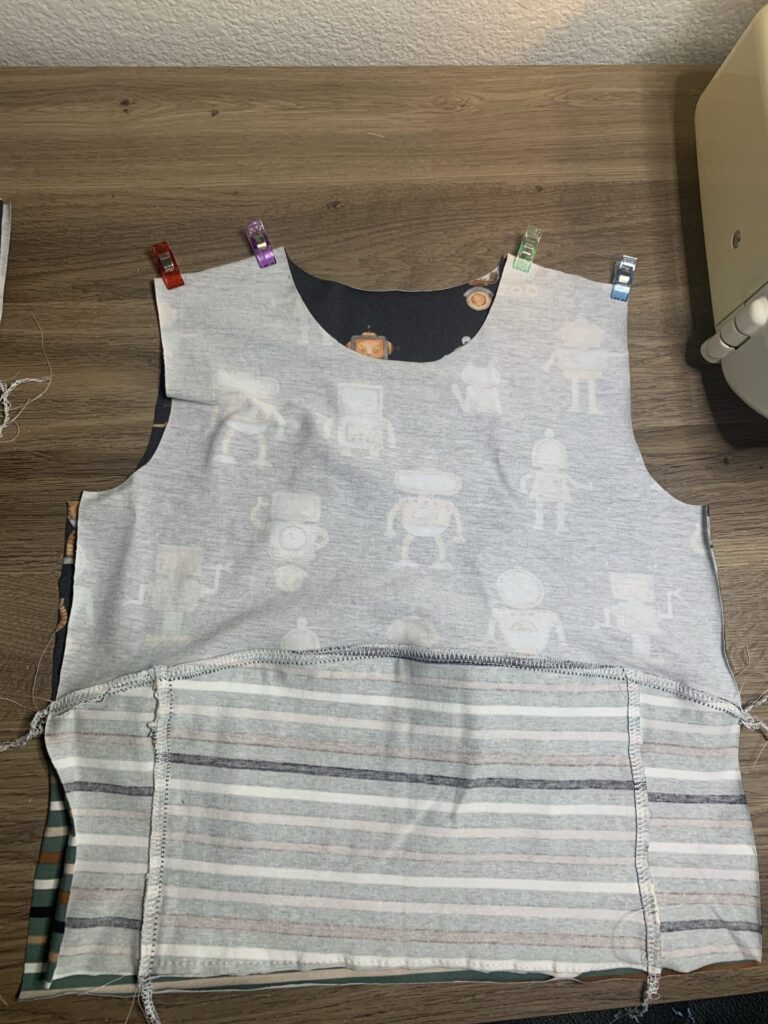
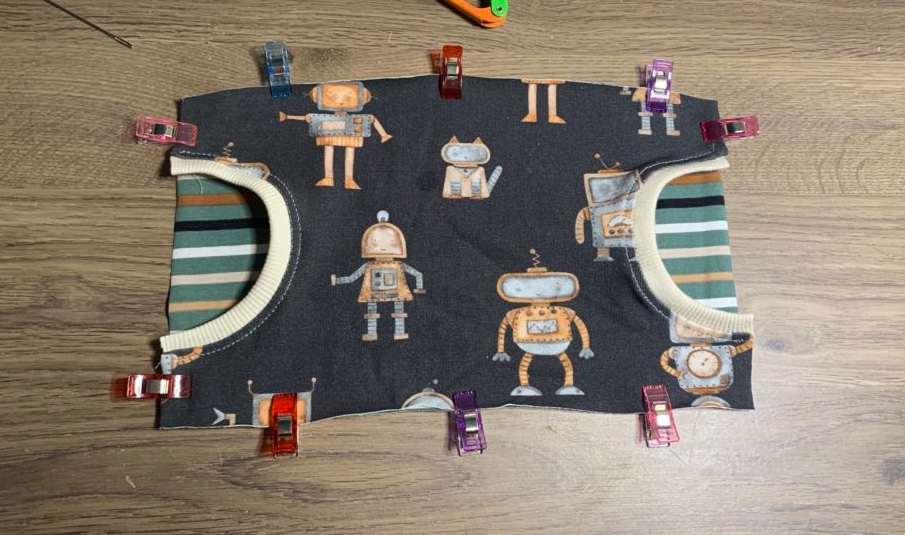
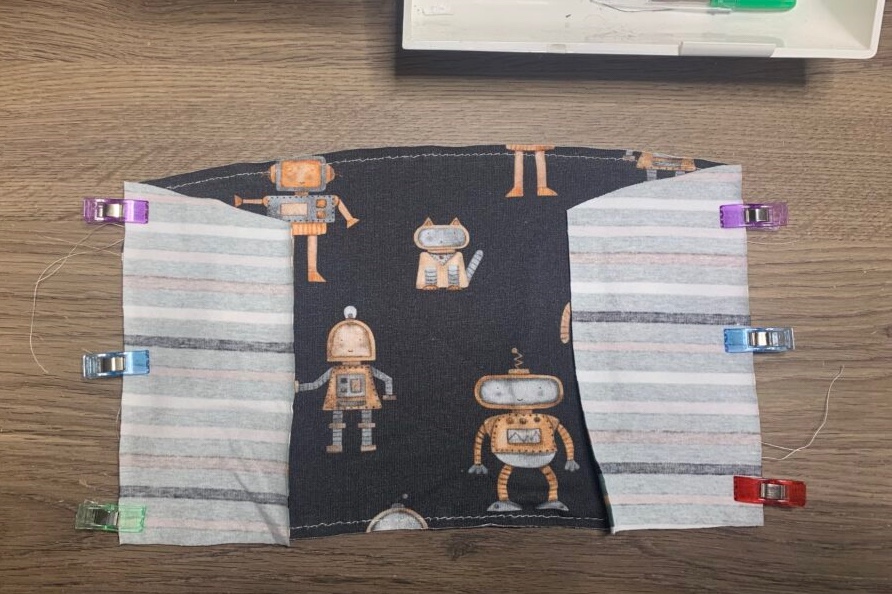
Step 11: Open the shirt right side up and grab one of the sleeves. Start pinning in the middle and sew them up.
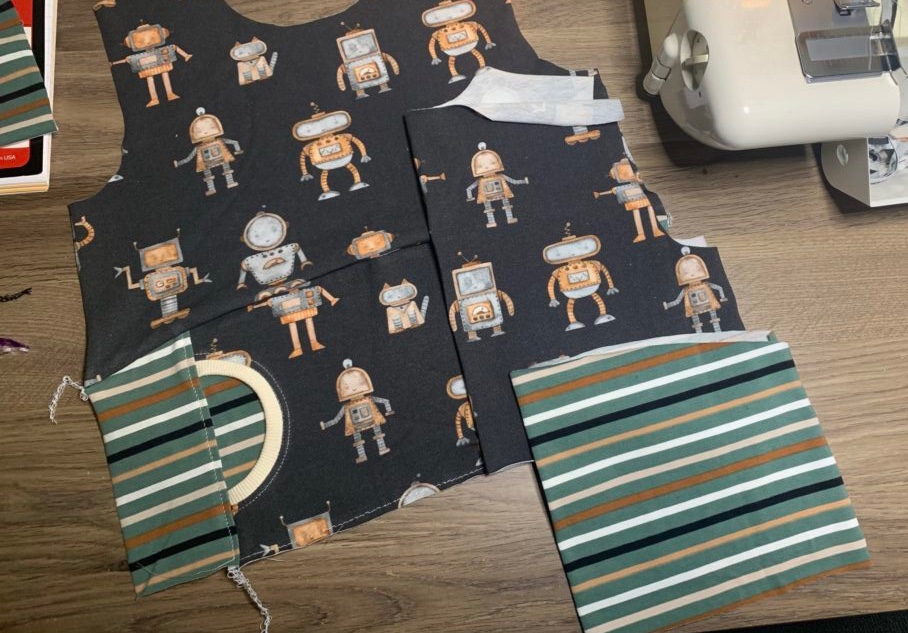
Step 12: After sewing on both sleeves, fold the pullover’s right sides together and sew up both sides of the shirt.
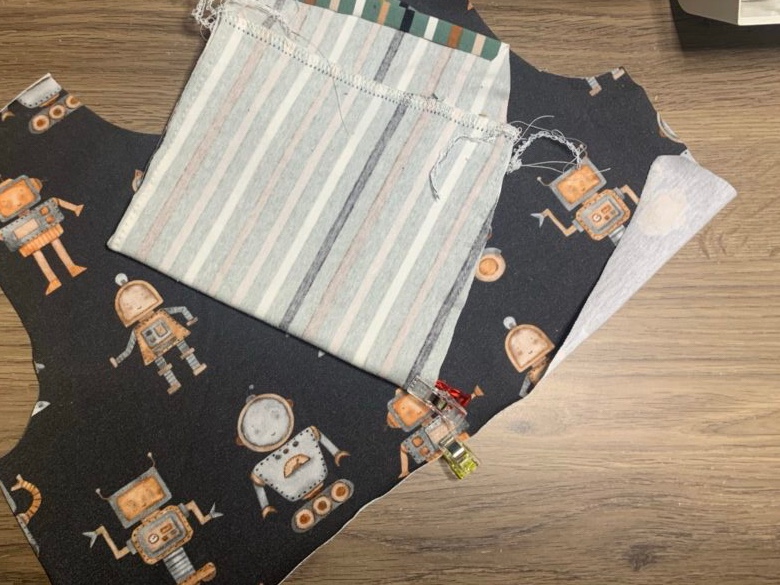
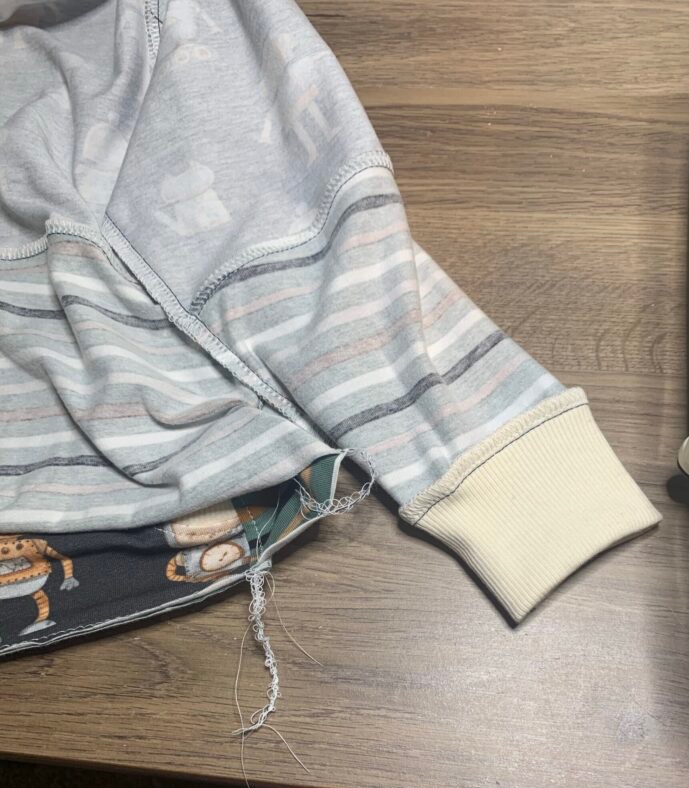
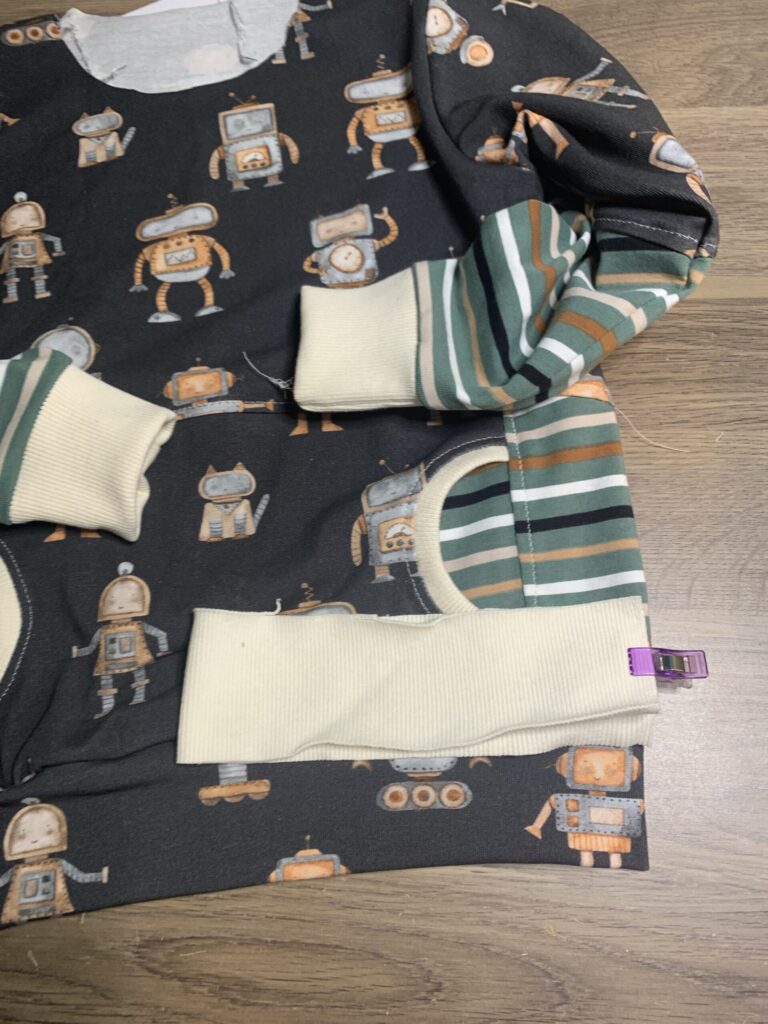
Step 13: Next grab the sleeve cuffs and fold length-wise and sew up.
Fold the sewn cuff in half wrong sides together.
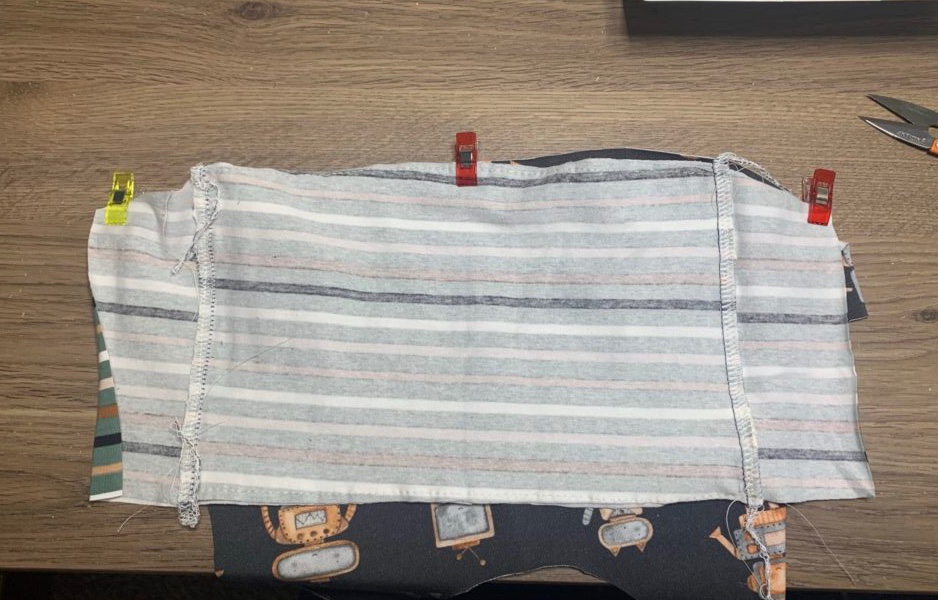
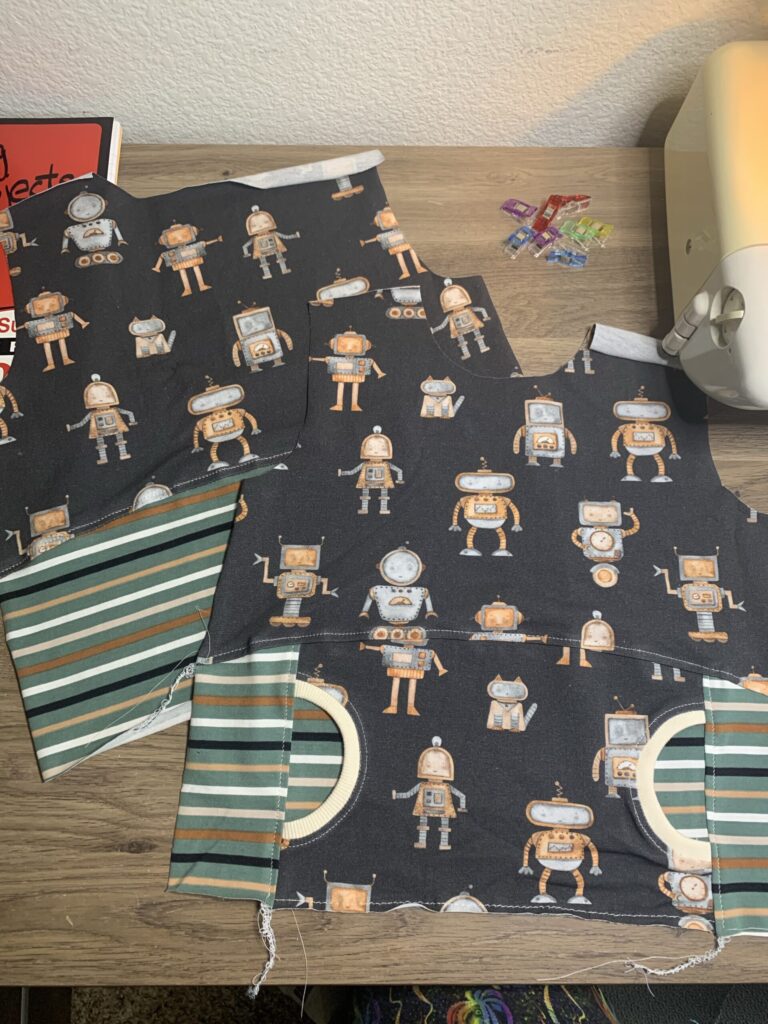
Step 14: pin the cuff and sleeve in quarters and pin together and sew on the bands.
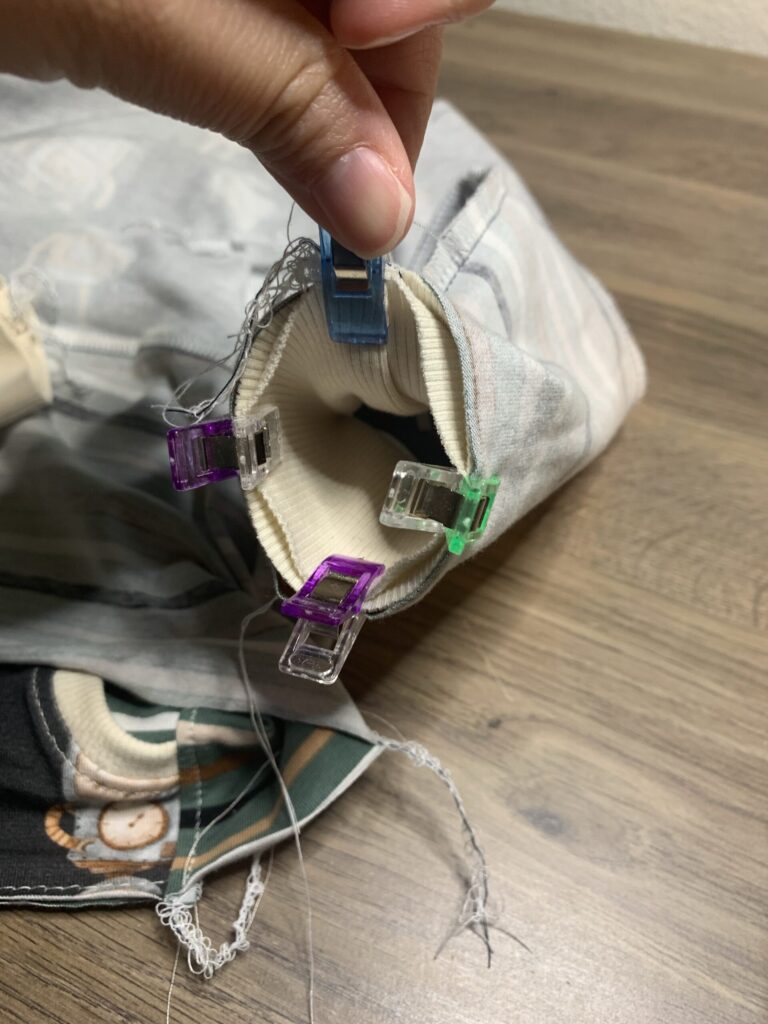
It should look like this.
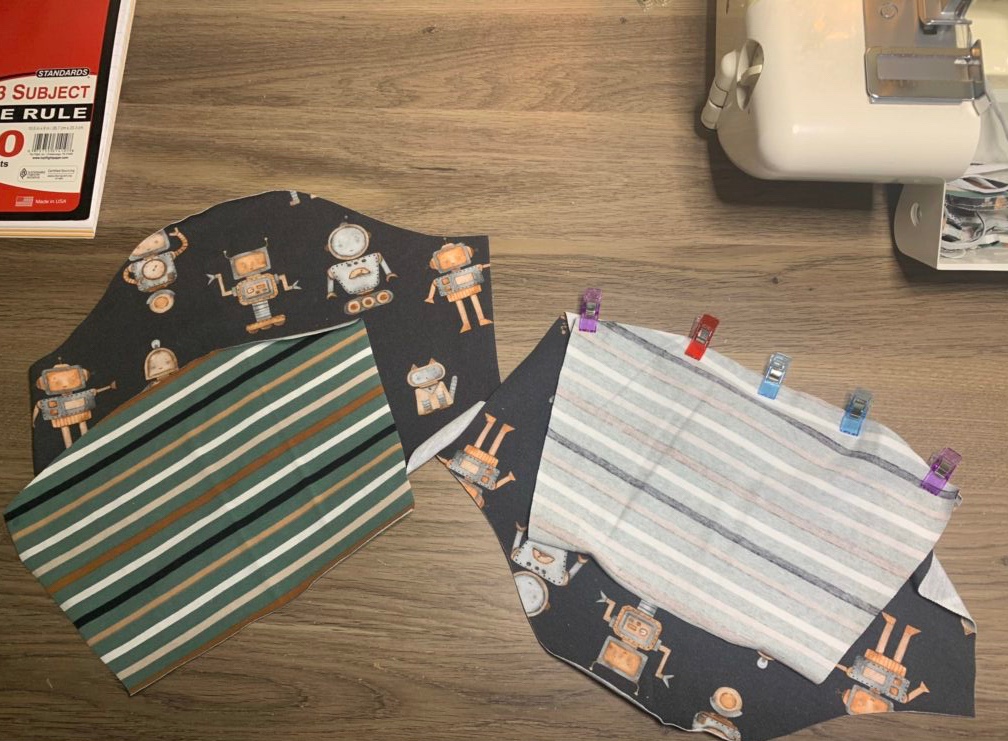
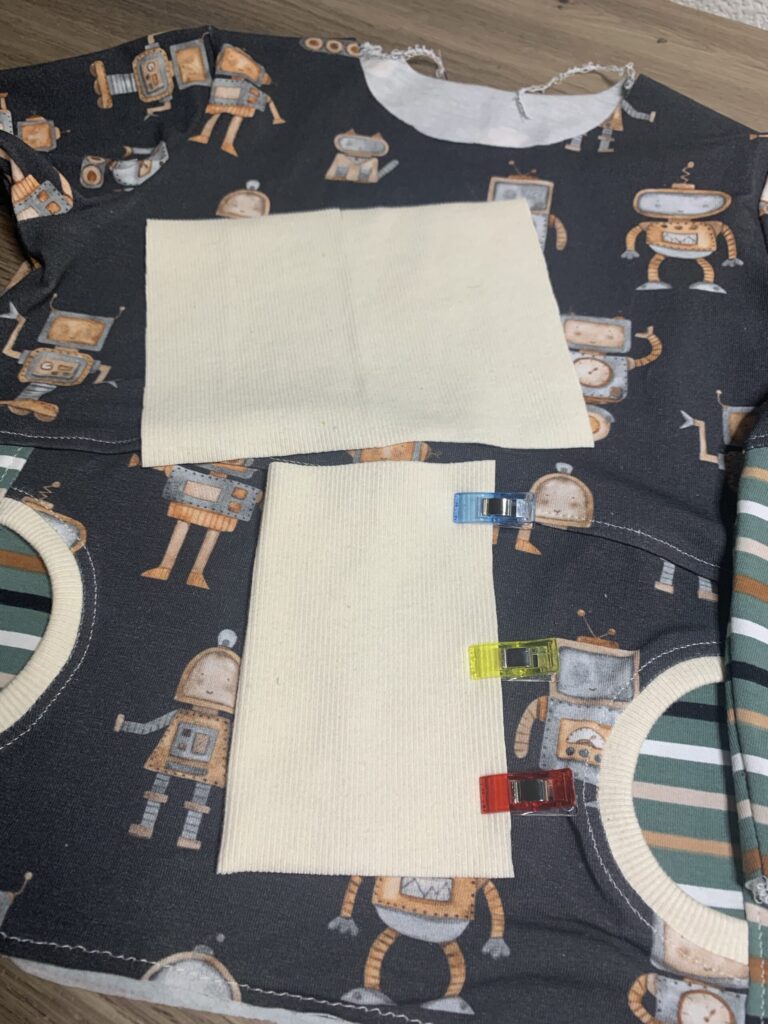
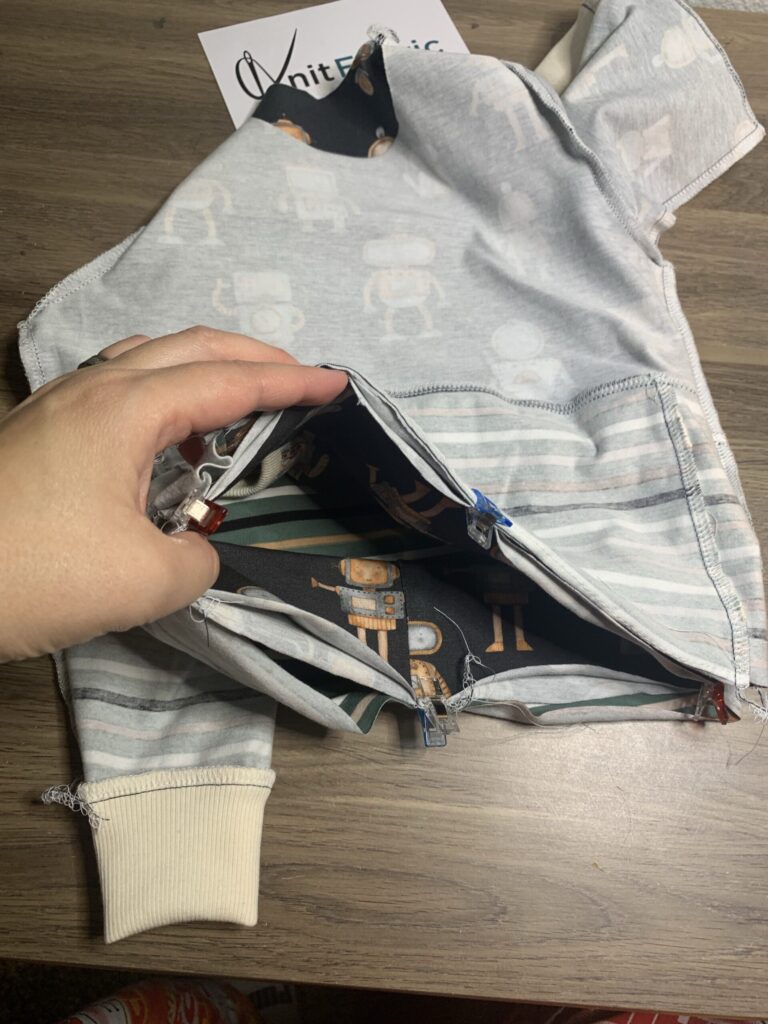
Step 15: grab the bottom band and fold in half and sew up the short end.
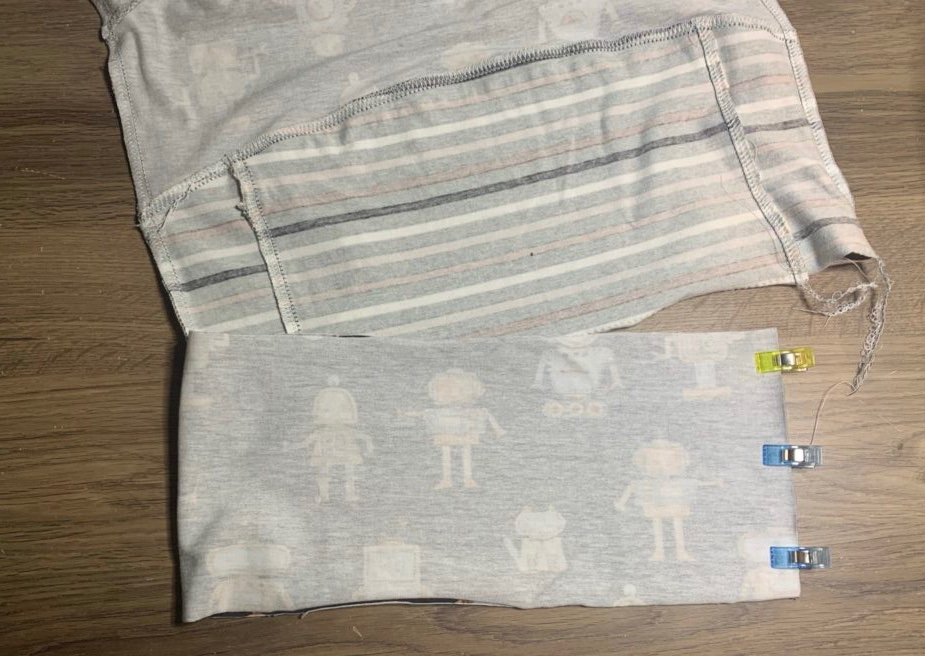
Step 16: Fold band in half wrong sides together. Quarter the band and the bottom of the pullover.
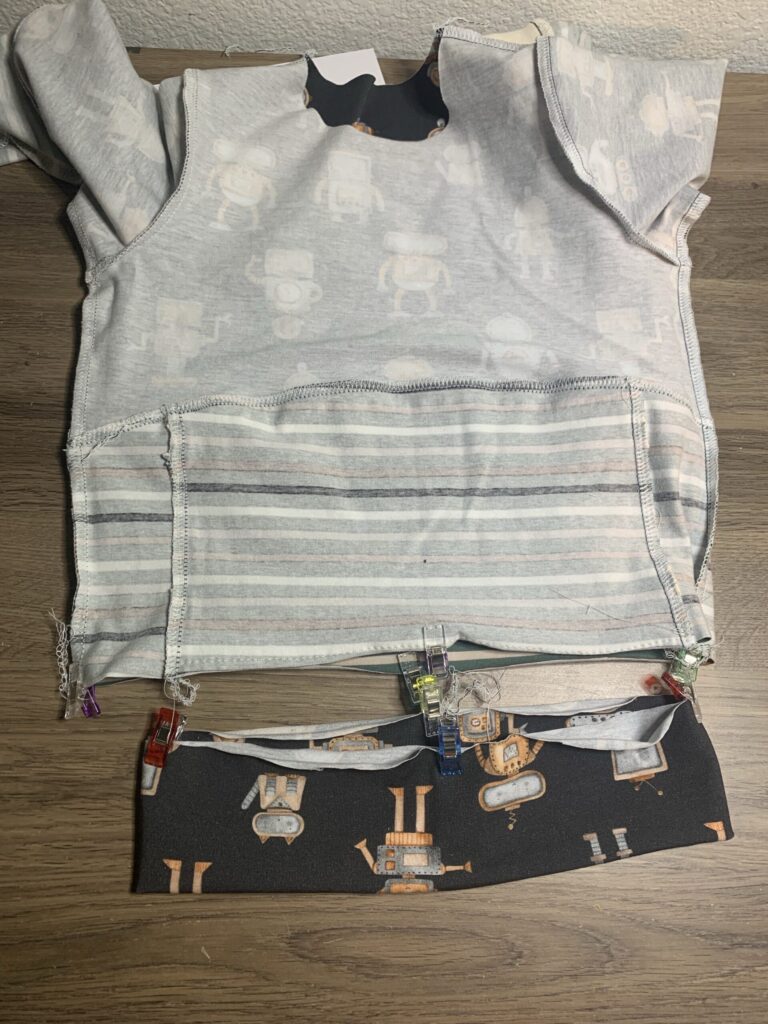
Pin them together like this and sew.
Step 17: now we’ll do the same for the neckband.
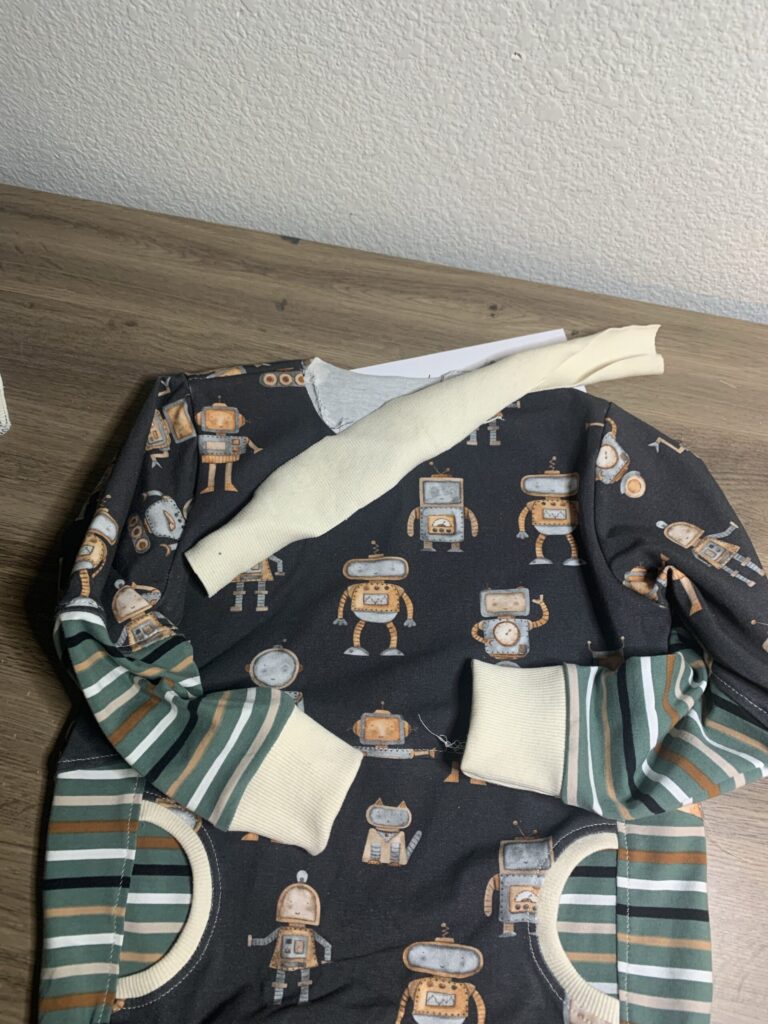
Fold in half and sew up the short end.
Now for the garments neckline. Pin the band and the neck hold in quarters and pin together and sew.

Step 18: for a more polished look I recommend topstitching the bottom and neck bands. You could also use your coverstitch machine if you have it for an even more professional look.
This is what it should look like when it’s done!

Thank you and I hope this was helpful. Sewing your own pullover can be a rewarding and satisfying project - even for beginners. By following the steps outlined in this blog, you can create a pullover that is personalized to your style and fits you perfectly. Whether you're a beginner or an experienced seamstress, sewing a pullover is a great way to showcase your creativity and add unique pieces to your wardrobe. So grab your sewing machine and fabric, and start stitching your own stylish pullover today! This pattern comes in youth and adult sizes and with all of the options available, there are so many different looks you can get!
As always if you see something good in someone, tell them, you just might make their day!
Miah
Other Pullover Sewing Patterns
Thank you Miah for this great tutorial on the Youth Parker Pullover. Once you learn how to sew a pullover you’ll probably be addicted and want to sew a few more. Here are a few of our other favorite pullover patterns from Peek-a-Boo:
 |
 |
 |
How do I take my measurements correctly before sewing a pullover?
Before sewing a pullover, use a flexible measuring tape to take accurate measurements. Measure your bust, waist, hips, and the desired length from shoulder to end of the pullover. These measurements ensure a proper fit. Make sure to follow the patterns sizing chart!
Other Sew-Along Style Blog Posts
If you enjoyed this article on how to sew a pullover you might also enjoy Miah’s article on How to Sew Kid’s Underwear. We also have recent sew-along style blog posts on How to Sew Leggings and How to Sew Drawstring Shorts.
Before you leave, also make sure to join our Facebook Group and follow us on Instagram.
Happy Sewing!