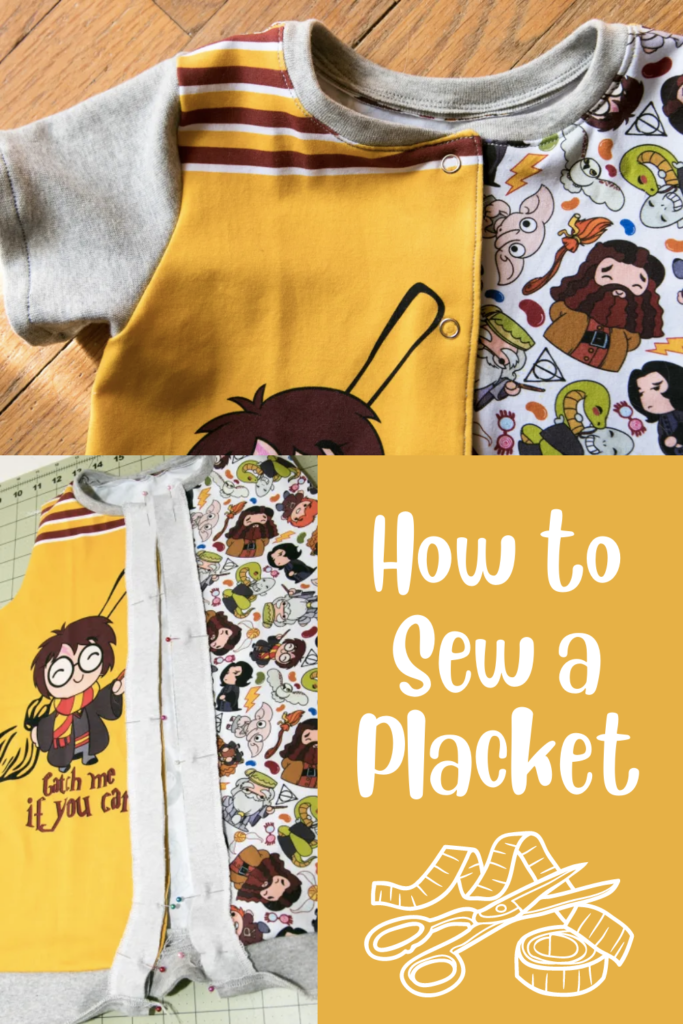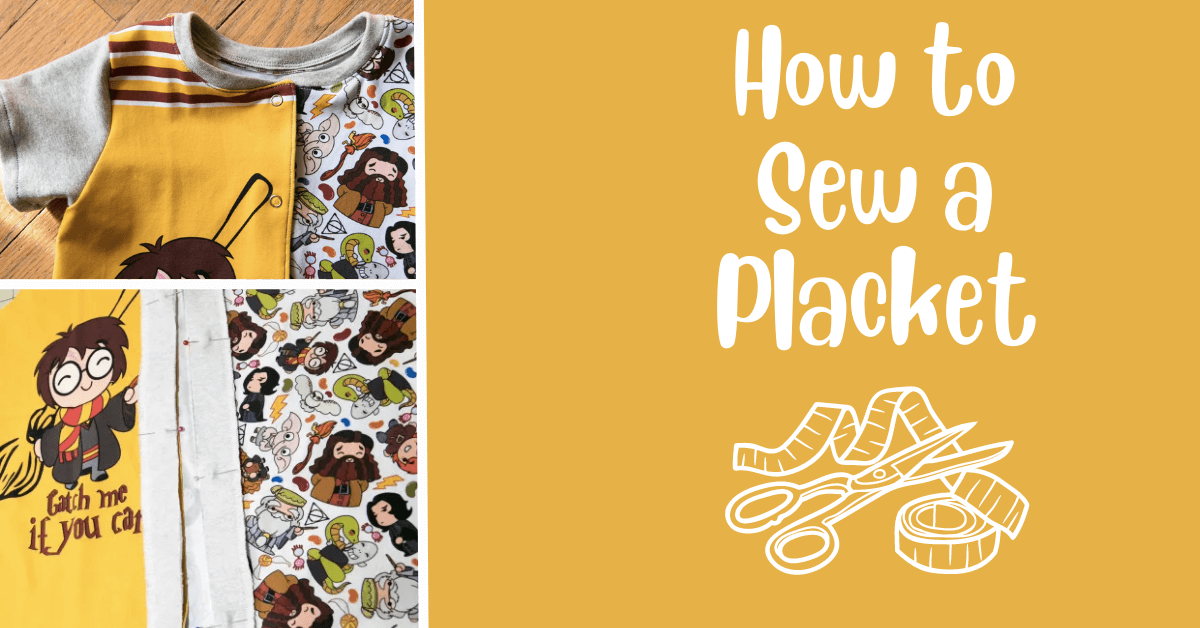
How to Sew a Placket
If you're new to sewing, you may have come across the term "placket" and wondered what it is and how to sew one. A placket is a slit or opening in a garment that allows for easy dressing and undressing. It's commonly found on shirt cuffs, necklines, and the front of button-up shirts. Plackets can vary depending on application - there are plackets used for shirt neck openings, vents, and pant and skirt openings. Plackets are commonly found in tailored shirt sleeves and tailored blouses.
In this blog post, we'll guide you through the process of sewing a placket step by step. We'll cover different types of plackets, such as the continuous bound placket and the faced placket, and provide detailed instructions to help you master this essential sewing technique. So grab your fabric, thread your needle, and let's get sewing!
What is a Placket?
Plackets are important design elements in garments, allowing for fastenings and pocket access. They are covered by a fabric flap, creating a neat finish. To put it simply, a placket is a reinforced strip of clothing where the snaps or buttons come to do their thing.
Video Tutorials for Sewing a Placket
How to Sew an Open Placket Step-by-Step Tutorial
Button-down shirts feature an open placket. I’m demonstrating it here with the Roly Poly Romper. I start out with strips of fabric that mimic the edges of the garment. I usually add interfacing. Interfacing adds stability and strength to a placket. It also helps it hold its shape better.
How to Sew a Crotch Snap Placket
For a crotch snap placket, add interfacing to one piece. I prefer iron-on for ease of use, but sew in interfacing is available. After that, place the two fabric pieces right sides together, sew, and turn right side out. Top stitch the finished edges if you like; this ribbed knit was thick, so I opted not to on this project. Line the unfinished edge of the placket up with the fabric of the back of the pants, right sides together, and sew.
Sewing a Placket
Flip it out, press, and then top stitch on the fabric of the pants back, so that you catch the seam allowance in the stitching. As with interfacing, top stitching provides reinforcement and stability. It also looks nice. 🙂
How to Sew a Front Placket
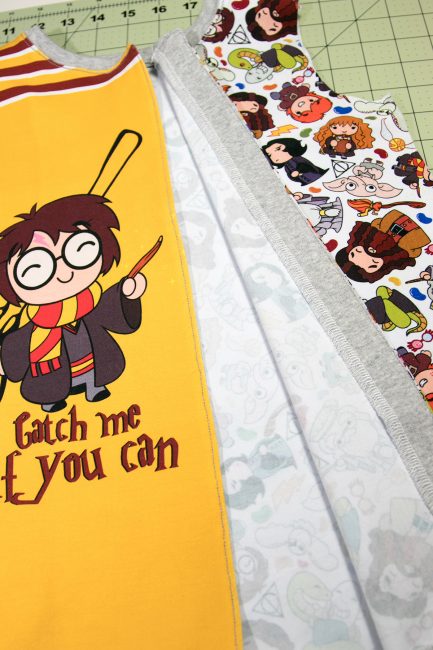
The plackets for the front of the romper are just as straightforward. Iron on the interfacing. Finish the edge that won’t be caught in the seam with a zig zag stitch or by running it through your serger. After that, match it up the the edge of the romper and sew. After that, flip it to the underside of the romper (the separate placket piece won’t be visible from outside).
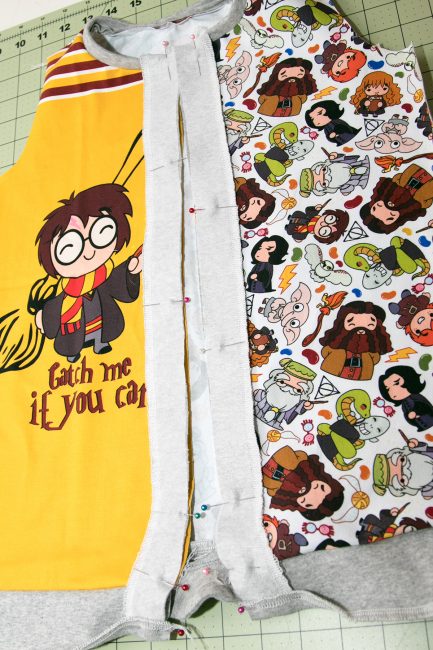
To give your sewing project a professional finish, it's important to top stitch the edge. This involves sewing a line of stitching along the edge of the fabric, typically about 1/8 inch from the edge. Top stitching helps to reinforce the seam and prevent fraying, while also adding a decorative touch to your project. When top stitching, be sure to use a matching thread color and sew slowly and carefully to ensure a neat and even stitch line.
Most of the time, I top stitch again at the edge of the placket. However, I chose not to here because I didn’t want to interrupt the panel I was using.
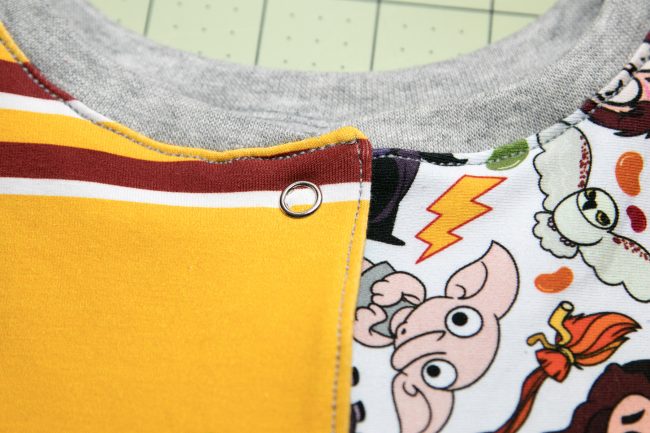
After that, to finish the placket opening all you do is add your snaps, or buttons & buttonholes. Voila!
How to Sew a Closed Placket
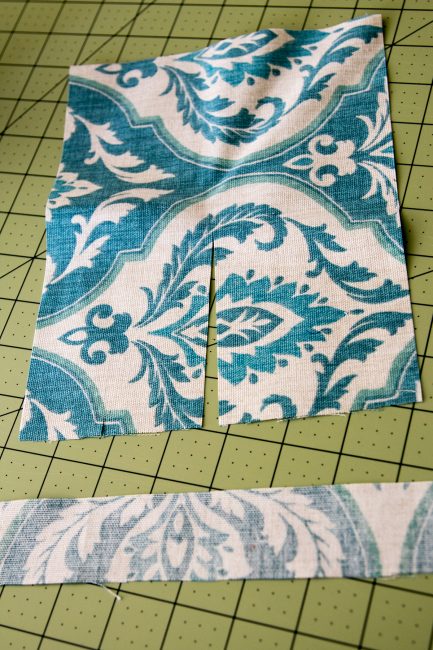
The other type of placket is closed at one end. This kind of placket is used in the cuff of a sleeve, or on the back of a dress or shirt using buttons. I just made a very simple demonstration using a piece of scrap fabric. The same principles apply to any placket that will be closed at one end of the placket.
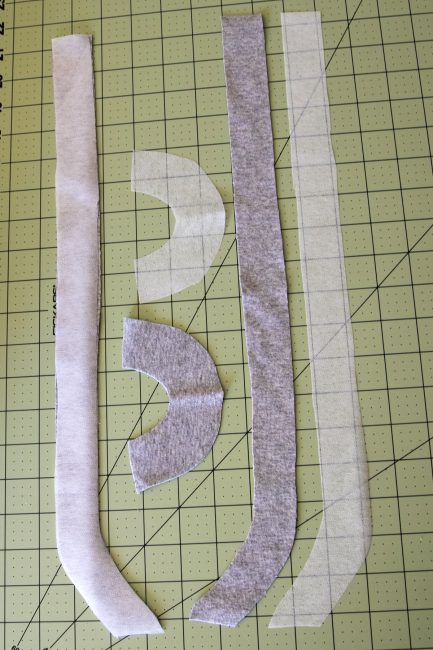
To begin, you start with two pieces of fabric; one will be a strip, and the other the garment where the placket is being added. After that, cut a slit in the (generally center line) of the garment.
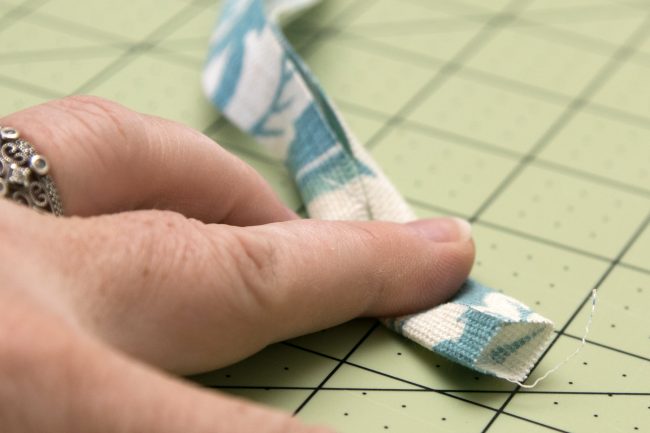
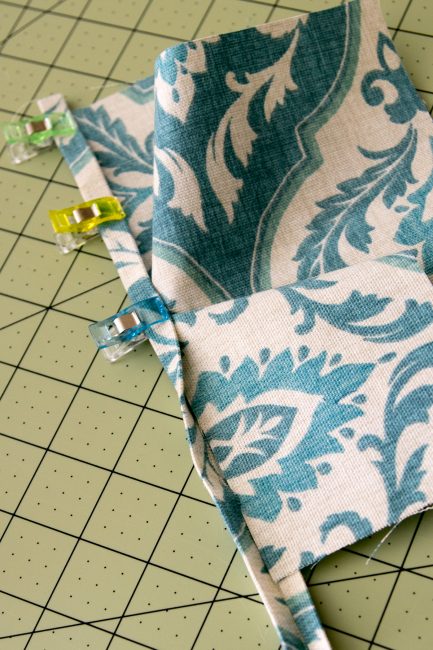
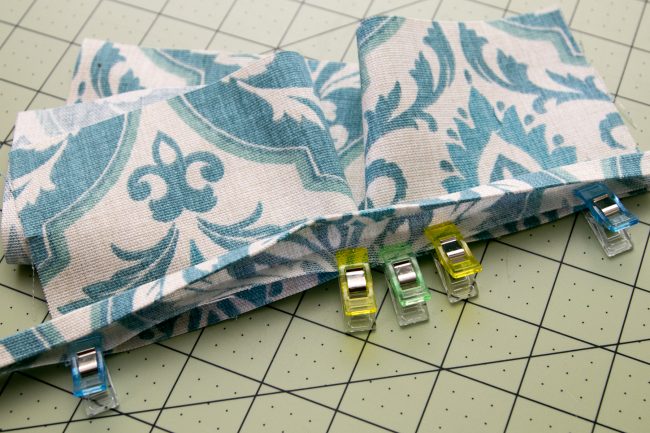
Next, fold the edge of the strip of fabric in half long ways. Unfold, and then fold each long edge in to meet at the center. Fold in half again at the original fold, encasing both of the long, unfinished ends within. Press well at each step.
Attaching the Placket to the Garment
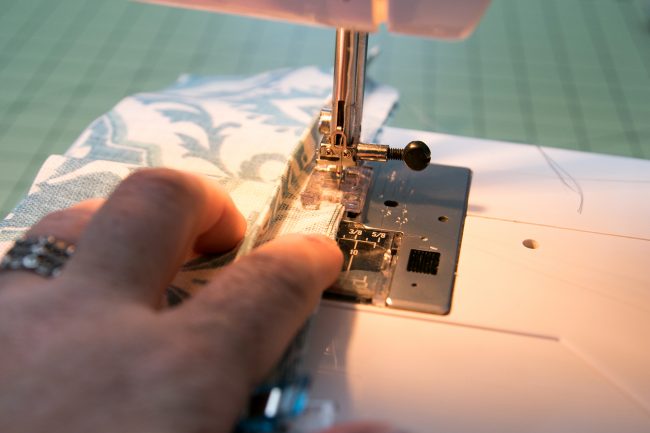
You can attach the garment to the side of the placket in two ways. First, you can slide the placket onto the edge of the fabric which you will pull so it appears to be one long, straight edge. It encases the garment’s raw edge into the center fold. Pin well and sew. This method can be very tricky when you get to the bottom of the crease. It is very easy to end up with a pleat (which is fine on a full skirt or even some fuller sleeves, but not something you want to see in many garments). To ensure a clean finish, make sure to enclose the raw edge of the underlap at the bottom of the placket.
Attaching the Placket to the Garment: Part 2
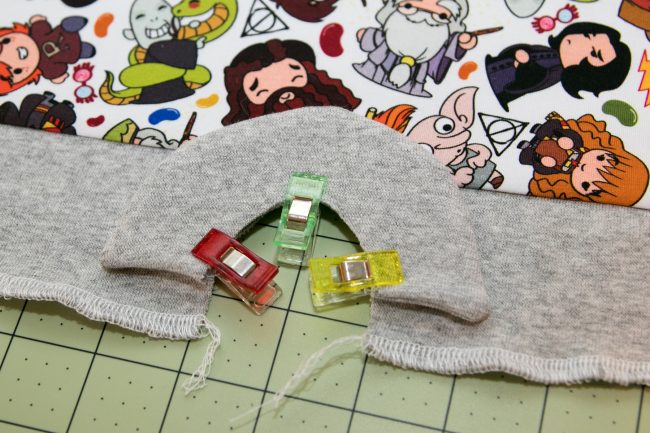
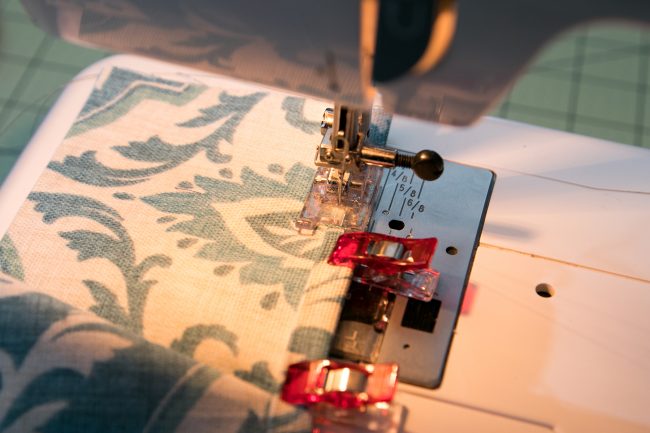
The second way to add the placket is to unfold the placket and match a long, unfinished edge to the edges of the slit you cut, right sides together and wrong side out.
After that, sew in the crease you made. As you go toward the bottom of the slit, carefully guide the seamline out, until you’re just barely sewing on the fabric when you reach that center point…
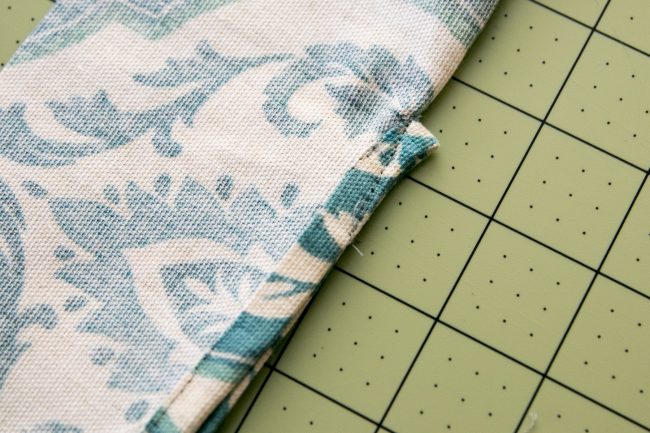
…to look something like this. The closer you can get to the edge of the fabric, the less likely you will be to end up with a pleat at the bottom of your placket. Take into consideration the type of fabric; if it frays easily, add a bit of interfacing before you cut the slit.
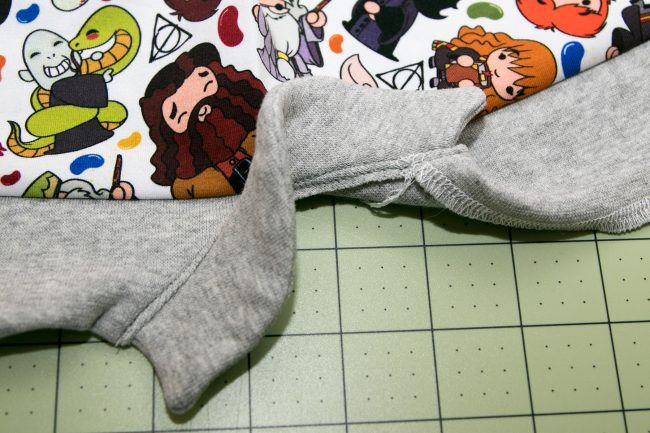
Next, refold the placket so that all of the unfinished edges are caught up inside the placket, tucked against the center fold. Sew very close to the folded edge on the right side of the garment, ensuring that the stitching line is neat and even. Be very careful as you reach the center of the placket (the bottom of the slit). Go slowly; drop your needle and raise the foot as needed to move the fabric around so that you don’t sew any folds into the facing garment.
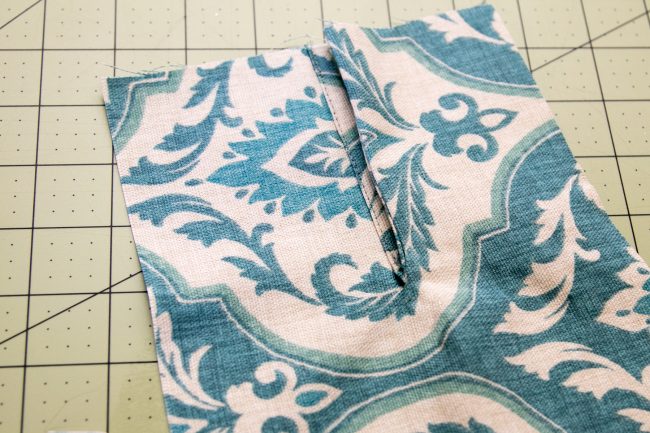
Fold the placket in half, with the right sides of the garment together, and stitch a diagonal line through the placket.
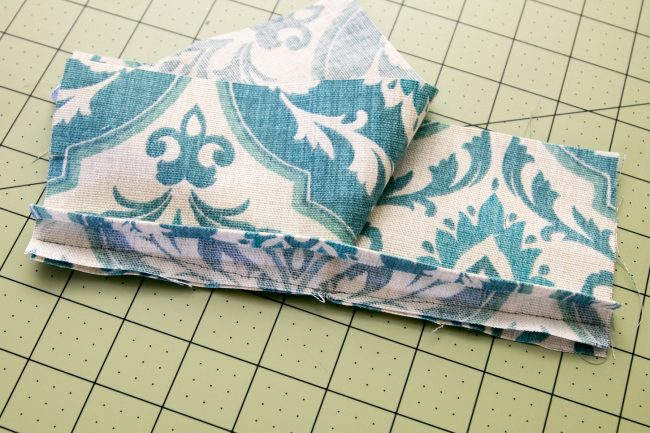
Finishing the Placket
Open the garment up and press well, and now you’re ready for snaps or buttons.
Alright - now you know how to sew a placket. Plackets may seem daunting at first, but once you have a good grasp of the basics, they are easy to manage. Being proficient in placket-making can help you create a wide variety of professional-looking garments. We hope that you found our tutorial on how to sew a placket helpful and enjoyable. With practice and patience, you will soon be able to sew beautiful plackets with ease.
Thank you for joining us today. Before you leave, make sure to join our Facebook Group and follow us on Instagram. Happy Sewing!