How to Sew Cuffs on Sleeves - Quick and Easy
Hi! Stephanie from Stephie B’s Designs here to show you how to sew cuffs on sleeves. This simple trick can be used on patterns that would normally be hemmed, as well as existing shorts and pants.
Sew a Cuff on Sleeves
For some reason, when I sew a long sleeve shirt, I prefer it to have a cuff rather than a basic hem. Call me crazy, but I’ve found myself hacking several patterns to add cuffs to long sleeves. Not only sleeves, though… I’ve hacked pants patterns, that, (in my humble option), needed cuffs, too. 🙂Bonus… With a little modification, it can also be used to add a waistband to shirts. Score!
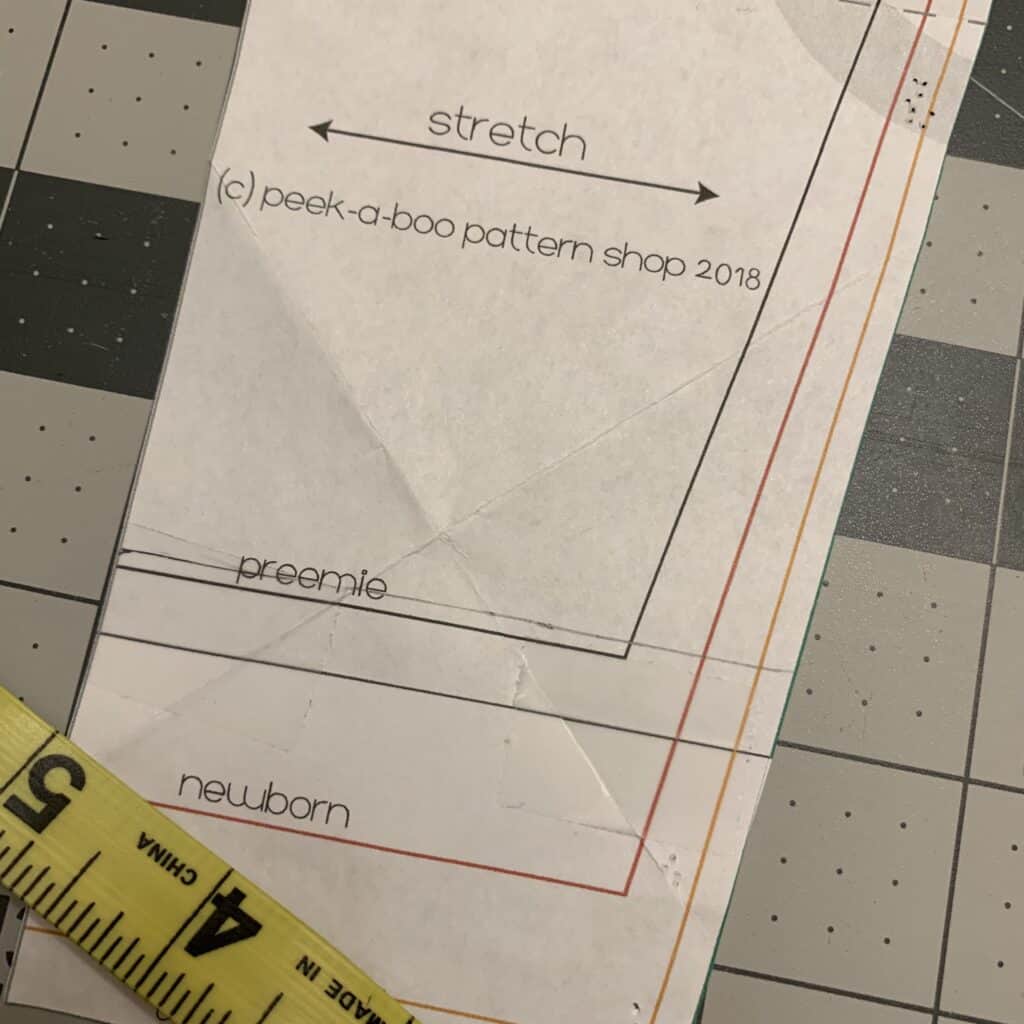
I’m using a must-have pattern from Peek-a-Boo Pattern Shop that I’m going to hack today. Everyone needs a great bodysuit pattern, and the Lullaby Line Bodysuit is just that. I make TONS of bodysuits, and use this pattern 95% of the time. (The other 5% I use three other bodysuit patterns, the Eeny Meeny Miny Moe, the Tiny Tanksie, and the Duck, Duck, Goose – all from (you guessed it!) Peek-a-Boo Pattern Shop!)
Since I’m using a pattern for this tutorial, I will be adding cuffs during the construction of the garment. However, I will add sections within the Steps below to guide you through adding a cuff to an existing hemmed shirt/pants. Are you ready to get sewing?!
How to Sew a Cuff on a Sleeve Step 1. Decide how long you want your cuff.
A good cuff length for both sleeves and pants is anywhere between 2-3 inches, although I’ve seen some patterns with a 5-inch cuff on the sleeves! :/ That’s not my cup of tea, so for most of my patterns I stick will the following:
- Infant sizes (0-18/24m): 2 inches
- Toddler sizes (2T-4T/5): 2.5 inches
- Kid and adult sizes: 3 inches
That being said, it’s totally up to you! (Aren’t I so nice?!) For this particular 6m bodysuit, I want a 2-inch long-sleeve cuff.
What is the best way to measure for cuff size?
To measure cuff size, wrap a measuring tape around your wrist where the cuff will sit. Add an extra inch for comfort. This gives you the cuff circumference. Alternatively, measure the width of a well-fitting existing cuff as a guide.
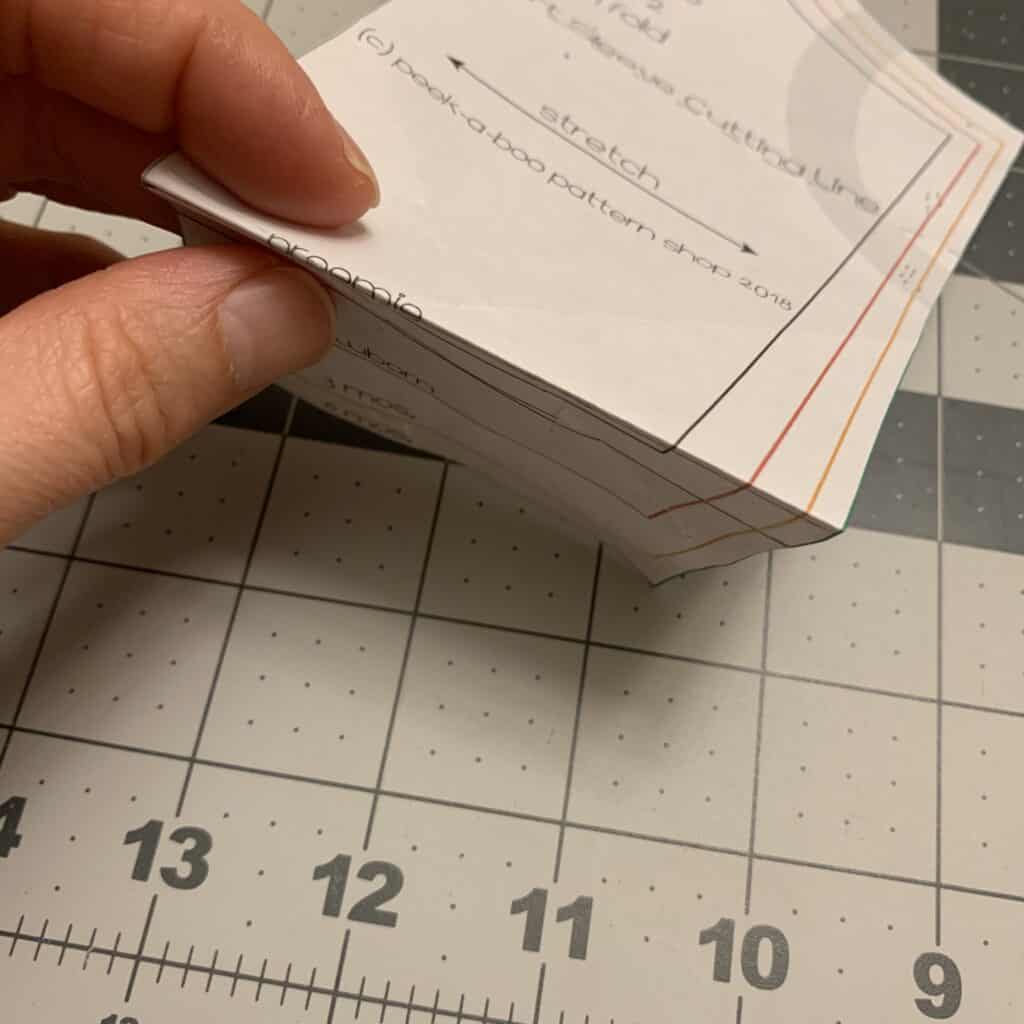
How to Sew a Cuffed Sleeve Step 2. Cut your chosen length from the pattern piece/existing sleeve/pants leg.
While technically you should be paying attention to seam allowances – subtracting, then adding, then multiplying, then dividing by pi – I will simply remove my desired cuff length from the pattern piece and call it a day.
But Stephanie, can you add the cuff right onto where the pattern piece ends? You sure can, but the sleeve will be pretty long, like a couple of inches. If you’re ok with that, add away! Skip this step and move on to Step 3. In this case, my sleeve will be slightly longer than the original sleeve length (by 1/2 inch to be exact) but I’m ok with that.
Measure up from the bottom of the sleeve/pants leg up your desired length. This step is the same whether you’re using a pattern piece or an existing hem. As I mentioned above, I want a 2-inch long cuff, so I’m measuring up 2 inches.

Mark your measurement.
Rather than actually cutting off the bottom portion of my pattern piece, I fold it under just in case someone asks for the hemmed version in the future. If you’re using an existing sleeve/pants leg, cut the unneeded portion off.
How to Sew Cuffed Sleeves Step 3: Determine your desired cuff width.
I’ve read in the past to make the cuff widths 80% of the width of the bottom measurement, but I found that to be too tight, so I go for anywhere between 85%-90% – and even then oftentimes I’ll just eyeball it. I want the sleeve cinched in a bit, but not too much.
Measure across the bottom of your now-modified pattern piece (or the new raw edge of an existing hem).
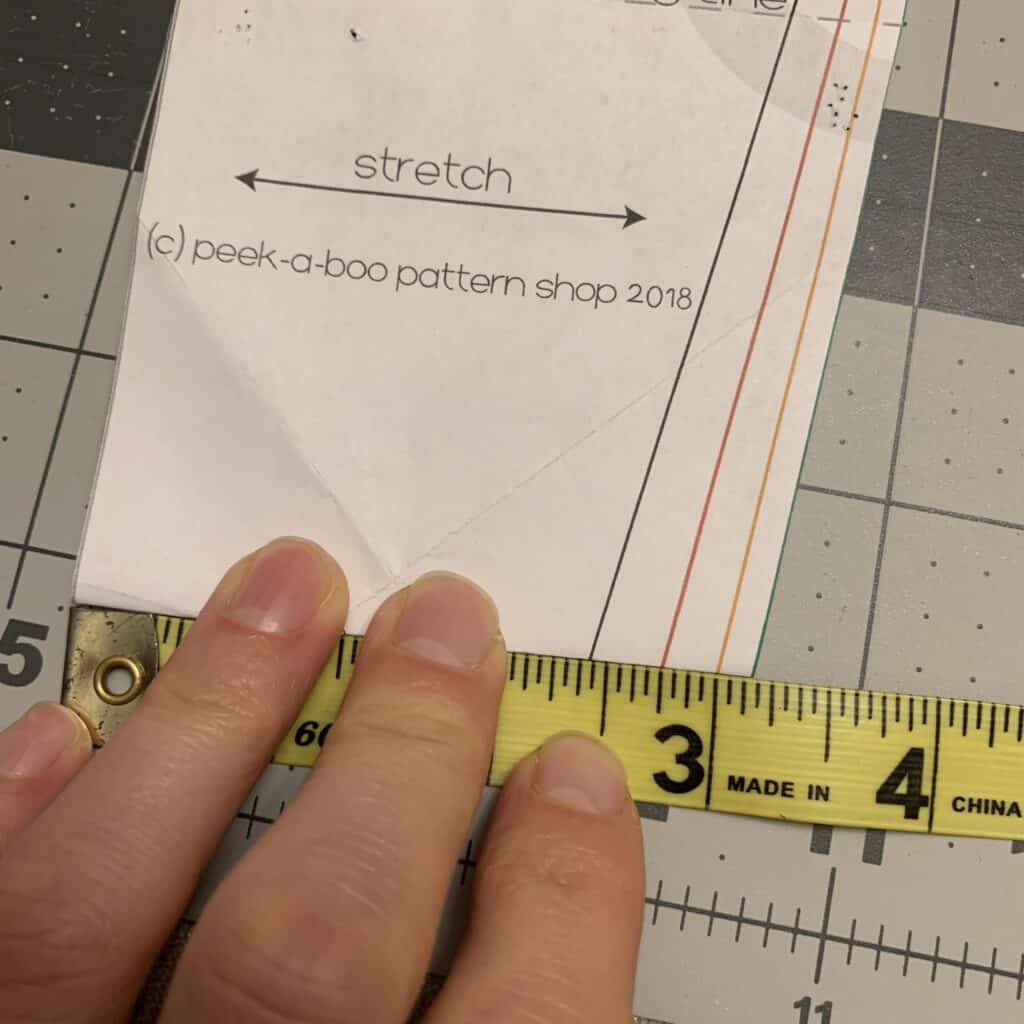
Time for more sewing math! As you see in the image above, my piece measures 3 1/8 inches. I multiplied that by 85% (.85) and got just under 2 3/4, which is the width I am going to use for my cuffs.
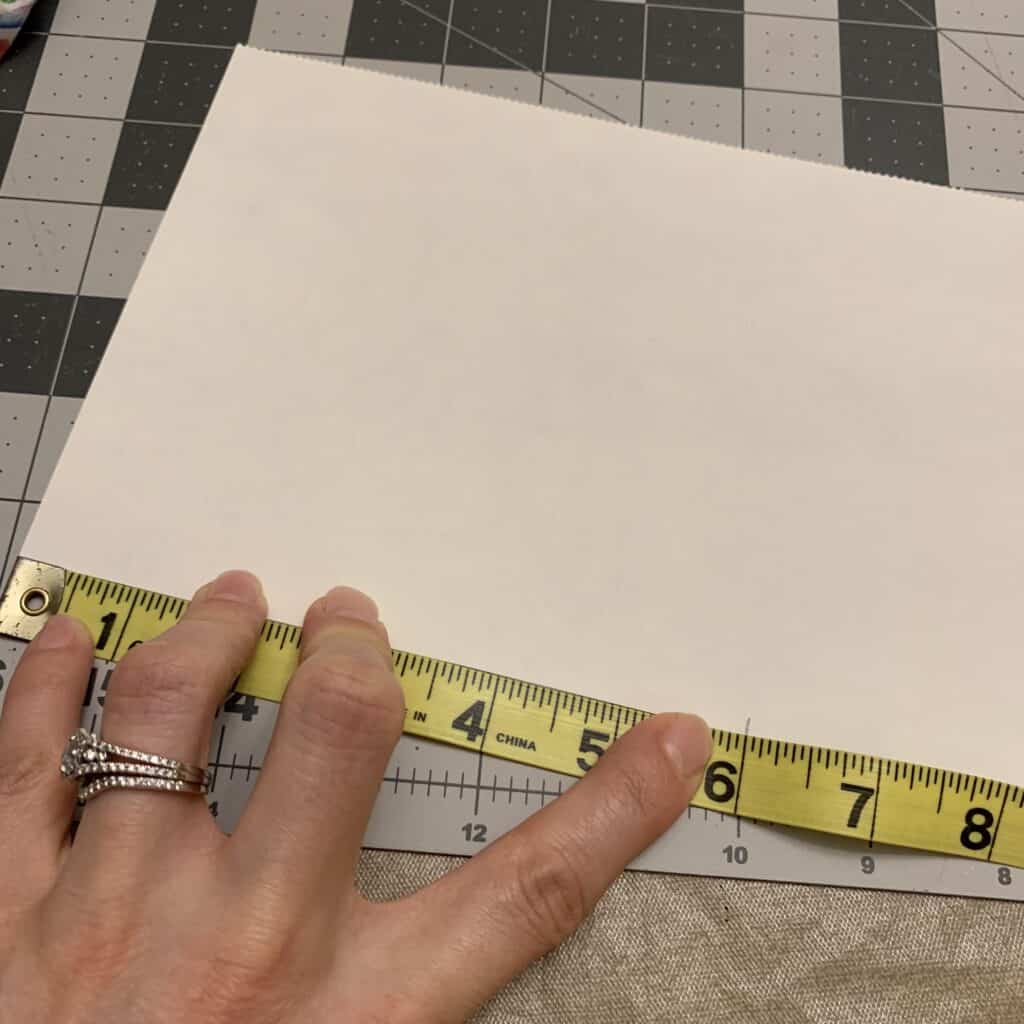
How to Make Cuffs on Sleeves Step 4: Create your pattern piece.
As I’ve already discussed, my desired cuff length is 2 inches, and the width is 2 3/4 inches. Both of those measurements will be doubled – the length because the cuff will be folded up and sewn to the sleeve, and the width because the sleeve pattern piece in my case is cut on the fold.
Additionally, I need to add in the seam allowance. I always use 1/4 inch seam allowance for some reason, but whatever you decide to use, double it because all sides of the cuff will be sewn, and add it to your measurements.
Note: If you’re using a raglan sleeve pattern piece or another pattern piece that is not cut on the fold, you’re 85%-90% measurement from the last step will not be doubled. If you don’t know what I’m referring to right now, you’re not using this type of sleeve pattern, so you can disregard!
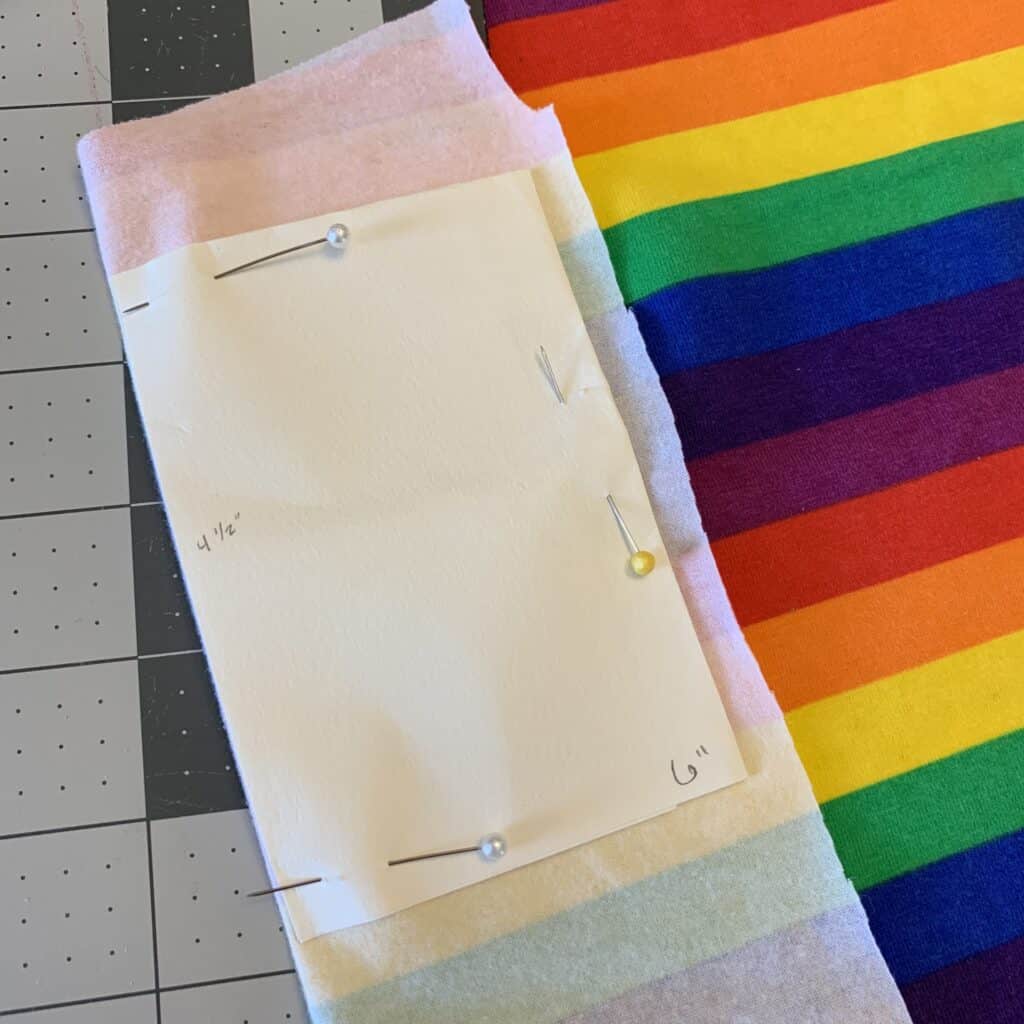
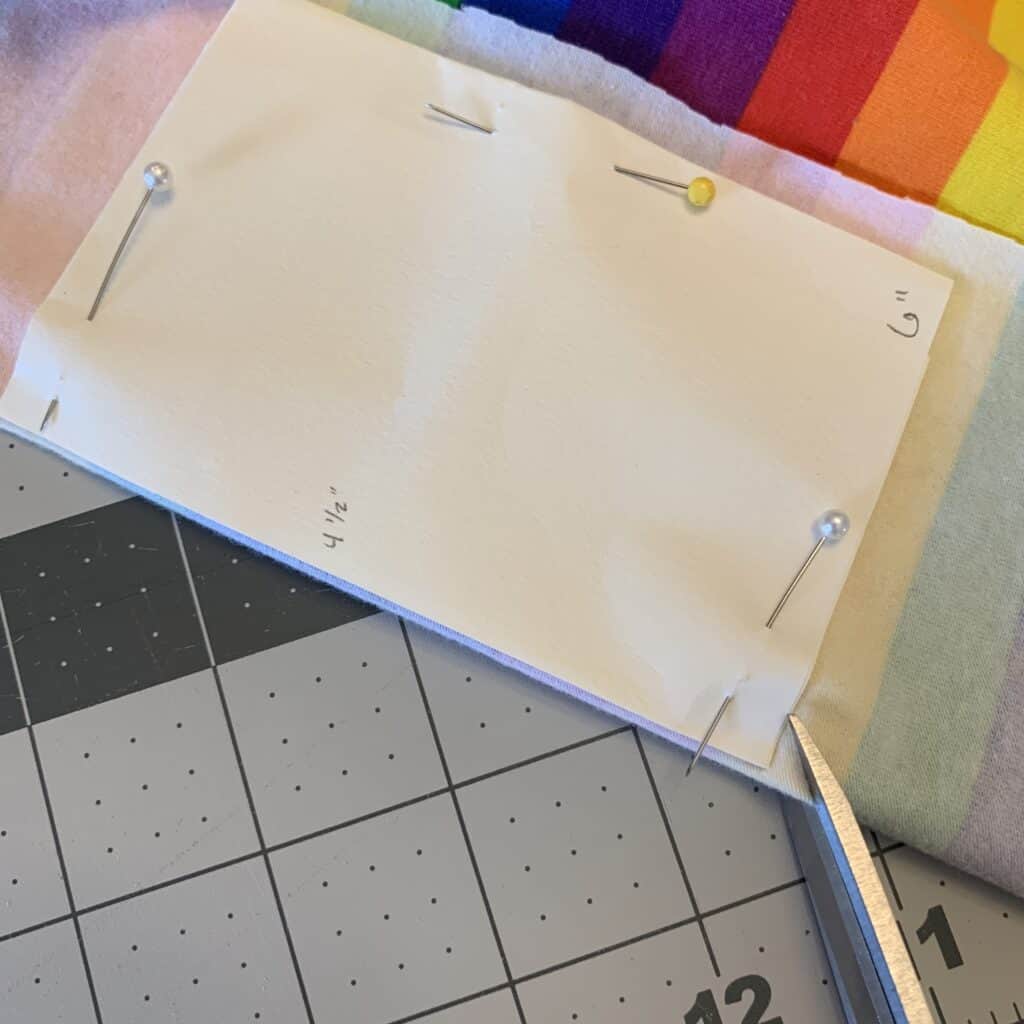
Math time… again…Before adding the seam allowance, my cuff piece (once the measurements were doubled) is 4 x 5 1/2 inches.
After adding 1/2 inch seam allowance to both measurements, I get 4 1/2 by 6 inches. This is what my pattern piece is going to be, and what I will be cutting out of my fabric. Normally I’d open Word and create the pattern piece in there, but it’s late, my kids are sleeping, and I don’t want to run the printer. So… good old measuring, marking, and cutting for me.
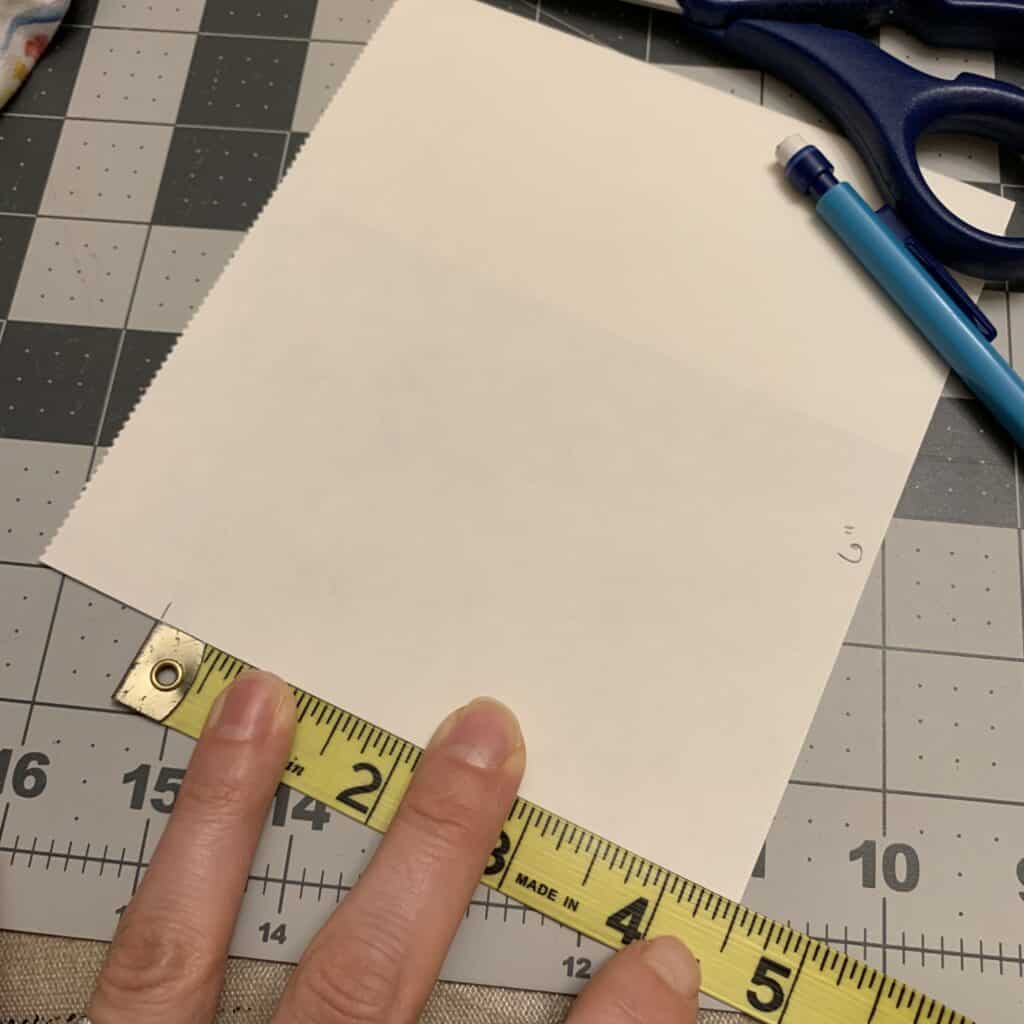
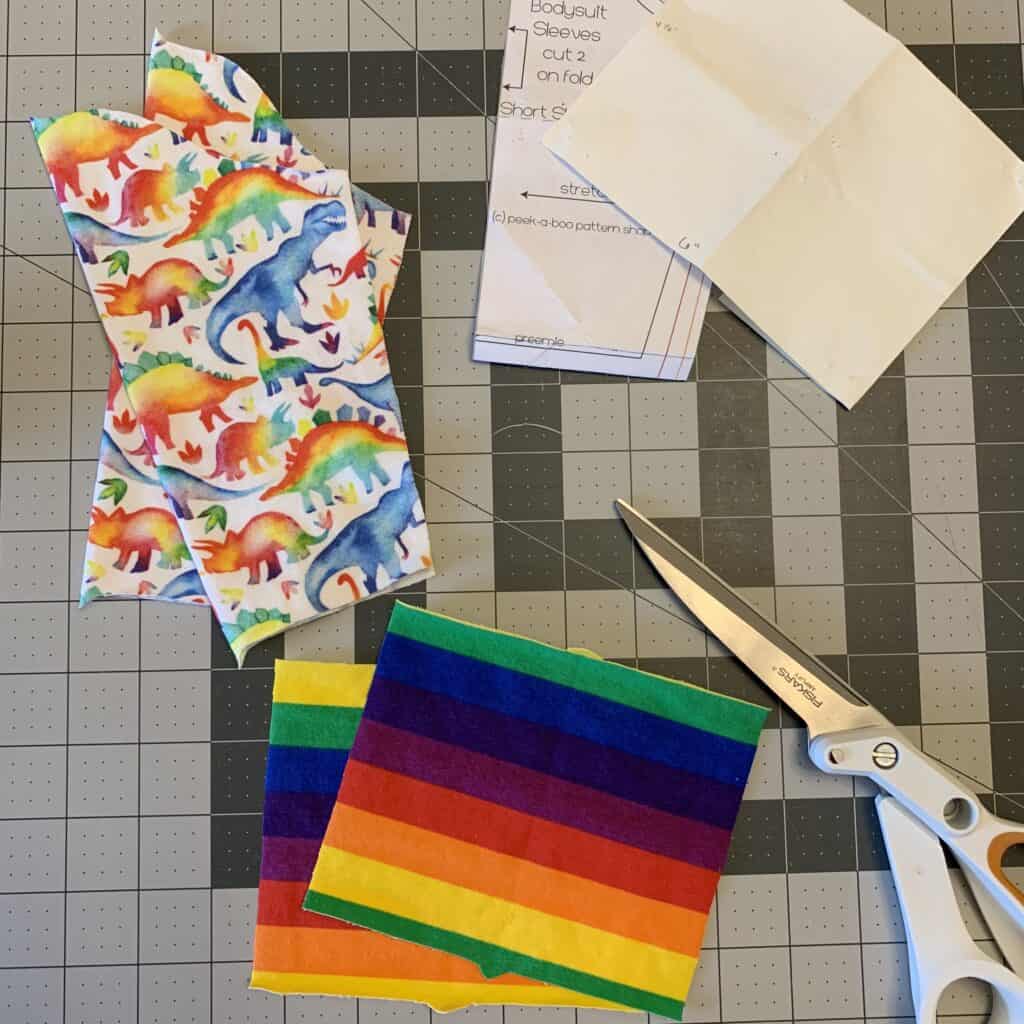
How to Add Cuffs to Sleeves Step 5: Cut out your cuff.
I prefer to cut my cuffs on the fold, so although I measured is 6 inches in the step above, I’m going to fold it and cut it on the fabric fold.
Side note… notice how the stripes on my beautiful rainbow fabric line up perfectly? I find that a very important step, and one you can learn all about in this awesome tutorial, How to Match Plaids and Stripes. The fabric, by the way, is from KnitFabric.com, Primary Rainbow Stripes.
Another thing I do when I cut squares and rectangles on the fold – well to be honest, anytime I cut anything on the fold – is to cut a notch at the top and bottom marking the center line. This is especially useful when cutting out pieces for a neckband, cuff, waistband, and their corresponding pieces (the neckline of a shirt, etc.). It makes lining up the pieces sooo much easier.
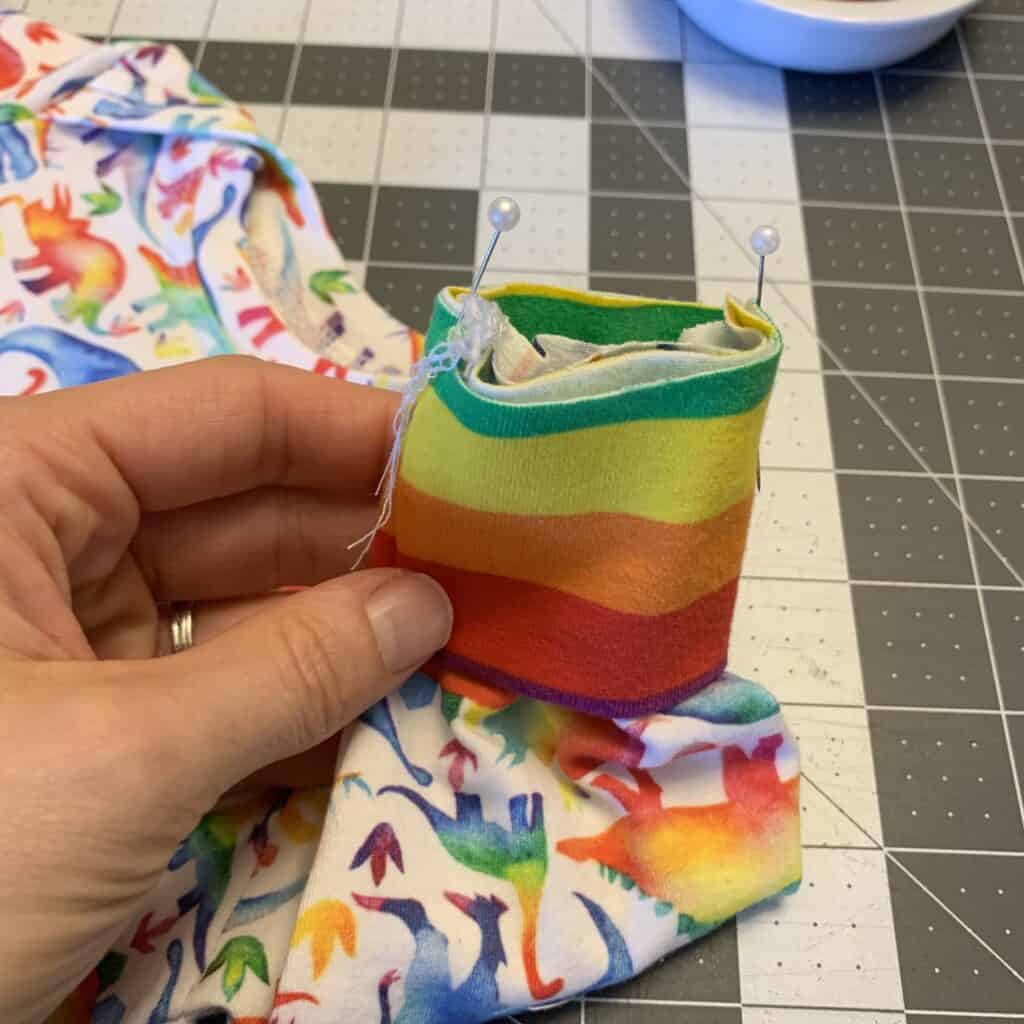
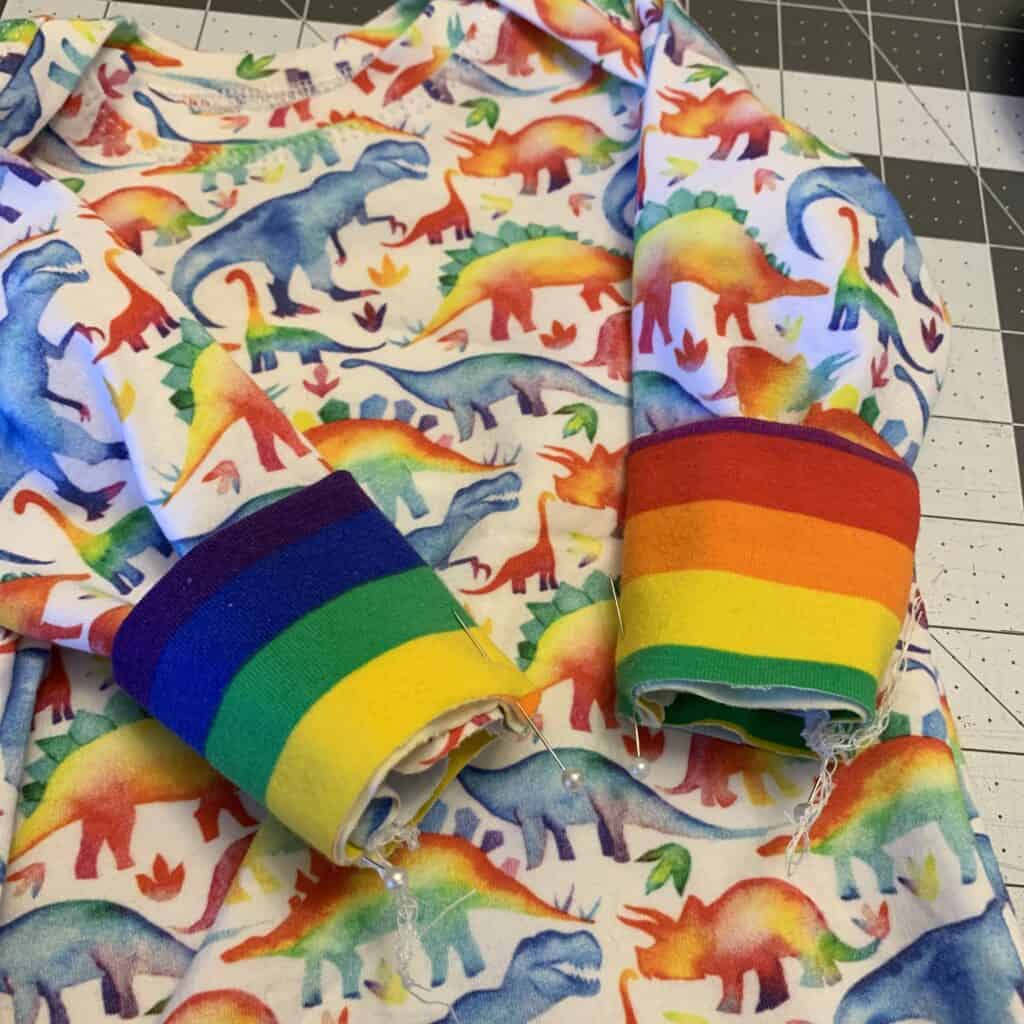
Grab your sleeve/pants pieces, and your new cuff pieces, and lets get sewing! (As you can see in the picture below, my sleeve has also been notched at the fold so I know where it’s centerline is – that will make pinning the cuff on in a few steps much easier!)
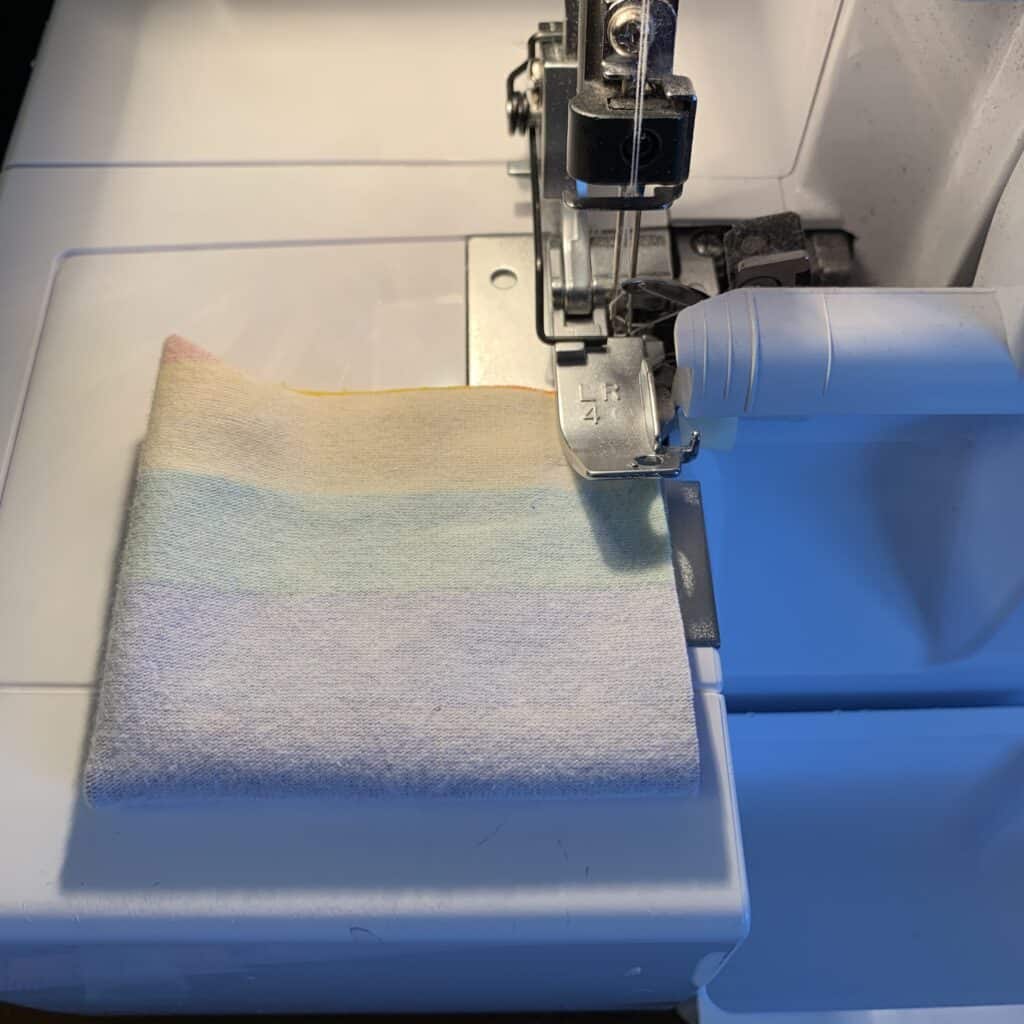
How to Sew Cuffs on Sleeves Step 6: Sew
Get your sewing machine and sew both cuffs to form their loops…
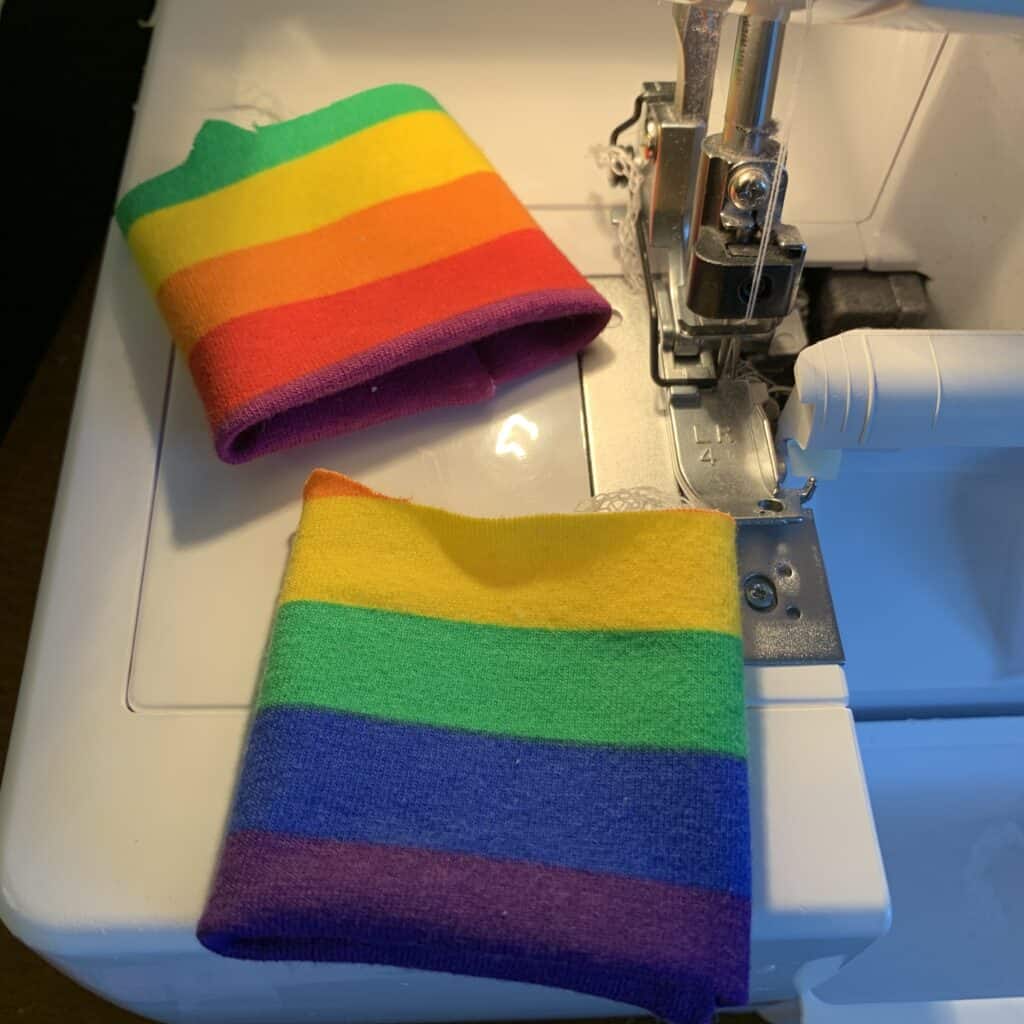
Pin them to your sleeves (when your patterns calls for it – as you can see, I’ve already constructed the rest of my bodysuit)…
Then serge or sew together using a stretch stitch or zig-zag stitch.
 How to Sew a Cuff on a Sleeve 101 26
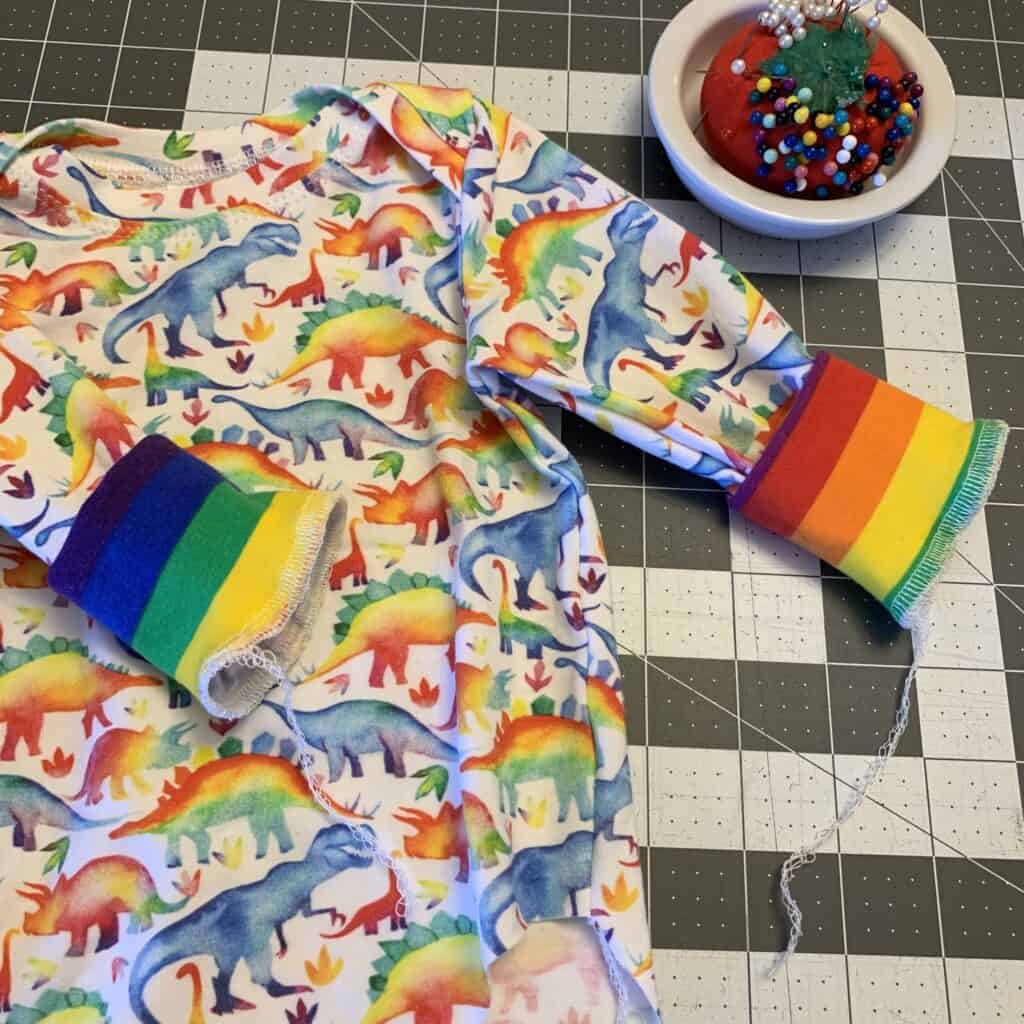
Finish your tail if using a serger. Here’s a great tutorial on How to Finish Serger Tails if you’re wondering what you should do!
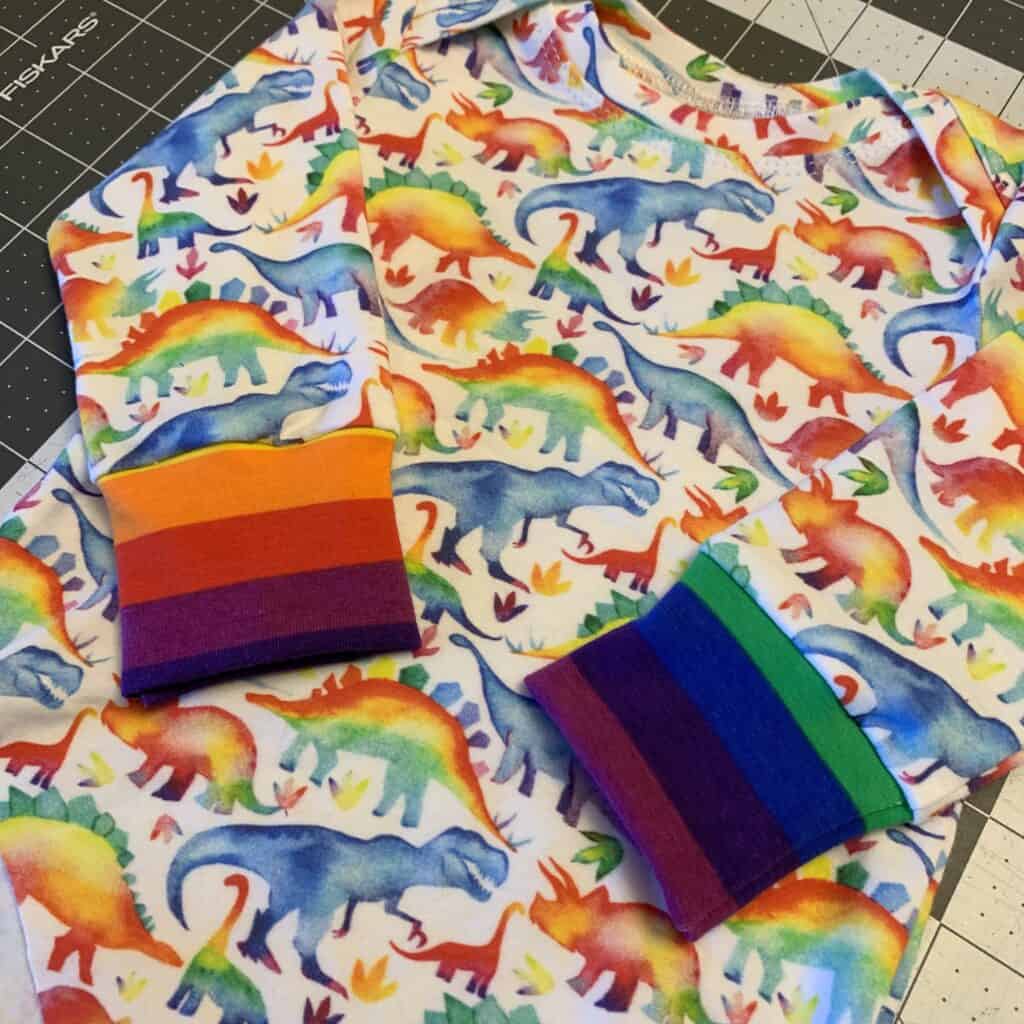
There you have it!!! You successfully added your own cuffs to a pattern that called for a hem, or a sleeve/pants leg that already had a hem. Great trick, right?!
I hope you’ve found this hack useful. Let me know below if you do, or if you have any comments or questions. Be safe and happy until we meet again! 🙂
To summarize, sewing cuffs on sleeves is a simple and rewarding process that can elevate the look of any garment. Whether you're a beginner or an experienced seamstress, understanding the basics and gathering the right supplies are crucial for successful cuff sewing. Following the step-by-step process and avoiding common mistakes will ensure a professional finish. Don't be afraid to experiment with different cuff styles and fabrics to add your personal touch to your creations. With practice, you can master the art of sewing cuffs and take your sewing skills to the next level. So, grab your supplies and start sewing cuffs on sleeves for quick and easy style upgrades.
Thank you for joining us today to learn how to sew cuffs on sleeves. Before you leave, make sure to join our Facebook Group to share your sewing projects and get help with your own clothing projects. Also, become one of our followers on Instagram. Happy sewing!