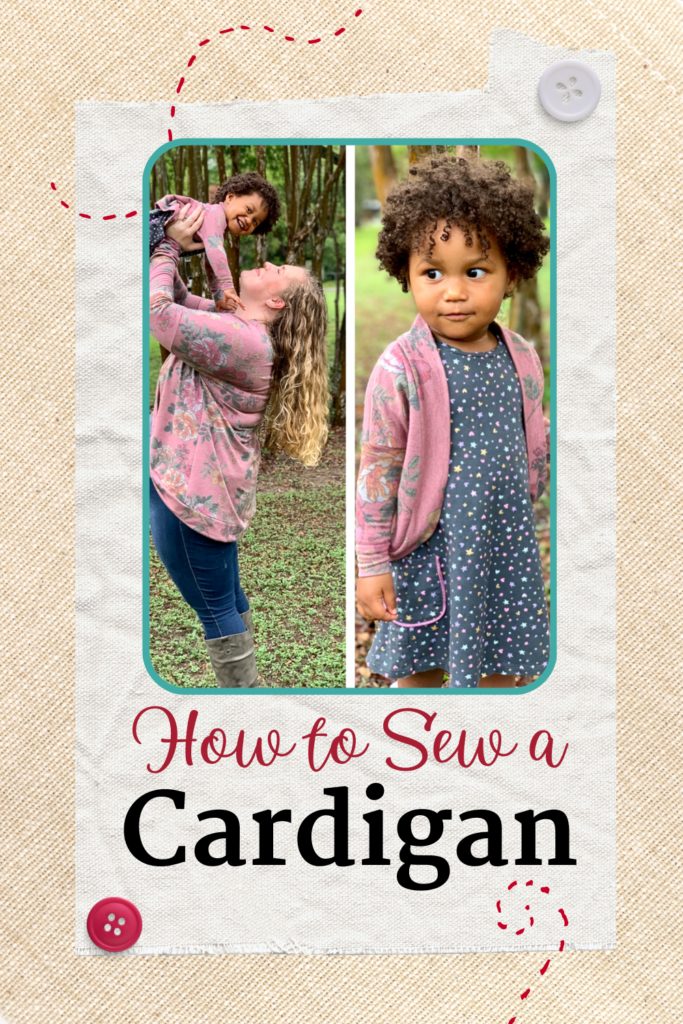
How To Sew a Cardigan Using the Peyton Cocoon from Peek-A-Boo Patterns
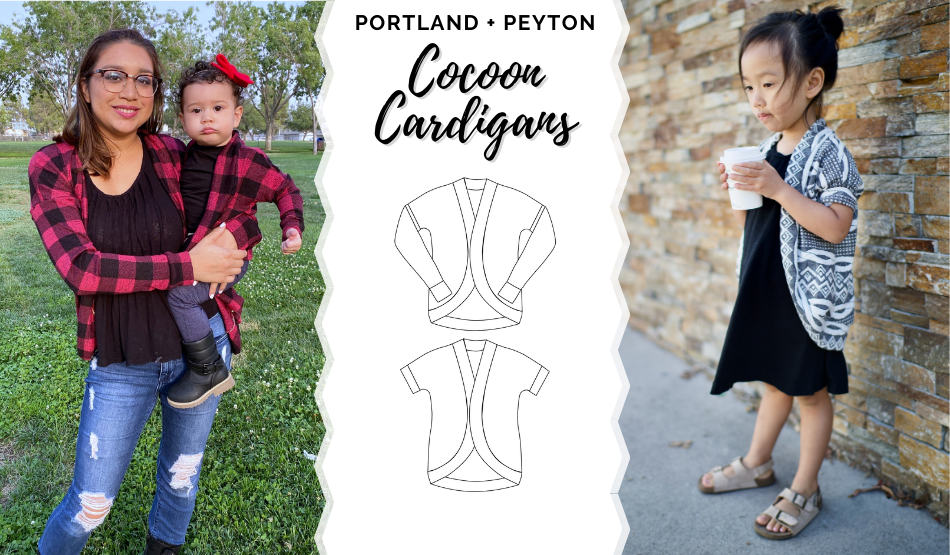
Our project today is to learn how to sew a cardigan. We have two popular and simple cocoon DIY cardigan patterns for women and girls. The women’s version is the Portland Cocoon Cardigan, and the girls' version is the Peyton Cocoon Cardigan. These are our favorite cardigans! They’re both simple, quick and satisfying sews for beginners. Each garment can be made with short or long sleeves and feature banded cuffs instead of hemlines, which is pretty great with minimal supplies needed and allows these patterns to come together quickly!
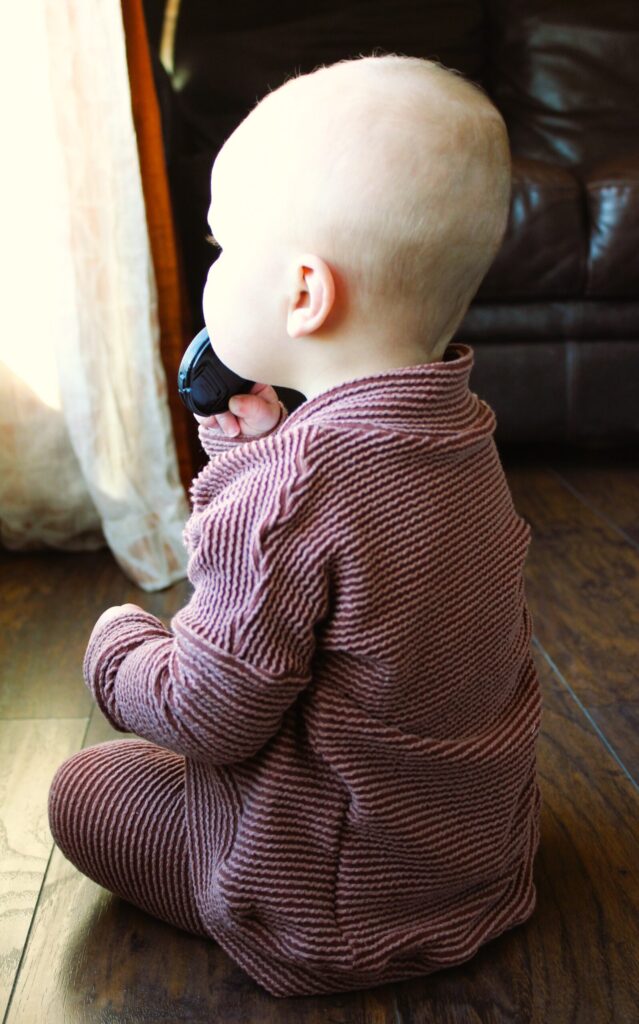
I bought the Peyton for my daughter to go over her dresses, but I also pondered the idea of how it would look on my littlest guy who needed something with an open front to go over his shirts for wintertime and I have to say I am pleased with how it turned out. I had enough fabric leftover to make him a matching pair of pants to go with the cardigan and it’s such a cute, cozy outfit!
So, if anyone has been wondering if the Peyton could work for your little man, or maybe you need a quick sew to complete an outfit for your daughter then follow along with me and see how nicely this comes together!
This article will run through how to sew the Peyton Cocoon Cardigan but would also be applicable to the women’s Portland.
How to Sew a Cardigan
OK. Now let’s gown to the steps of how to sew a cardigan.
Supplies
- Peek-A-Boo’s Peyton Cocoon Cardigan Pattern
- KnitFabric.com’s Light to Medium Weight Knit (I chose an Urban Rib)
- Sewing machine or serger and thread
- Pins or clips
- Iron
What materials do you need to sew a cardigan?
To sew a cardigan using the Peyton Cocoon pattern from Peek-A-Boo Pattern Shop, you will need the following materials: knit fabric, matching thread, a sewing machine, scissors or rotary cutter, pins or clips, and a measuring tape.
Steps to Sew
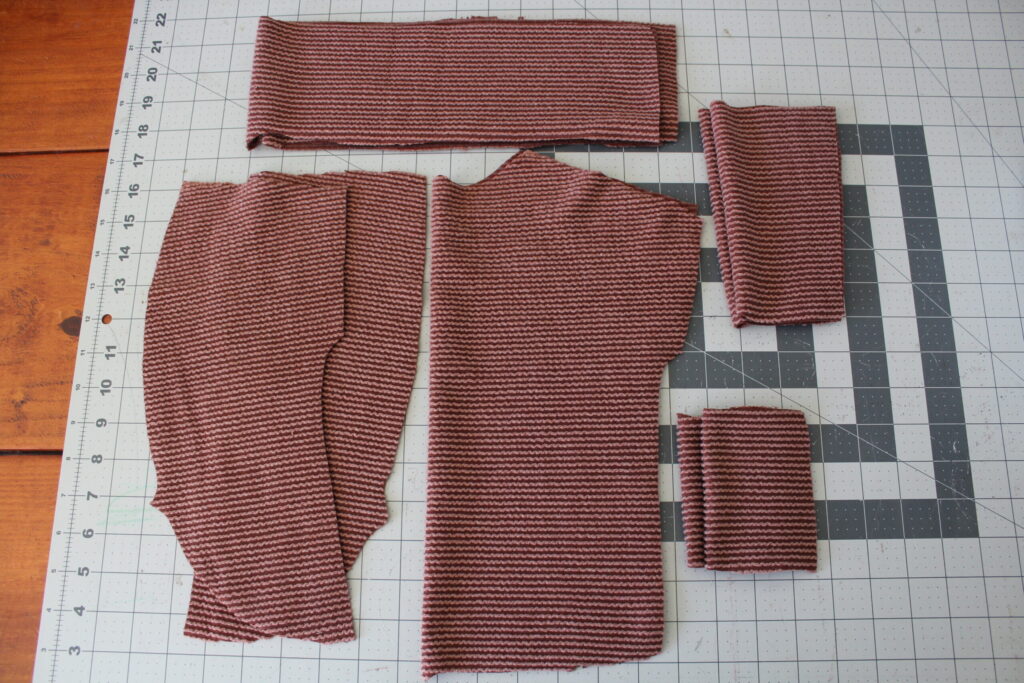
Before we begin, we will need to cut our fabric out. I’ve got mine cut and ready to sew. I will be sewing up the long sleeve version for this tutorial but will briefly go over the short sleeve option as well. We will be using a 1/4 inch seam allowance throughout this tutorial.
Step One: Shoulder Seams
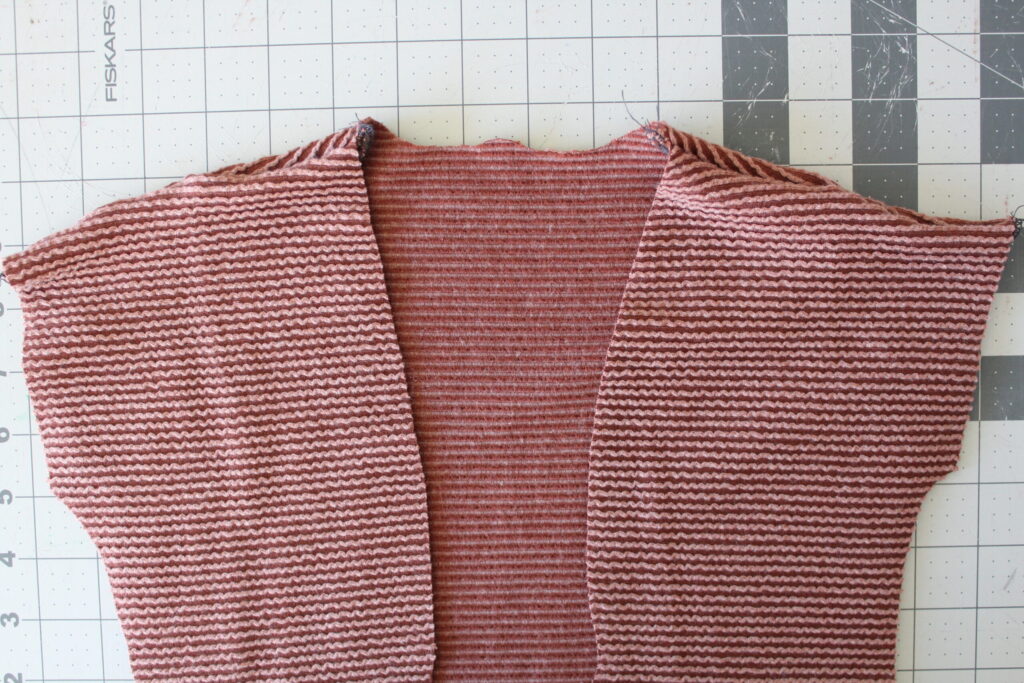
Place the front and back pieces with right sides together at the shoulder seams. Make sure the mirrored front pieces you cut out are placed in the right direction, with right sides together and that they match the back piece. Pin or clip the front pieces to the back and sew the shoulders seams together.
Shoulder seams are complete and viewed from the outside.
Step Two: Long Sleeves
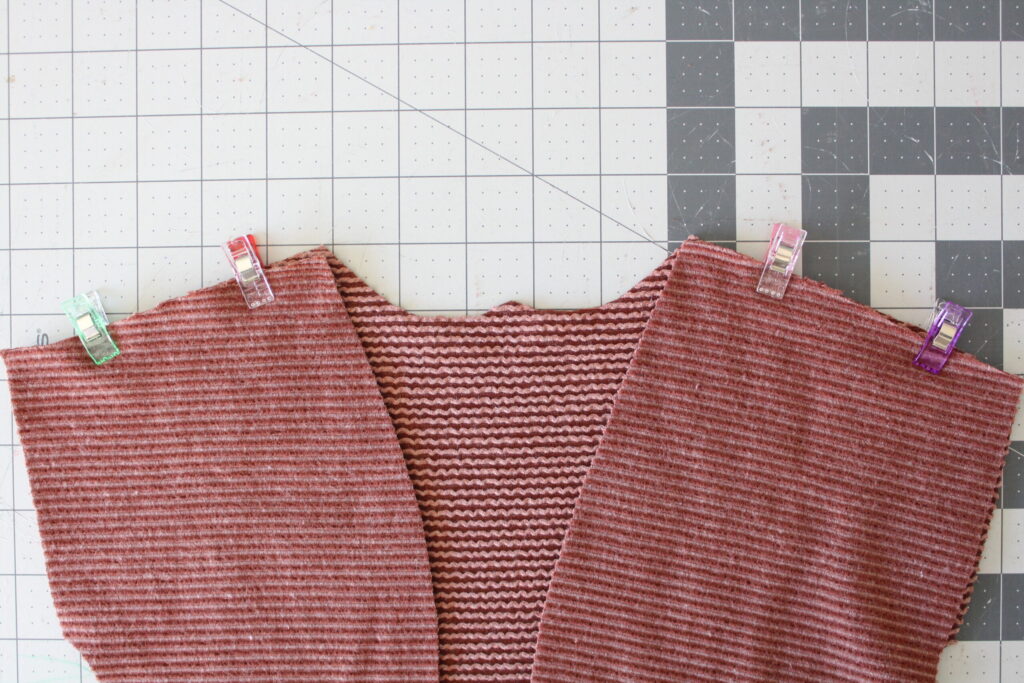
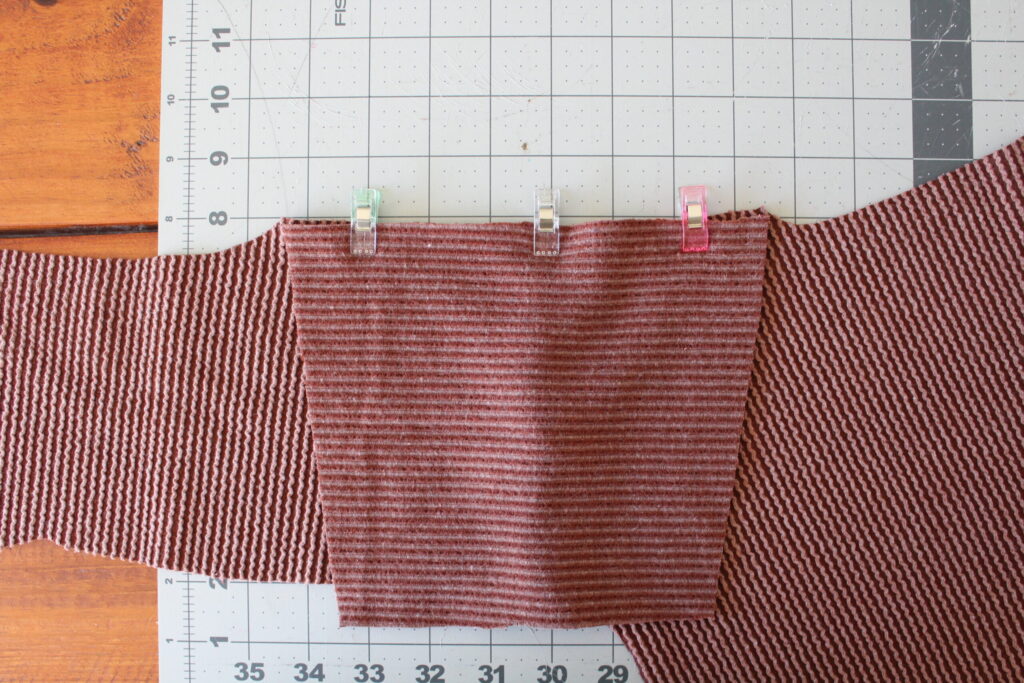
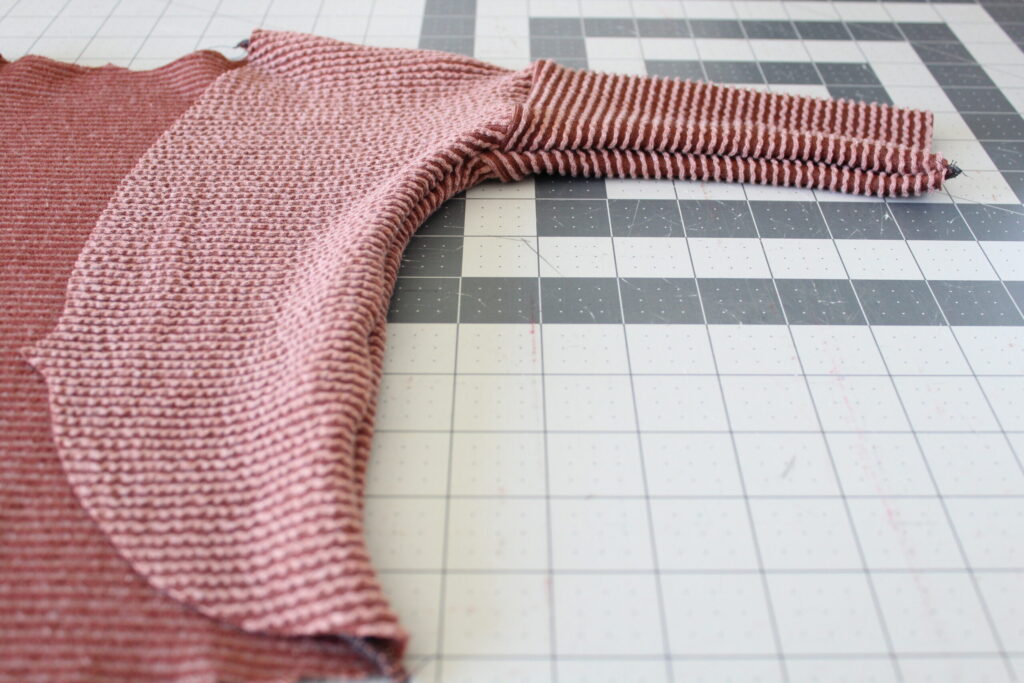
Long sleeve version– Grab the long sleeve pieces. Open up the cardigan with the right side facing up and match the widest part of the sleeve to the straight edge. With right sides together pin or clip the sleeves to the cardigan and sew together as pictured below.
Short sleeve version– Sew the front and back together along the side seams. Grab your short sleeve cuffs and sew them with right sides together. Fold the cuffs with wrong sides together forming a loop and with the seams enclosed. Slide the cuffs over the shoulders with right sides together and line up the seam with the cuff seams. Pin/clip and sew gently stretching. Flip the cuff down and press.
*For further details or pictures on the short sleeve view, please see the pattern instructions.
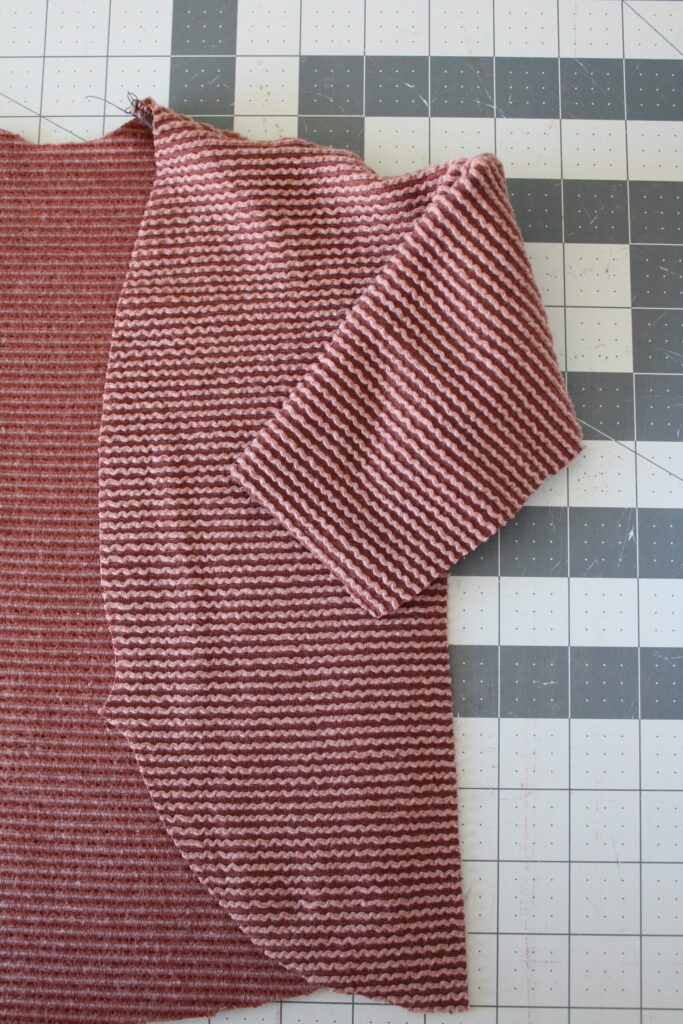
The long sleeves are sewn on and attached to the shoulder as viewed from the outside.
With right sides together, clip or pin the sleeves and sides and sew beginning at the edge of the sleeve and continuing down to the bottom of the cardigan.
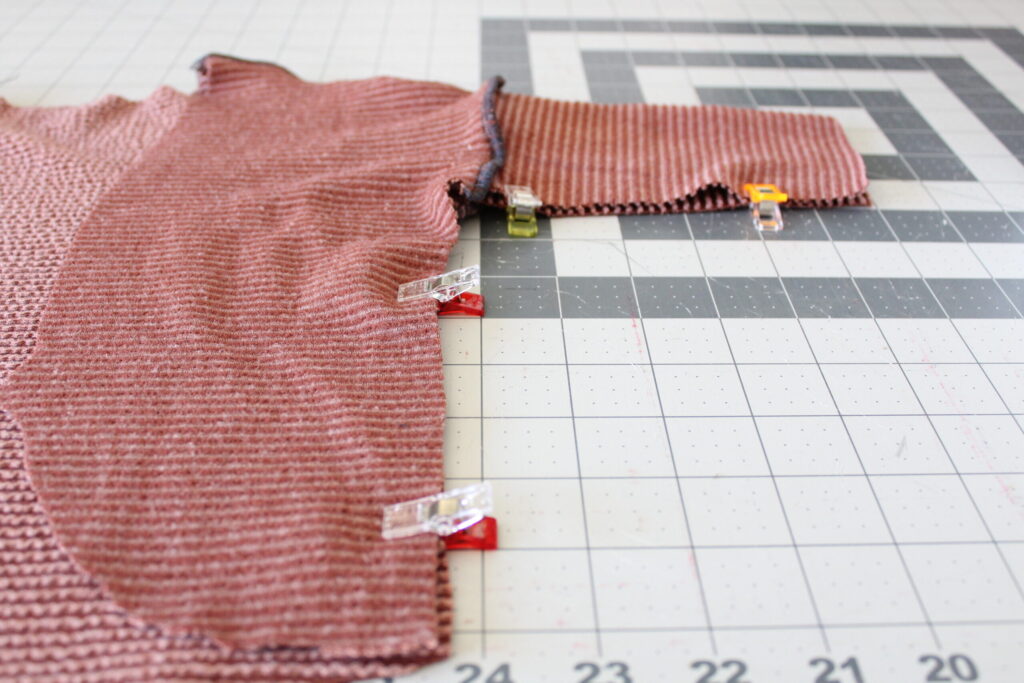
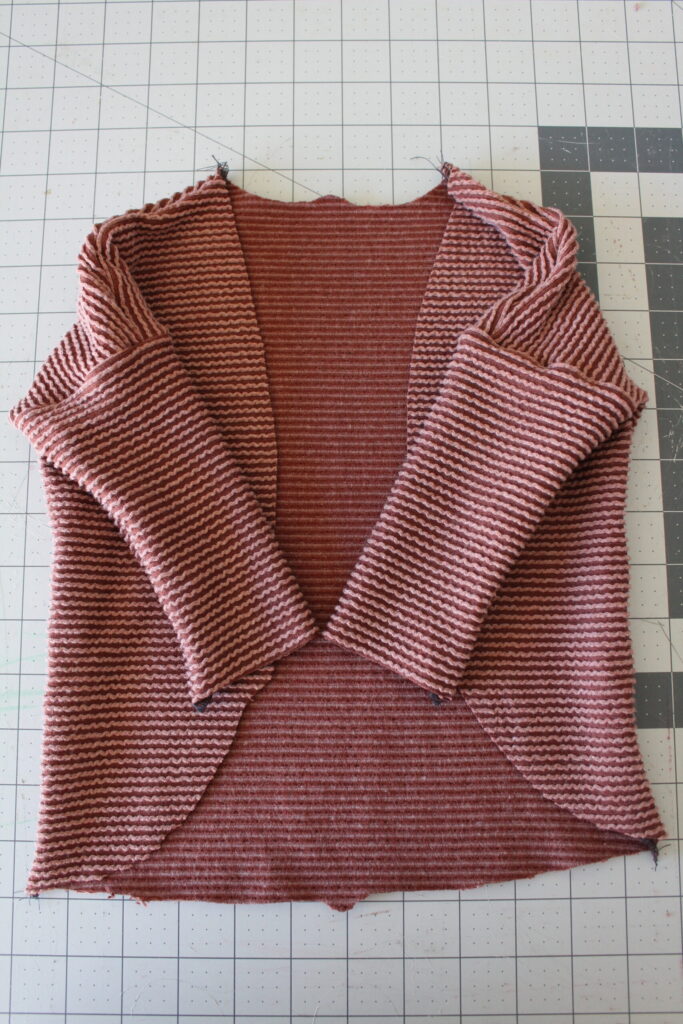
Our sleeve and side seams are sewn together viewed from the outside.
One more view with both sleeves and side seams finished.
Step Three: Sleeve Cuffs
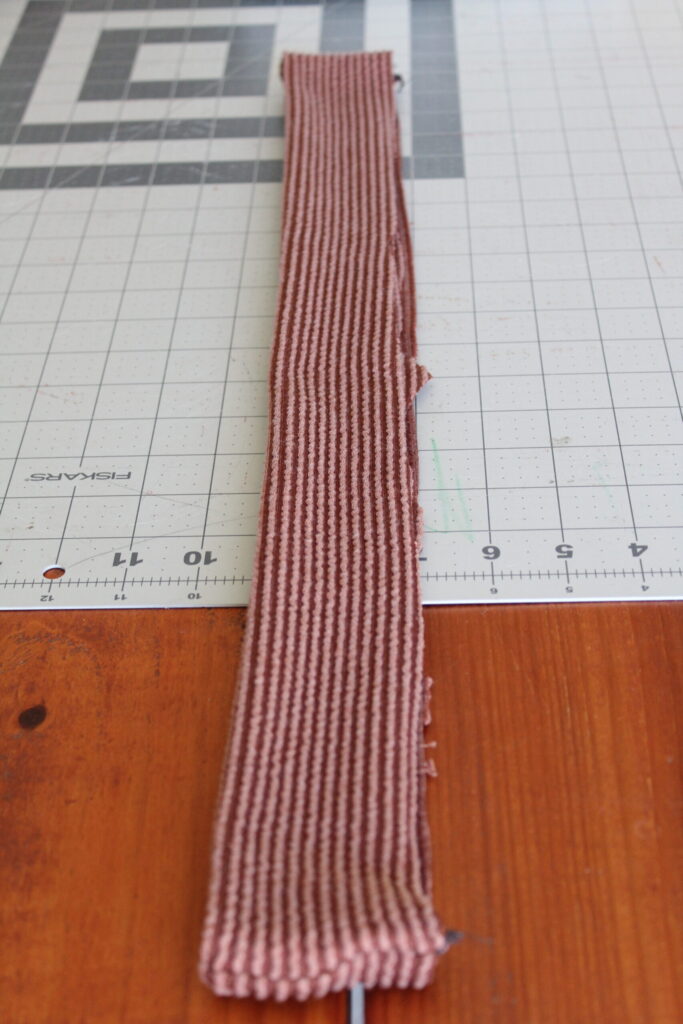
Grab both of your long sleeve cuffs and fold them hotdog style with right sides together and clip or pin. Sew both of the cuffs along the pinned edge.
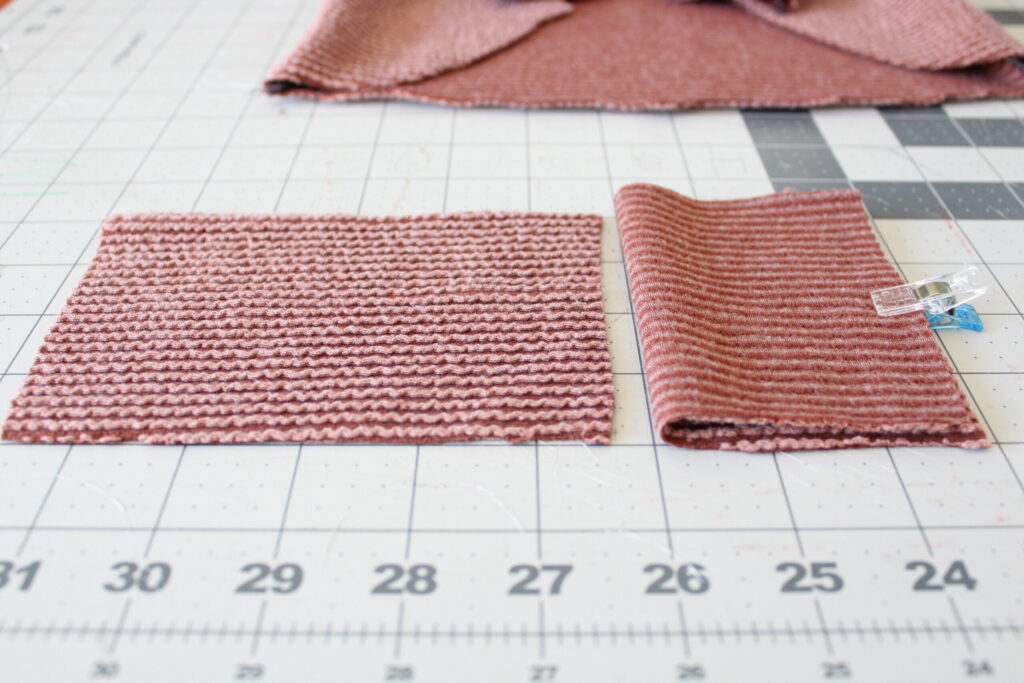
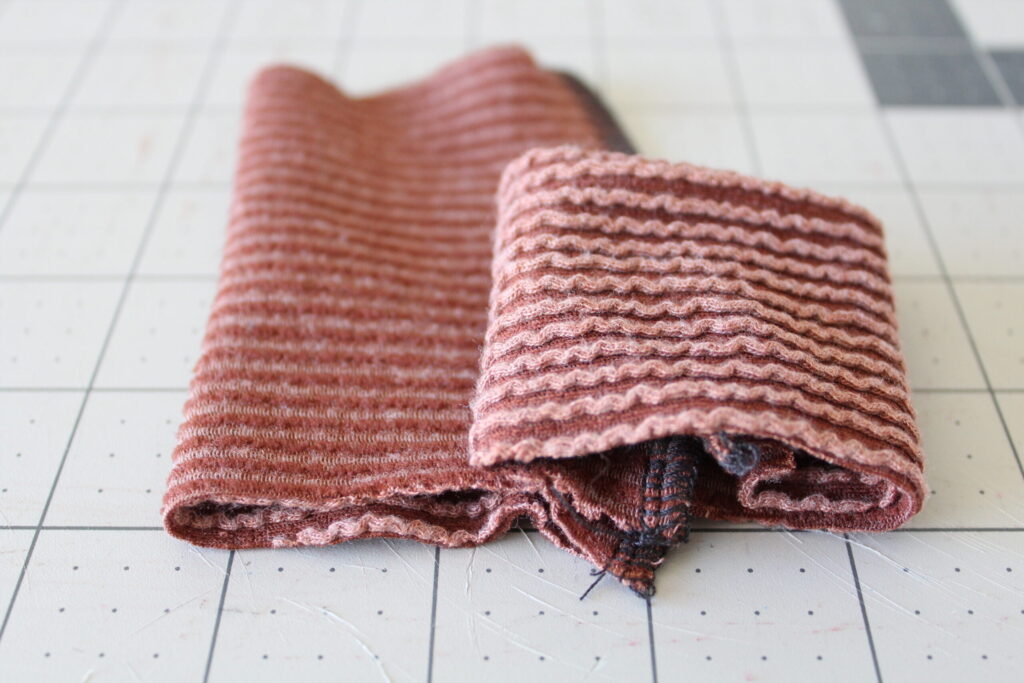
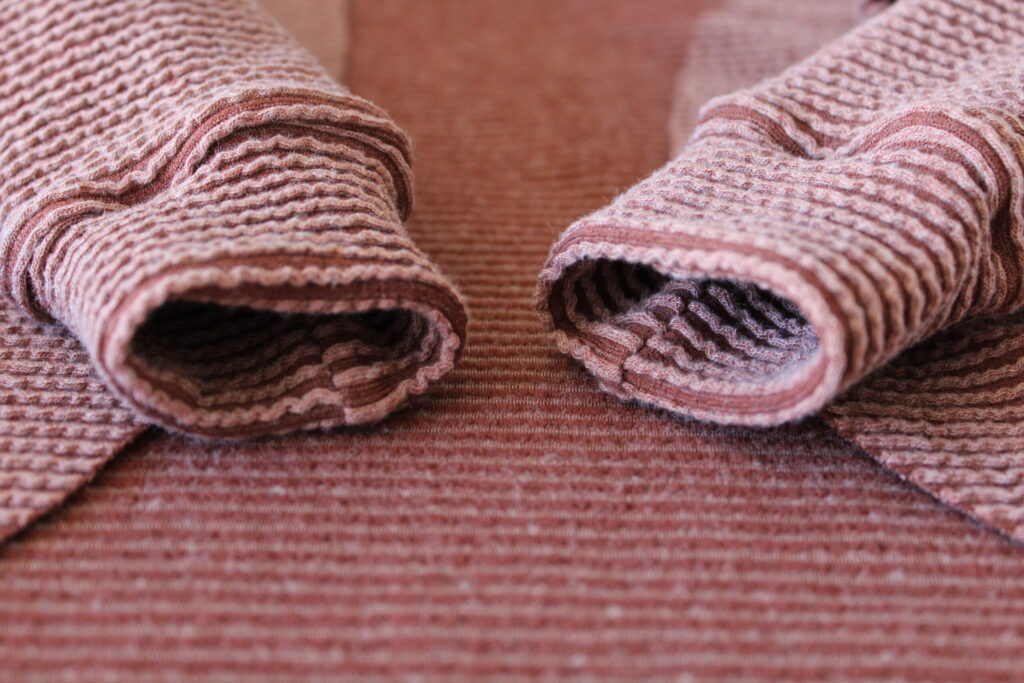
After the cuffs have been sewn, fold each cuff in half with wrong sides together- hamburger style as pictured. The left cuff represents the seam we just sewed in the previous step and the right cuff represents how we want it folded for the next step.
Place the folded cuffs over the sleeves with right sides together, lining up the raw edges and clip or pin to secure in place. Sew the cuffs to the sleeves. The directions also state that the cuffs can be sewn onto the sleeve hems before finishing the side seams if they are one of the smaller sizes. I know small pieces can be intimidating at times and we want to get it right the first time! Use whichever method is best for you.
Both of our long sleeve cuffs are attached and this is how it should look from the outside.
Step Four: Band
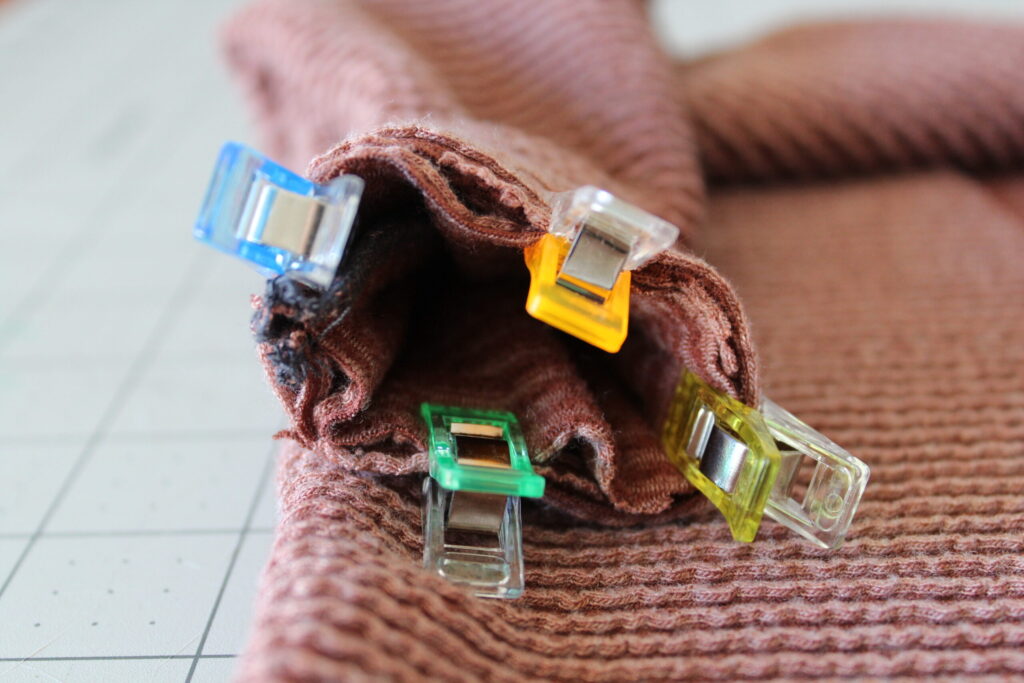
With right sides together, Clip or pin the short ends of the band pieces together as pictured. Sew both of the short ends.
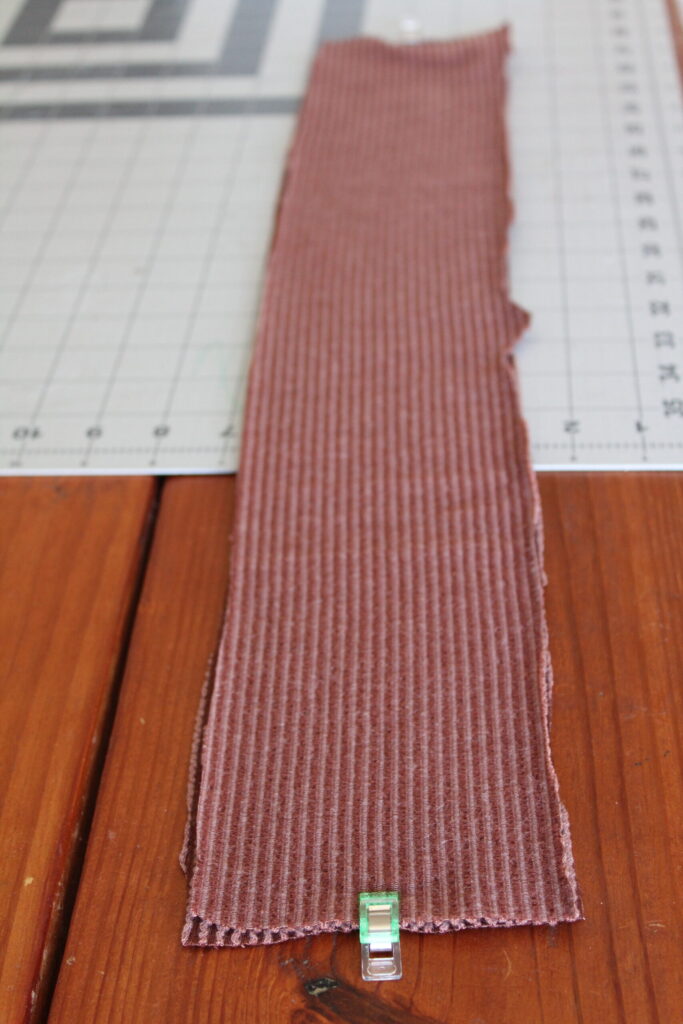
Next, we are going to fold the band in half with wrong sides together, so the seams are enclosed.
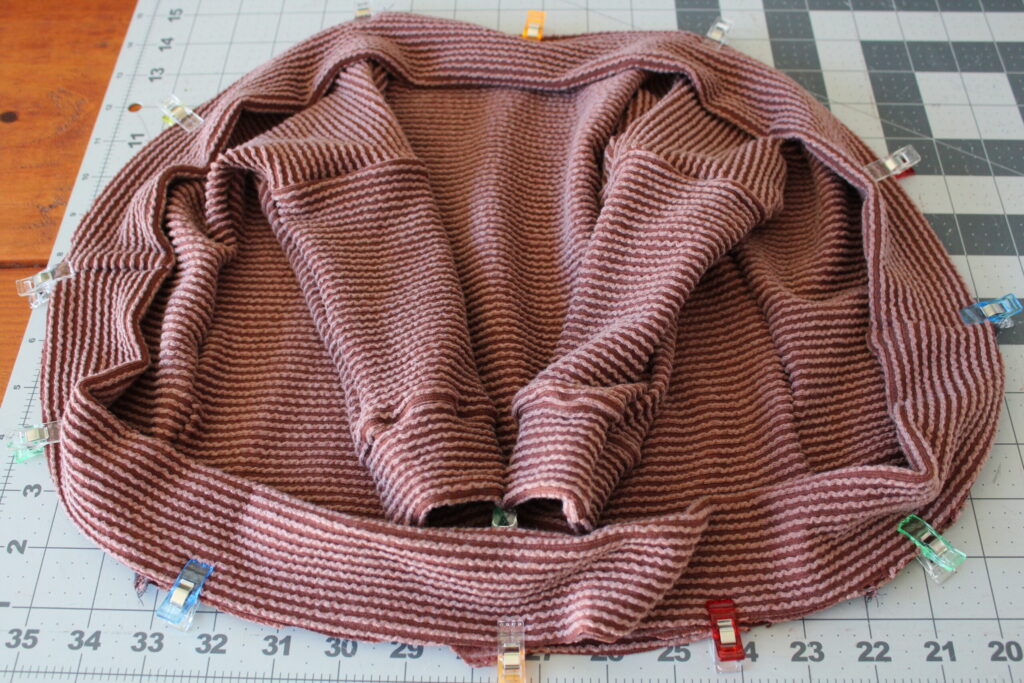
With right sides together, match the band piece up to the raw edges of the cardigan and pin or clip the band to the cardigan matching up the notches. The band seams should be placed at the center back of the neck and the center bottom of the cardigan. (I did accidentally pin my seams in the wrong direction as pictured and did not catch it in time, I apologize. It still turned out ok). Sew the band to the cardigan- stretching the band slightly around the neck as you sew.
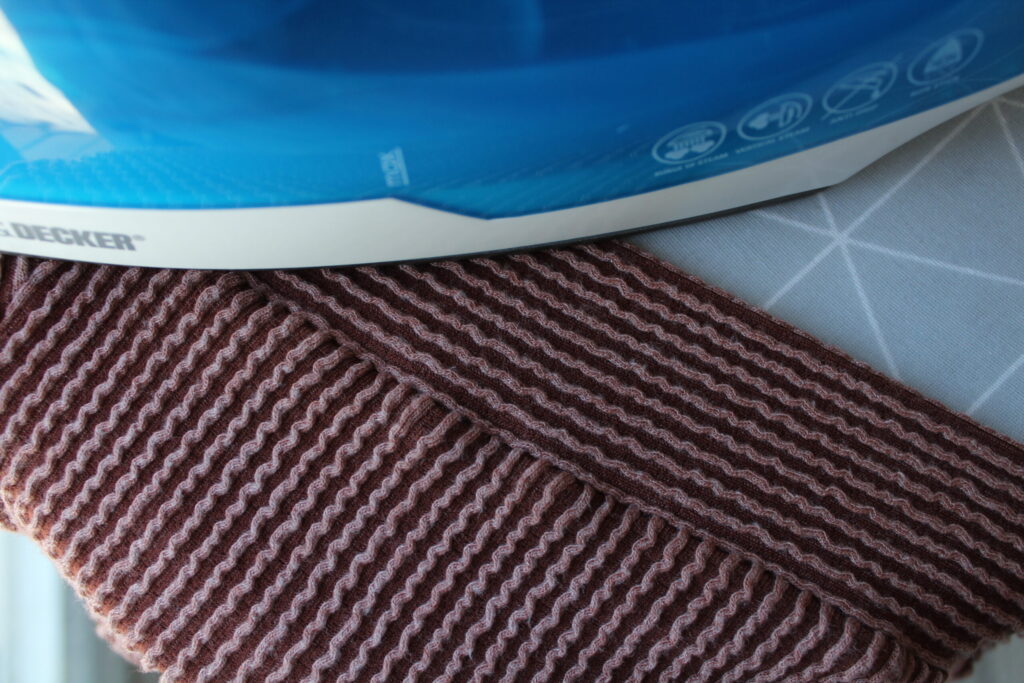
Step Five: Press the Band
Press the band seam allowance towards the body of the cardigan.
If you would like to topstitch the band, you may. I chose not to topstitch mine.
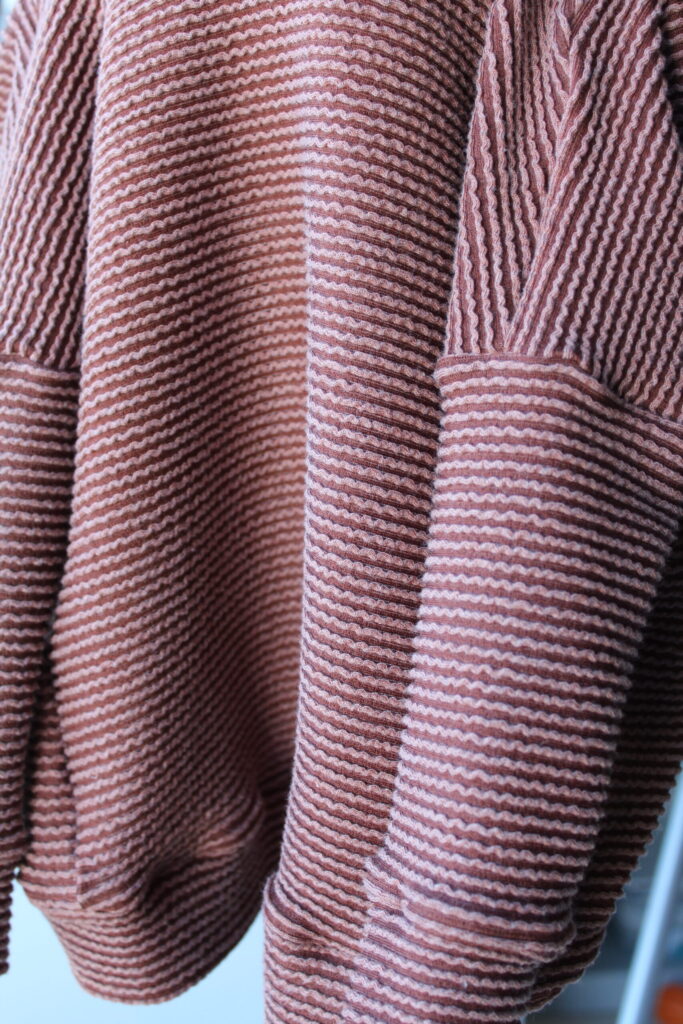
The cardigan is pressed and ready to try on!
I just love this cute little boy and his new outfit!

It looks so good!
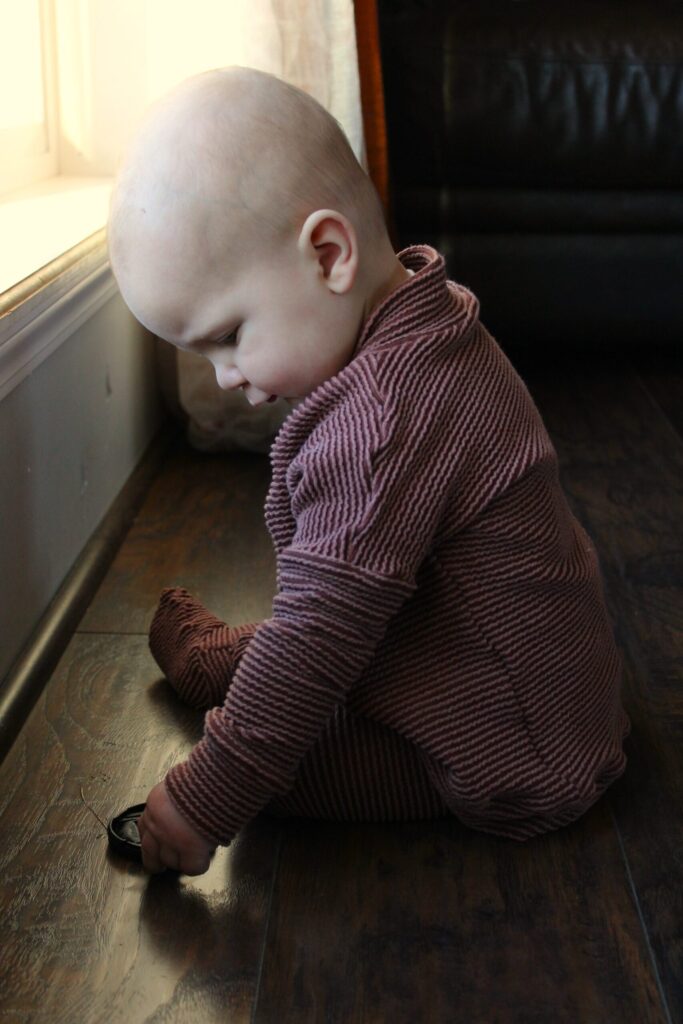
They grow so fast you guy’s…good thing the Peyton Cocoon Cardigan goes up to a size 12 and takes very little fabric to pull together!
As I mentioned at this article's beginning, the Peyton is such a fast and satisfying sew. It takes very little time to sew one up and if you would like to try out a matching mommy and me set, grab the women’s Portland Cocoon Cardigan pattern too!
I have several of these in my closet and they are my go-to for wearing over dresses or just around the house because they are so comfortable!! With two different sleeve options available, it will look great dressed up or down, making this pattern a year-round staple piece to add to your wardrobe.
Now you know how to sew a cardigan! Thank you for joining us today. Before you leave, make sure to follow us on Instagram and Pinterest. Also - join our Facebook Group for help with your sewing projects and to share what you make.