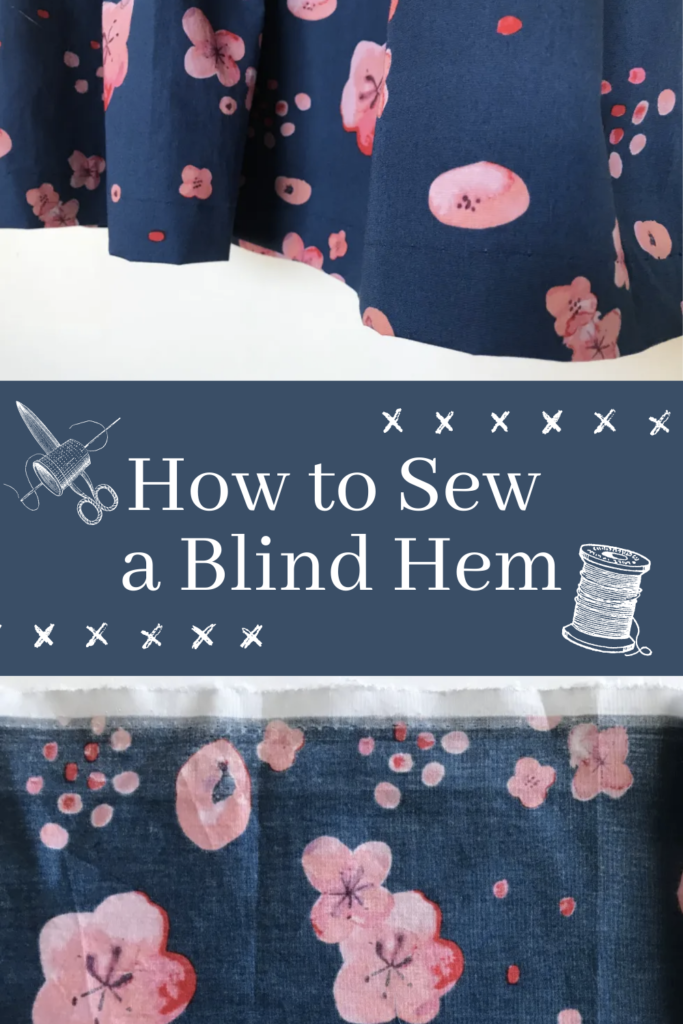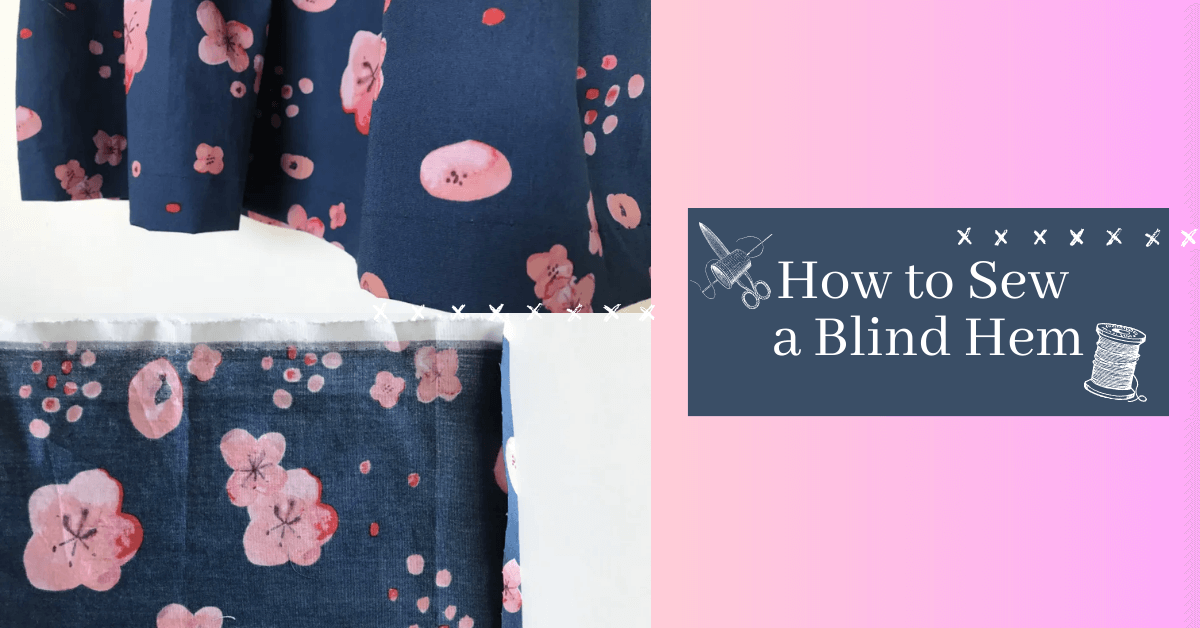
How to Sew a Blind Hem: Step by Step
Today, we have a tutorial on how to sew a blind hem. Now that the Holidays are approaching, many of us probably have Holiday dresses in our sewing queue. And blind hems are just a small detail that help take the quality of our sewing up one notch and make the raw edge of the hem look great.
What is a Blind Hem?
A blind hem or blind stitch hem is a sewing technique used to create an invisible hem on garments. It involves folding the fabric under and stitching it in a way that hides the stitches from the outside of the garment. This creates a clean and professional finish, as the hem is virtually undetectable when the garment is worn. This is particularly useful when working with lightweight fabrics or garments that have a clean, professional finish.
When Would You Use a Blind Hem?
The blind hem stitch is commonly used on skirts, trousers, and dresses, where a visible hem would detract from the overall appearance of the garment. It creates a clean and polished look without any visible stitching linesBy utilizing this technique, seamstresses and tailors can achieve a polished and seamless look for their creations.
How to Sew a Blind Hem | Sewing an Invisible Hem
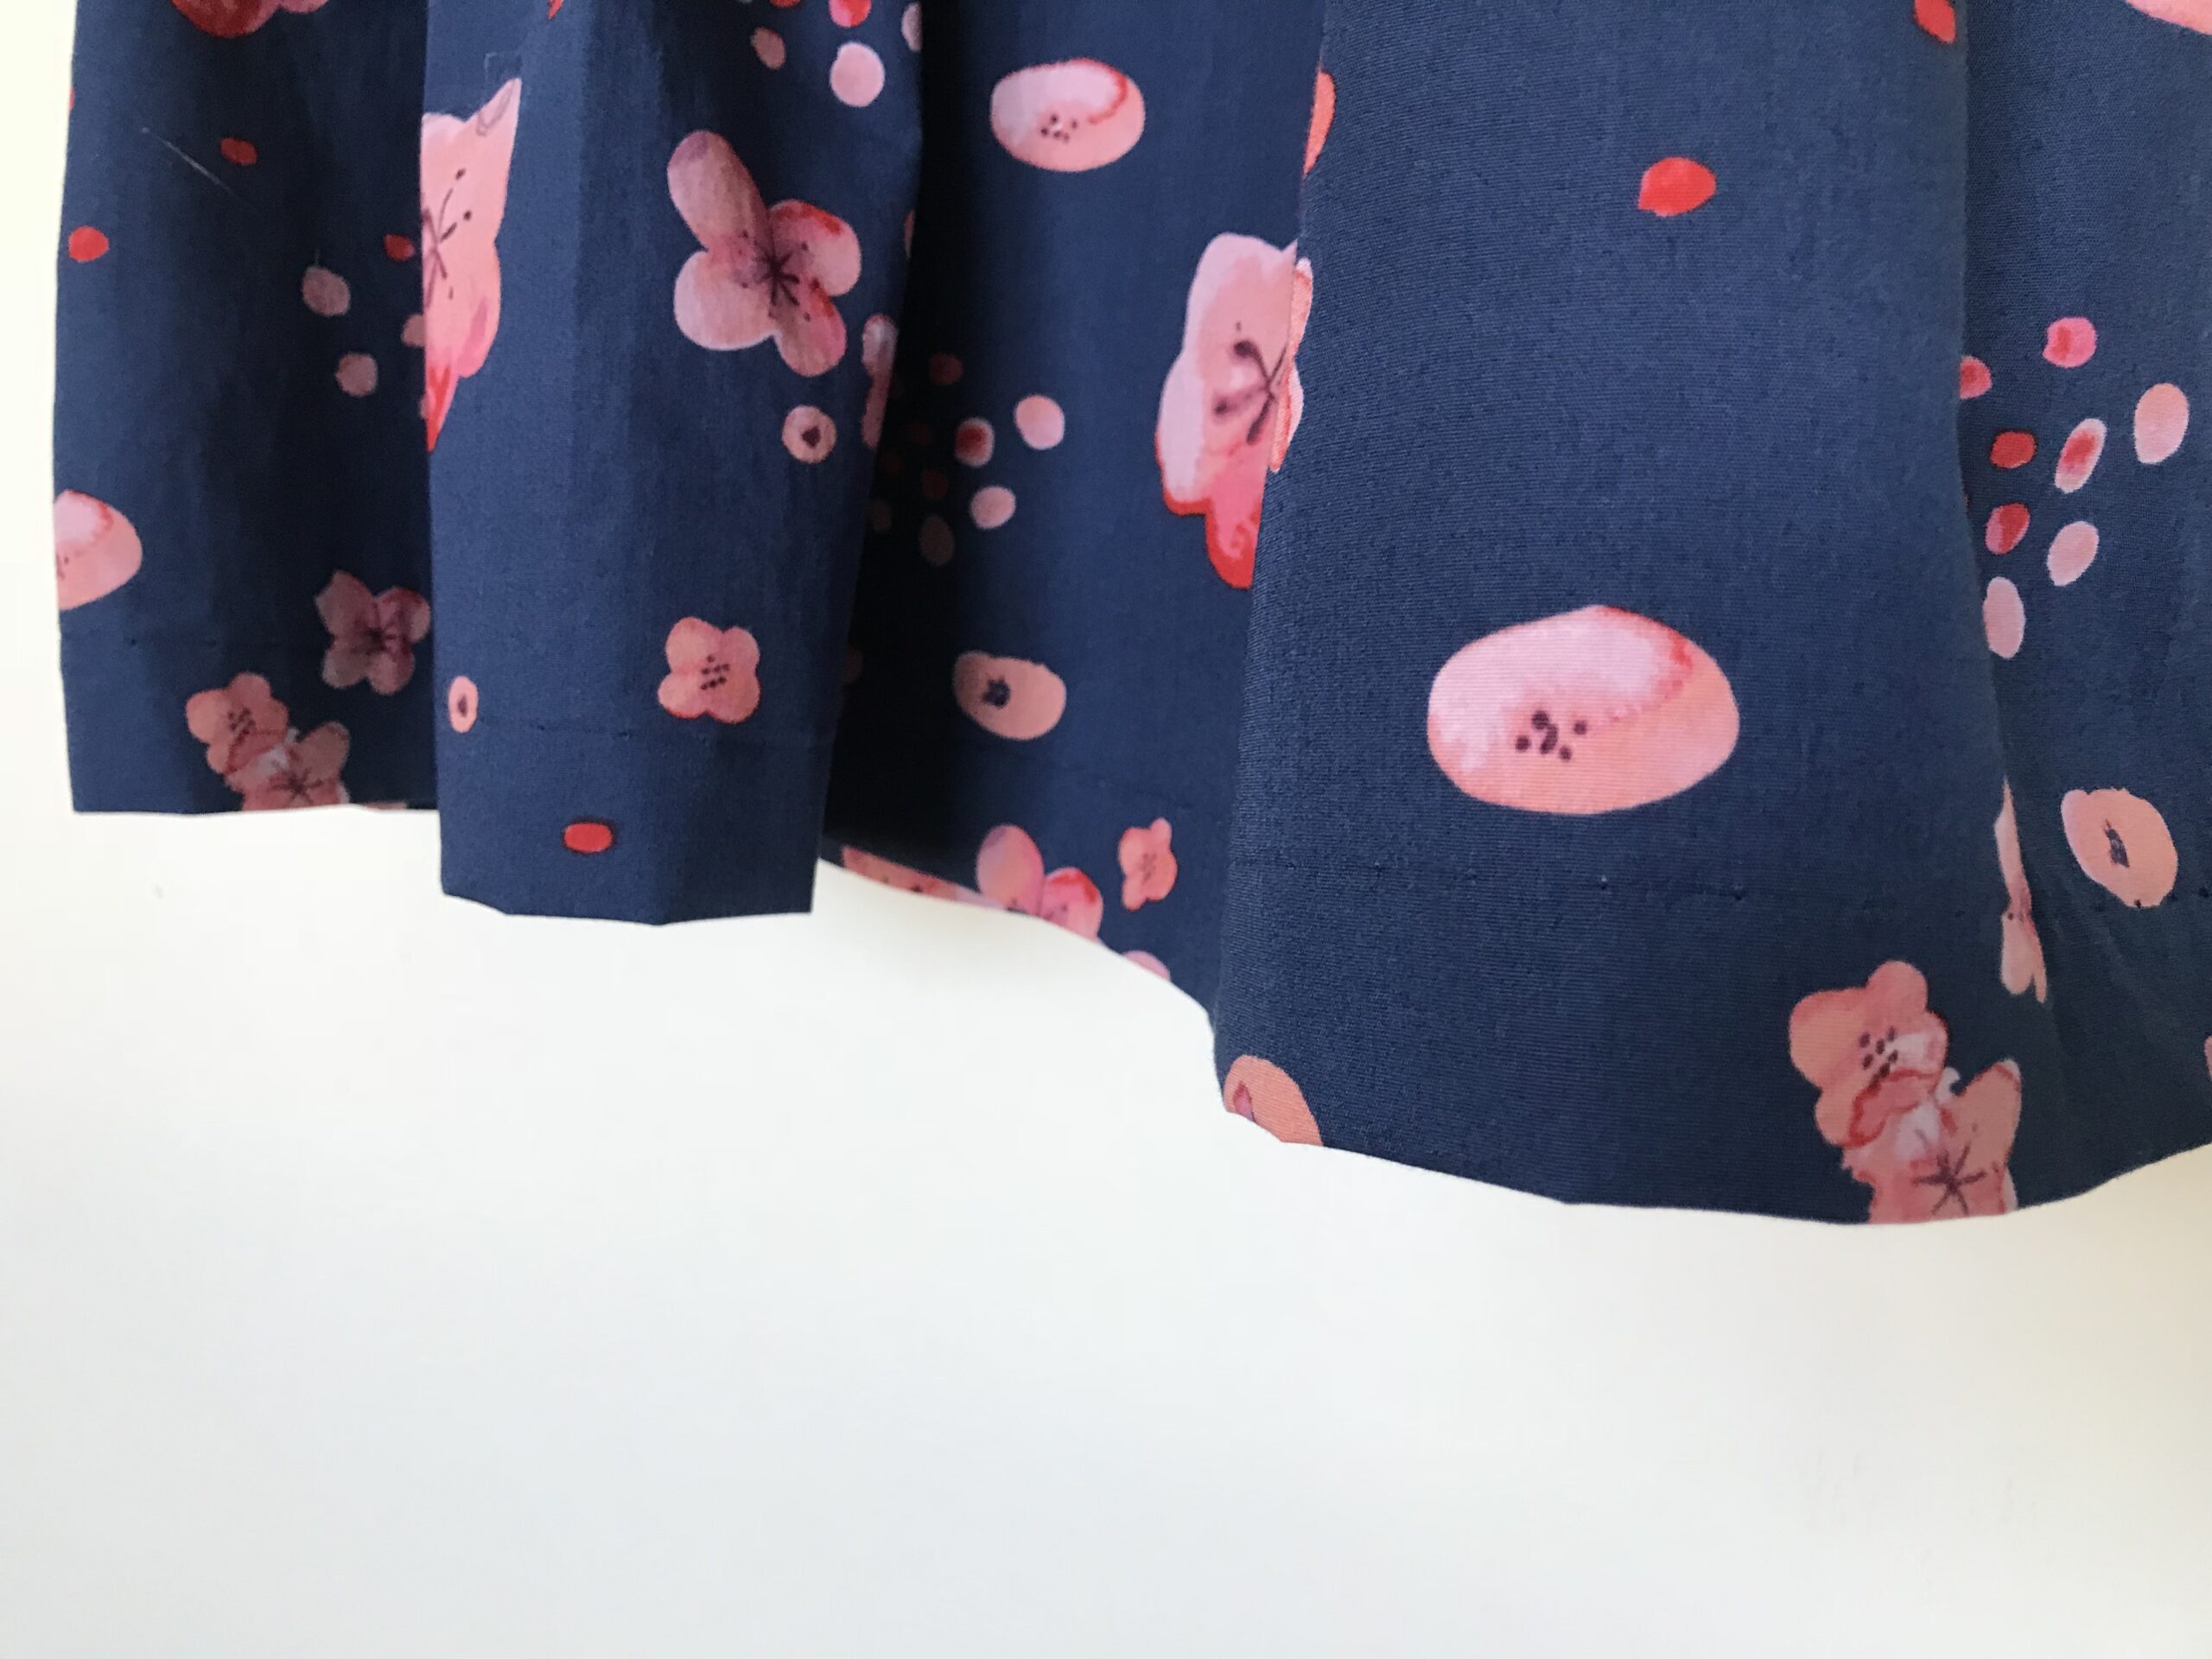
A blind hem is a hem that is practically invisible from the outside. The line of stitching, and therefore the hemline isn’t easily seen and the fabric looks like it just extends to the edge of the dress with nothing to visually break up the skirt. You’ll find these kind of hems on suits, pencil skirts, dress pants, and fancy dresses. And sewing them is pretty easy with a stitch that is increasingly common on sewing machines.
How to Sew a Blind Hem Step 1: Thread Your Sewing Machine
Thread your machine with thread that very closely matches or blends in with your fabric.
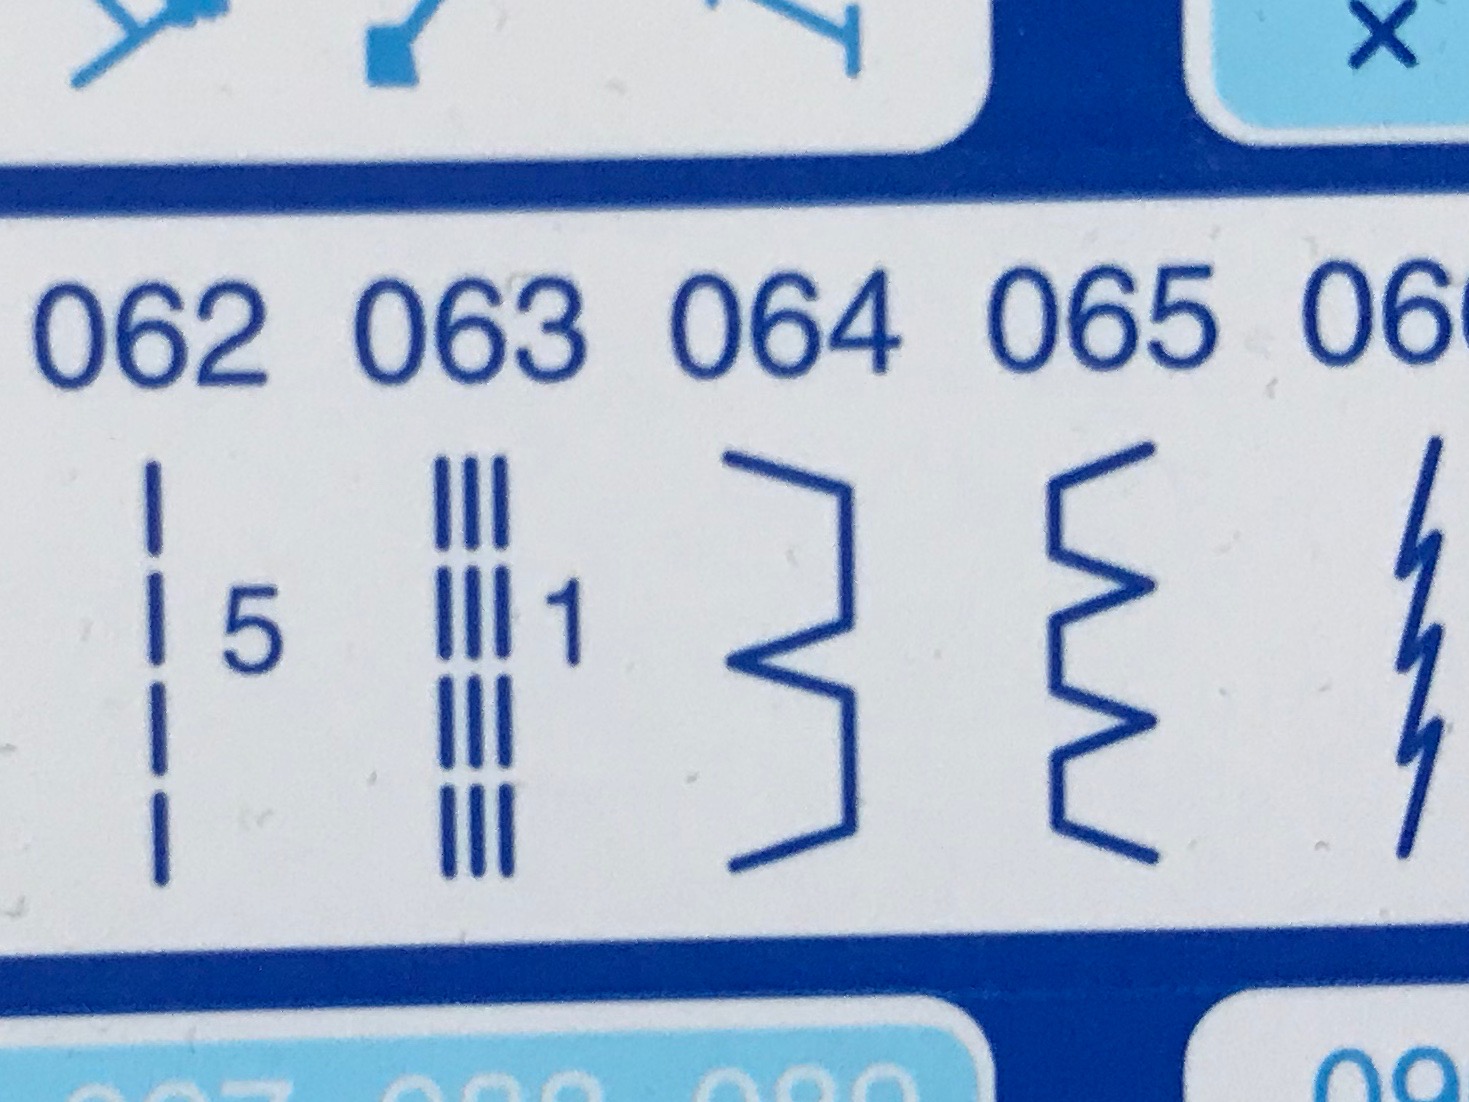
Find the blind hem stitch on your machine. On this machine it is stitch 064. But I also have it on my more basic machine that only has 15 stitches. It looks like a zigzag stitch with several straight stitches in between each of the zig-zags–like a Zig-zag stitch that dropped a couple stitches. However, the straight stitches are intentional. You can set the stitch width to about 1.0 to 1.5mm with a medium stitch length.
How to Sew a Blind Hem Step 2: Prep the Fabric
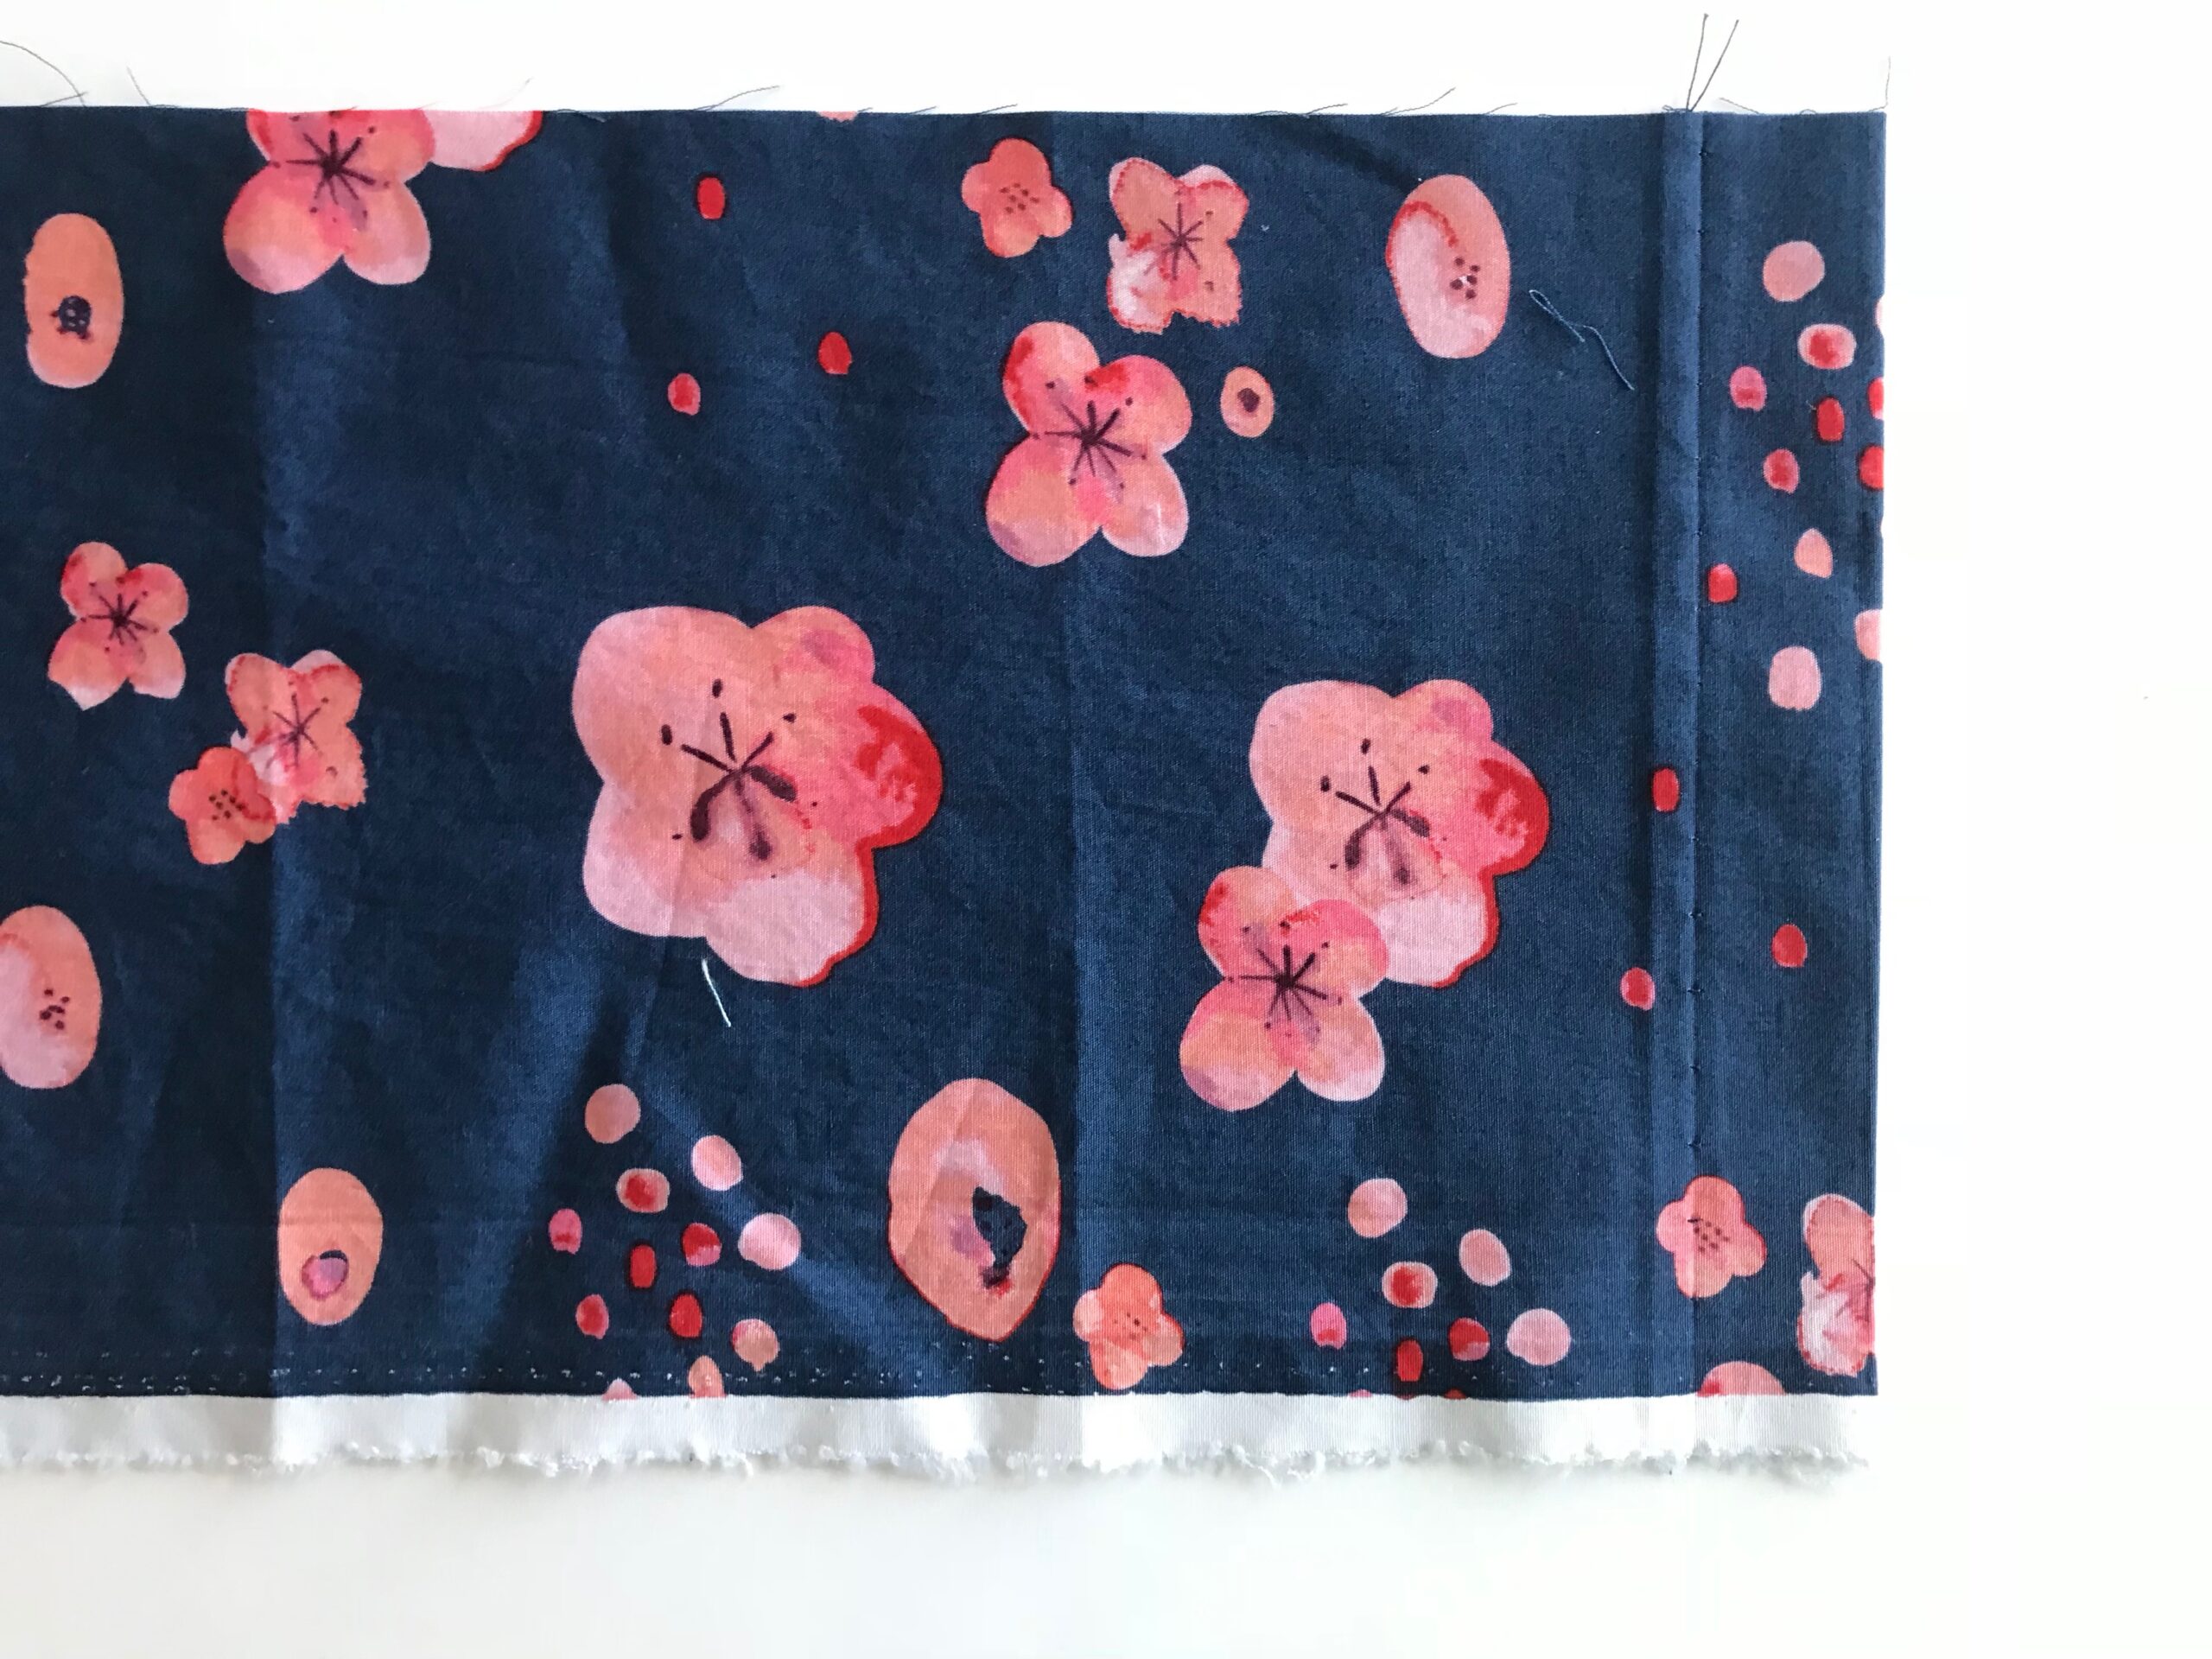
Prep the raw edge of the right side of the fabric by serging, zig-zagging, or ironing under 3/8”.
How to Sew a Blind Hem Step 3: Iron Under the Hem
Then iron under your hem line. If you need a 1” hem, iron it up 1” with the wrong sides of the fabric together. The fabric you iron up should be on the inside of your dress/skirt/pant.
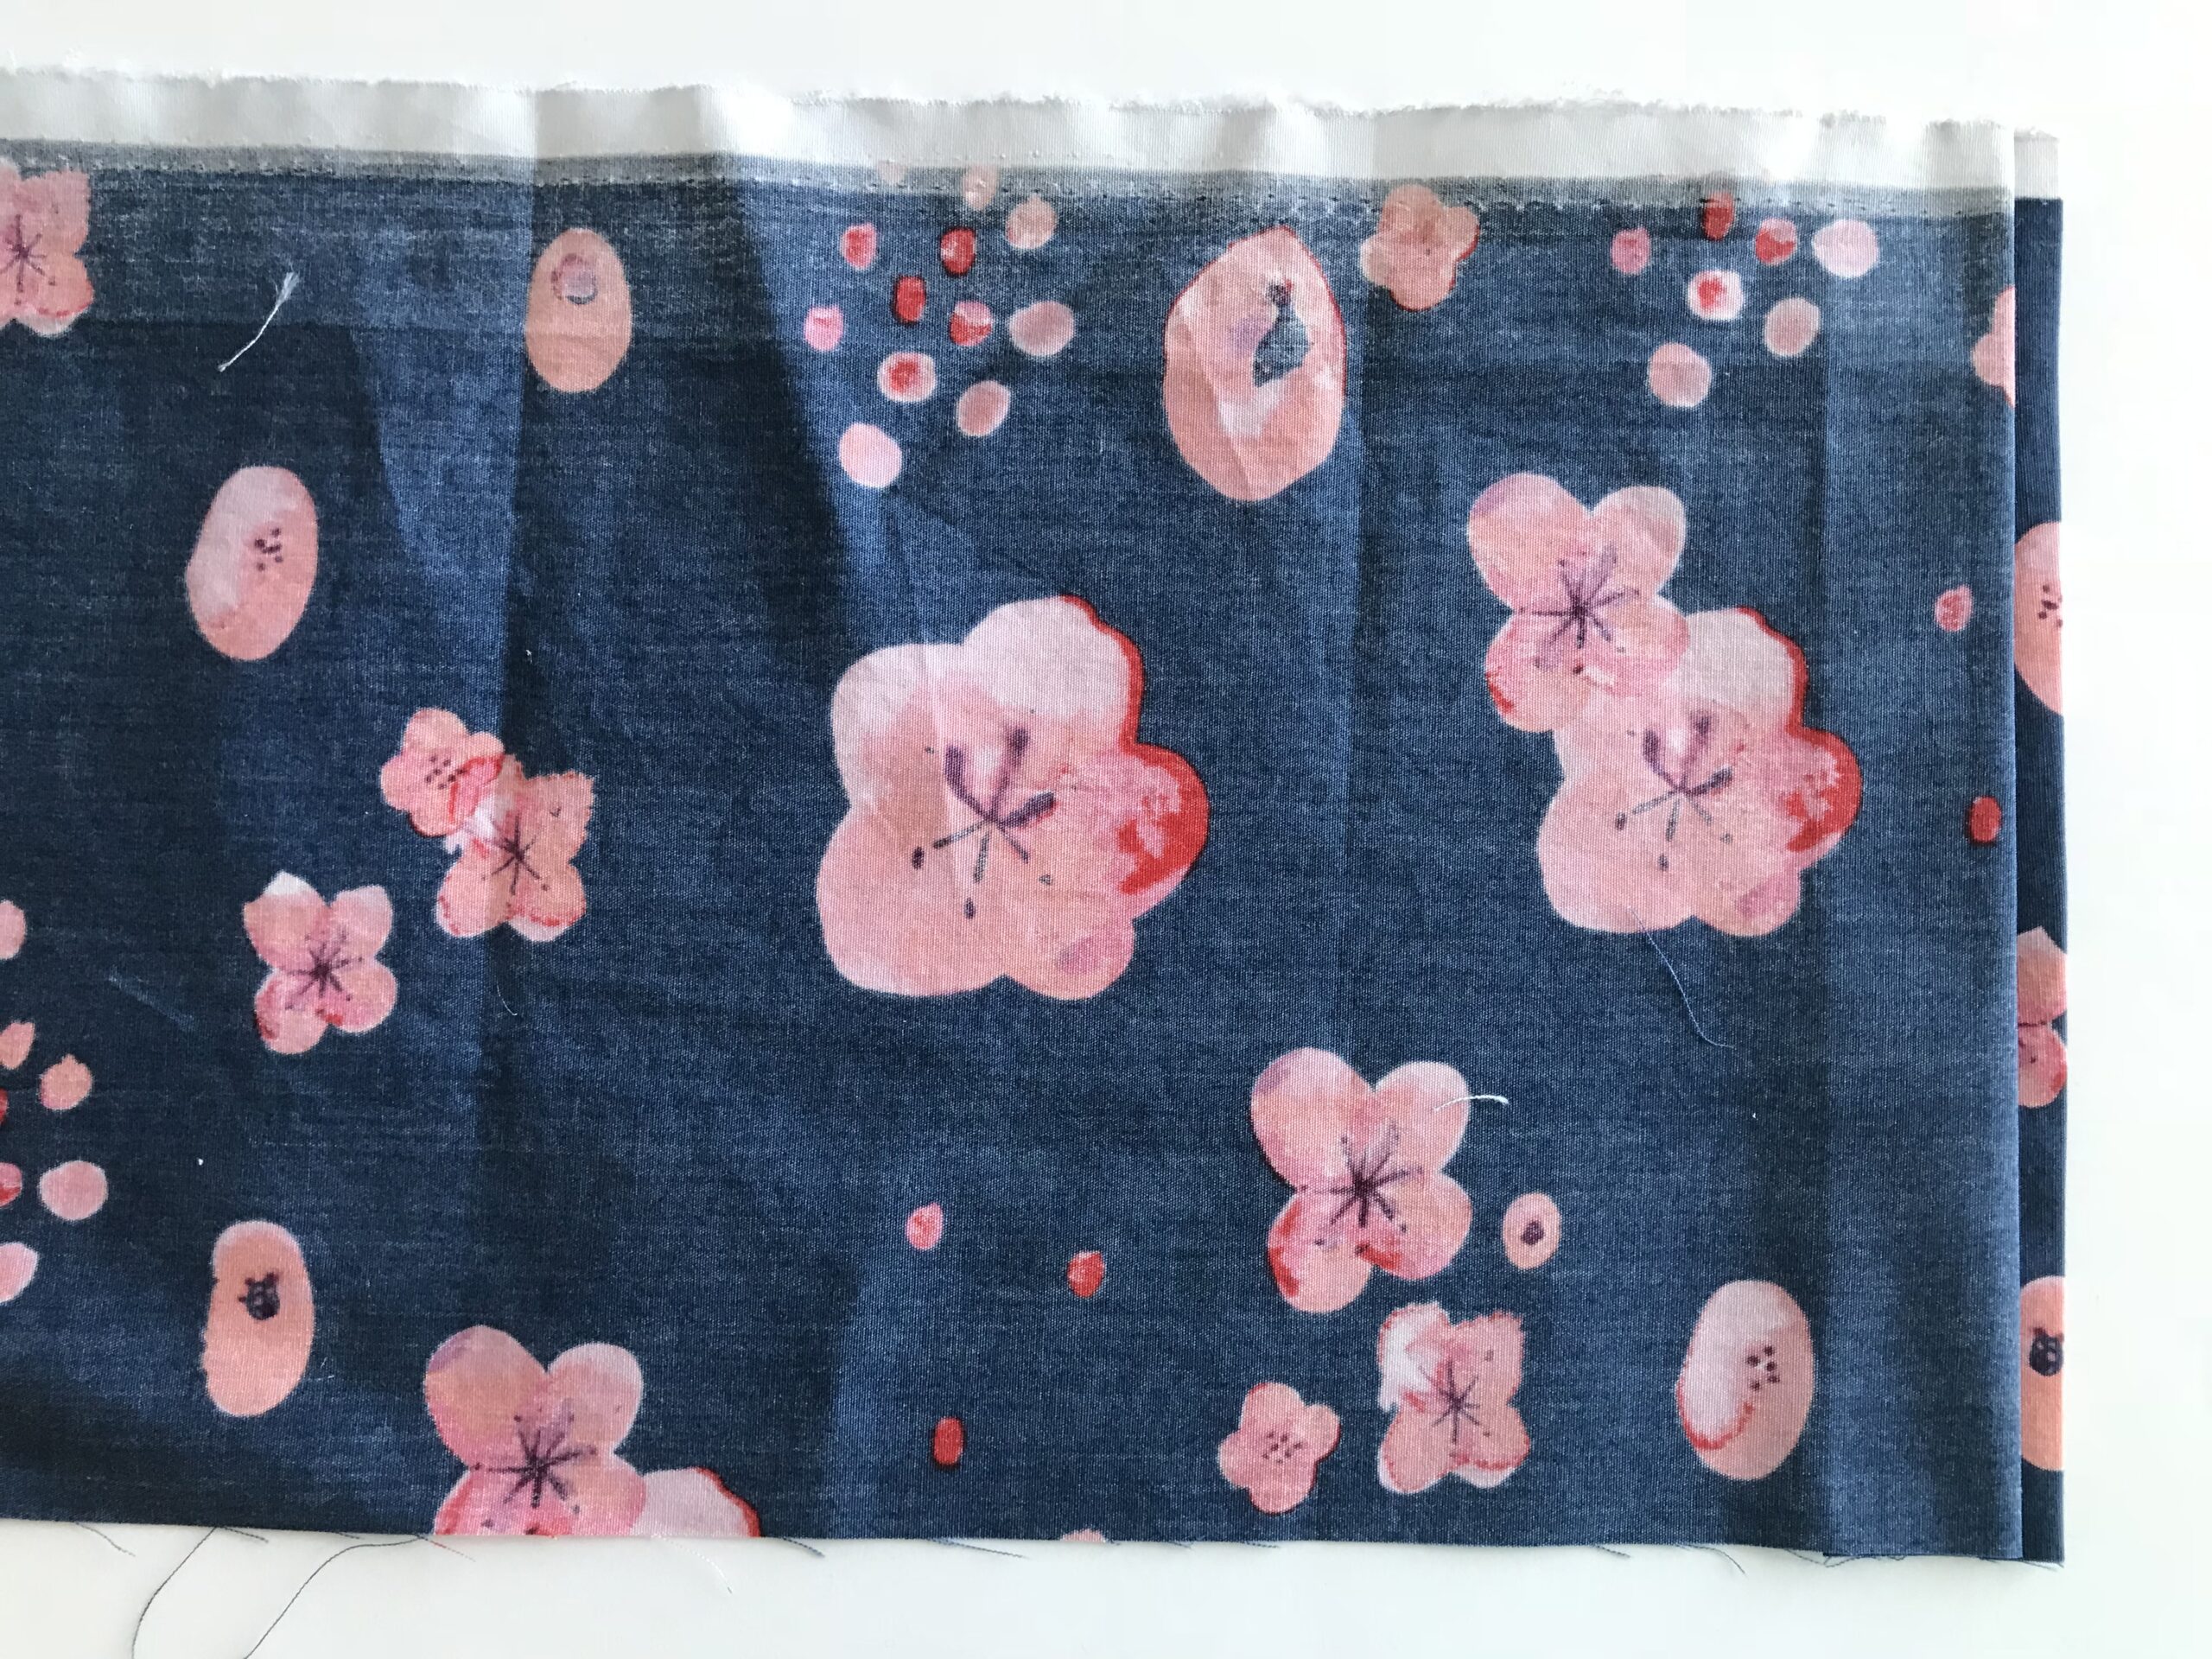
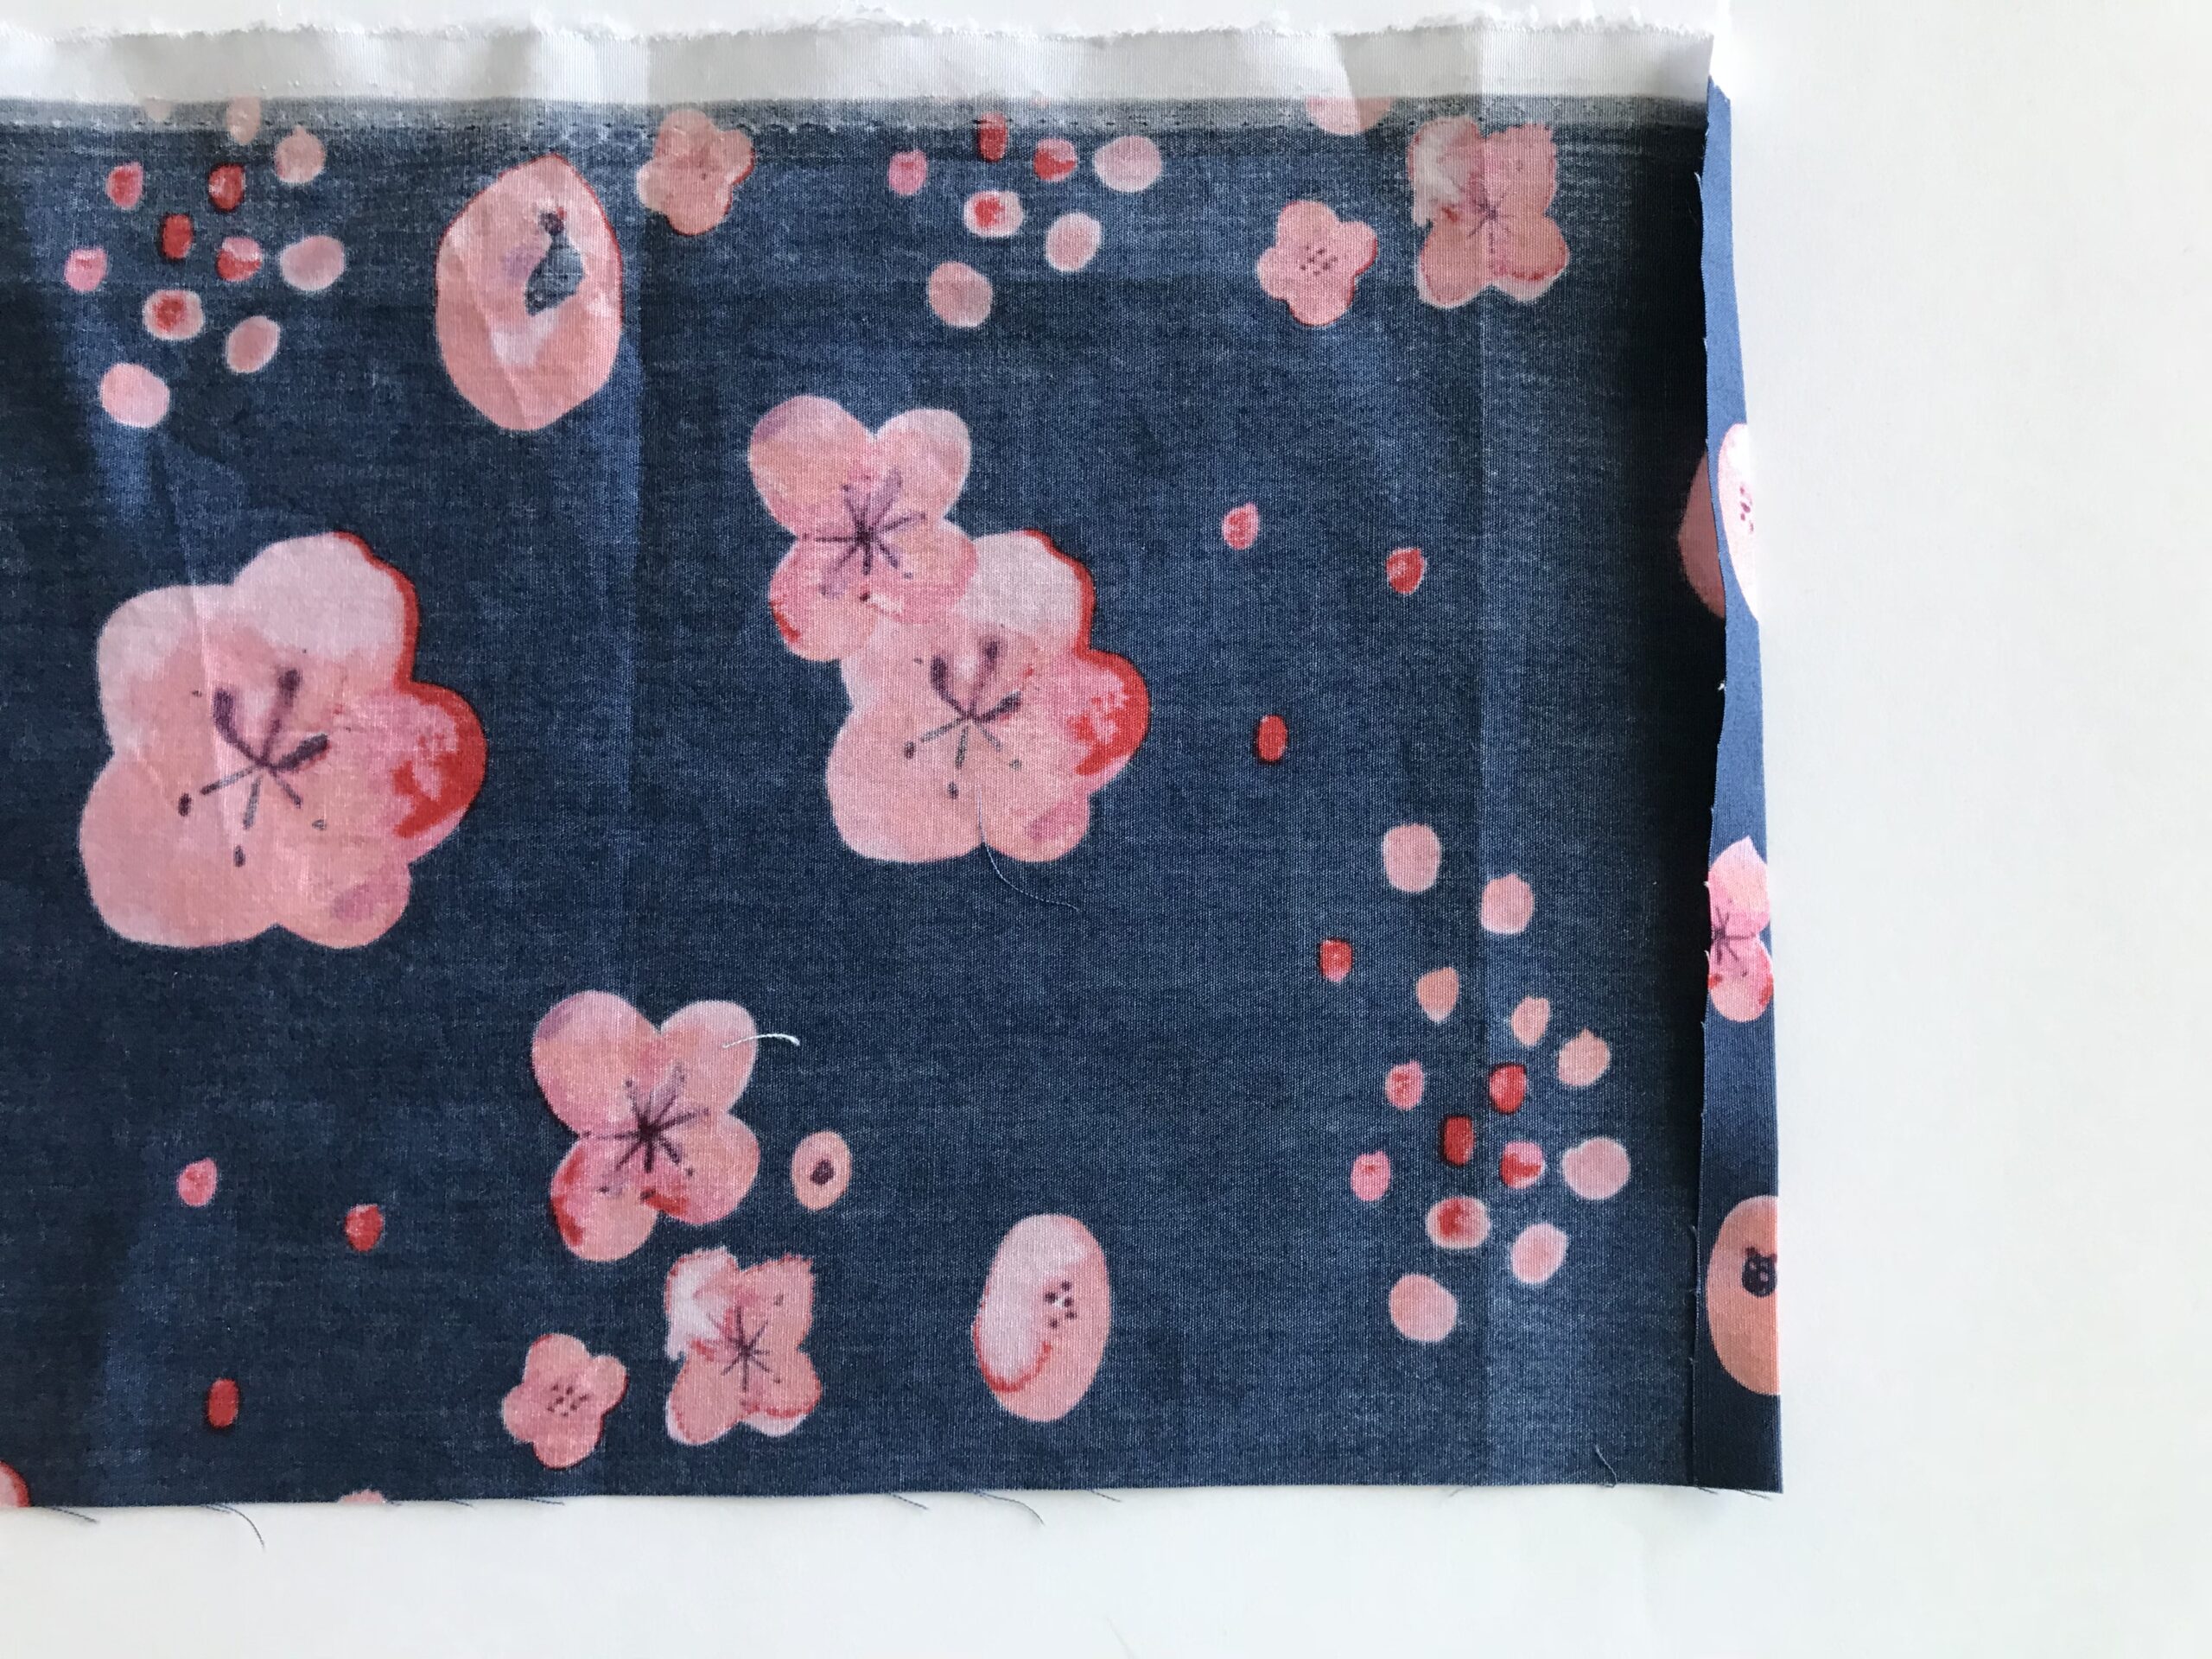
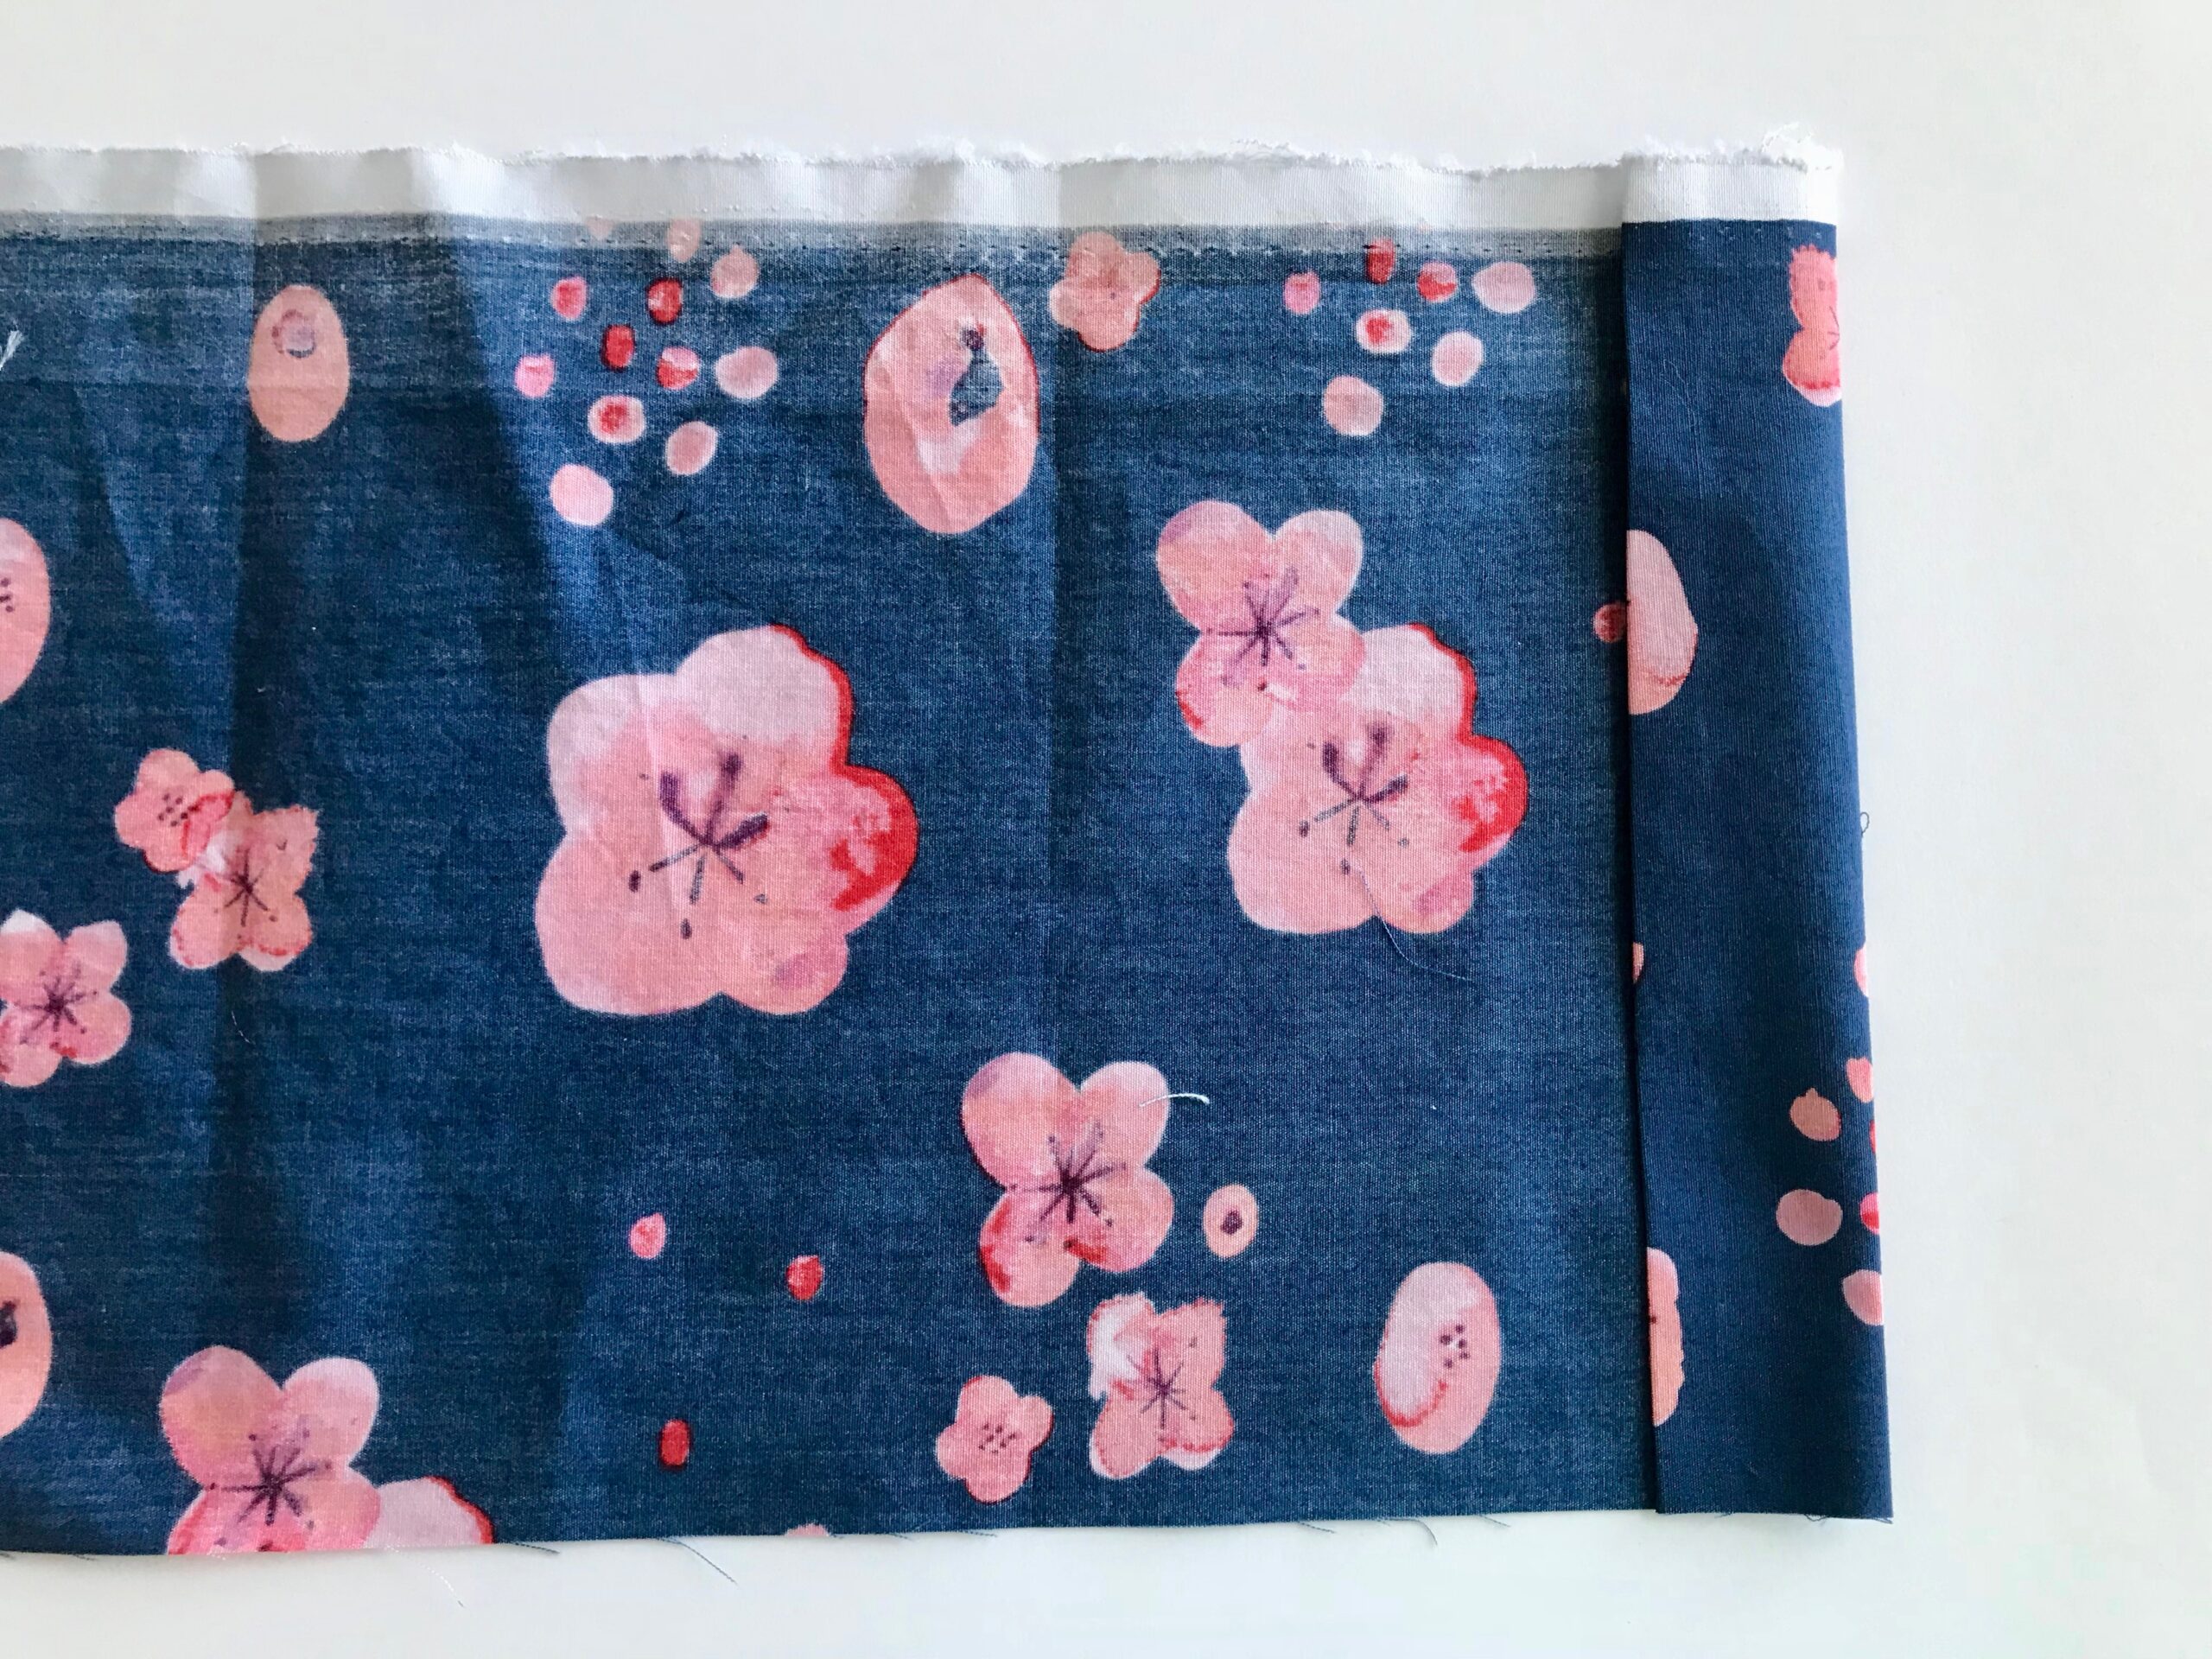
How to Sew a Blind Hem Step 4: Fold the Top Fabric Back
Next, with the ironed-up hem on the bottom, fold the top fabric back (right side of fabric folding towards right side of fabric) until you can see 1/4” of the finished hem edge you ironed up. Iron the fold into the fabric. At this point, the fold of the fabric is starting to resemble one of those accordion fans you make out of paper.
How to Sew a Blind Hem Step 5: Blind Hem Stitch
Now for the stitching. I highly recommend trying this out on scrap fabric to test out the correct placement.
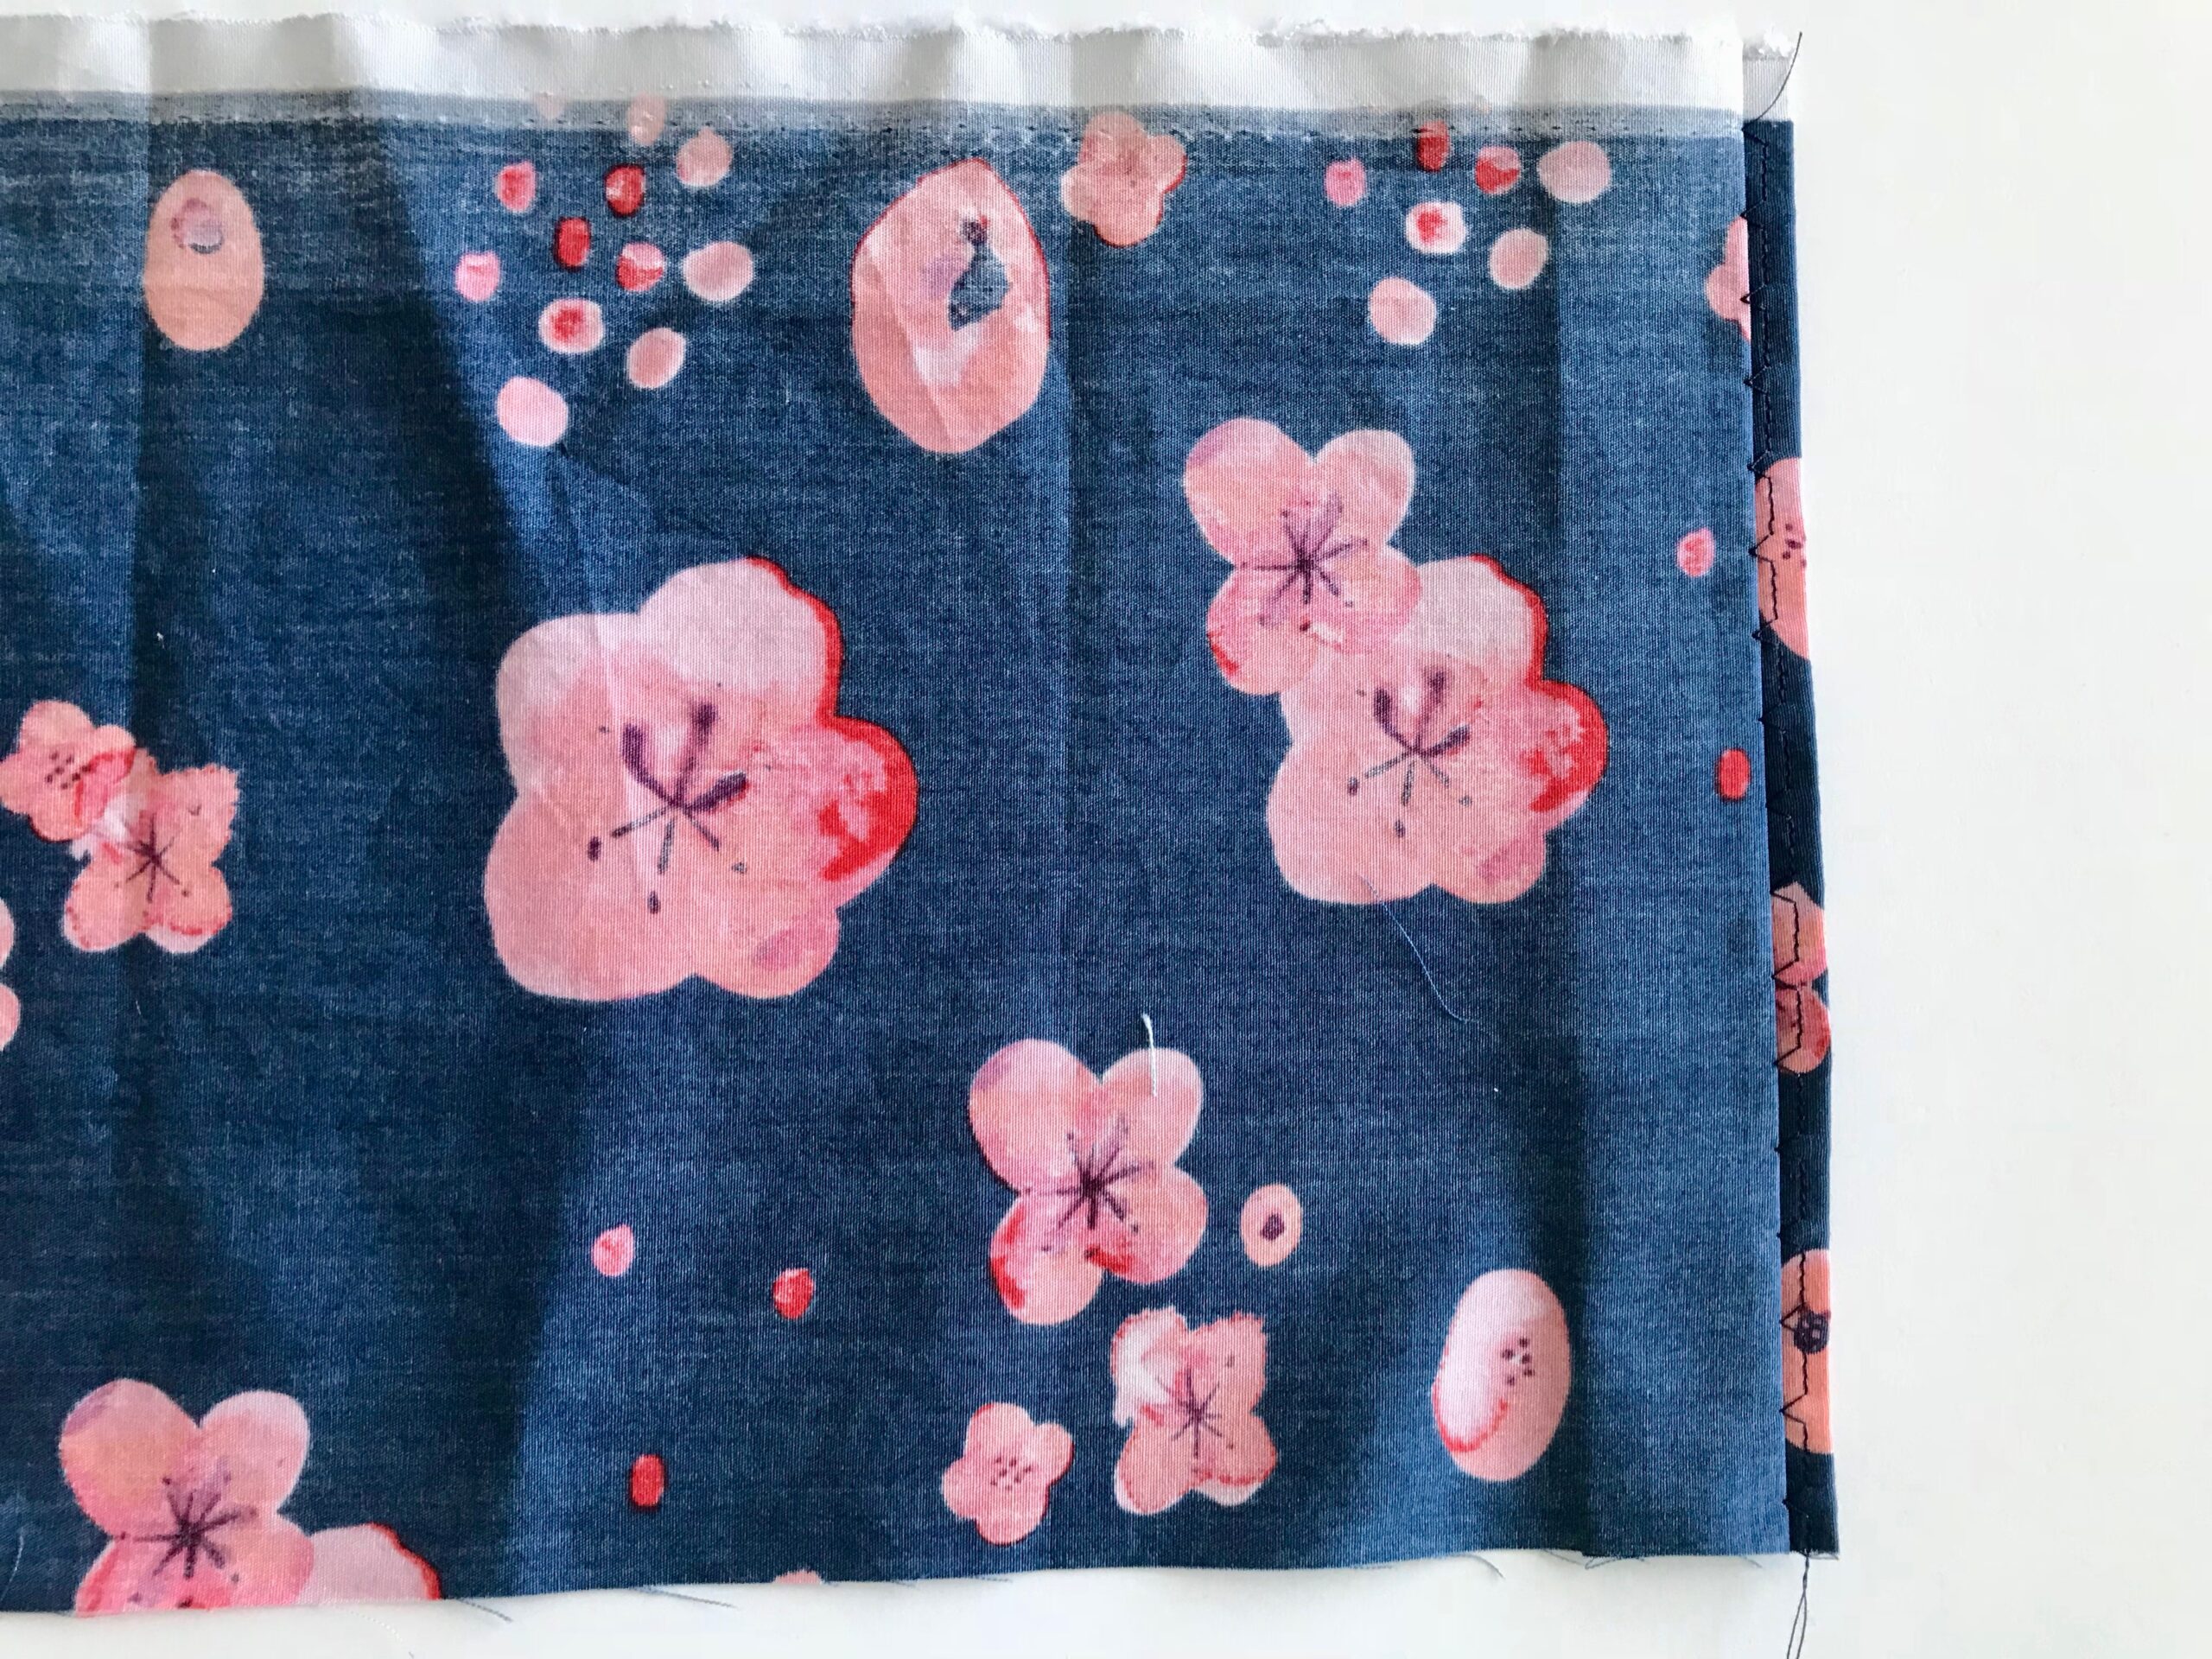
How to Sew a Blind Hem Step 6: Sewing Using a Blind Hem Foot
Place the fabric under the presser foot so the straight stitches only stitch on the finished hem edge. 1 layer of fabric. Turn the hand wheel on your machine to see where the widest part of the stitch will hit. Adjust your fabric so on the “zig” the needle barely pierces the folded edge. It will go through three layers of fabric here.
Ideally, the needle only catches one or two threads of the fold. That may not be realistic especially as you start out, but the more of the fold you catch with the needle the more visible the hem stitches will be. Pay attention to where the finished edge of the fabric hits your seam guides so you can use that seam guide as you sew. It helps keep the stitches consistent and where you want them. You’ll get better at catching less of the fold as you get more experience.
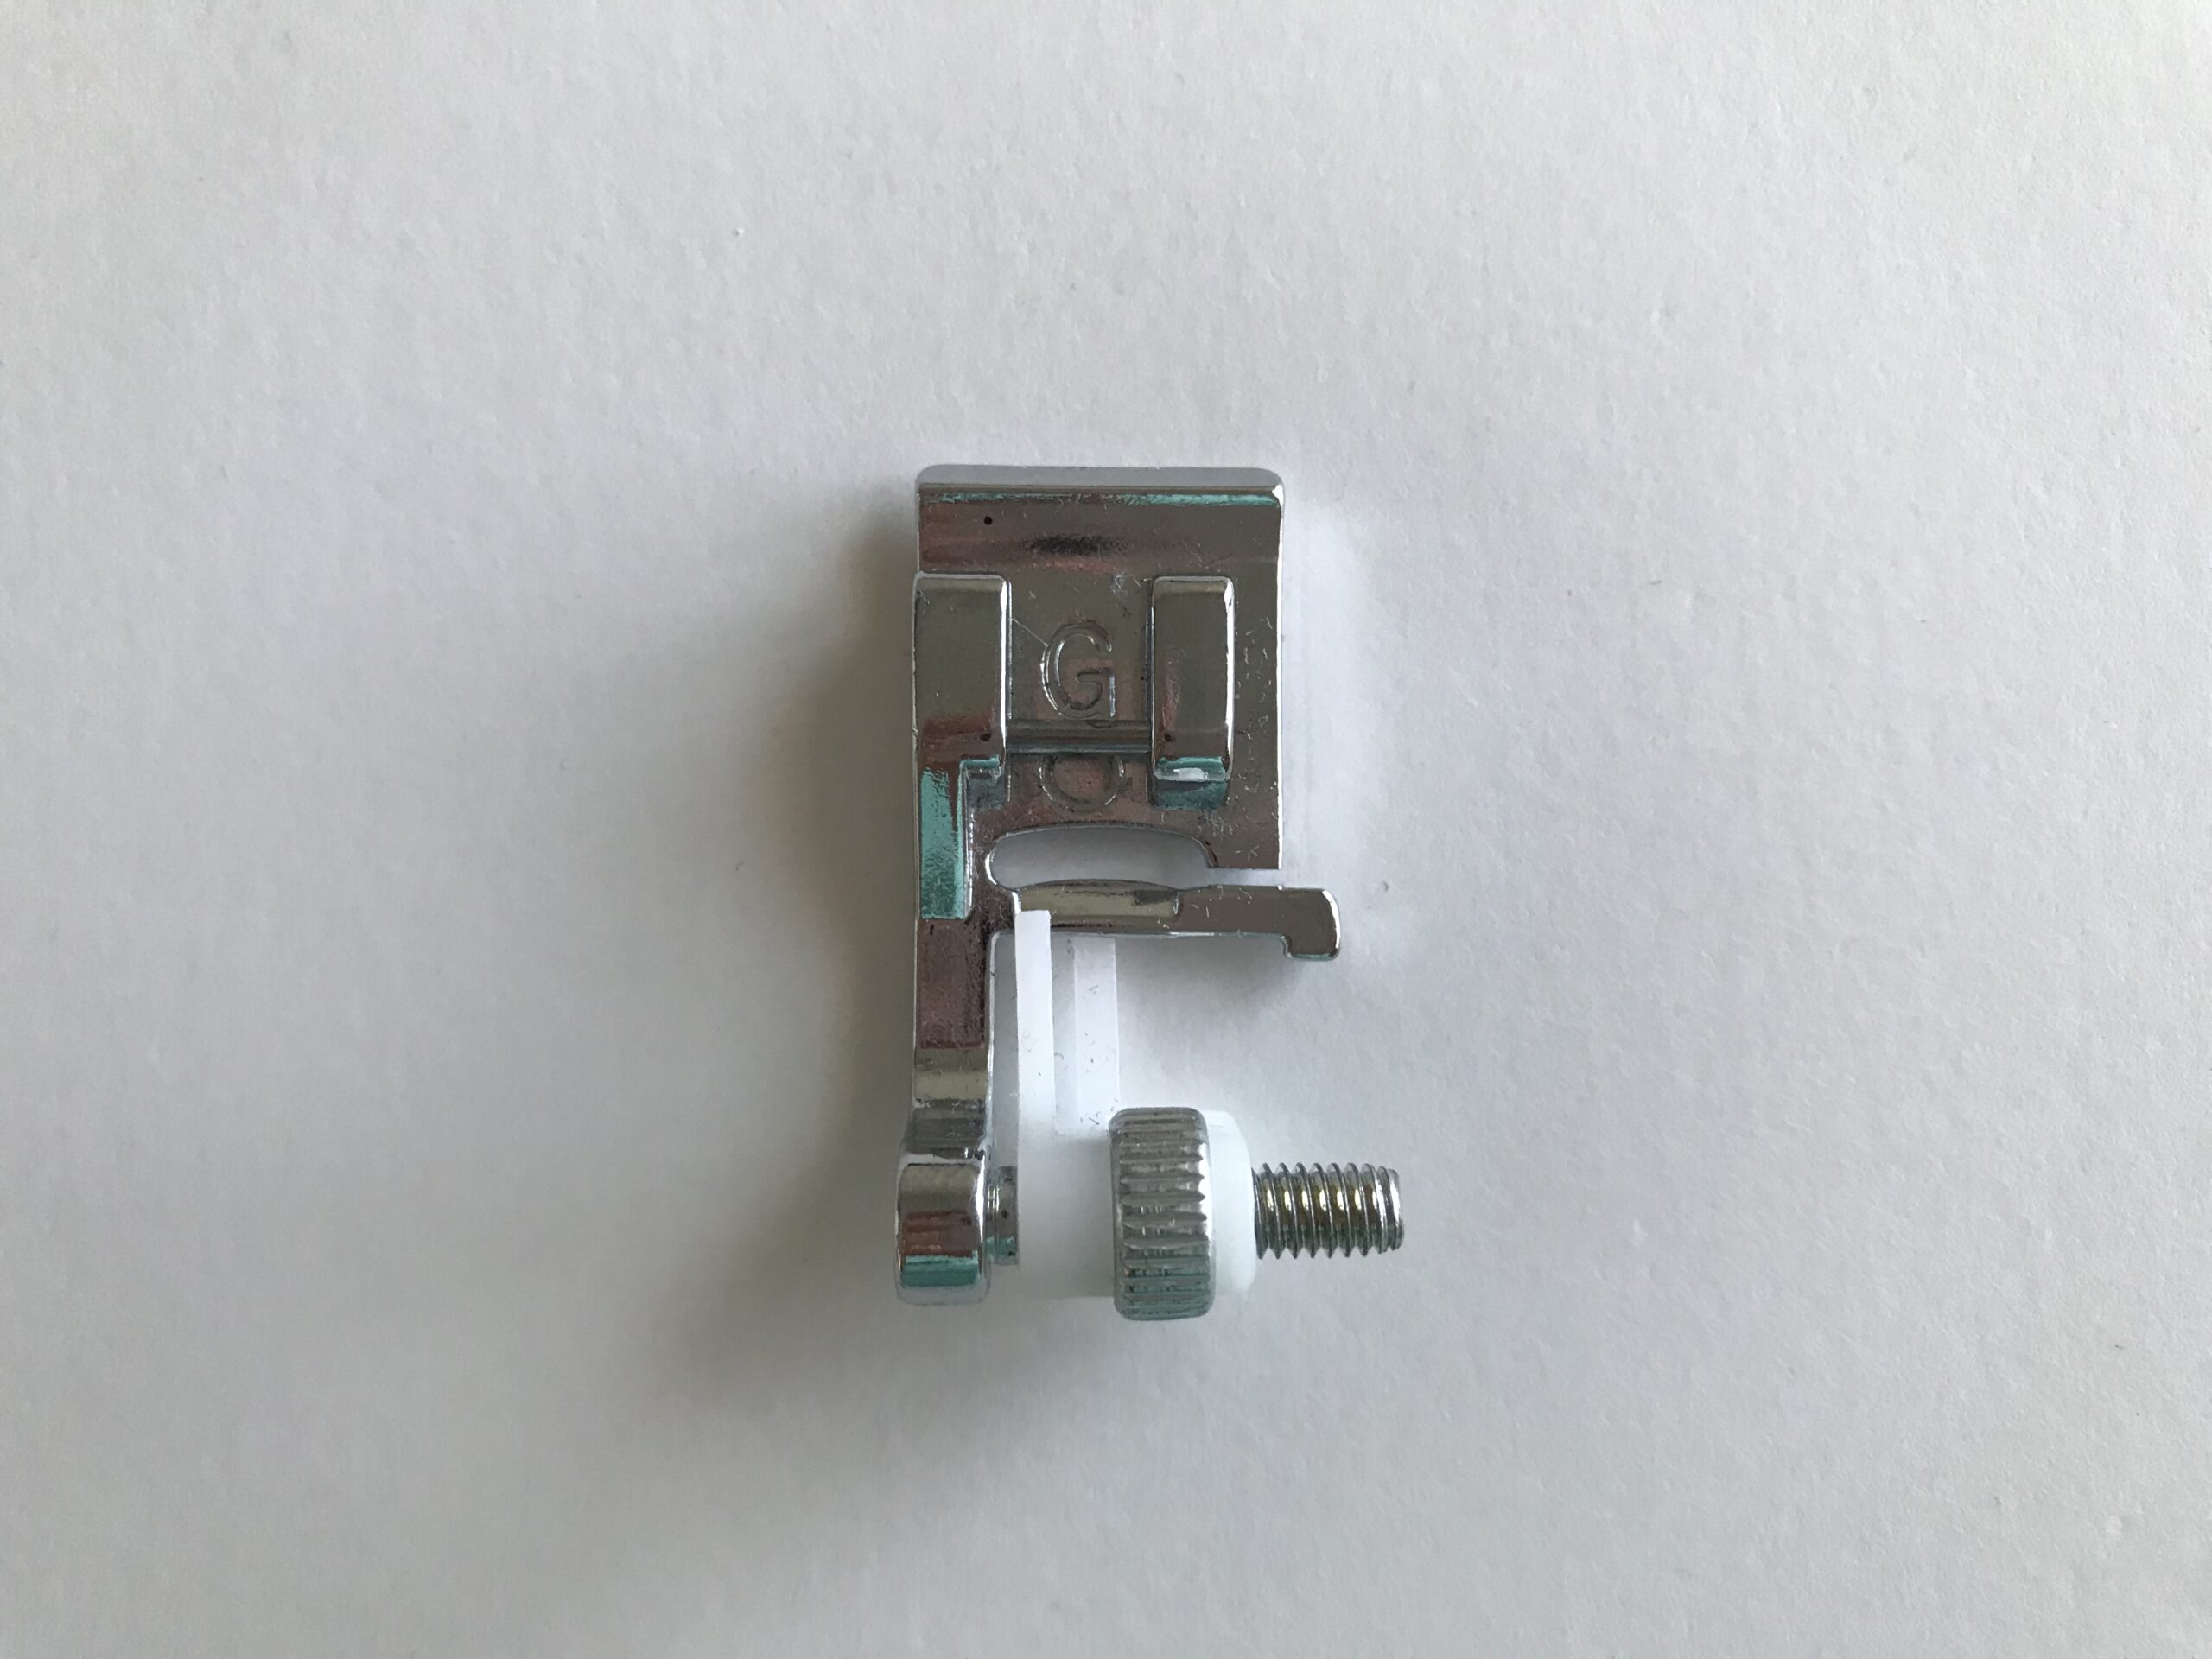
Some machines have a special foot just for sewing blind hems. It has an adjustable guide on the front of the foot. The guide fits right against the fabric fold and on top of the finished fabric edge.
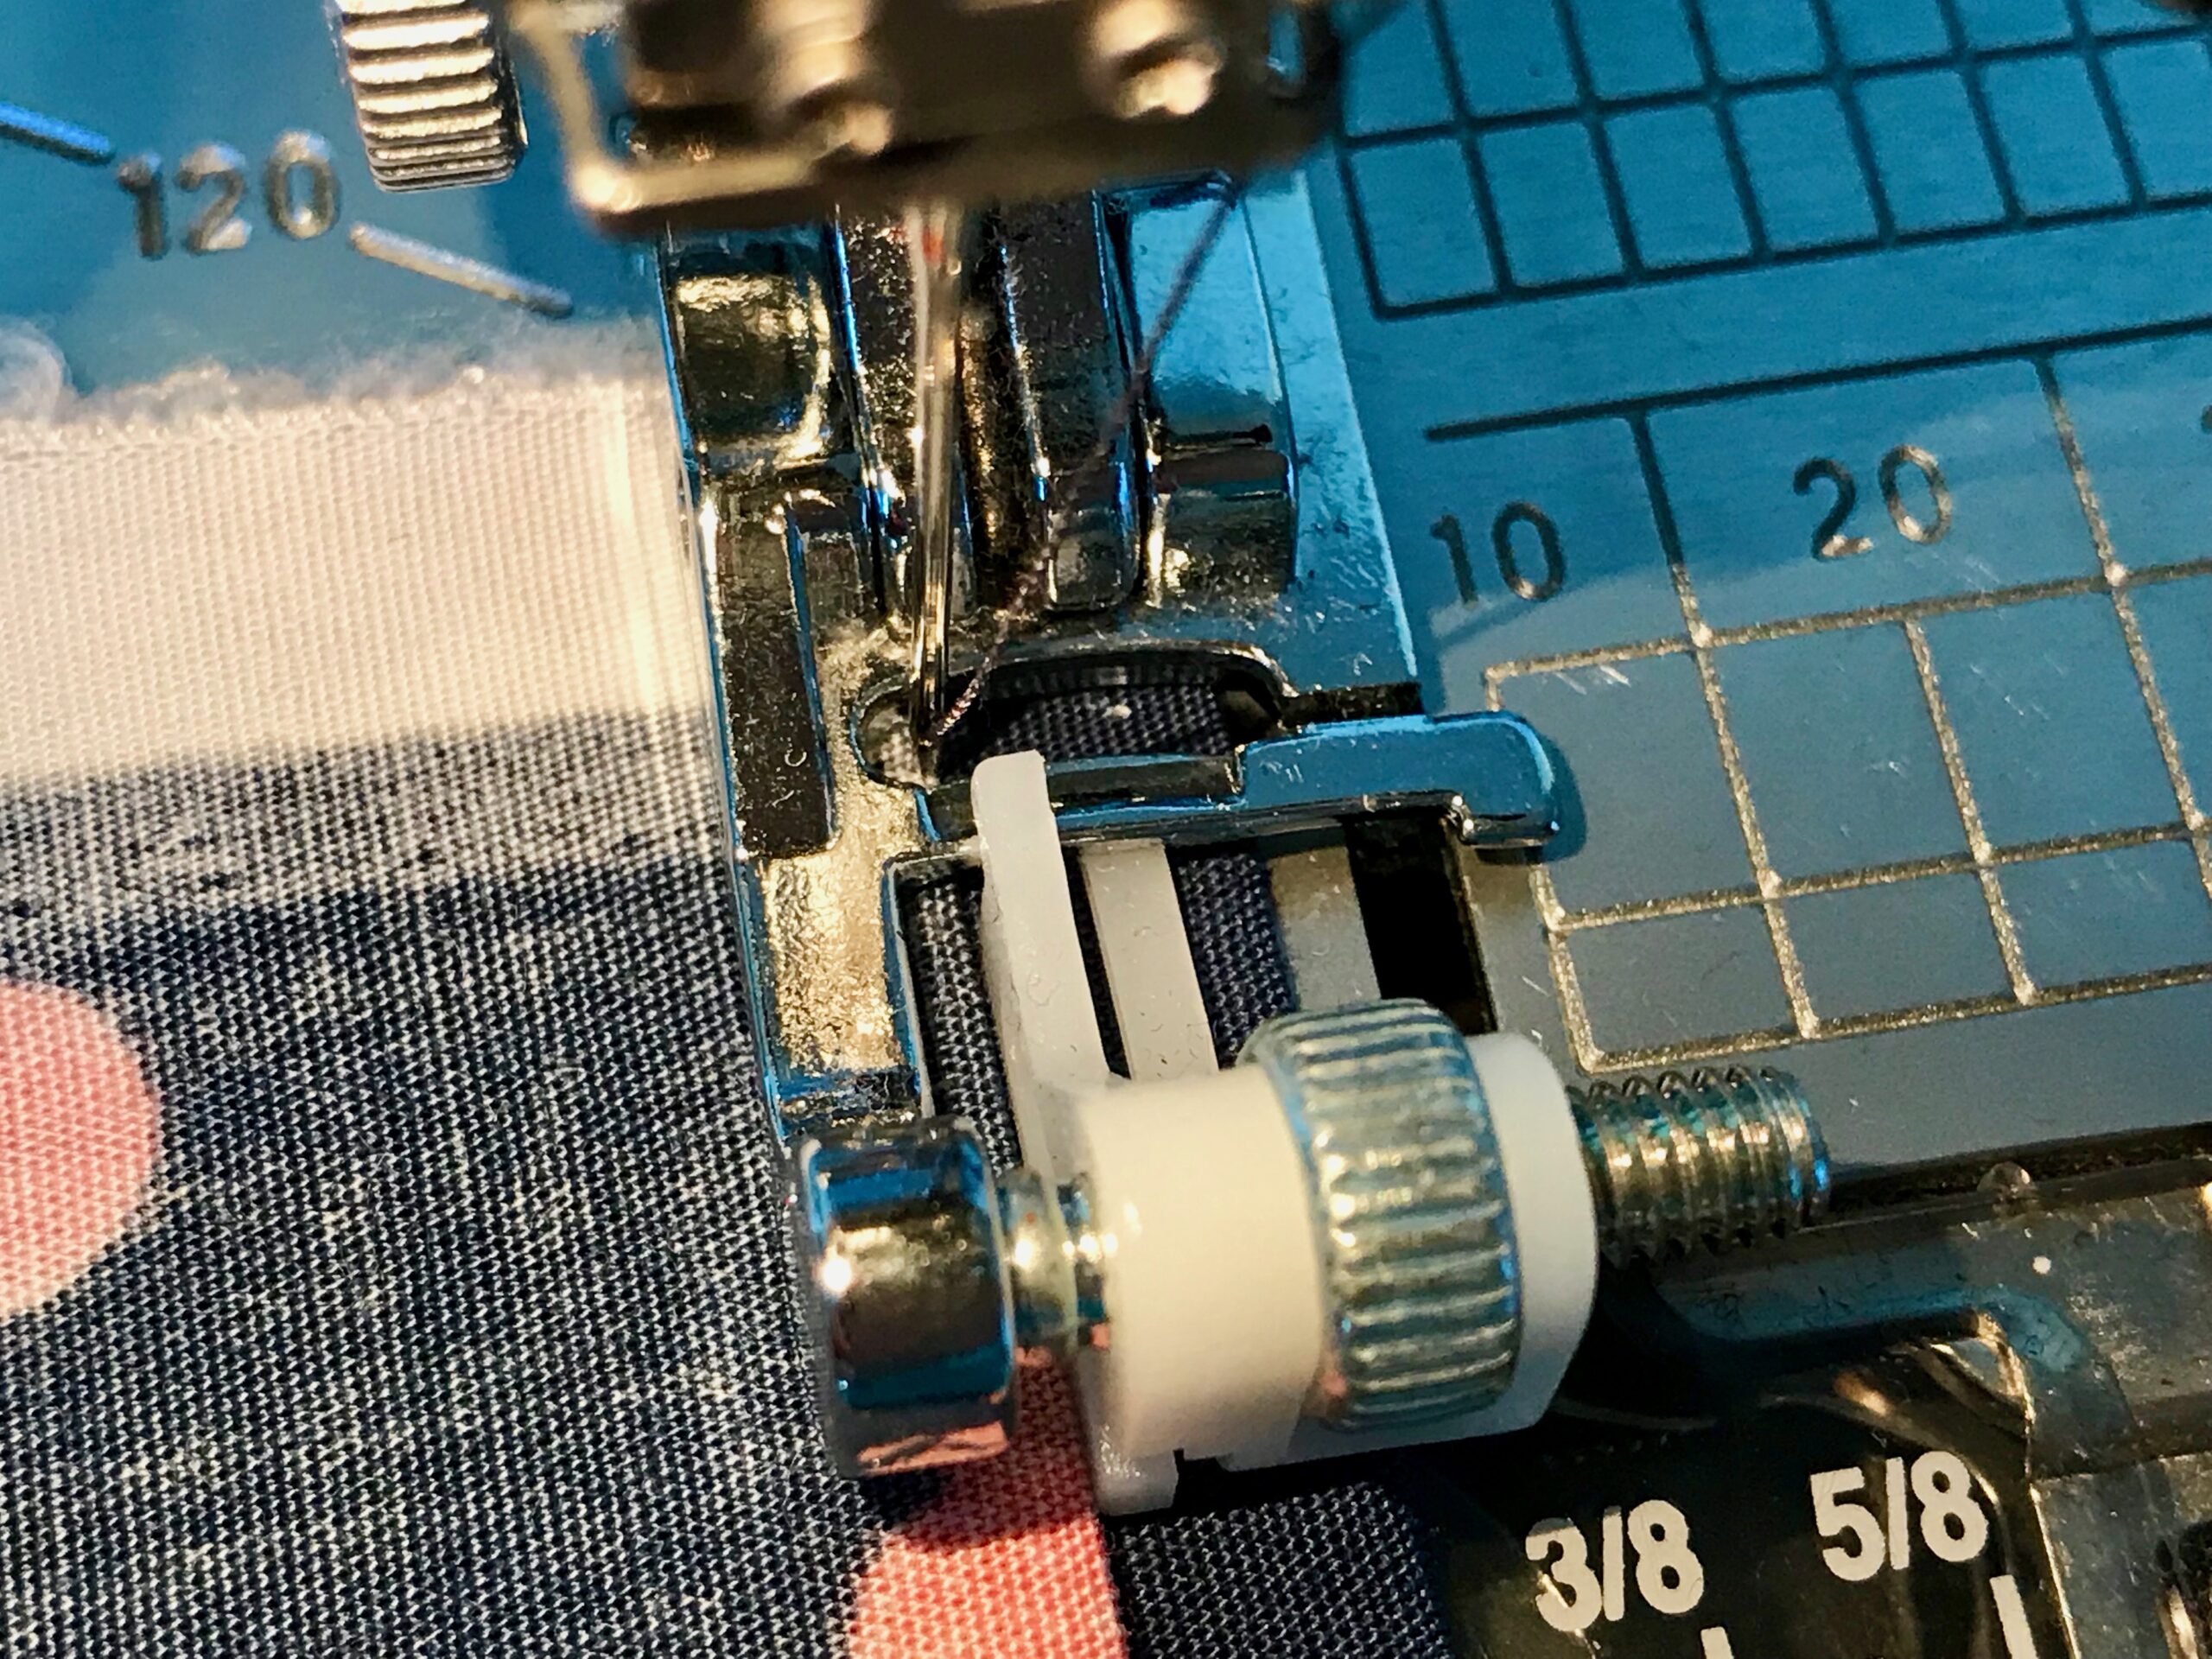
Turning the white dial on the front moves the guide from side to side so that you get your needle piercing just the right spot–barely on the fold. Then as you sew, keep the fold running right along that guide to get nice consistent (and hopefully small) stitches. The blind hem foot helps but isn’t essential. I’ve sewn many blind hems with a standard sewing foot.
How to Sew a Blind Hem Step 7: Back Stitch Overlapping
When you get all the way around the skirt, back stitch overlapping the beginning of your stitches.
How to Sew a Blind Hem Step 8: Unfold Fabric and Iron Flat.
Unfold the top fabric back over the finished edge and iron the hem flat. All along the hem from the right side you’ll see small vertical stitches. Again, the less of the fold you catch, the smaller and more ‘blind’ the vertical stitches are.
And that’s all there is to it - now you know how to sew a blind hem! Sewing a blind hem can seem daunting at first, but with practice and the right techniques, you can master this sewing skill. By following the step-by-step instructions in this blog, you'll be able to create clean and professional-looking hems that are virtually invisible from the outside. Whether you're sewing garments or home decor items, knowing how to sew a blind hem will elevate your sewing projects to a whole new level. So grab your sewing machine, some fabric, and give it a try! With a little patience and practice, you'll soon be sewing beautiful blind hems like a pro.
Thank you for joining us today. Before you leave, make sure to join our Facebook Group and follow us on Instagram and Pinterest. Happy Sewing!