Sewing Patterns Made Easy | Digital Patterns for Beginners
Today we will show you a little more about sewing patterns - specifically, digital sewing patterns. These aren't your grandmother's sewing patterns with loads of tissue paper and difficult instructions. We're talking about the new age of digital pdf sewing patterns that you can print off on your home printer or use with a projector. There are Soooooo many advantages to digital sewing patterns and we'll get into them today. We'll also show you everything you need to know about printing patterns, selecting the size you want to print, etc. At the end, we'll give you a list of some of our favorite sewing patterns.
Understanding Digital Sewing Patterns
Digital sewing patterns, also known as pdf patterns, are electronic files that can be easily downloaded and printed on a home printer. These patterns eliminate the need for physical pattern storage and are easily accessible from your computer. Our patterns include all the pattern pieces and detailed step-by-step instructions with photographs - everything needed to complete a sewing project.
We have digital sewing patterns for about everything here at Peek-a-Boo Pattern Shop. Shirts, dresses, pants, babywear, and even swimsuits. With over 300 patterns, we have something for everyone.
Benefits of Using Digital Sewing Patterns
There are several advantages to using digital sewing patterns. One of the major benefits is the instant access they provide. With a few simple clicks, you can browse through an extensive library of patterns and choose the perfect design for your next project. Digital sewing patterns also reduce waste associated with physical patterns, as there is no shipping or packaging involved. Additionally, digital patterns can be printed multiple times, allowing you to make alterations and adjustments without worrying about damaging the original pattern.
With our PDF sewing patterns, you'll find that most of them have layers. That means, if you're printing rather than using a projector, you can just print the size that you need. No more waste!
Getting Started with Digital Sewing Patterns
Printing PDF Sewing Patterns
To use our PDF Patterns, you simply download, print, and tape them together according to the instructions. Many of our patterns have what are called "layers." This helps for only printing one size you need. This is how you do it:
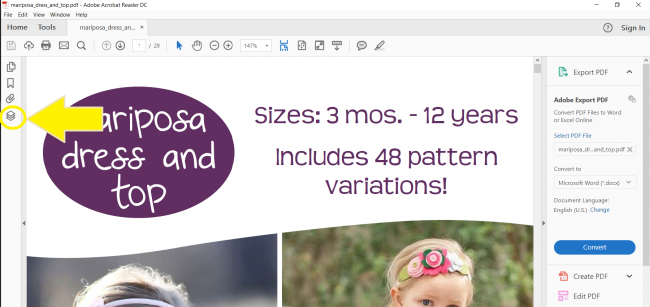
- To begin, open your pattern in Adobe Reader to access the layers function. You are looking for the icon on the left of the screen that looks like three pages stacked on each other.
- After clicking the layers icon, you will most likely need to select the drop-down icon.
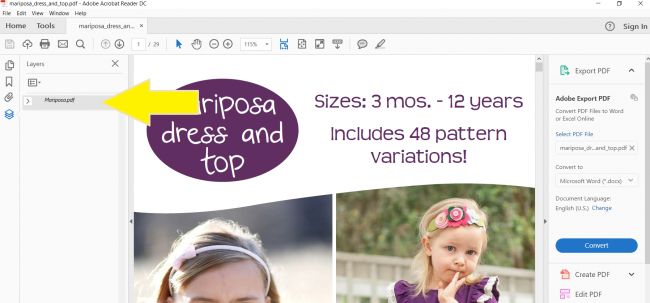
- Selecting the Layer / Size to Print: Now you are able to select your size by deselecting (the eye icon beside the listed size) the sizes you do not wish to print. If you need to grade between sizes, select more than one. Make sure to leave the option “print for all sizes” selected as well!
- Printing Guide: Make sure to read all the pattern instructions before printing, especially if a printing guide like below is included. This way you are saving paper and only printing the options you need!
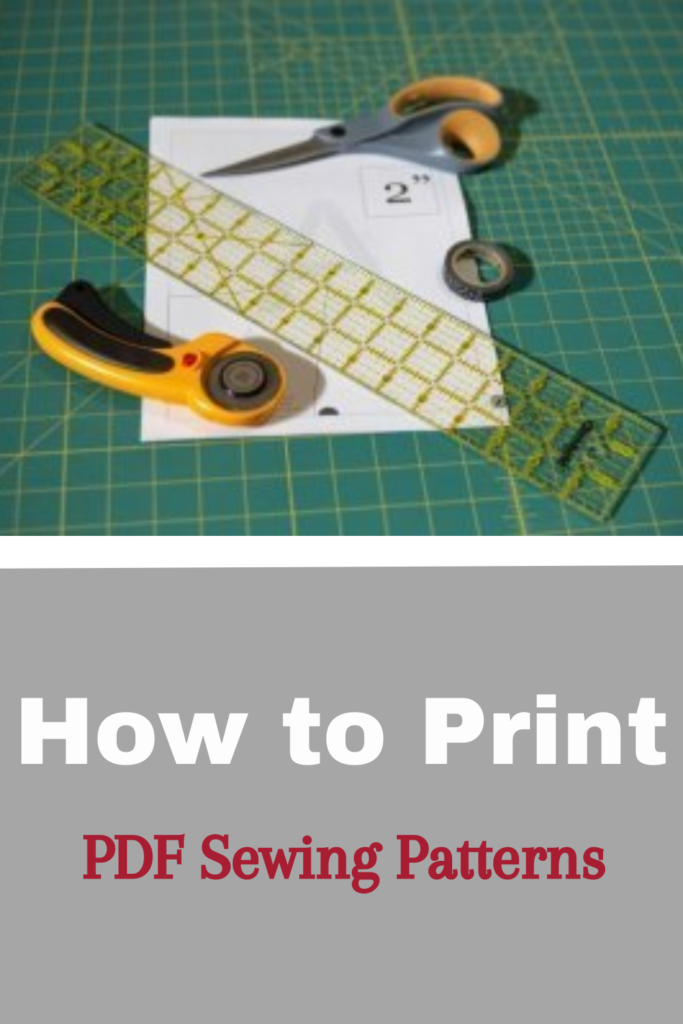
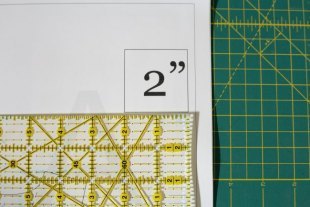
- Printing to Scale: At the "print screen, make sure that "Actual Size or "Custom Scale" is set to "100." Test print the first page before printing the entire pattern. This will let you measure the 2 inch box before printing the entire pattern.
- Measure: Once you have your test page printed, make sure to measure the 2-inch box. If this is off, double-check your print setup page and try again.
Cutting the Patterns
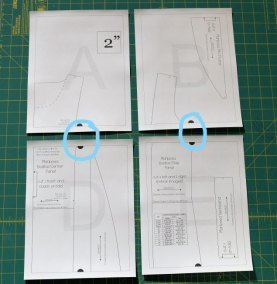
Now you know how to print pdf sewing patterns. Next, is cutting. Using a light source (window or lightbox) overlap pages aligning the circles, or trim the pages and align the circles.
Saving Time / Paper
Try to lay out your pattern before trimming or taping, to see which pages will need to be trimmed and pieced together to save time. To save tape, only use tape when conjoining pattern pieces. Do not worry with taping the entire page or blank spaces.
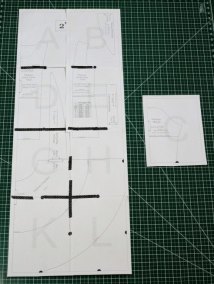
Save time and only print the pieces/pages that you need. For this pattern, I only plan on doing the peplum or tee length with short sleeves. It's Spring now and by the time longer sleeves is needed, my kiddos will most likely need a larger size. If I were printing out an adult sized pattern, I would print all options at one time, storing them all together.
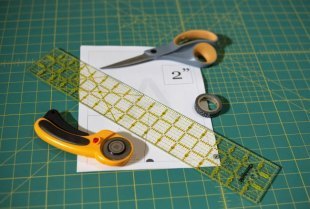
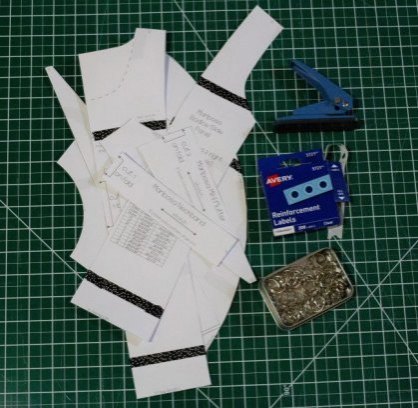 If trimming the edges of the pages, you can use a rotary cutter or scissors. You generally will only need to cut the pages' left and/or top edges, not every single border. With such a small size (3T) and small pattern, I find it easier to trim only the pages I need with scissors. If this was a larger pattern, you could stack the pages and using the rotary cutter and ruler, trim multiple pages at a time. Be careful if your printer is prone to printing pages at an angle, as you might cut some of the patterns if trimming multiple times.
Can I use a projector to avoid printing the sewing patterns?
Many of our patterns have projector files so if you have a mounted projector you can just project the patterns onto the fabric and start cutting. Check out our post on Sewing with a Projector for more information.
Types of Sewing Patterns Available at Peekaboo Pattern Shop
Peekaboo Pattern Shop offers a wide variety of sewing patterns to suit every style and skill level. Whether you're looking to create adorable children's clothing, stylish women's wear, or even accessories like bags and hats, Peekaboo Pattern Shop has you covered. With clear instructions and detailed illustrations, our patterns are easy to follow, ensuring that even beginners can achieve professional-looking results. Here are a few of our favorite patterns:
Sewing Patterns for Women
Discover fashionable blouse patterns for women of all sizes at Peekaboo Pattern Shop. Create stylish beach attire with swimwear patterns. Find patterns for shirts, pants, and skirts that cater to different body types.
 |
 |
Sewing Patterns for Girls
Peekaboo Pattern Shop offers a range of adorable sewing patterns for girls' clothing, including dress patterns in various styles and lengths. You can also create matching outfits with patterns for tops and bottoms. Additionally, there are fun and functional patterns available for activewear and play clothes, all with detailed instructions for easy customization.
 |
 |
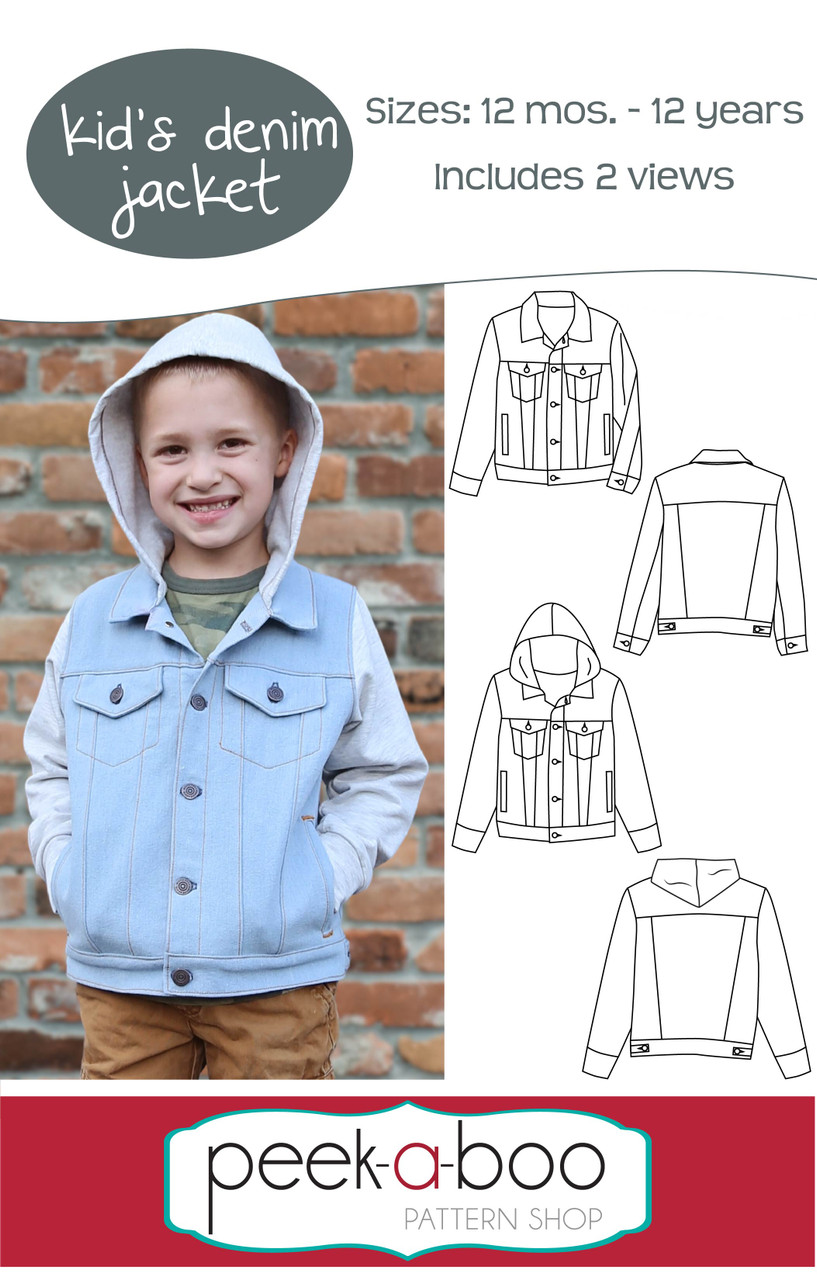
Sewing Patterns for Boys
Discover a range of comfortable, stylish sewing patterns for boys' clothing at Peekaboo Pattern Shop, including shirts, trousers, shorts, swimwear, and more. From casual to formal wear, there's a pattern for every little gentleman.
 |
 |
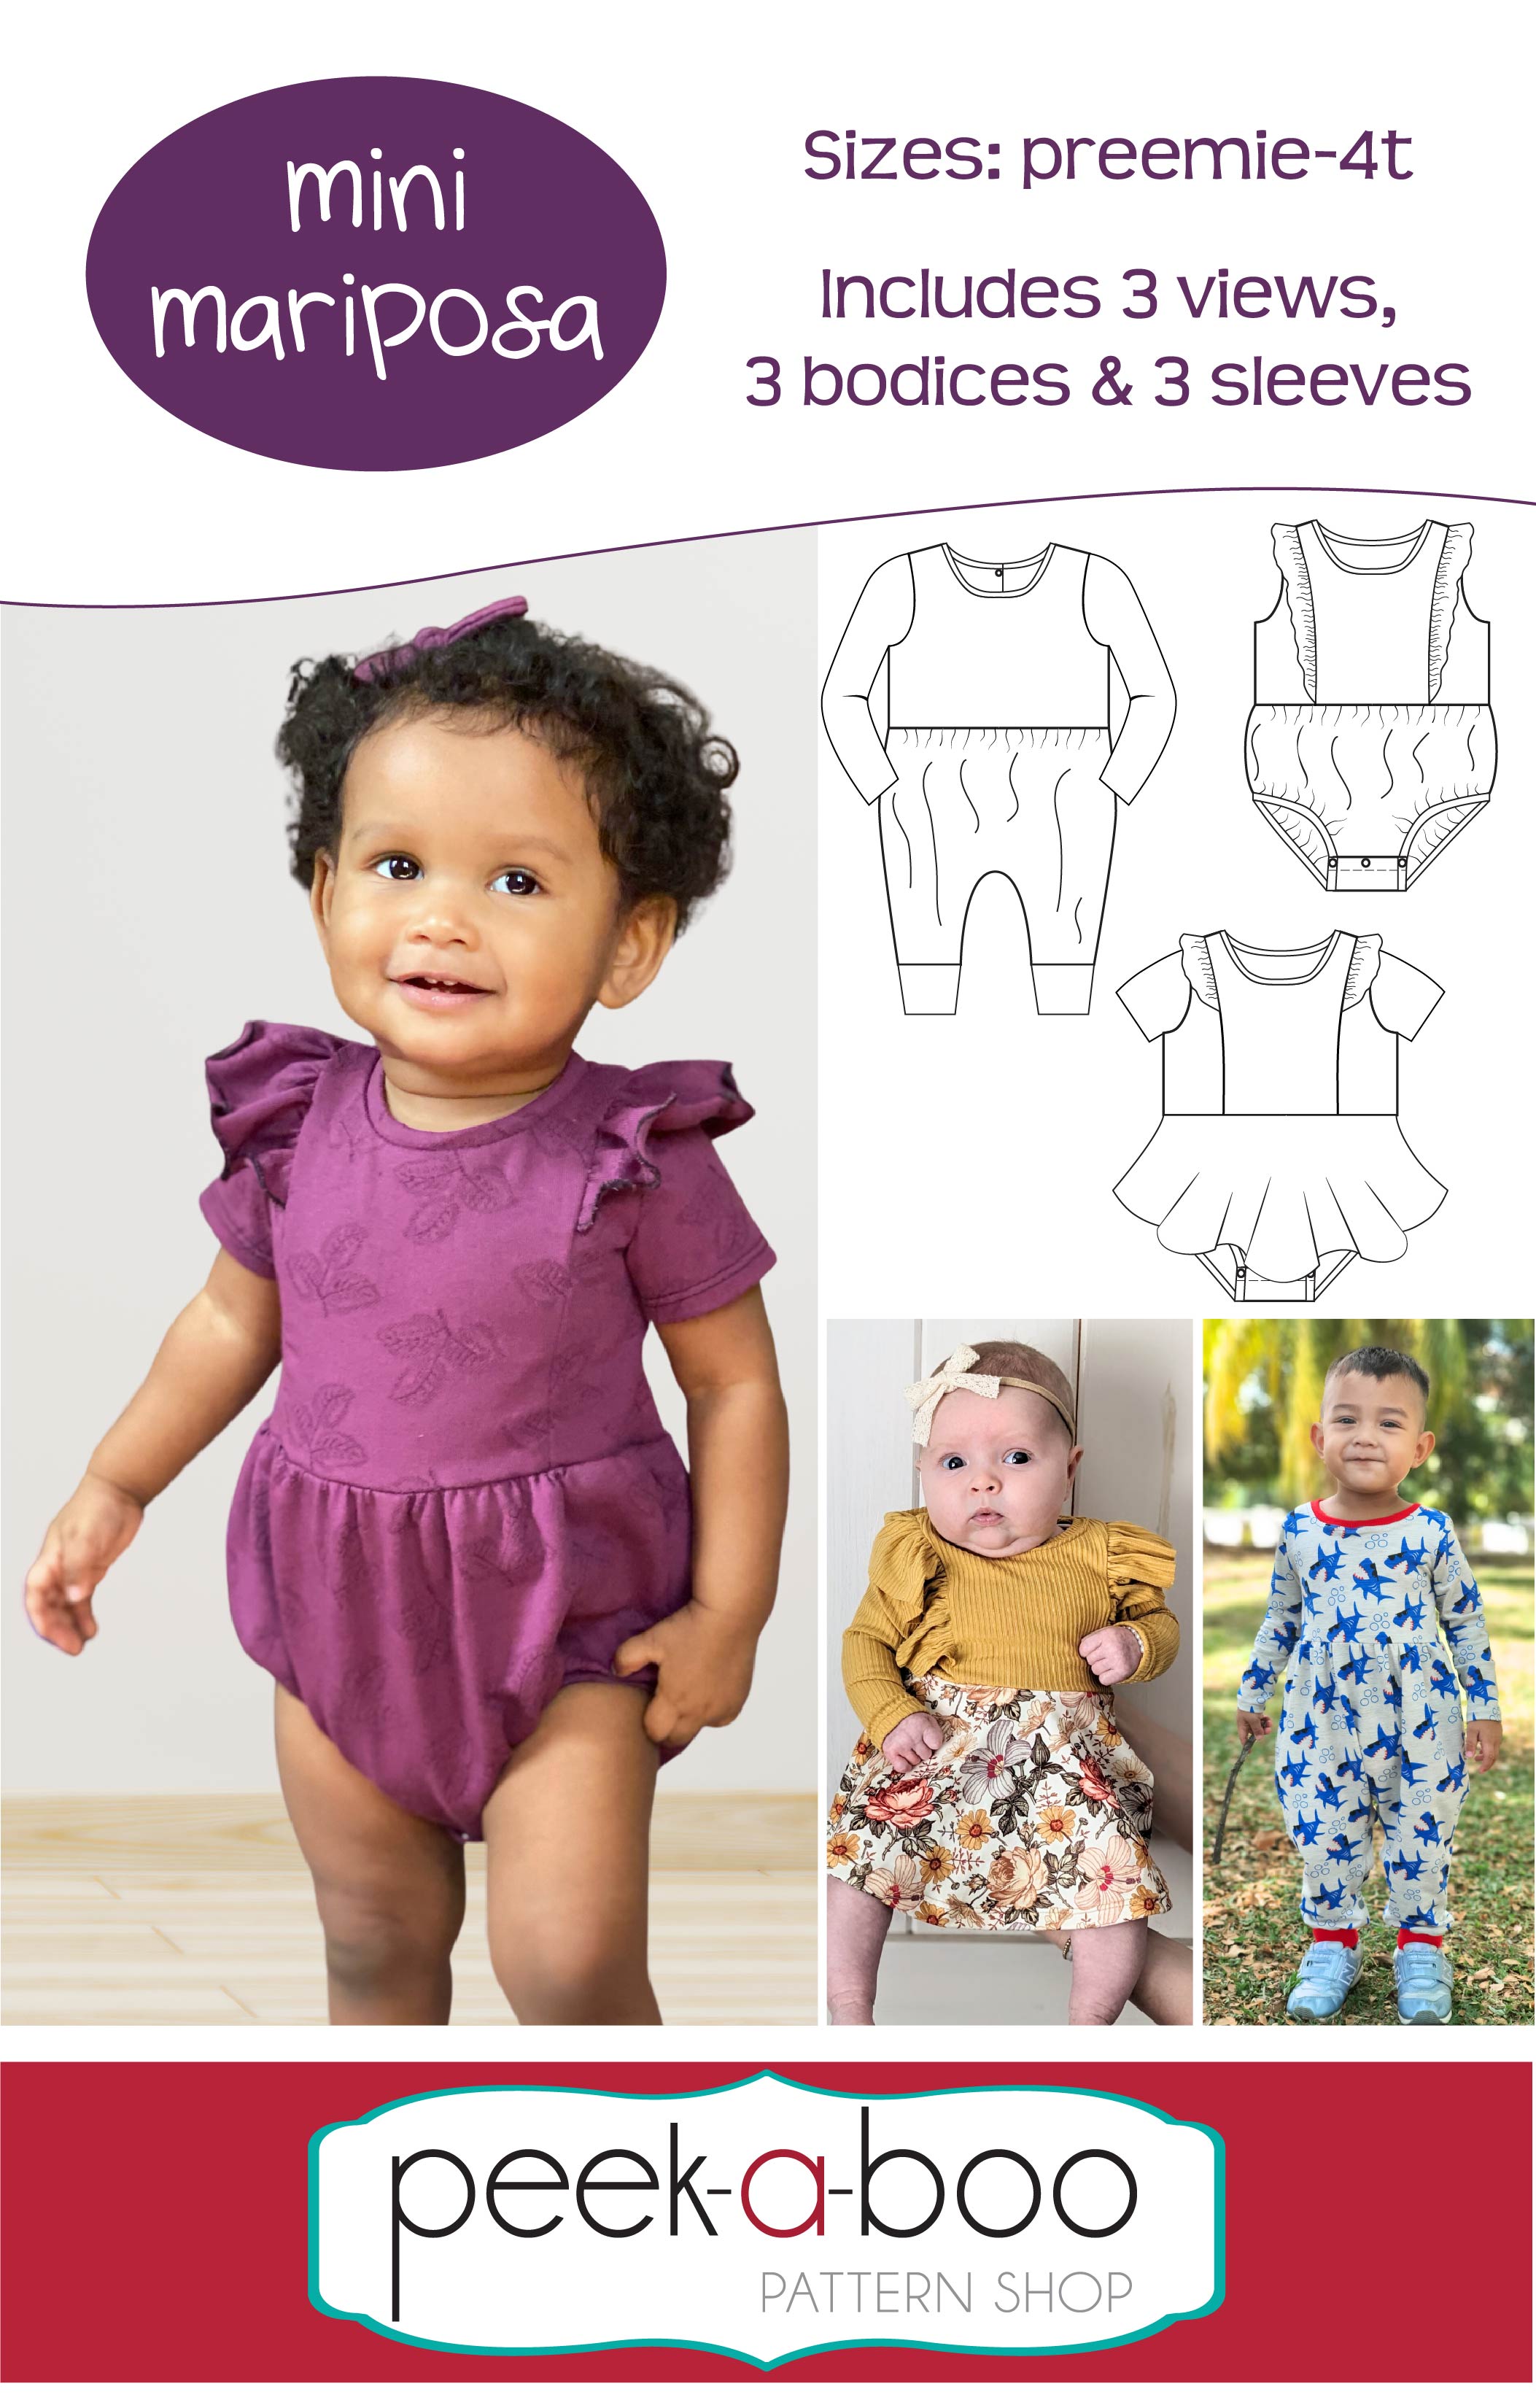
Baby Patterns
Babies are always a favorite to sew for. We have over 30 fun options perfect for babies. In fact, we have a special section called our Lullaby Line for Baby. Our selection includes Psewing patterns for babies, including cozy onesies, dresses, skirts, and adorable accessories like hats and bibs.
 |
 |
How have Digital Sewing Patterns Revolutionized Home Sewing?
Digital sewing patterns have revolutionized home sewing by offering convenience and easy access to a wide range of designs. With instant access and no need for shipping, these patterns allow for easy scaling and customization. They also reduce the risk of damage or loss compared to physical patterns, and often come with detailed instructions and tutorials.
Get Started with a Free Sewing Pattern
If you are just starting your sewing journey, we have over 25 Free Sewing Patterns to get you started. Just sign up for our newsletter HERE to get the free code to use on checkout after adding one of the patterns from our Freebies Section.
Well, it times to wrap up this guide. Unfortunately, with over 300 options we were only able to shine the spotlight on a few but that shouldn't stop you. Our Shop Sewing Patterns Section on the website has details about all of them. Each specific one has all of the details you need, customer reviews, and a variety of pictures to give you inspiration. They can also be sorted by skill level, fabric type, etc. Finally, be sure to come join our Peek-a-Boo Pattern Shop Facebook Group where all of our customers love to share what they sew up. You can also follow us on Instagram and YouTube. Happy Sewing!