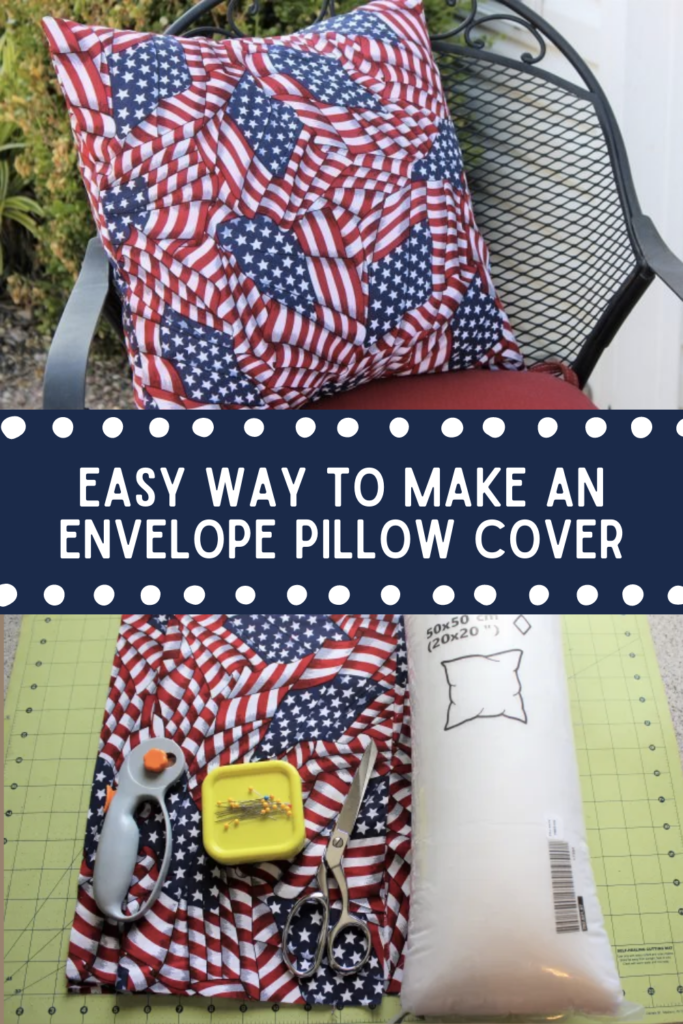
How to Make an Envelope Pillow Cover: 6 Steps
Are you ready to learn how to make an envelope pillow cover? Do you want to give your living space a fresh new look without spending too much money? Envelope pillow covers are an inexpensive and easy way to do just that. They are simple to make, even for beginners, and can be customized to match any decor style. In this step-by-step guide, we will cover everything you need to know about creating your own envelope pillow cover in 6 easy steps. We will explain what it is, the supplies you need, how to prepare and sew your fabric, and finally, how to complete the project. Plus, we'll provide some tips on styling your new pillow cover and suggest other DIY projects you can try. Get ready to impress your guests with your new sewing skills!
What is an Envelope Pillow Cover
An envelope pillow cover is a simple yet effective way to make pillowcases. It consists of front and back panels with an overlap in the back to insert the pillow form. This type of cover forms a pocket to hold the insert securely in place, making it perfect for circular pillows. The pillow covers can be effortlessly removed for washing and do not require zippers or buttons, making them beginner-friendly.
Gathering Your Supplies for the Project
Before you start creating your envelope pillow cover, gather the following supplies. Here's what I used:
- Pillow: You can use a pillow form from your local craft store, or you can use a throw pillow you already own.
- Fabric: 1/2-1 yard of fabric. May need some extra fabric depending on the size of your pillow
- Scissors or rotary cutter
- Cutting Mat
- Pins
- Sewing machine and thread
- Iron
Choosing the right piece of fabric is essential to complement your decor. Remember to pre-wash to prevent any washing surprises. When choosing fabric for your envelope pillow cover, durability is key, especially for frequently used pillows. Ideal choices include cotton, linen, and polyester blends. Select a pattern that enhances your space and ensure the wrong side isn't visible after sewing. Be cautious with ironing; avoid excessive heat, especially for delicate fabrics.
How do I measure my pillow for making an envelope pillow cover?
To measure your pillow for making an envelope pillow cover, lay the pillow flat and measure its width and length. Add an extra inch to each measurement to account for seam allowances. This will ensure a snug fit for your pillow cover.
How to Make an Envelope Pillow Cover in 6 Steps | Sewing Tutorial
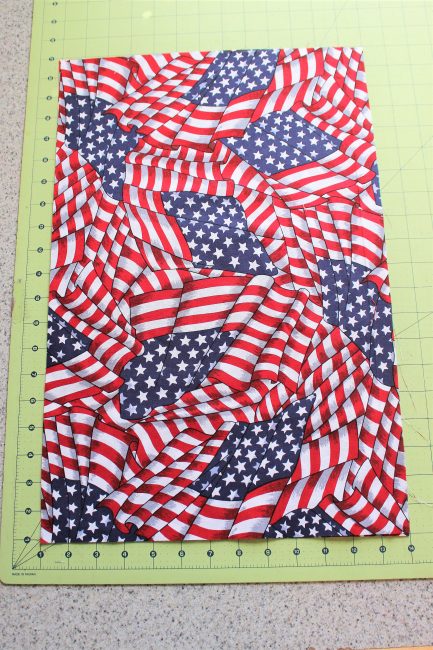
Pillowcase Step 1:
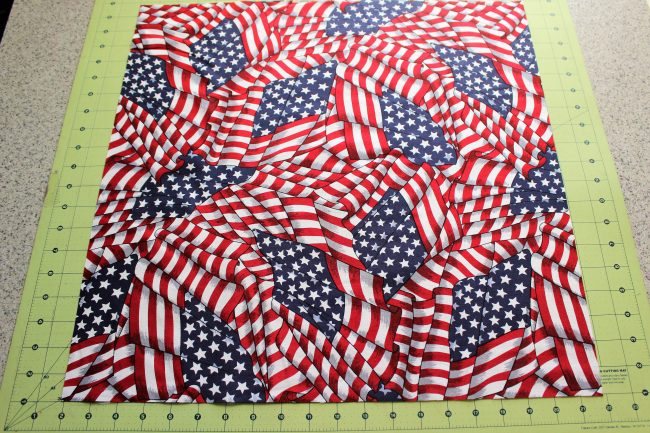
First, you’ll need to cut your fabric. You will have one front piece and two back pieces. You’ll need to measure your pillow to determine what size to cut your fabric. The front piece of fabric is going to be the same size as the pillow. My pillow was 20 inches x 20 inches so I cut my front piece 20 inches X 20 inches.
When cutting out the fabric for your envelope pillow cover, ensure the front piece and back panels have the correct dimensions. Use scissors, shears, or a rotary cutter for accurate cutting.

How to Make an Envelope Pillow Cover Step 2:
After that, we move to the back. To determine the size of your back pieces, you’ll need to do some very basic math. The width will stay the same as your pillow, and the length will be the width divided by 2 plus 3. (For example, mine would be 20 /2 = 10, 10+3= 13. So my back pieces are 20 inches x 13 inches.) You will need to cut two back pieces.
Step 3:
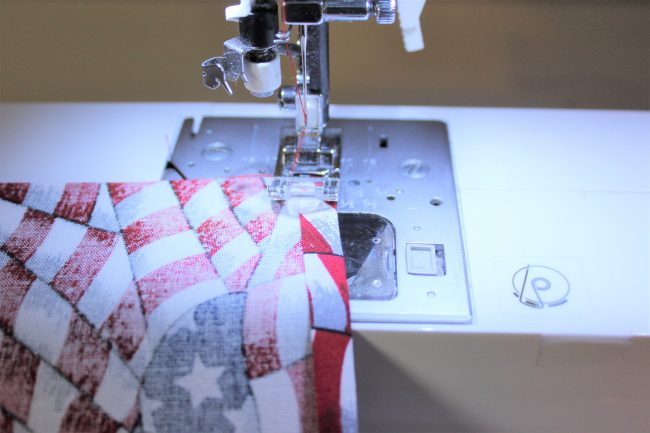
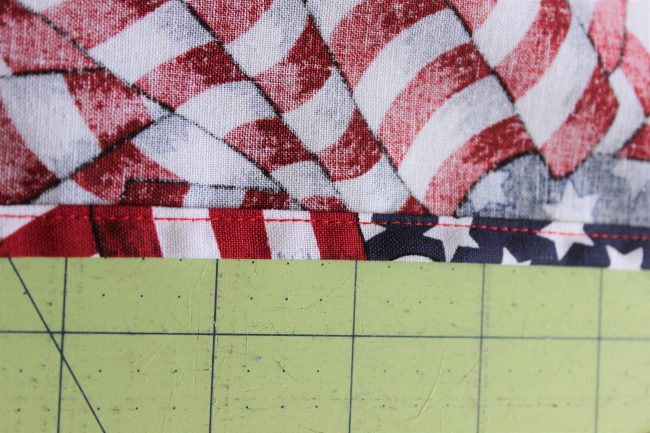
Next, we will be sewing the hem of the back flaps. To start, take your back pieces to the ironing board and press a small hem along one of the long sides of each back piece. To do this, simply fold under the edge 1/4 inch and press. Then fold it under another 1/4 inch, completely enclosing the raw edge, and press again. After that, do this for both back pieces.
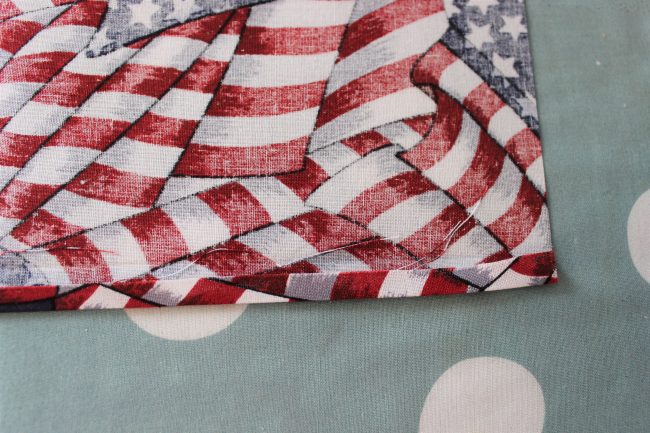
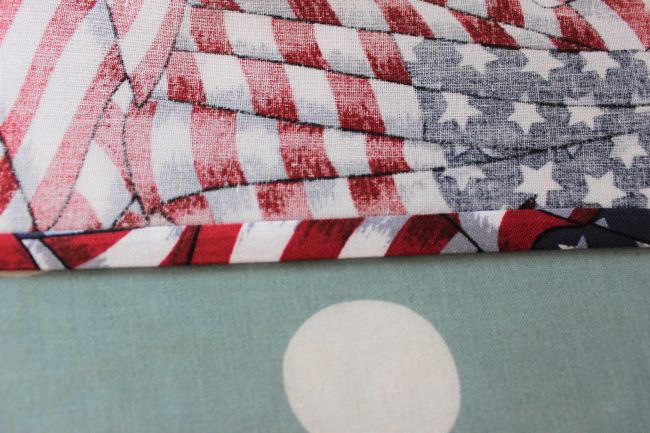
Then sew the hem in place.
Step 4:
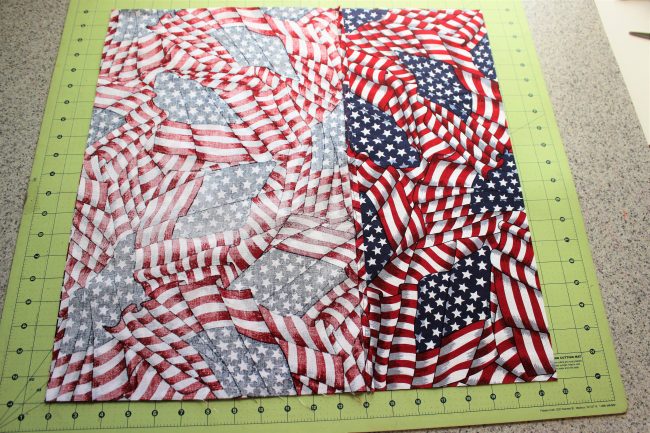
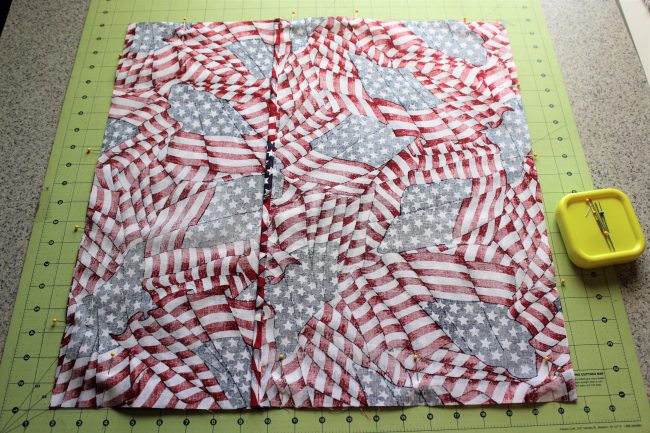
Now, you’ll need to pin your back panels to the front panel. To do this, lay your front piece right side up on your mat. Next, lay one back piece right side down on top of it, lining up the edges. Next, lay the other back piece right side down on top of the front piece. The two back pieces should overlap. This will create an envelope-style opening for your pillow when you are finished. Then, pin along all four edges.

Step 5:
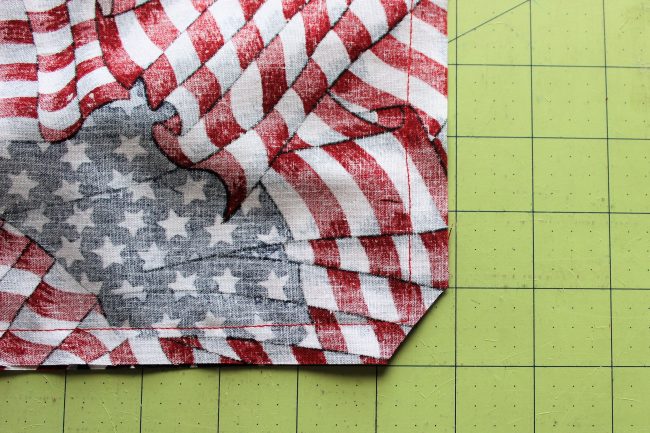
Head to your sewing machine and sew along all four edges using a 1/2 inch seam allowance. Then, trim your corners to reduce bulk in the seam. Make sure not to cut into the stitching.
Step 6:
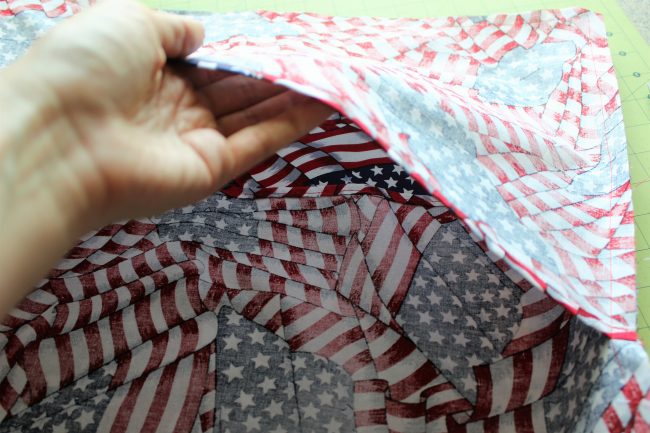
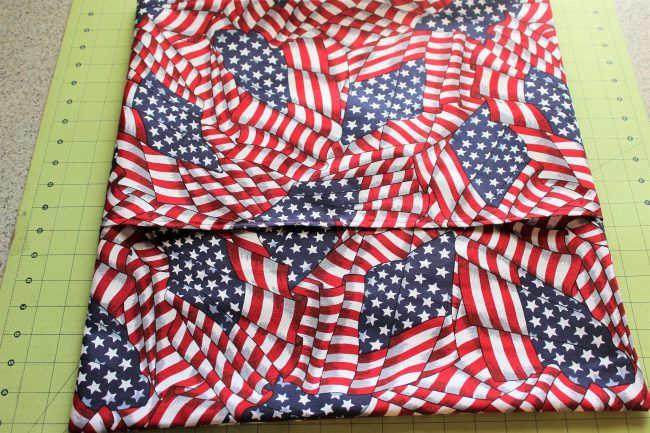
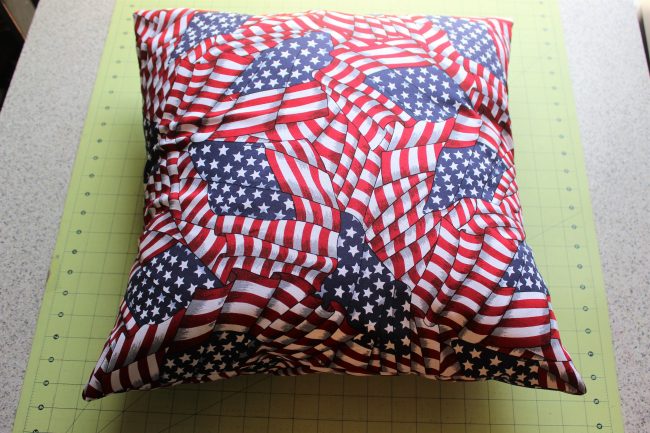
Flip your pillow cover right side out. You can iron it if you wish to give it a crisp finish. Then simply insert your pillow and admire your work!
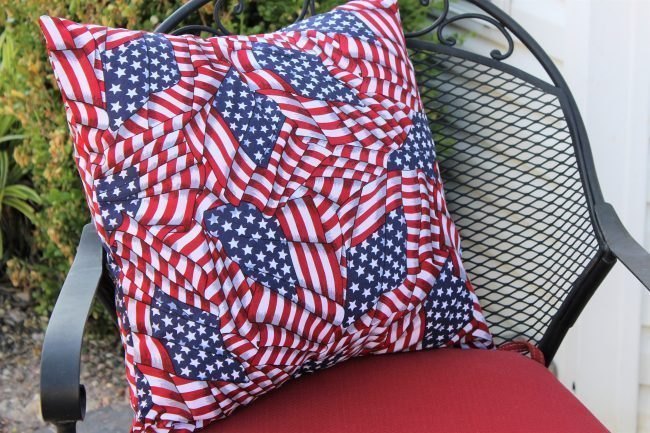
Styling with Your New Envelope Pillow Cover
Experimenting with different fabric patterns can add a personalized touch to your home decor. You can also mix and match envelope pillow covers to create depth and texture in your living space. Coordinate the colors of your pillow covers with your existing decor for a cohesive look or try circular pillows for a unique and trendy addition to your seating area. Additionally, incorporating the envelope pillow covers into your throw pillows can create a versatile and stylish arrangement.
How to Incorporate This into Your Home Decor
That’s all there is to the DIY pillow cover! It only took 5 simple steps to make the pillow cover with an envelope enclosure. After you have the basics down, you can let your creative juices flow and have fun with color blocking, embellishing, or even appliqueing. Whatever suits your fancy. More importantly, you can use this tutorial to create slipcovers for any size pillow too. Going forward, just follow the simple math formula to calculate your measurements and you’re good to go. You can easily make these for any holiday. Come see the fabrics we have over at KnitFabric.com.
Conclusion
Thank you for joining us to learn how to make an envelope pillow cover. This is a great way to update your home decor. Following these step-by-step instructions, you can easily create a personalized pillow cover that complements your style and adds a touch of charm to any room. Gather all the necessary supplies and take your time with each step to ensure a professional-looking finish. Once you've completed your envelope pillow cover, you can showcase it on your couch, bed, or favorite chair, and admire your handiwork. If you enjoyed this DIY project, there are plenty more sewing projects you can explore to unleash your creativity and enhance your home decor.
Before you leave, make sure to join our Facebook Group and follow us on Instagram. Happy sewing!