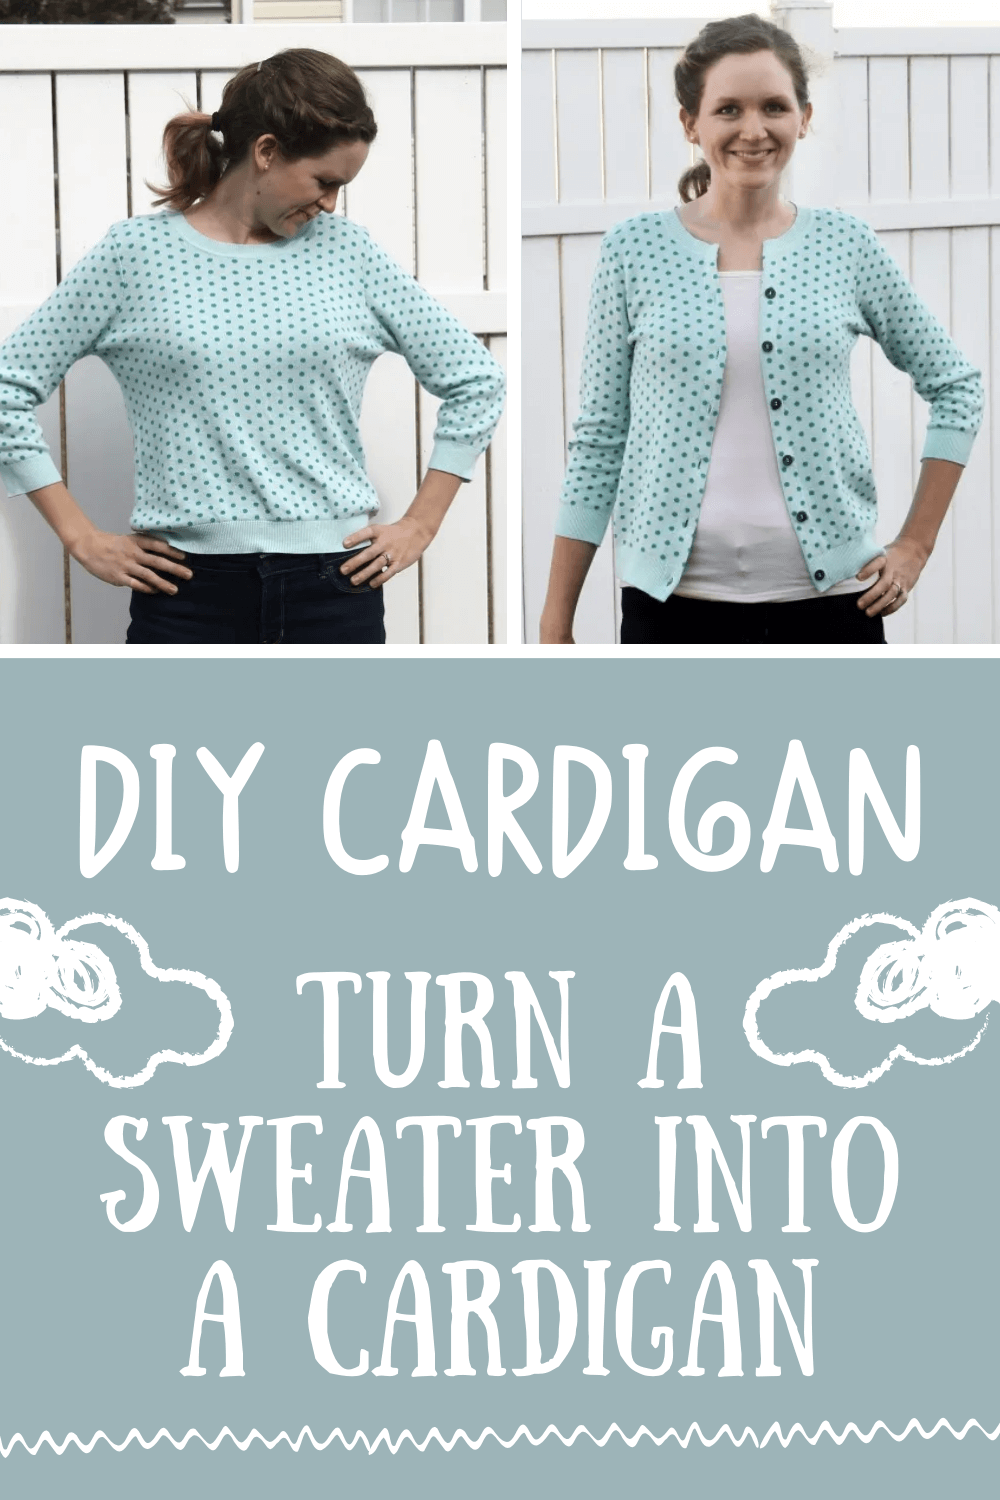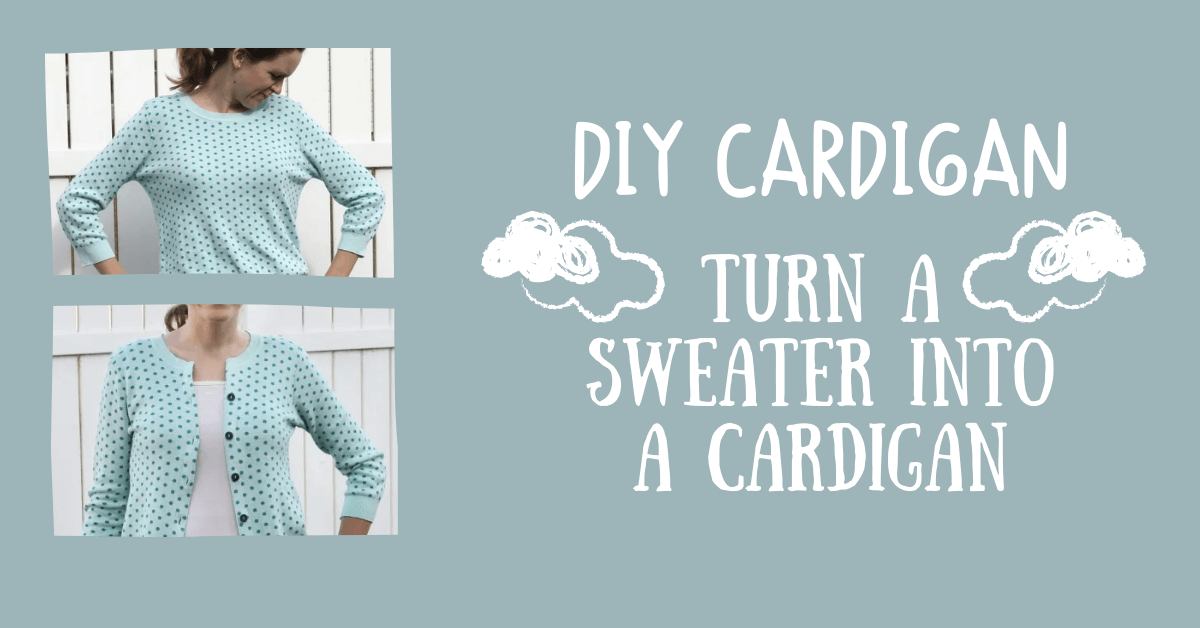
DIY Cardigan | Turn a Sweater into a Cardigan
Emily here with a fun up-cycle project for you today - the DIY cardigan. I recently moved to a colder climate after spending the last 4 winters in San Diego and Hawaii, and I have been really excited to break out my winter clothes again. Do you have some old sweaters hanging out in your closet? Here is a DIY cardigan sweater tutorial to turn those old sweaters into fun, new cardigans.
DIY Cardigan | Make a Sweater Into a Cardigan
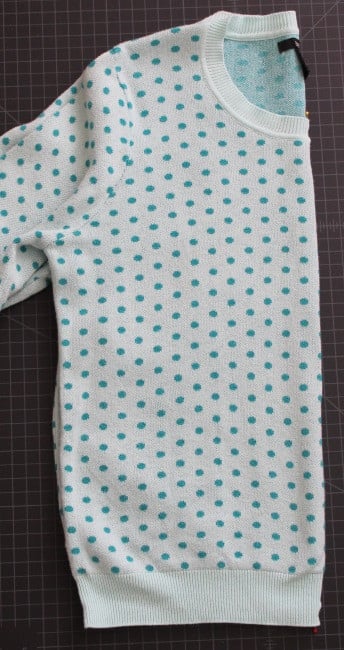
I found this sweater at a thrift store a while ago. I loved the color and the cute polka dot print, but it was at least one size too big, and the boxy shape just wasn't flattering.
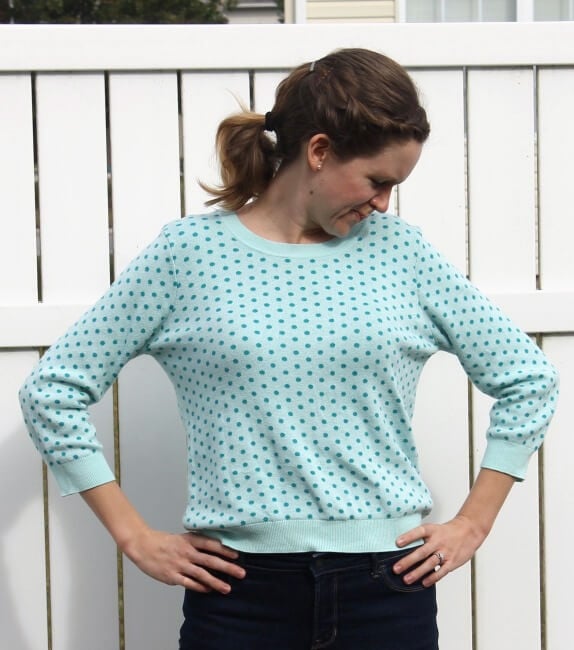
I decided it had potential as a cardigan. Want to update one of your old sweaters too? Here's how I did it:
DIY Cardigan Instructions
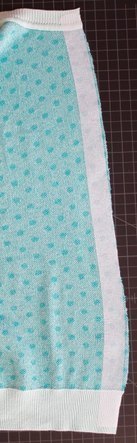
Cardigan Step 1: Fold your sweater in half and mark the center front at the top and bottom.
Cardigan Step 2: Cut straight up the center front, making sure to only cut through the front layer of the sweater.
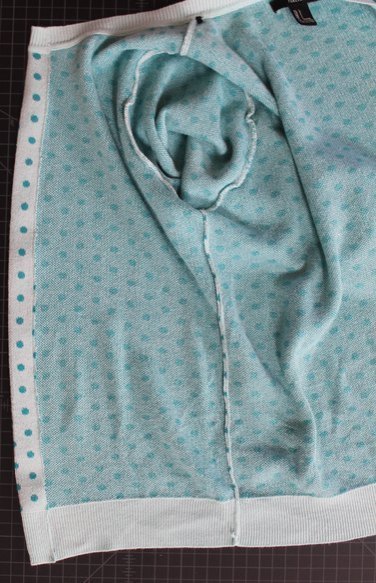
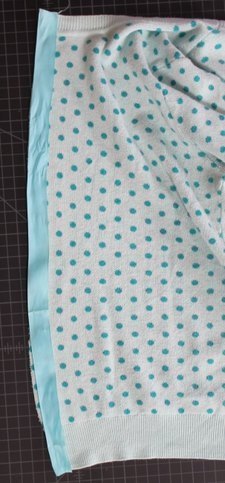
Cardigan Step 3: Attach a 1" strip of fusible interfacing to the wrong side of the fabric on each side of the opening.
Cardigan Step 4: The next step depends on how well your sweater fit you before you started. My sweater was much too big, so I didn't mind losing a couple of inches. I folded the edges of the sweater over 1" toward the inside of the sweater and stitched it in place. You could do a little less if you don't want to take your sweater in as much.
If your sweater already fits you well, you can attach ribbon to each raw edge instead of folding it over. To do this, sew a ribbon to the raw edge of the sweater with a 1/4" seam with right sides together. Then turn the ribbon to the wrong side and stitch it down.
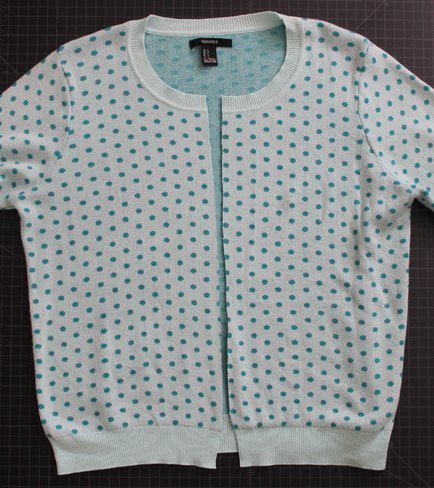
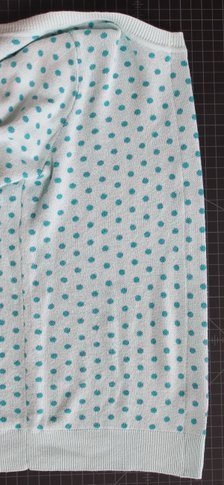
Either way, your sweater should look like this when you are done.
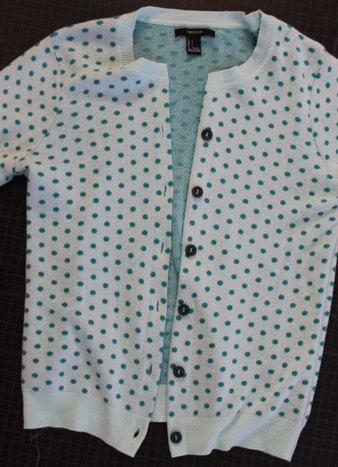
Cardigan Step 5: If you prefer an open cardigan, you are done. Easiest project ever! If you want a closed cardigan, add buttons to the left side (from the wearer's perspective) and buttonholes to the right side.
Cardigan Step 6: Try on your cardigan to see how it fits now. Mine was still too big, so I needed to take in the side seams. Using a basting stitch, I sewed a 3/4" seam from the bottom of the side seam all the way around to the bottom of the sleeve, tapering off my seam at the end so that the sleeve cuffs wouldn't be too tight. You may need to take your sweater in more or less depending on your fit.
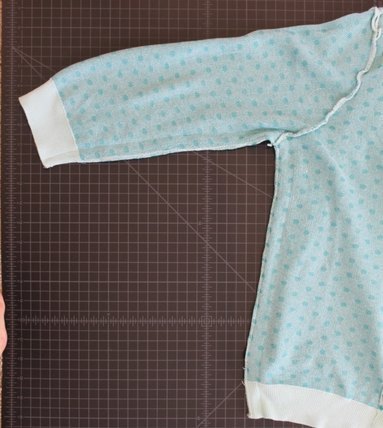
Cardigan Step 7: After basting both sides, try on your sweater again. If the fit is correct, sew over your basting stitches with a serger or a zig zag stitch and trim off the extra fabric.
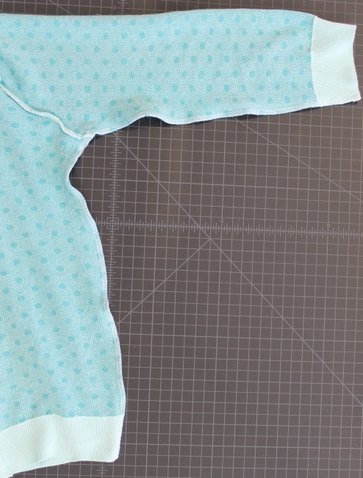
All done! So much better. Mine is still a little baggy under the arms, but overall I am really happy with how it turned out!

It makes a fun open cardigan too!

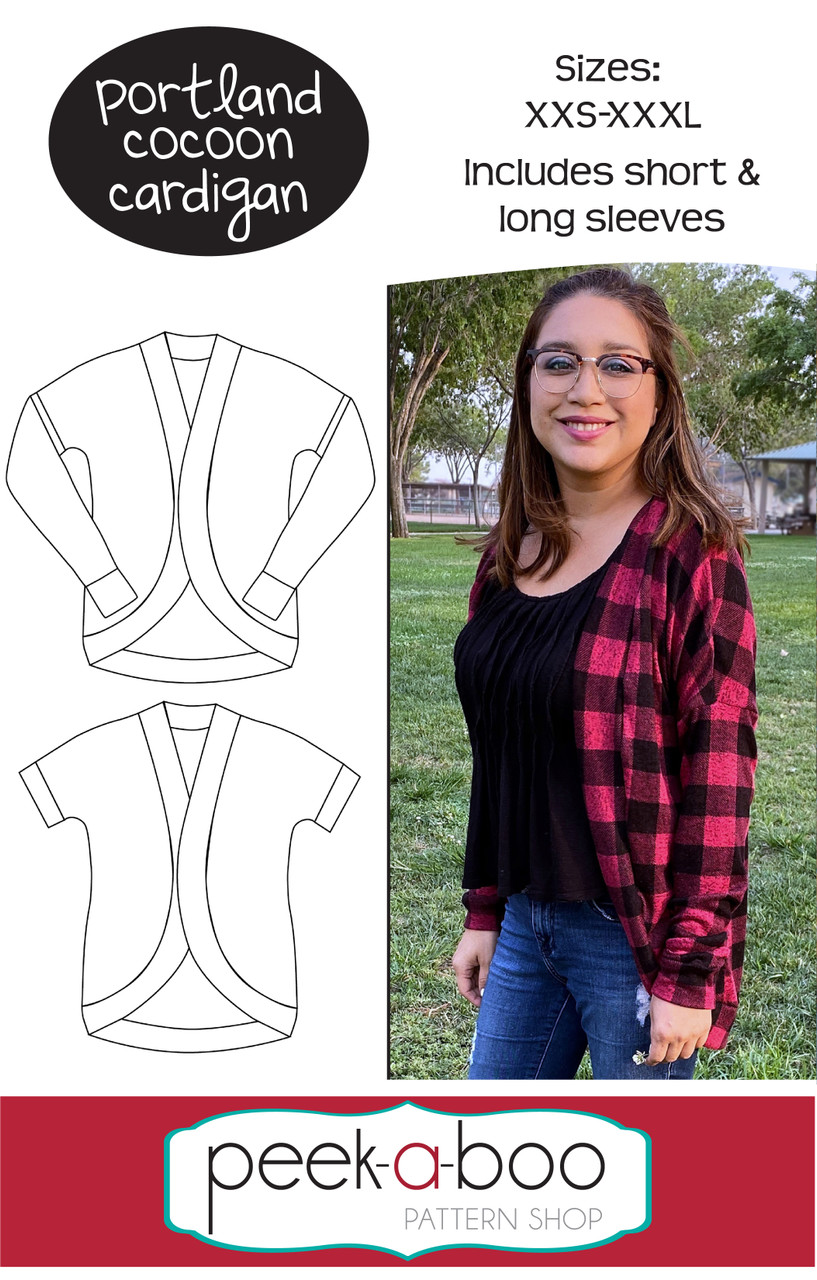
Sew a New Cardigan at Peek-a-Boo Pattern Shop
We'd sure like to thank Emily for coming over to show us how to make a cardigan. Her method is super simple and uses existing clothing to make cardigans. You can also use one of our amazing patterns over at Peek-a-Boo Pattern Shop to make your cardigans.
Here are a few of our favorite cardigans:
 |
 |
 |
 |
Before you leave, be sure to join our sewing community in the Peek-a-Boo Pattern Shop Facebook Group. Also, check out some of these other posts.