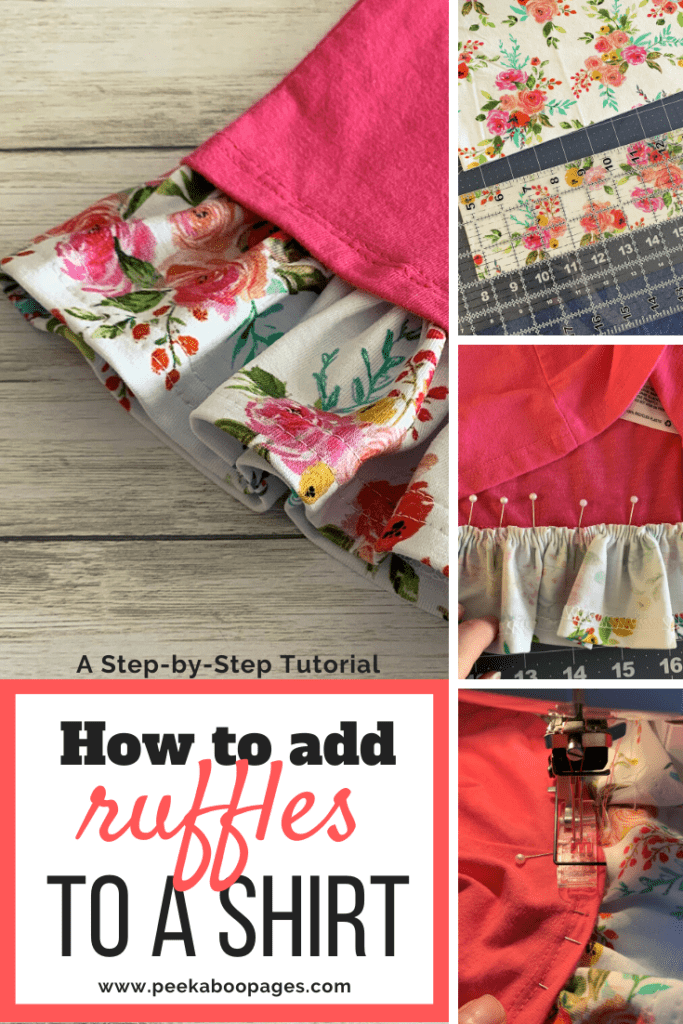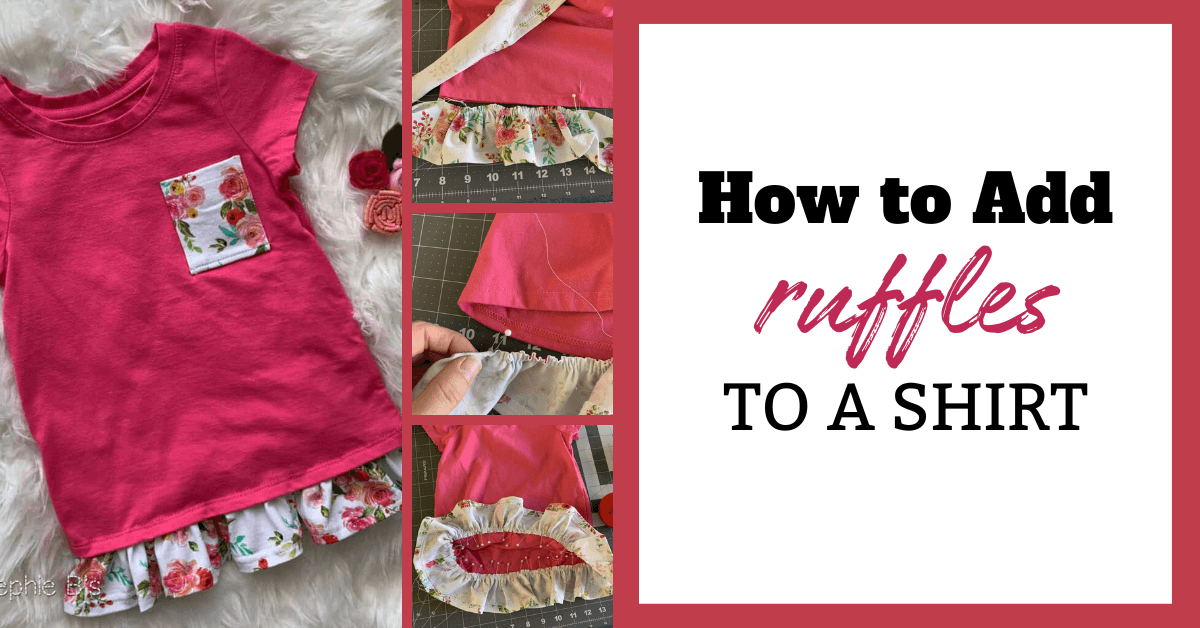
How to Add Ruffles to a Shirt
Hello! It’s Stephanie from Stephie B’s Designs again with another fun tutorial. Today I’m going to show you how to add ruffles to a shirt! This is such a cute trick!
I have twin daughters, so I have many shirts in a million different styles. One style that I love is a shirt with a couple of inches of cuteness (more commonly referred to as ruffles!) on the bottom hem. It adds a bit of length, as well, which can be helpful, too, if your little girl’s shirt fits at the shoulders but is too short. This hack is also fun if you want to add a bit of pizzazz to a solid-colored shirt (as is the case for me today), or if you’d like a solid color added to a printed shirt. The options are limitless!
Side note… The pictures below will show you how to add a ruffle to an existing shirt – it’s an upcycling project – however, I will also address (without pictures) how to add a ruffle to a shirt you’re sewing from pattern pieces. Looking for shirt ideas?! I have tons! These are my go-to shirt patterns, all from Peek-a-Boo Pattern Shop. For a basic t-shirt, the Classic Ringer Tee is perfect! I’ve made it a million times. Check out the Grand Slam Tee and Dress for a baseball-style Raglan shirt. Peek-a-Boo Pattern Shop has TONS more tank tops and girly shirts that this trick can be used with – and I recommend them all. 🙂
Ok, so let’s get started!
How to Add Ruffles to a Shirt Sewing Tutorial
Ruffled Shirt Supplies Needed:
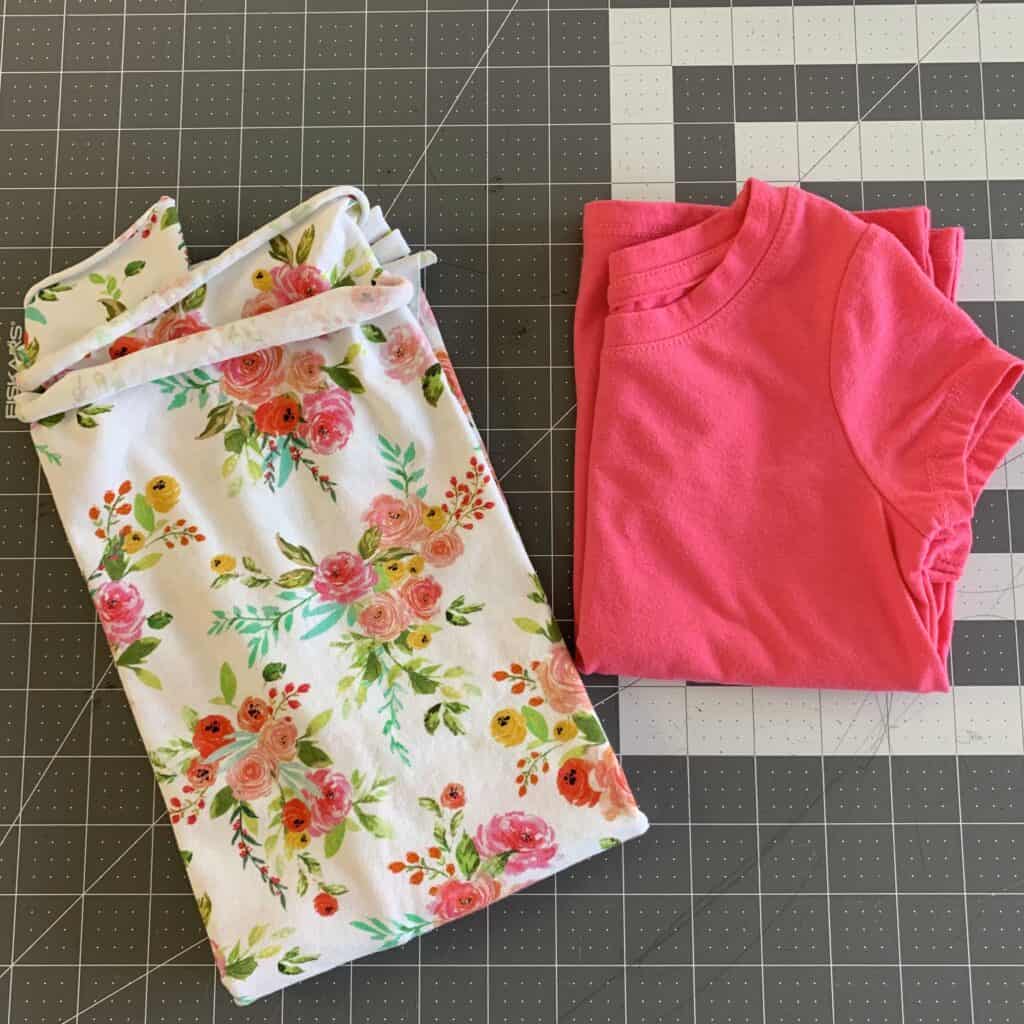
- Your shirt. (Premade or pattern pieces)
- Fabric for the ruffles. (Woven or knits can be used. I’m using a lovely floral print from KnitFabric.com)
- Ruler
- Scissors OR rotary cutter and self-healing mat
- Pins
Step 1. Decide how long you want your ruffles.
A good ruffle length is anywhere between 2-4 inches, although I’ve seen some patterns with 6 inch ruffles and love the look! At some point long ruffles are no longer ruffles and are instead a gathered skirt, though… I’m sure that is defined somewhere, but that’s above my pay grade. 🙂 It’s totally up to you how long you want your ruffles. For this particular shirt, I chose to go with 2in long ruffles.
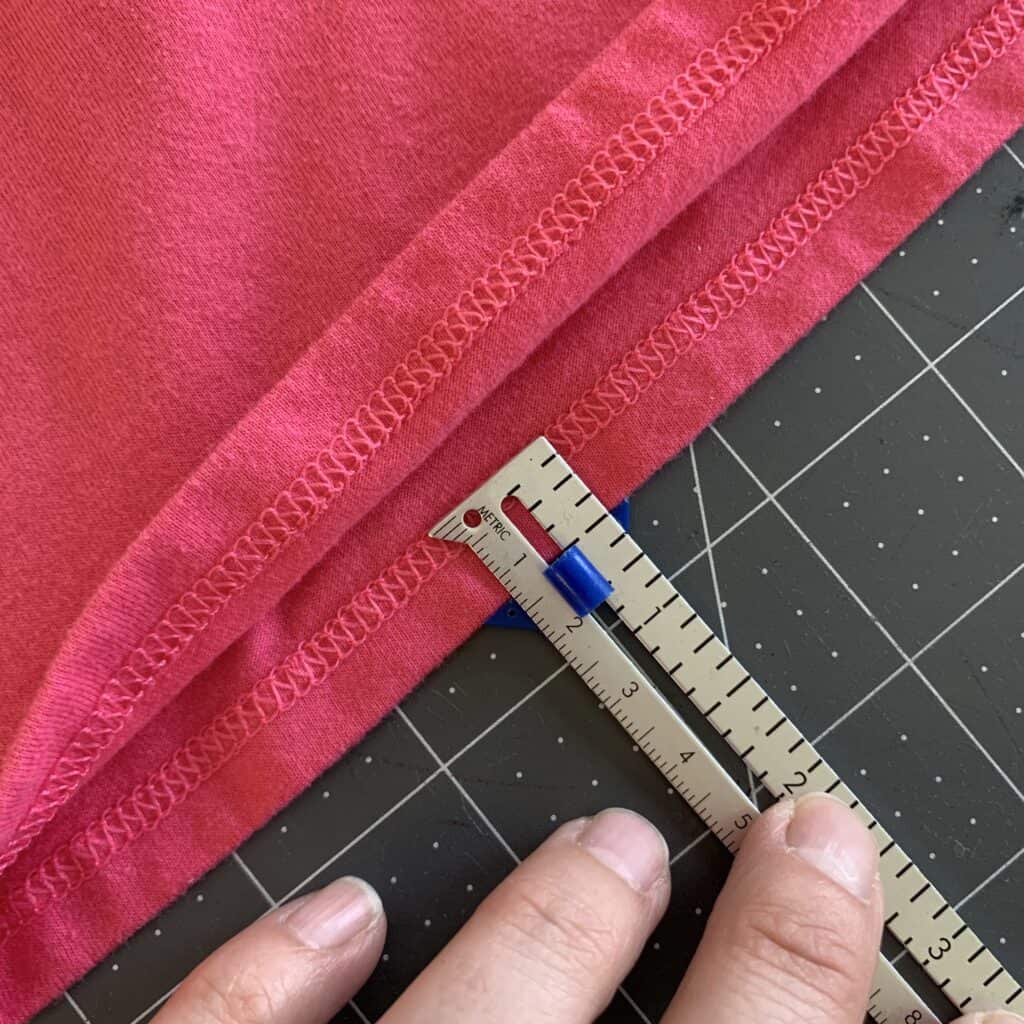
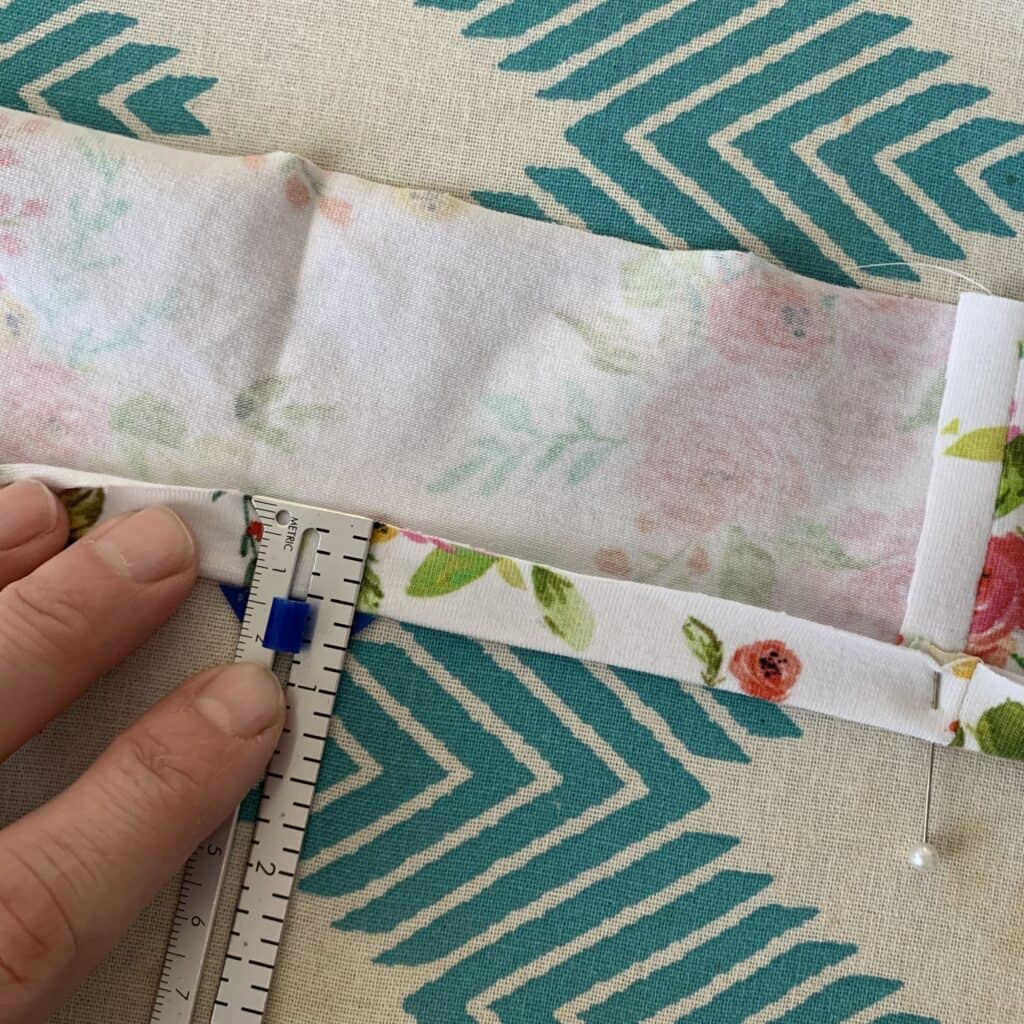
Now that you know how long you want them, you need to add in the seam allowance (how much will be sewn under the shirt) and the hem (how much you want to hem the ruffles, if any at all). As you can see in the image below, my shirt has a 1/2in hem, so I will add 1/2in to my 2in ruffle length. That way, I can pin the raw edge of my ruffle to the underside of the shirt to meet it’s already-hemmed raw edge. That sounded very confusing… bear with me and it will make sense soon enough!
The hem on my ruffle is going to be 1/2in as well, but you can use 3/4in, 1in, or whatever your heart desires. Add that on to the length of the ruffle. Bonus! You can also forgo the hemming and leave the edge raw (if using a knit) or do a rolled or lettuce hem.
Sewing a shirt from a pattern? Use the pattern’s recommended seam allowance.
So… public math…
2in ruffle + 1/2in seam allowance + 1/2in hem = 3in
I need to cut my ruffle 3in long (from top to bottom).
Step 2. Decide how wide to make your ruffle strip/strips.
The main purpose of this step is to determine how ruffly you want your ruffle. You will be gathering the fabric to make your ruffles, so you can make them super ruffly if you cut your strip really long, or they can be slightly wavy if you cut your strip just a tad longer than the width of the shirt.
Clear as mud?!
I tend to cut my strips about twice the width of the shirt. That gives me a nice gather and the fabric is still manageable to sew.
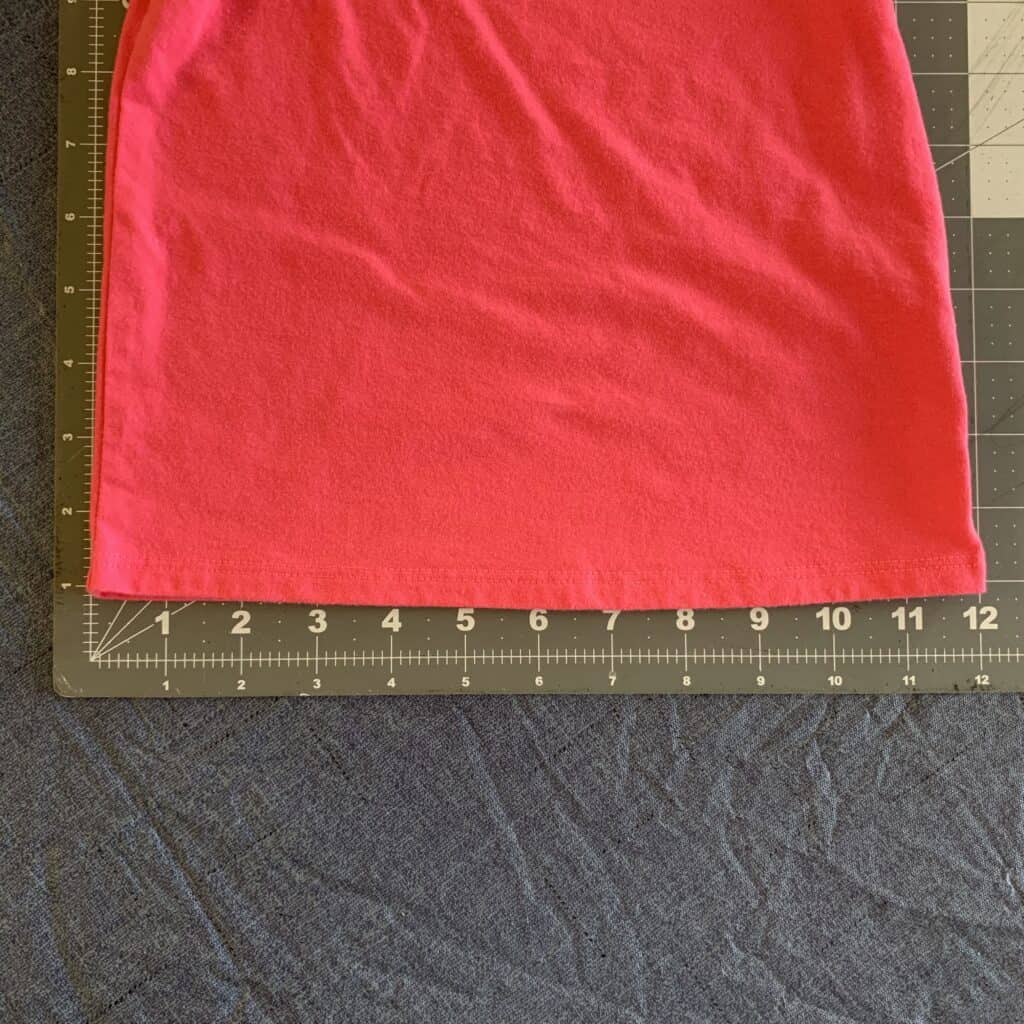
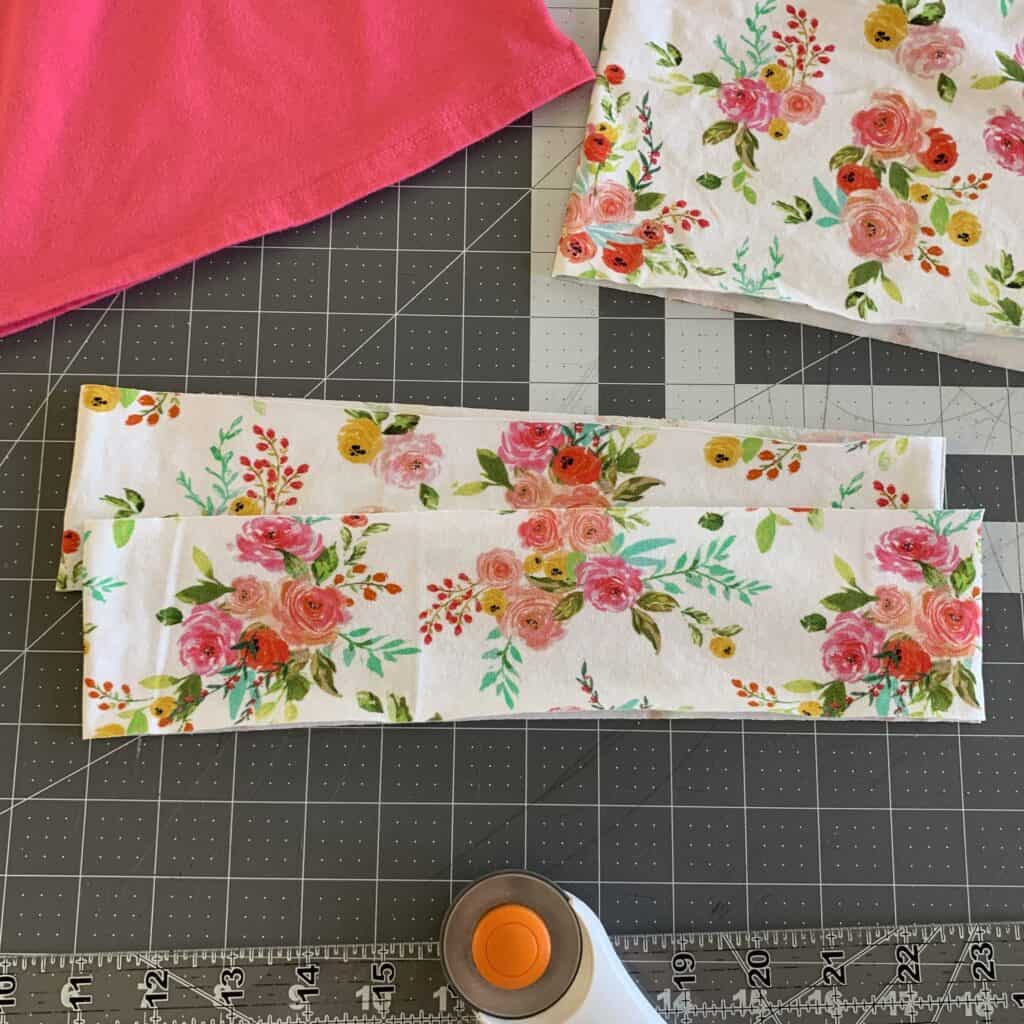
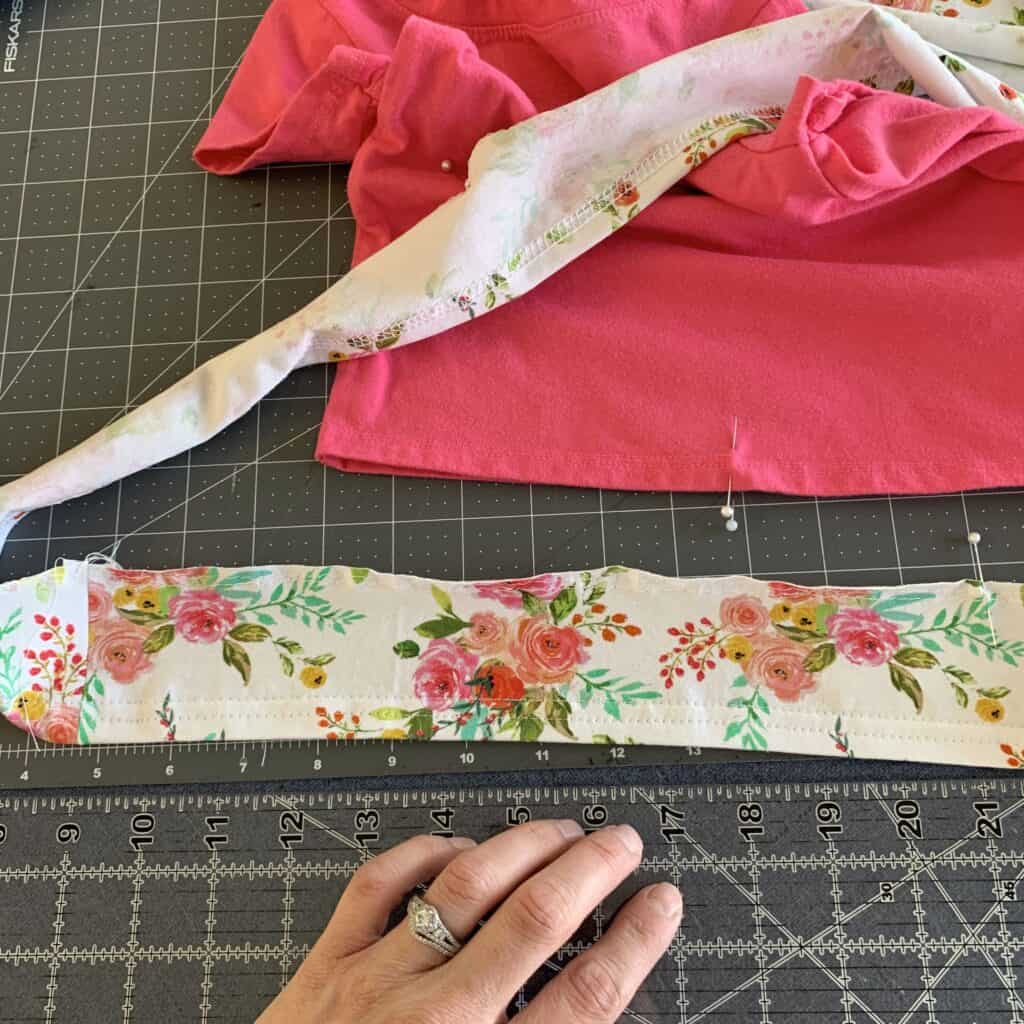
To begin, measure how wide them hem of your shirt is. Mine is 12in wide, as you can see in the image below.
Sewing a shirt from a pattern? Measure the width of the front and back pieces, then use those measurements to determine how wide you want your strips. I recommend cutting two strips, maybe twice the width of your front and back pieces.
That measurement does not include the seam allowance along the side of the shirt – you can add it or not, it’s your choice.
I am adding in the seam allowance… a serged seam would add about 1/4in on each side seam, so I will add 1/2in that to the width of my strip.
You can either cut two strips and sew them together (they’d match up with the sides of the shirt), or you can cut one continuous strip and have only one seam (matched up with one side seam).
I opted to cut to strips, twice the width of my shirt. Each seam will match up with a side seam.
More public math!
12 1/2in x 2 = 25in
Therefore, I’ll be cutting two 3in x 25in strips. 🙂
Step 3. Cut your ruffle strip/strips.
This step is easy! Measure and cut your strip/strips.
Sewing a shirt from a pattern? I recommend sewing your shirt together all the way, leaving the bottom of the shirt unhemmed for now. That way you will be following the steps below. You can however choose to gather and sew two strips to the front and back of the shirt separately then sew up later. If you chose the latter option, you will be sewing the side seams at the very end, after the ruffle has been sewn/hemmed onto the shirt.
Step 4. Hem your ruffle.
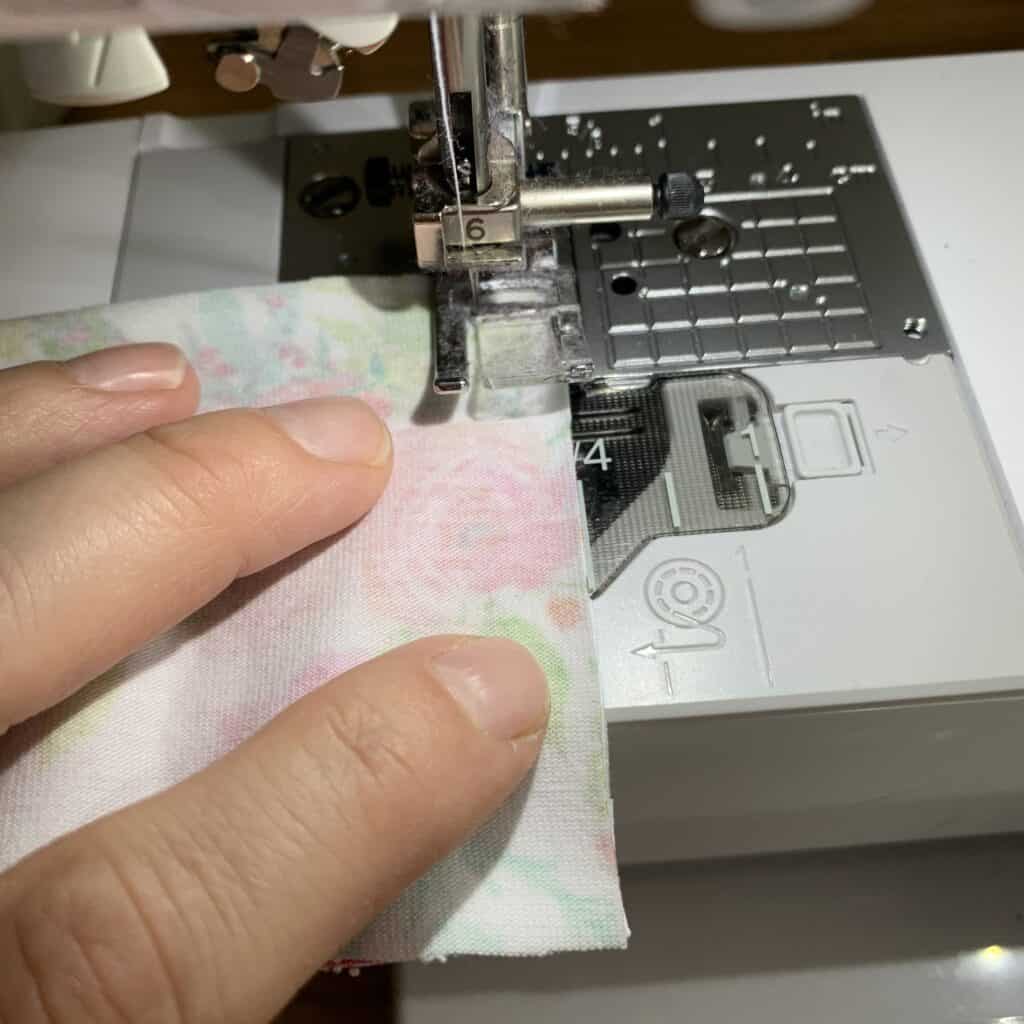
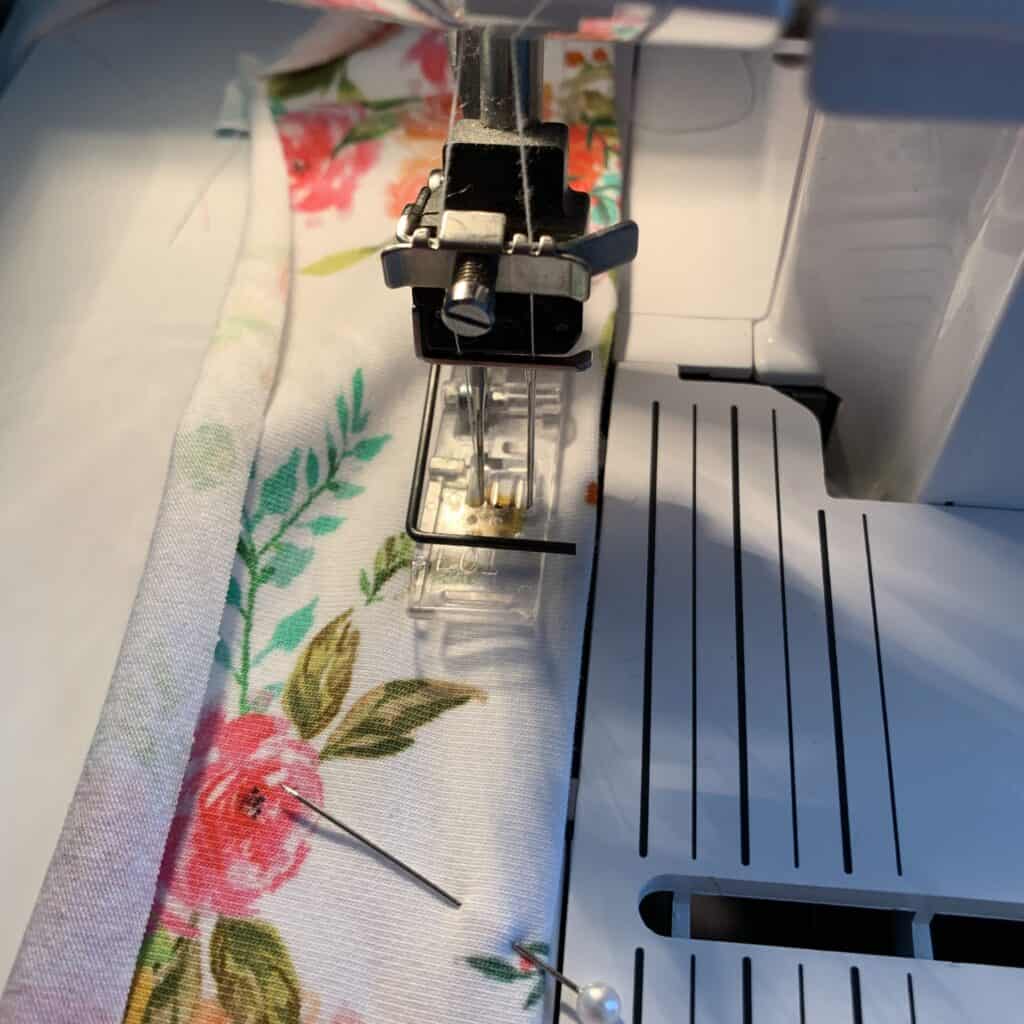
If you opted to cut two strips, sew them right sides together using the seam allowance you included in your measurement above (mine is 1/4in).
I use a basic straight stretch to sew these seams since they will not be stretching.
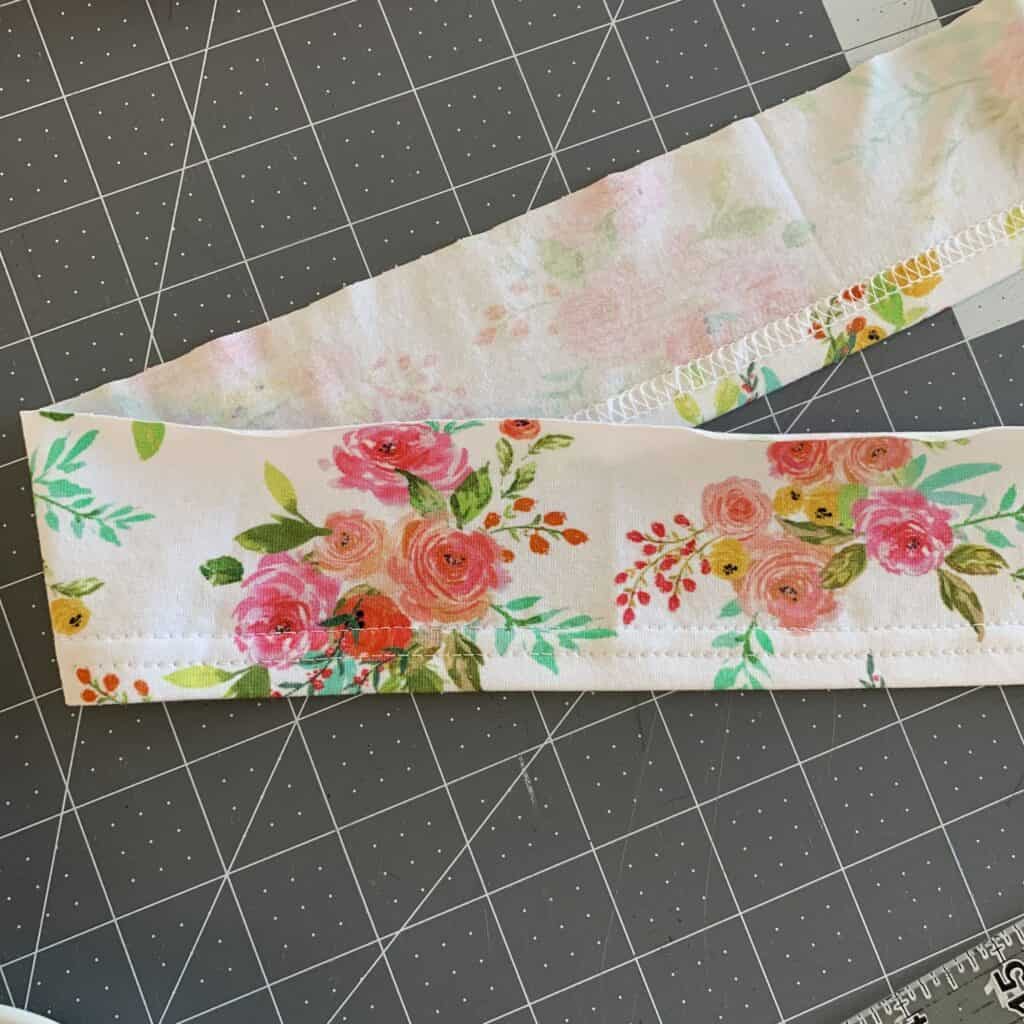
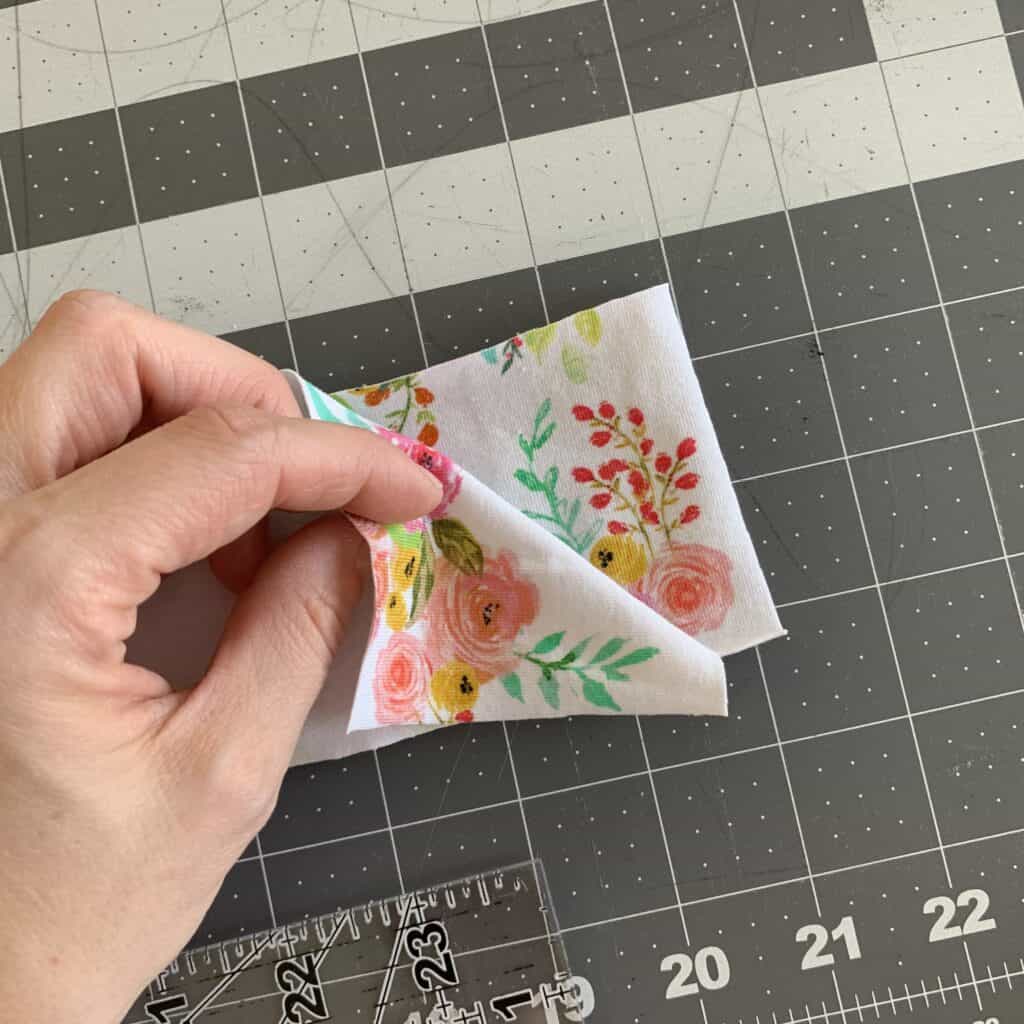 Press those seams apart, then measure and pin your hem as you normally would.
I included a 1/2in hem in my length measurement, so you can see me measuring and pinning that amount below.
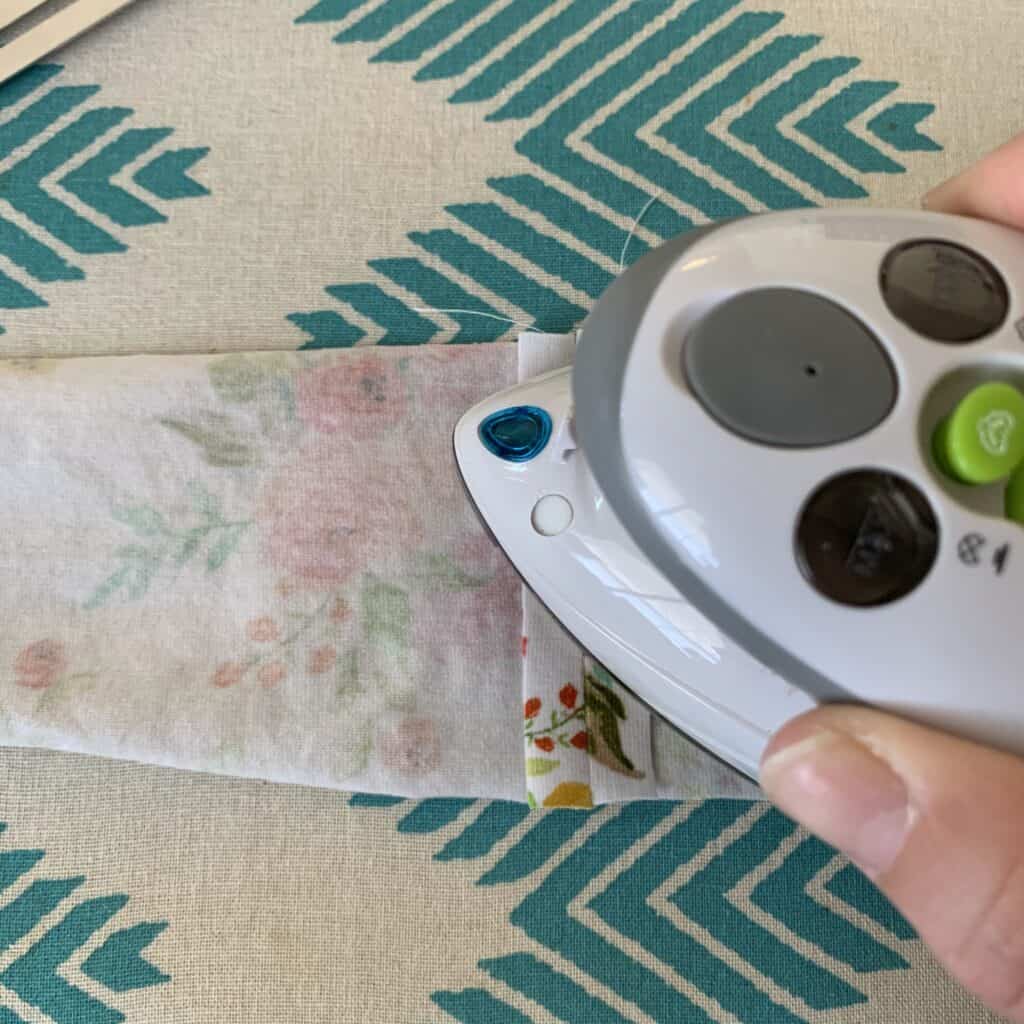
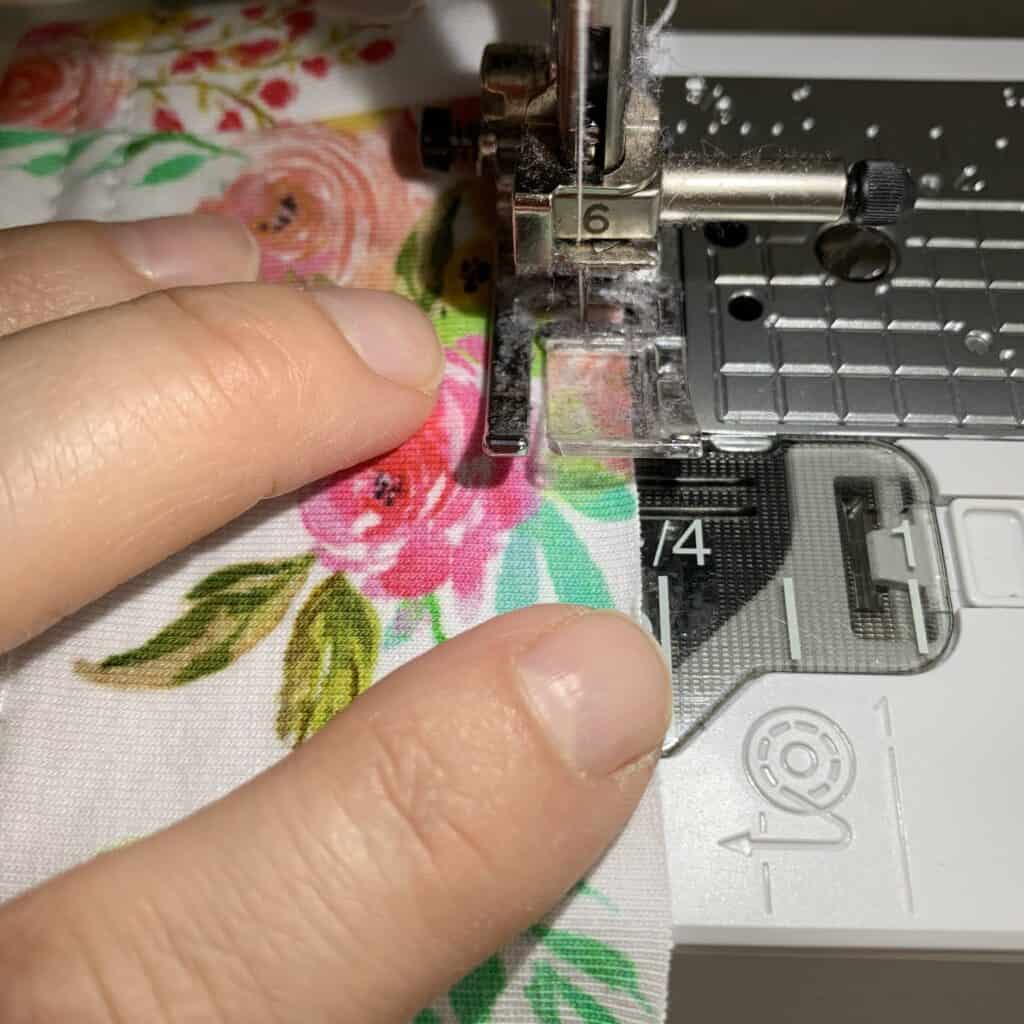
I am fortunate to have a coverstitch machine, so I use that to hem and topstitch my garments.
Your sewing machine will hem just as well! Use a single line or two… either way! Because the ruffle will not be stretched as the garment is worn, you can use a lengthened straight stitch with no issues. If you’re more comfortable using a zig-zag or stretch stitch, go for it! You do you. 🙂
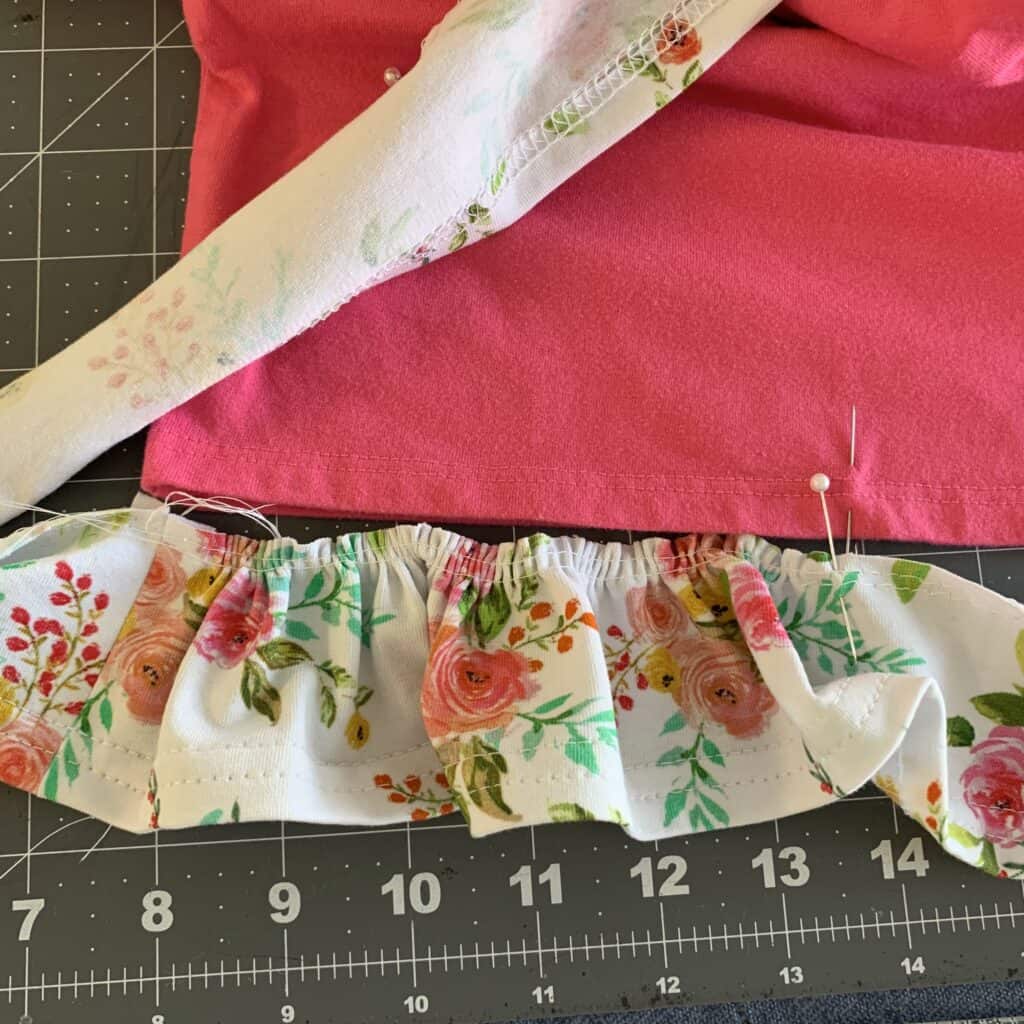
Step 5. Prepare to sew your gathers.
According to this awesome Back to Basic: How to Gather Fabric blog post, there are eight commonly used ways to gather fabric, so you have many options.
I generally make two lines of basting stitches at roughly 1/8in and 1/4in from the raw edge.

To make sure I gather my ruffles to match the width of my shirt, I pin my shirt and ruffles in quarters, as you would do with a waist or neckband.
Step 6. Gather and pin to the shirt.
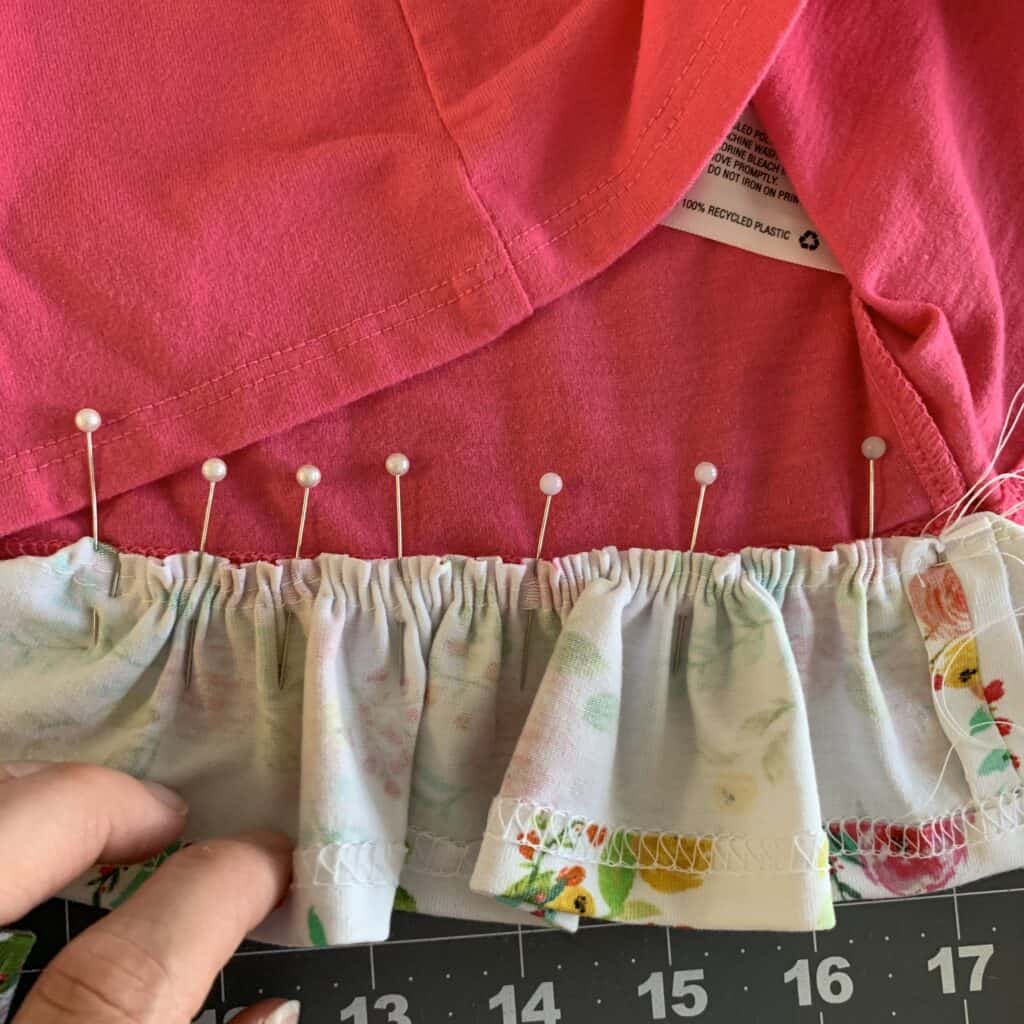
If you are working with a premade shirt, you will be pinning the top/gathered/raw edge of the ruffle to the raw edge of the shirt’s hem (that is most likely being covered by a coverstitch seam). My shirt’s hem was 1/2in, so I will be pinning my ruffle 1/2in inside the shirt.
That is hard to explain in words! Hopefully you understood what I meant, or it will become clear in the pictures below.
Sewing a shirt from a pattern? Measure, press, and pin the shirt hem in place as you normally would, but do not stitch the hem. You will hem and attach the ruffles at the same time in a couple steps.
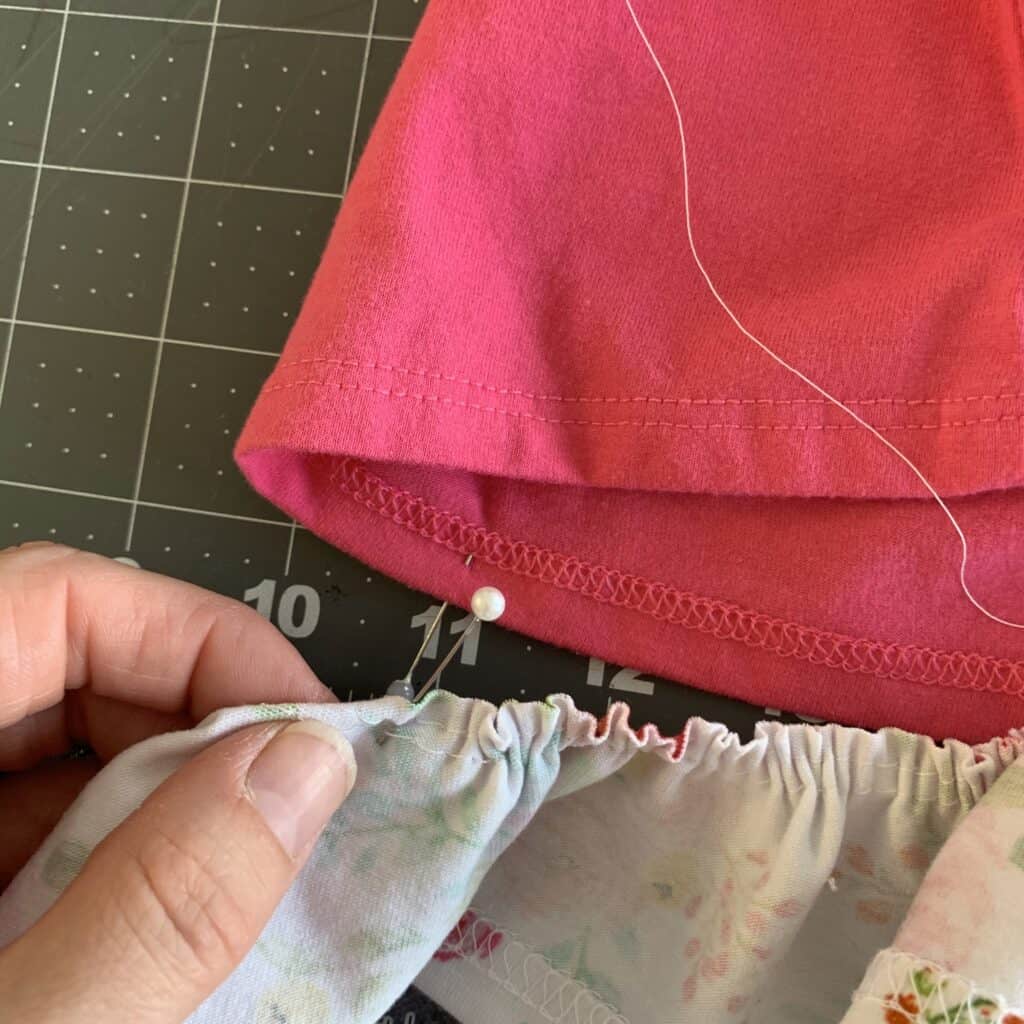
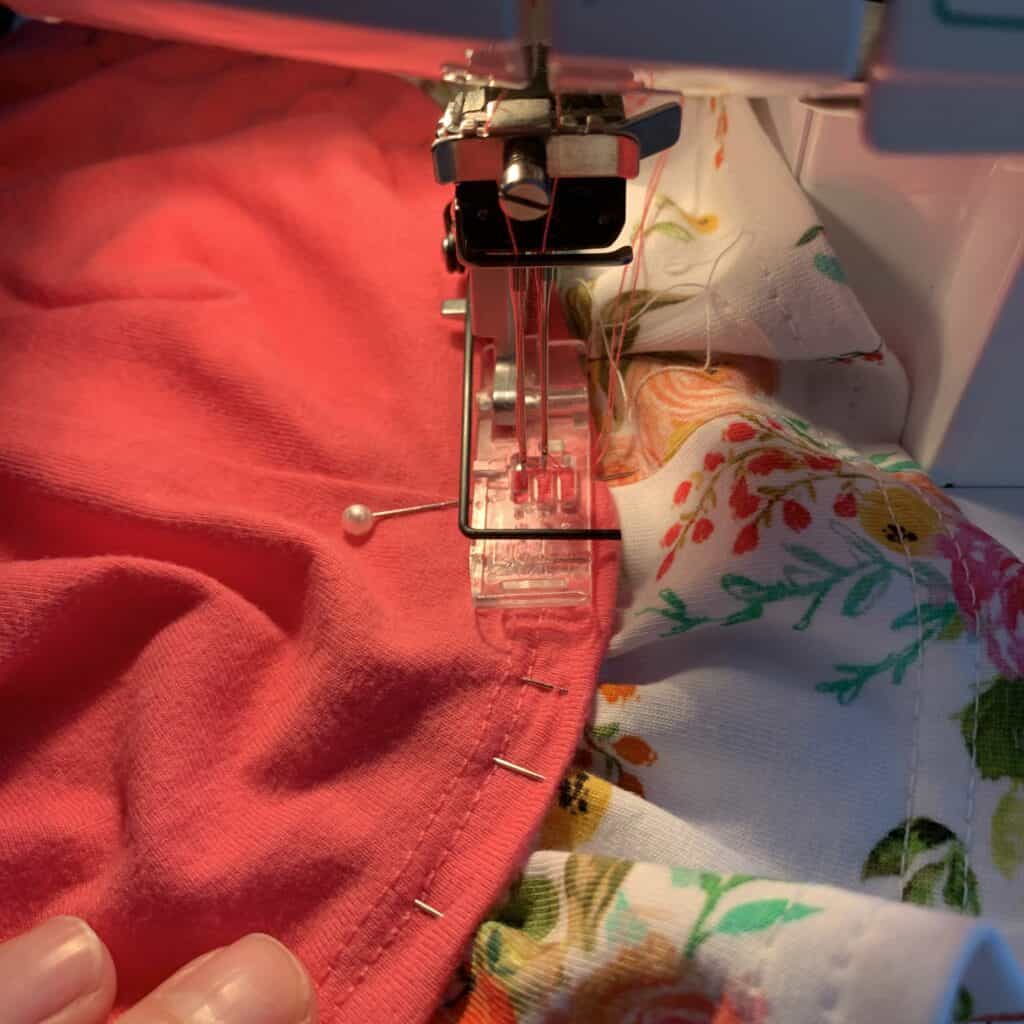
Begin by matching one of the side seams, aligning the raw edges on the inside of the shirt (again, in my case, 1/2in), and pin.
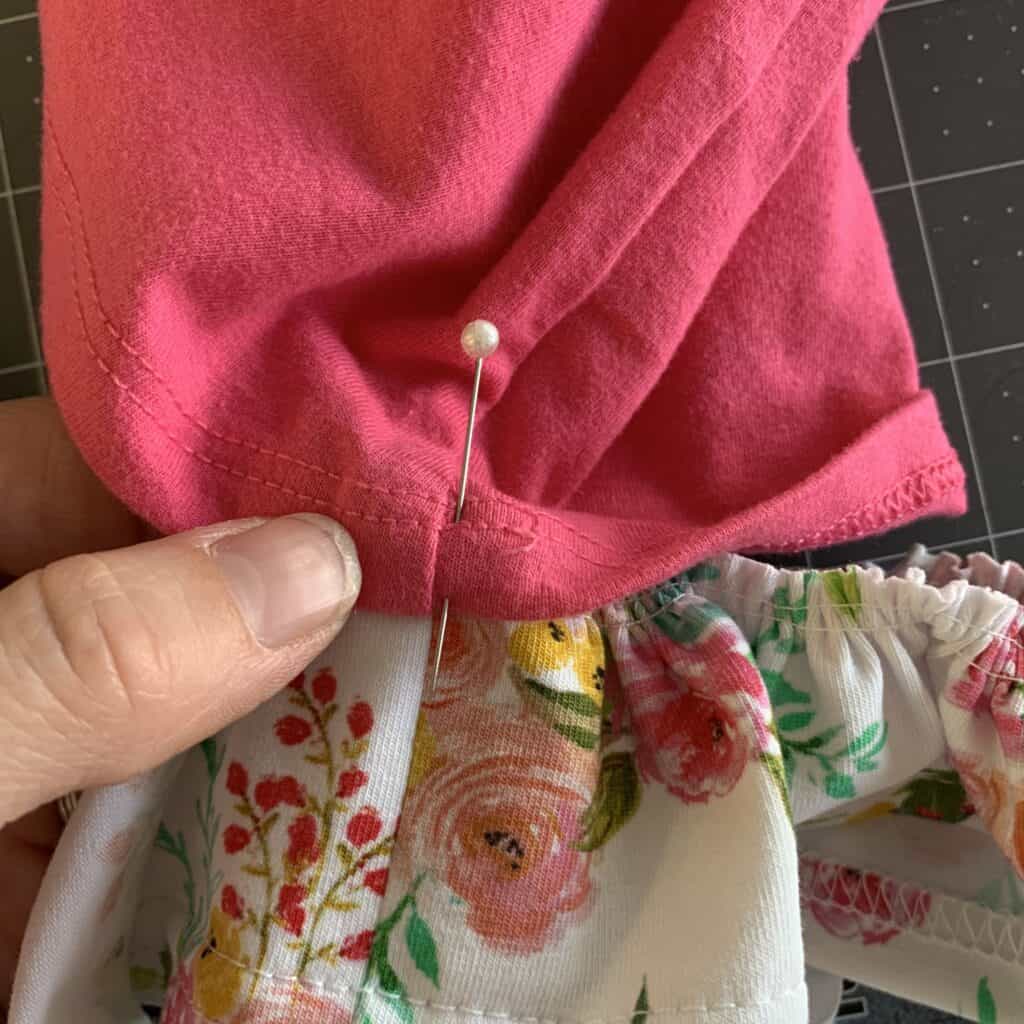
Line up the raw edges around the bottom of the shirt and pin.
With a strip this long, I like to do a section (quarter) at a time, by first matching and pinning where the quarters are marked…
…then pin, pin, pin in place! The more pins you use, the higher the likelihood that you won’t miss any gathers as you sew.
Remember to keep the raw edges (of the shirt’s hem and the top of the ruffle) lined up as you pin.
Here is what the shirt and ruffle look like from the front:
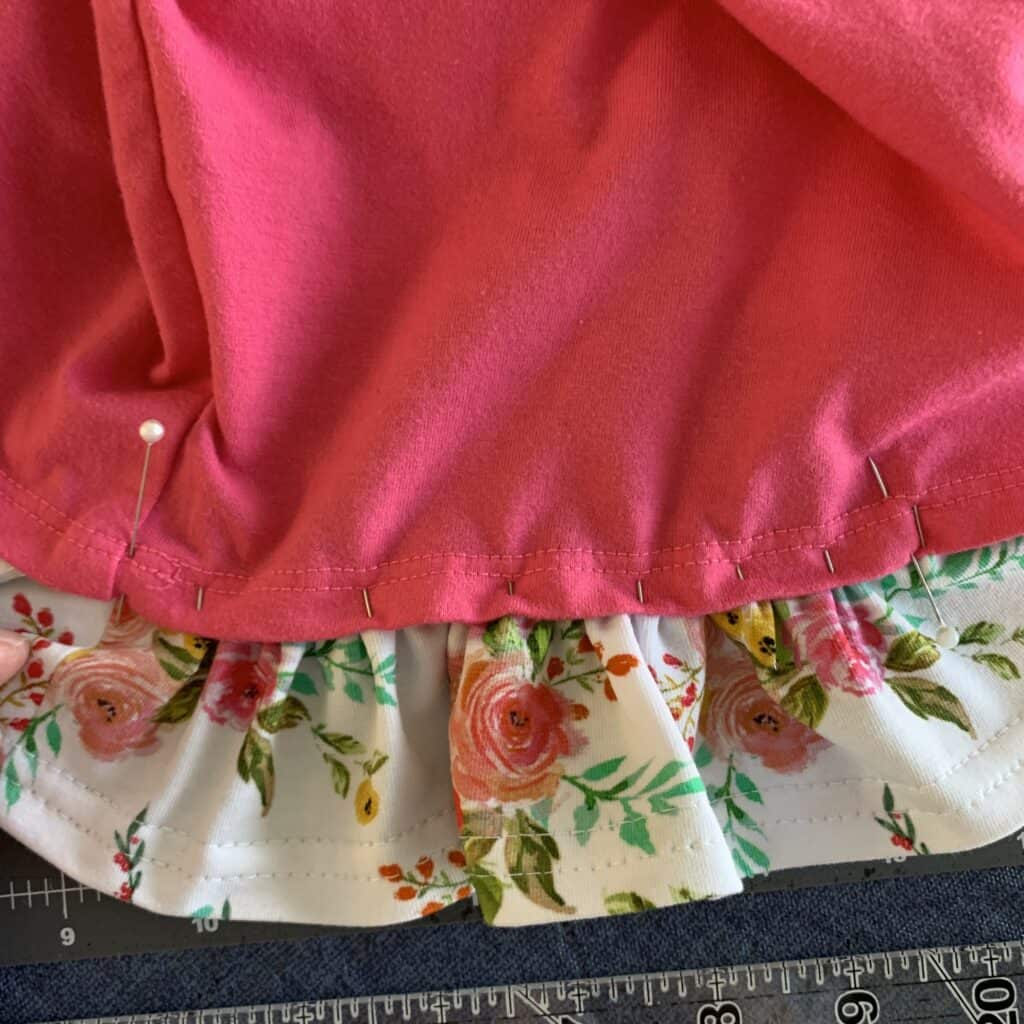
Continue gathering and pinning around the entire hemline.
Step 7. Attach the ruffles.
This is a tricky part. But… if you take it slow, the end result is lovely.
If there is an existing hem, you may be able to go right over the stitch lines with your sewing machine or coverstitch machine. Try to match the thread, of course, but if it’s for your own kids… no one will notice!
Slowly hem the shirt using a long straight stitch, zig-zag stitch, or stretch stitch, being careful as you get to your pins and removing them when you can.
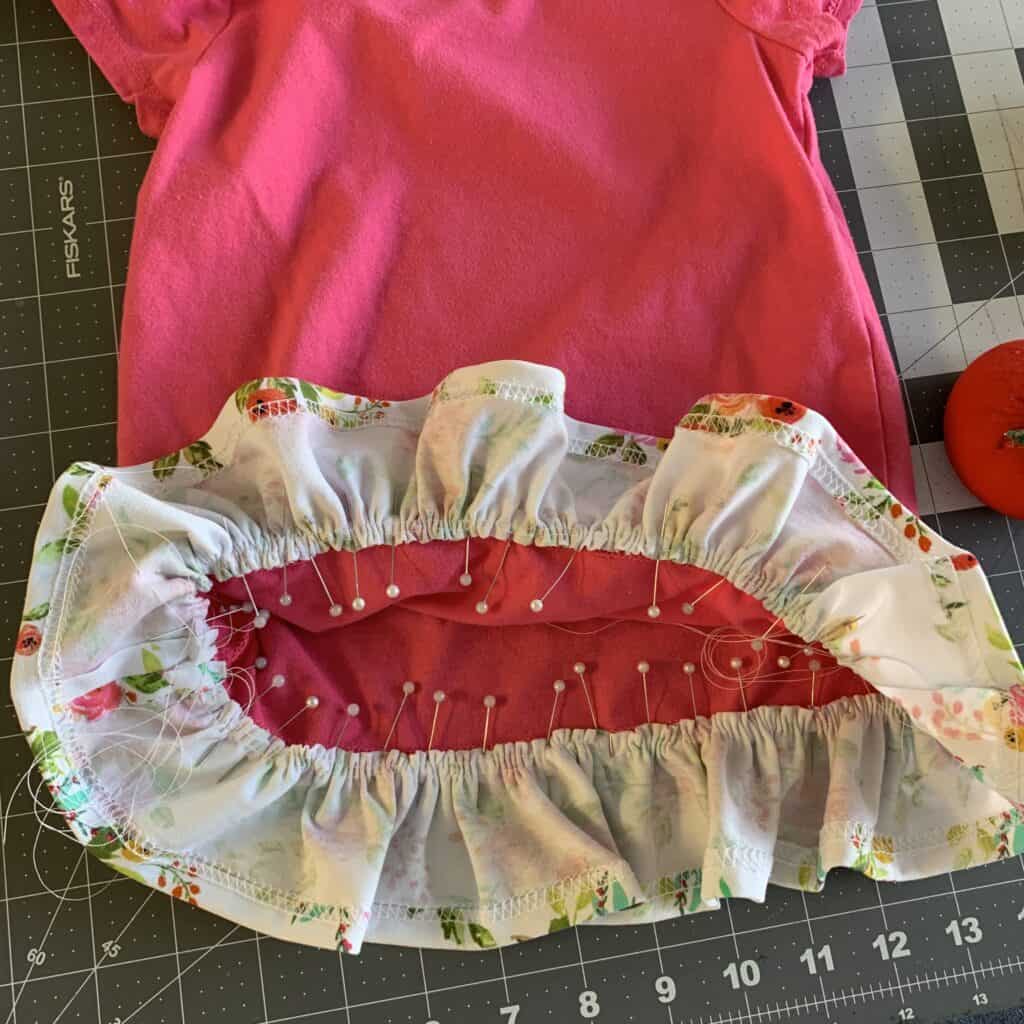
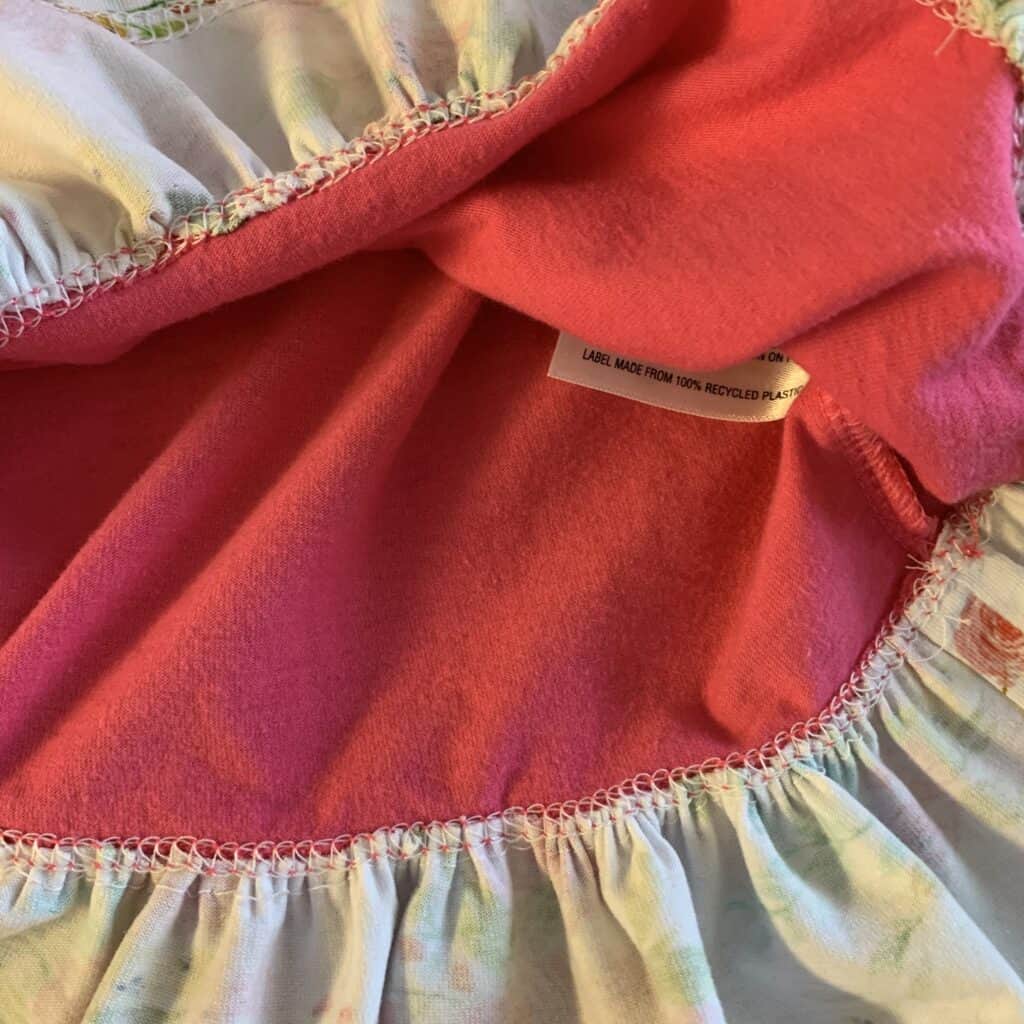
This is the underside of my shirt:
Chances are you will miss a few gathers as you go around. Don’t fret! Just take a needle and some thread, and hand sew the gathers to the shirt. Avoid sewing through the shirt fabric about the hem; instead, sew into the just-stitched stitches or into the bottom layer of the shirt’s hem.
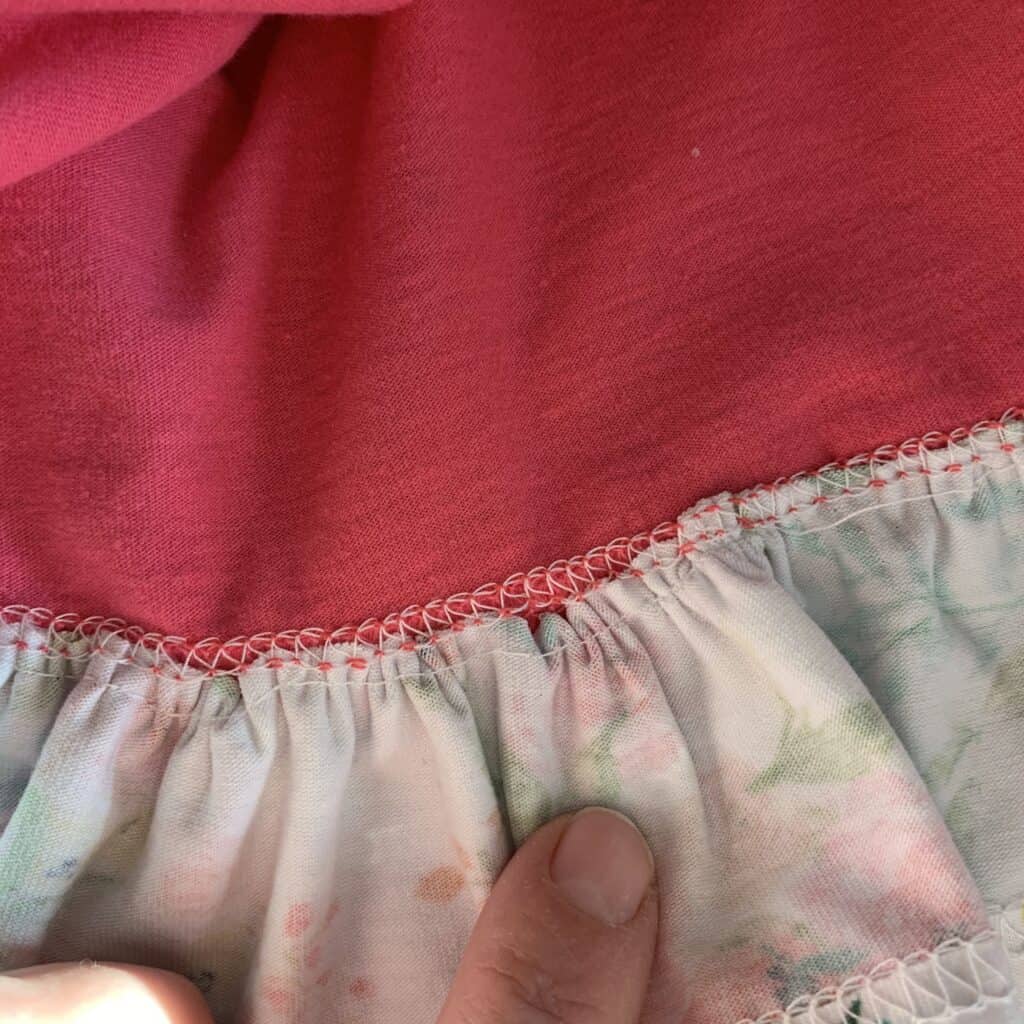

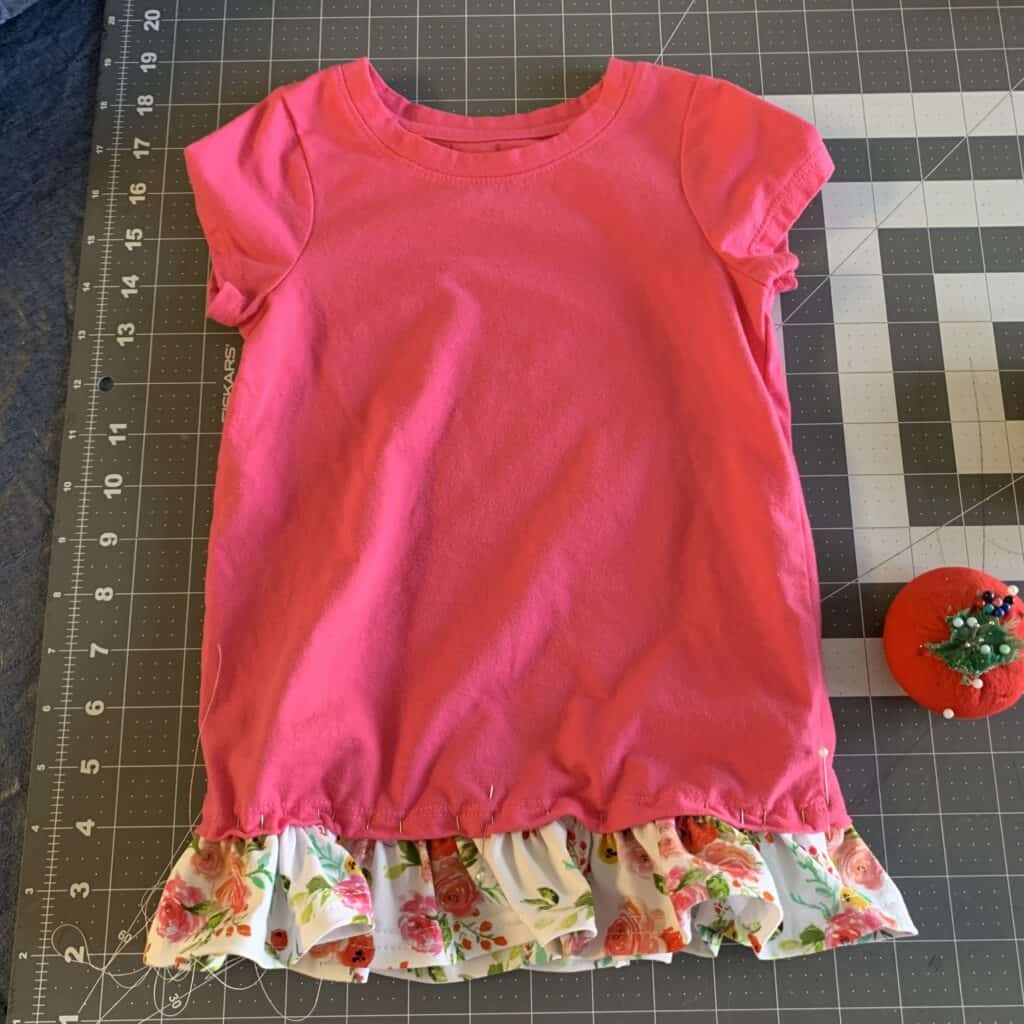
Remove the visible basting stitches, and turn over to admire your work!
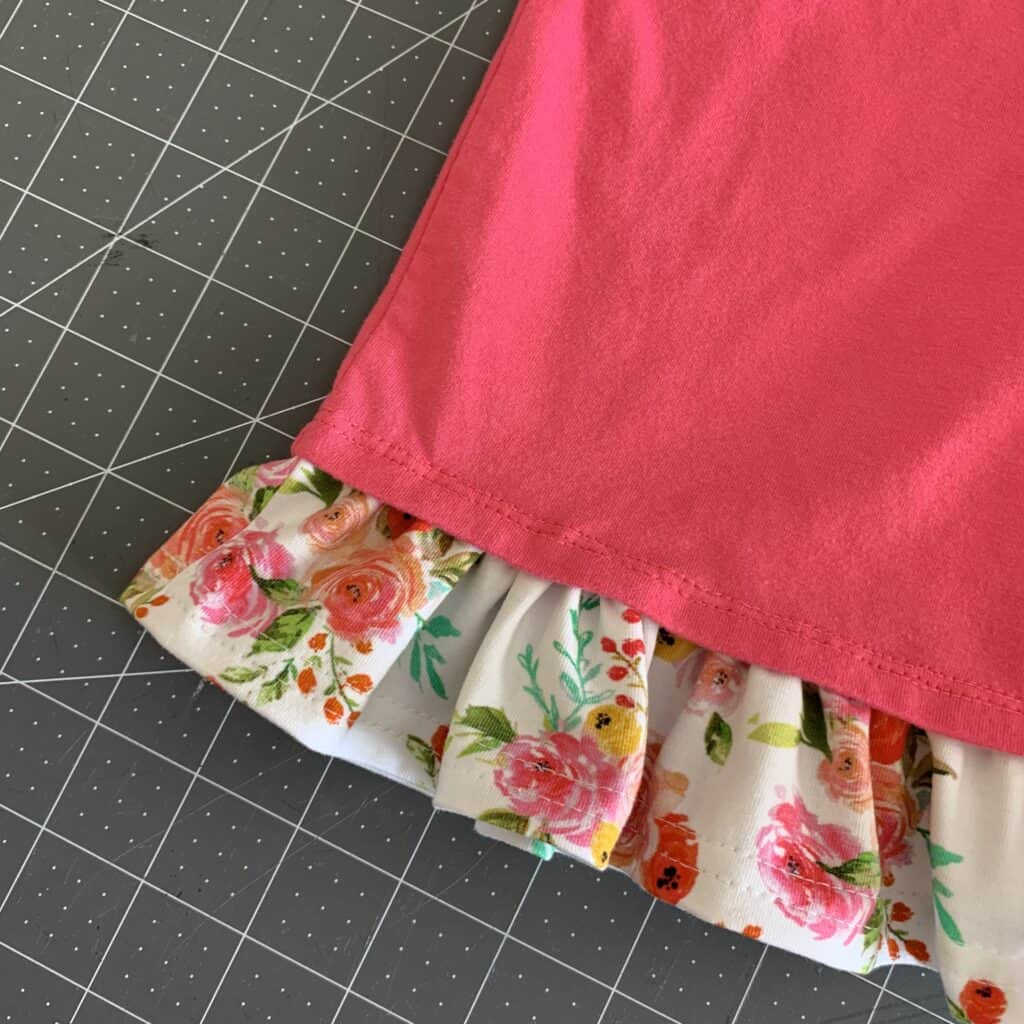
That’s it! You’re done! Another project for the books. 🙂
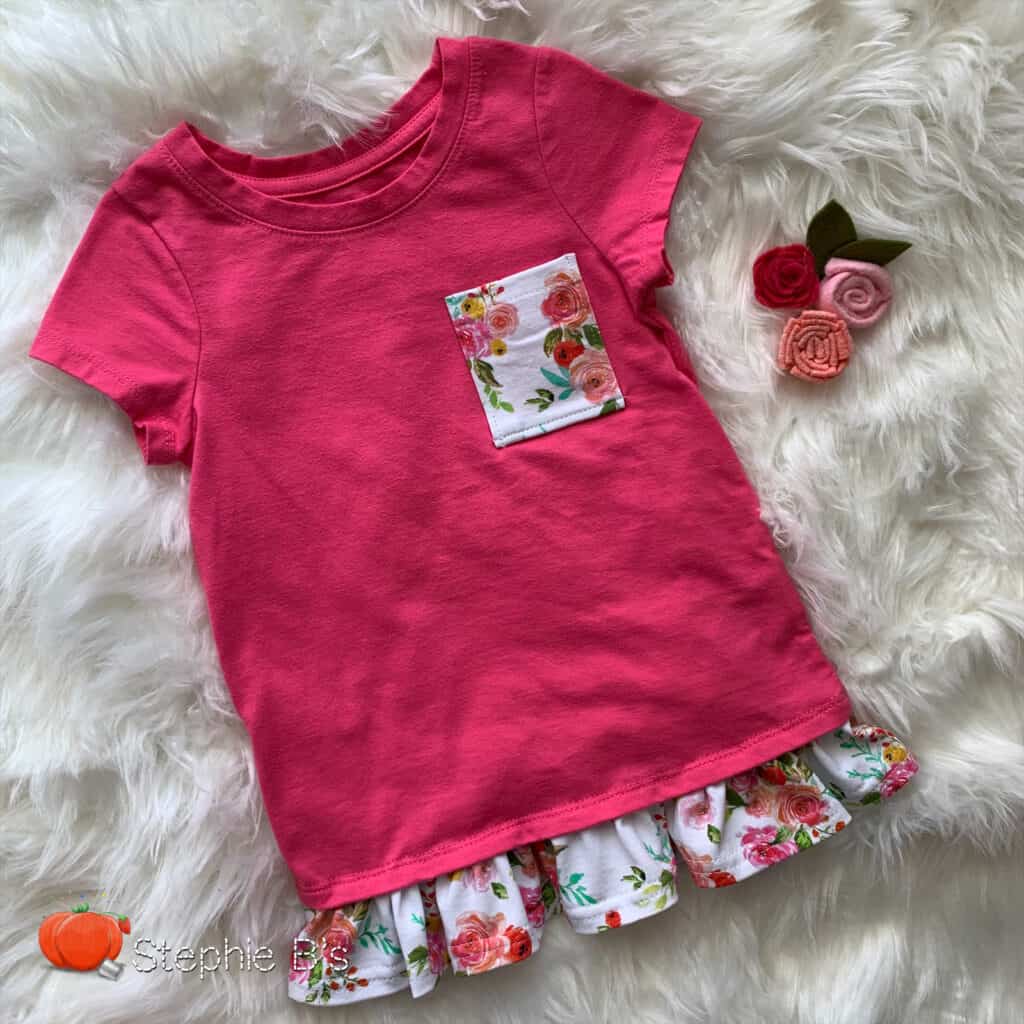
(As you can see, I also decided to add a pocket to this shirt to spice it up a bit more)
This technique can be used on more than just shirts! I’m going to try it on Peek-a-Boo Pattern Shop’s two new cardigans! The kids’ Peyton Cocoon Cardigan and the adults’ Portland Cocoon Cardigan. Love these and can’t wait to add some flare!
Have you tried this before? Where have you used it? Where else do you think this would be fun? Comment below! I’d love to hear your suggestions. 🙂
Can ruffles be added to any part of the shirt, or are there specific areas that work better than others?
When adding ruffles to a shirt, consider the design and fabric. Collars, cuffs, and front plackets are common areas to add a ruffle. Sleeves or hemlines may work better depending on the shirt's style and structure.
Thank you for joining us today to learn how to add ruffles to a shirt. Before you leave, make sure to join our Facebook Group and follow us on Instagram.