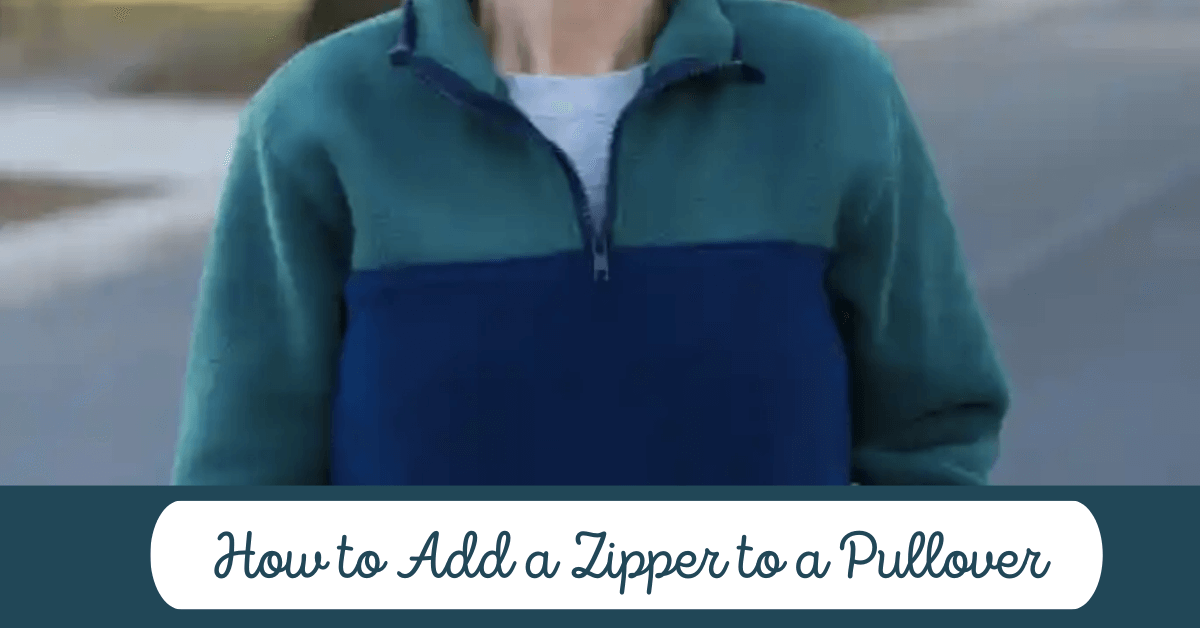
How to Add a Zipper to a Pullover | Summit Pullover Zipper
How to Add a Zipper to a Pullover | Using the Summit Pullover

What kind of zipper do you need for your pullover and how long should it be?
Steps to Install the Zipper
It’s Zipper Time!
I’m a visual learner, so photos always help me to understand new techniques. Make your pullover look like my pictures! Start by laying your pullover right side up and laying your zipper right on top of the front center where you’ll install it. We are going to start with the left side (the wearer’s right side). Unzip the zipper so you have room to sew without the zipper pull getting in the way.Flip the left zipper tape face down so the teeth are pointing away from the center and the raw edge of the zipper tape is aligned with the center front. Mark 1/2″ down from the top of the collar and align the top zipper stop with that marking. You can use the Wash Away Wonder Tape or Fabric Glue Stick to hold it in place. Wonder Clips work much better than pins for installing zippers! Using a regular presser foot or a zipper foot, sew the zipper tape to the pullover along the center front.

Now time for the other side! But not so fast! It’s important to make sure that your zipper is even on both sides when you are finished. Zip up the zipper and grab your marking pencil. Make a mark where the collar seam and the top of the neckline bindings are. I made sure the marks were even on both sides of the zipper.

Next, flip the right size of the zipper take face down so that the raw edges of the zipper tape are aligned with the center front and the teeth are pointing away from center. Sew this zipper tape to the center front. I found that a zipper foot made this step a little easier. You can see from the photo below how my zipper is positioned.

In the home stretch!
You did it! You did the hard part! Take a big deep breath and give yourself a pat on the back! You’re in the home stretch of this zipper hack and you’re doing great!
The next step is to topstitch along both sides of the zipper about 1/8″ away from the edge. (Not pictured, but you can see it on the final product).
NOW it’s time to tackle the collar binding…remember that part we skipped in the pattern instructions! We are going to add the binding, but we have to alter the way it’s sewn on. Follow the pattern instructions for pressing the collar binding piece in steps three & four. Next, unfold the pressed lines and refold the collar binding Right Sides Together (RST) and sewing the short end with 1/4″ seam allowance.

Then follow step five to attach the binding to the collar. Your collar binding will be a tad different because the ends will be closed off (like forming a little cap on the end). The short edge of the collar binding sewn in the previous step will be aligned with the center front zipper tape.

Flip the binding up and refold along the pressing lines you made from steps three and four of the pattern instructions. Topstitch the collar binding in place as directed in step seven….and YOU’RE DONE!
Well, almost! You still have to sew the rest of the pullover together!