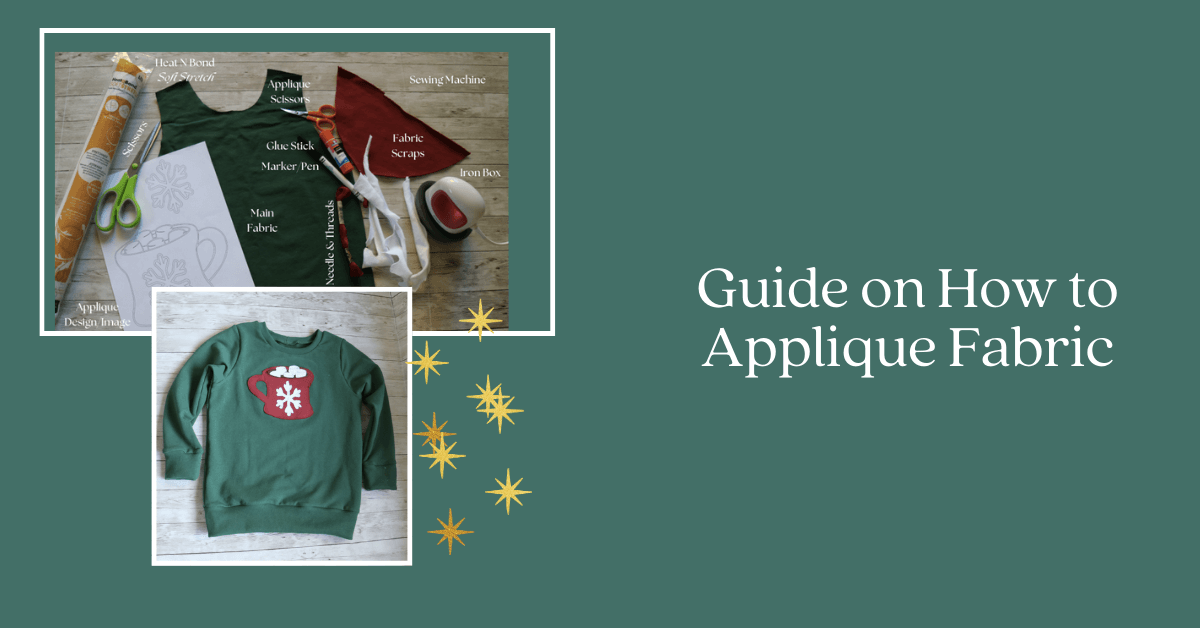
Guide on How to Applique Fabric
Today I’m going to show you how to aplique fabric. It’s the sweater weather season. That time of the year we all love to dust off sweaters and pullovers and decorate our homes with seasonal throw pillows. What is more fun than a unique appliqued pullover that really reflects you or a cute seasonal pillow cover with matching applique? Or even an applique tote to gift to a special someone in your life...or maybe appliqueing some pillows for your bedding. If that sounds like something you want to do, follow along for more information.
Guide on How to Applique Fabric
What is Applique?
The word applique means decorating or sewing & piecing together many pieces of fabric onto another fabric to form pictures/patterns. This technique uses a layering of fabric patches or trims to the base fabric and then securing them either using some form of glue or sewing them down to form a new pattern/design/image. A fabric collage, if you may! So grab your scissors, needles, pins and thread because today we’re going over how easy it is for you to discover the joy of fabric applique and needlework, and how you can create your own beautiful pieces without being intimidated by it. Because after all, it’s just fun!
Different Ways to Applique Fabric?
There are many different ways to applique fabric, such as machine applique, hand applique, and fusible applique. Additionally, one popular technique is reverse applique. This method involves layering fabric pieces and stitching them together, then cutting away the top layer to reveal the fabric underneath. Reverse applique can add depth and texture to your fabric projects. It is widely used in quilting and apparel crafting for personalization and customization. Many people use fabrics like denim for this technique because of their firm texture and how easy they are to work with. Today, I am going to focus on how to applique fabric on a pullover, specifically on a knit or stretch fabric with knit fabric pieces.
Before I get into all the details, keep in mind, you do not have to go fancy to do applique...you don't have to get out the sequins or patchwork. Applique can be as simple as adding a single piece of fabric, such as lace fabric or linen, that already has a print/design on it to a garment. If you are doing such an applique and you want to keep it extremely simple, use some disappearing glue to temporarily stick the applique piece to the main garment and then sew them down. I like to use Elmer’s purple glue stick for this purpose.
But if you want to do an involved applique, listed below are the supplies you need to start your applique project:
How to Applique Fabric on a Pullover
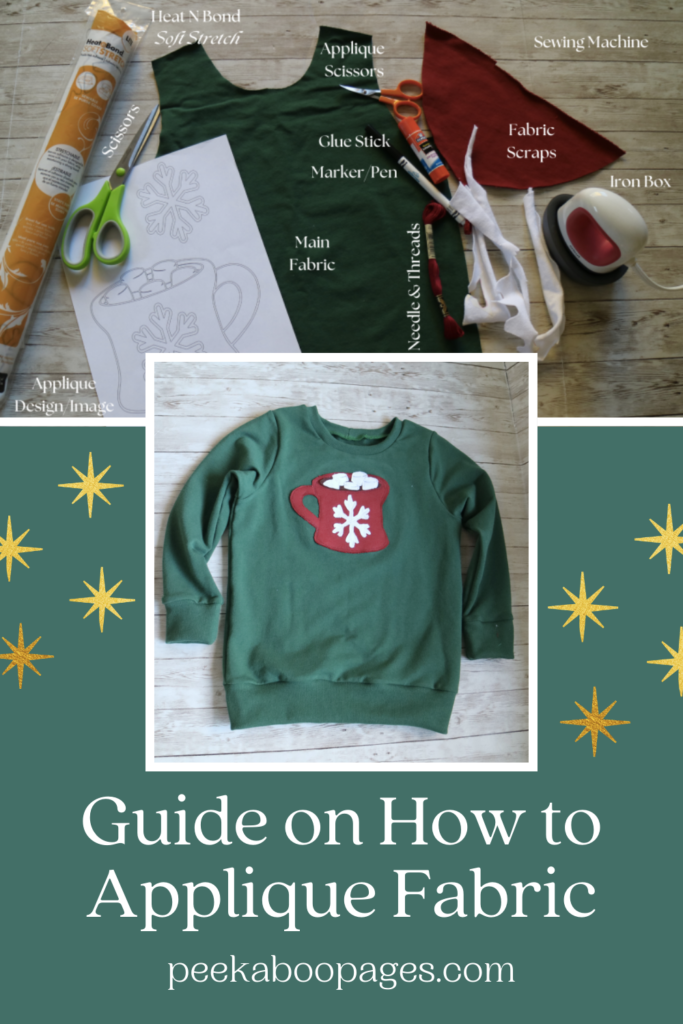
Applique Supplies:
- Scissors – Sharp applique scissors would be handy for tight corners and smaller details.
- Heat n Bond – More details below
- Marker/ Pen – I like to use washable Crayola markers/Frixion pens when marking main fabric.
- Applique Fabric Scraps
- Main Fabric/clothing
- Iron
- Image of your choice
- Needle & Thread
- Sewing Machine
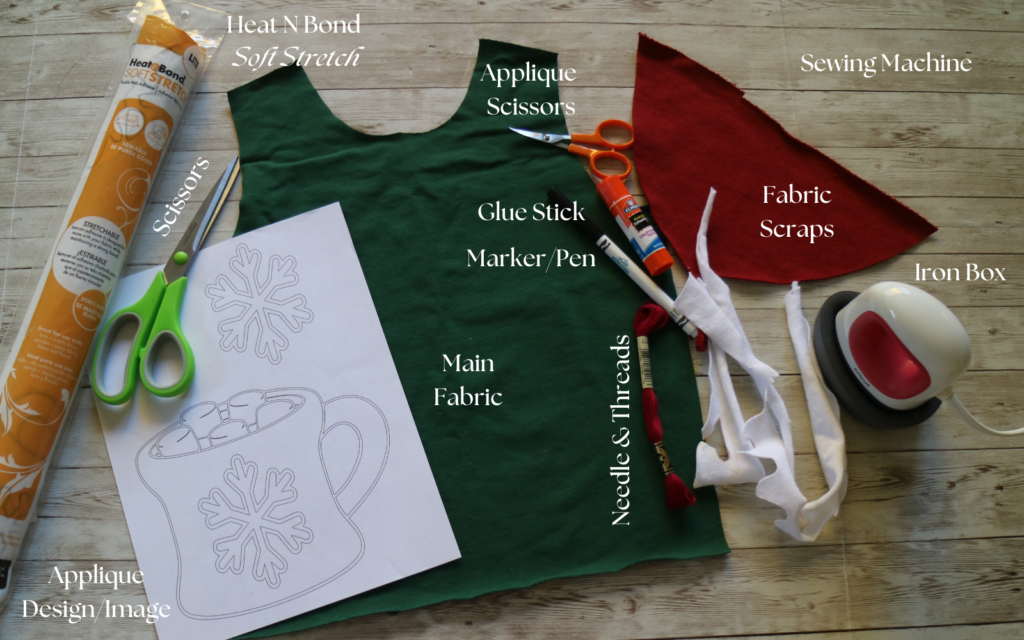 Heat n Bond – There are different types of heat n Bond available in the market. Ultra-hold (Red – No sew), Lite (Purple – Sewable), Feather Lite (Blue – Sewable) , and Soft stretch (Yellow – Available in no sew and Lite) Be sure to choose a Sewable Heat N Bond.
This double-sided adhesive paper has coarse and smooth paper backing sides. You iron the coarse side onto the wrong side of the fabric pieces you are going to use for the t-shirt applique. When ready you peel off the paper backing and place the side that has the glue on to the apparel and iron it set. If you used the ultra-hold adhesive, you might be able to skip the step to sew things down, but if it is a wearable item or a piece that will see a lot of higher traffic like a pillow cover, you are better off securing it by sewing it down for added safety.
The heat N bond is not an absolute necessity. Applique can be done without this adhesive interfacing. The interfacing makes things infinitely easier to hold everything in place and eliminates distortion through stretching. And since we are working with stretch fabrics, I am using Soft Stretch for this project.
Steps to Applique
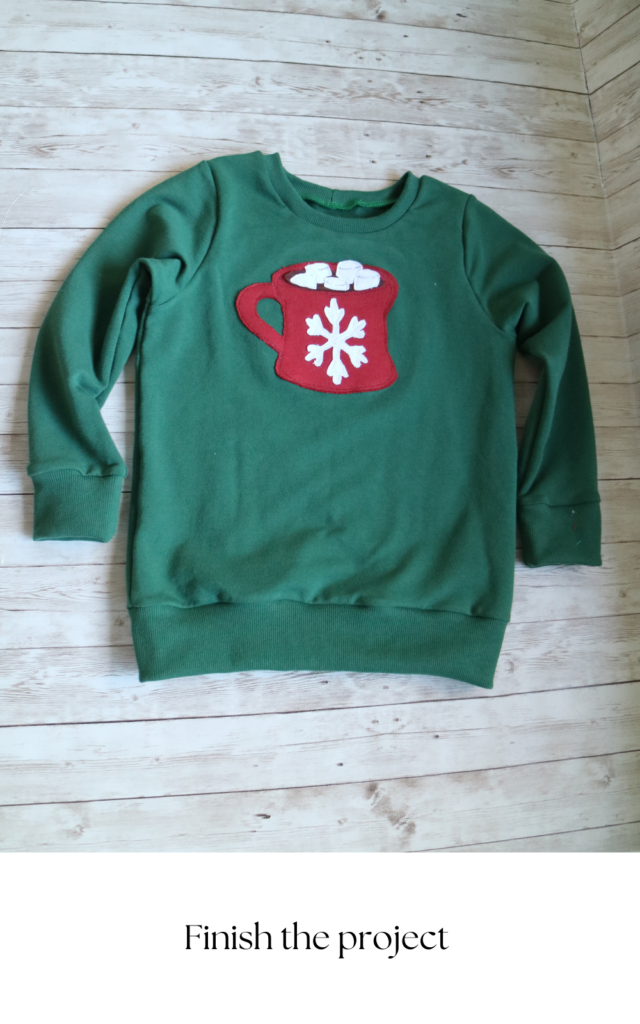
Applique Step 1: To get started with applique, the first thing you need to do is settle on a design or pattern for your applique. It can be anything you want it to be. It can be as simple as a basic shape like a heart or a star, or it can be as complicated as a bouquet of flowers or some character’s face. For the purpose of this tutorial, I am going to show you how I am appliqueing a mug of Hot Chocolate on to a pullover.
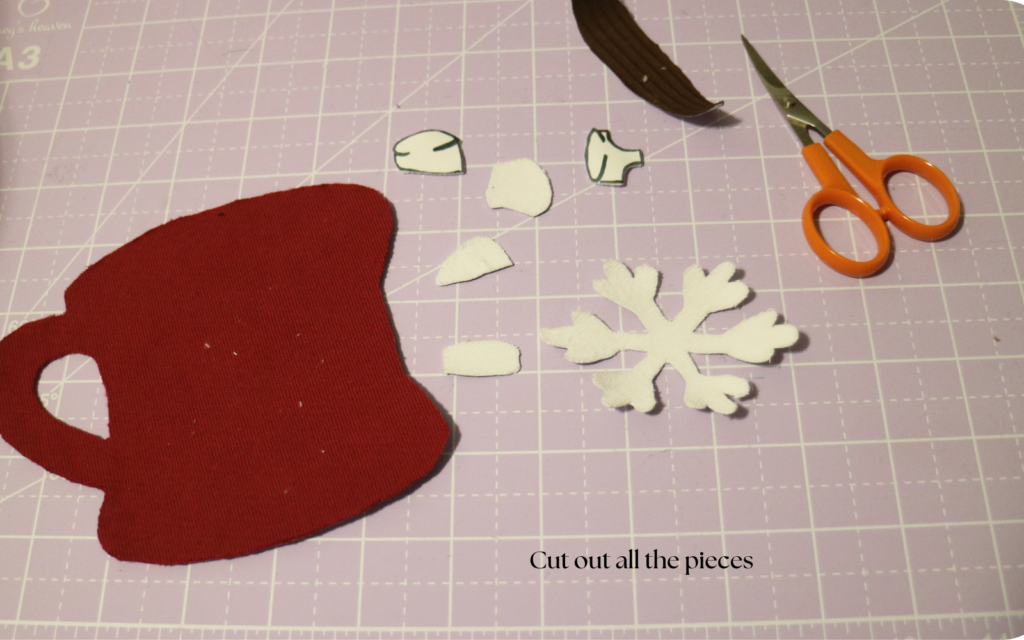
Applique Step 2: Once you have decided on the pattern, the image, and the details you are going to use, you go ahead and cut out all the applique fabric pieces. Especially the piece you are going to applique on, in this case, its the pullover’s front bodice. I use my projector to project the image onto the front bodice and resize it until the design matches the bodice in size.
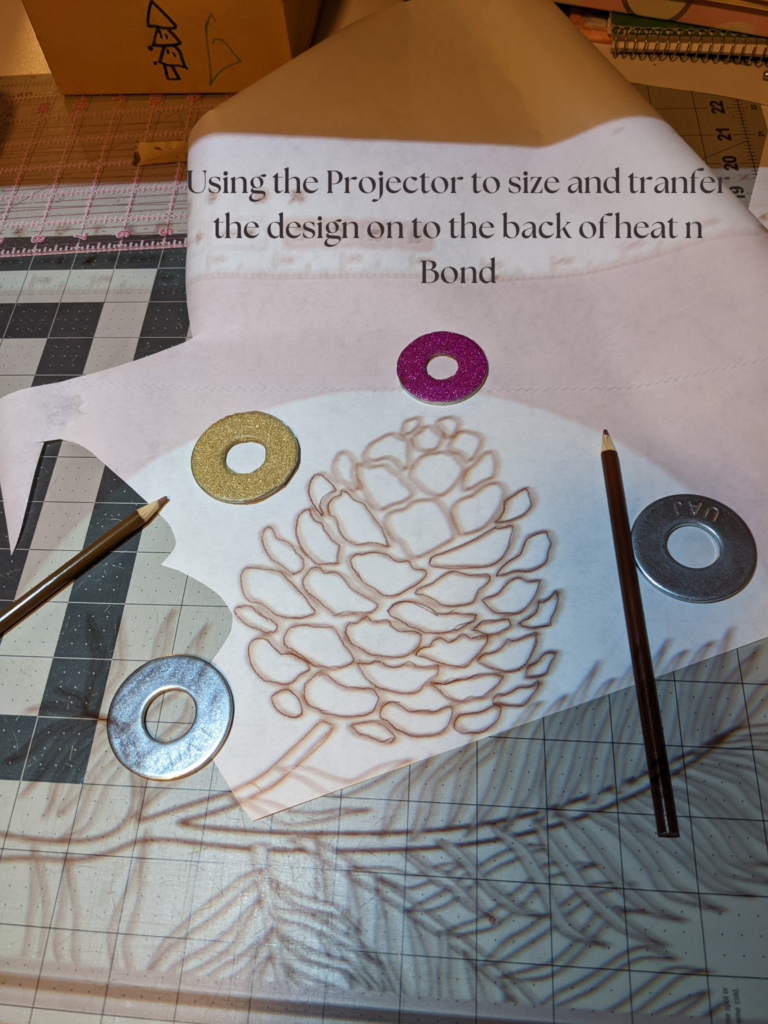 Applique Step 3: Transfer the image onto the back of the interfacing. I am using the projector and I transfer the image details directly onto the back of the Heat n Bond. Since the Heat n Bond is applied to the back of the applique piece, make sure that you Mirror the image before you transfer them. If you are making a design that isn’t directional, you might be able to get away with it if you forget. But if it is an image where the sides matter, pay extra attention.
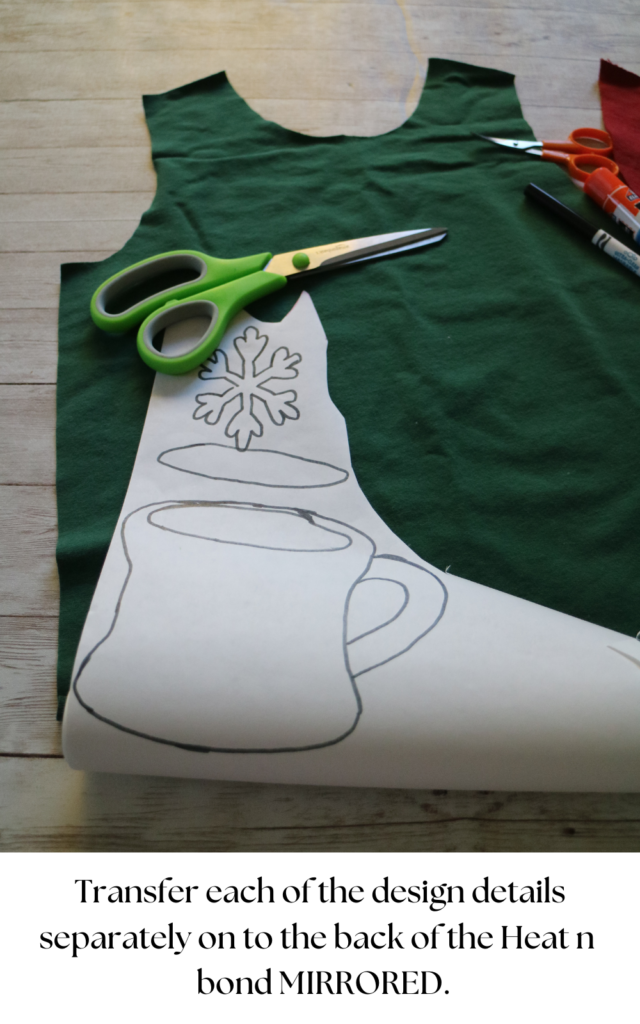 MIRROR the image before you transfer. In this case, I forgot to mirror the image before I transferred the details onto the Heat N Bond and I have the mug handle on the other side than when I initially tested the placement. Trace/transfer each of the design element pieces separately. In this case, the mug, snowflake, each of the marshmallows, and the hot chocolate. This is then cut into pieces and ironed onto the WRONG side of the corresponding fabric piece.
I generally try to trace the same fabric details close together so that I can cut them out as a chunk and iron on onto the back of that fabric scrap as one piece. This also cut down on the time to prep the pieces.
 You can also iron on the Heat N Bond onto the back of the fabric you are using for applique first and then transfer the image details onto them. I prefer to work in the method mentioned in the previous paragraph so that I have better control of the size of pieces I need for that particular project as I am usually scrap-busting when I applique and it is harder to keep track of the cutouts for future uses.
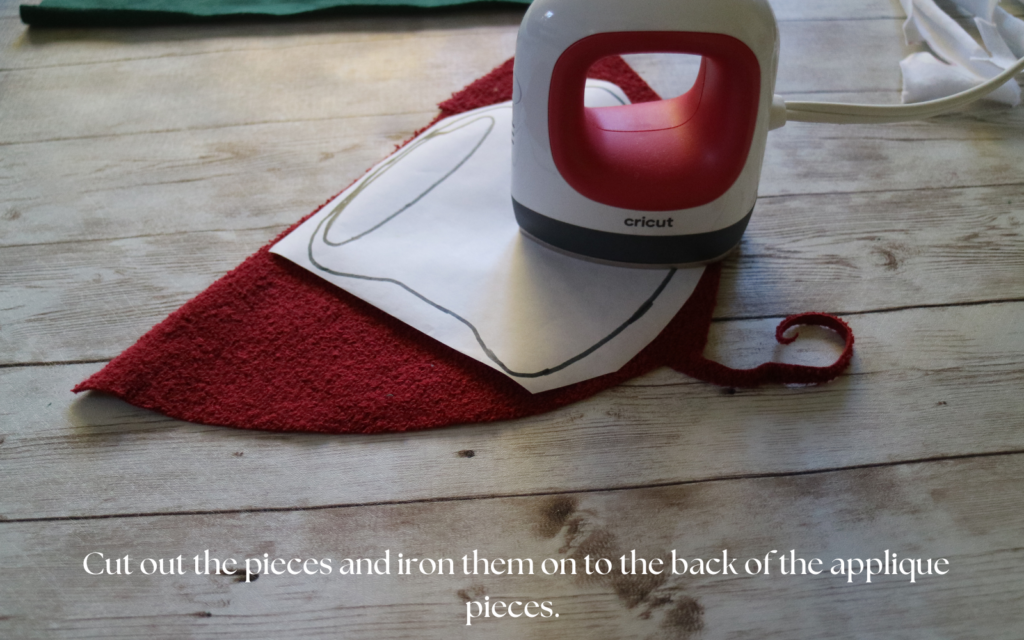
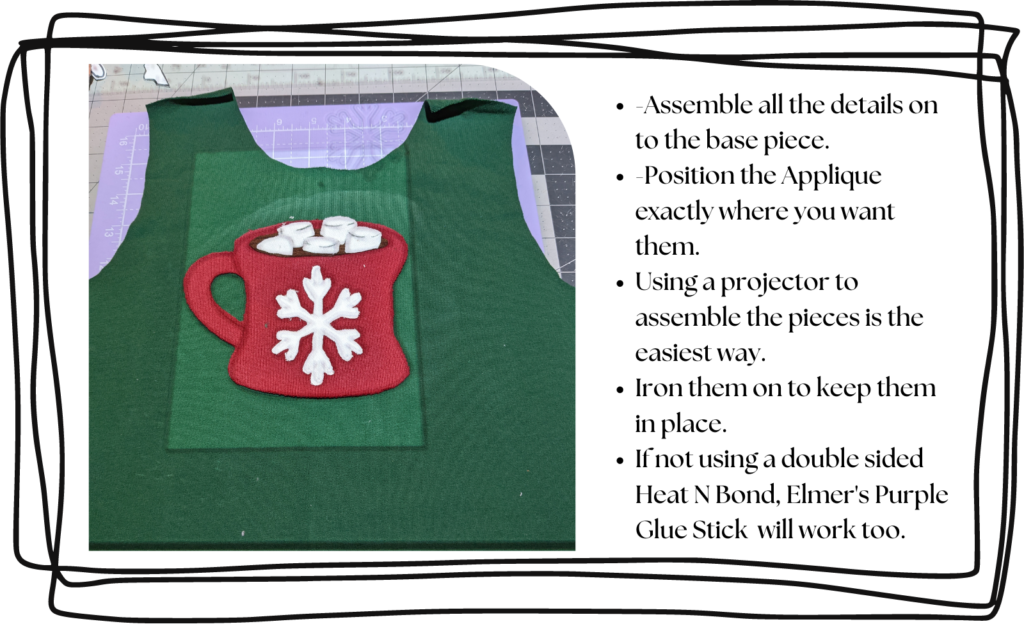
 Applique Step 4: Cut out each of the details and peel off the paper backing of the Heat N Bond. Using the steam setting of the iron, the details should be ironed onto the bodice, stacking the details when necessary. You can also use glue sticks instead of ironing the Heat N Bond to hold the pieces in place.
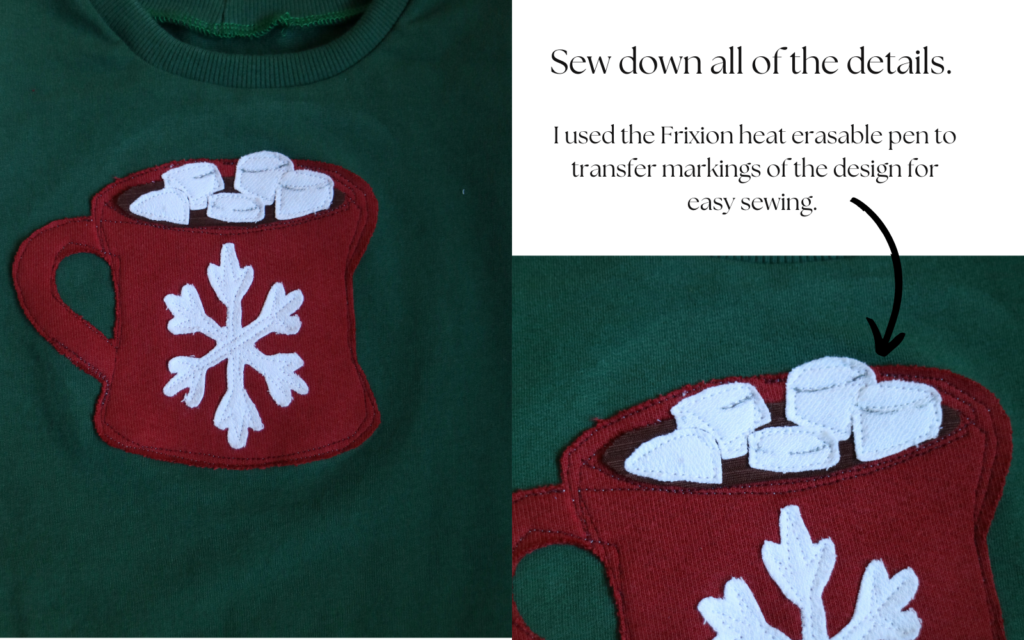
 Applique Step 5: And finally sew to secure the pieces. If you have a free-motion quilting foot and know how to use it, use it to sew down the applique pieces. If you do not, don’t worry. On your sewing machine use your regular straight stitch or a zigzag stitch, taking care to go slow. Do not forget to backstitch at the beginning and end.
 If you are appliqueing a basic shape like a star or a heart, start at one point and go around the design until you are back where you started. If it is a stacked design like this Mug of Hot Cocoa, there will be multiple passes and multiple colors involved.
And each of the design elements should be sewn down. Again, I prefer to stack and finish the design before sewing them down. But you can absolutely sew each detail down before you go ahead to the next.
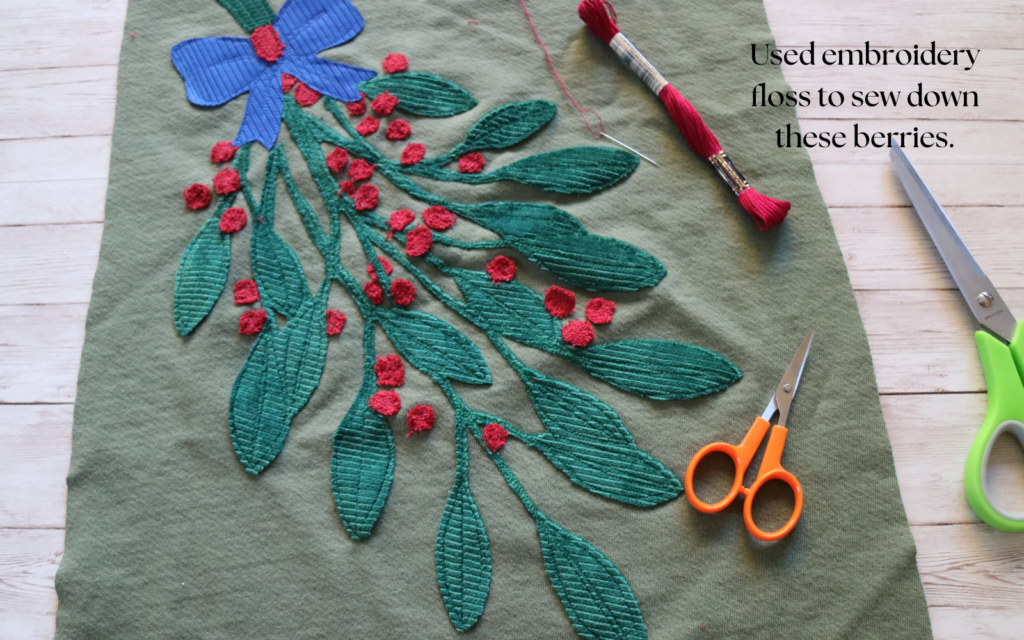
 If your applique includes smaller details that make it harder to sew down with the sewing machine, use a needle and embroidery floss to hand sew the details down. In the applique shown below, sewing down the berries was harder on the sewing machine, I had to hand-sew the berries to secure them.
 Once everything is sewn on, give it a good press and you have completed your appliqueing. You can then go ahead and complete the construction of the project. There you have it, a cute and unique take on your home decor or little ones’ outfits.
What Sewing Patterns Work well for Applique?
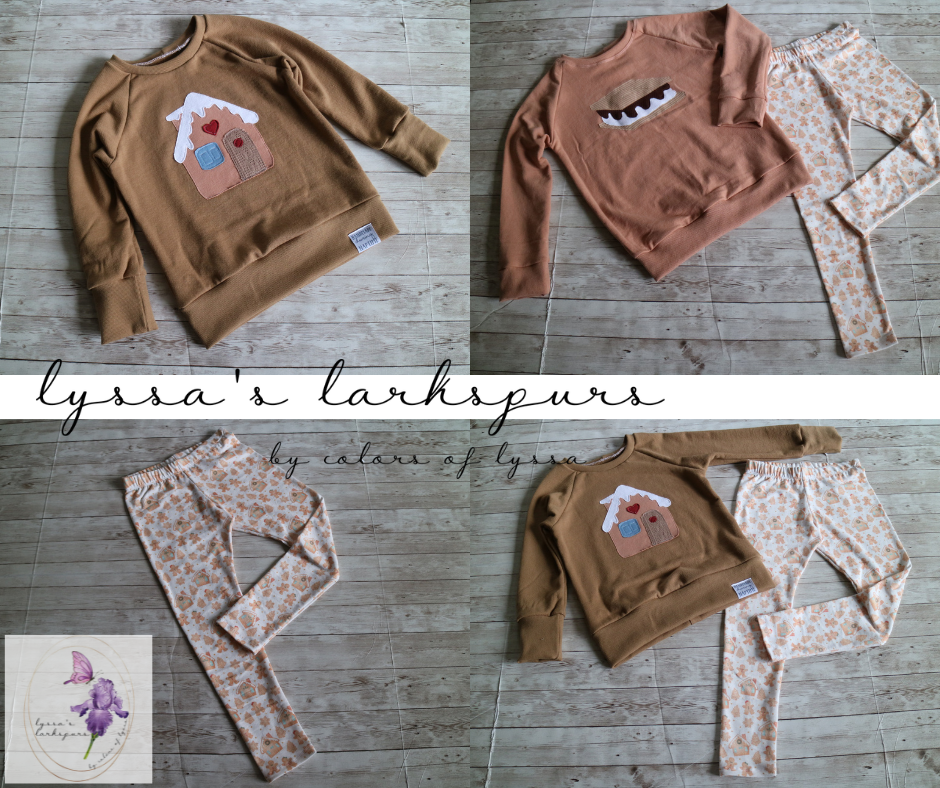
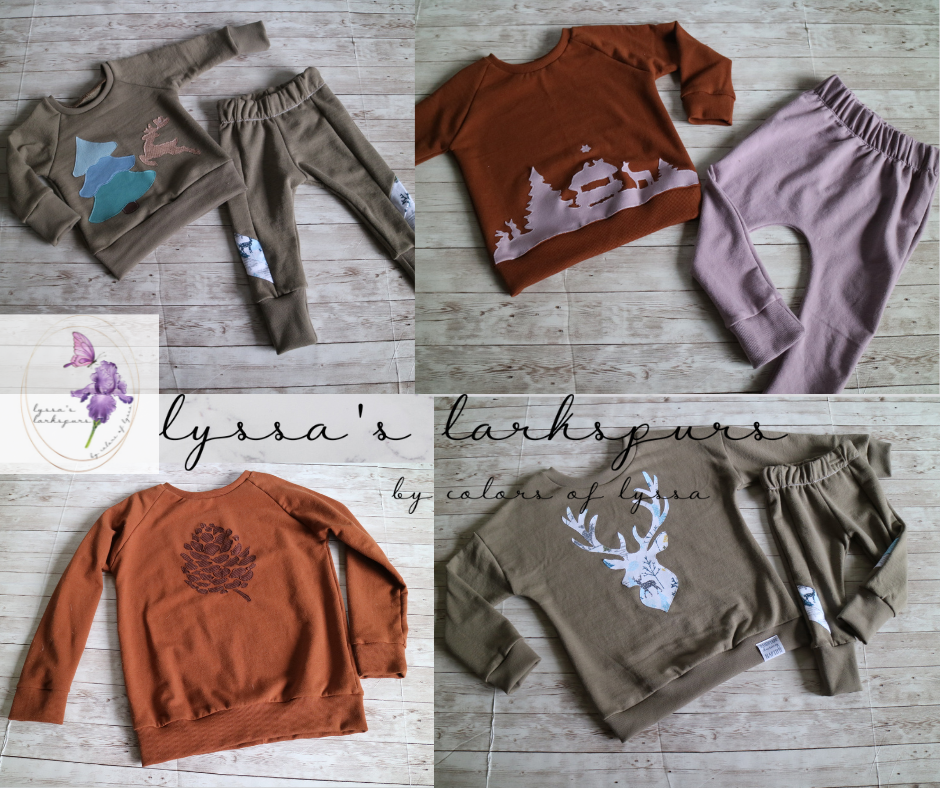
The shop has a variety of patterns for applique projects. I used the Hudson Hoodie for the Hot Chocolate applique and the Altitude Pullover without pockets for the S'mores, Nativity Scene, and Pine Cone Pullovers. You can use most pullovers for a statement or subtle appliques that complement the pattern.
Amy recently shared a nightgown she made her daughter with appliqued details on the solid yoke of the dress. She cut out some of the smaller details on the main print, like the gingerbread snowflakes and gingerbread man, and added them to the yoke. It was pretty cute and easily added a fun detail to the dress.
I focused on appliqueing with Knit fabric here. Since Knit fabric does not often fray the edges can be left raw. Even if the interfacing is not used, it rarely frays. But if you are using a woven piece, such as cotton fabric, to do the applique, the risks are higher for fraying. If you use interfacing the fraying can be limited, but it will still eventually fray.
A full-coverage satin stitch, a blanket stitch, or a zig-zag stitch has to be used to avoid the applique from coming apart. You can apply a fray check, but I haven’t used them yet. The other option is to fold it under to enclose the raw edge while sewing down the applique. This uses a different technique for appliqueing, similar to paper piecing. You will need to add ‘seam allowance’ to the details that you cut out to allow for folding under and sewing down.
If you are a visual learner, you can find a quick Tiktok on the steps to applique here and another one of me sewing the applique pieces down here. Hope I have inspired you to try your hands at applique this season.
Thank you for joining us to learn more about how to applique fabric. Before you leave, make sure to stay in touch by joining our Facebook Group or following us on Instagram.