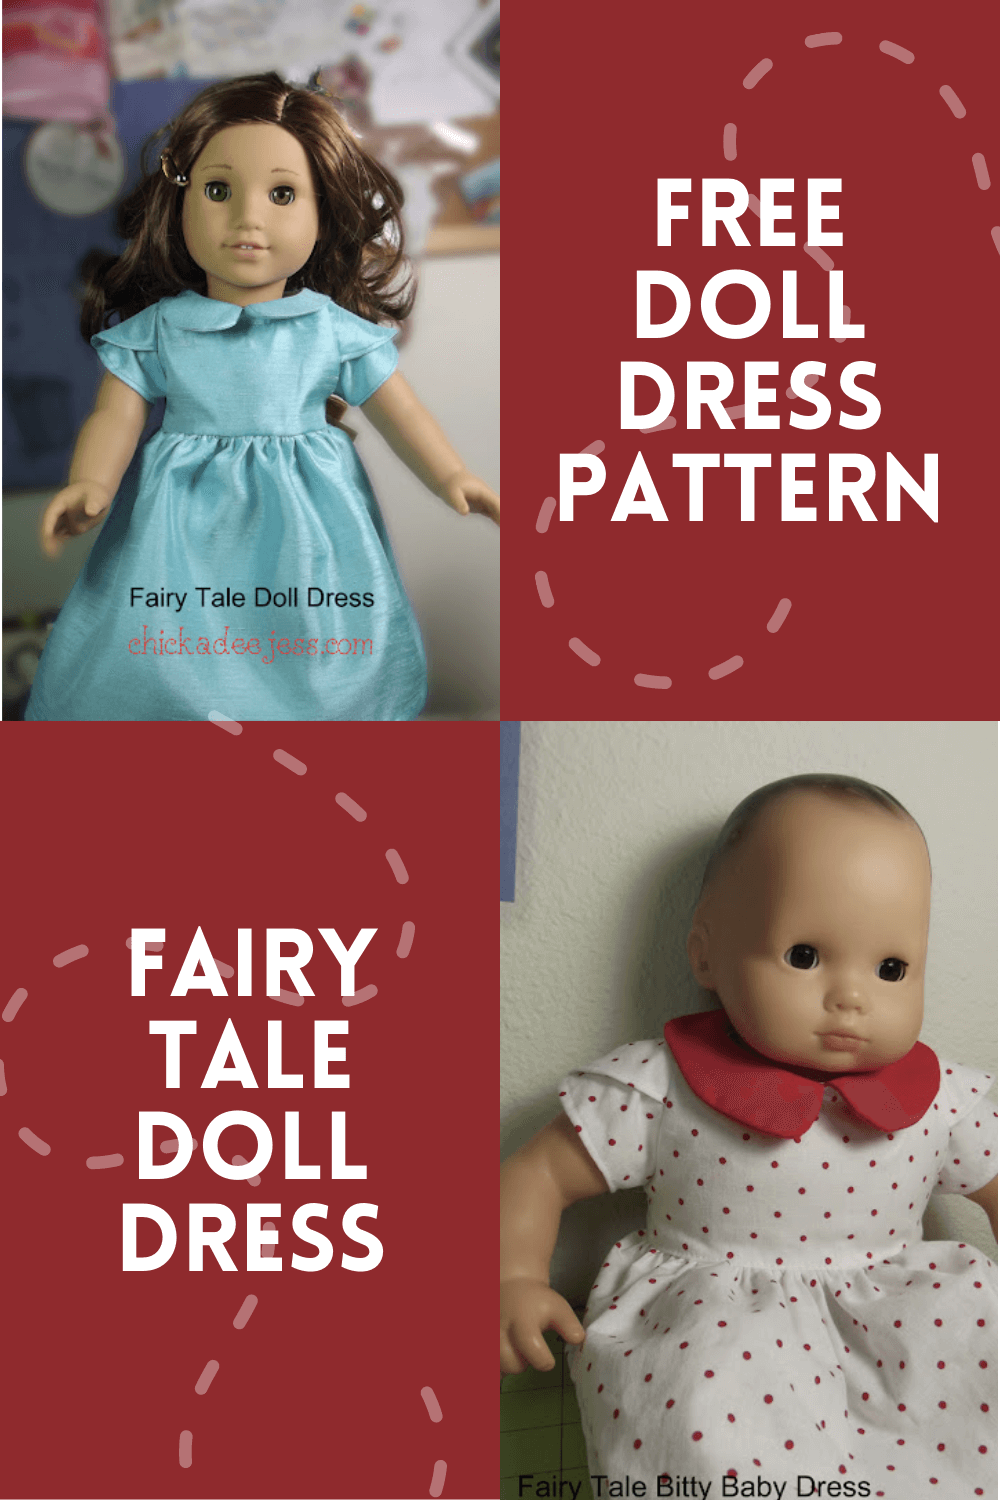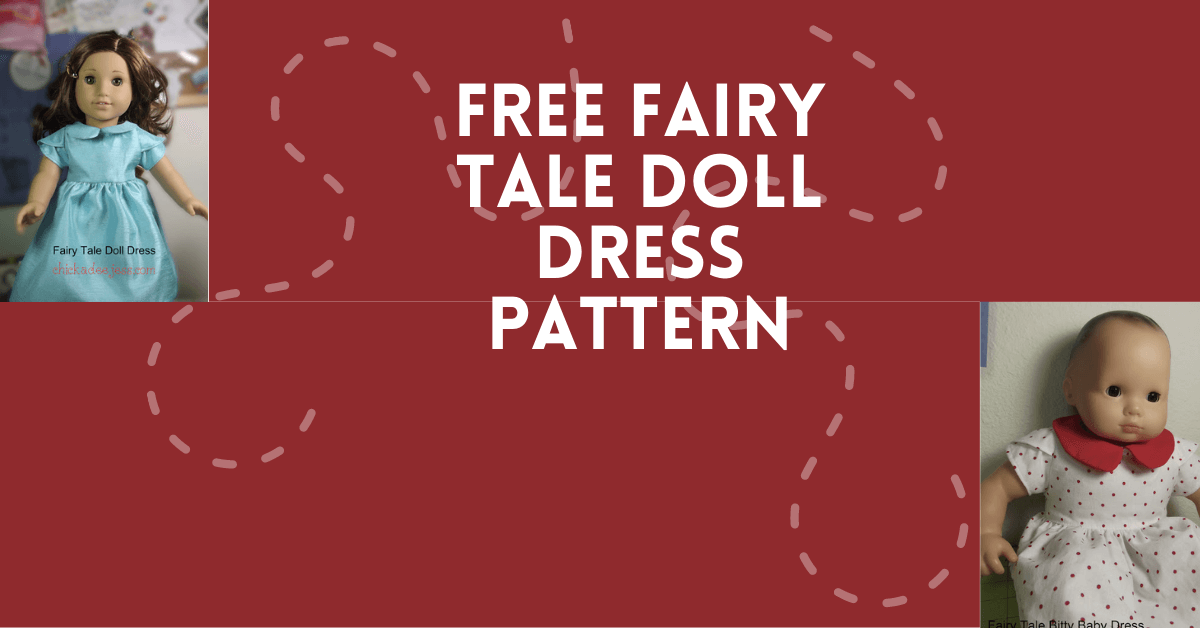
Free Doll Dress Pattern | Fairy Tale Doll Dress
Hi all. I'm Jessica. I'm so very excited to be guest posting at Peek-a-Boo Pages today and sharing the fairy talefree doll dress pattern. Amy's patterns and tutorials are top-of-the-line and her kids are darling and funny too!
Free Doll Dress Pattern | Fairy Tale Doll Dress
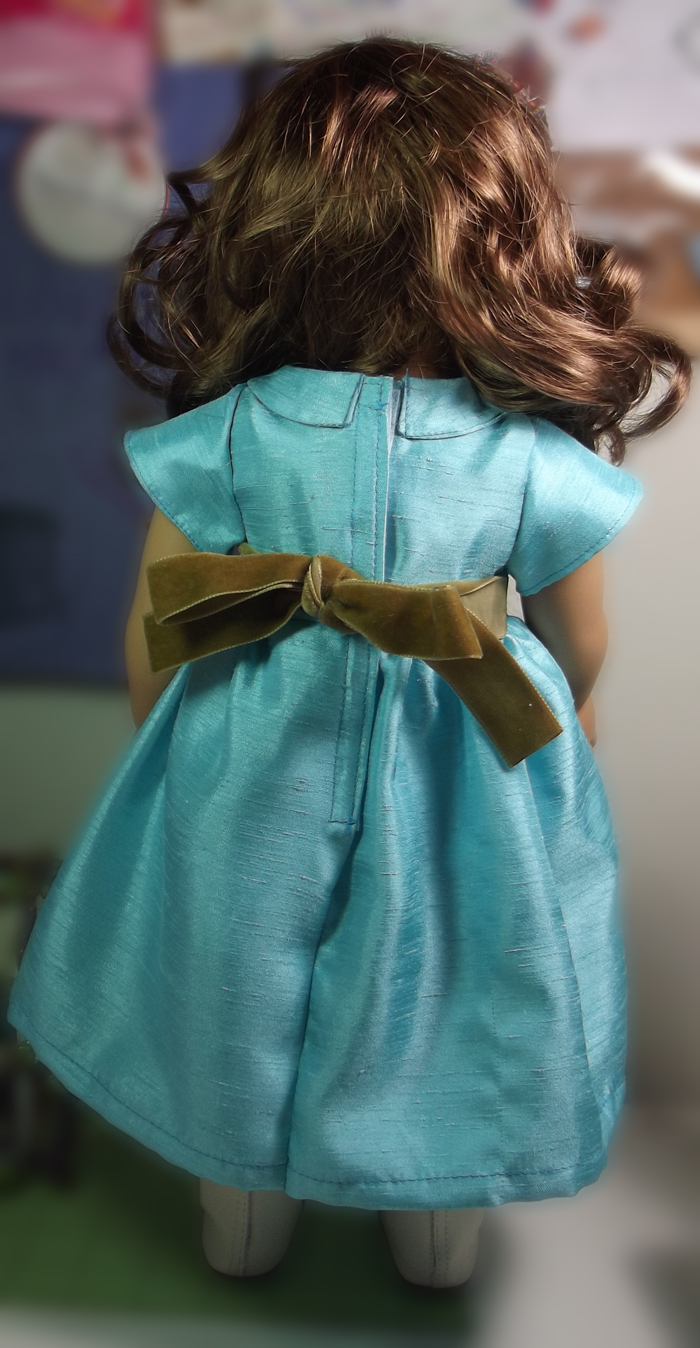
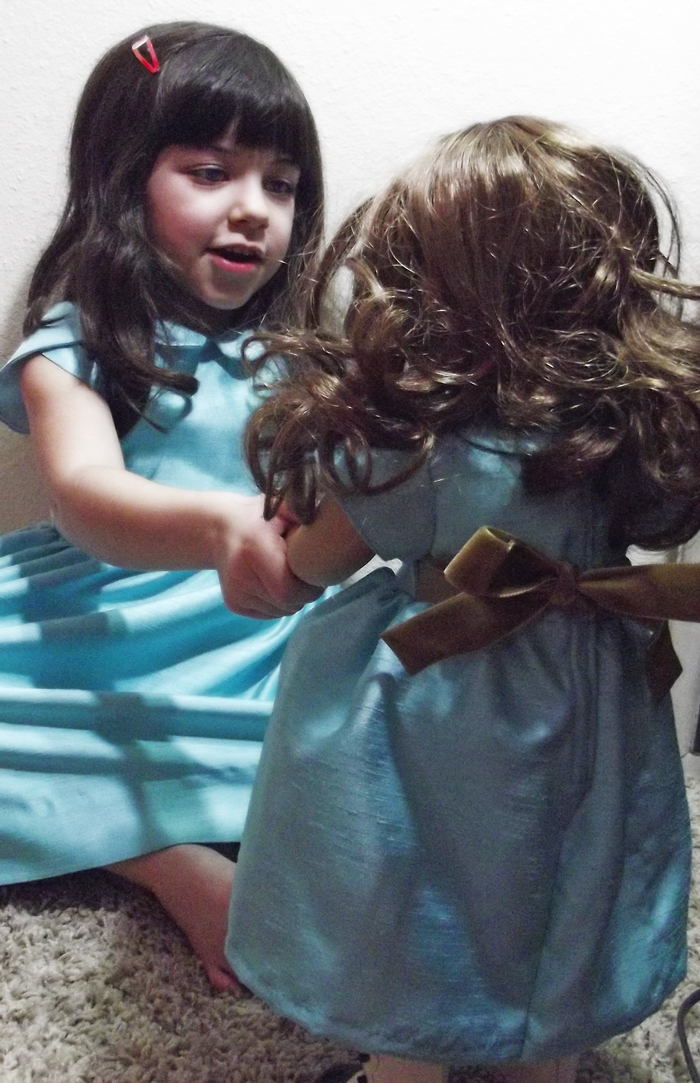
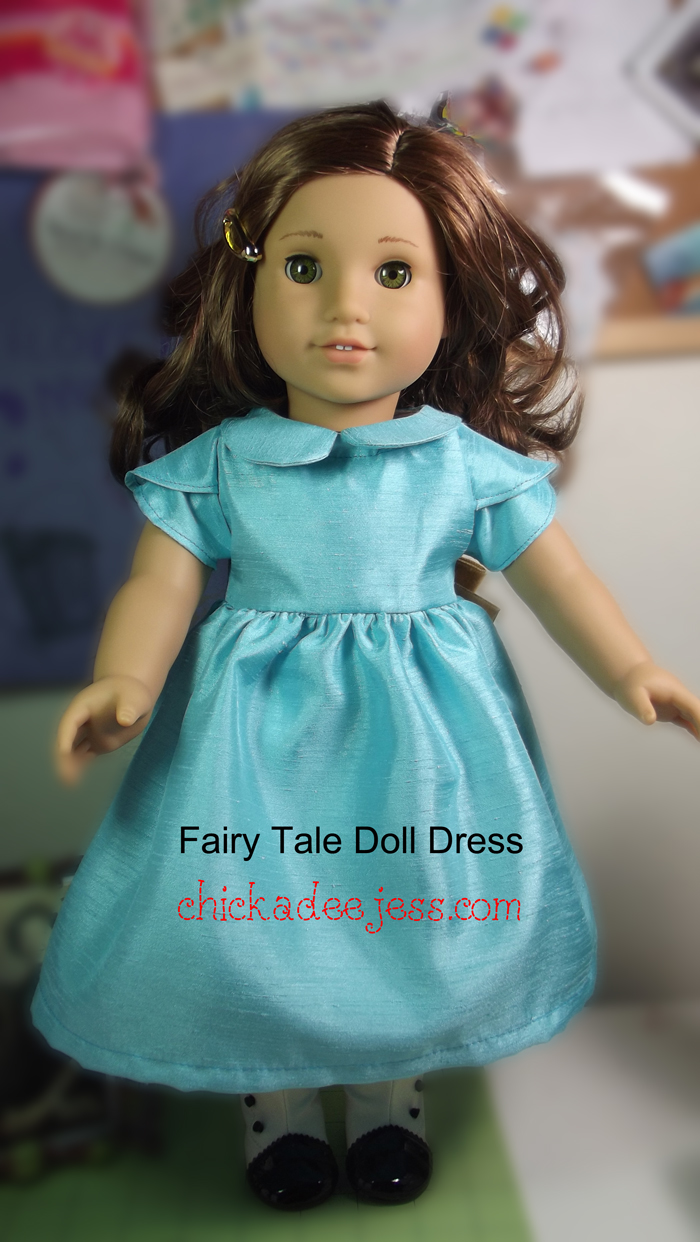
Recently, I made the Fairy Tale Dress for Evangeline. The dress turned out beautifully.
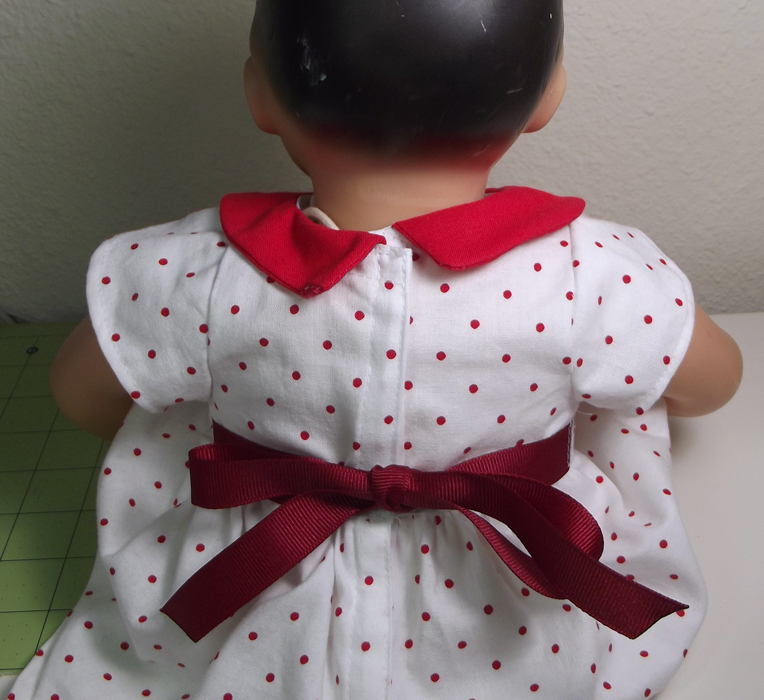
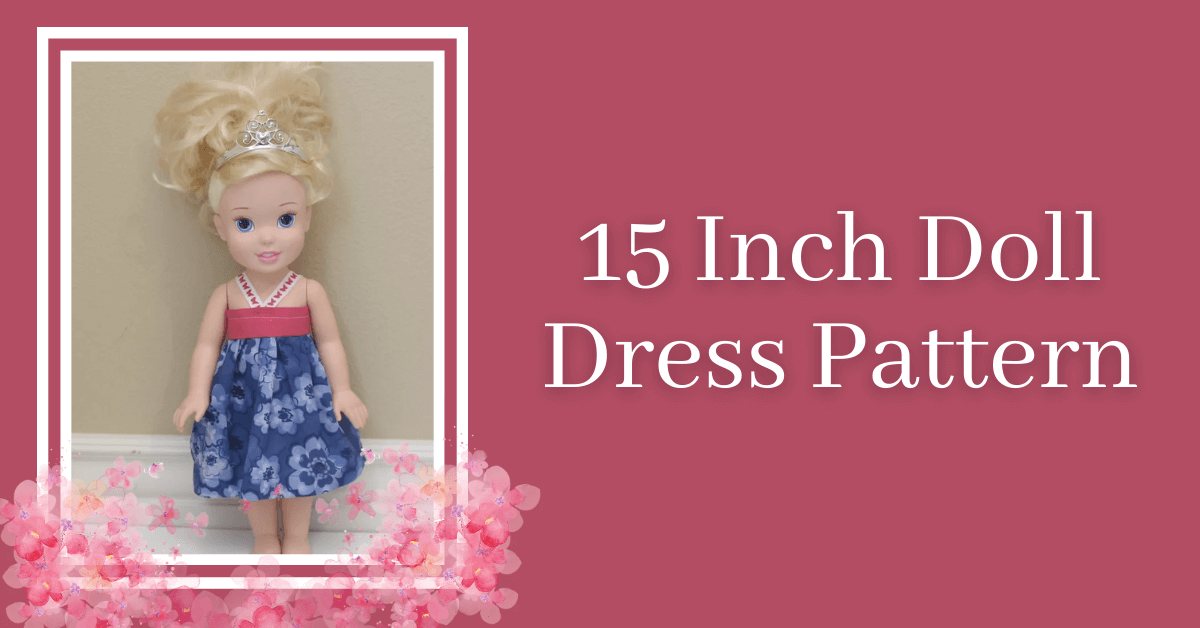
When Amy called for bloggers to participate in her Dressing Up Dolly series, I jumped at the chance! I knew Ev would love a Fairy Tale Dress for her Bitty Baby. I got to work drafting up a pattern. It has petal sleeves, a straight bodice, a peter pan collar, a full skirt, and ties in the back. The best part is that this dress will fit your 15" Bitty Baby or 18" American Girl Doll.

Doll Dress Pattern Supplies:
- Bodice, sleeve, and collar pattern pieces
- 22"x22" fabric square for bodice, sleeve, and collar pieces
- 6.5"x30" (bitty baby) or 9"x30" (American girl) fabric for skirt
- 28 inches of 1/2"-3/4" Ribbon for ties
- 10" single-fold bias tape
- 6 inches of 1/2" velcro
FREE Dress Pattern Sewing Instructions
Doll Dress Step 1: Print the pattern pieces from here. Make sure the scaling on your printer is at 100% so the sizing of the pieces is accurate. The bodice, collar, and sleeve pieces are the same size for both the Bitty Baby and the American Girl sizes.
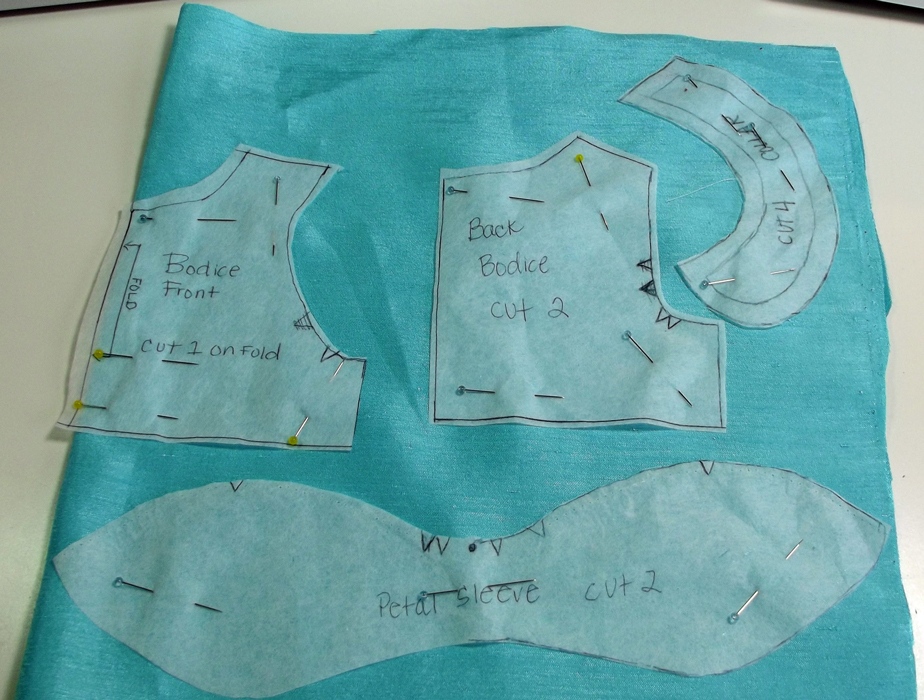
Doll Dress Step 2: Cut 4 collar pieces, 1 front on fold, 2 back pieces and 2 sleeve pieces. Cut a rectangle 30"x6.5" for the Bitty Baby or 30x9" for the American Girl Doll. Below I've put a suggested pattern layout.
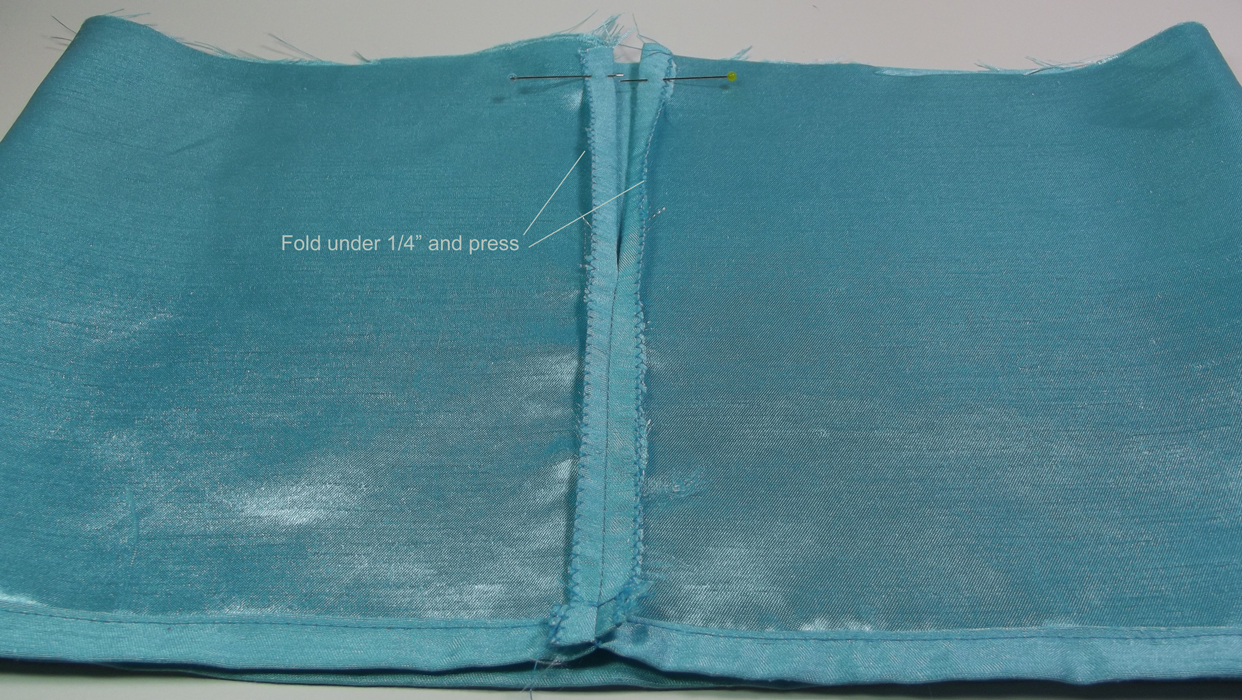
First, we will construct the bodice. Finish the edges of the back bodice.*
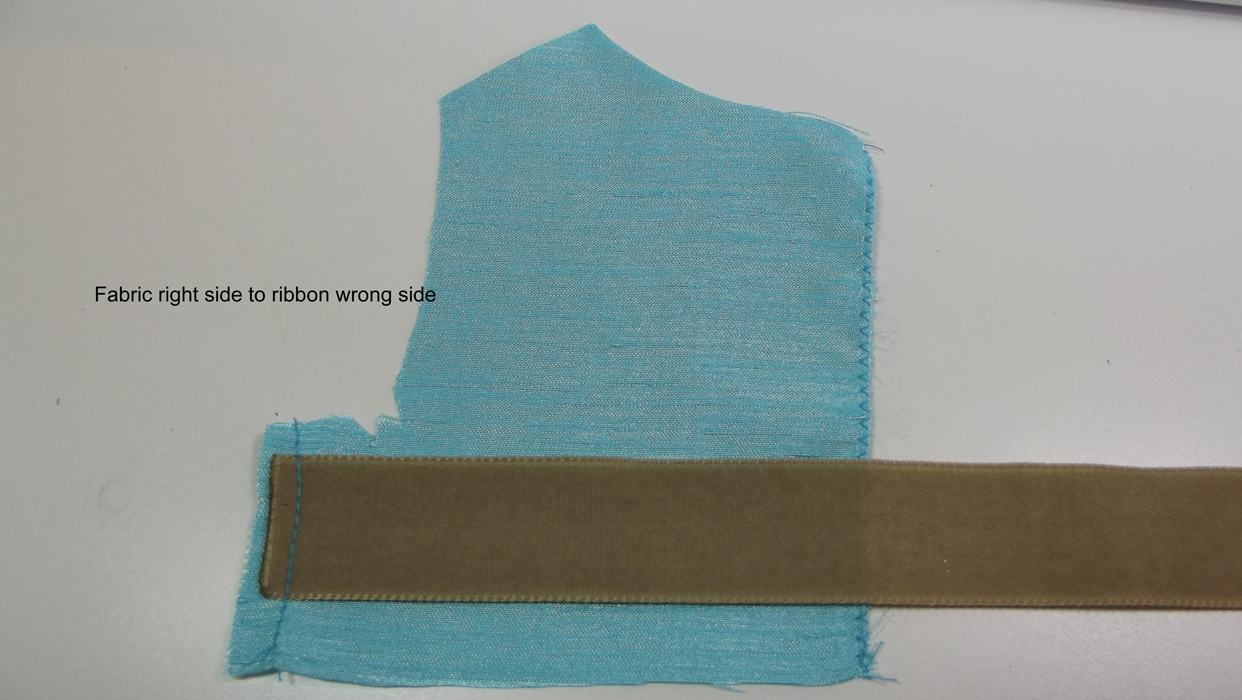
Doll Dress Step 3: Prepare your ribbon by cutting it in two equal pieces and trimming one end of each piece diagonally. Seal the ends of the ribbon by running it through a candle flame or lighter. Pin the ribbon 3/8" from the bottom of the back bodice at the side seams.
*Regarding seam finishes: Usually, I use a serger but when sewing doll clothing using a narrow zig-zag is easier and just as effective. It's important to finish seams so your little one can enjoy playing with the clothing and there won't be any raveling.
Doll Dress Step 4: Sew bodice front to back at shoulders and sides catching the ribbon in the side seams. Finish the seams.

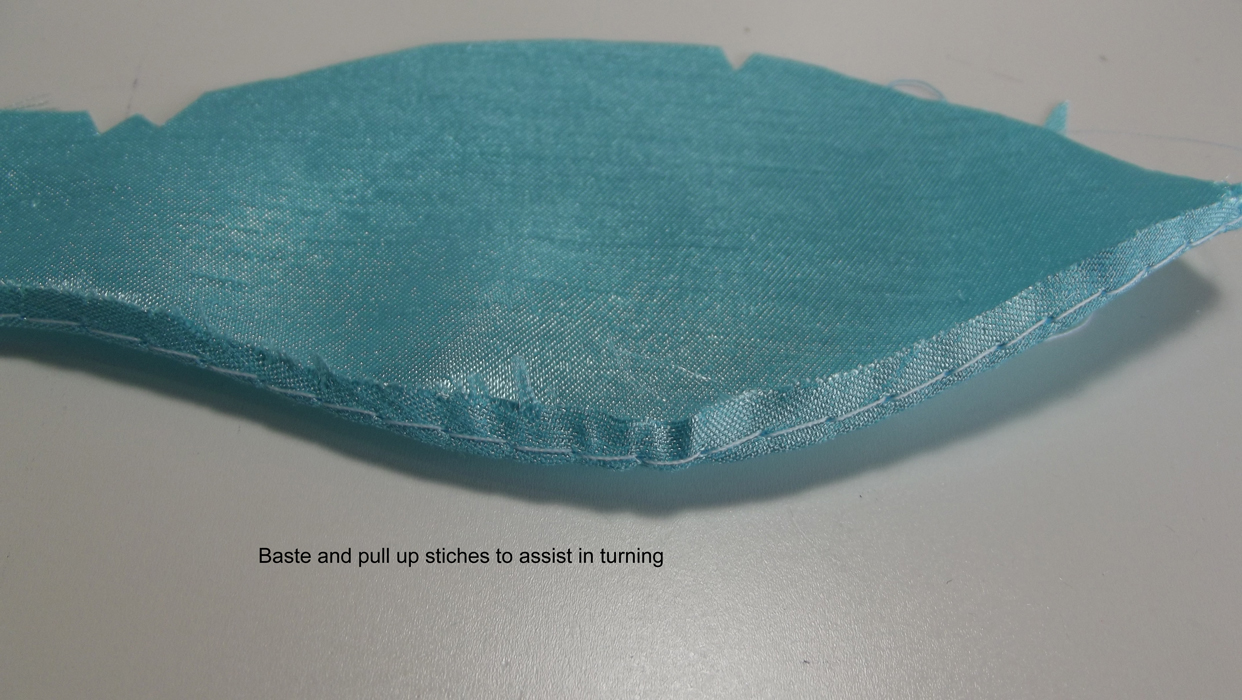
Doll Dress Step 5: On to the sleeves. Sew a basting stitch 1/4" from the bottom of the sleeve. Pull up the gathers very slightly. This will help you turn the hem up along the curves. Press.

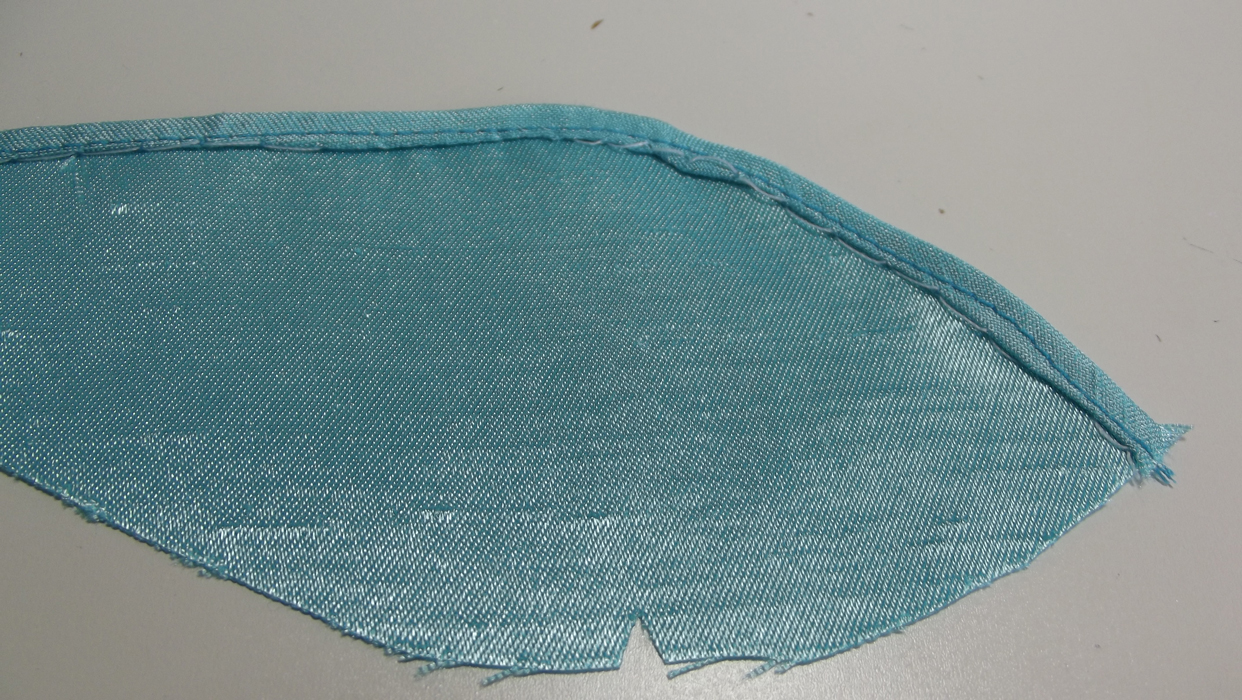
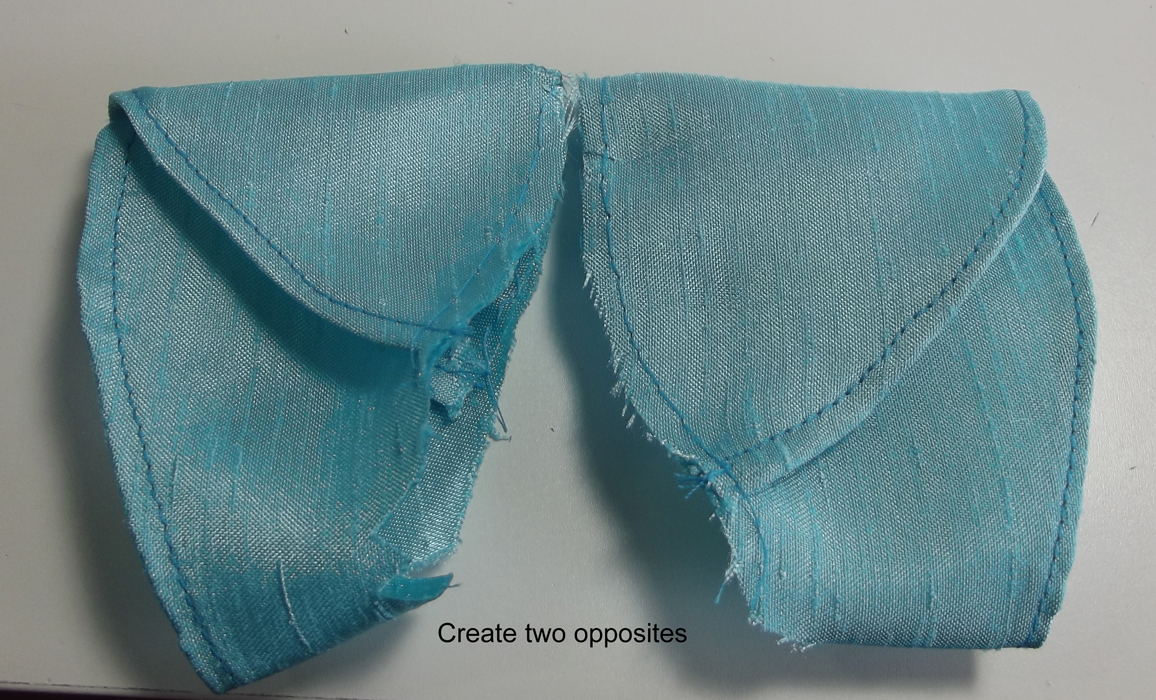
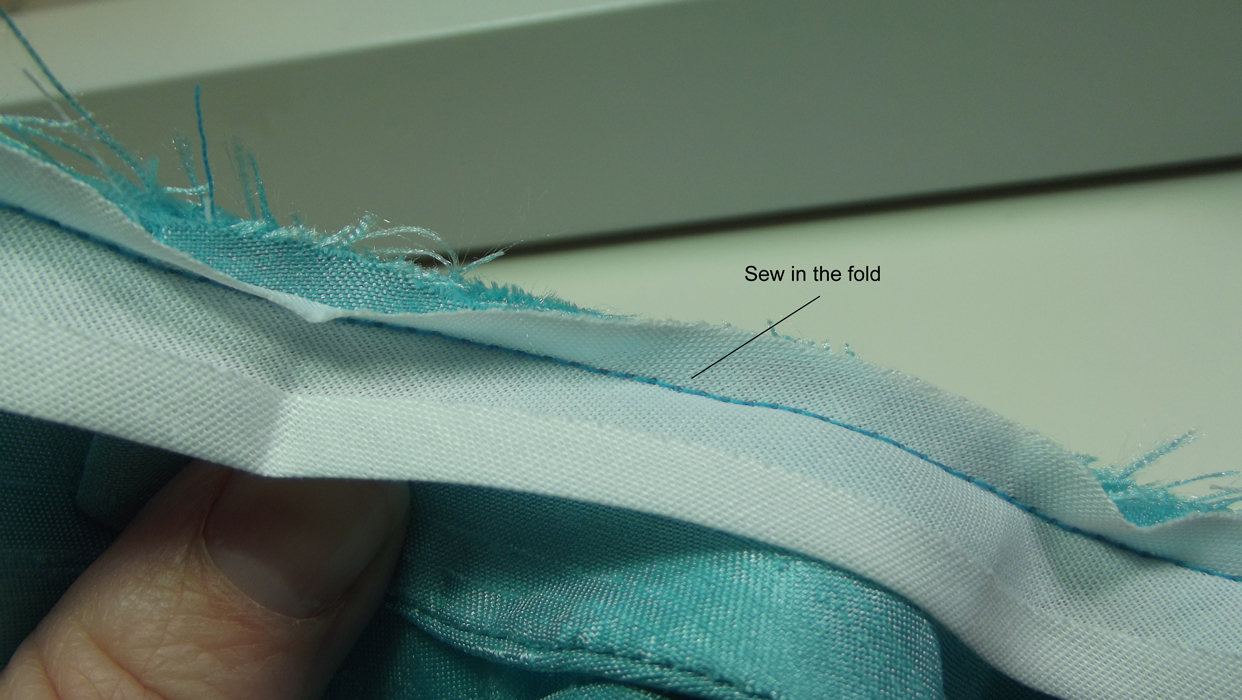
Doll Dress Step 9: Prepare your collar next. Sew the long outside edges, right sides together.

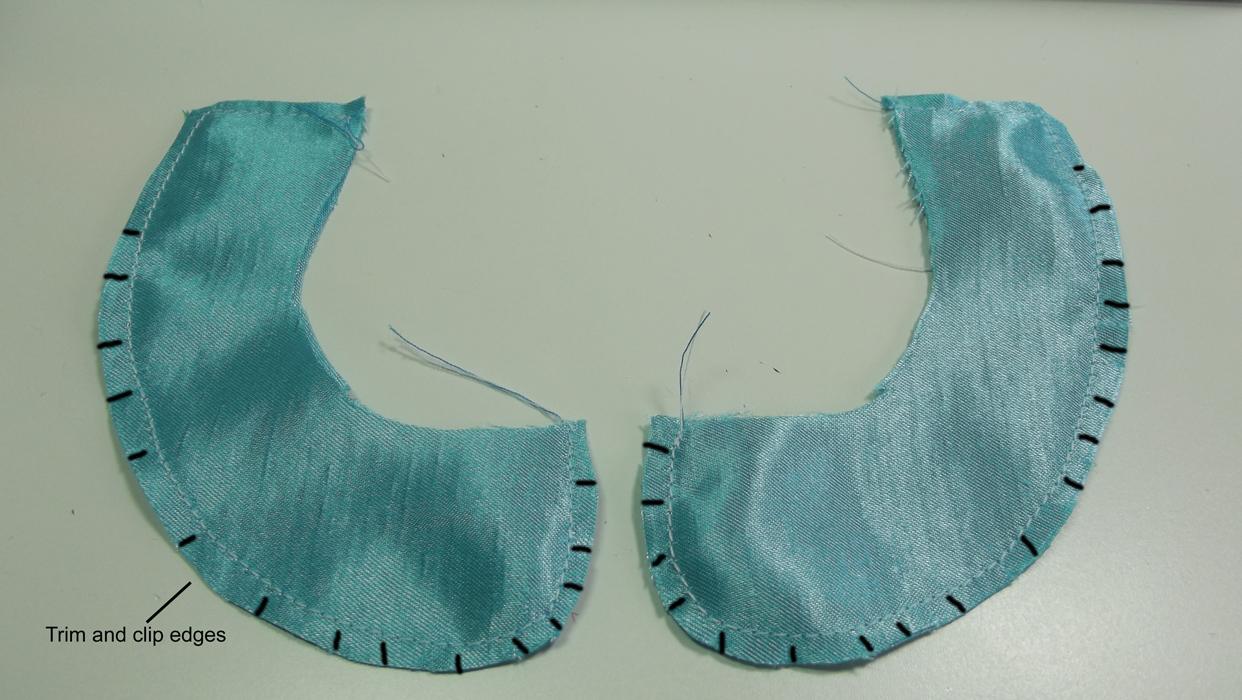
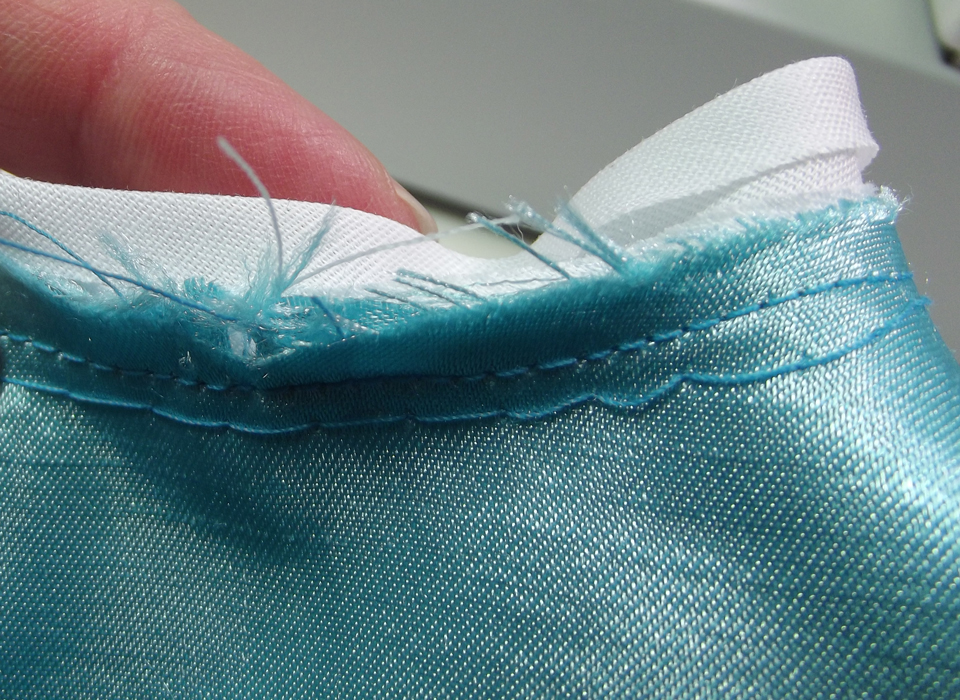
Doll Dress Step 10: Trim the seam and clip the corners and edges.
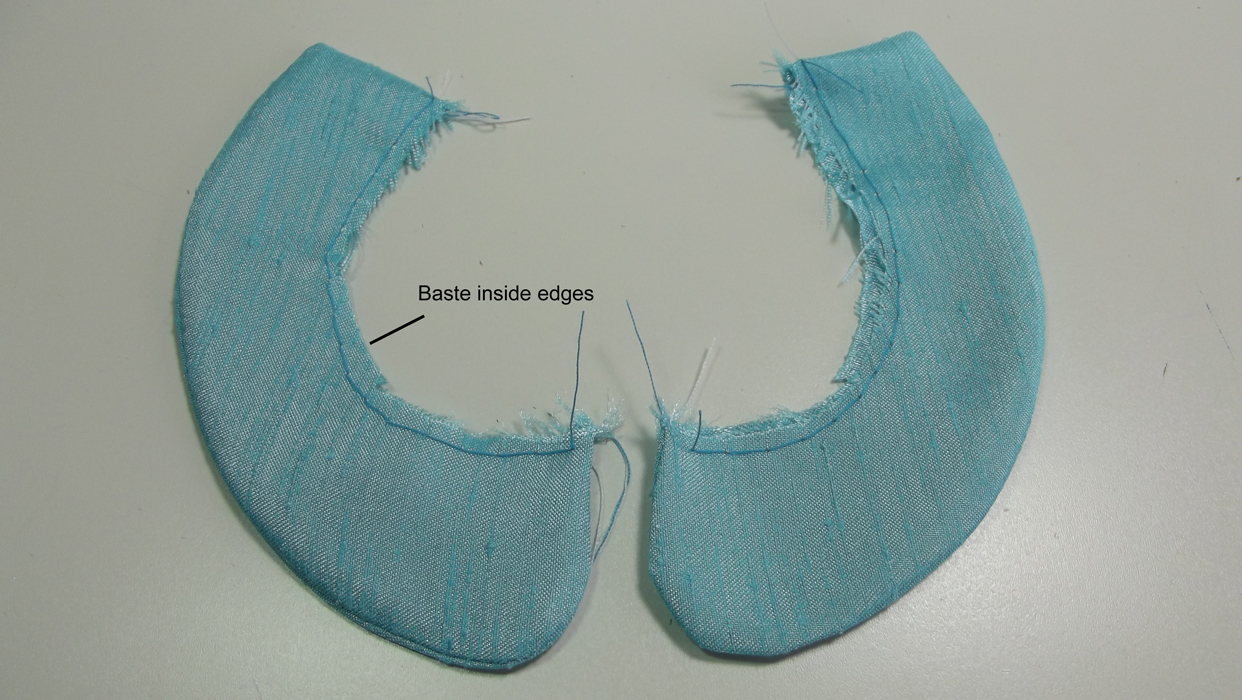
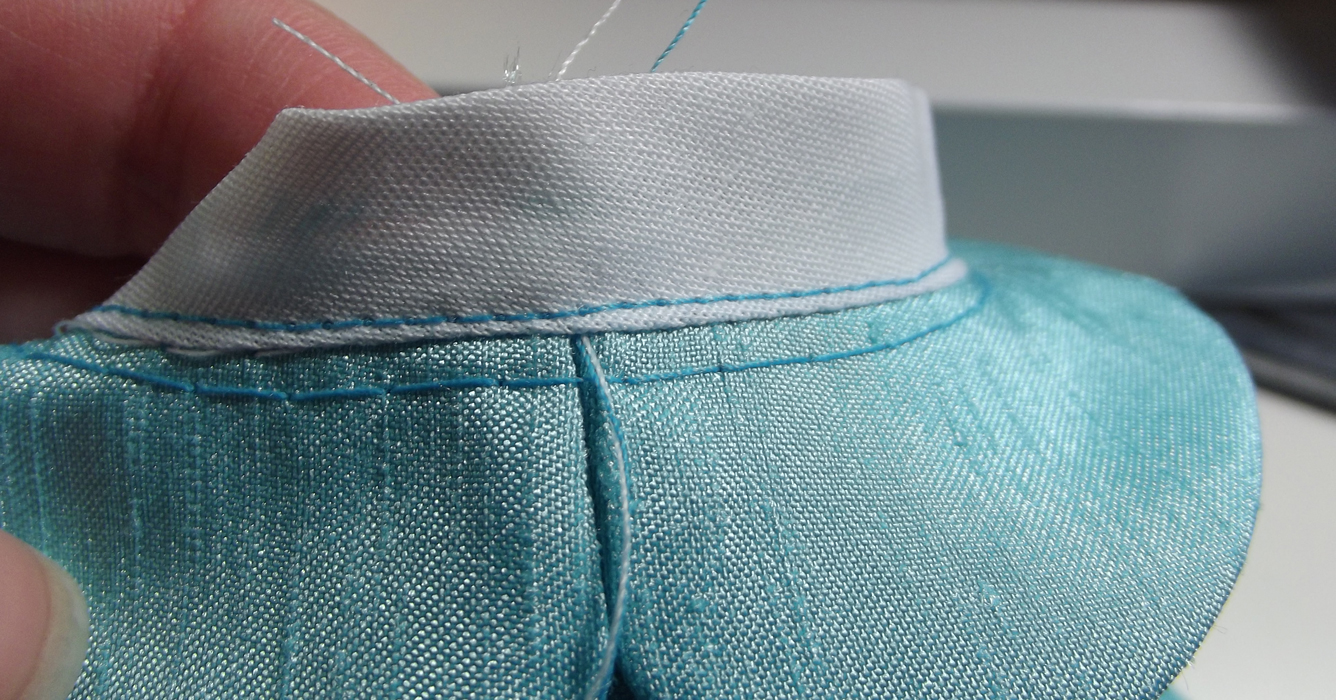
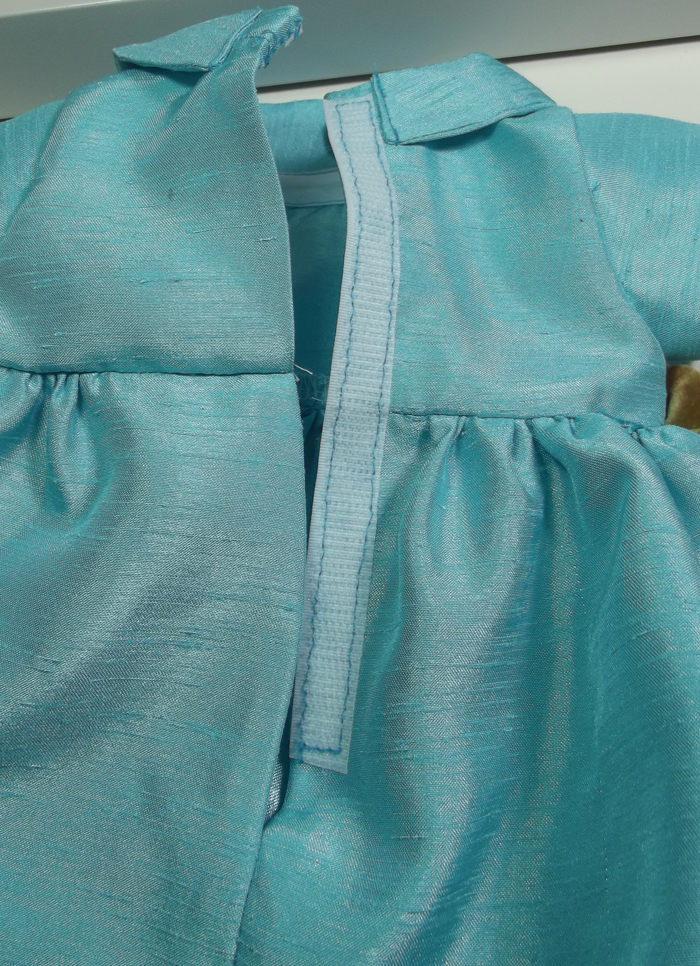
Doll Dress Step 12: Pin your collar to the neck edge matching the front edges of the collar to the notch in the center neck. Stitch with a 1/4" seam. The collar edges will not meet in the back.

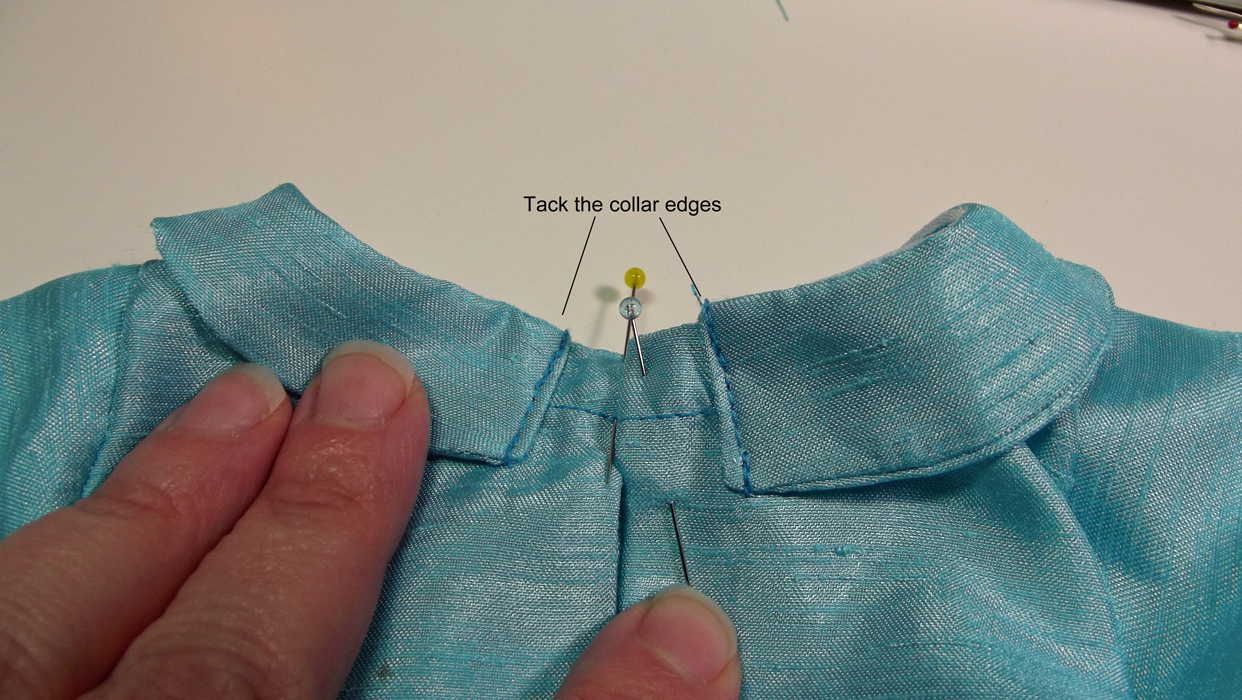
Doll Dress Step 16: Press the collar down and sew the collar down at the back edges. This will help the collar lay down. On a people-sized garment you'd tack this down by hand but the machine stitching will be much more durable.
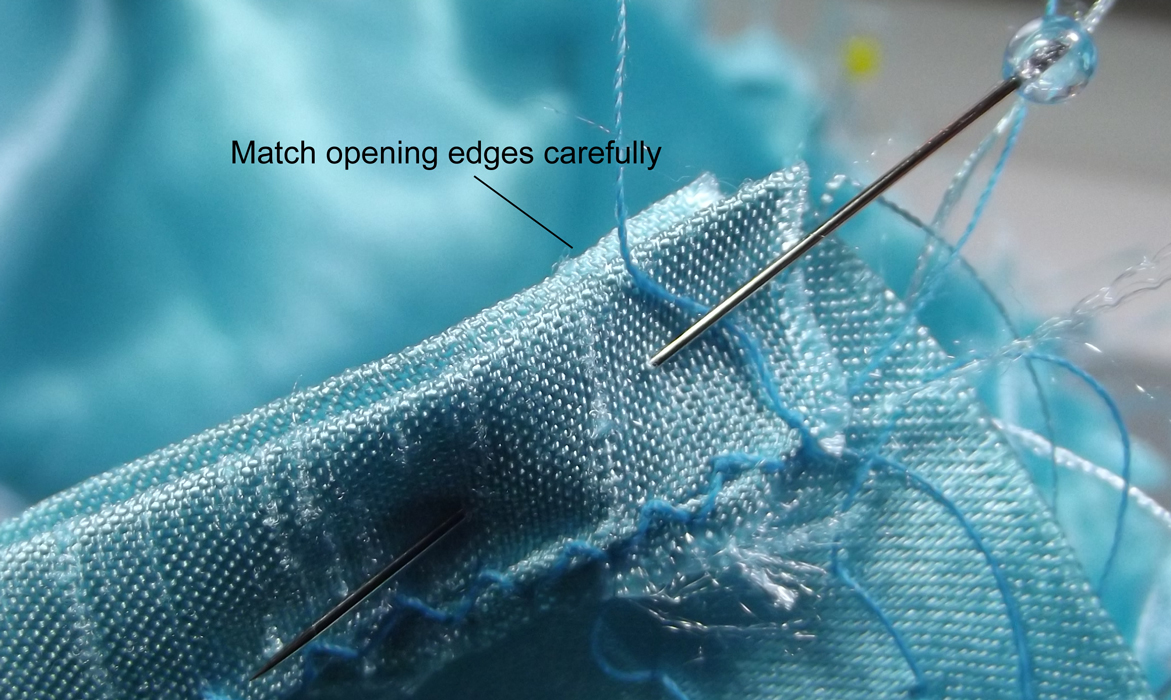
Doll Dress Step 18: Run two rows of gathering across the long edge of the rectangle 1/4" and 1/2" from the edge. Pull up the gathering stitches and pin to the bodice edge, right sides together. Match the opening edges carefully. Adjust the gathers to fit. Sew with a 1/4" seam and finish the seam.

Using 1/2" velcro, sew the hook side to the right side of the dress.
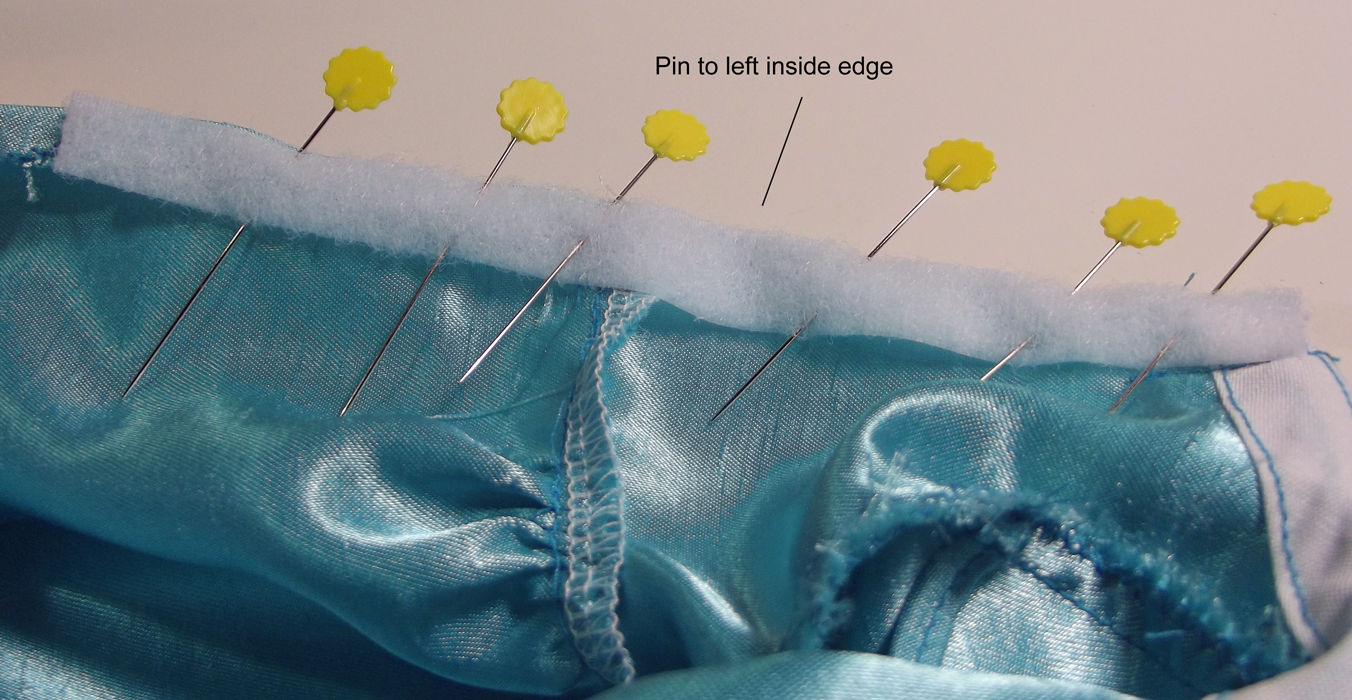
FREE Doll Dress Pattern Step 21: Sew carefully because this will show on the outside of the dress.