
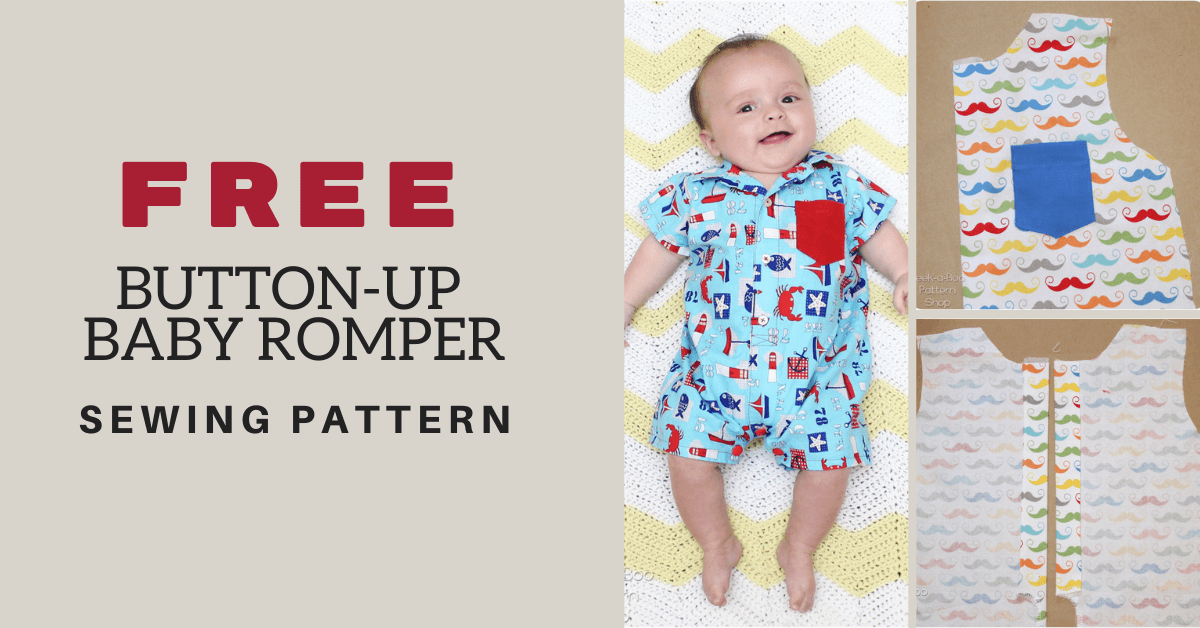
Free Baby Romper Pattern | Baby Romper Free Pattern
Today I have a FREE baby romper pattern to share with you! I'll also point out some of the most popular baby patterns we offer over at Peek-a-Boo Pattern Shop - so stay tuned at the bottom.
FREE Baby Romper Pattern | Sewing Patterns for Baby
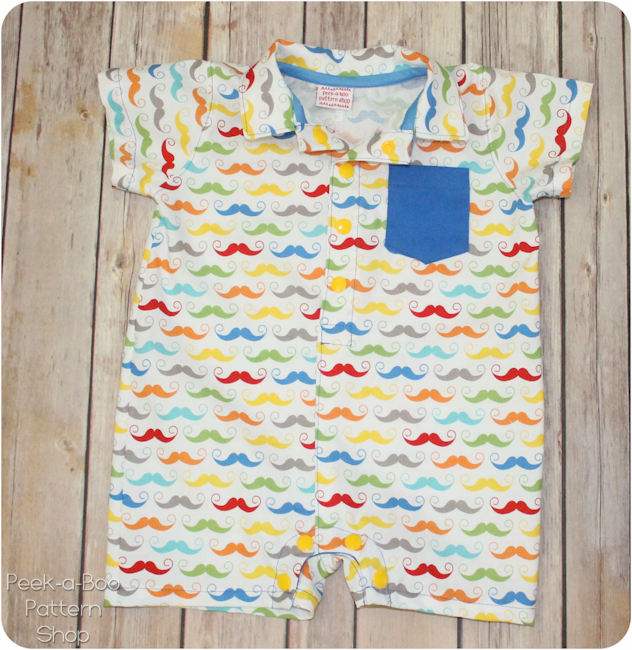
This button-up free baby romper free pattern gives you the polished look of a collared shirt but it's still cool and comfy for baby to wear.
This button-up free baby romper pattern is Levi's outfit for the 4th of July this year and it coordinates with Will's shirt that I shared last week. I love rompers on babies!

Download the Pattern & Tape the Pattern Together
OK. Now let's sew up the free baby romper pattern! The first thing you need to do is download the baby romper pdf sewing pattern by clicking the link below:
Download Your Pattern
This button-up baby romper pdf pattern is currently available in size 6 mos. A full pattern with sizes newborn-4t and a long pants option is available for purchase HERE.
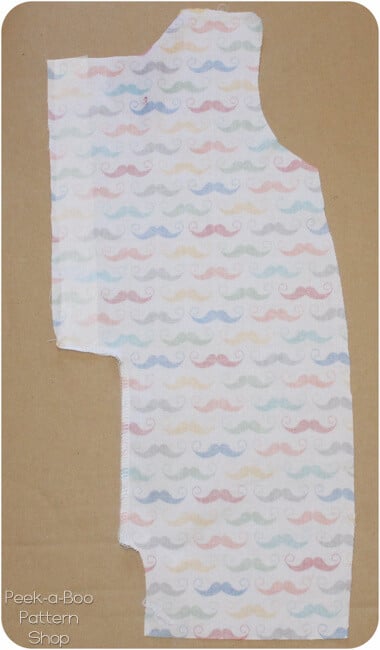
Now that you have your baby romper pattern printed, tape it together along the dashed lines and let's get started! Catch the tutorial after the jump
Free Baby Romper Pattern Materials List
- 3/4 Yard Fabric
- Lightweight Fusible Interfacing
- 4 Buttons/Snaps for front placket
- 3 to 4 snaps for inseam
- Single Fold Bias Tape
Baby Romper Sewing Instructions & Tutorial
This project has a lot of steps but it really sin't super time consuming to sew so don't panic :) Use a 1/4" seam allowance unless otherwise noted
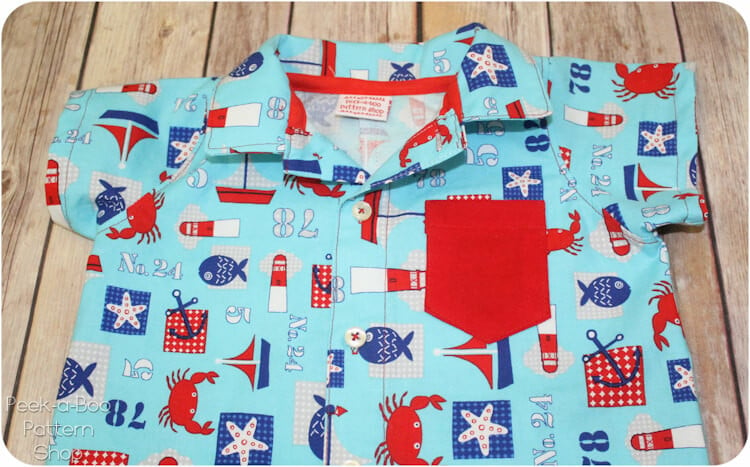
Step 1: Add a 1" strip of interfacing to each front romper piece 1/4" in from the placket edge. Your placket is the portion up at the top. Finish the center front seam/bottom edge of the placket with a serger or zig-zag stitch. While you have your interfacing out add a piece of interfacing to the front snap placket, 1 back snap placket and 1 collar piece.
Step 2: Fold each side of the placket over 1/4" and then another 1" towards the wrong side of the romper and press flat. DO NOT SEW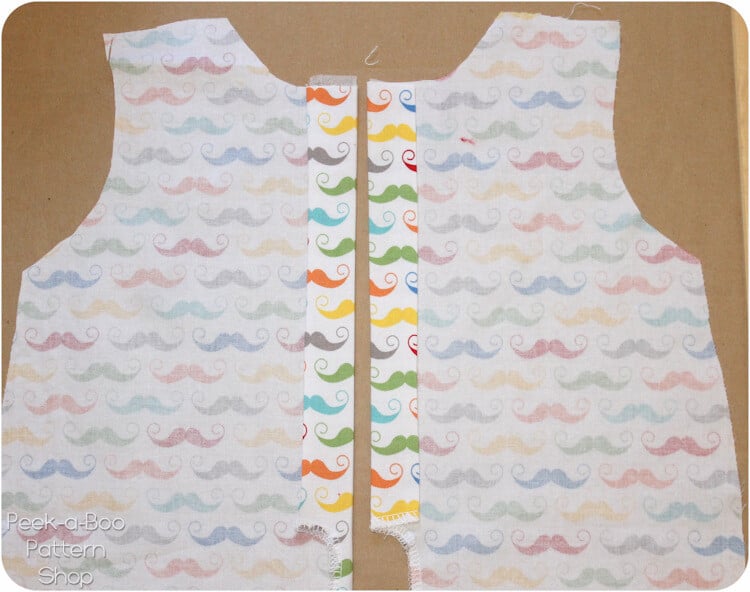
Step 3: Press the bottom edge of each sleeve up 1/4" and then another 1/2" and press flat. DO NOT SEW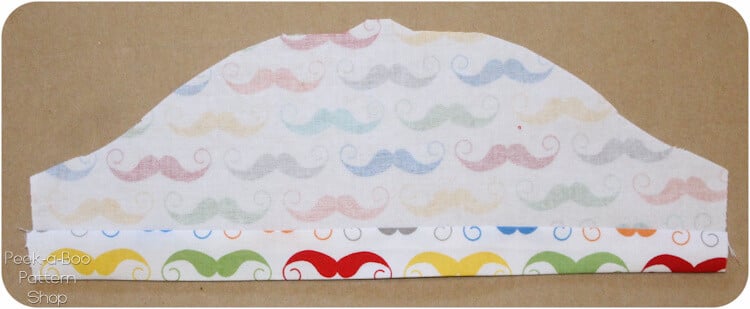
Step 4: Press the top edge of the pocket over 1/4" towards the wrong side. Press the top edge over 1/2" towards the right side and topstitch the folds in place 1/2" in from the sides. Turn the top of the pocket right side out and press the sides and bottom edges in 1/2". Topstitch the top of the pocket.
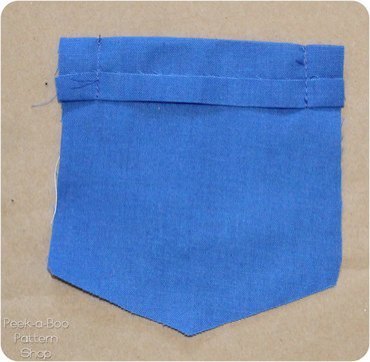
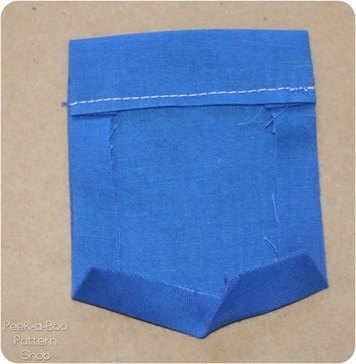
Step 5: Topstitch the pocket to the left shirt front along the sides and bottom edges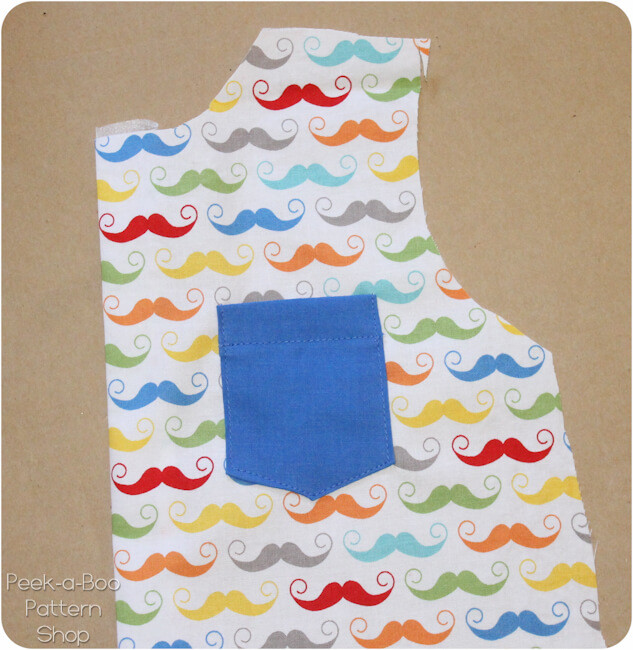
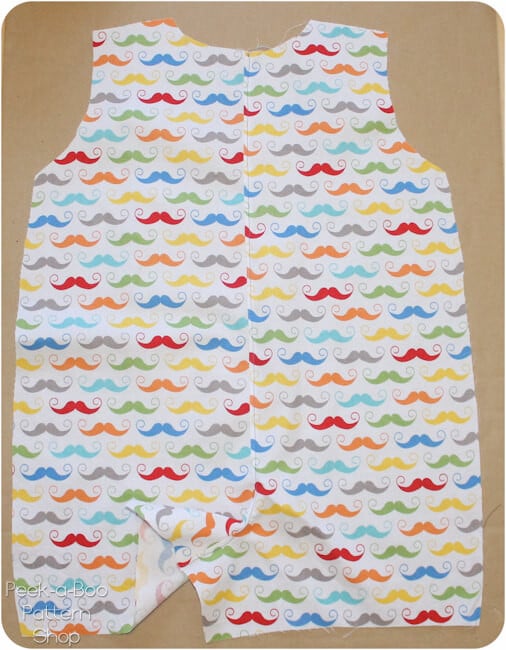
Step 6: With right sides together (RST) sew the 2 back pieces together along the center back seam/back rise. If you'd like you can topstitch the seam allowance to either side of the back piece.
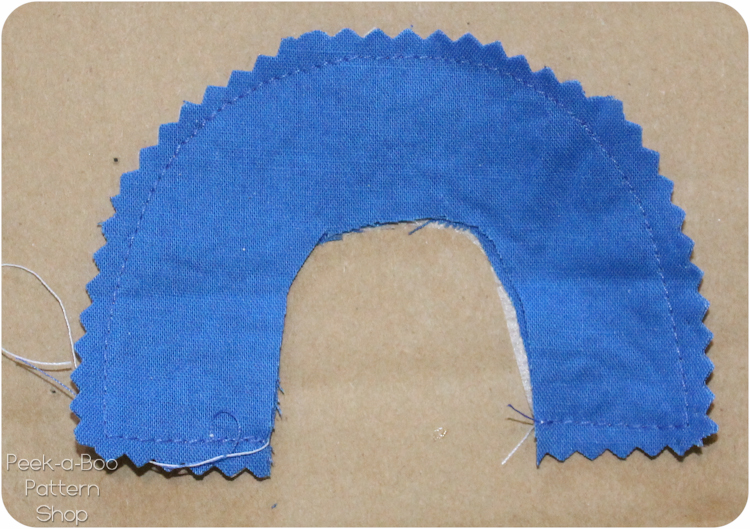
Baby Romper Pattern Step 7: With RST sew the 2 back placket pieces together along the outside and bottom edges using a 1/4" seam allowance. Trim your seam allowance, turn right side out and press flat
Baby Romper Pattern Step 8: With the back placket on the right side of the fabric sew the raw edge of the placket to the back inseam using a 1/4" seam allowance. The placket will end 3/4" before the raw edge of the romper (this leaves room for the hem).
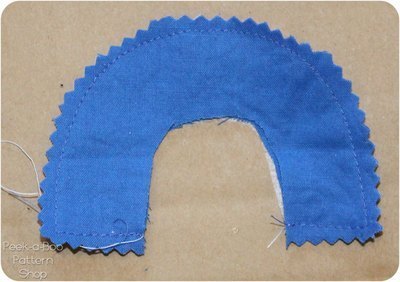
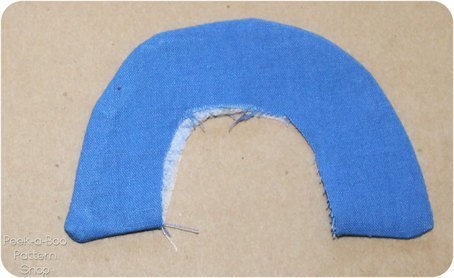
Step 9: With RST sew the collar pieces together using a 1/4" seam allowance along the 2 sides and outside edge. Trim the seam allowance, turn right side out, press flat and topstitch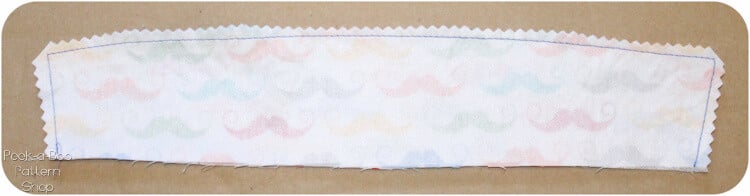
Step 10: With RST sew the left and right front pieces to the back at the shoulder seams. If you'd like you can topstitch this seam allowance to the front of the romper. 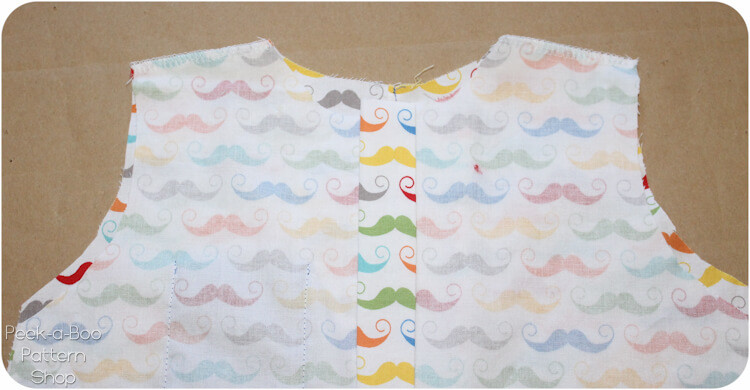
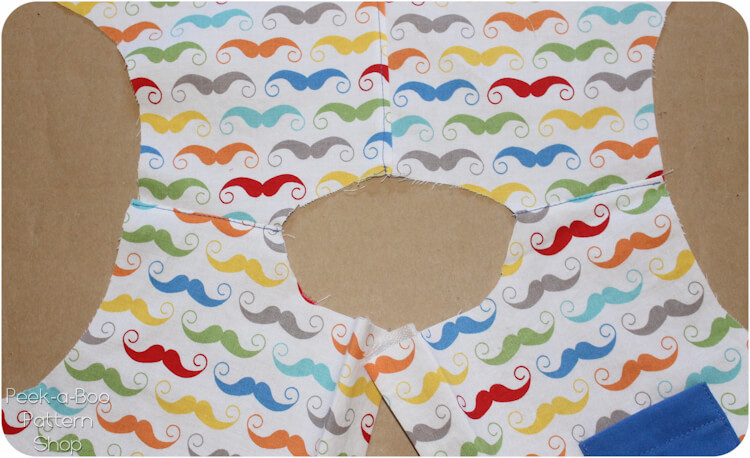
Step 11: Center the collar on the neckline and sew in place with a 1/4" seam allowance. Your placket should be unfolded during this next series of steps. 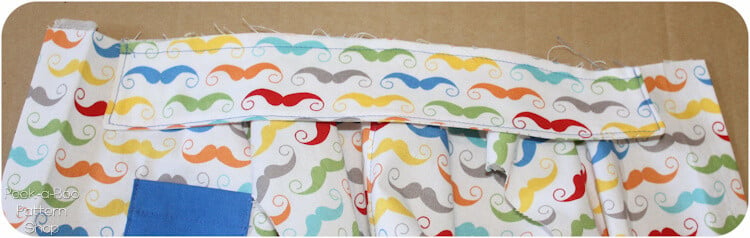
Step 12: Fold the placket back along the pressed fold line from step 2. The collar will now be underneath the placket.
Step 13: Unfold your bias tape. With RST sew along the fold line in the bias tape right on top of your stitching line from step 11. Make a series of little snips into the seam allowance so it lays well in the next step.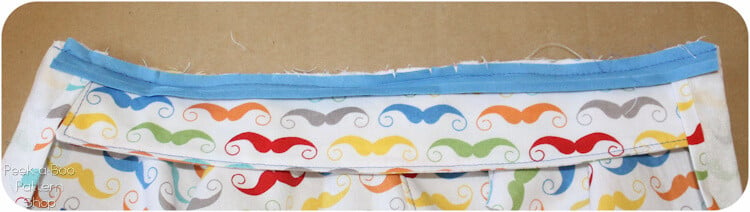
Step 14: Flip the collar up and turn the front placket right side out. You will now have a beautifully finished corner for the top edge of the placket. Press flat. Bring the bias tape down so the seam from step 13 is covered and the topstitch is in place. Now is a great time to add a tag if you have one :)
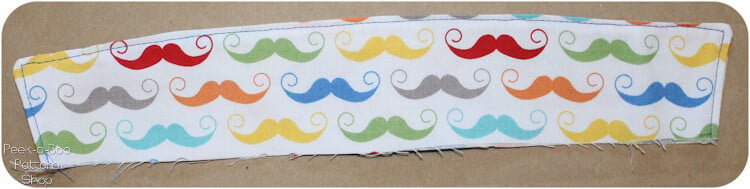
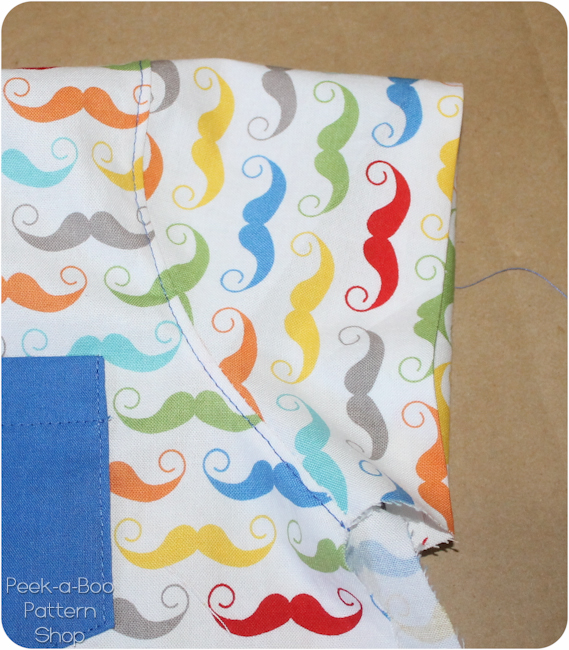
Step 15: Line up the center front edge of the left and right front pieces and sew together using a 1/4" seam allowance. Go straight up and stop 1/2" past the start of the placket. Do not turn and sew any portion of the placket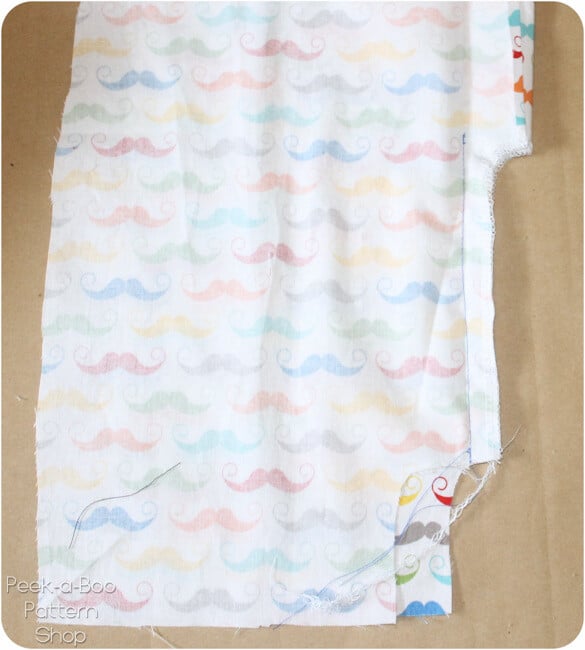
Step 16: Refold the placket pieces and press flat. Topstitch each side of the placket (you will need to move things out of the way a bit as you sew). On the left front piece (or right if you're sewing for a girl) add a line of topstitching along the center front edge.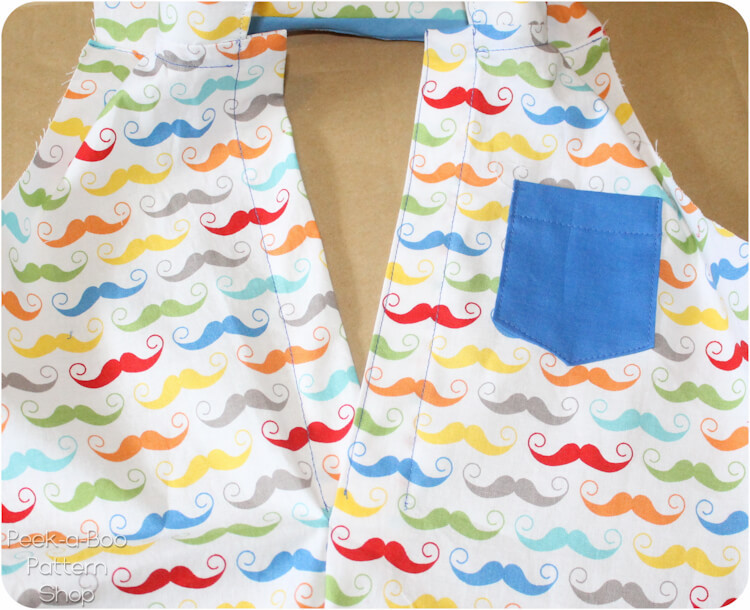
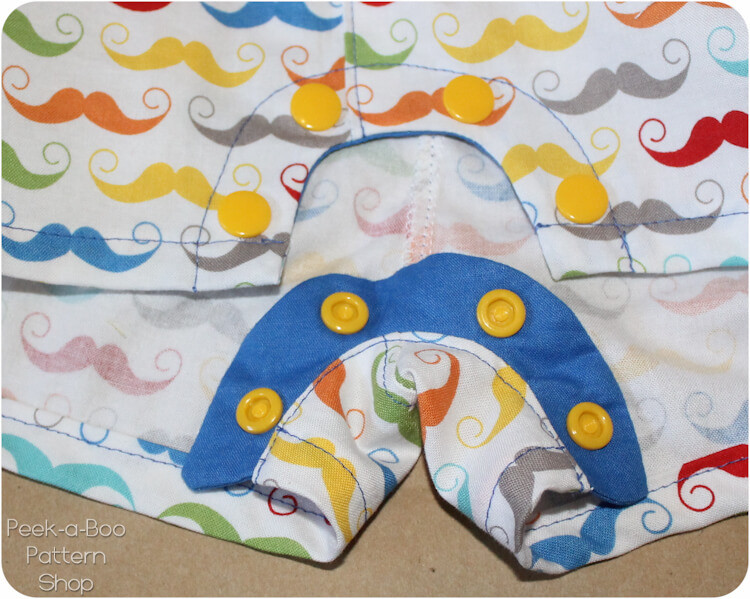
Step 17: Overlap the placket pieces so everything is laying flat. Starting at the crotch topstitch along the center front seam up to where you left off in the previous step. Sew over to the far stitching line, turn and go down 1/2" and then back to the center front line to secure the bottom edges of the placket pieces.
Step 18: Add snaps or buttons to the front placket. If you are using buttons do a horizontal buttonhole for the top button instead of vertical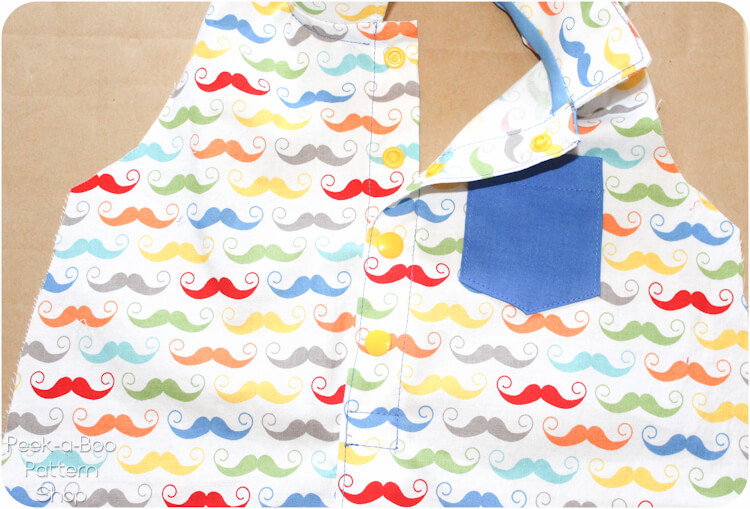
Step 19: Finish the outside edge of the front snap placket piece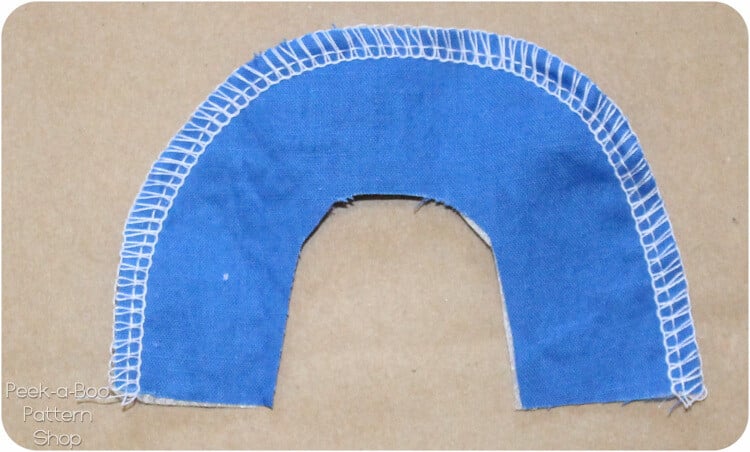
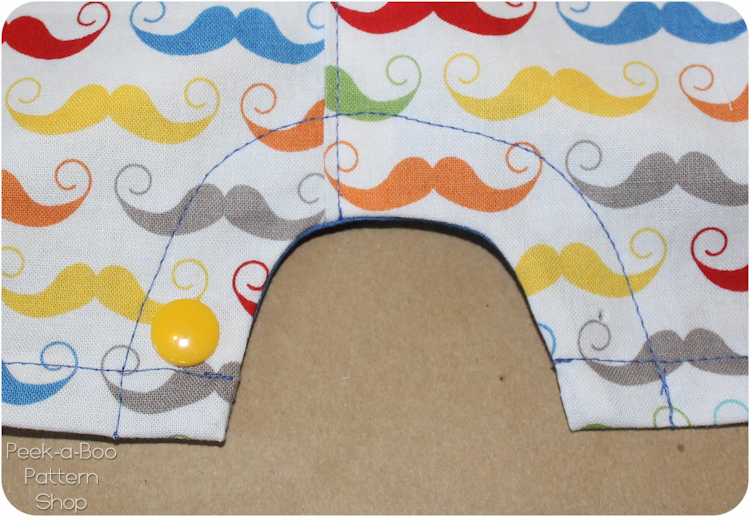
Step 20: With RST sew the front snap placket piece to the front romper using a 1/4" seam allowance. It will end before the bottom edge of the romper. Keep in mind that your "center front" seam is actually off to one side by 1/2". Clip along your seam allowance. Flip to the inside of the romper and topstitch in place along the seam and along the outside edge to keep it in place.
Step 21: With RST sew the sleeves into the armholes. If you want you can topstitch the seam allowance to the body of the romper.
Step 22: With RST sew up the sleeve inseam and romper side seam. You will need to unfold the sleeve hem while you sew this step.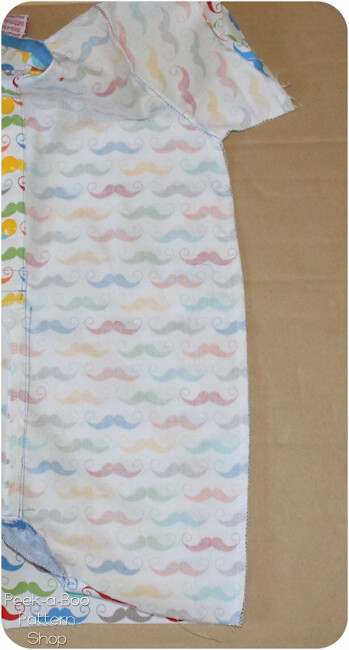
Step 23: Refold the pressed lines of your sleeve and hem.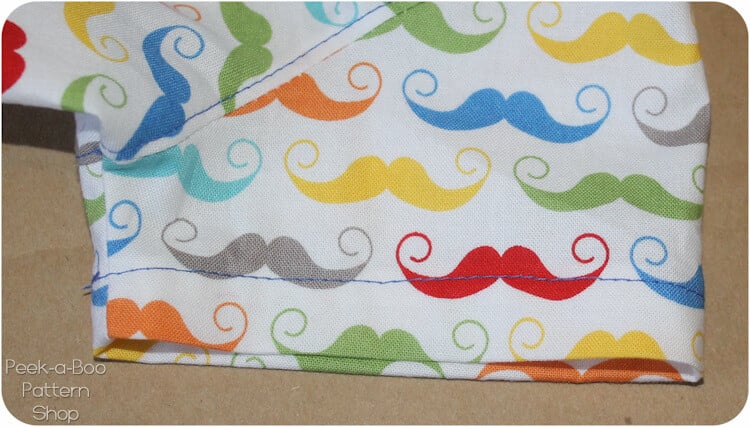
Step 24: Fold the bottom edge of the romper up 1/4" and then another 1/2" and topstitch to hem. 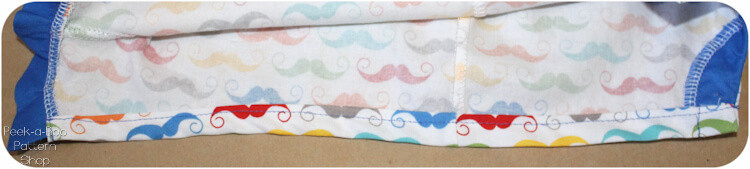
Step 25: If you want you can also topstitch the seam allowance of the back facing to the romper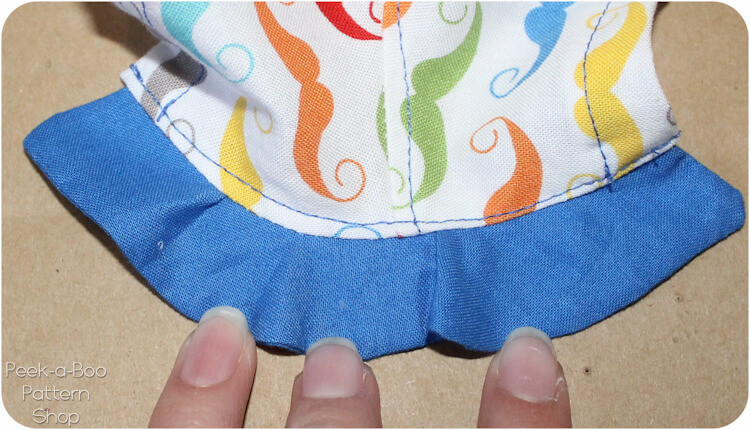
Step 26: Add your snaps and you're done!
Other Sewing Patterns for Baby from Peek-a-Boo Pattern Shop
Thank you for joining us for the romper sewing pattern today. We have a ton of other baby sewing patterns in our Lullaby Line for Baby that you might like. As always, come join our Peek-a-Boo Pattern Shop Facebook Group to share what you make and ask sewing-related questions.


