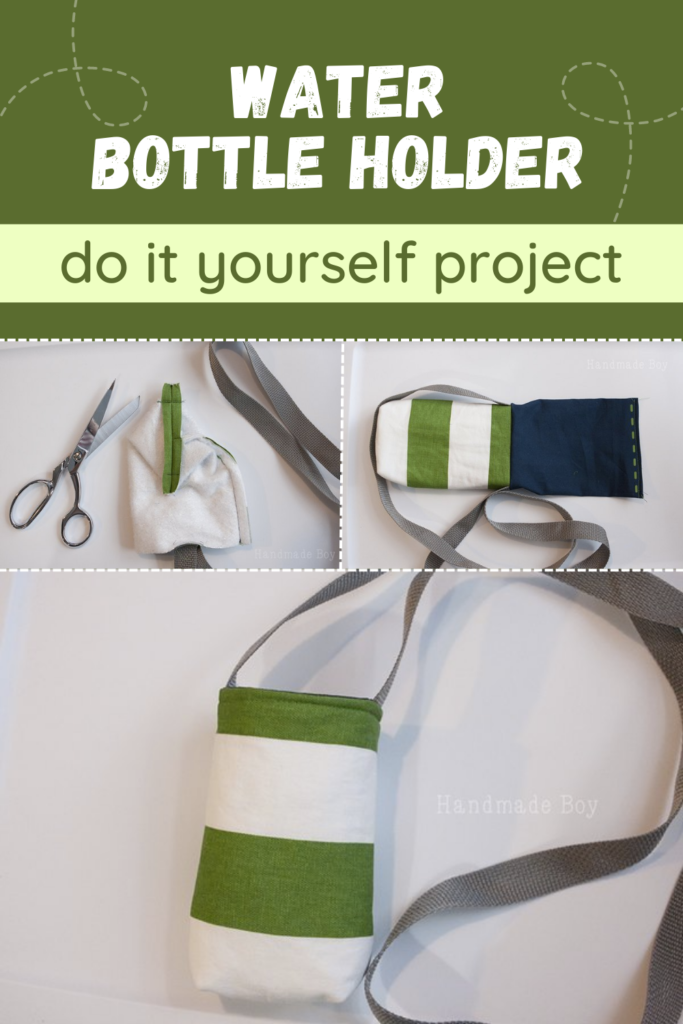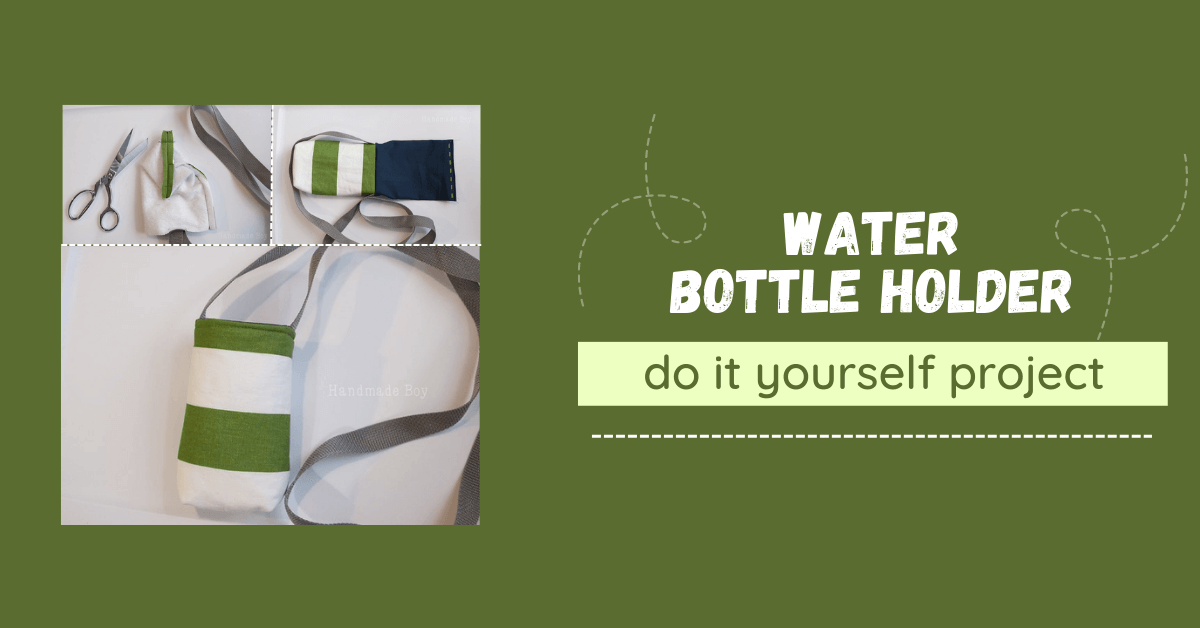
DIY Water Bottle Holder | Insulated Water Bottle Carrier
Let’s make a DIY Water bottle holder. My kids love to hike. The longer and harder the trail, the better. My kids are nuts. The problem is that long hikes require water breaks, especially in the summer. For a while now, I have been tossing 6-10 water bottles in a backpack and away we would go. (We are a family of 6.)
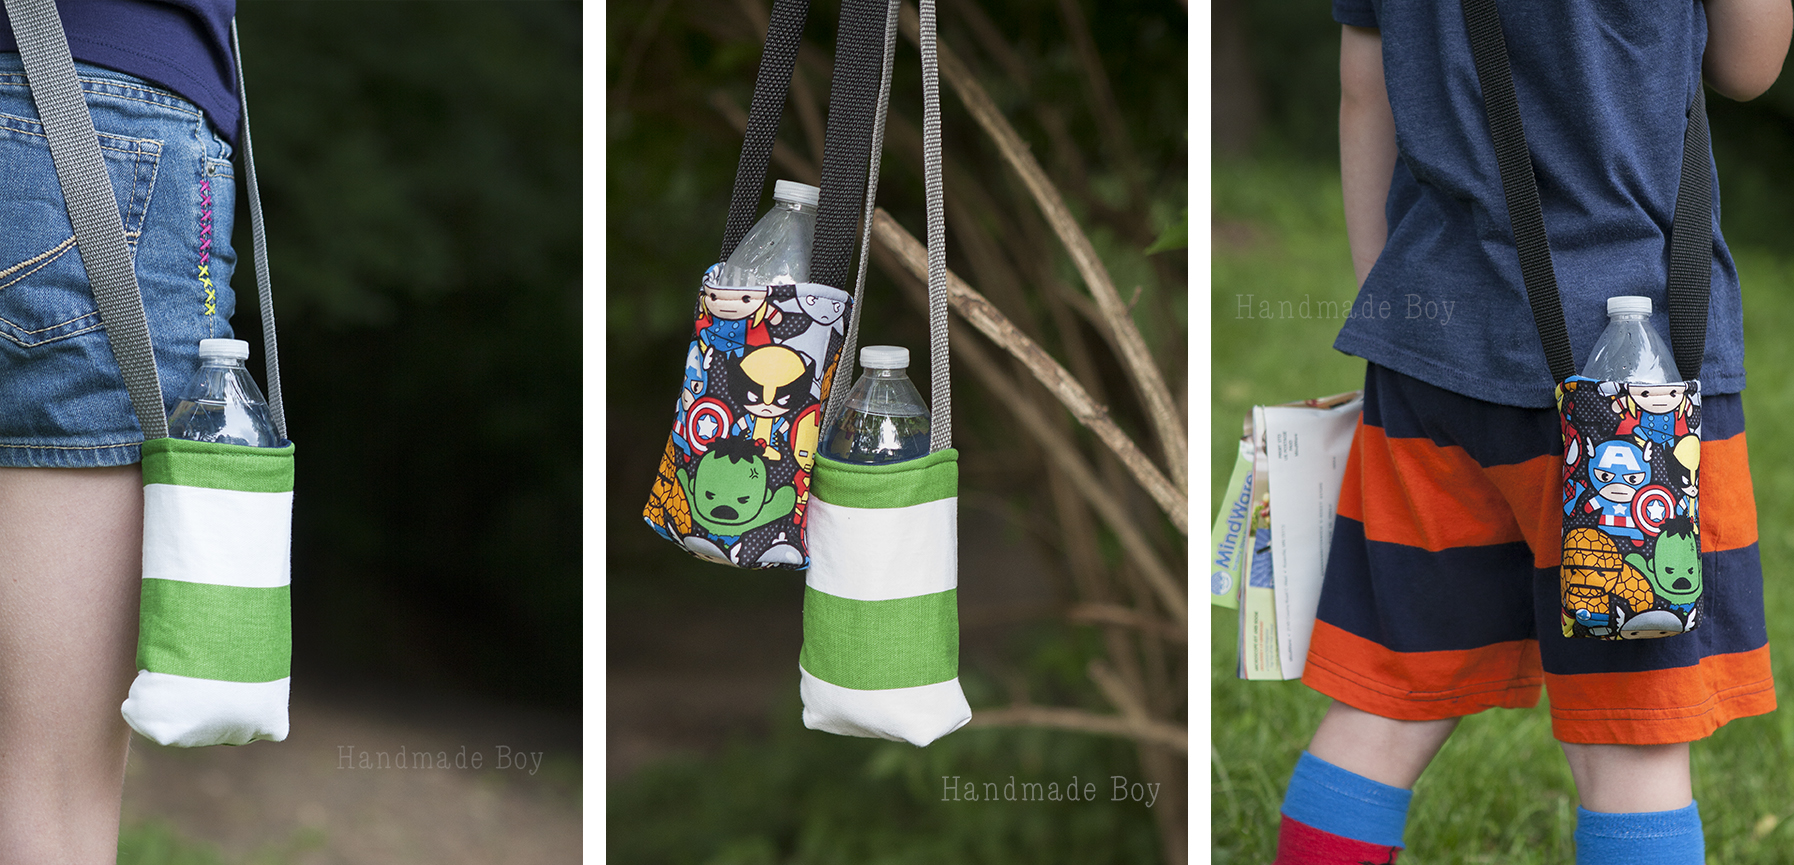
And by the first mile, I was dreaming of each kid having their own water bottle carrier. Today, I am no longer a pack mule!! My kids are lugging their own water from here on out. These carriers are also great for taking water to sports practices and games or dance classes. No more grabbing the wrong water bottle! And a bonus, their water will stay cold.
Some of my prior posts include How to Make Piping and the DIY Flannel Scarf. Today – here’s the DIY Water Bottle Holder.
DIY Water Bottle Holder | How to Make a Water Bottle Holder
Did I mention that they are insulated? Yep! So now, their water stays cool AND I am no longer stopping every ten steps when somebody says “Can I have my water?” Oh, and you don’t have to draft or sew a circle. Win win WIN!
These water bottle carriers fit a standard-size water bottle. They also fit the slim Gatorade bottles. If you want to fit a larger bottle, just measure around your bottle and add 3 inches to allow for seam allowances and the insulation. You may want to add some height also to account for the wider bottom. Strap size is customizable, just measure over one shoulder and across the chest and back and add an inch to allow for the seam allowance.
Water Bottle Holder Supplies Needed:
- 2 – 11″ wide by 8″ tall scraps of fabric (medium weight wovens such as quilters cotton or light weight duck canvas)
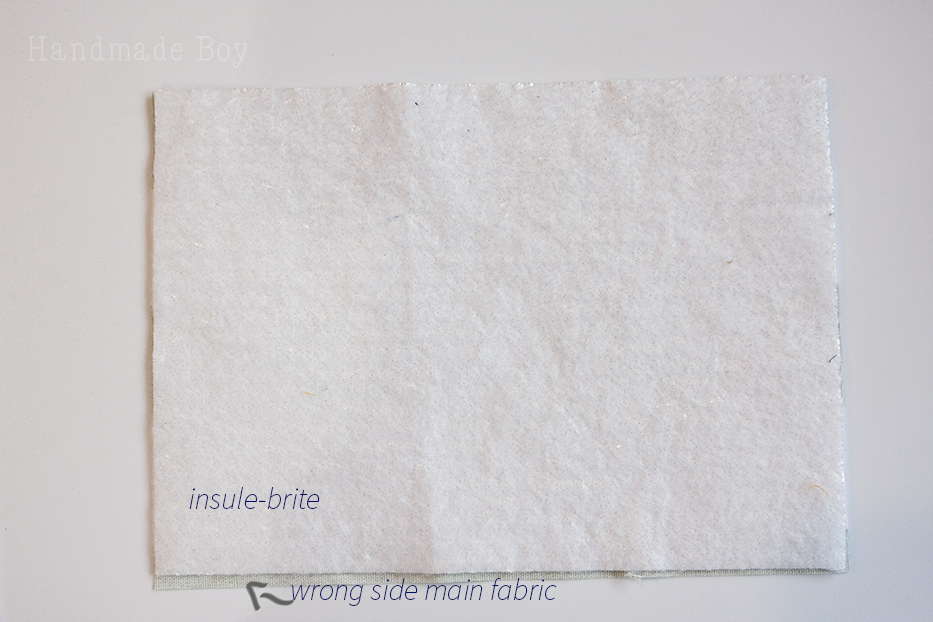
- 1 – 11″x8″ piece of Insul-brite
- 1″ wide poly webbing strap (39″ for a young child, 45″ for a tween, 50″ for an adult)
- Basting spray (optional)
- Basic sewing supplies
Seam allowances are 1/2″ unless otherwise stated.
How to Sew a Water Bottle Holder | Sewing Instructions
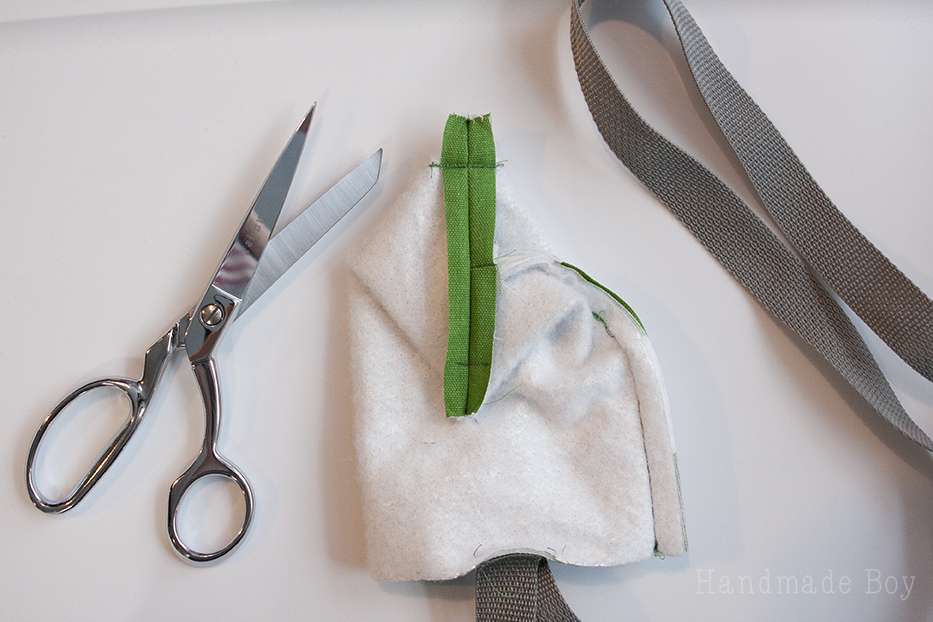
Step 1: Place the insul-bright on the wrong side of the main fabric aligning the edges. Use basting spray to keep in place, if desired, or baste along the outer edge to secure in place. (ignore the crazy spelling typo in the picture. 😉 )
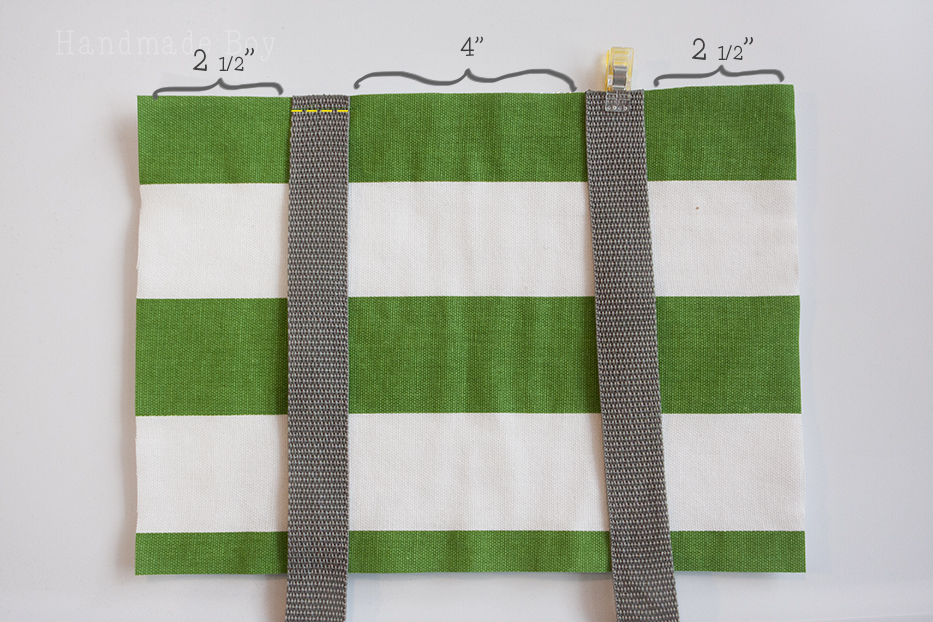
Step 2: On the right side of the fabric, position the outer edge of the strap 2 1/2″ from each short edge. You will have 4″ between the two strap ends. Make sure your strap isn’t twisted!! Baste the strap into place 1/4″ from the edge.
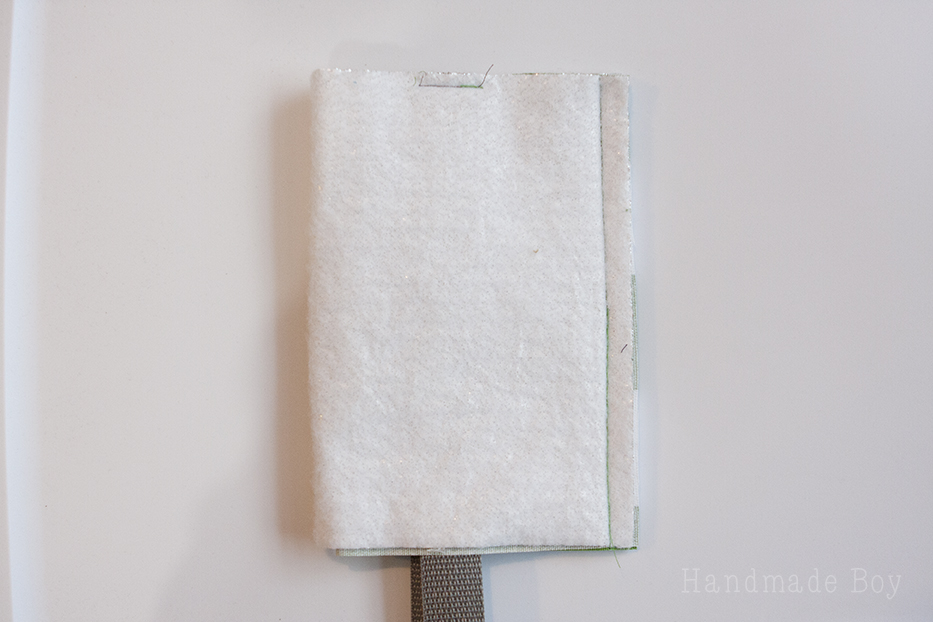
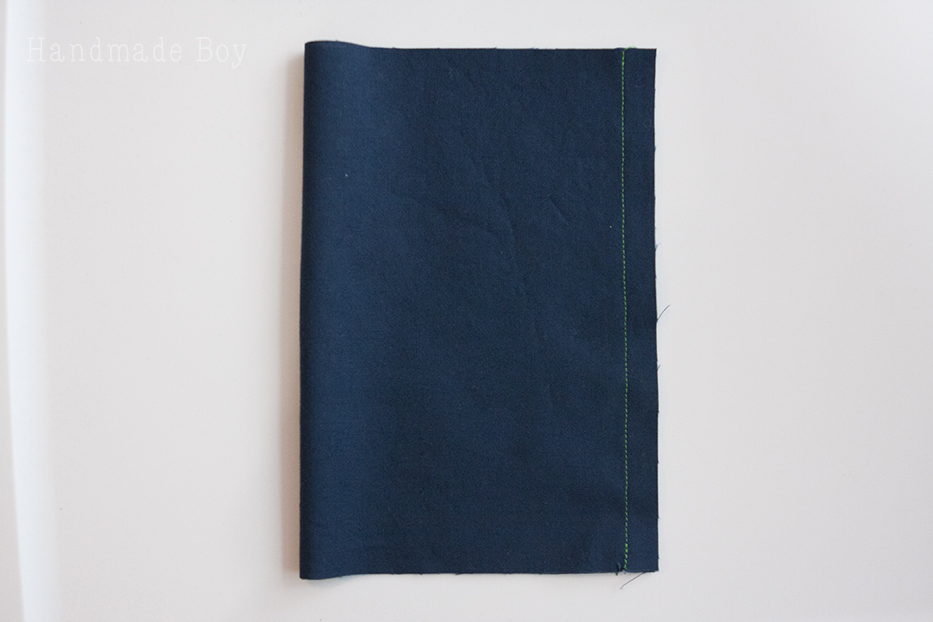
Fold in half, right sides together, with the short edges lined up. Sew in place with a 1/2″ seam allowance. Open the seam and finger press it in place. Do not iron, the insul-bright can melt!
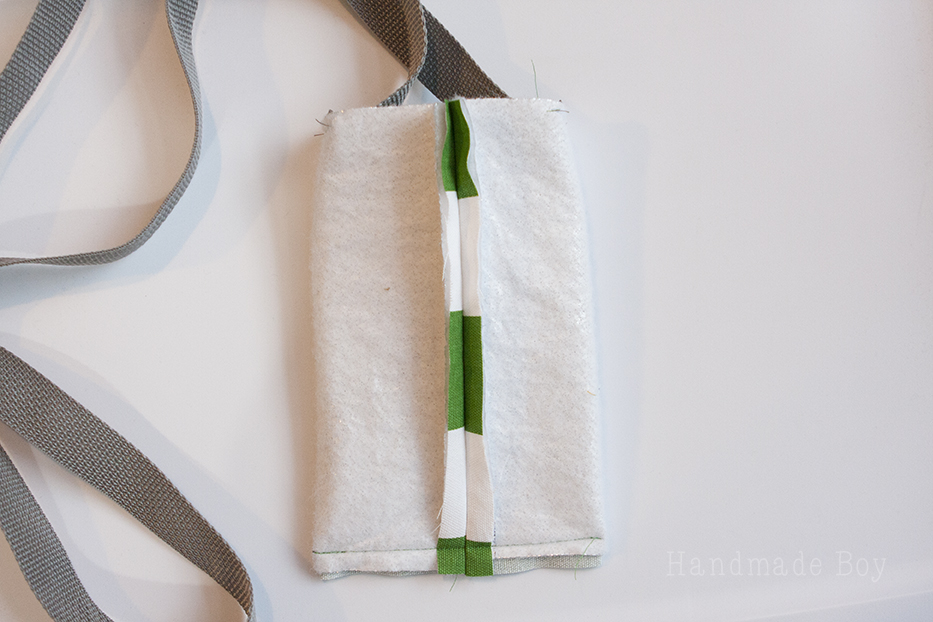
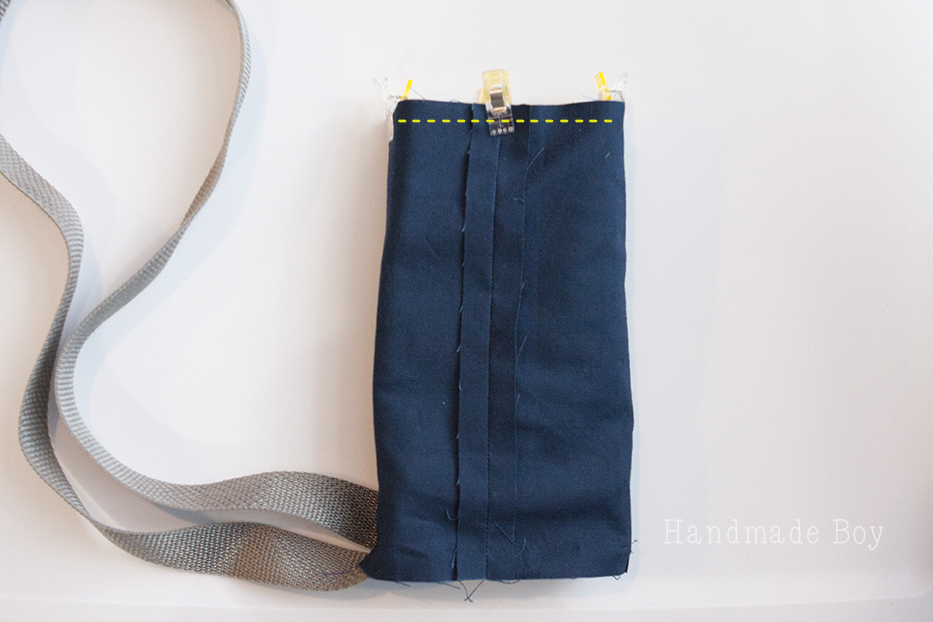
Step 3: Position the seam in the middle of the tube you created and line up the bottom raw edges. Sew the bottom edge closed. Be sure to move the straps out of the way!
Step 4: Now box the corners of your carrier. To do this, clip the ends of the seam allowance so you can open the bottom seam flat. Align the bottom seam of the carrier with the side of the carrier. (There is no seam here, so use the center of your strap as a guide.) Flatten it out, creating a triangle at the top. Measure 3/4″ down from the top and mark a line. Sew along this line. Clip the triangle off to remove bulk leaving a 1/4″ seam allowance. Repeat with the other side.

Step 5: This is the bottom. It will look like after you have boxed and clipped both corners. Turn right side out.
Step 6: Time to sew the lining with your sewing machine. Fold the lining right sides together, lining up the short sides. Sew. Open the seam and press is flat.
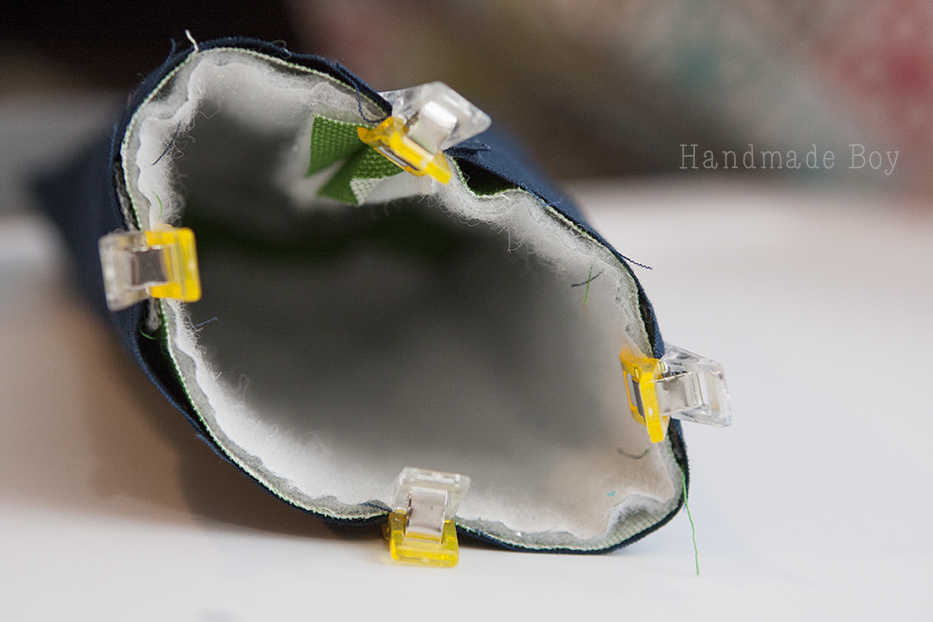
Step 7: With right sides together, slide the lining over the carrier lining up the top edge and the side seam. The straps should be between the two fabrics and dangling out the bottom of the carrier.
Step 8: Sew along the top edge of the carrier.
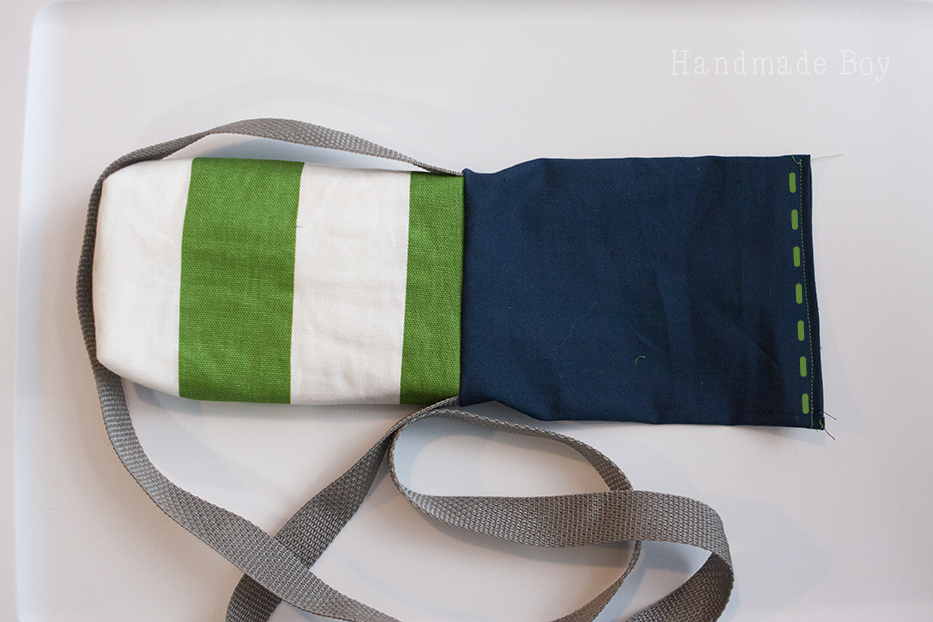
Step 9: Pull the lining up over the top of the carrier so the right sides are out. Tuck the bottom 1/2″ of the lining in and press. Sew the hole shut. You can use either a straight stitch on your machine or hand sew so your stitches don’t show.
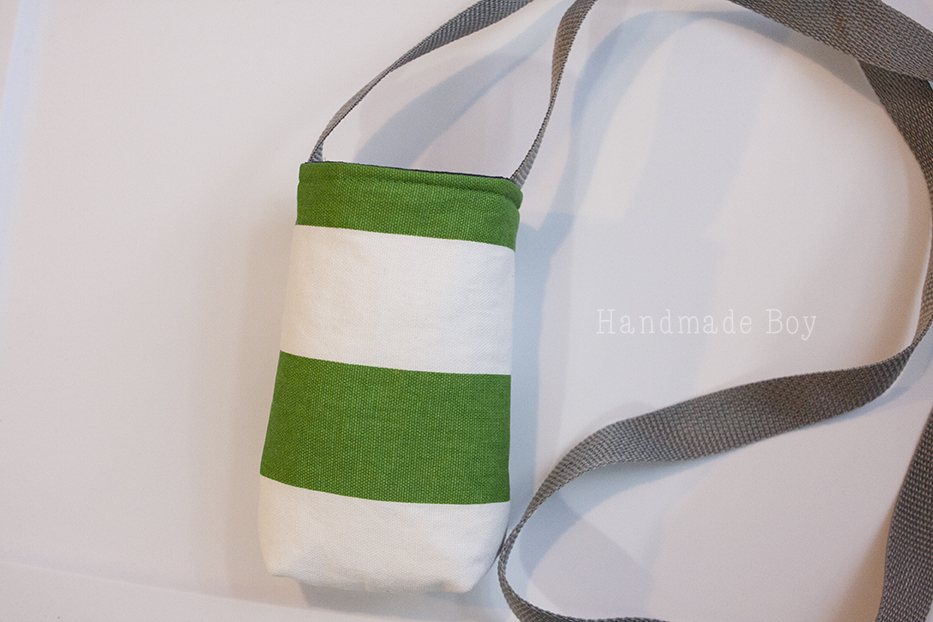
Step 10: Tuck the lining into the carrier and press the top edge. Be sure to avoid the strap, it can melt. Topstitch 1/8″ from the edge to keep the lining in place. That’s it! Now toss a cold water bottle in it and go for a nice long hike!
What are some other useful features you can add to your DIY water bottle holder, such as pockets or insulation?
Some additional useful features you can add to your DIY water bottle holder include pockets for storing small items like keys or a phone, insulation to keep your drink cool, and adjustable straps for easy carrying. These features can enhance the functionality and convenience of your water bottle holder.
Thank you for joining us to learn how to make a DIY water bottle holder. This is a great simple sewing project to hold your bottle of water. Before you leave, make sure to join our Facebook Group and follow us on Instagram.