Applique Tea Towesl | How to Applique a Dish Towel
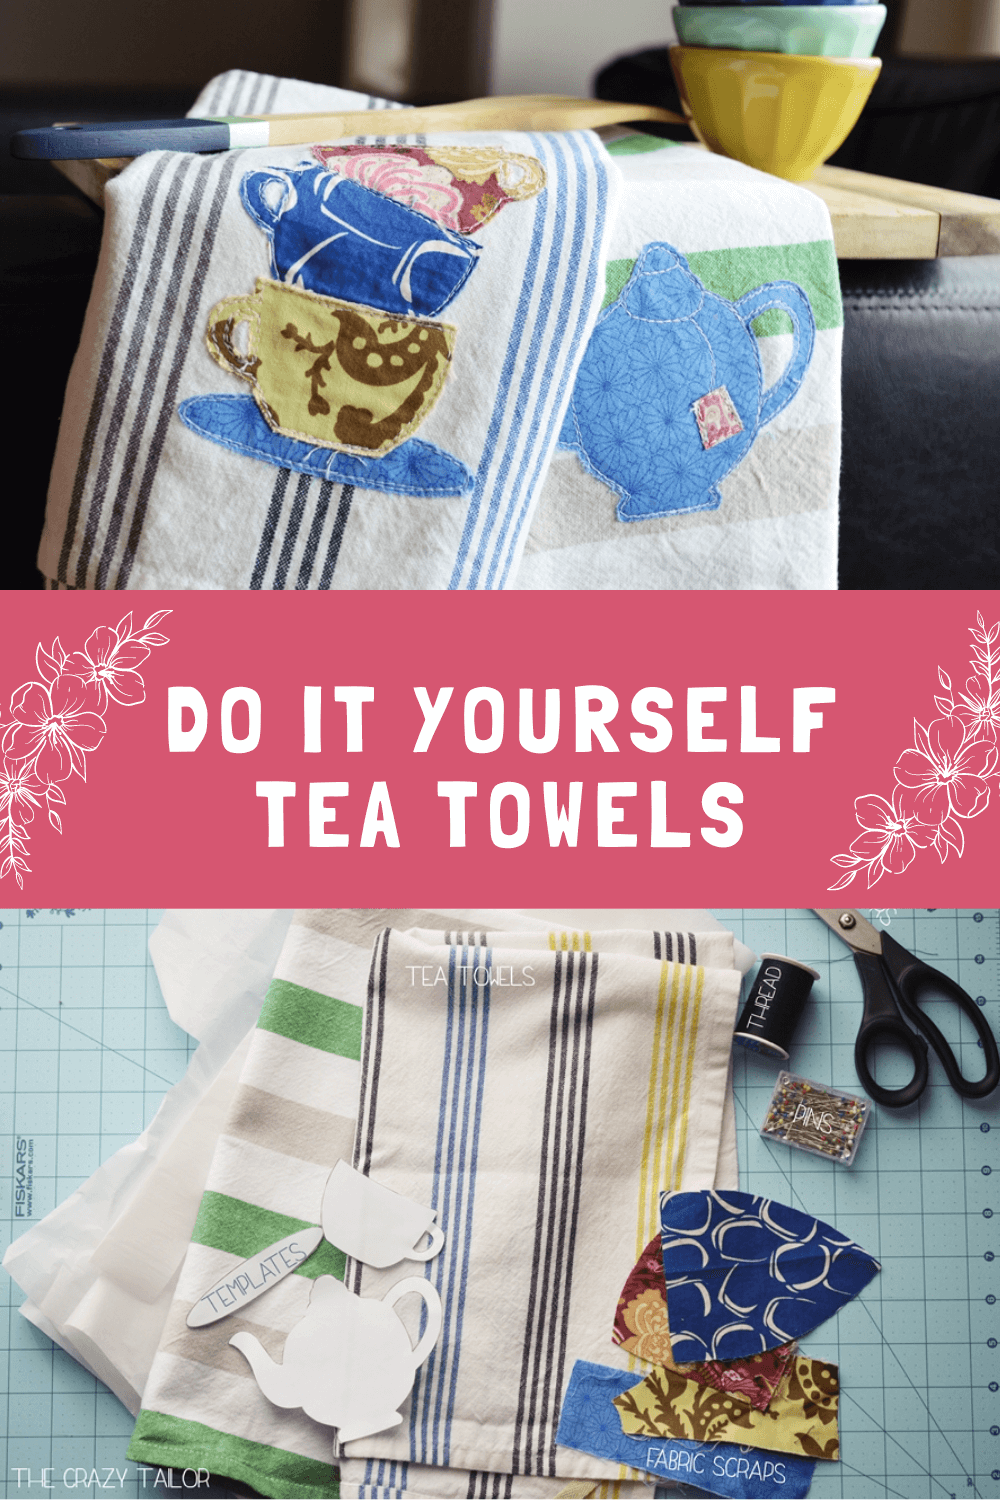
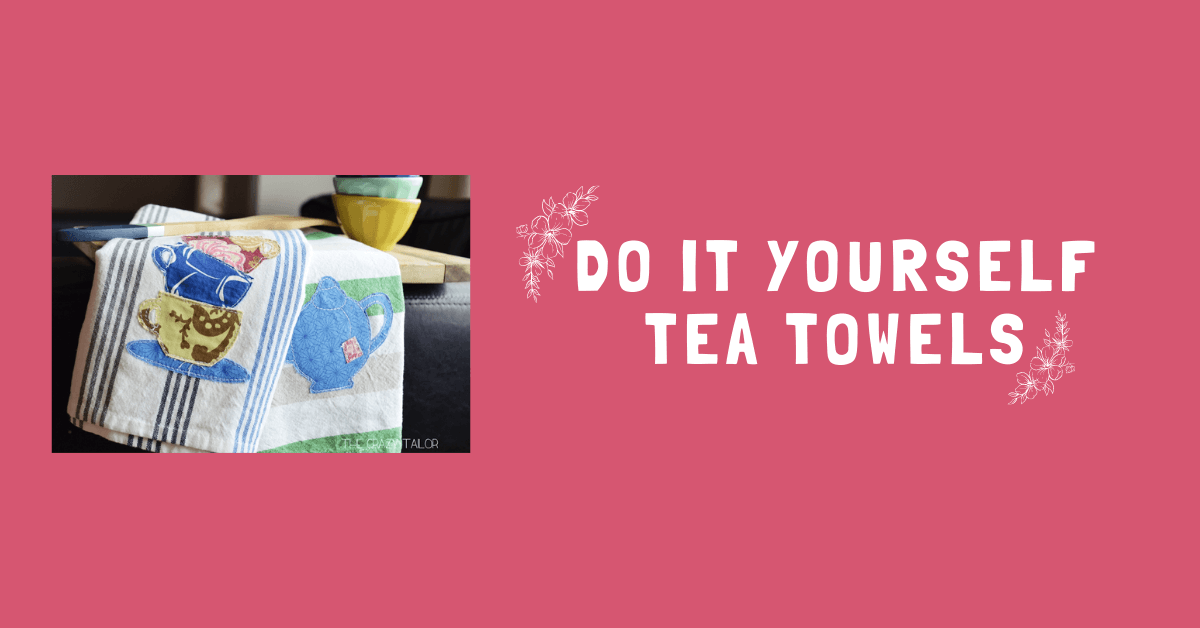
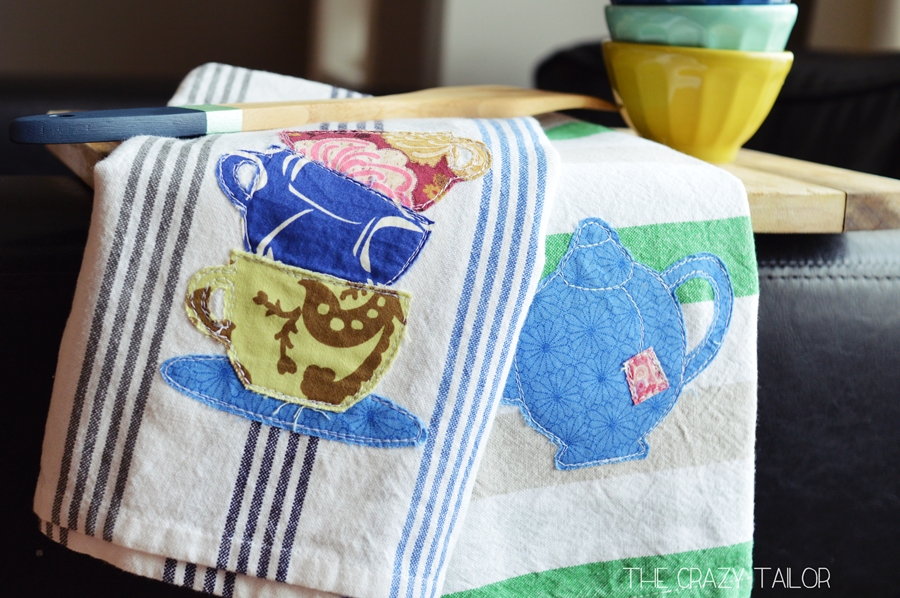
Let’s make some DIY Tea Towels today. These specific dish towels will be “half-handmade” as we’ll buy some simple towels and put applique on them.
Are you looking for some quick gift ideas, but your creative self won’t let you just buy them? Here’s a “half-handmade” idea for you! Buy the basic towels and then get creative! This is a quick project that a beginner could knock out in about an hour. I’ve even provided a free downloadable template (*affiliate link) for you to use if you wanted to go with the tea party theme! But really, the ideas are endless. Use words, basic shapes, custom colors to match the recipient’s kitchen, and you’ve got a winner every time. A useful gift is always an appreciated gift!
Applique Tea Towels | How to Applique a Dish Towel
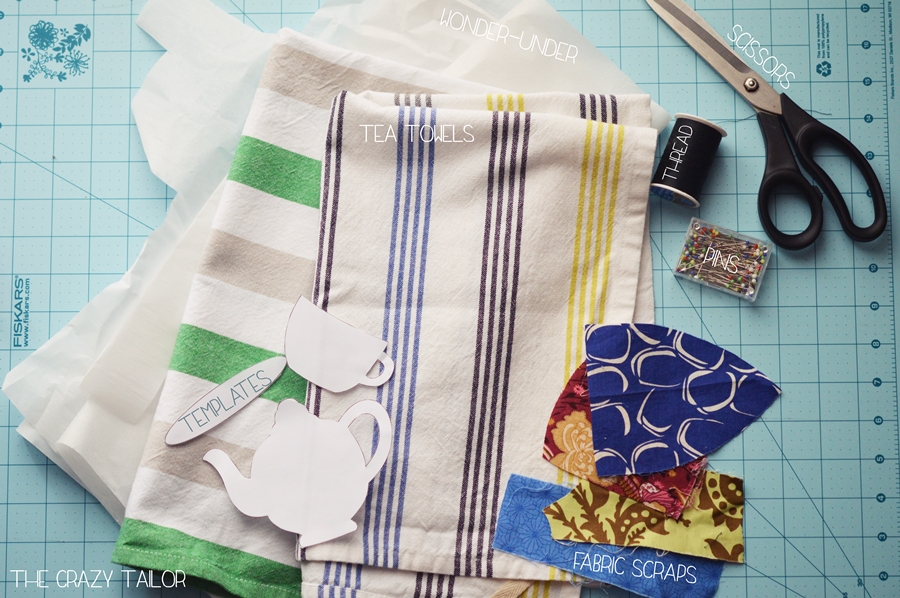
Applique Tea Towel Supplies
- tea towels (you can use the plain white flour sack type, or dollar store towels with a little color on them. I found mine in a variety pack at a local discount store.)
- fabric scraps sized to fit your template pieces
- Wonder-Under (paper-backed fusible web) and not much of it…little scraps to match up to your fabric pieces.
- the usual: thread, scissors, pins (optional really…), a fabric marker, sewing machine…
- free printable template here (*that’s an affiliate link, but it’s a totally free template!)
Appliqued Tea Towel Instructions
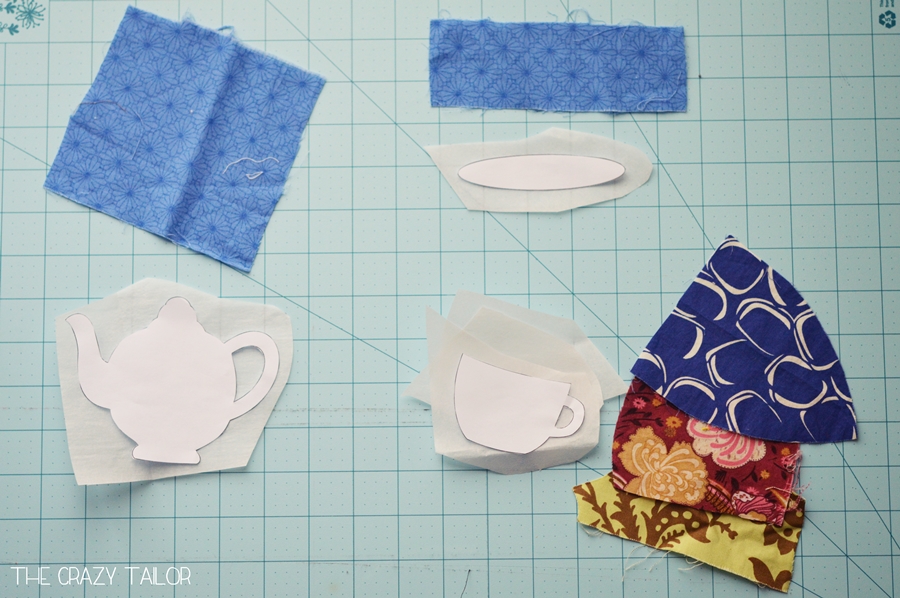
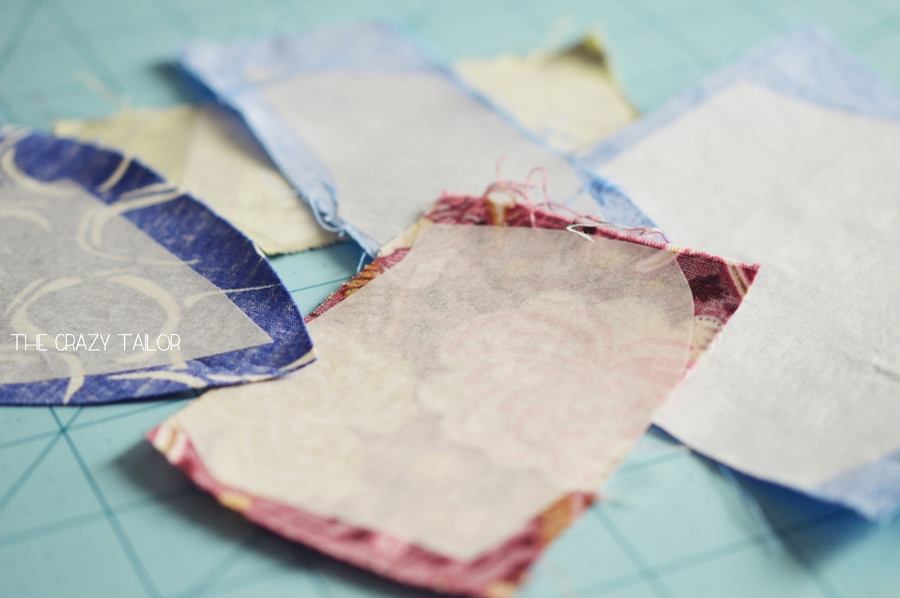
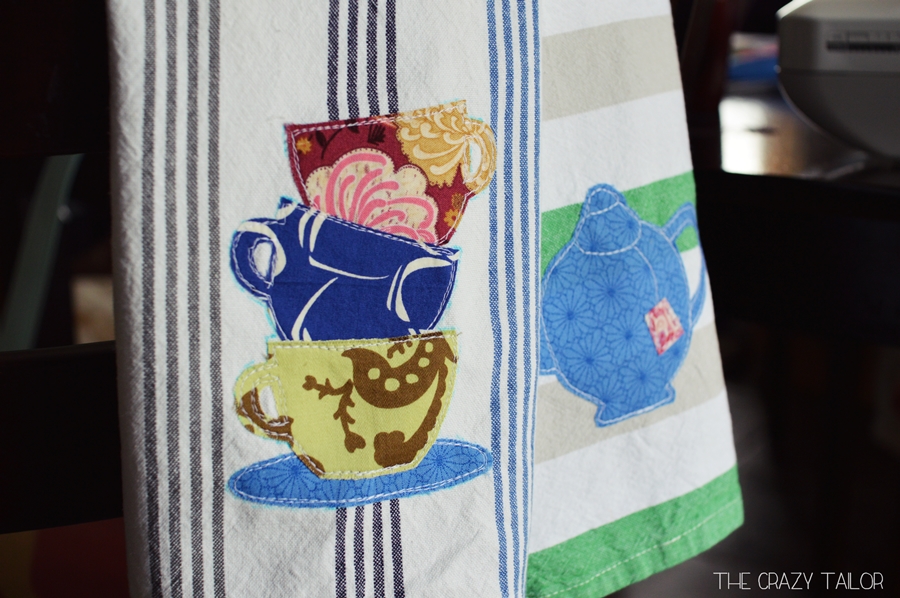
Step 1: Let’s start by cutting out the paper templates and matching them up to some cute fabric! You’ll need three pieces for the tea cups: one with the handle on the right, and two with the handles on the left. If you’re using letters, or need something a particular direction, pay attention to the orientation here. You’ll also want to cut a piece of Wonder-Under for each piece of fabric. Sometimes I snap a quick picture on my phone of my fabric layout, so I don’t mix anything up by mistake later on.
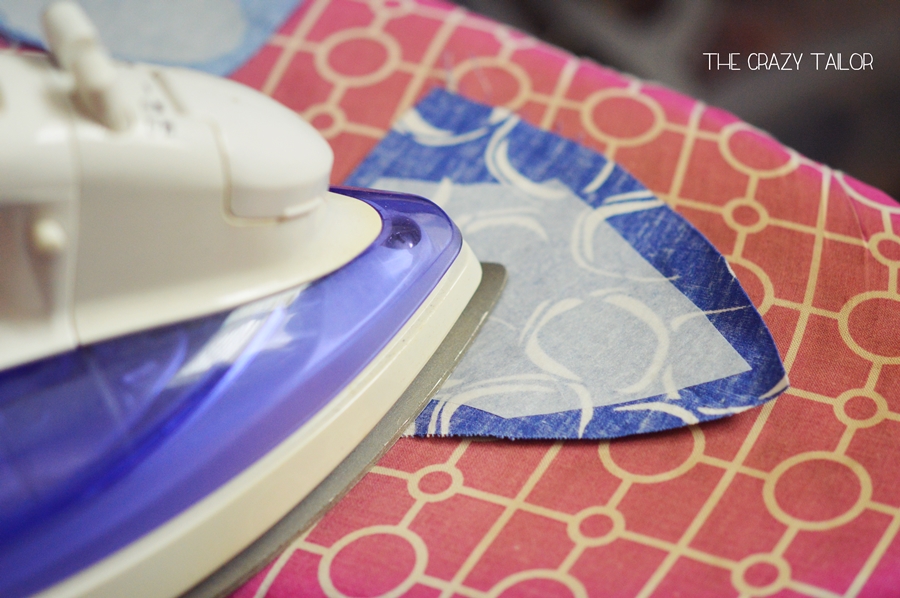
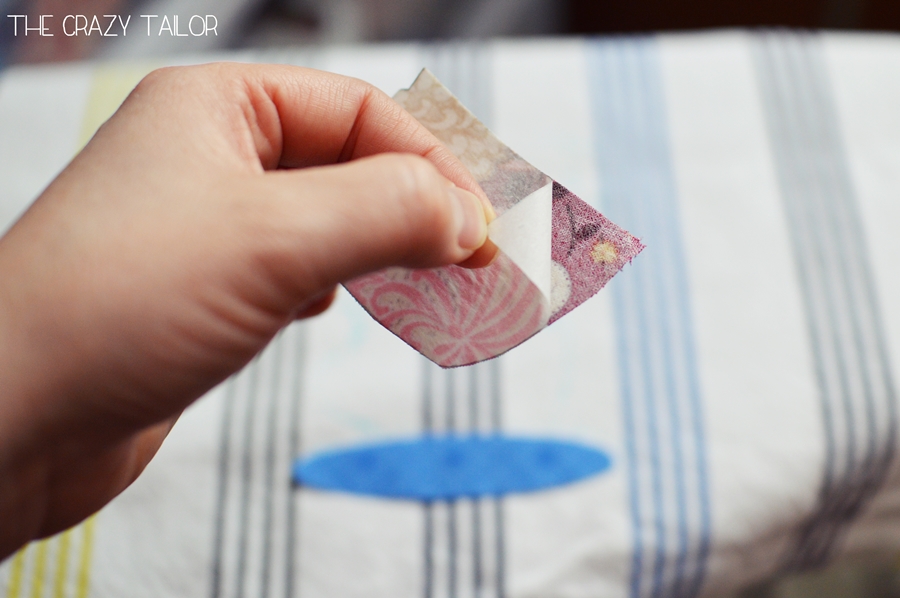
Step 2: Put your fusible web glue side (the rough side) down onto the wrong side of your corresponding piece of fabric. Iron it to the back of each piece following the manufacturer’s directions (or just iron from the back for about 10-15 seconds, always keeping the iron moving.) Let it go. Let it go! I mean, let it cool. Ha.
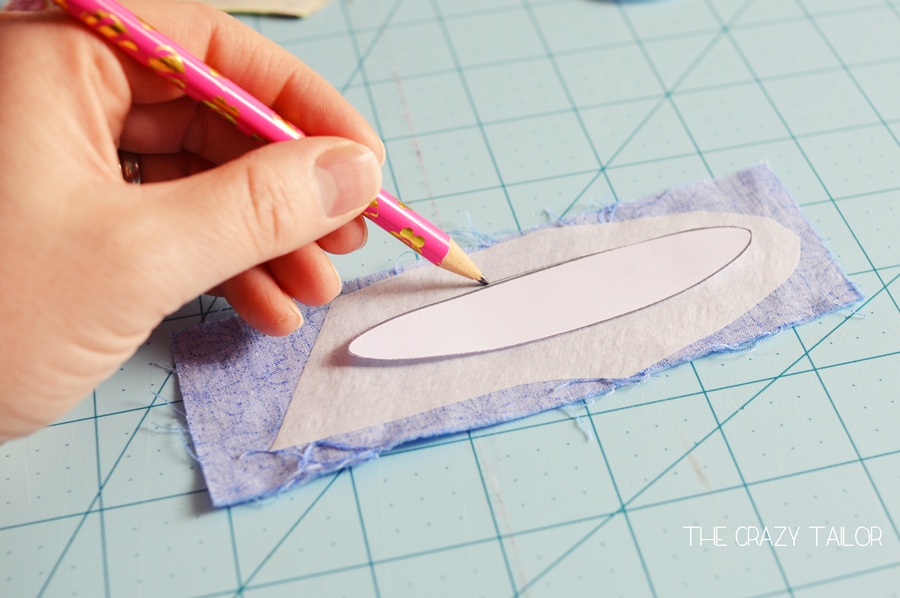
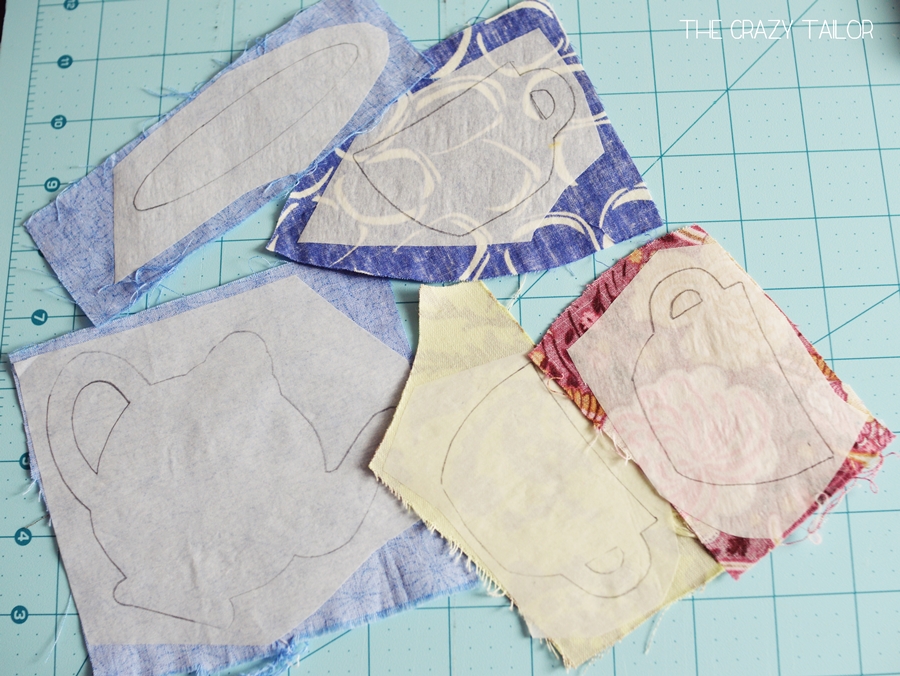
Step 3: Using a pencil, trace around your paper template onto the paper-backing part of the fusible web. Remember to reverse the image if it is lettering or anything that needs to be a certain direction. In this case, refer back to your cell phone photo you snapped (you did snap one, right?) to get the handles on the correct side for each tea cup.
Step 4: Cut around each piece with a good sharp pair of scissors, and then arrange them on your towel how you’d like. I put mine on the center bottom of the towel. Now is also a good time to snap a picture just to be sure 😉

Step 5: Use a fabric marker to trace around the general shape of the teacup stack.
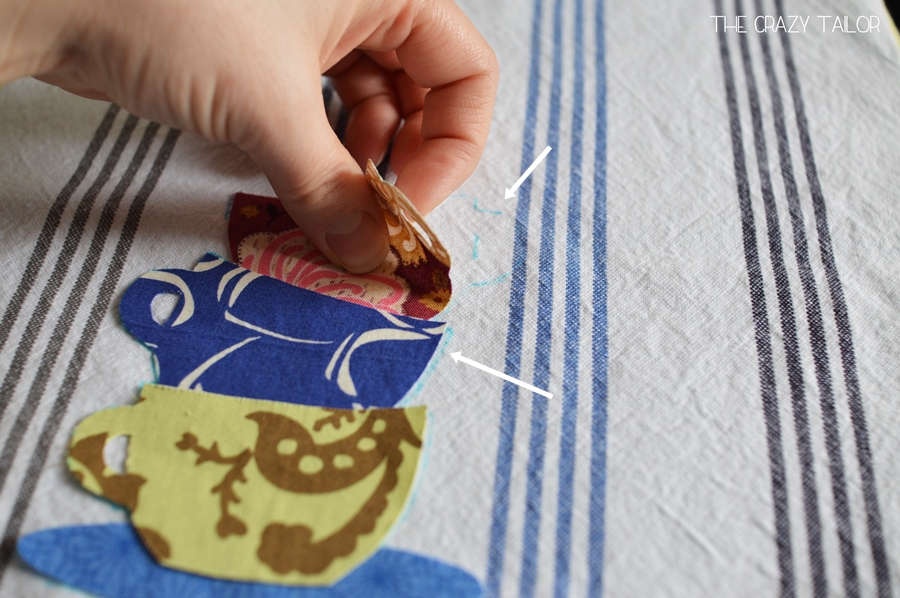
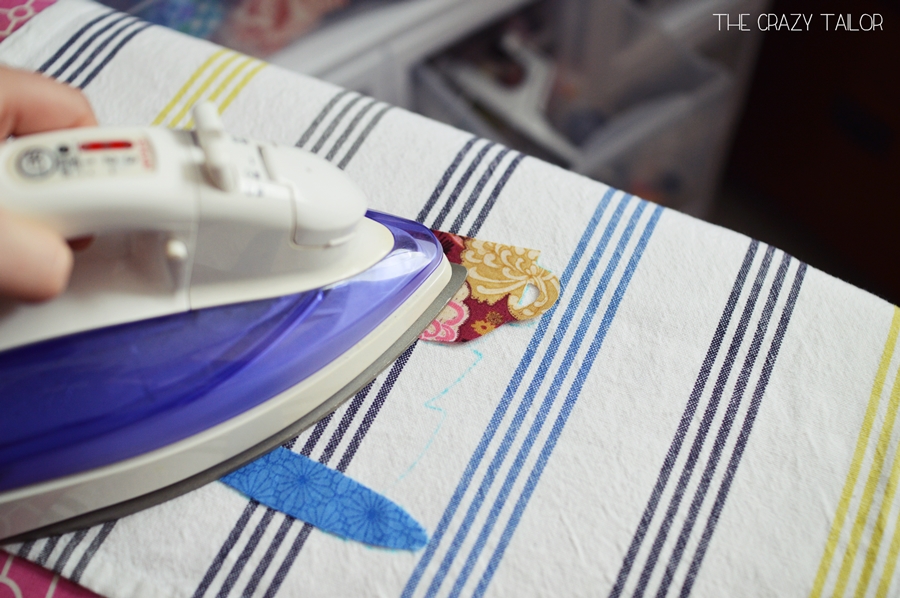
Step 6: Then remove the two middle cups, leaving the top cup and the saucer and head over to your iron. You’ll want to remove that paper backing from your tea cup, place it back down where it belongs in the stack, and then iron it on. Do the same with the saucer.
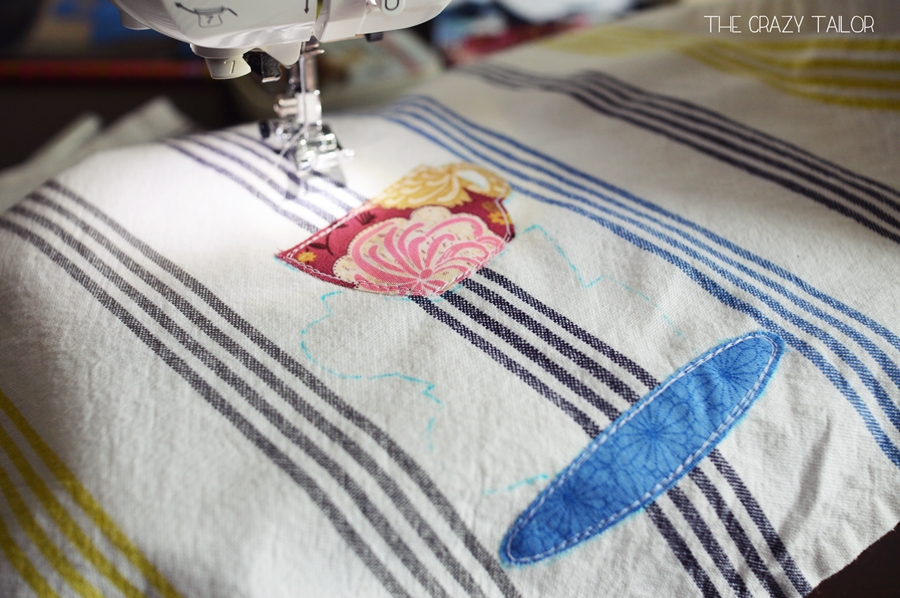
Step 7: Head to your sewing machine (threaded with either a matching or contrasting thread – I went with contrasting!) and outline both shapes twice about an 1/8th of an inch in from the edge. I like it this way so it’s extra secure but also gives it a bit of whimsy. Also, aim for NON-perfection. It looks better 😉
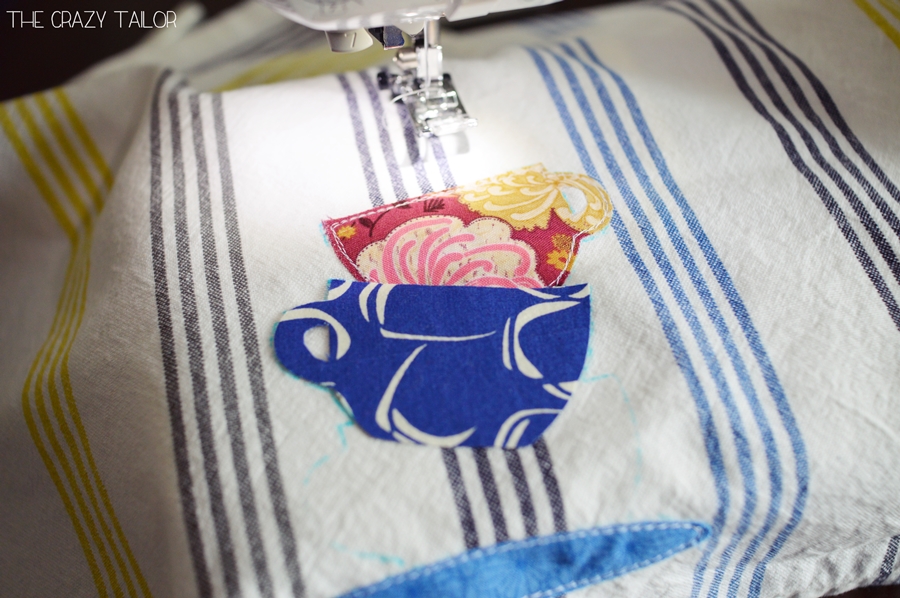
Step 8: Now add your middle tea cup in the same way: remove the backing paper, iron it on, outline it on the machine. Then the bottom cup and you’re done!
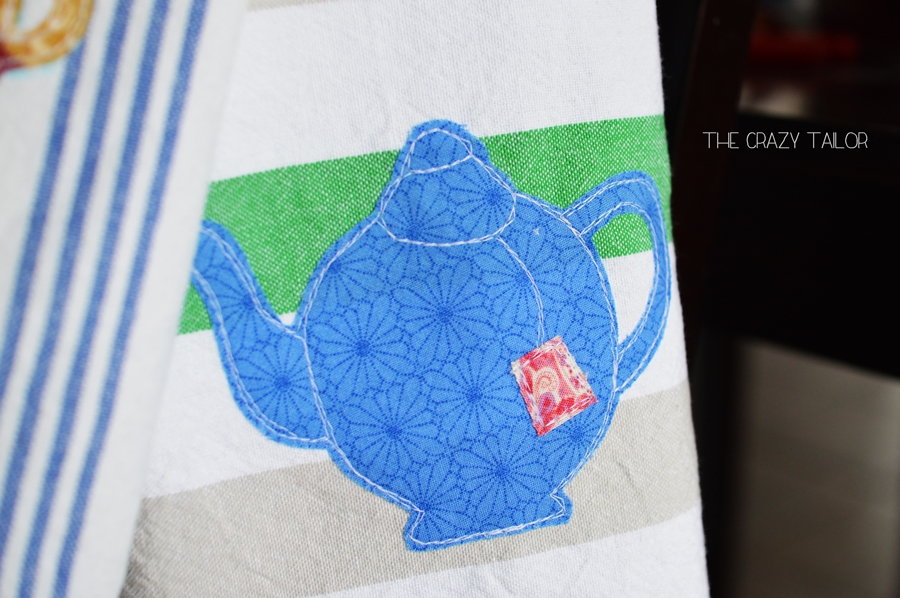
Step 9: The teapot was done in the same way, and then last minute I decided to add a little tea bag tag, which is just a little square of fabric added the same way as the others.
Step 10: If you give these a wash and press before gifting them, they get this perfectly aged and slightly worn look which I adore – a little scruffy around the edges…
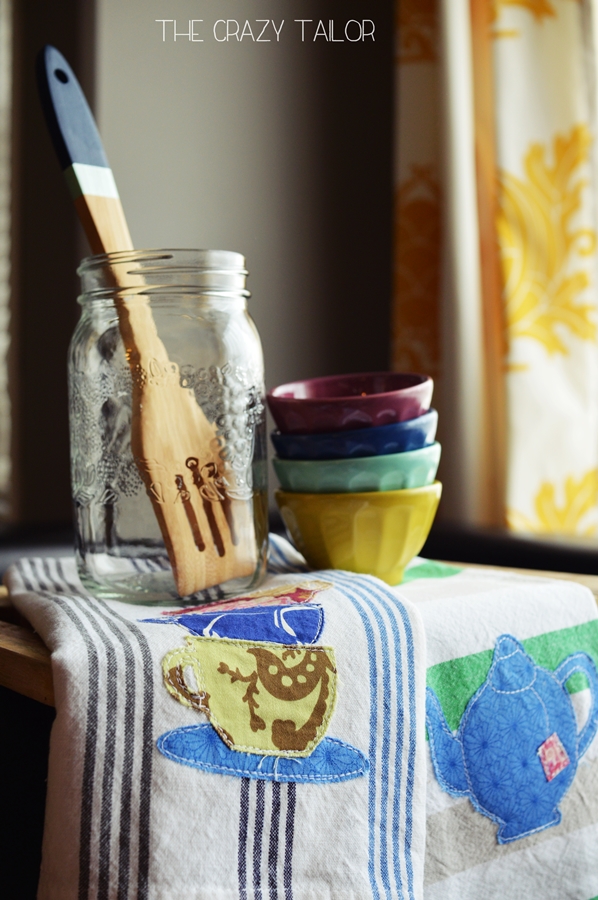
Pair these up with some utensils, and they make the perfect gift for that special cook in your life! I’ve got a fun little color-blocked utensil tutorial over on my blog and it’s the perfect addition to these towels!
Thanks for reading about our applique tea towels, and happy sewing!