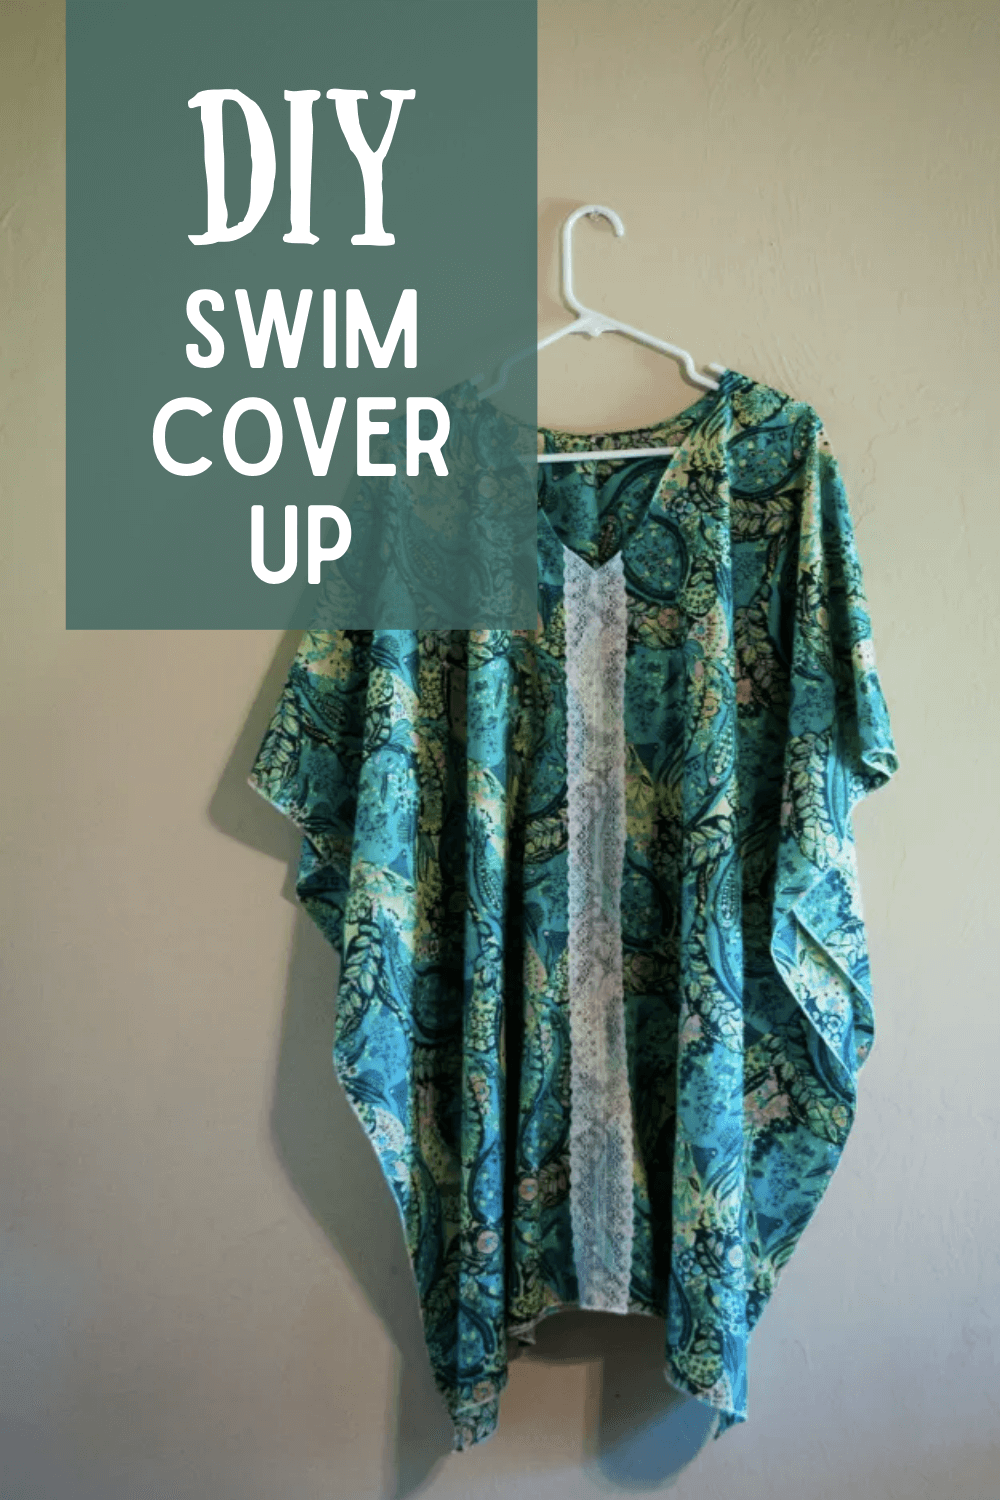
DIY Swim Cover Up for Women and Girls
Today we’re going to learn how to make a DIY Swim Cover Up. This cute cover is the perfect DIY beach swimsuit coverup. Pick yourself some cute fabric and you'll be able to make something you love in no time. These swimsuit cover ups are great beginner sewing projects and there are a lot of creative ideas out there to make these - basically you take some pieces of fabric, add some armholes, and you have something to cover your swimwear. Some other tutorials add hoods, do a racerback or tank top option, or even add a drawstring. Here's Becky's take on the DIY Swim Cover Up!
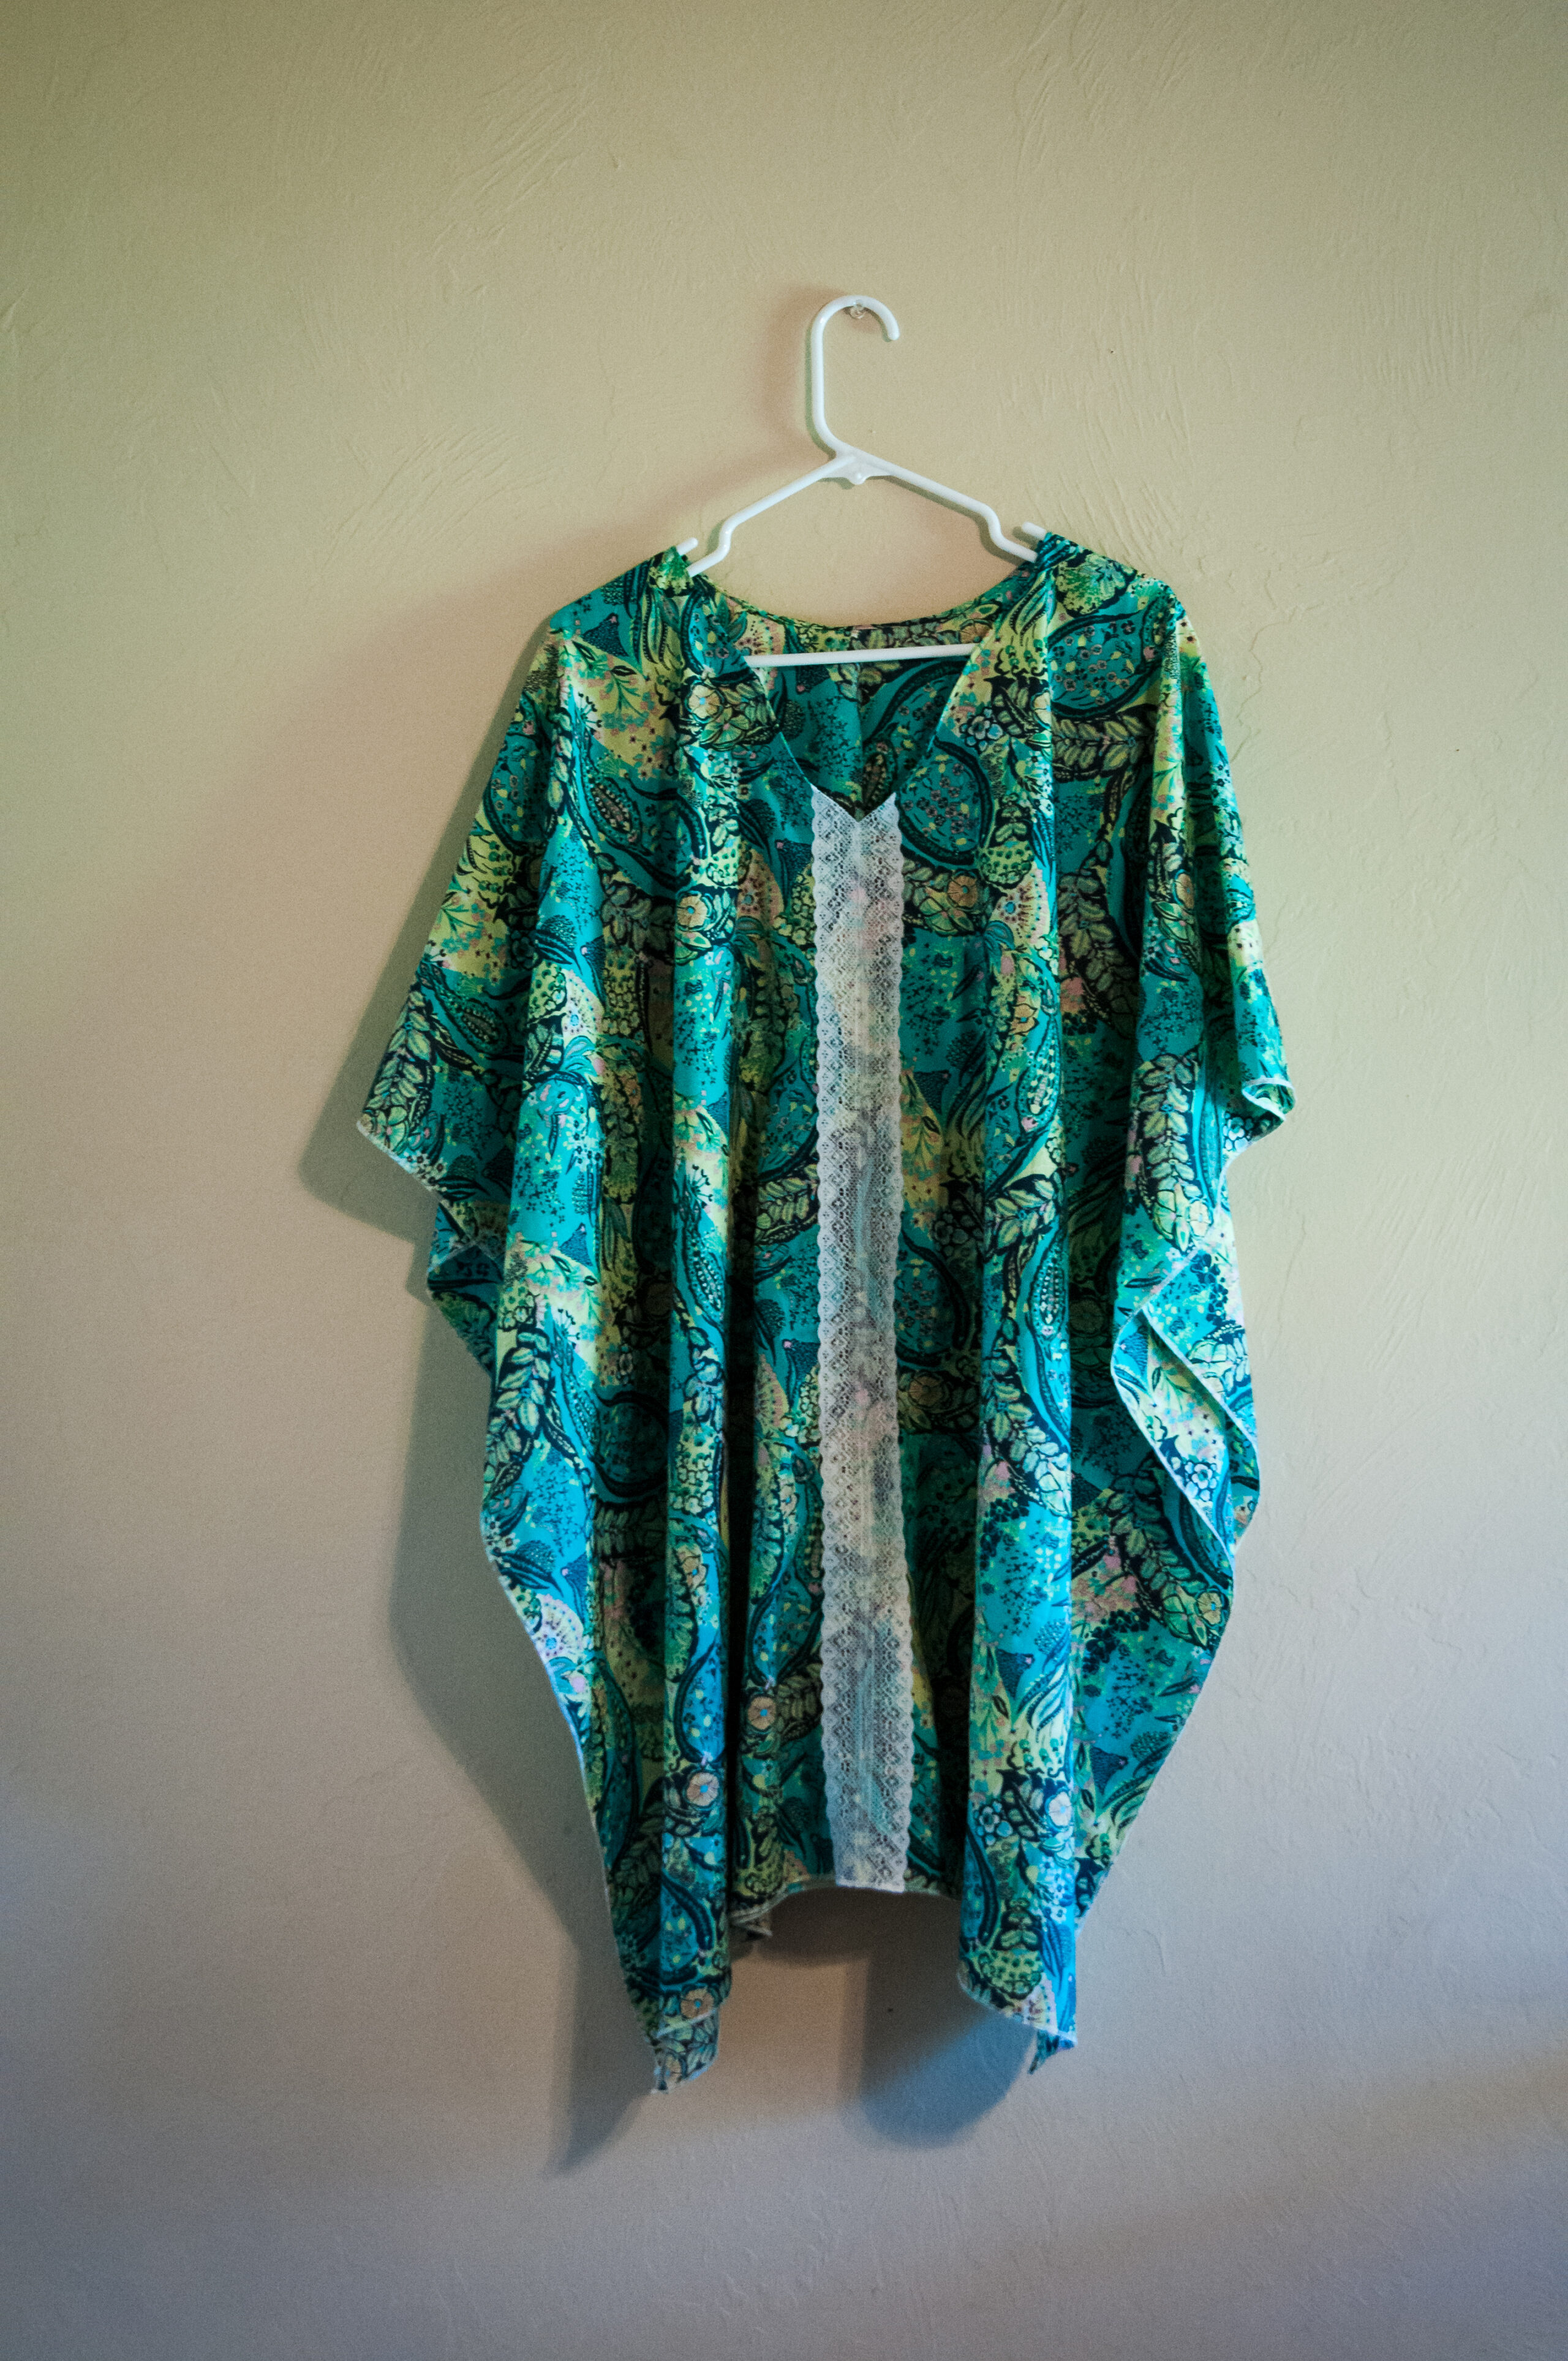
DIY Swim Cover Up
Swim Cover Materials
To make your own or one for your mama, you’ll need:
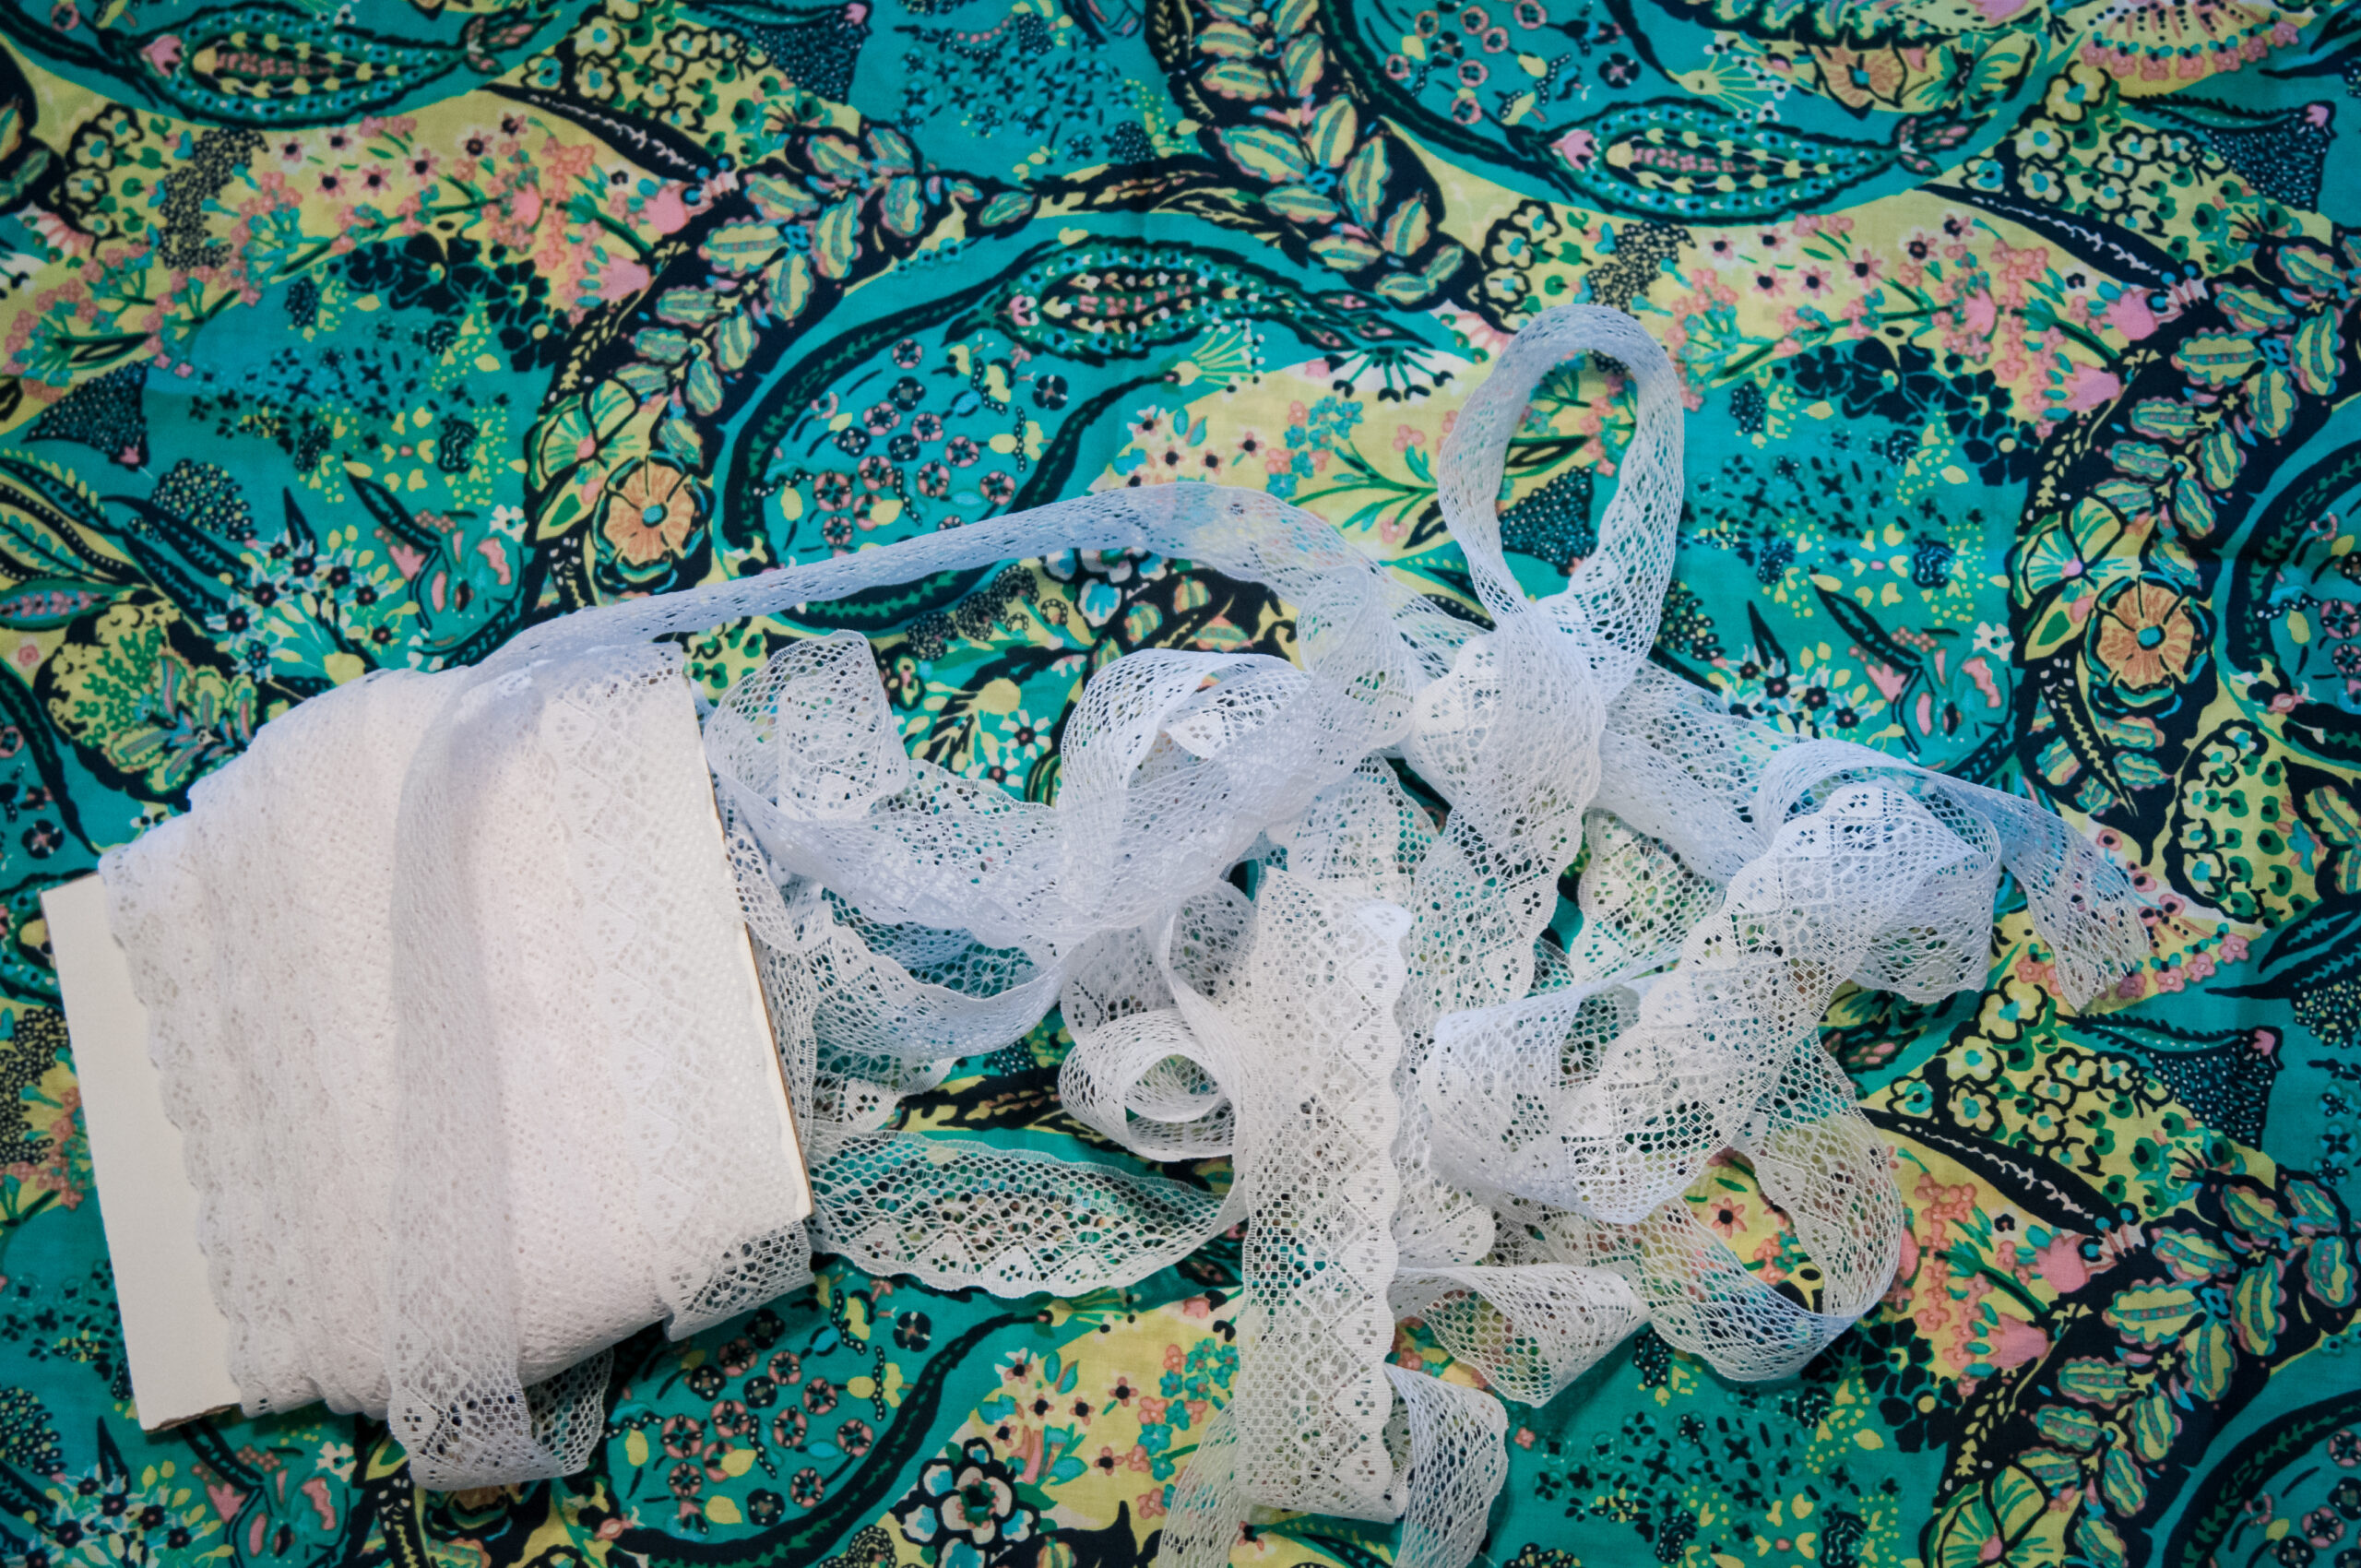
- 1.5-2 yards lightweight fabric (I used voile – Amy Butler Glow, Jolie Print). This is a woven fabric. Some other swim cover ups use knits too.
- Lace or Trim of your choice
- Dessert Plate
- Paper and Pen
- Normal Sewing Supplies

Swim Cover Instructions
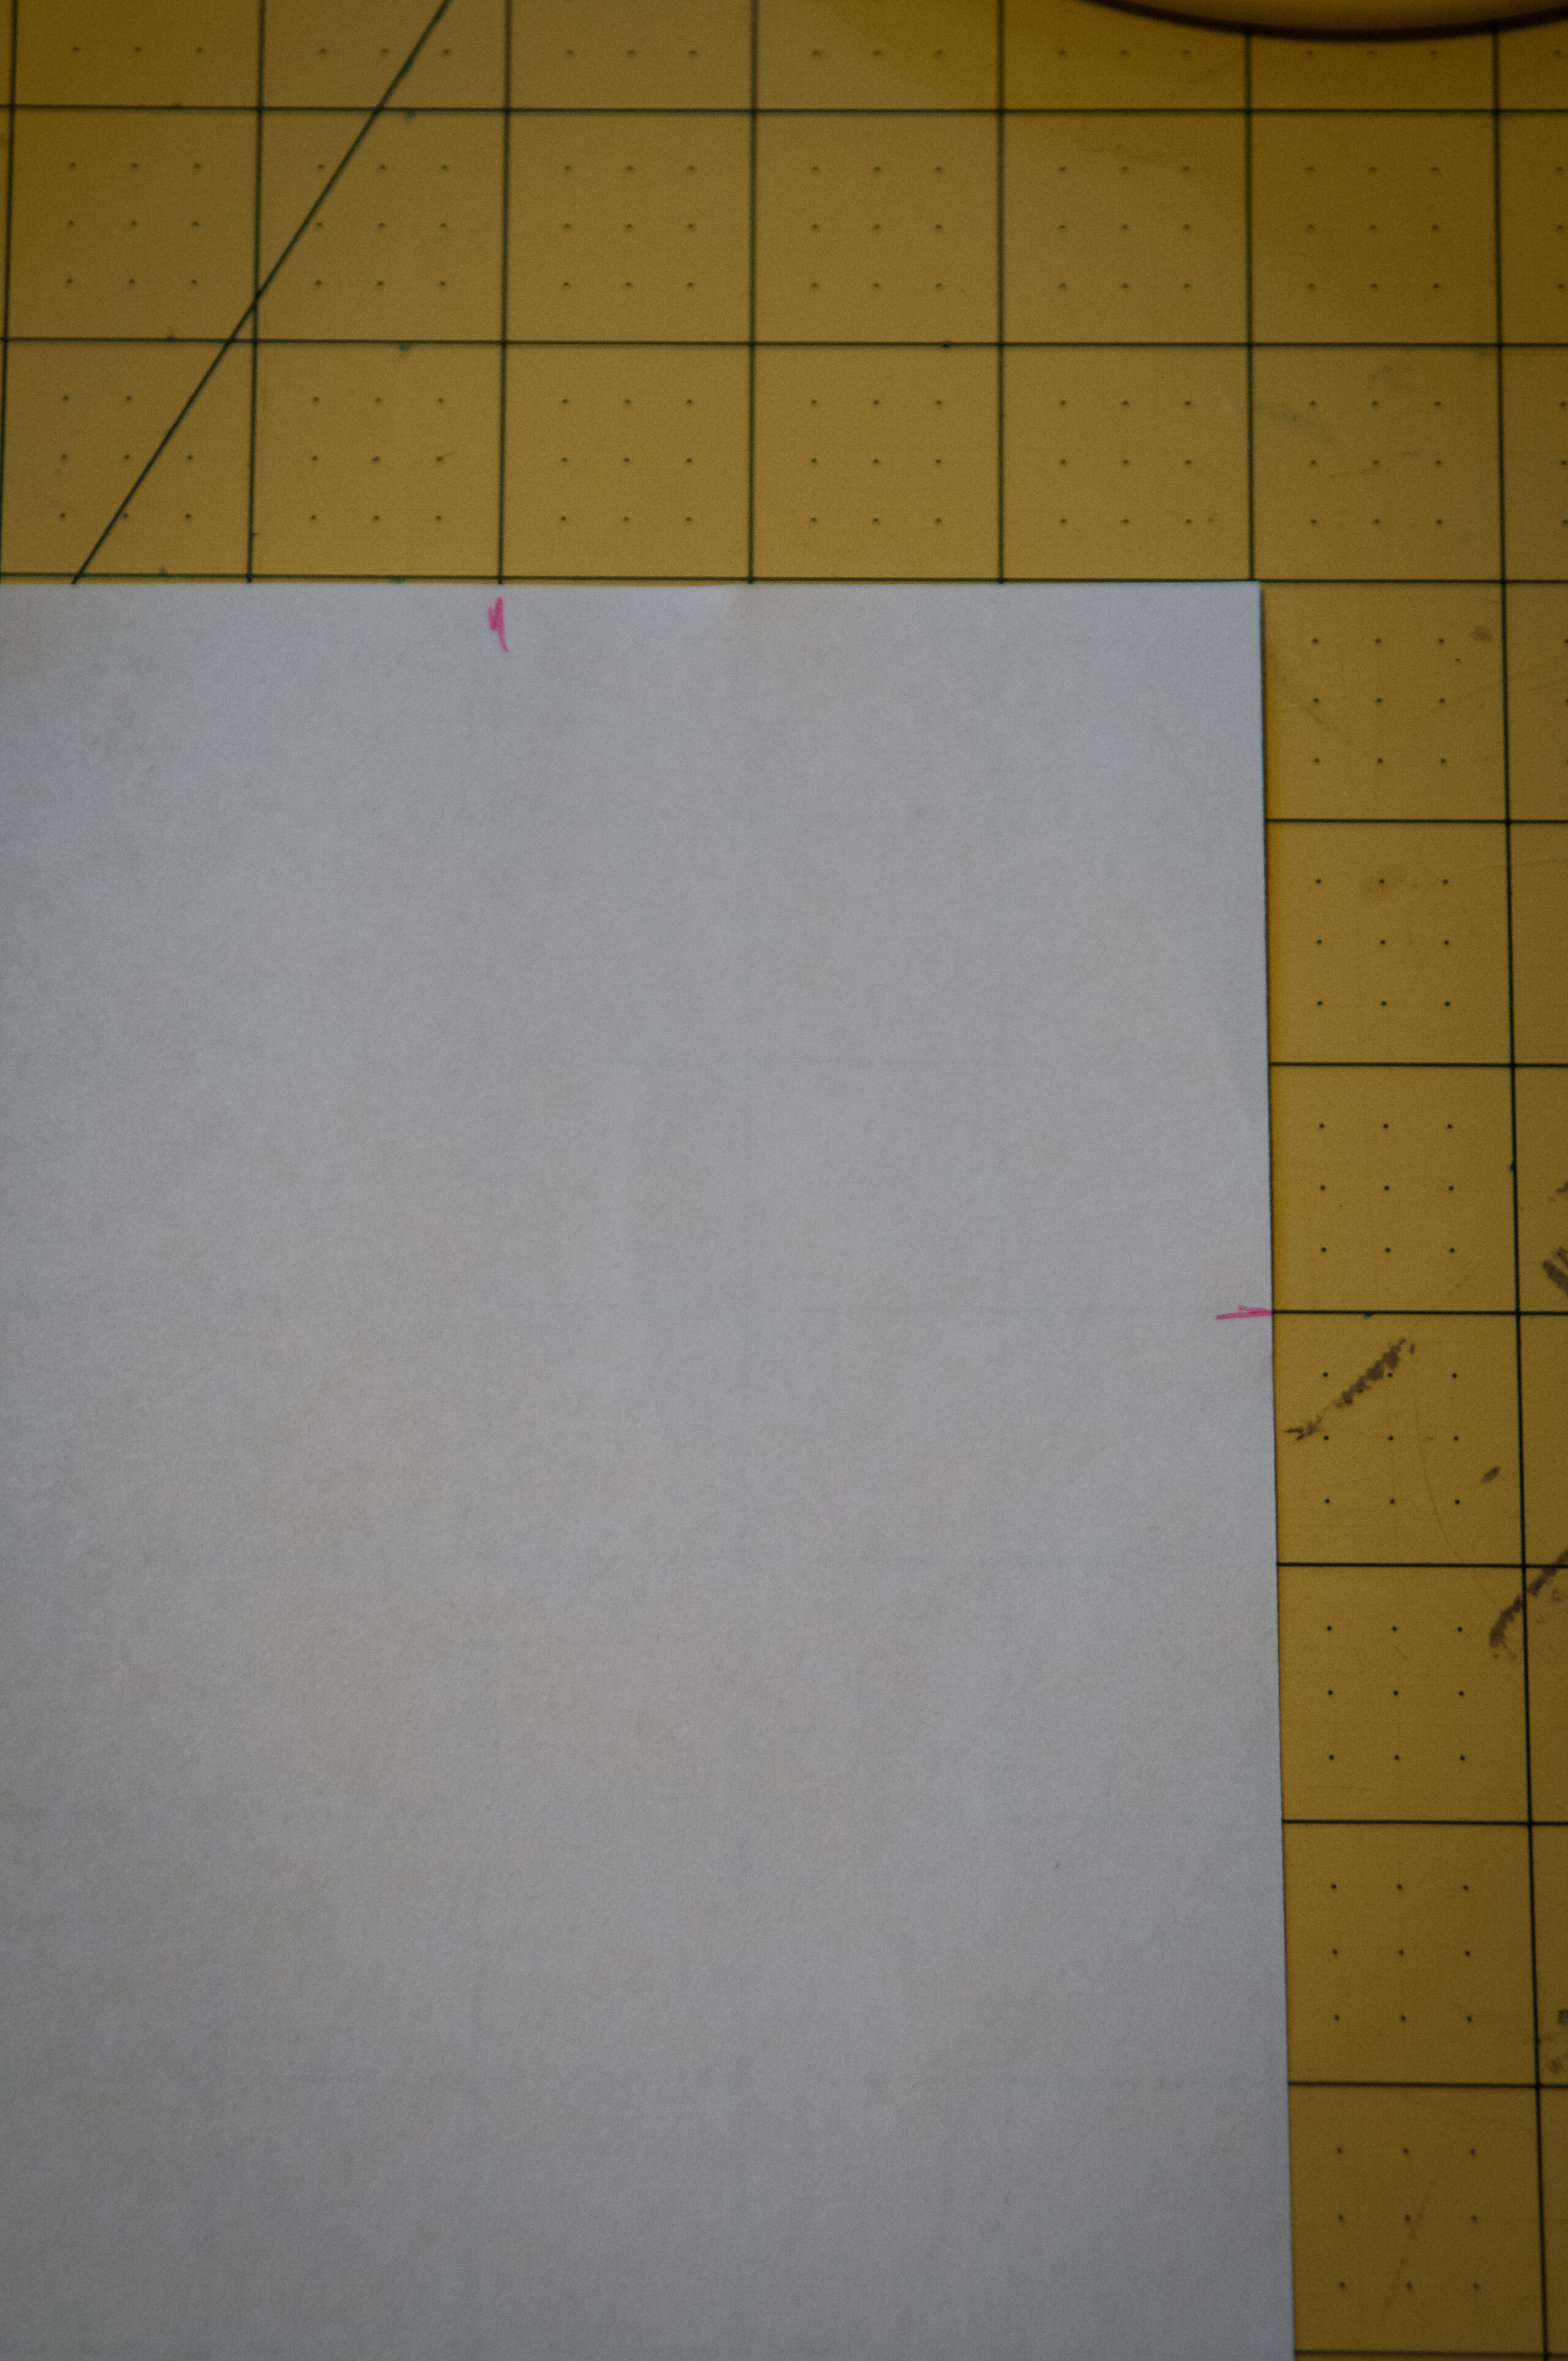
Begin by placing your fabric selvage to selvage (like it comes off the bolt) on the table. Take your cut ends (both ends of your yardage) and make them meet. You should have a nice corner and a fold on the top and the side. Then, take your dessert plate and mark off a neck hole. I did mine three inches in on both sides.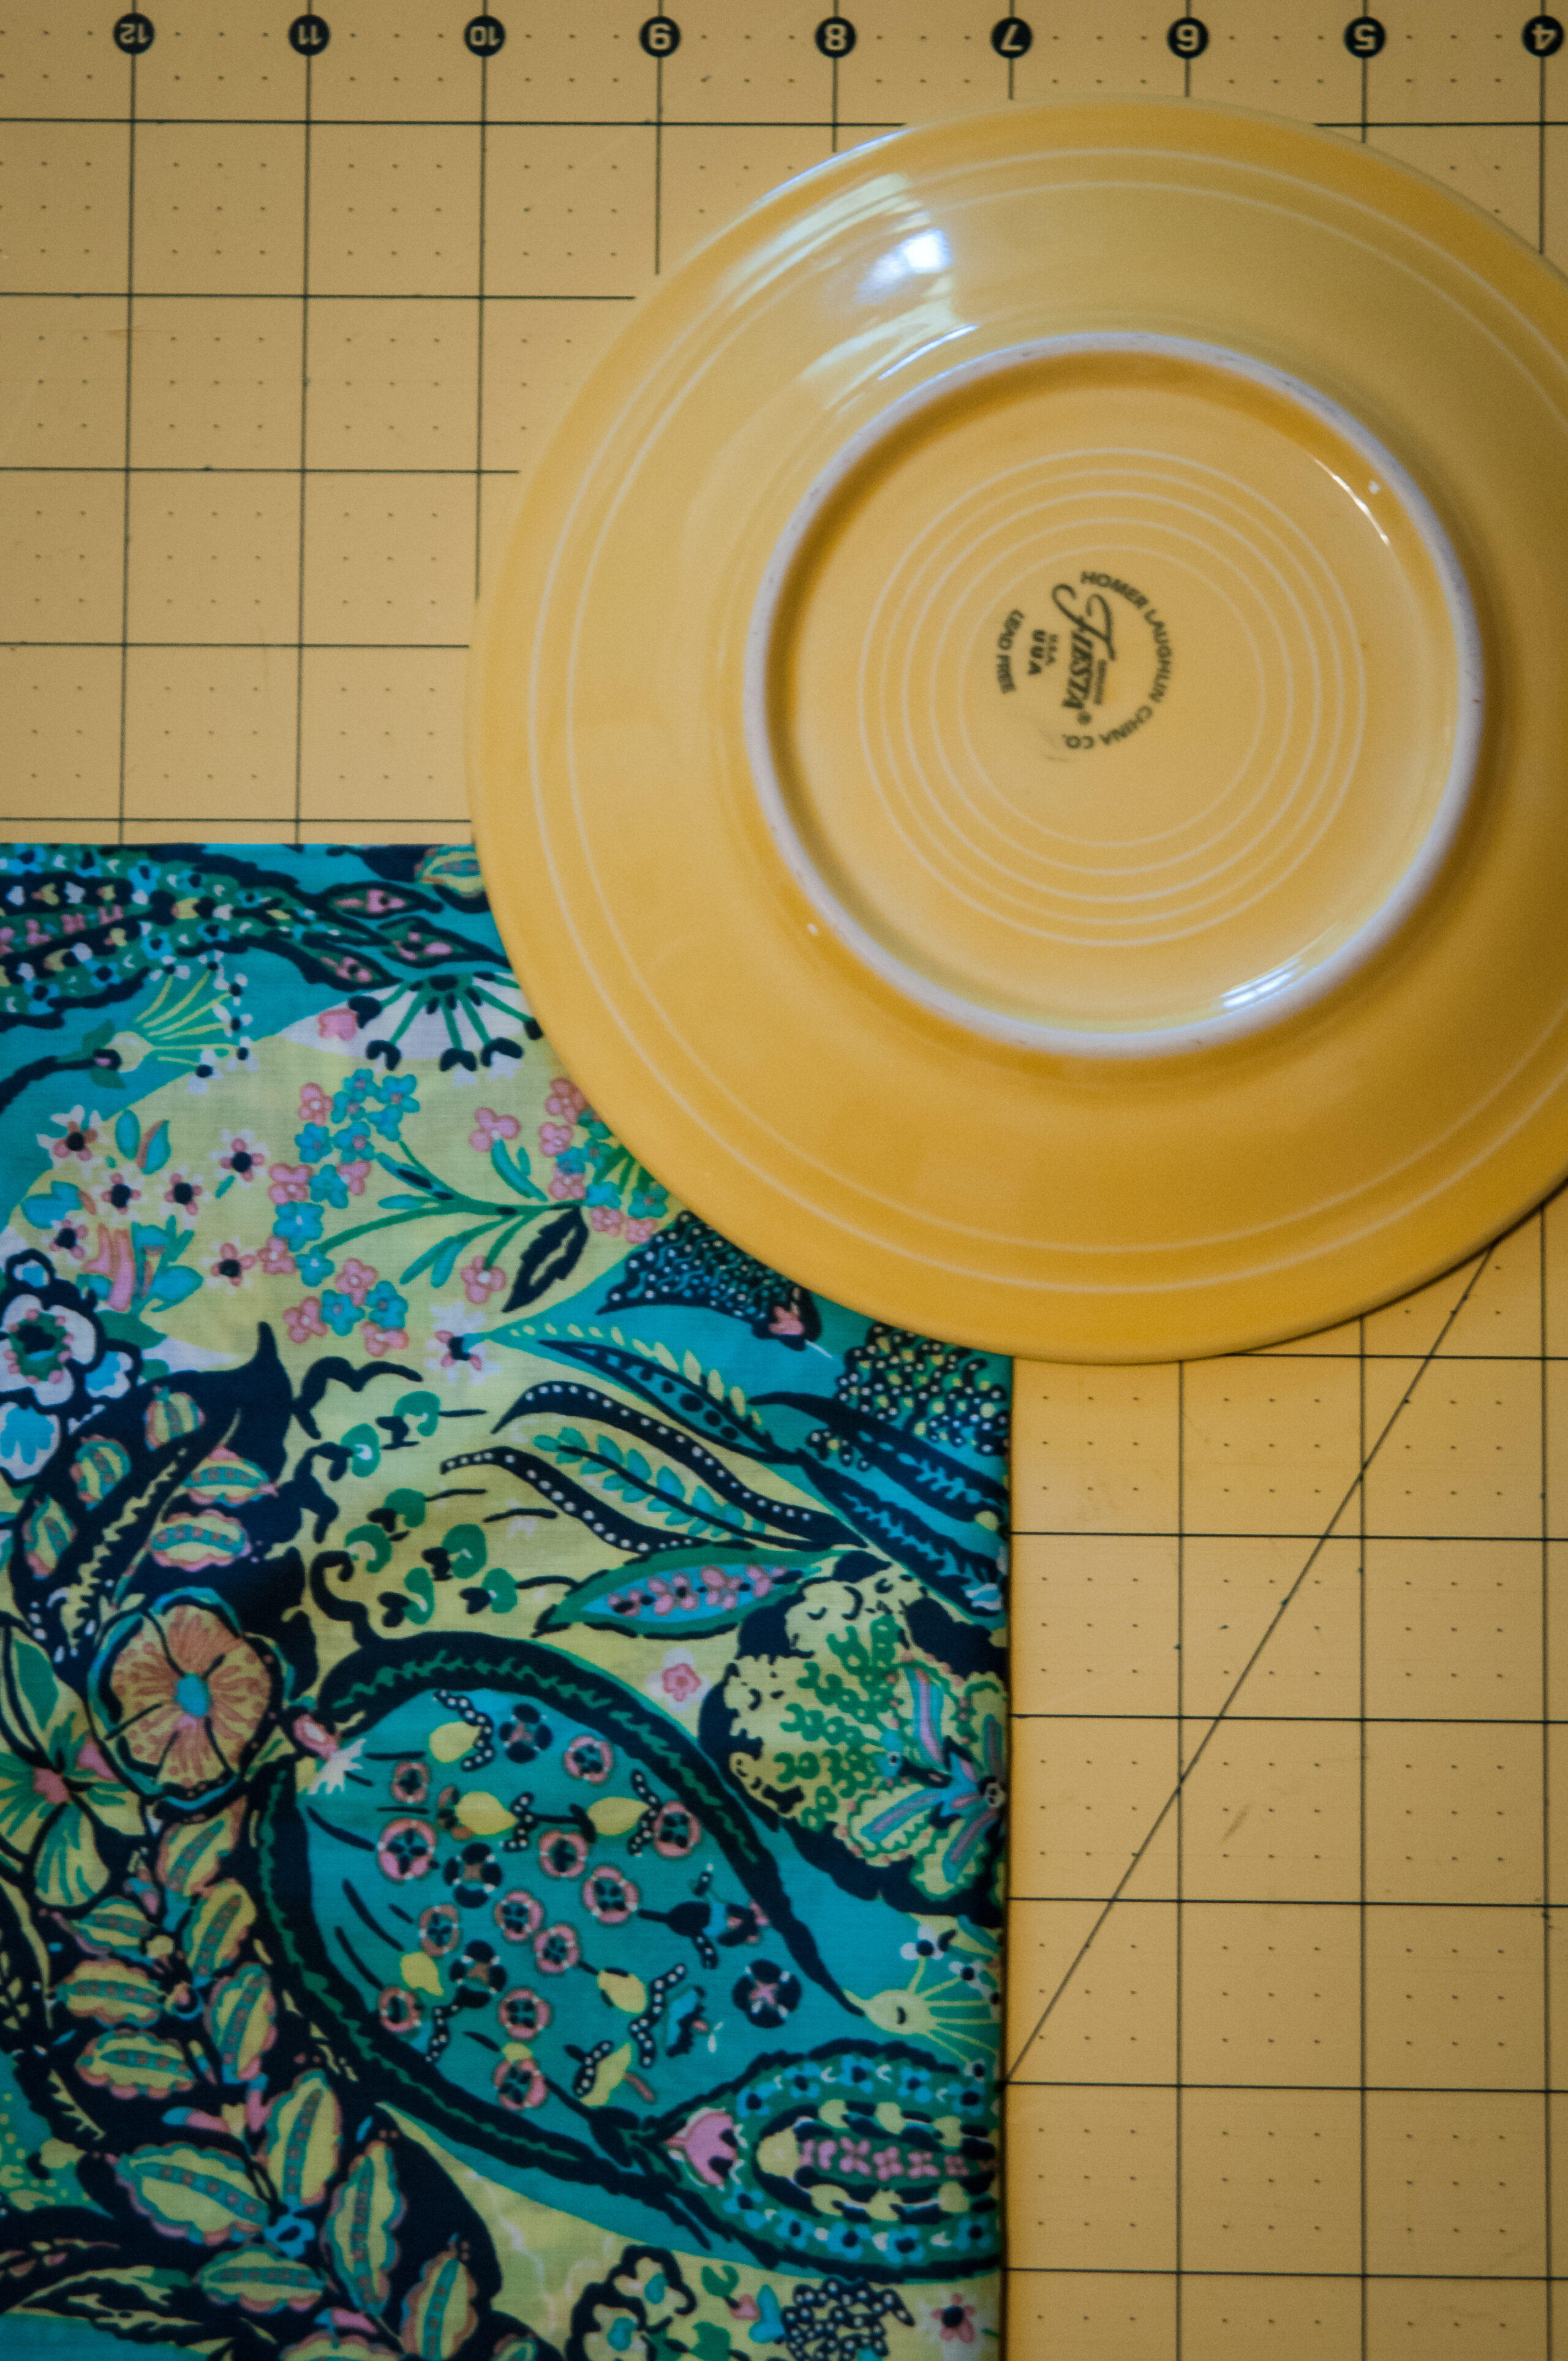
My fabric was hard to write on, so I used a piece of paper to make a quick template.

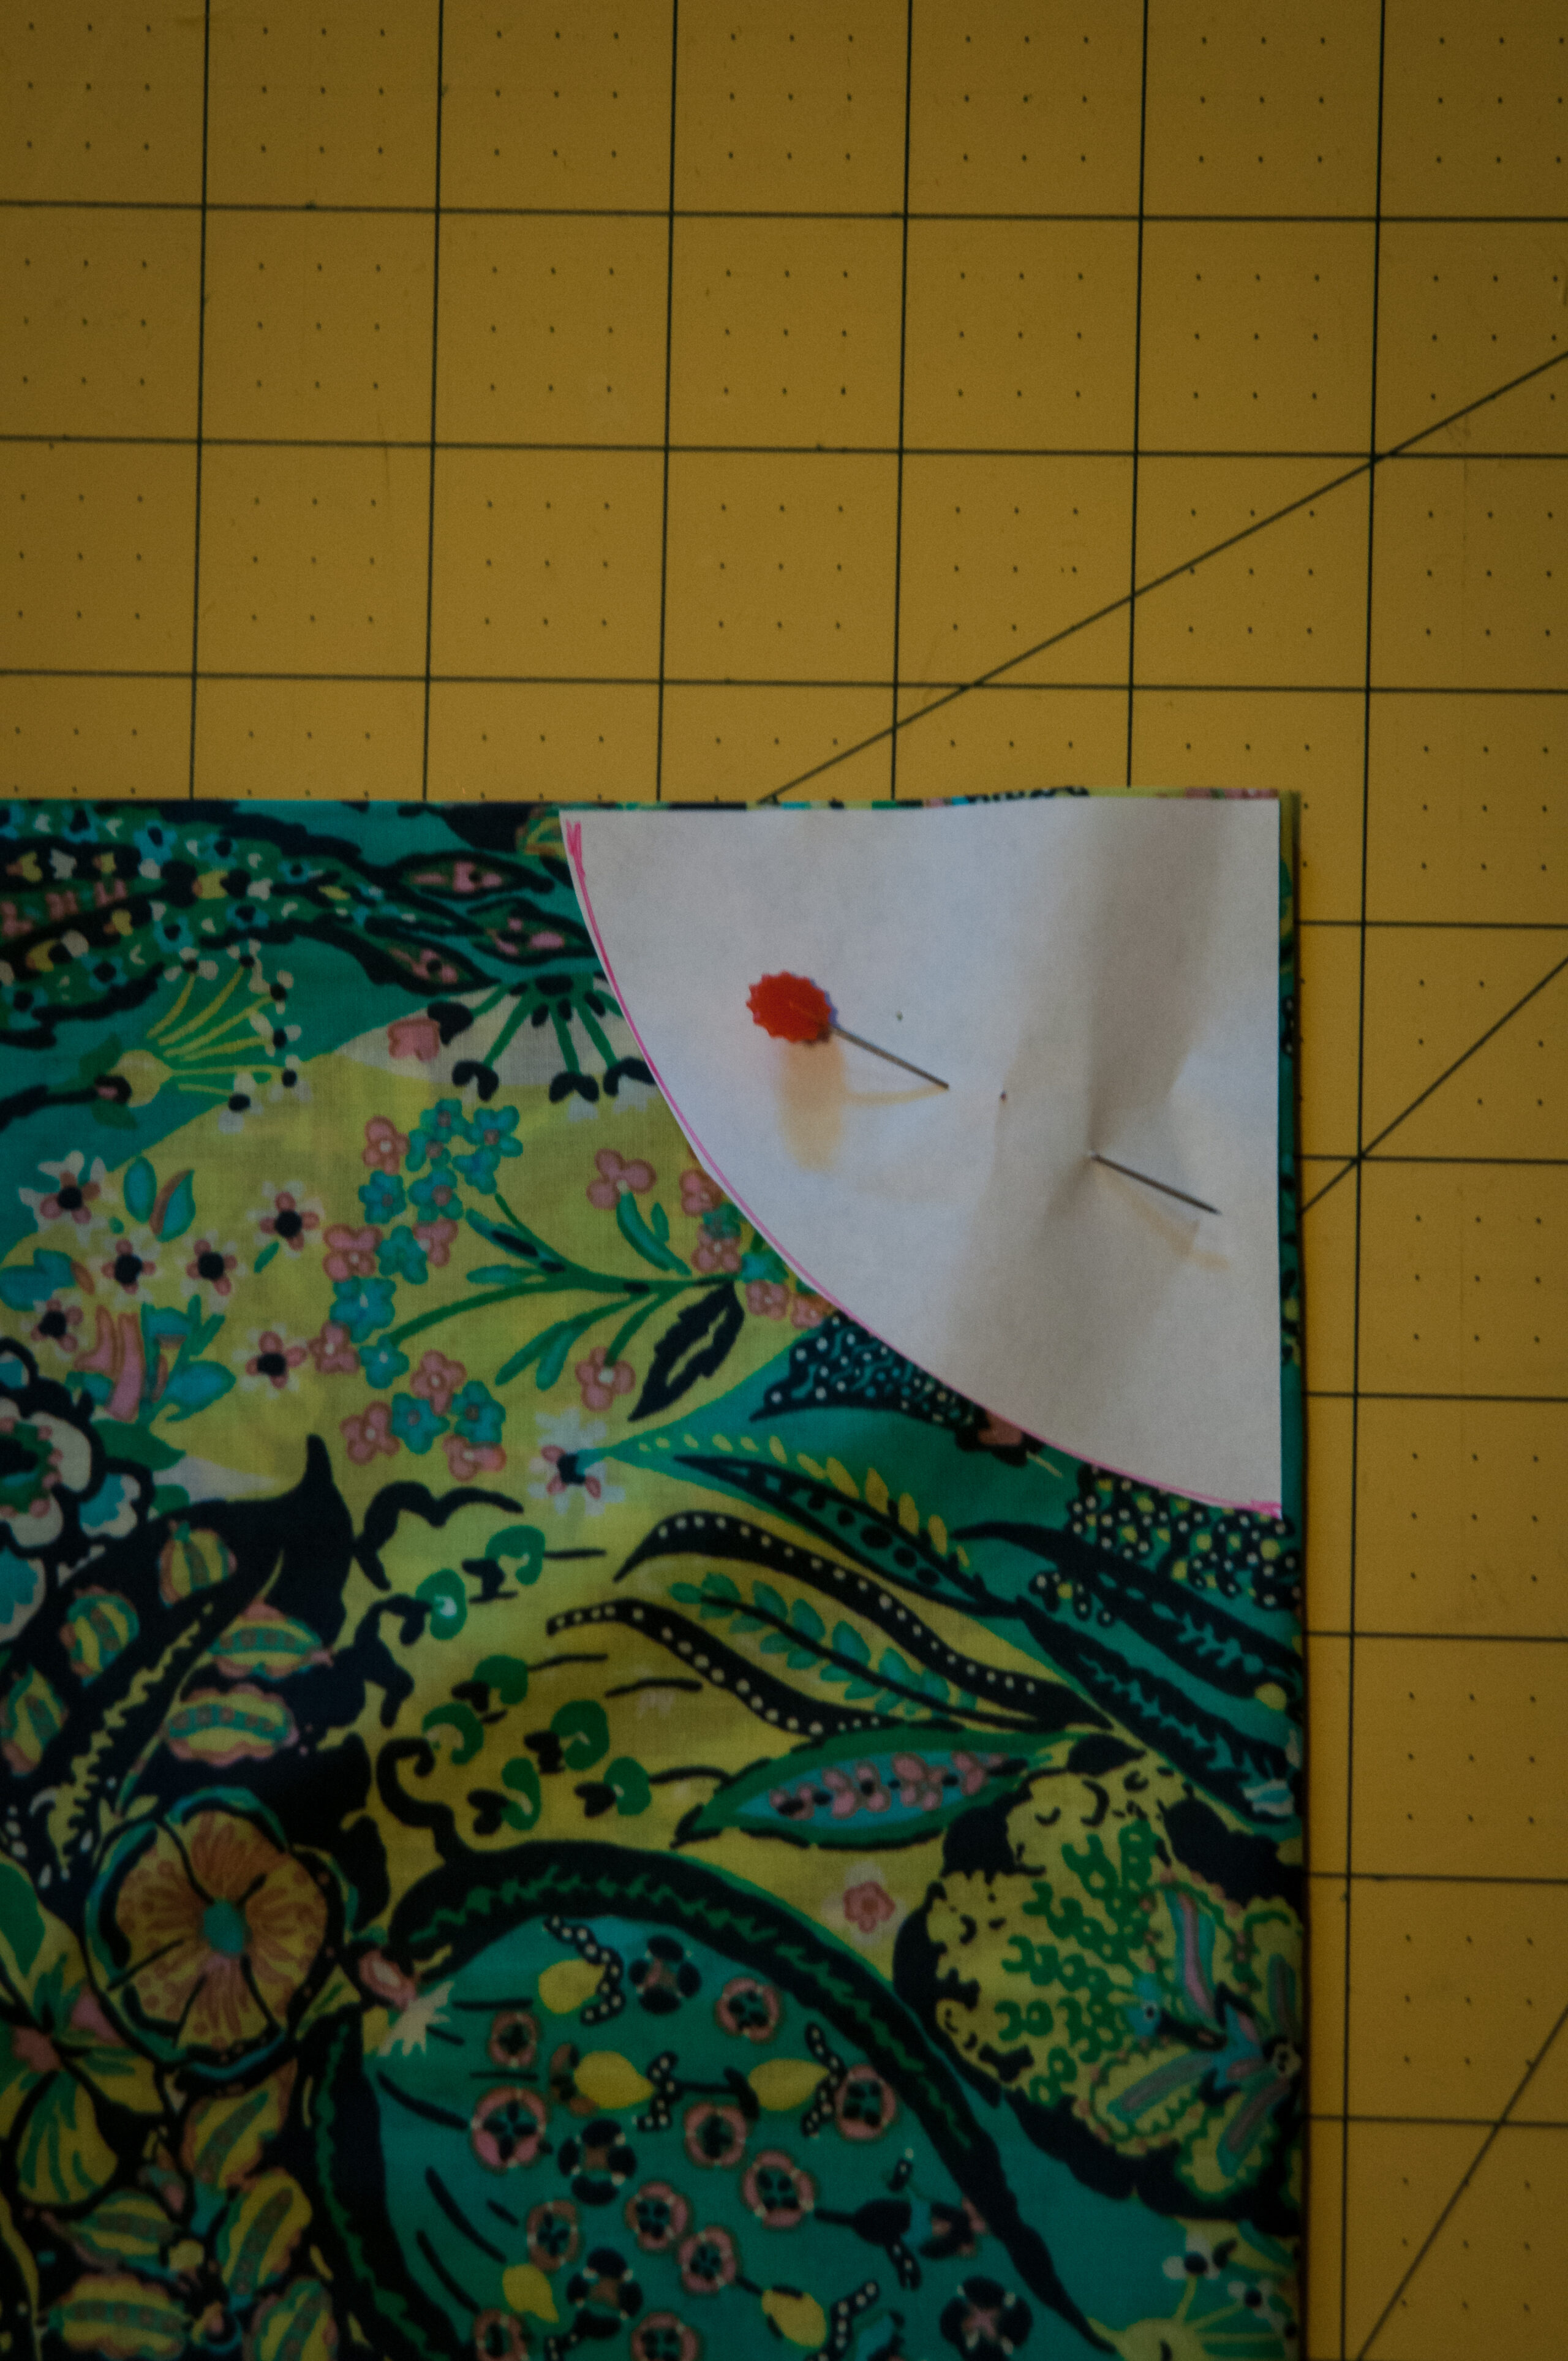
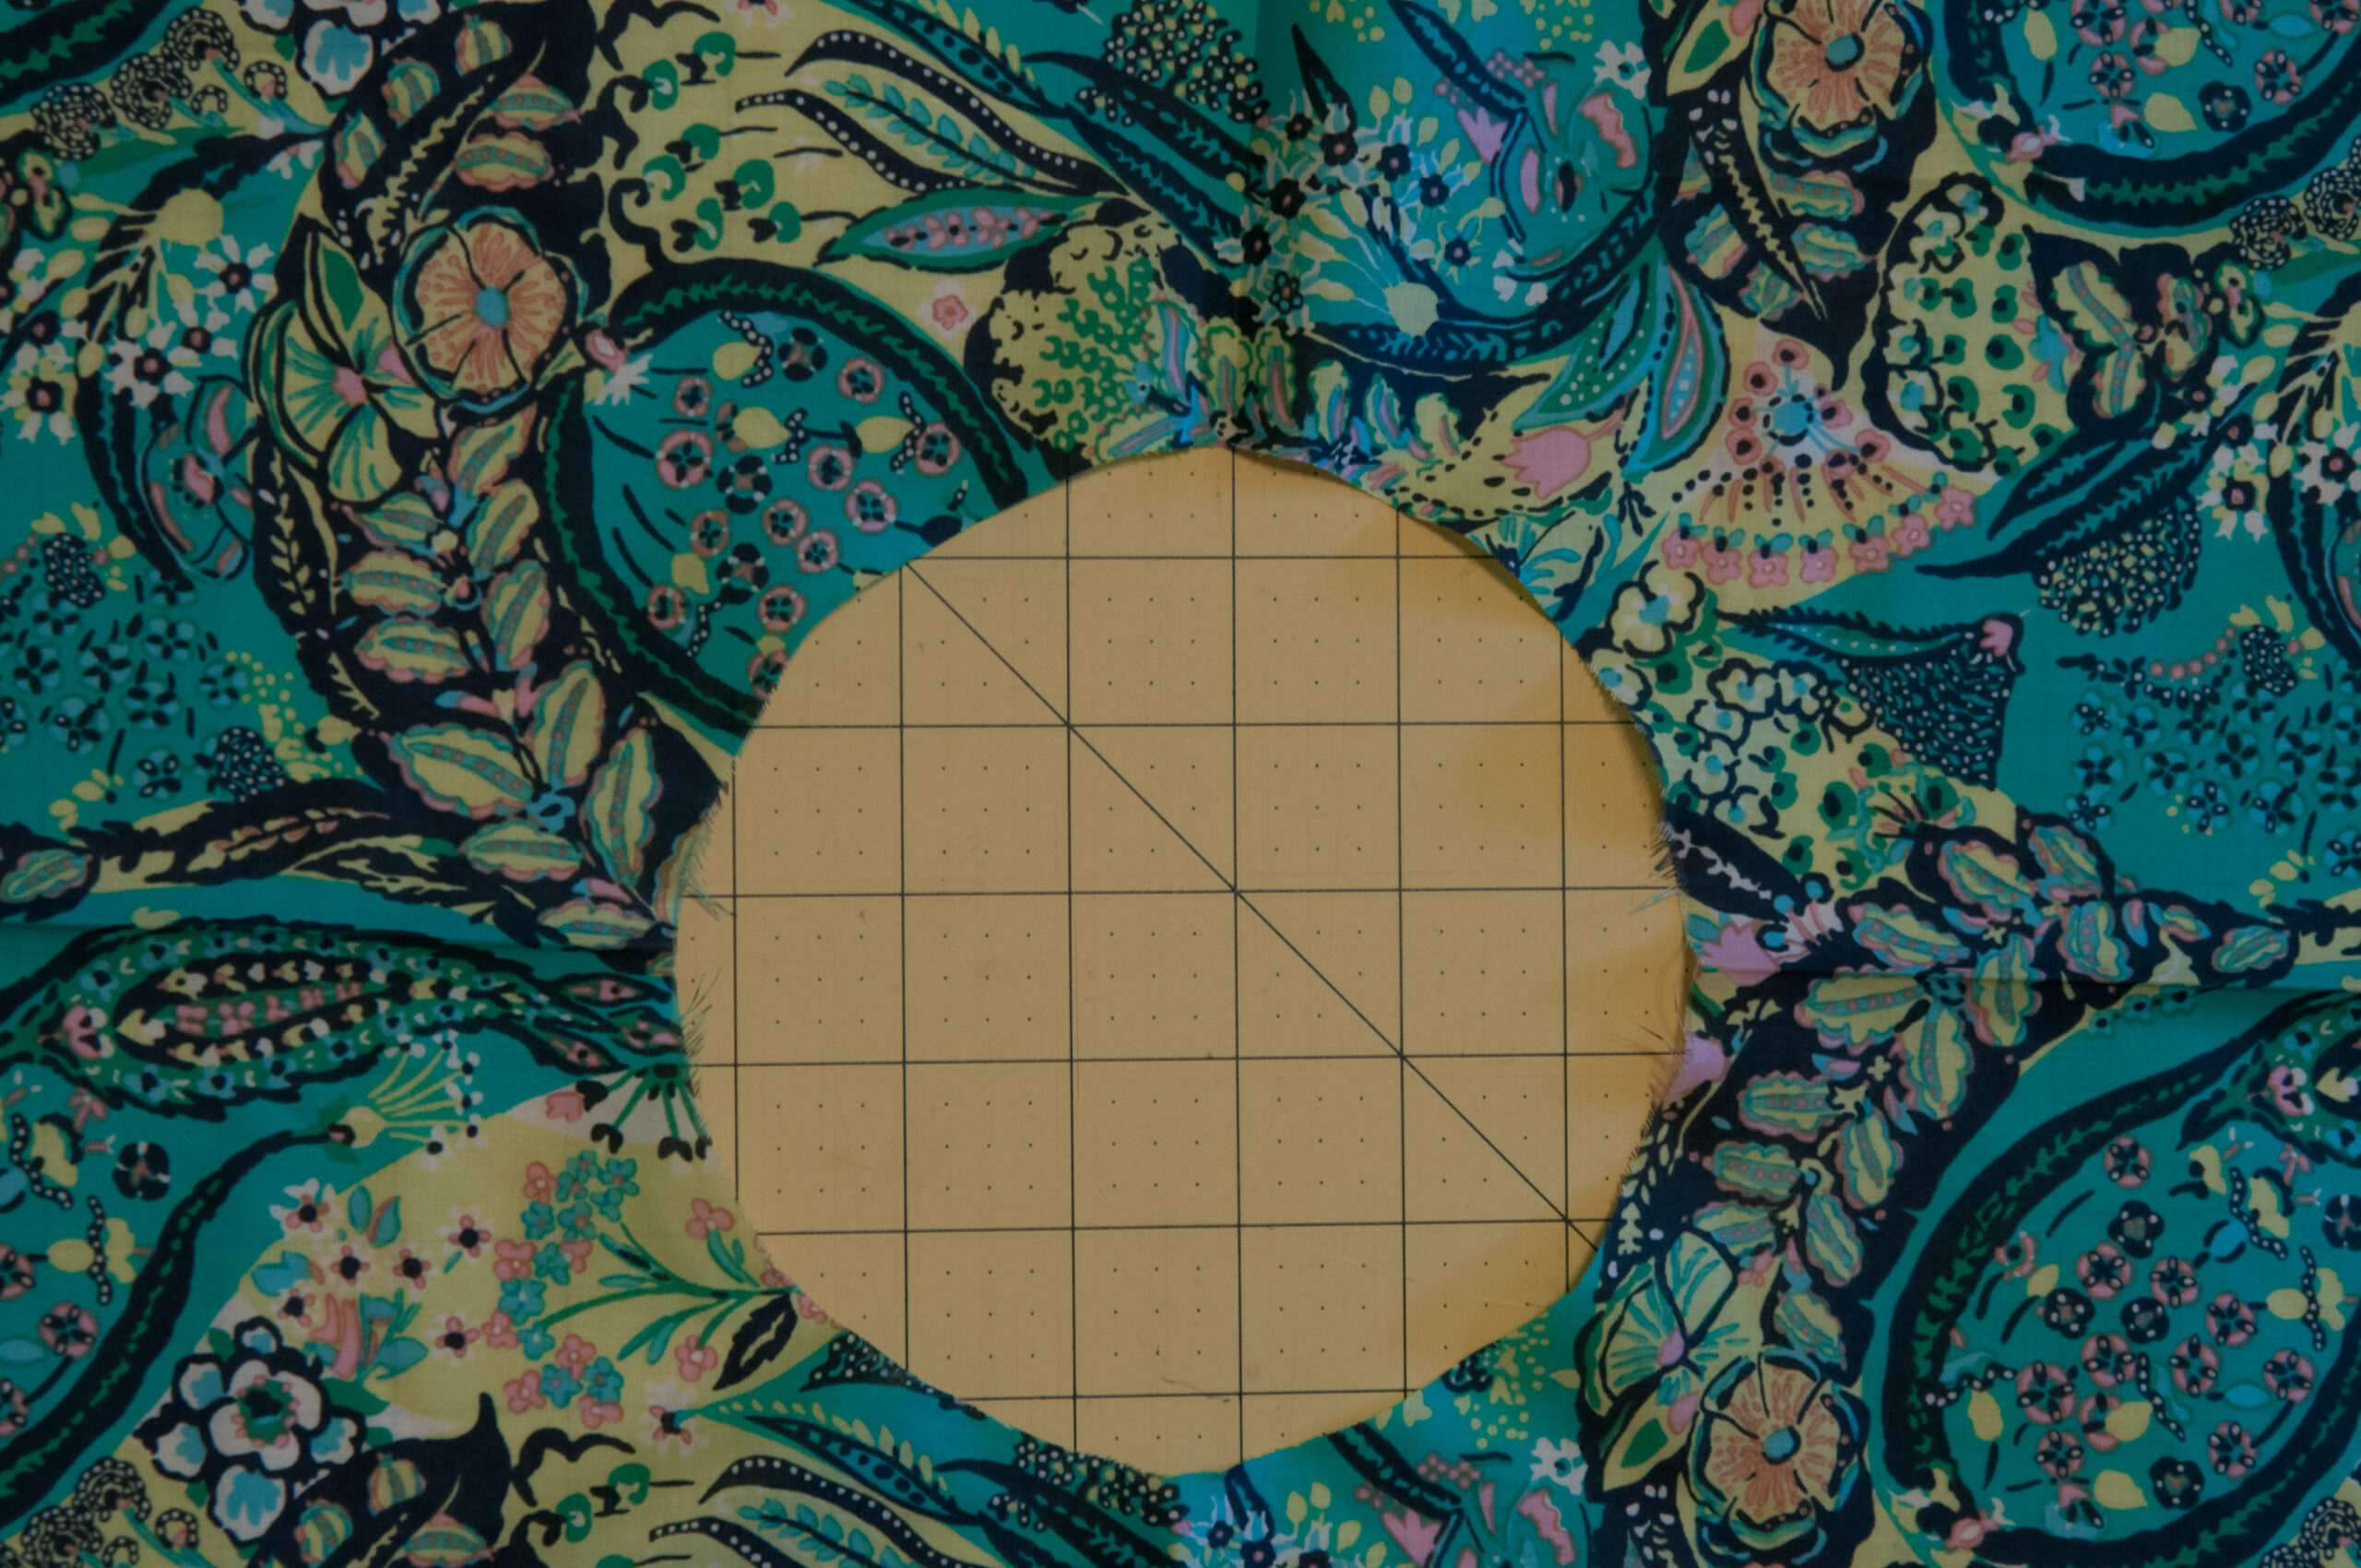
When you unfold your fabric, it now has a hole in the center!
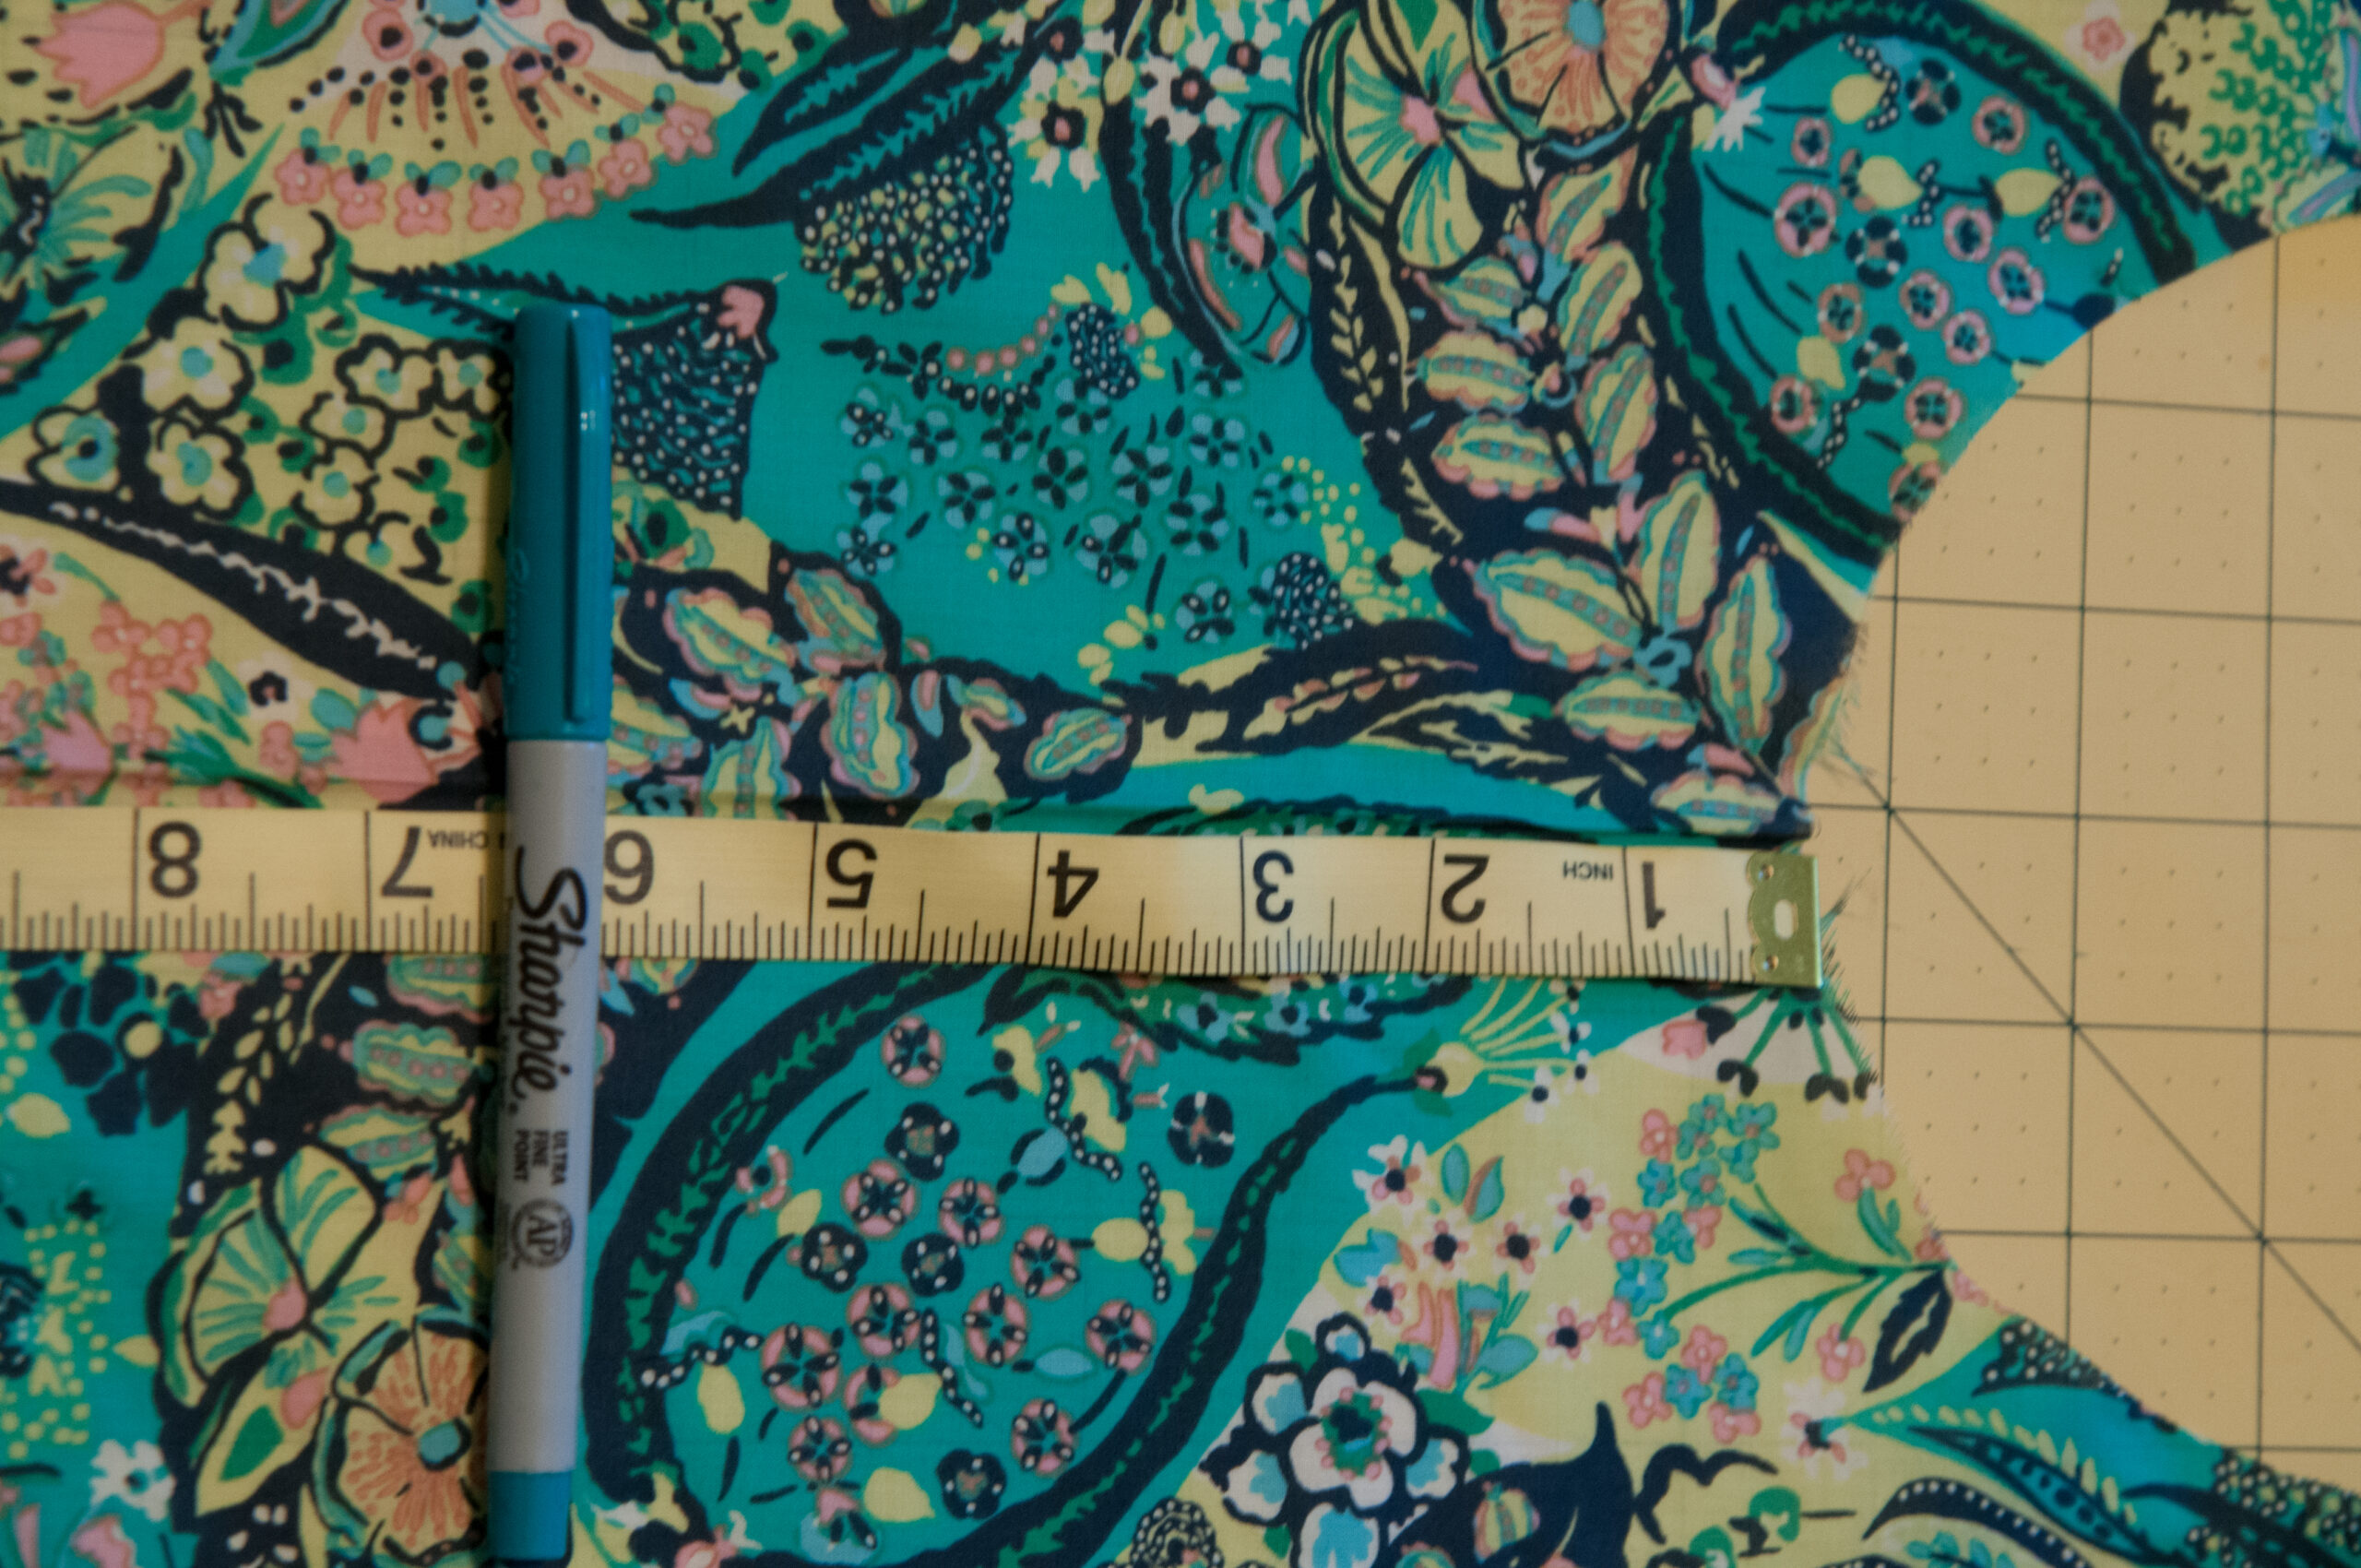
Now, decide which is the front and which is the back. I chose to put the longest sides in the front and back for the most coverage. Lay your fabric flat and cut a slit about five inches long. This slit can be shortened or lengthened based on the level of modesty you desire.
Next, with right side facing down, you will pin back the slit to make a triangle shape at the bottom of your neck hole. It will start to look like an ice cream cone!
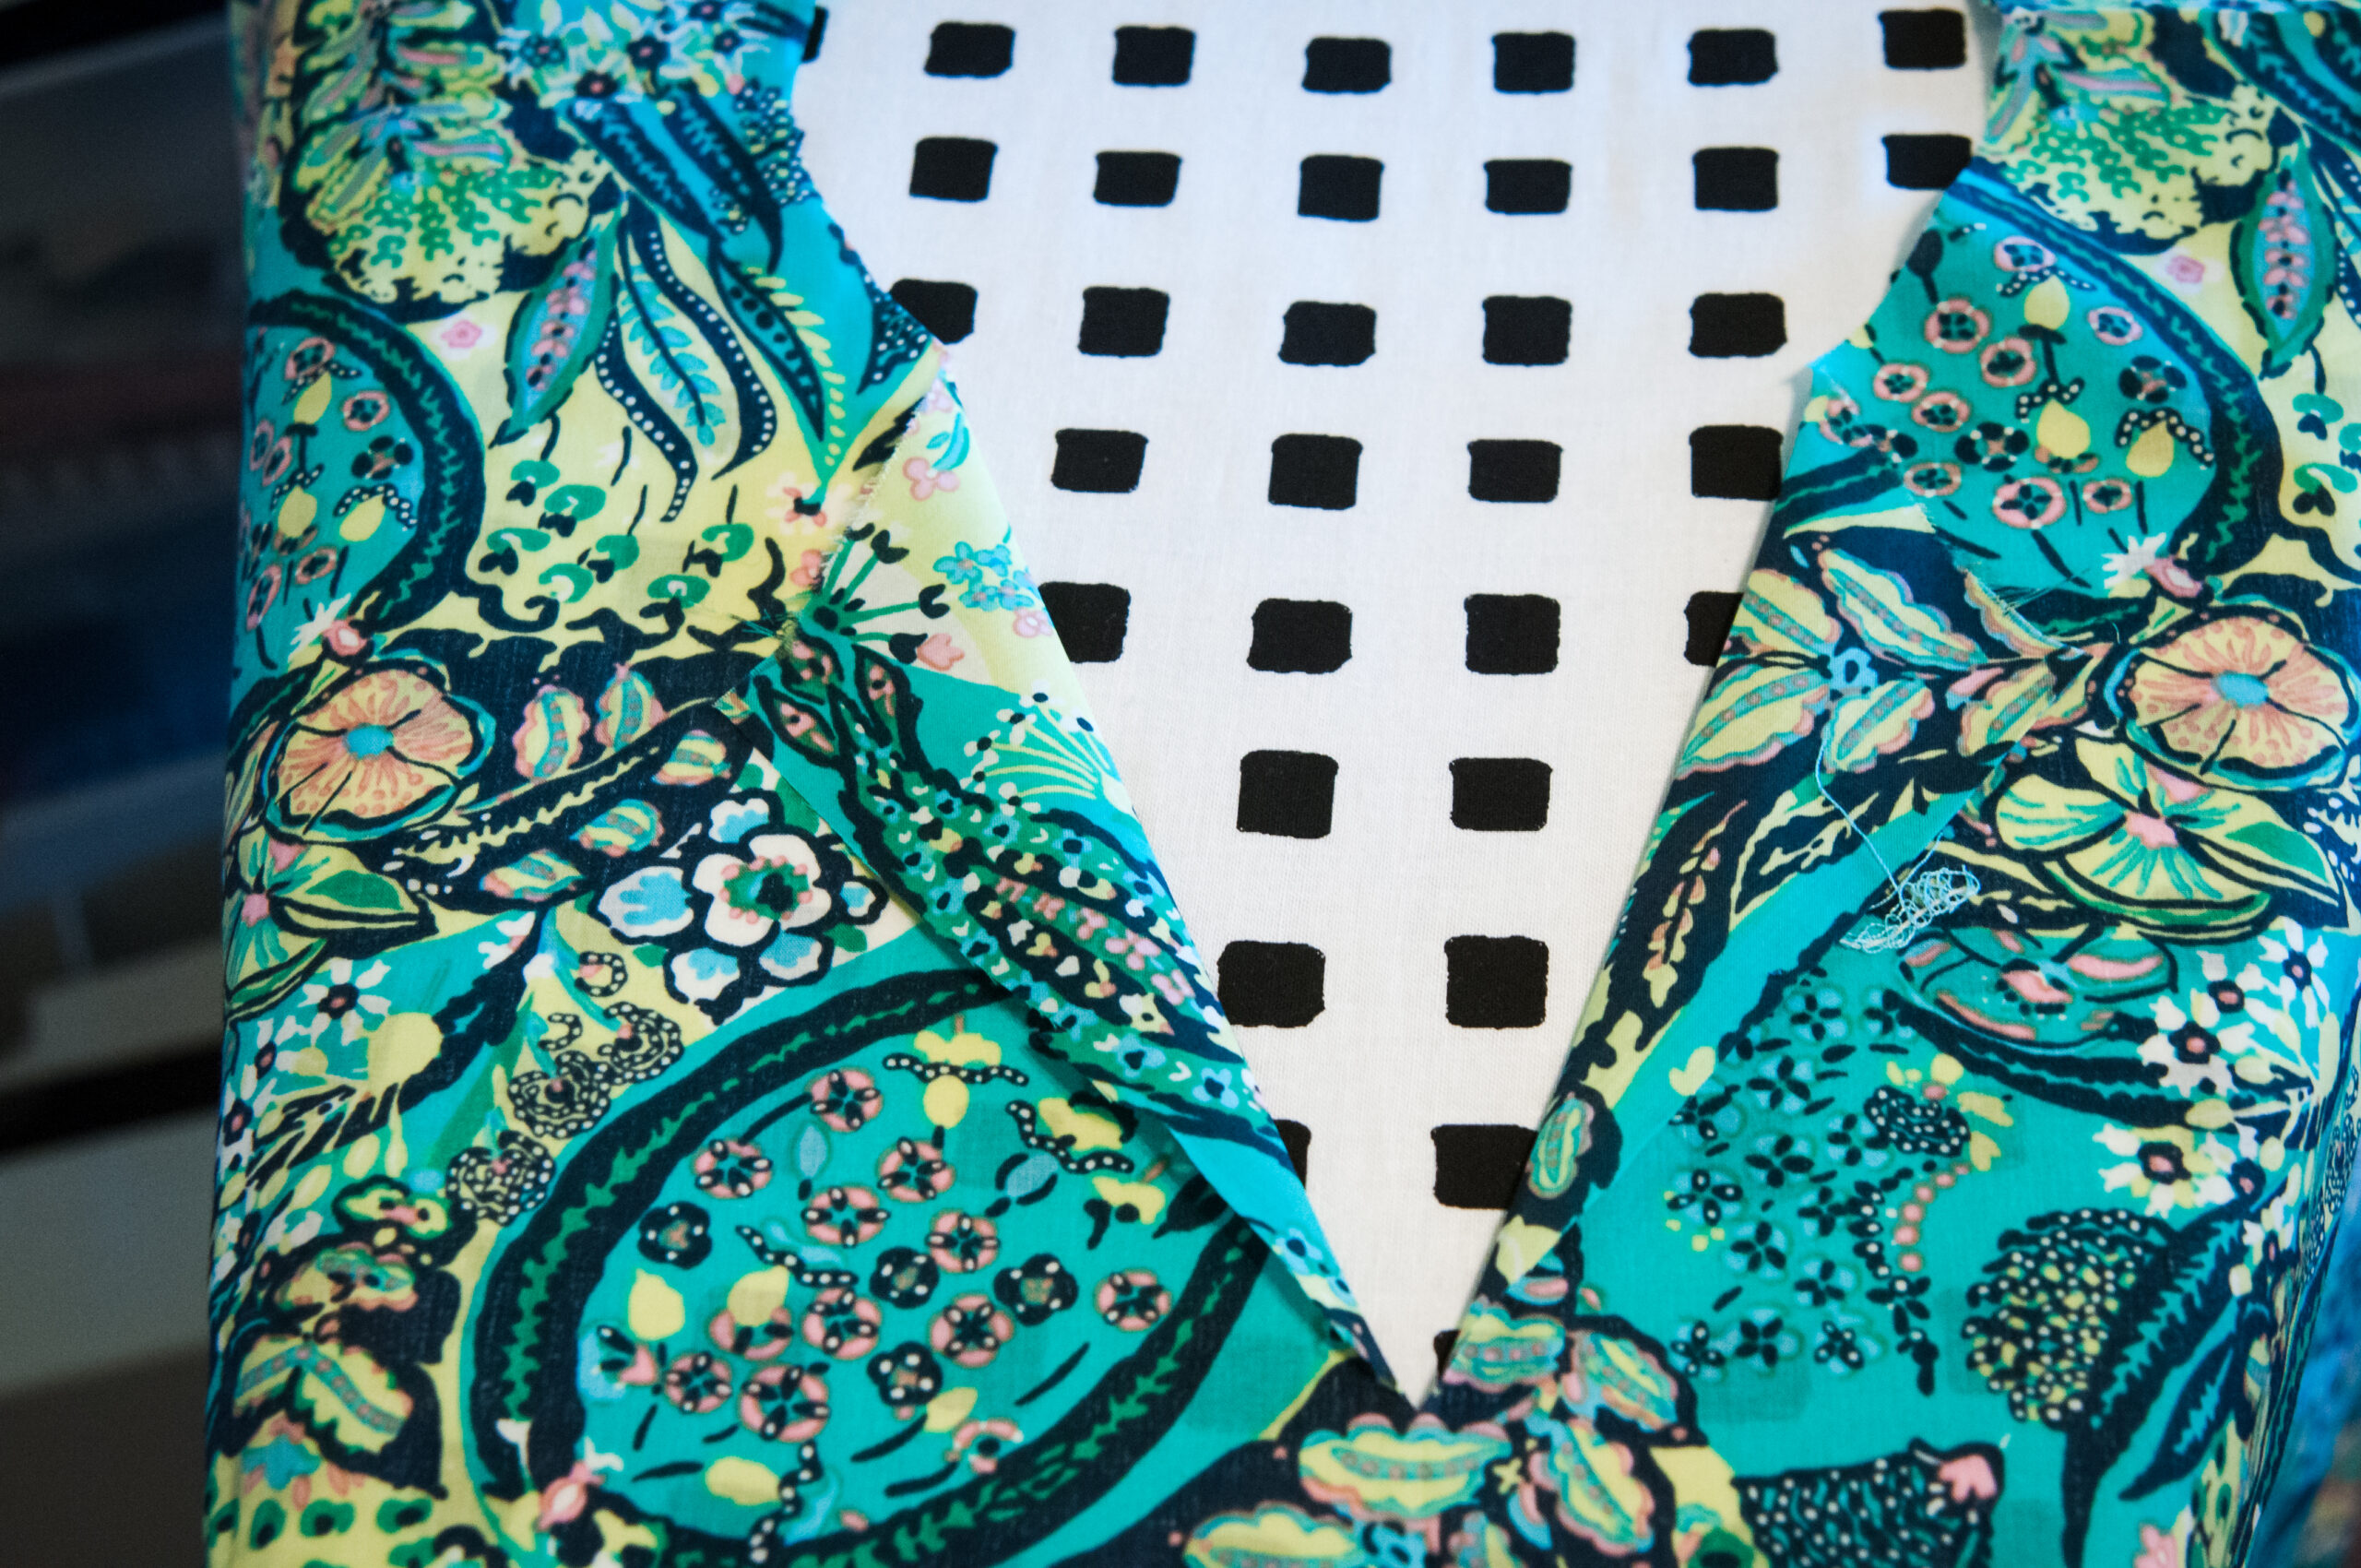
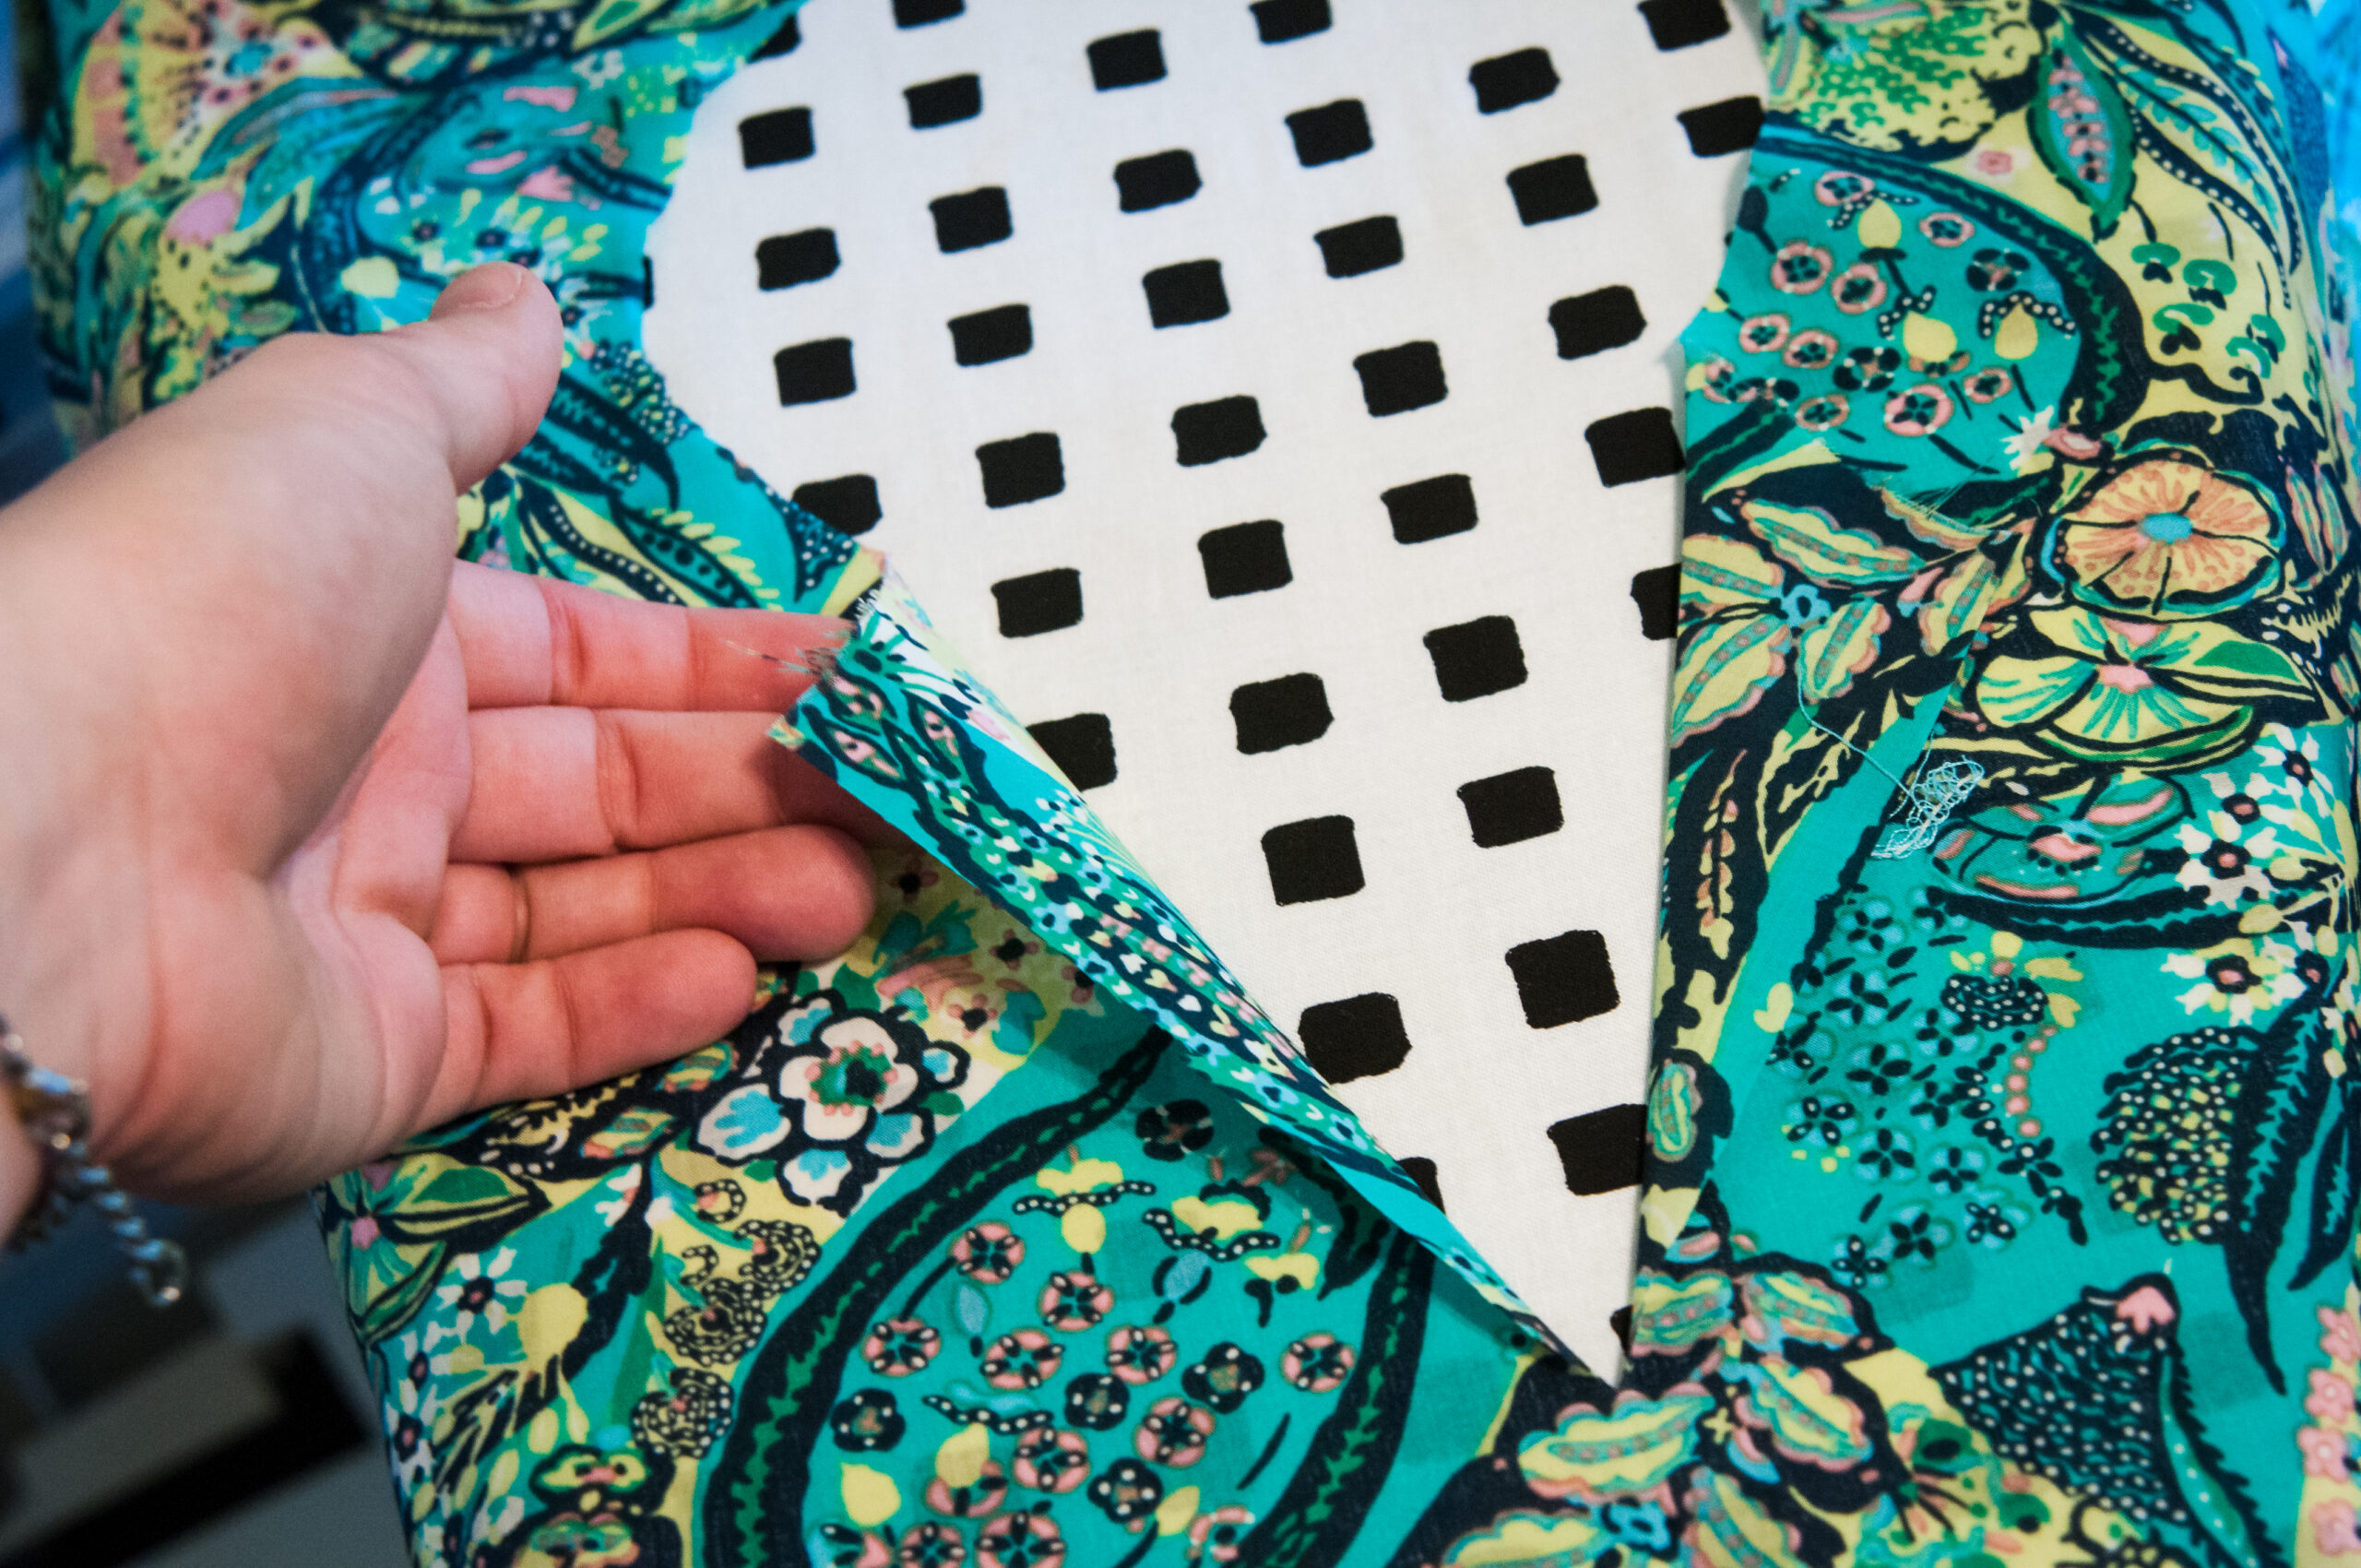
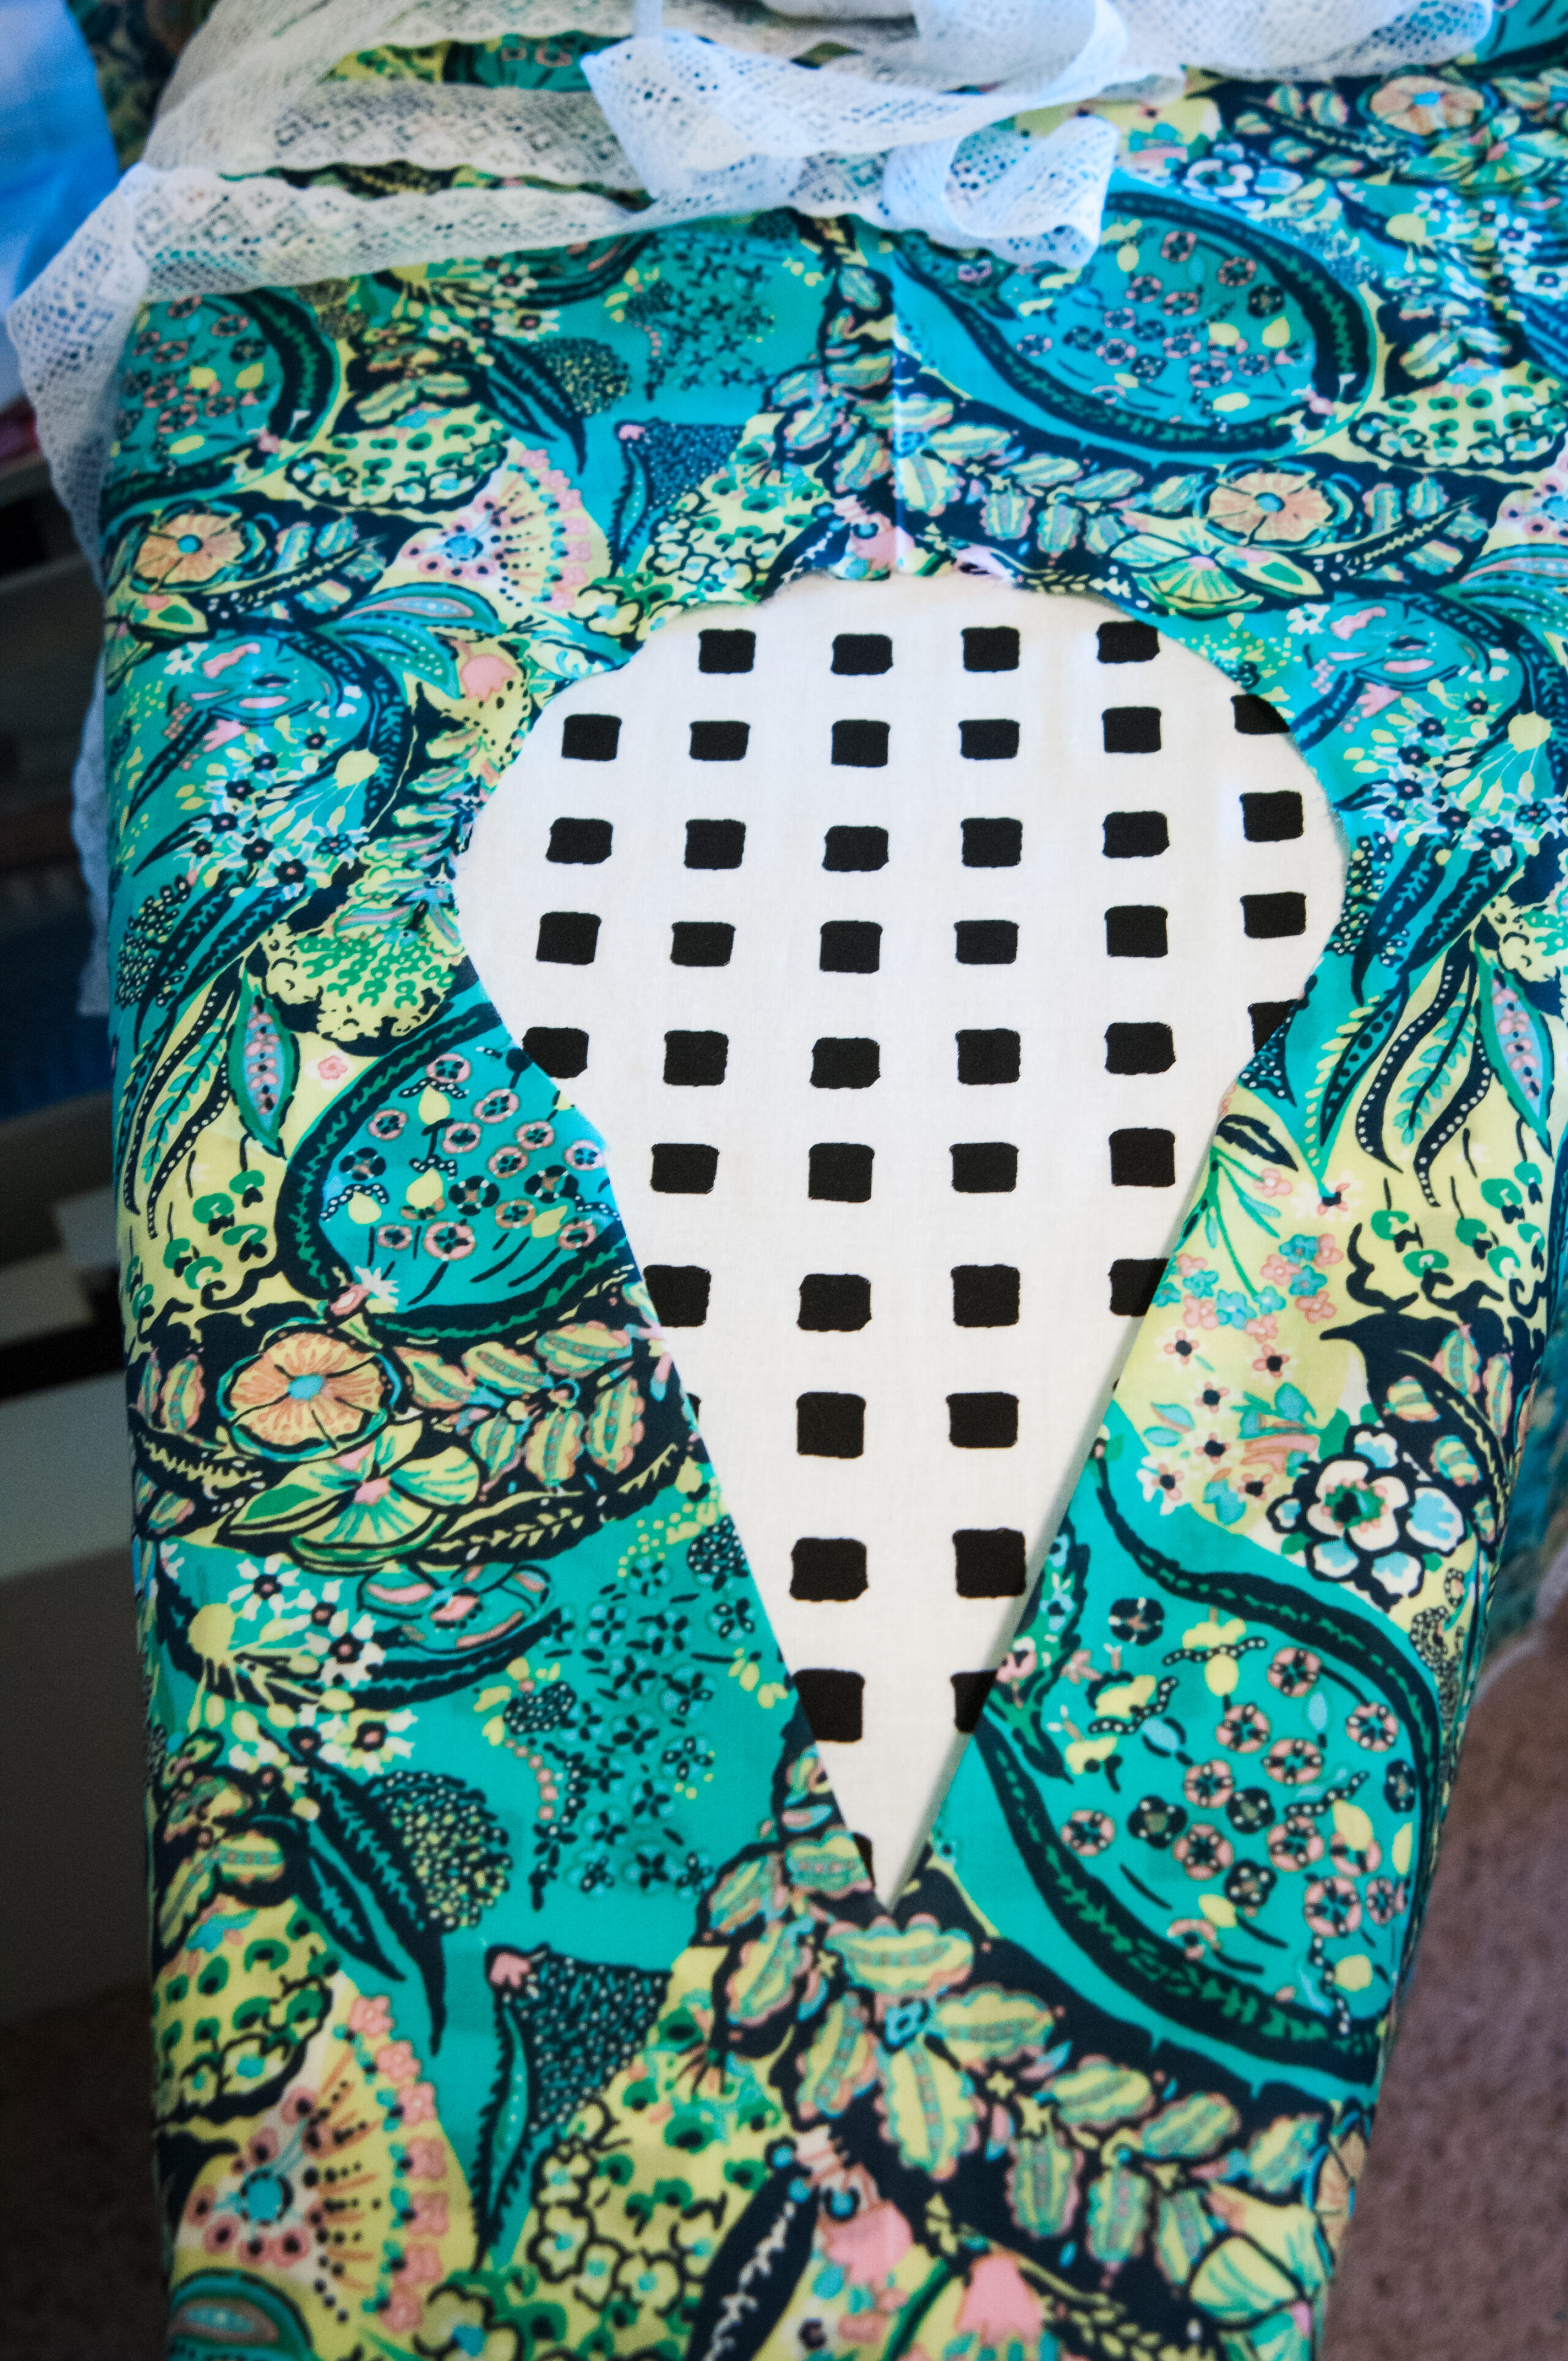
See my ice cream cone???
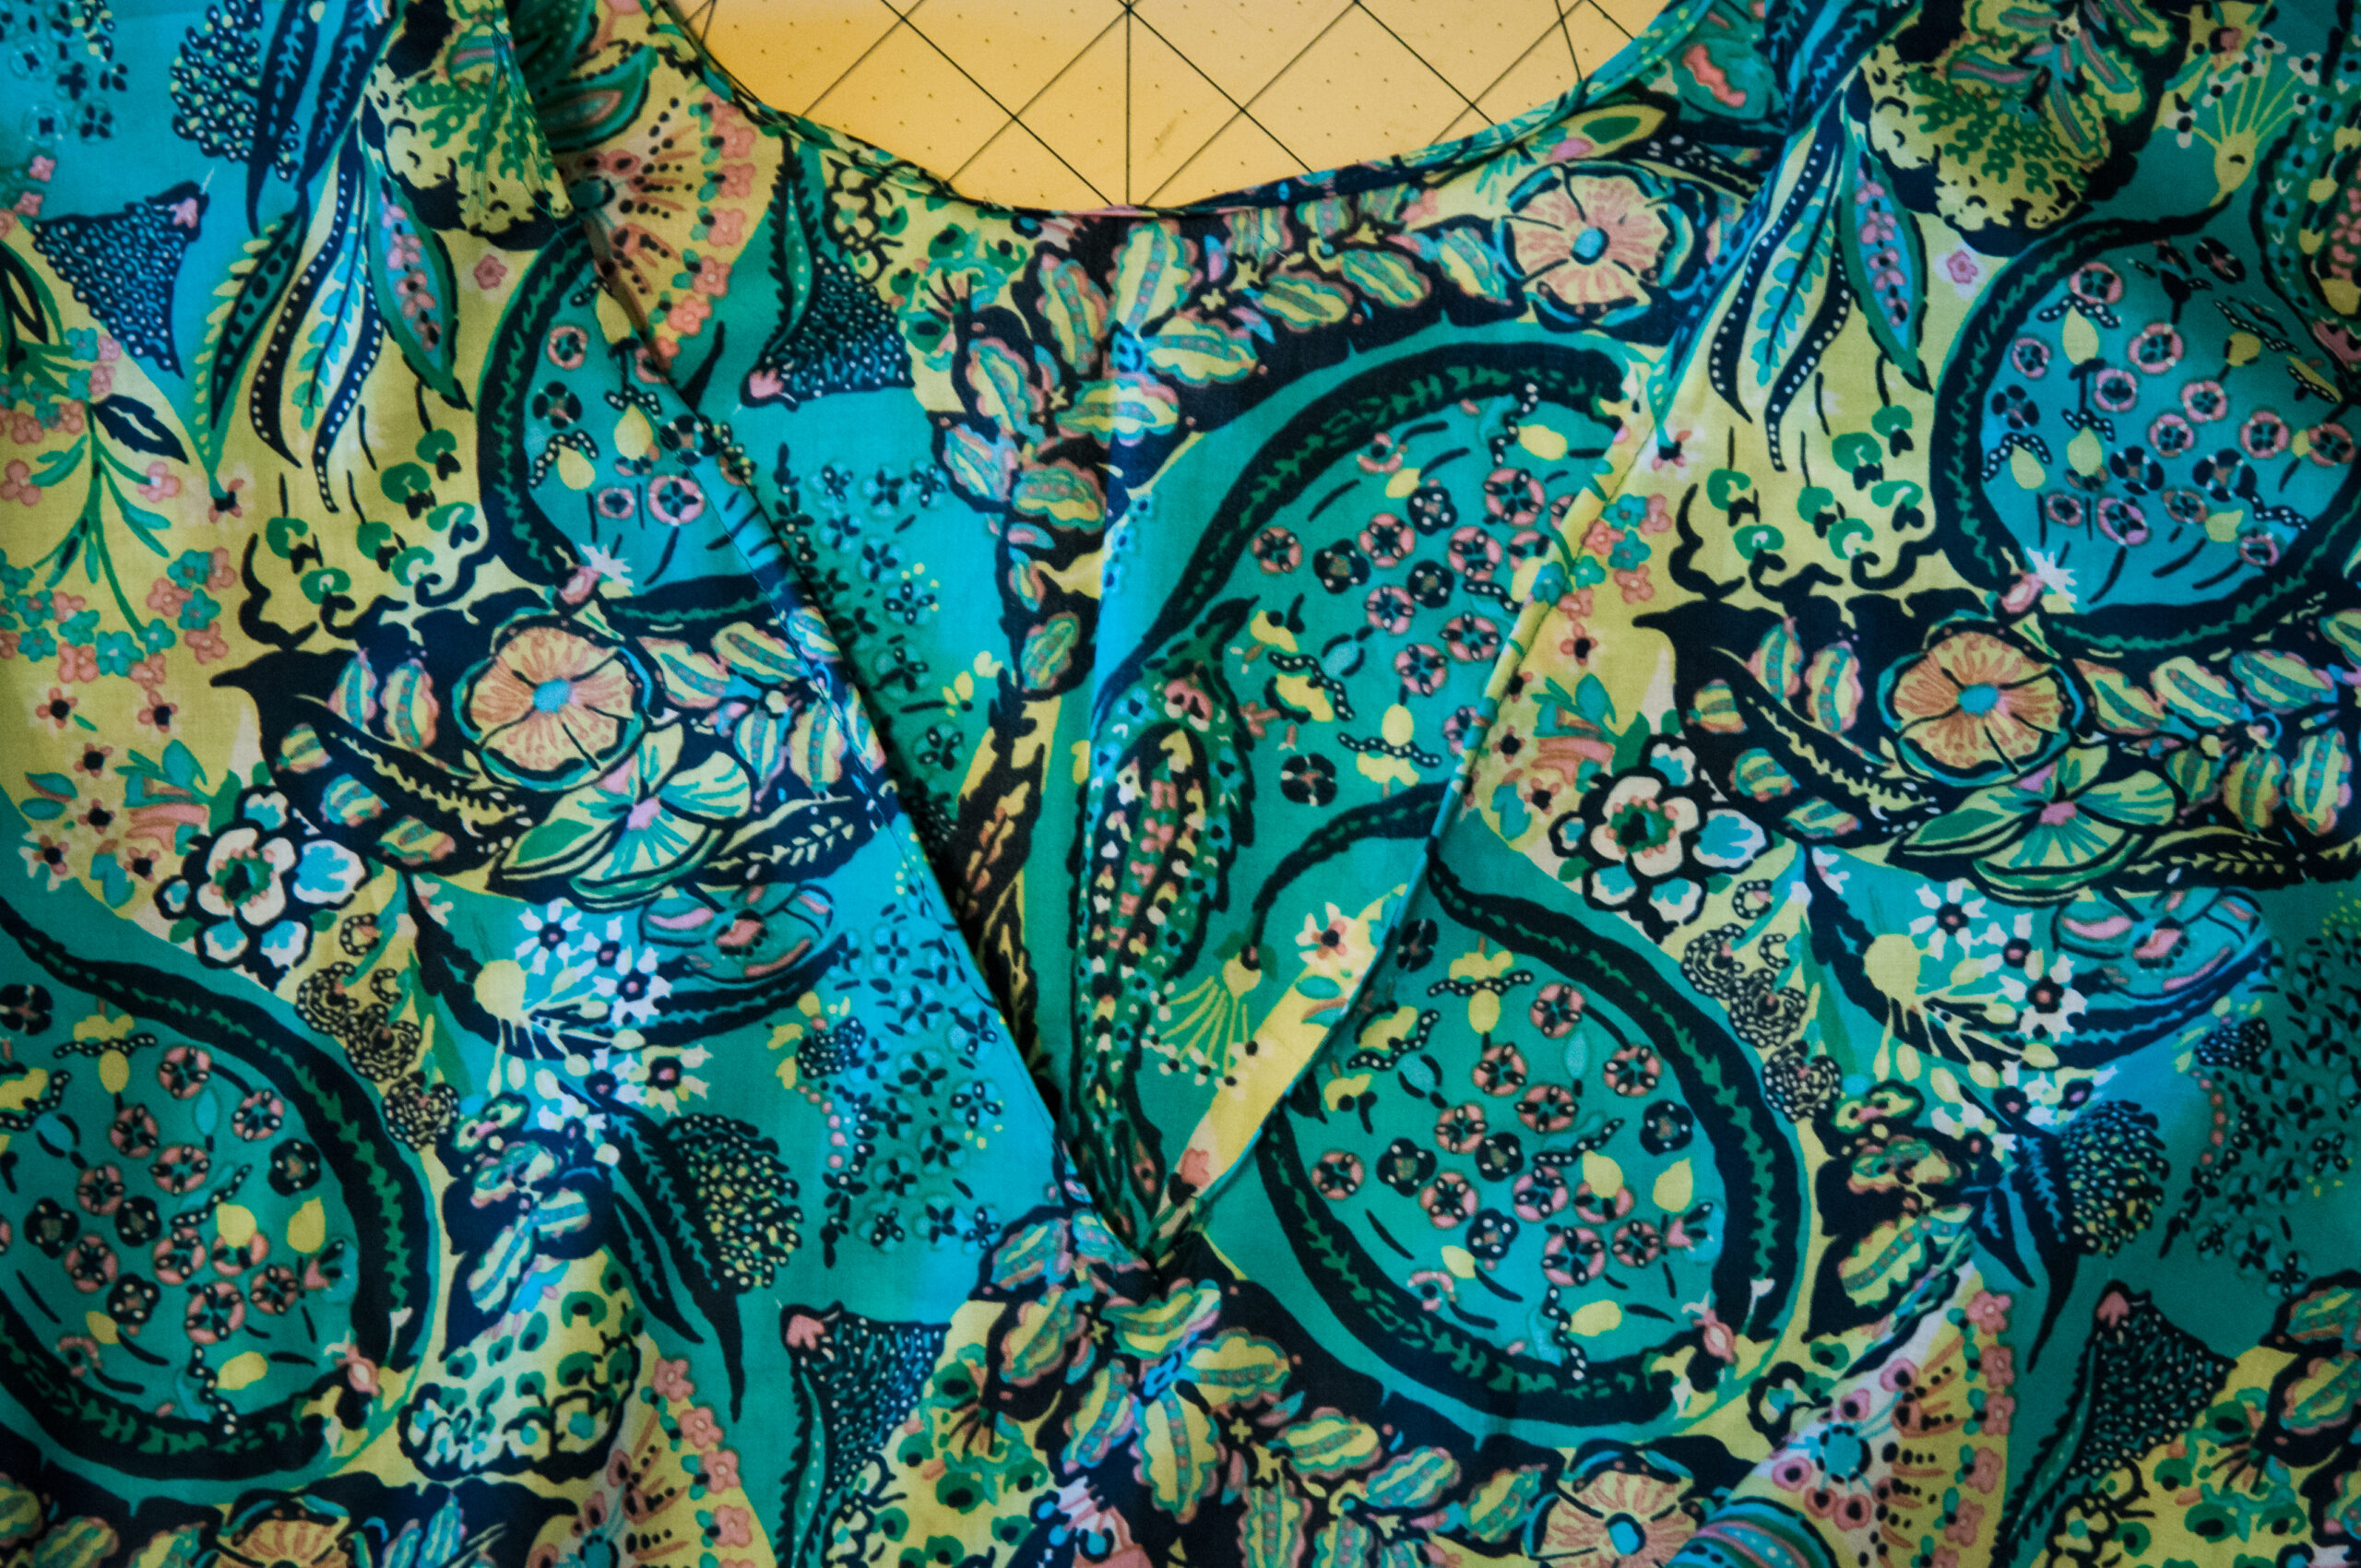
Now comes the absolute worst part ever. You have to roll the hem on the neckline. There are a gazillion ways to finish this garment without doing this step, but I just love the finished look you get when you take the time to do a nice even rolled hem. Grab your pins and slowly and carefully roll that hem all the way around. Mine ended up with two quarter inch turns.

Gather your wits – that part is done. Now you have to sew that tedious little hem down. Easy peasy!
It’s so beautiful! Now comes the best part! Woo! Pick your lace or trim or whatever you decided to use and lay it out.
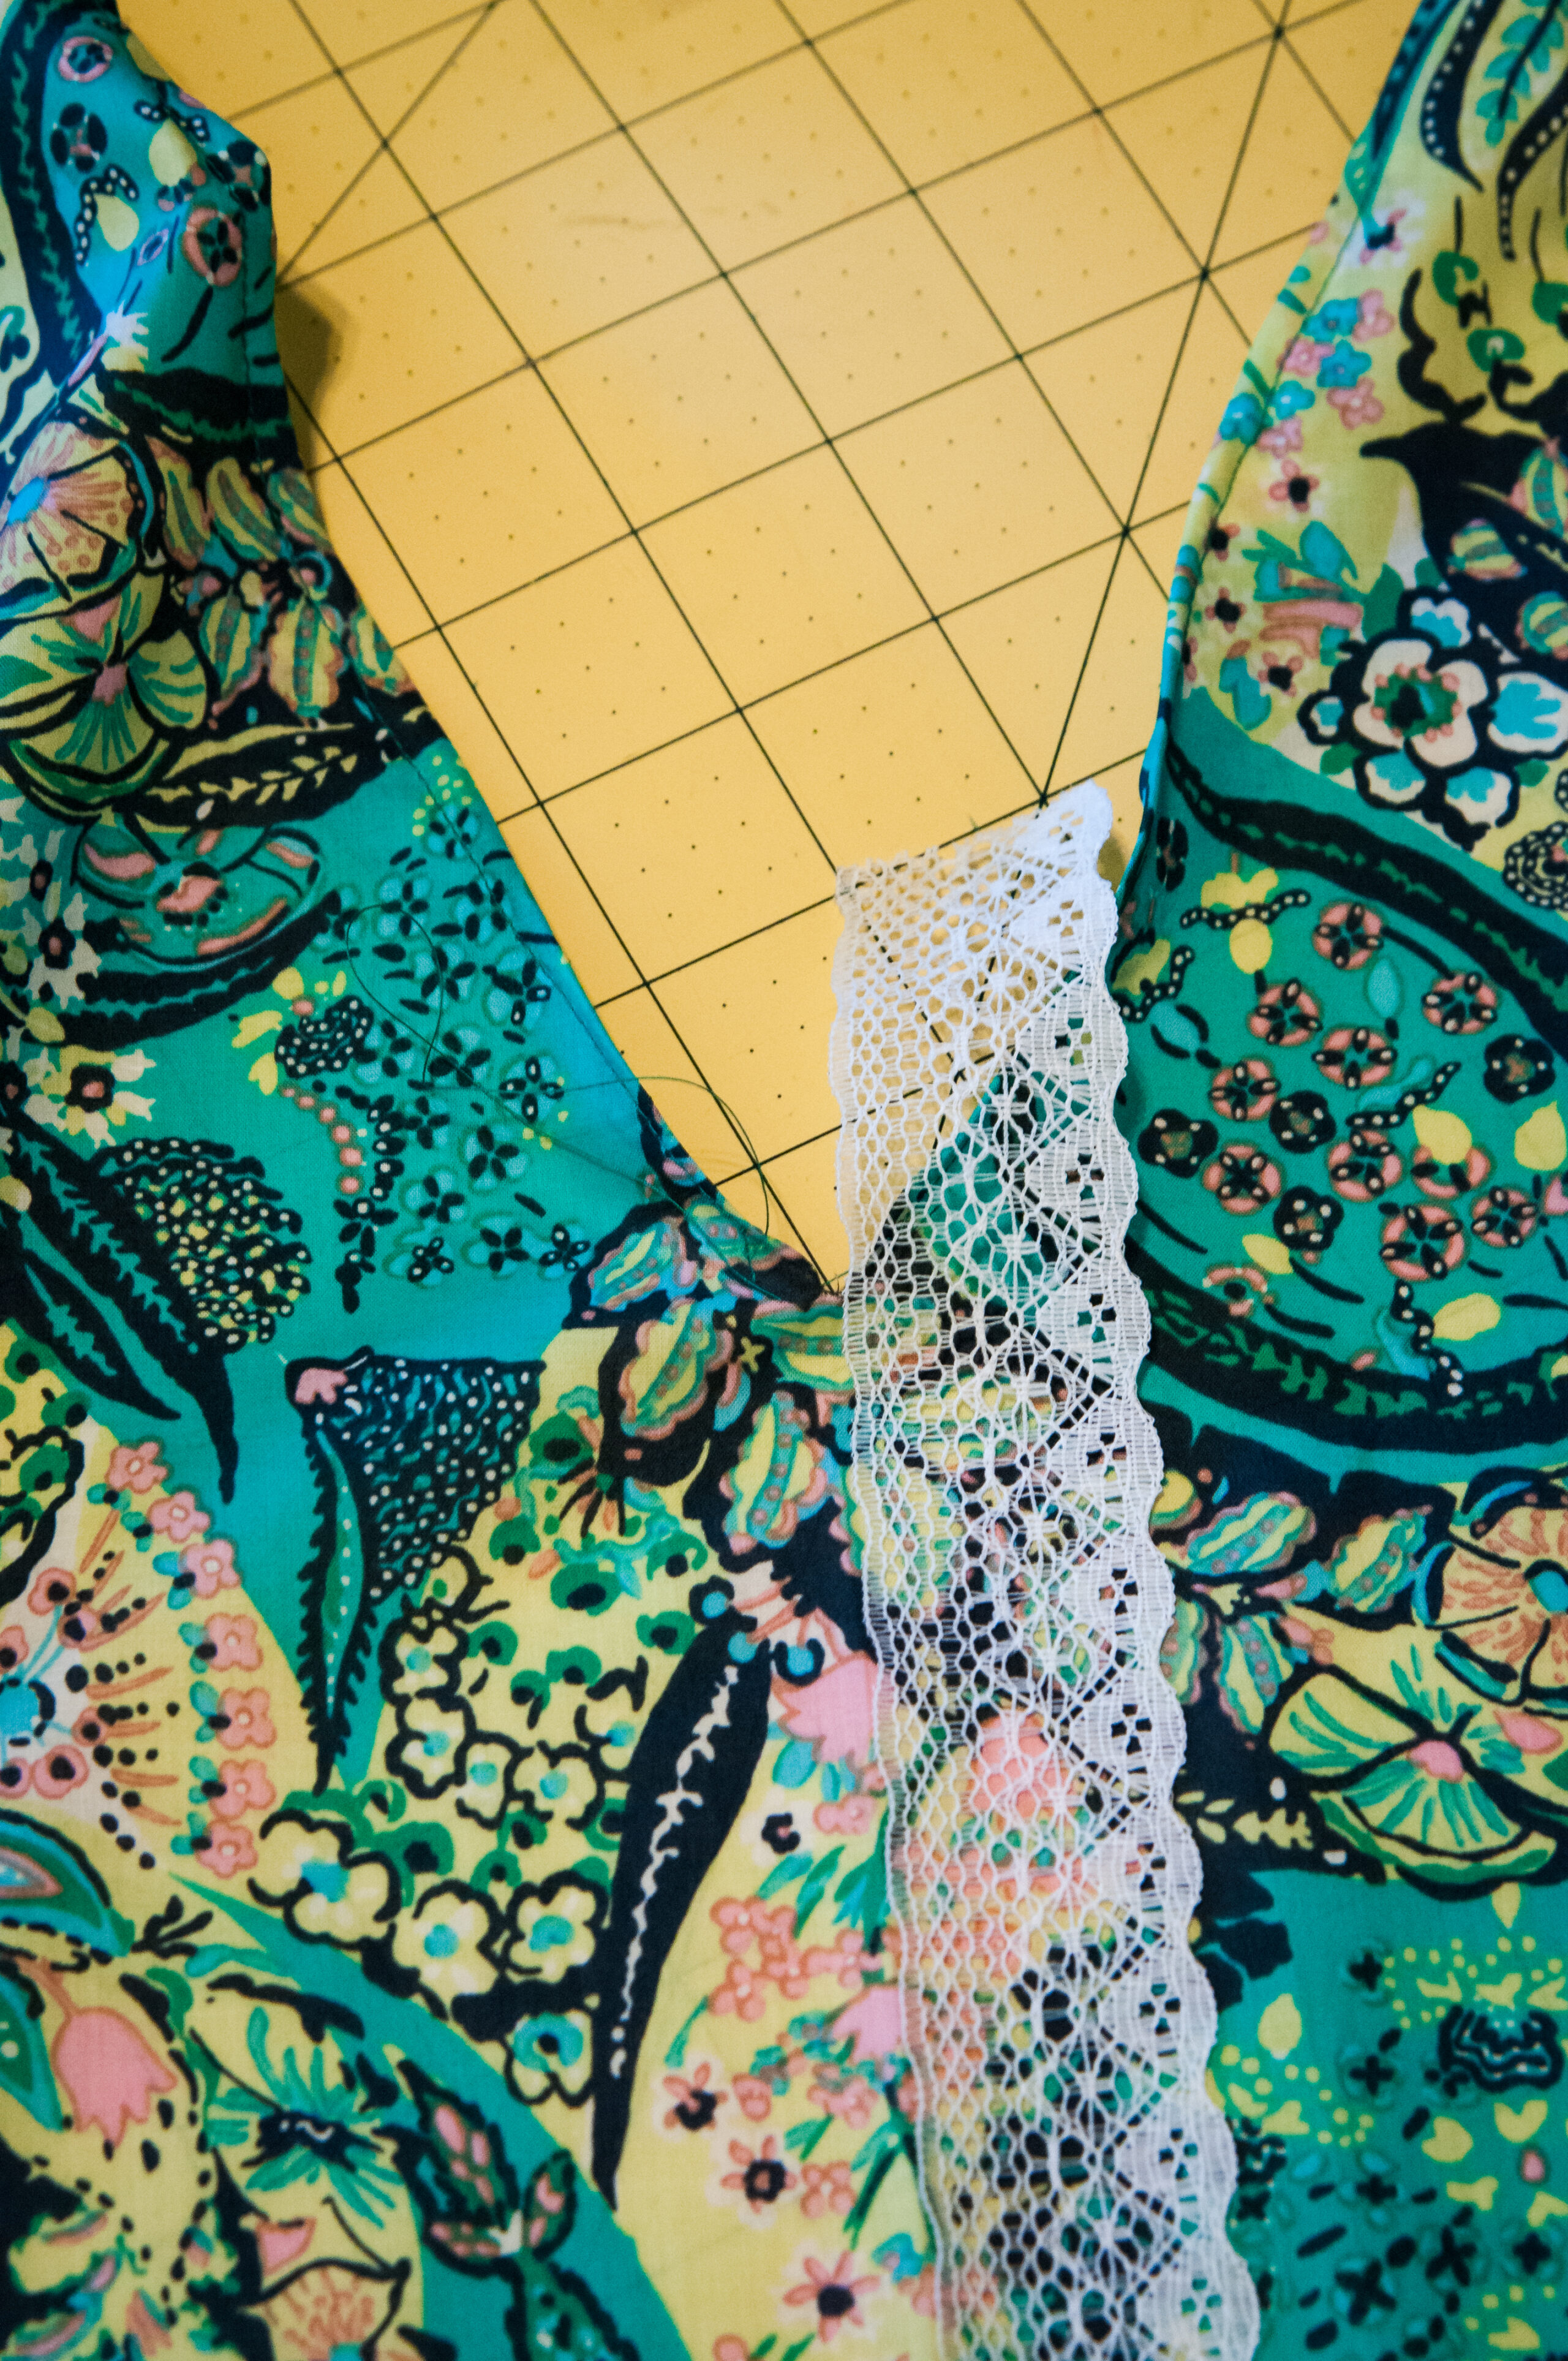

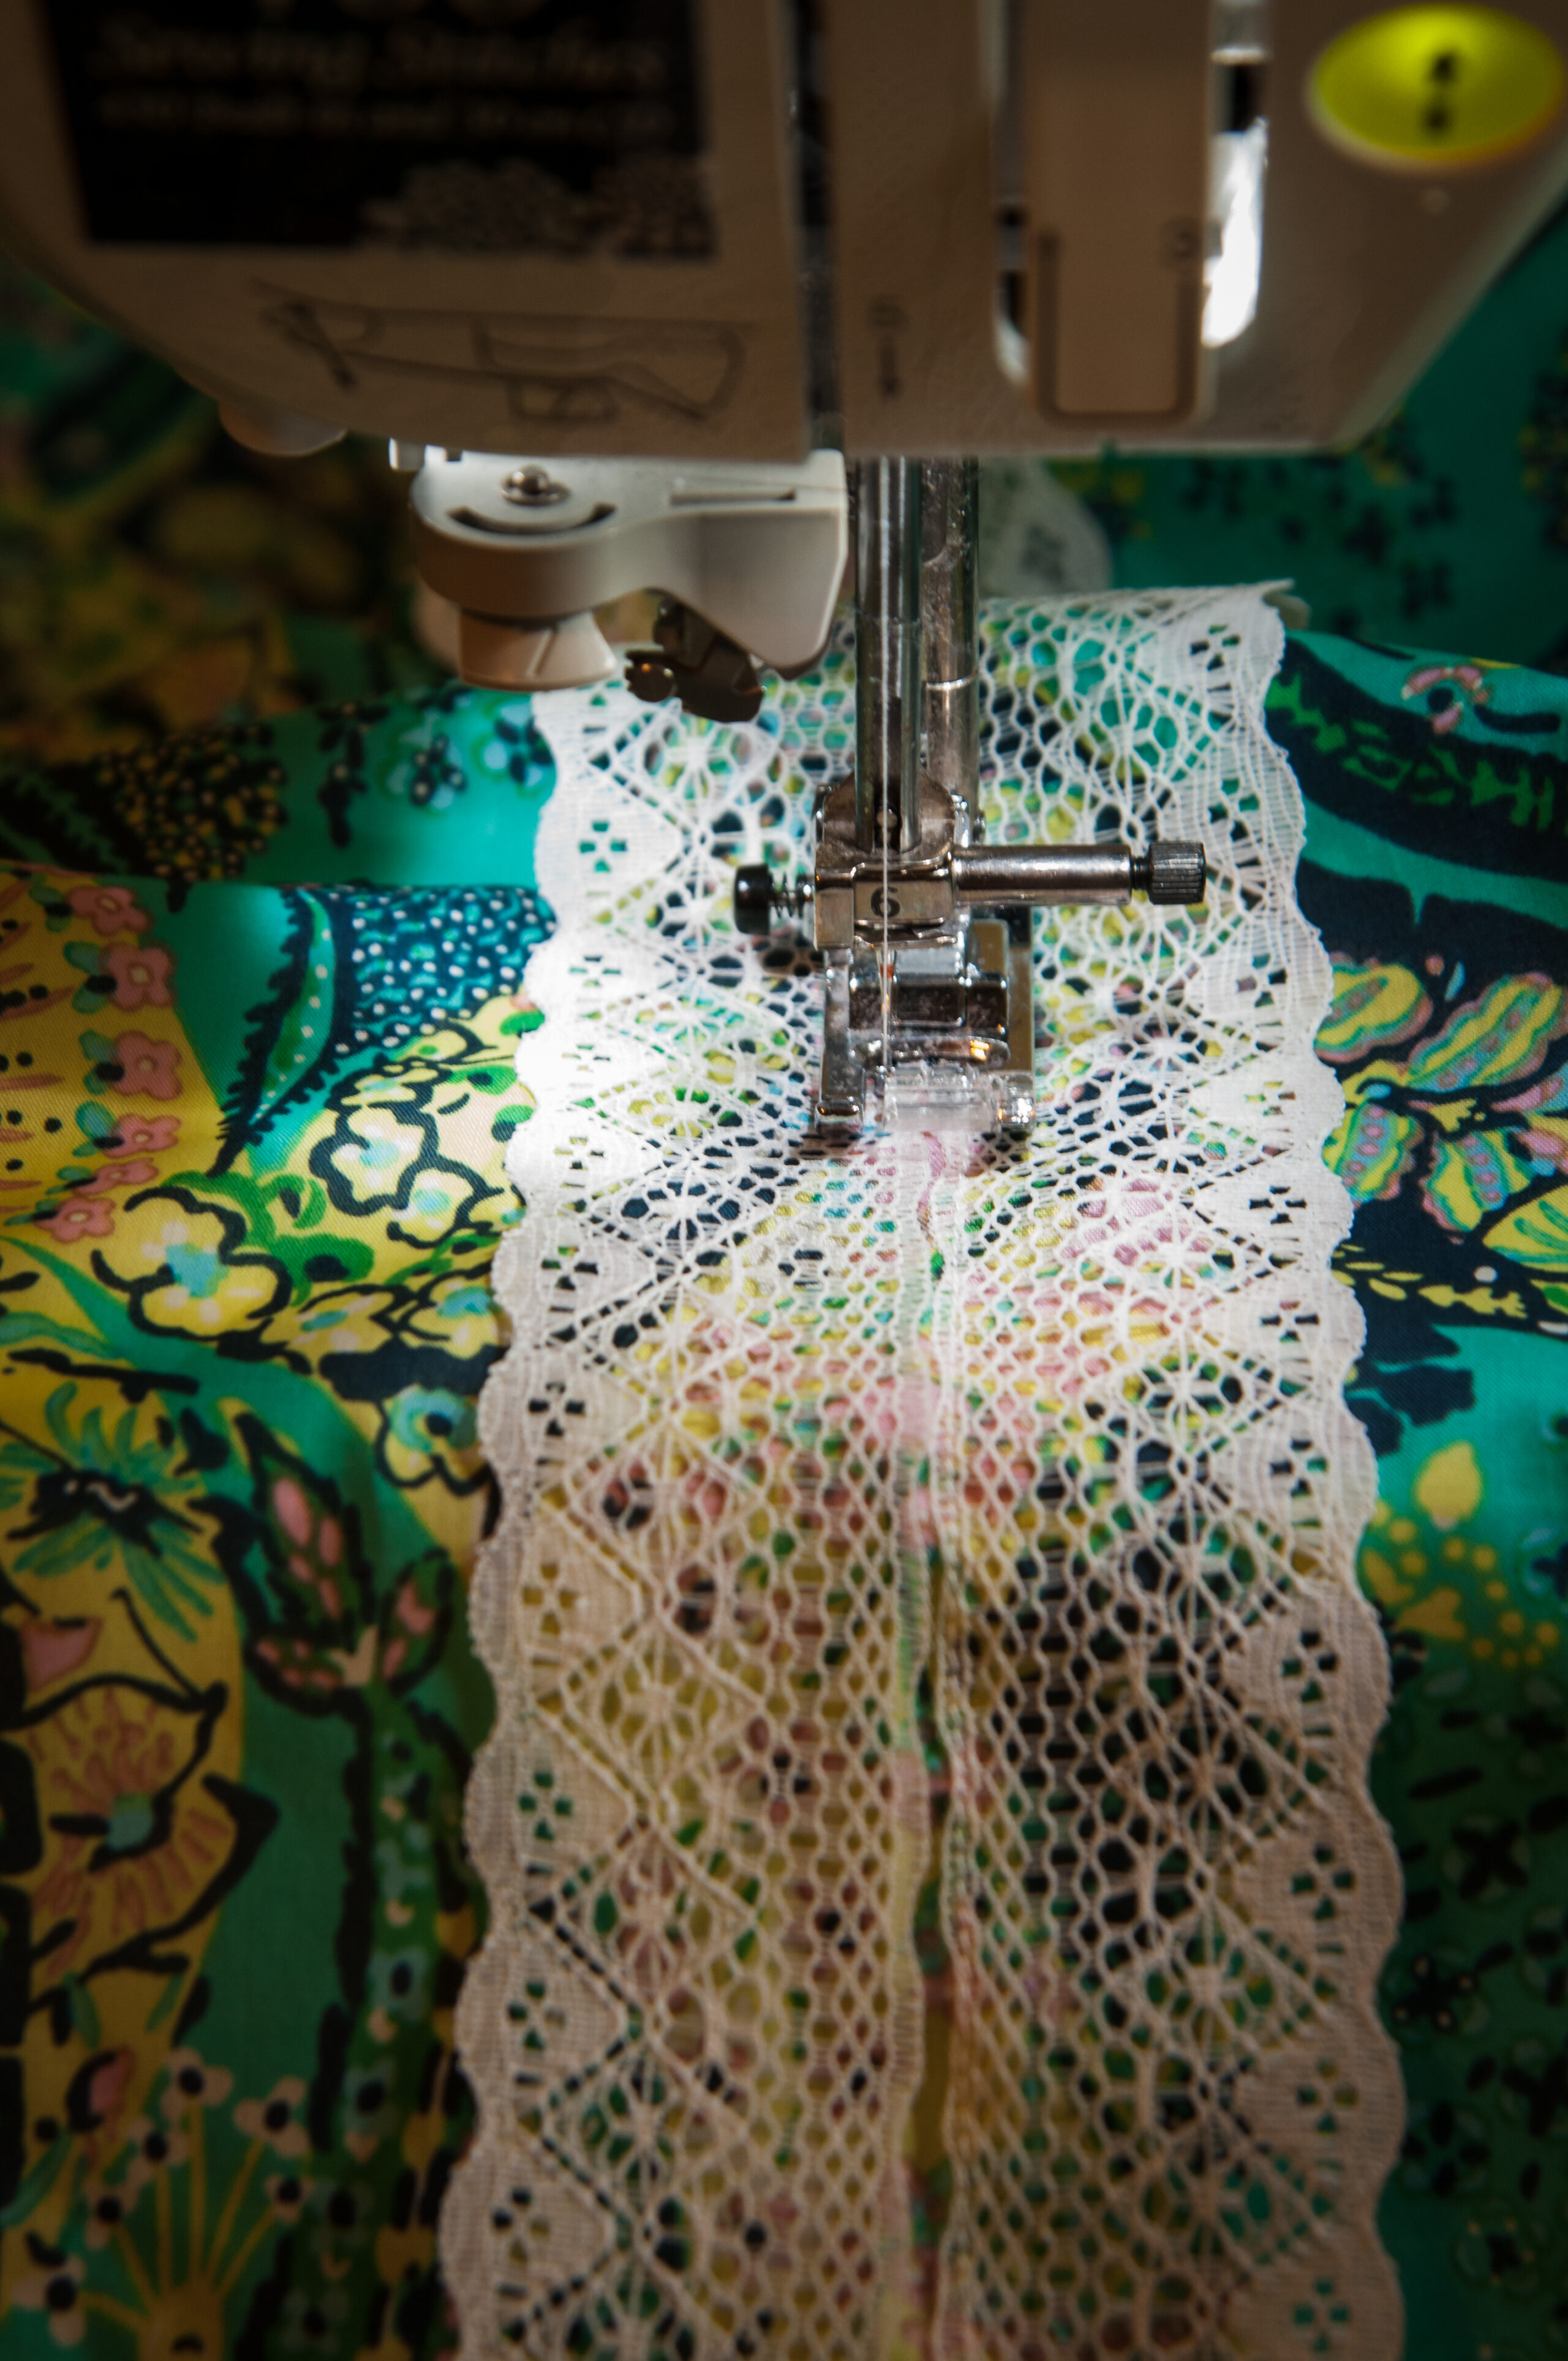
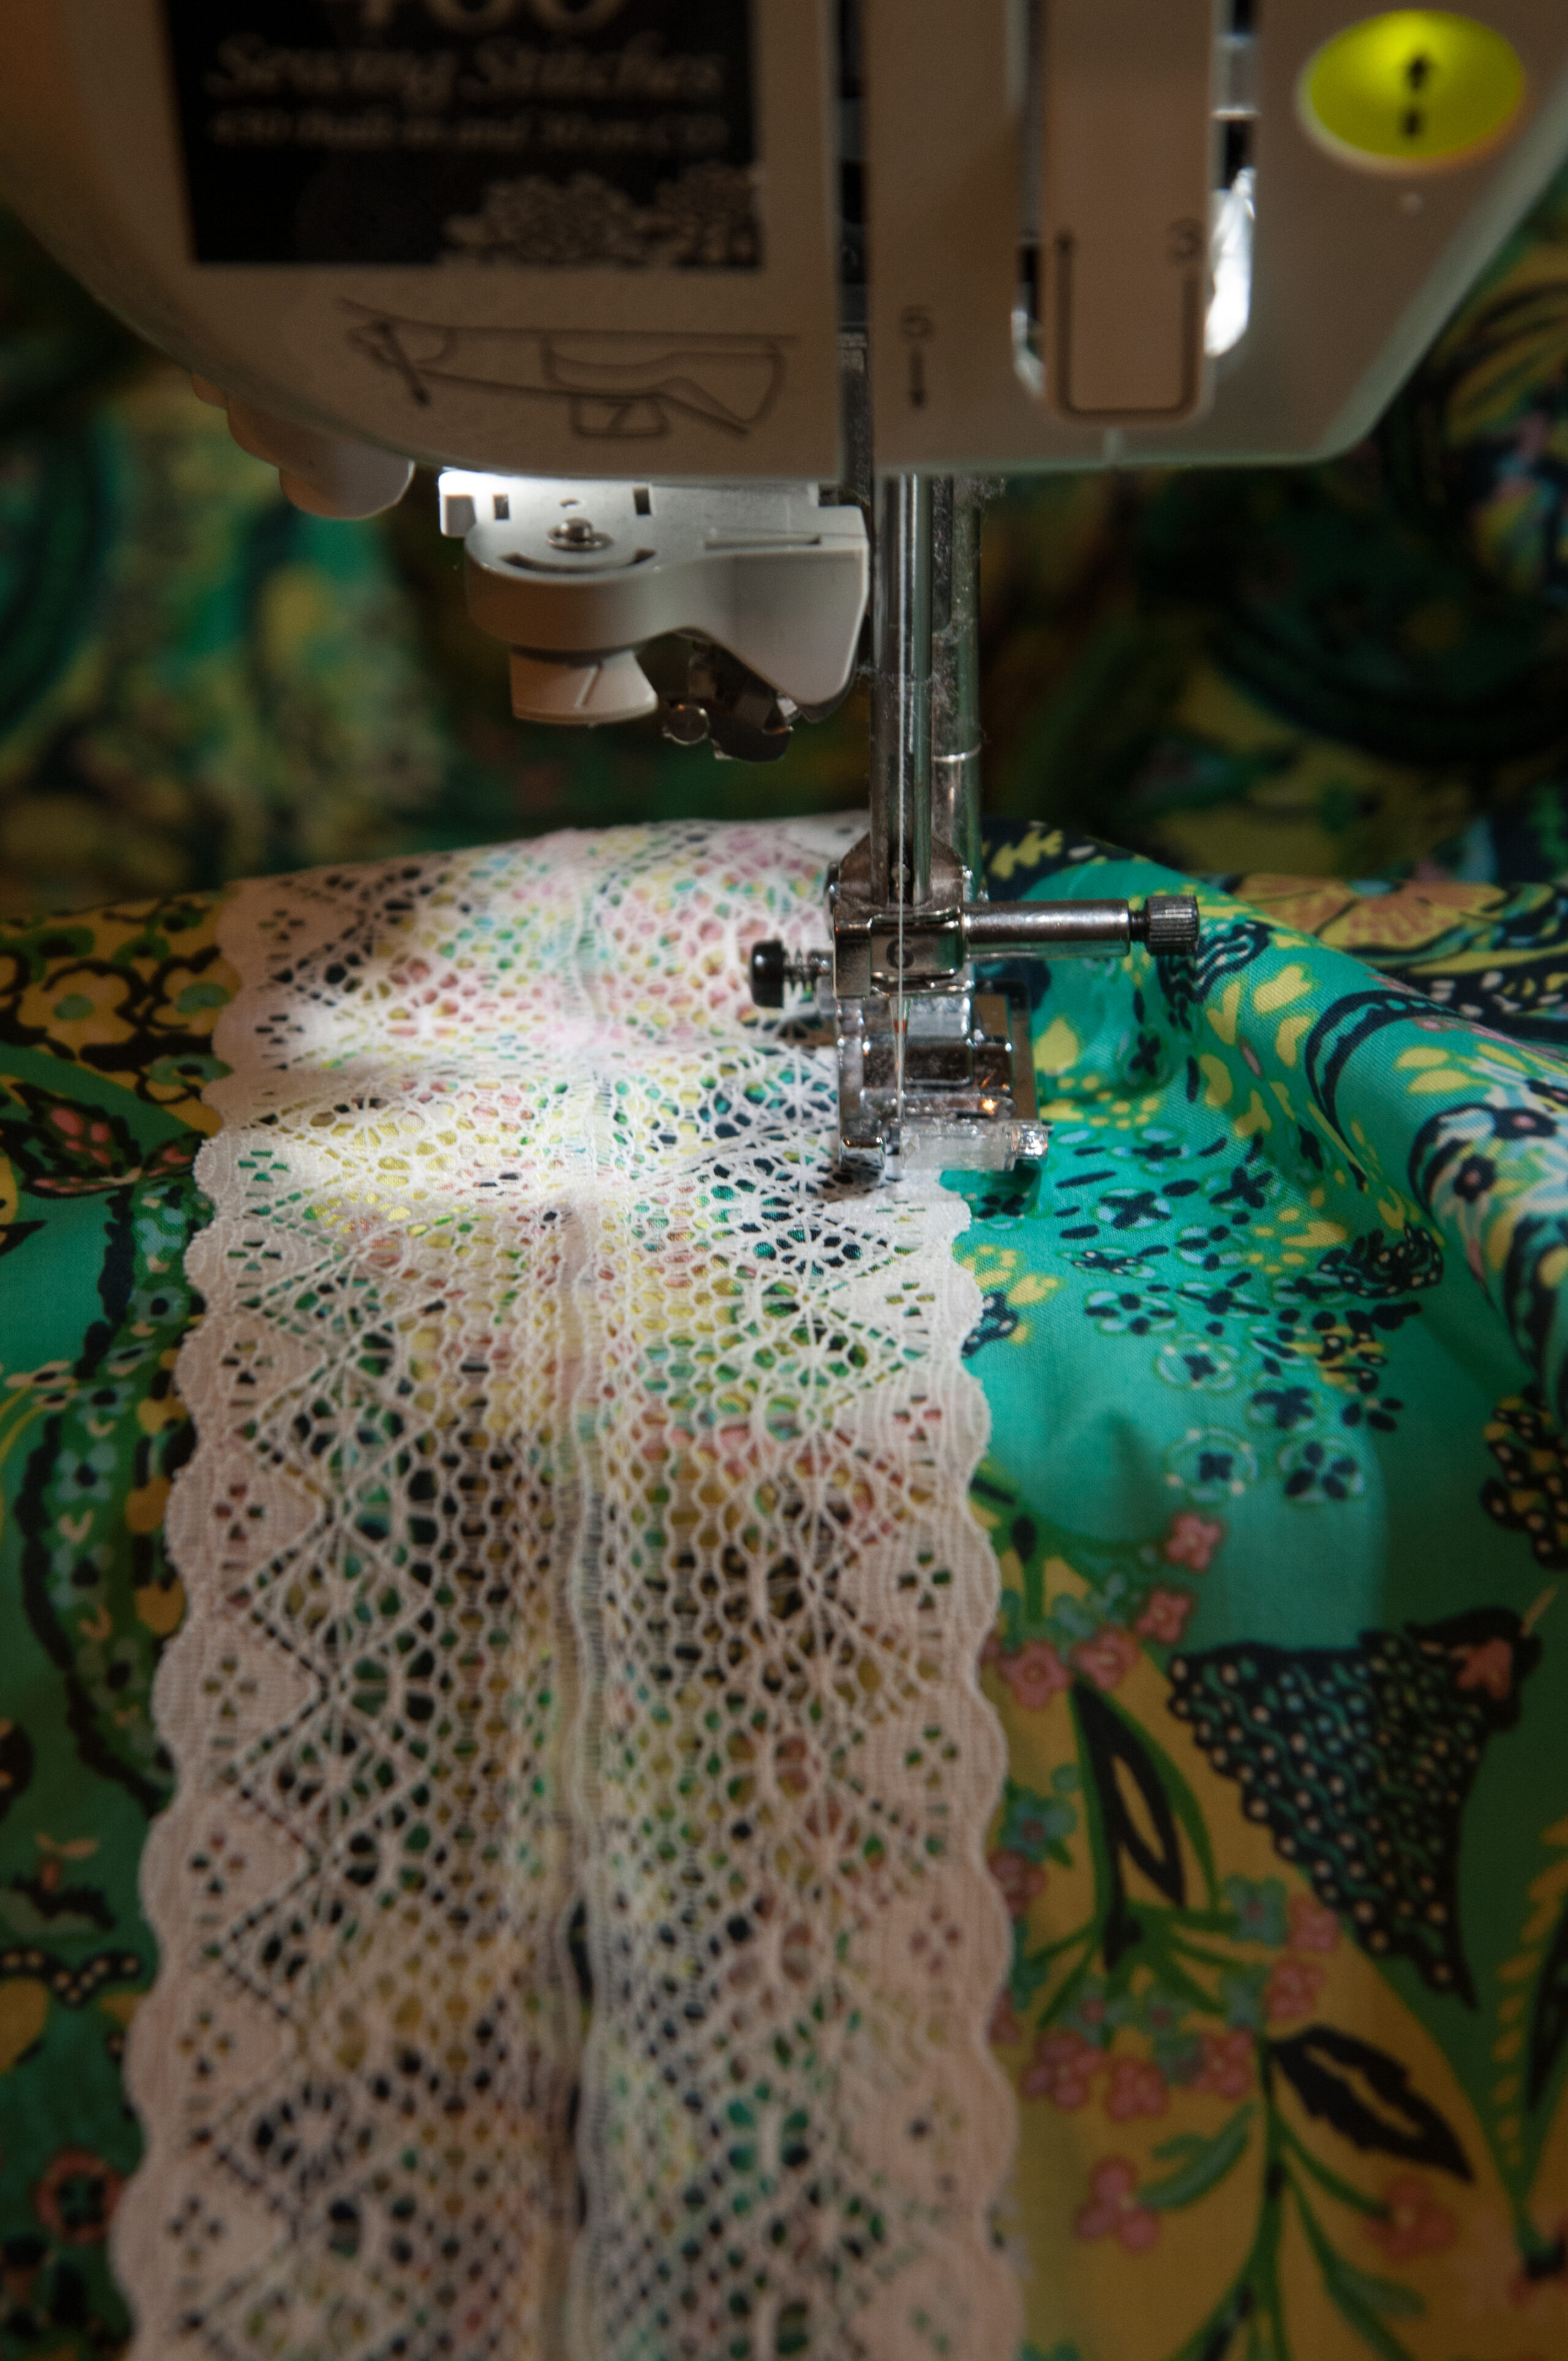
Fold over the neckline to get a nice crisp look (and cover up any whoopsies you may have had with that dern rolled hem) and pin the lace all the way to the bottom. With coordinating thread stitch down both sides of your lace and repeat on the opposite side of your neckline.
If you feel like getting creative, you can add lace or those dinkle ball things to the arms, the bottom, wherever your heart desires. Go for it!
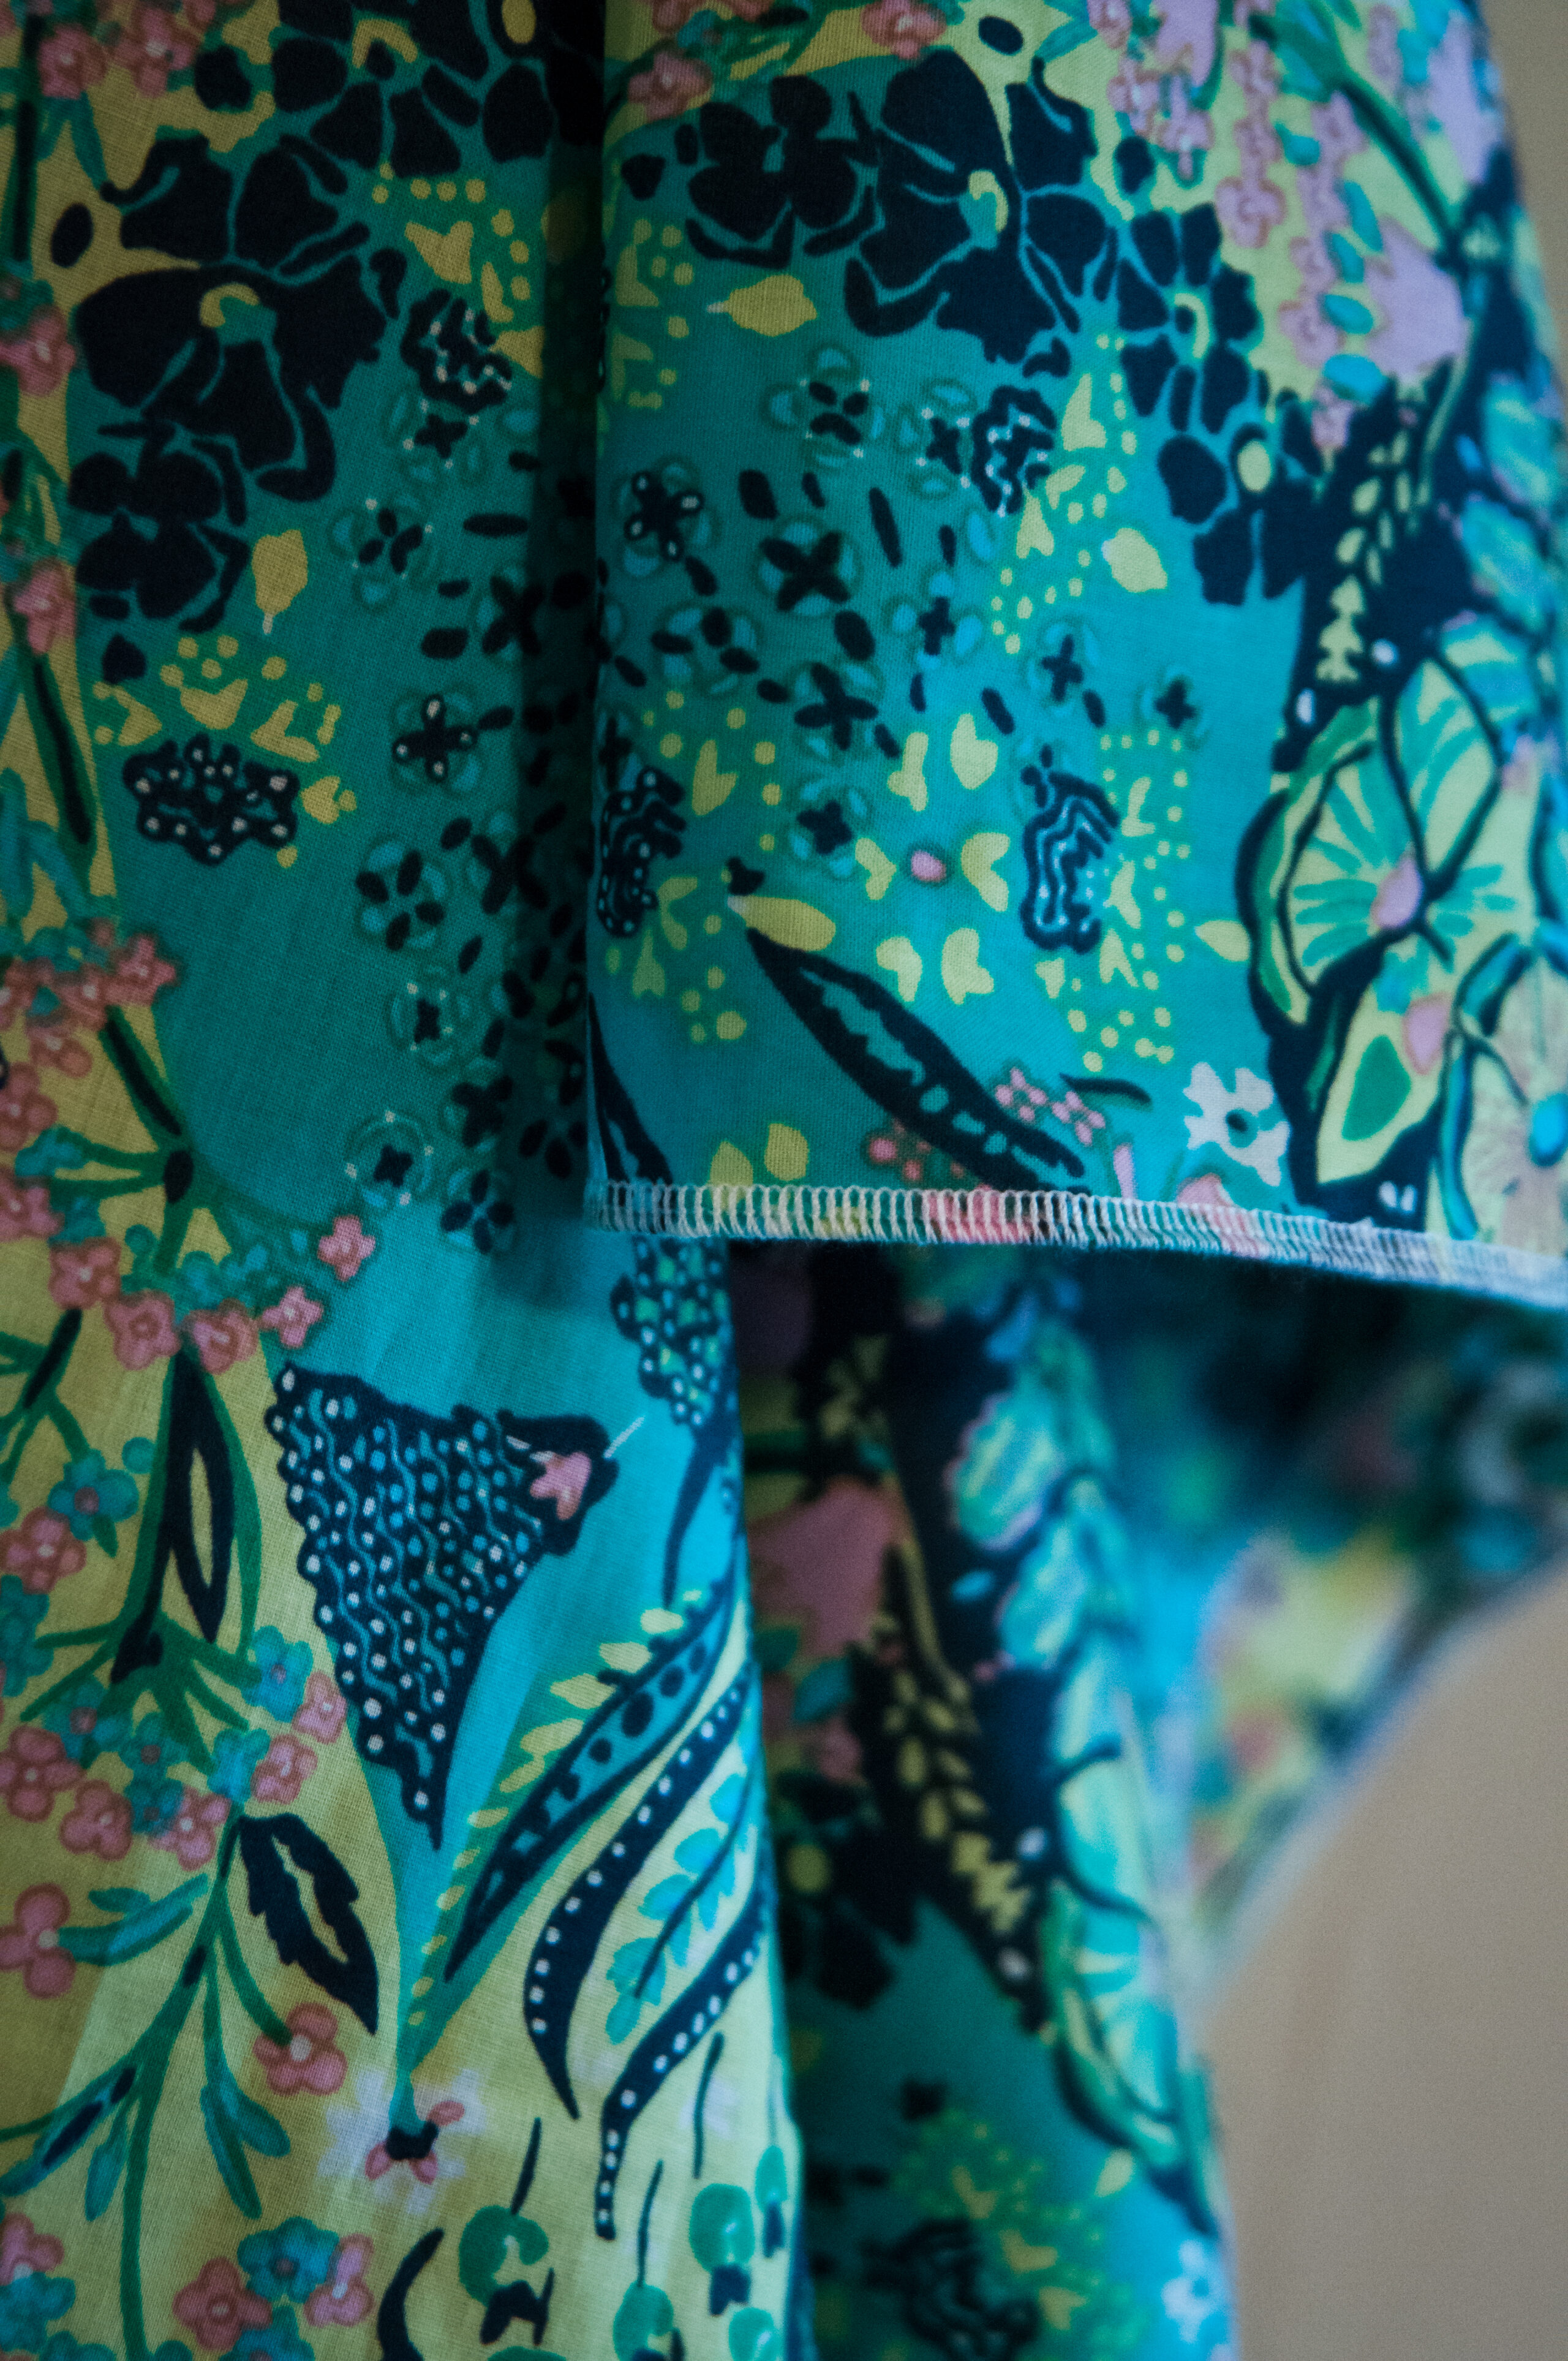
I finished my sides with a contrasting thread rolled hem made on my serger. It was super quick, was light so the Beach Cover Up still had a nice drape, and was virtually painless.
And now for the modeling shots! If I can strut my stuff, so can you. This Beach Cover Up is a perfect gift for any mom because it covers all the right places (woo modesty) and is beautiful to boot! You (and your mom) mom will love it! Happy Mother’s Day!


What are some other easy DIY swim cover up ideas for beginners?
For beginners, some easy DIY swim cover up ideas include using a large t-shirt to create a simple dress or cutting up an old beach towel to make a wrap-around skirt. Another option is repurposing a lightweight scarf by tying it around the waist or shoulders for a stylish cover-up.
What are some trendy designs or styles for DIY swim cover ups?
Some trendy designs or styles for DIY swim cover-ups include crochet cover-ups, tie-dye designs, oversized t-shirts turned into cover-ups, and kimono-style cover-ups. These styles are not only fashionable but also easy to create at home with basic sewing or crafting skills.
Creating your own swim cover up can be a fun and rewarding DIY project. With just a few sewing skills and some beautiful fabric, you can design a stylish cover up that perfectly matches your personal style. The possibilities are endless. By following the steps outlined in this blog, you'll be able to create a one-of-a-kind swim cover up that will make you feel confident and fashionable at the beach or pool. So why not grab your sewing machine and get started on your next creative adventure?
Thanks for joining us today to learn a little about sewing a DIY swim cover up. These swimsuit covers are easy - with often not much need for consulting sewing patterns for a simple swimsuit cover. Before you leave, make sure to stay in touch by joining our Facebook Group and following us on Instagram. Happy sewing!
xoxo
b.