How to Make a Potholder | Easy Home Sewing Project
Today's tutorial will teach you how to make a potholder. I know this might sound strange, but my husband is very particular about the size of the potholders he uses! He does most of the cooking in our house, so if he wants potholders of a particular size, I make them! Here are all the tips you need to make a potholder for yourself.
In this blog post, we'll walk you through step-by-step instructions on how to make your very own potholder. From choosing the right fabric to sewing techniques, we'll cover all the essentials to ensure your potholder is both functional and stylish.
So grab your favorite fabrics and some quilt batting and and get ready to create a practical accessory for your kitchen. Let's dive in and learn how to make a potholder!
Potholder Tutorial | How to Make a Potholder
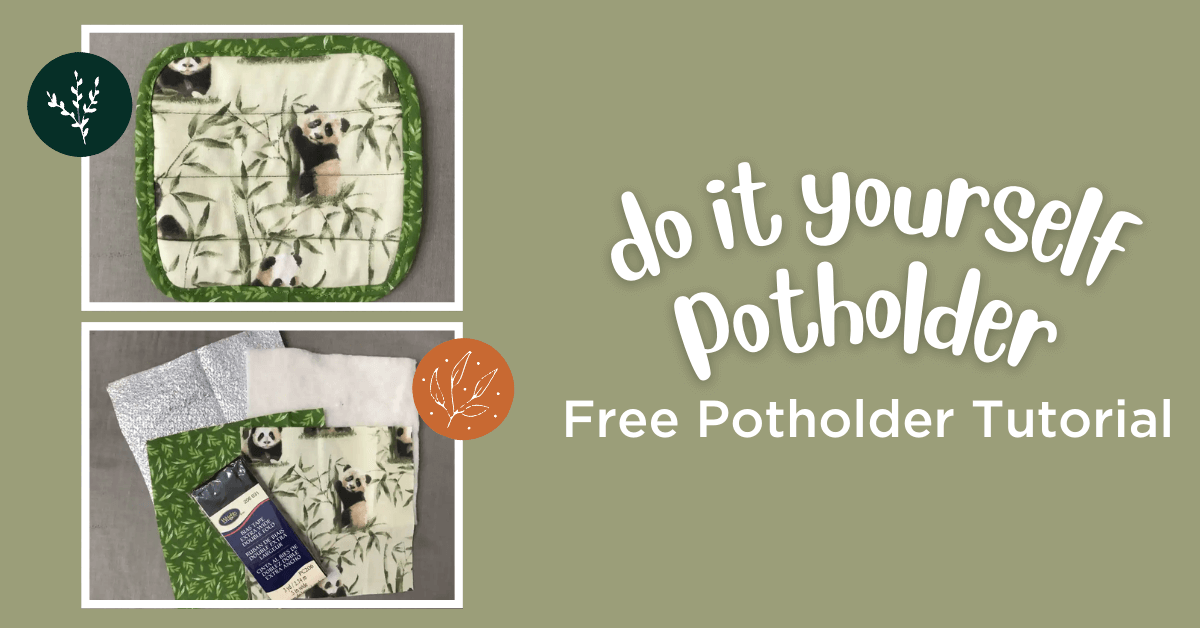
In this DIY potholder tutorial, you will learn how to make these potholders using a bias tape binding.
Potholder Sewing Supplies
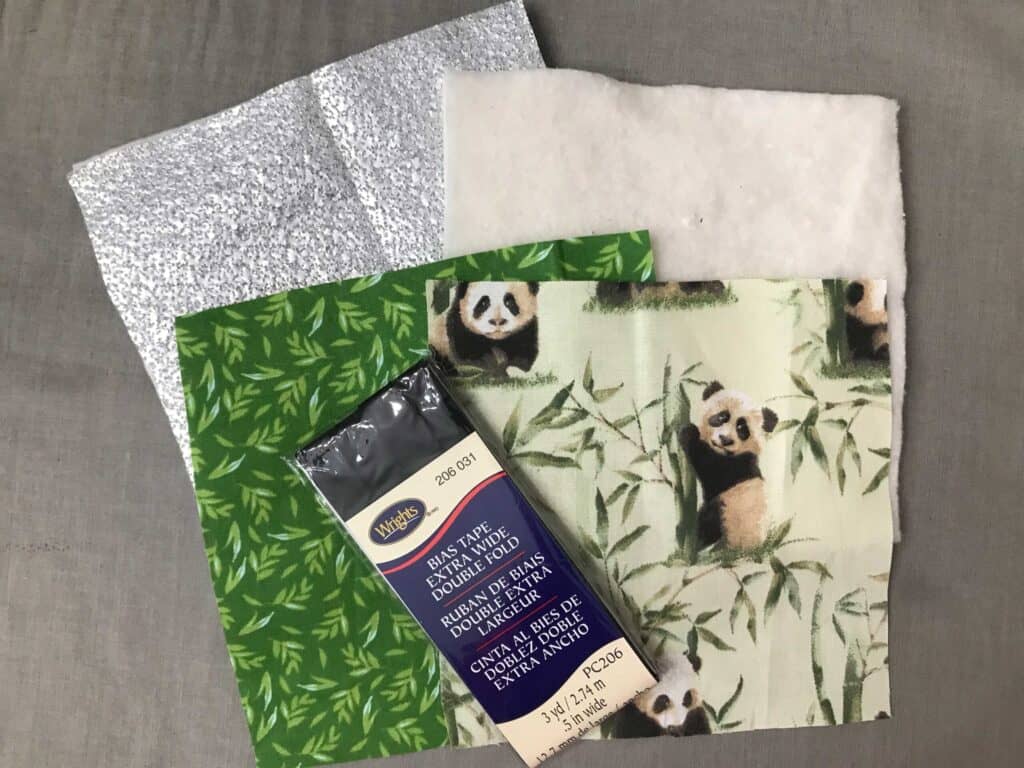
- Fat quarters or square pieces of fabric (1 if you want the front and back the same or 2 if you want the front and back to be different fabrics)
- Batting (I had scraps left over from a quilt - you will need a big enough square scrap to match the size of your main fabric)
- Insulbrite (again, I had a scrap left over from making lunch boxes. Your scrap needs to be as big as your main fabric)
- Frixion/Fabric Marking Tool
- Straight edge
- 1 package of Extra Wide Double Fold Bias Tape
- Usual sewing supplies (like coordinating thread, scissors, etc.)
- Usual sewing equipment (sewing machine, rotary cutter)
What Fabric is Best for a Potholder?
Choosing the right fabric for potholders is crucial. Cotton is the best choice because it is heat resistant, breathable, and moisture absorption. Look for thick, tightly woven cotton fabrics that provide excellent insulation and protection for your hands. They are also easy to clean and maintain, ensuring durability.
DIY Pot Holder Instructions
As I mentioned, my husband loves my custom-made pot holders because they are the "perfect" size (for him). He discovered that he loved smaller pot holders when one of my "oops" projects made its way into the kitchen. So, although my dimensions may be smaller than simple potholders that are sold in stores, you can totally customize this!
Step 1: First, cut two squares of fabric. My squares are 6"x6". You can make the piece of fabric bigger to suit your preference.
Step 2: Next, cut the squares of batting and Insulbrite the same size as the quilting cotton squares. You will need 1 square of batting and 2 squares of Insulbrite.

Potholder Step 3: Now, stack up your squares in the following order: back fabric (Right Side facing down), Insulbrite, batting, Insulbrite, front fabric (Right Side facing up). Pin the potholder layers together to prevent shifting.
DIY Potholder Quilting (it's not hard!)
Step 4: The thought of "quilting" something was so intimidating for someone like me who mainly sews clothing. Quilting is just stitching a line or design onto layers of fabric to hold them together!

Start by deciding the design you want on your potholder. I prefer the simple horizontal straight lines as they hold the layers together all the way across. You can also choose a diagonal or square pattern. With your fabric marking tool and your straight edge, draw the lines/design on the top fabric.
With a coordinating thread, stitch over the lines/design you drew. Remember to backstitch when you start and stop. I lengthened my stitch length a tad since the layers of batting and Insulbrite were thick.
Potholder DIY Bias Binding
Step 5: I do not recommend cutting the bias binding ahead of time. I use it right out of the package and trim the length after I've sewn it on. This way, in case there's shifting or I've measured incorrectly, I won't have to rip it off and start over!


Step 6: Unfold the bias binding and fold the short end over about 1/4". Line up the raw edge of the binding with the edge of your fabric. I usually begin at the bottom center of the potholder. You can pin the binding in place or you can lay it on top and adjust as you go (this is my preferred method).
Top stitch along the first fold of the binding. Bias binding is cut on the bias so it will maneuver around curves easily. When you get back to where you started, overlap the binding about 1/2" and backstitch. Now you can trim the length of bias binding for the potholder.

Next, fold the binding over encasing the raw edges of the fabric and layers. Topstitch close to the edge using a coordinating thread. When you topstitch, be sure that you're catching the back of the bias binding. I sometimes use Wash Away Wonder Tape or fabric glue to hold the binding in place when I'm doing this final step for making potholders.
And there you have it - a quick and easy, custom-sized diy potholder!! Making a potholder is one of the most fun and practical sewing projects that anyone can enjoy. By following the steps outlined in this blog, you can create your own potholder to protect your hands while cooking or baking. Whether you choose to use fabric scraps or invest in specialized materials, the process is simple and rewarding. Not only will you have a unique potholder that reflects your personal style, but you'll also have the satisfaction of knowing you made it yourself. So why not give it a try? Grab some supplies and start sewing!
Make Other Potholders or Aprons for Gifts
Potholders are a super easy project and pair nicely with aprons or handmade sweet treats as a fun gift! Now that you know how to make a potholder you should work on the aprons. If you're interested in making an Apron take a look at these tutorials:
(1) Free Toddler Apron Pattern & Toy Oven Mitt Pattern: This is a free downloadable PDF sewing pattern that's perfect for making a fun apron for kids. We have the sewing pattern which I've linked to as well as this Blog Post.
(2) 10 Free Sewing Patterns: Emily also made this fun round-up of different apron sewing patterns from around the web that you should take a look at.
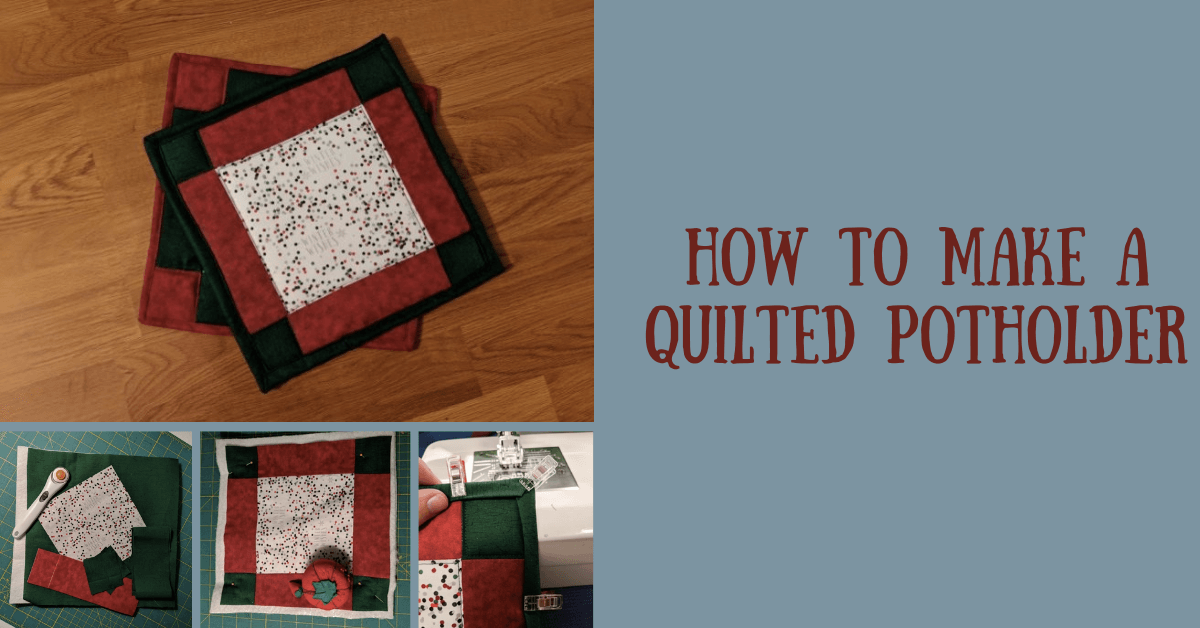
If you enjoyed this and want to do more potholders, you might also enjoy our tutorial on Quilted Potholders. Thanks again for joining us today. These are a great simple sewing project that don't take much time or much fabric to make. They are a great gift. Before you leave, make sure to join our Facebook Group and follow us on Instagram or Pinterest. Happy sewing!