DIY Pin Cushion | Sewing 101
DIY Pin Cushion 101 | Mason Jar Pin Cushion
Hello again! It’s Stephanie from Stephie B’s Designs here again to show you all another awesome project – how to make a diy pin cushion. We’ll start with making a pin cushion out of a mason jar. Sounds great, right?! It is!
If you’ve been following my DIY blogs here in Peek-a-Boo Pages, you know that I love pin cushions. I don’t know what it is about them, but I love how many ways you can create something fun and unique to keep your handy, dandy little pins nearby… and not under your feet!
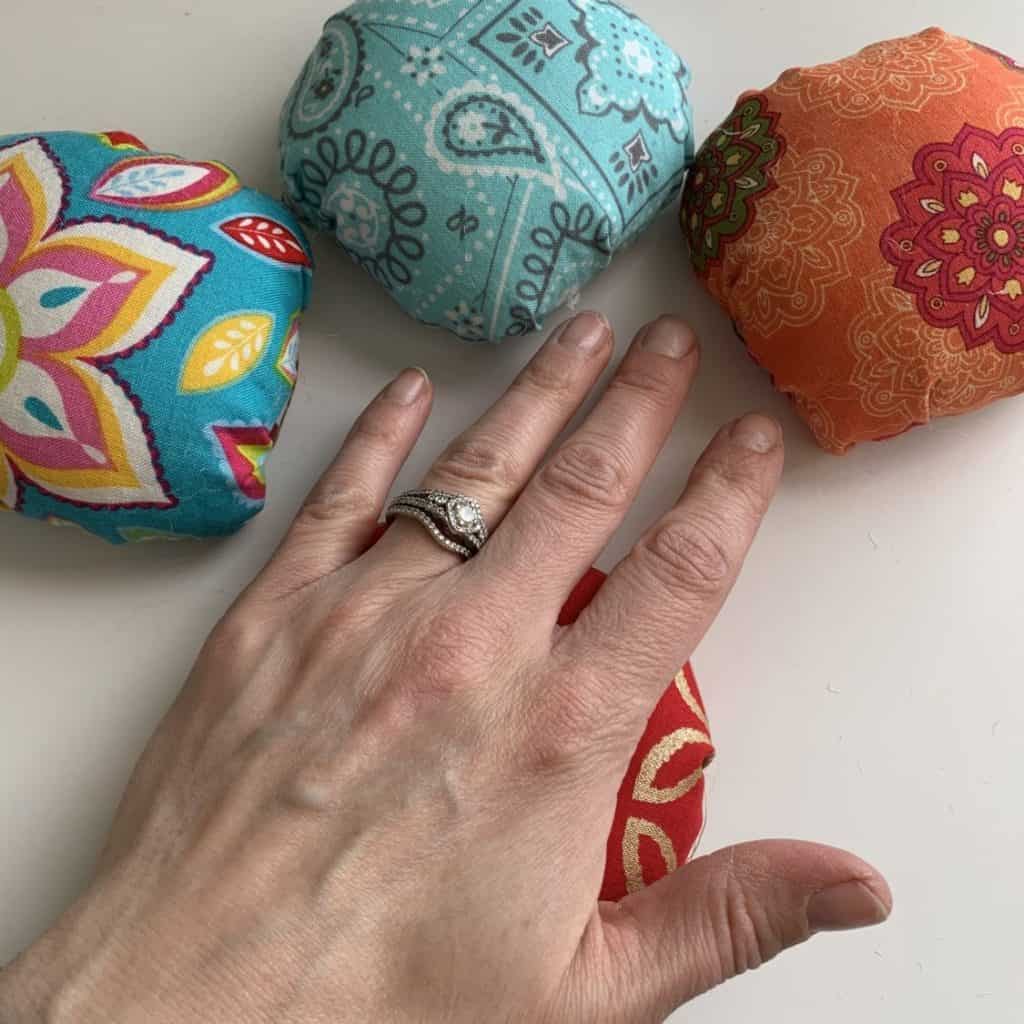
The awesome thing about a Mason jar pin cushion is that not only can you hold your pins safely in place, but you can also store notions such as buttons, sewing needles, extra pins, and bobbins within the jar. Two birds, one stone! I’m making four Mason jar pin cushions today to give to a few of my sewing students - the perfect gift for beginning and expert sewists alike. This simple pincushion tutorial doesn't even require a sewing machine - just a little bit of hand sewing.
As I always say at this point… Let’s get started!
DIY Pin Cushion Tutorials
How to Make a Mason Jar Pin Cushion
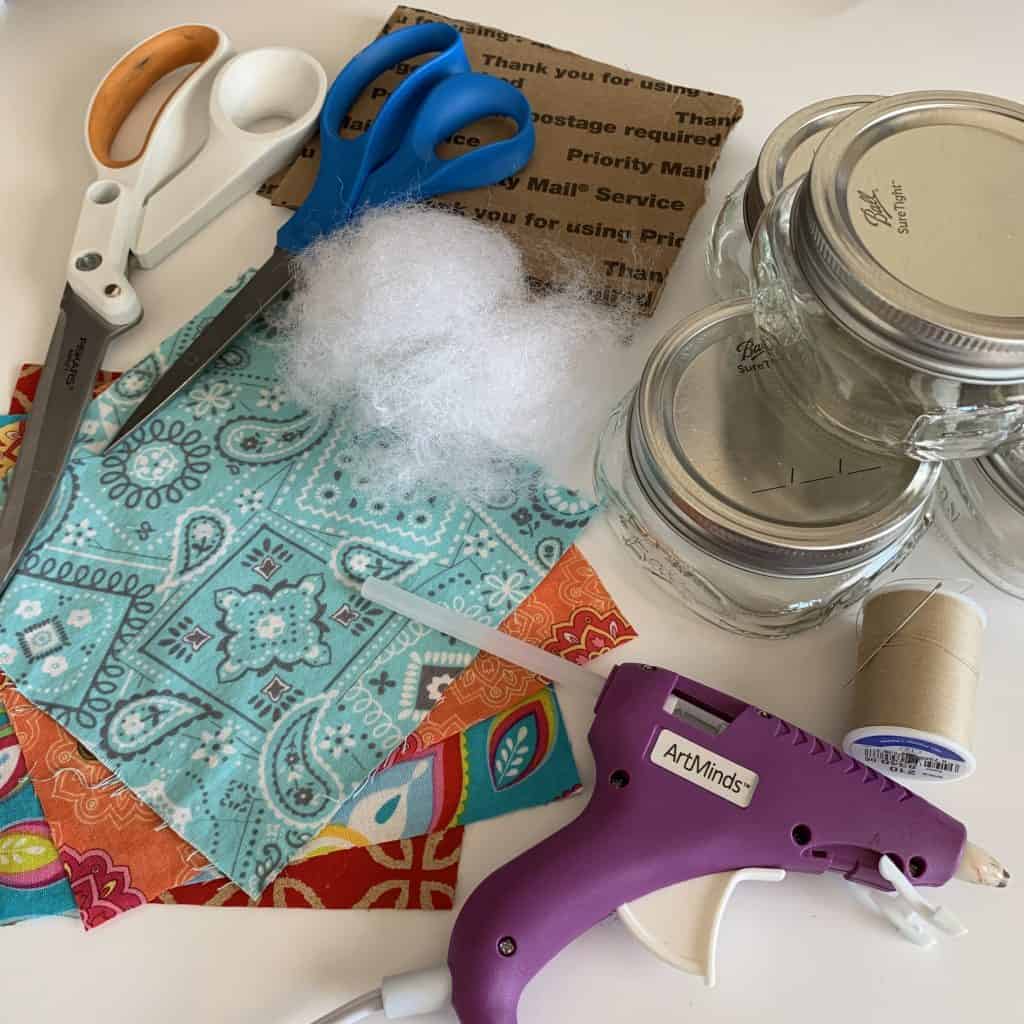
Mason Jar Pin Cushion Fabric and Materials:
This is a pretty simple material list. You can make these out of some excess fabric and basic supplies you have around.
- A Mason or any glass canning jar and jar lid (you can use any size you’d like!)
- A 6″ x 6″ piece of fabric (I suggest using woven fabric, such as quilting cotton)
- Pieces of cardboard (you can use felt, but I feel cardboard holds the cushion on place within the ring/lid better, and I’m all about recycling)
- Scissors (I have one pair for fabric and one for everything else… as it should be!)
- Batting/stuffing
- Hot glue gun
- Needle and thread (the thread will not show, so the color doesn’t matter)
- Pen for tracing
Mason Jar Pin Cushion Sewing Instructions:
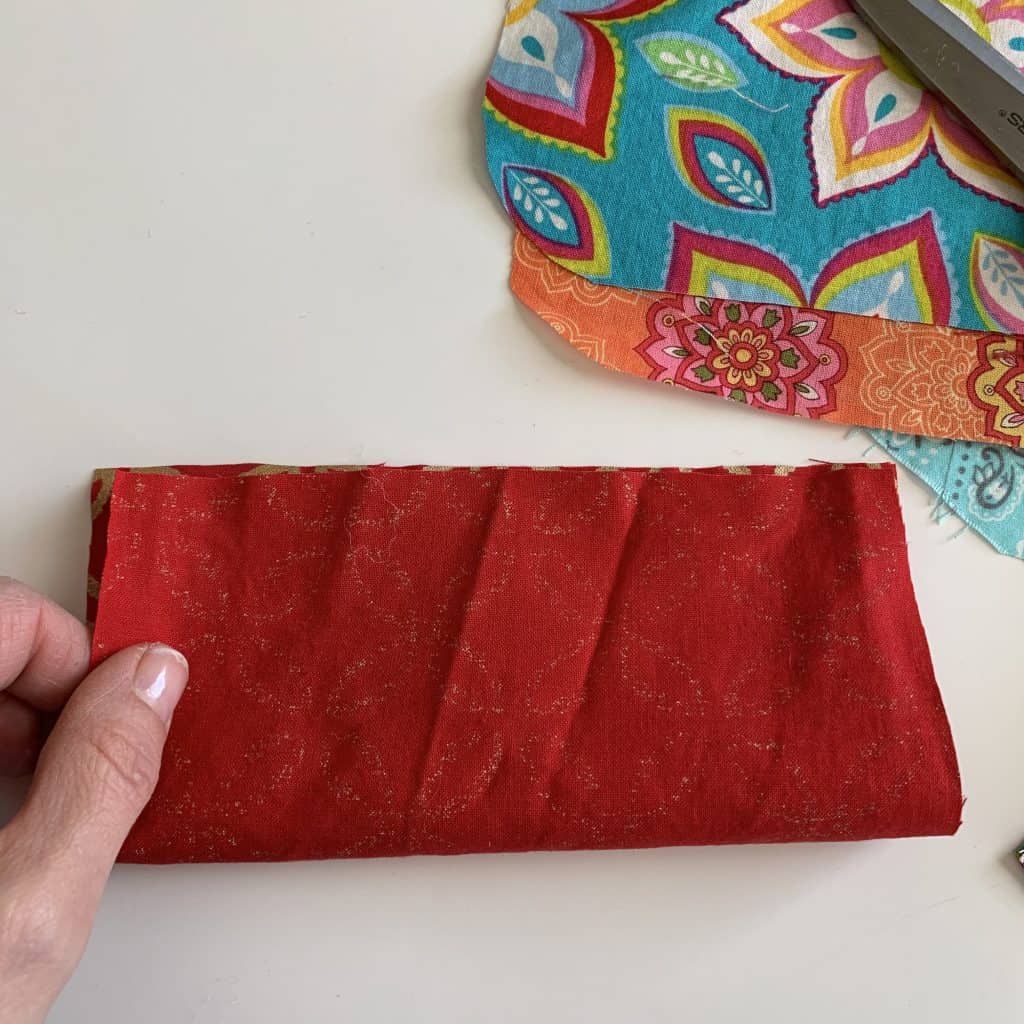
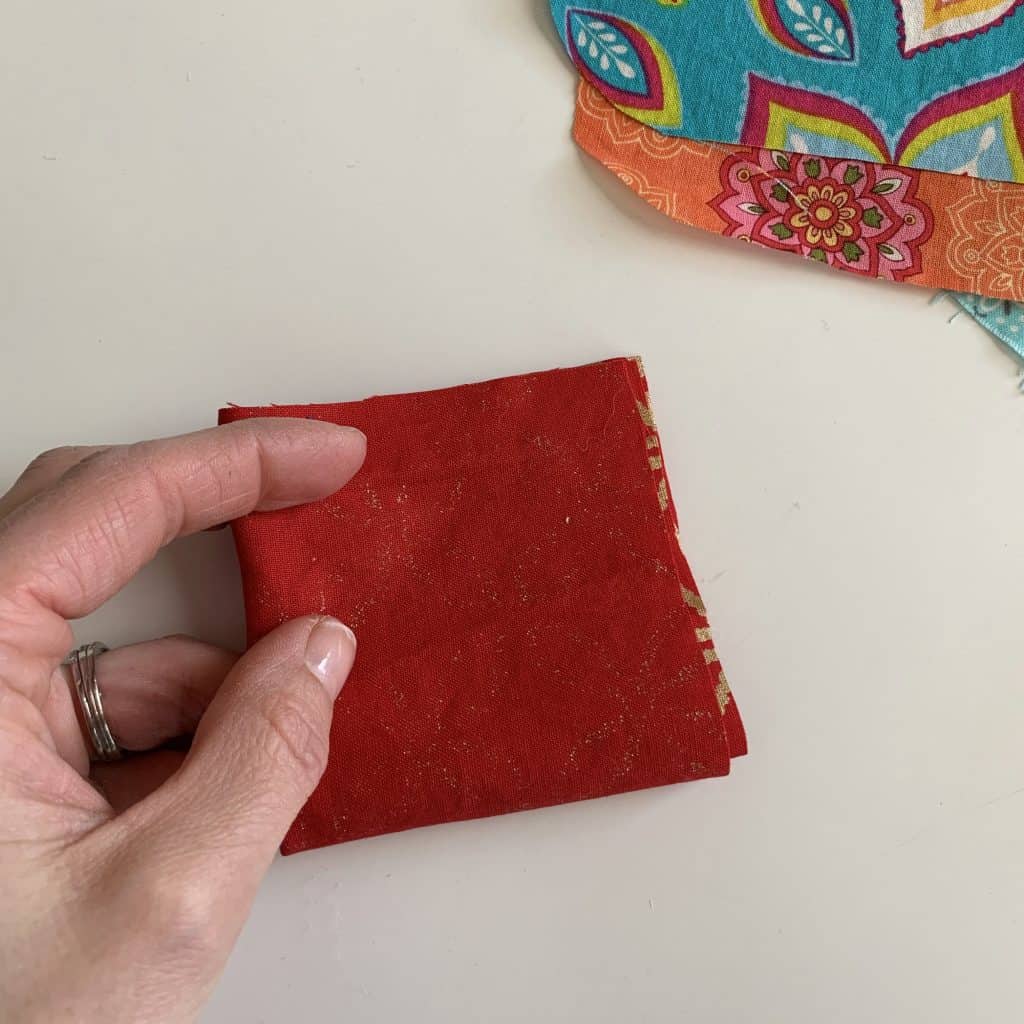
Mason Jar Pin Cushion Step 1: Round out the corners of your fabric squares.
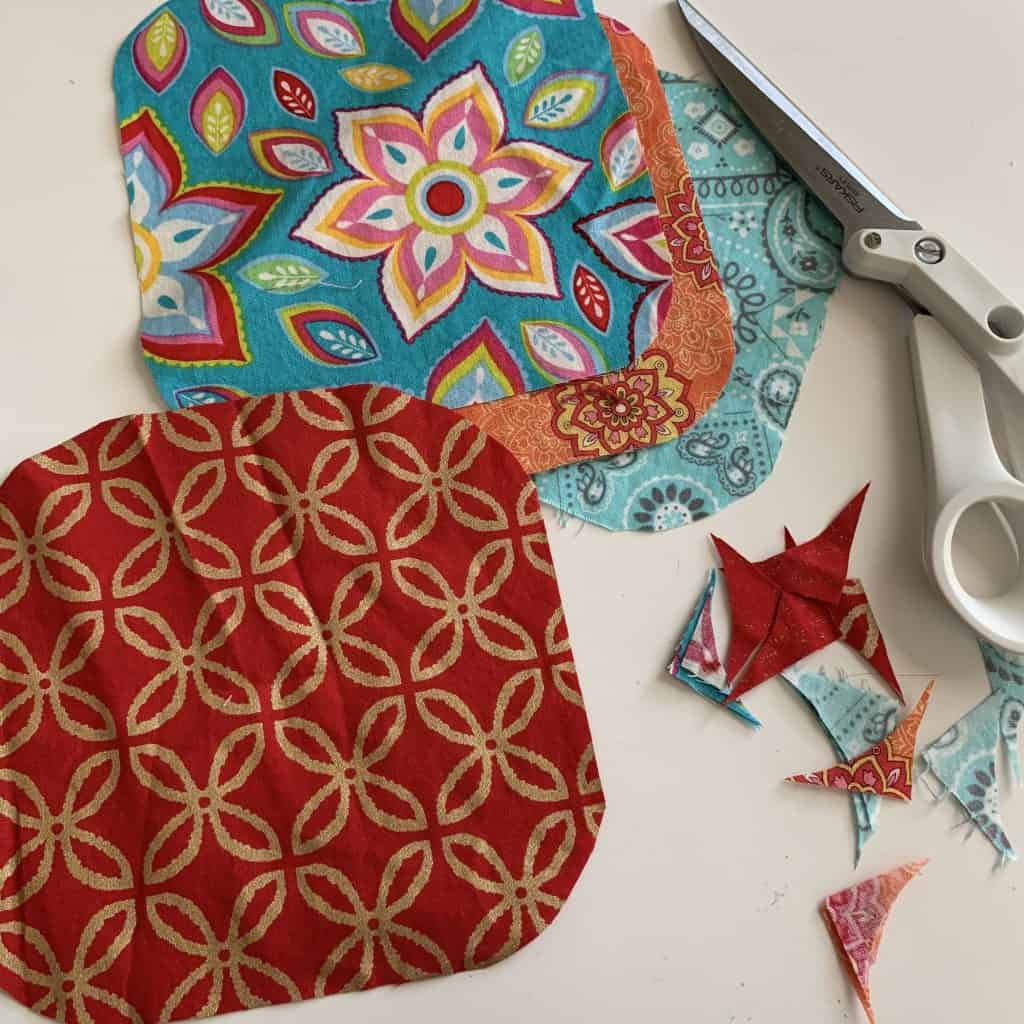
Helpful tip: fold the square in half, then in half again. This will align the corners so you only have to cut once to round out all four corners.

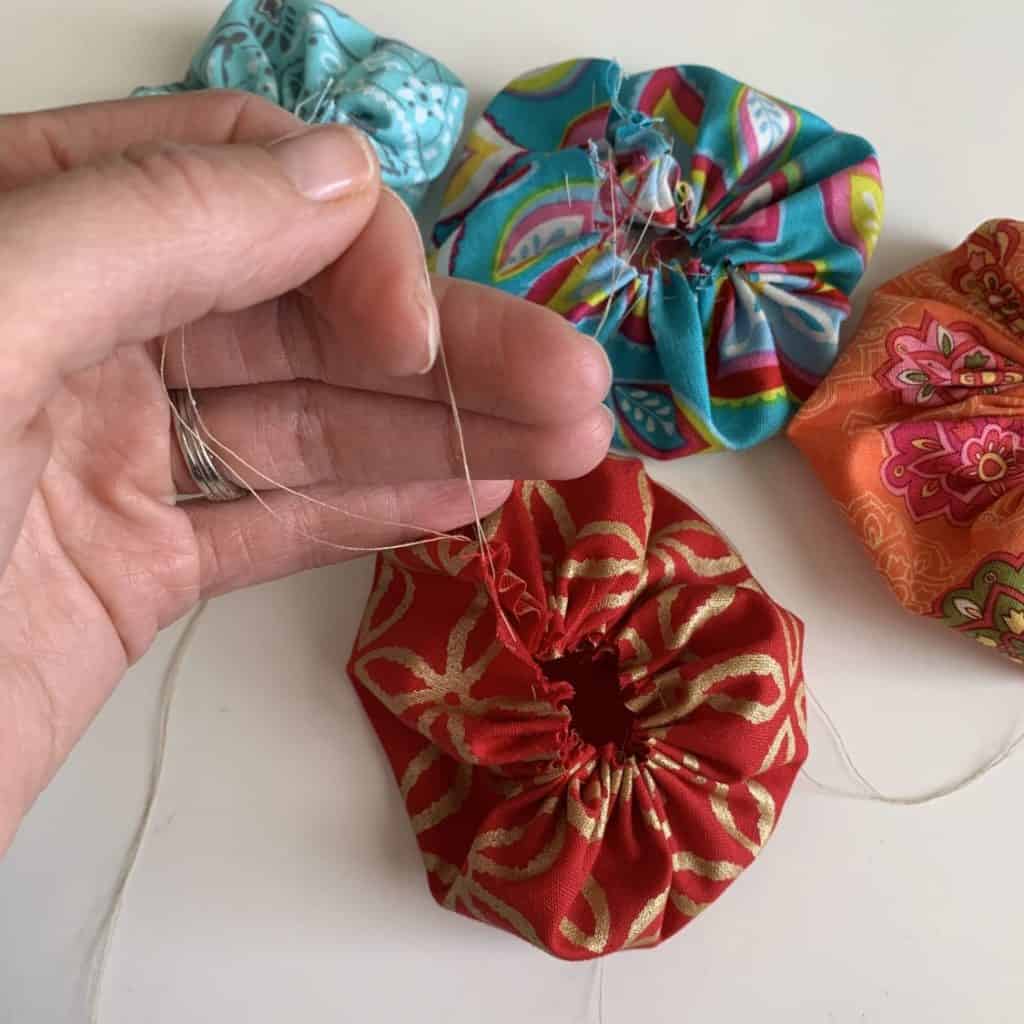
Step 2: Grab your needle and thread, and create a running/basting stitch around the the fabric, about 1/8″-1/4″ away from the edge.
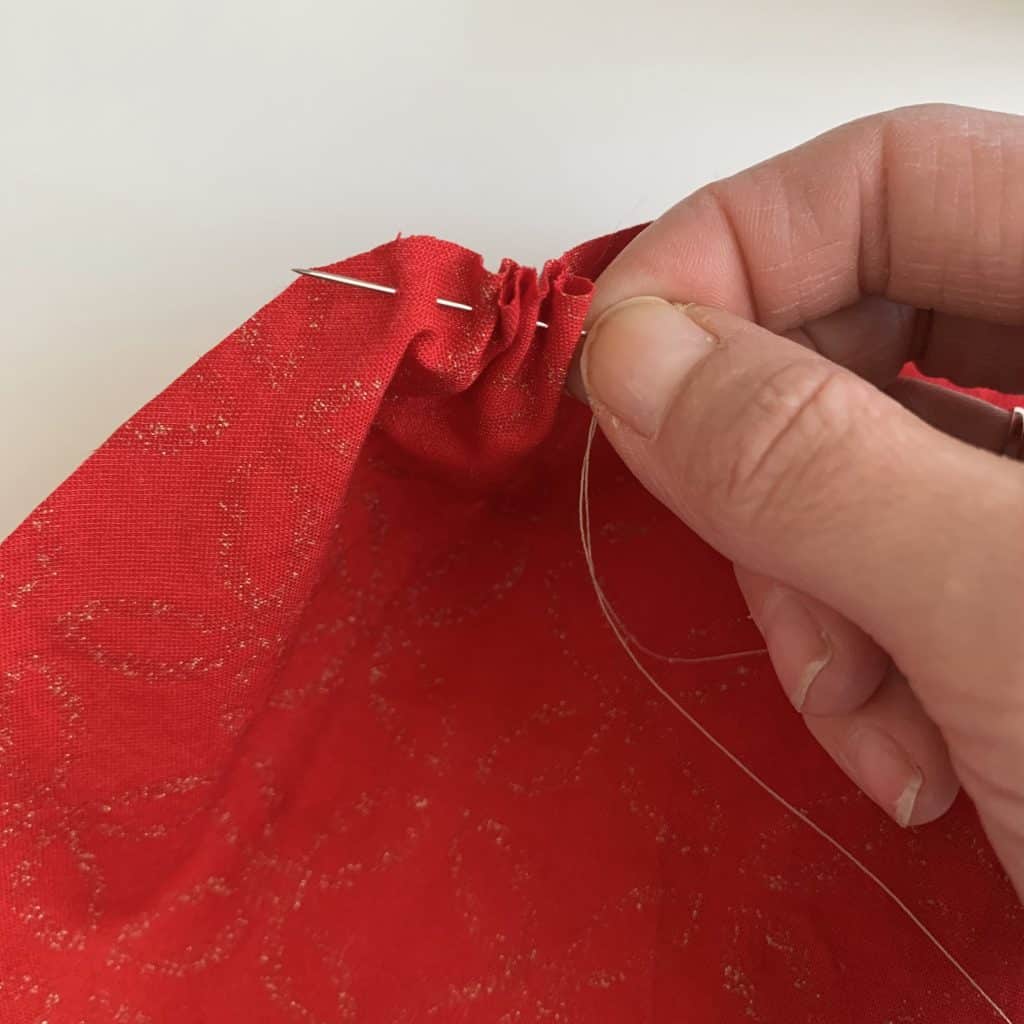 I recommend ending just past where you began your stitches, and starting and ending on the same side of the fabric so it’s easier to pull tight and tie.


Your fabric should like like the image below.
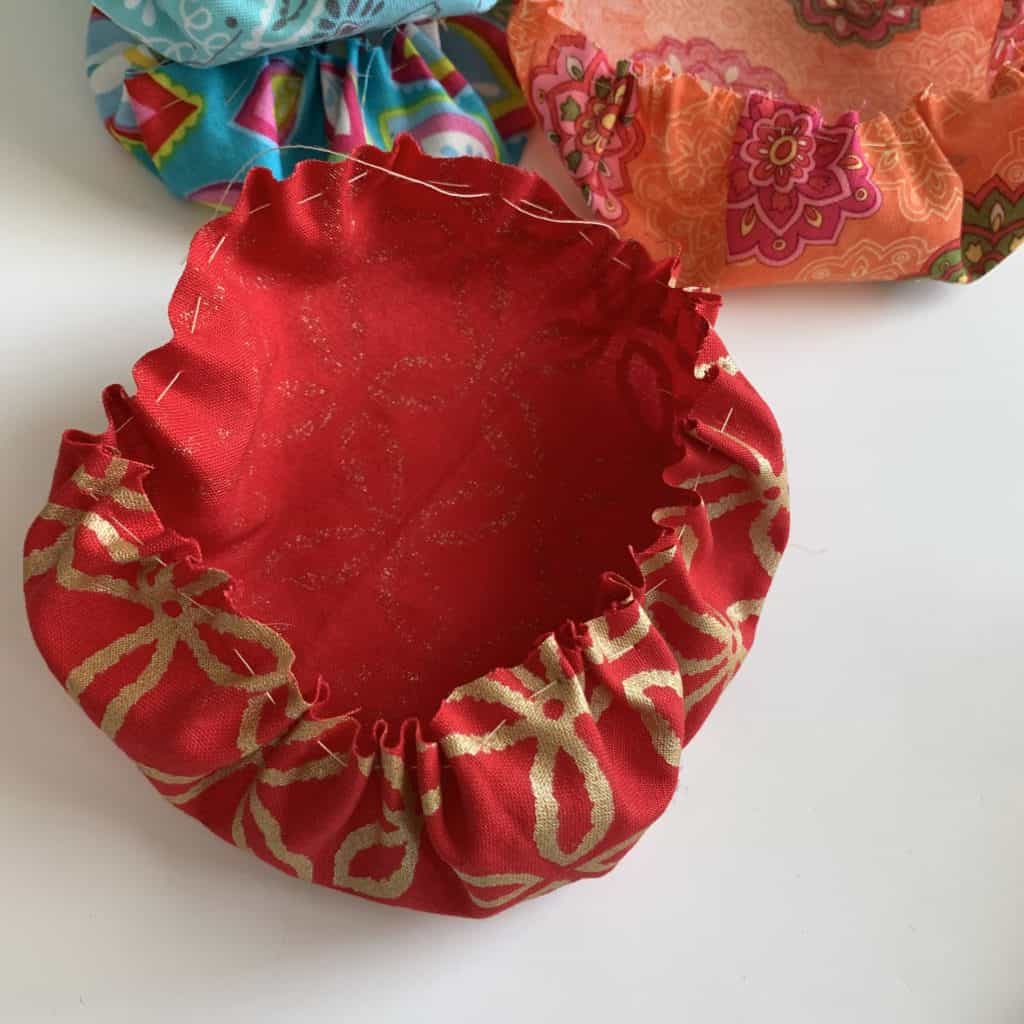
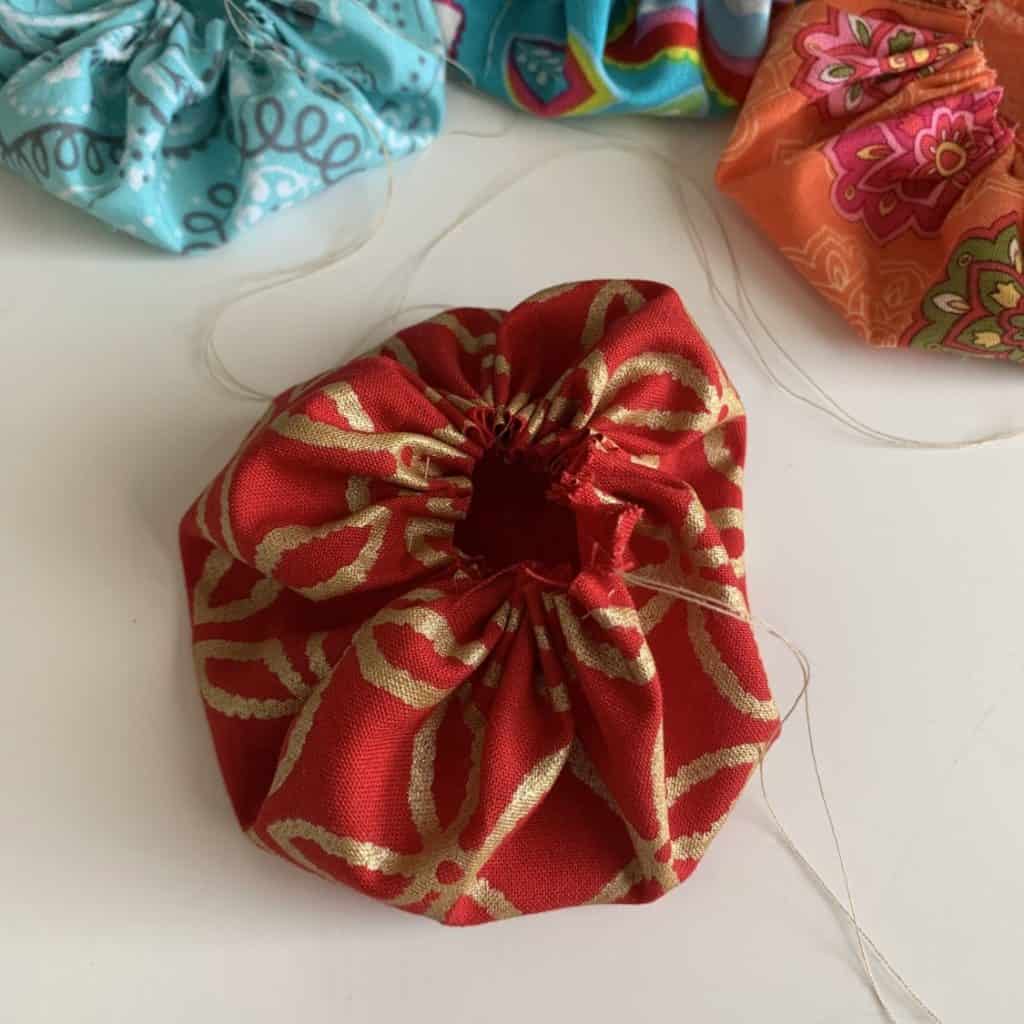
DIY Pin Cushion Step 3: Gather the stitches by pulling the two thread ends.
Once it’s gathered, you’ll have a nice little pouch, ready for stuffing.
DIY Pin Cushion Step 4: Go plug in your hot glue gun. 🙂
Step 5: Stuff the fabric pouch, holding and pulling the thread ends tighter as you stuff to begin closing – be VERY CAREFUL not to break your thread (as I did twice during the writing of this tutorial!).
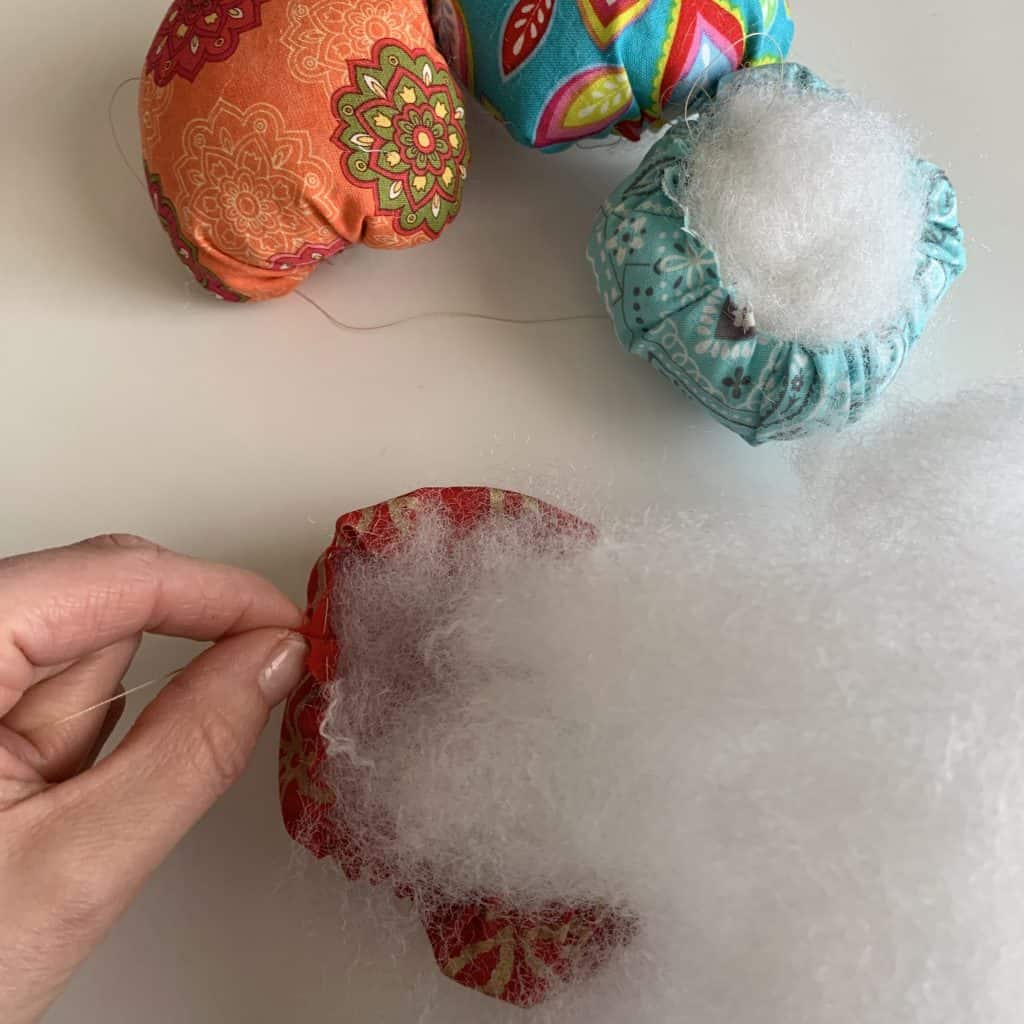
As with all stuffing projects, you’ll use more stuffing that you anticipate!
Turn the cushion right side up occasionally to check the shape and stuffing amount.
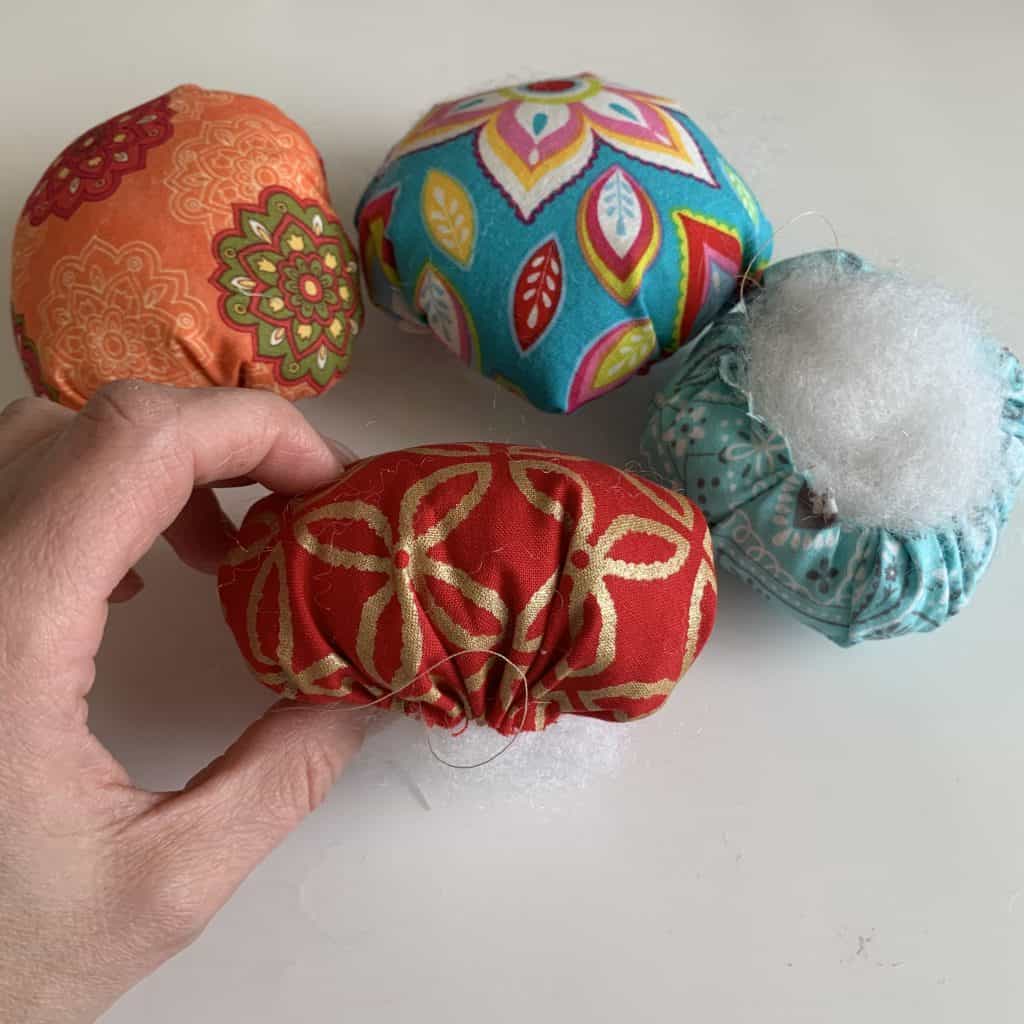
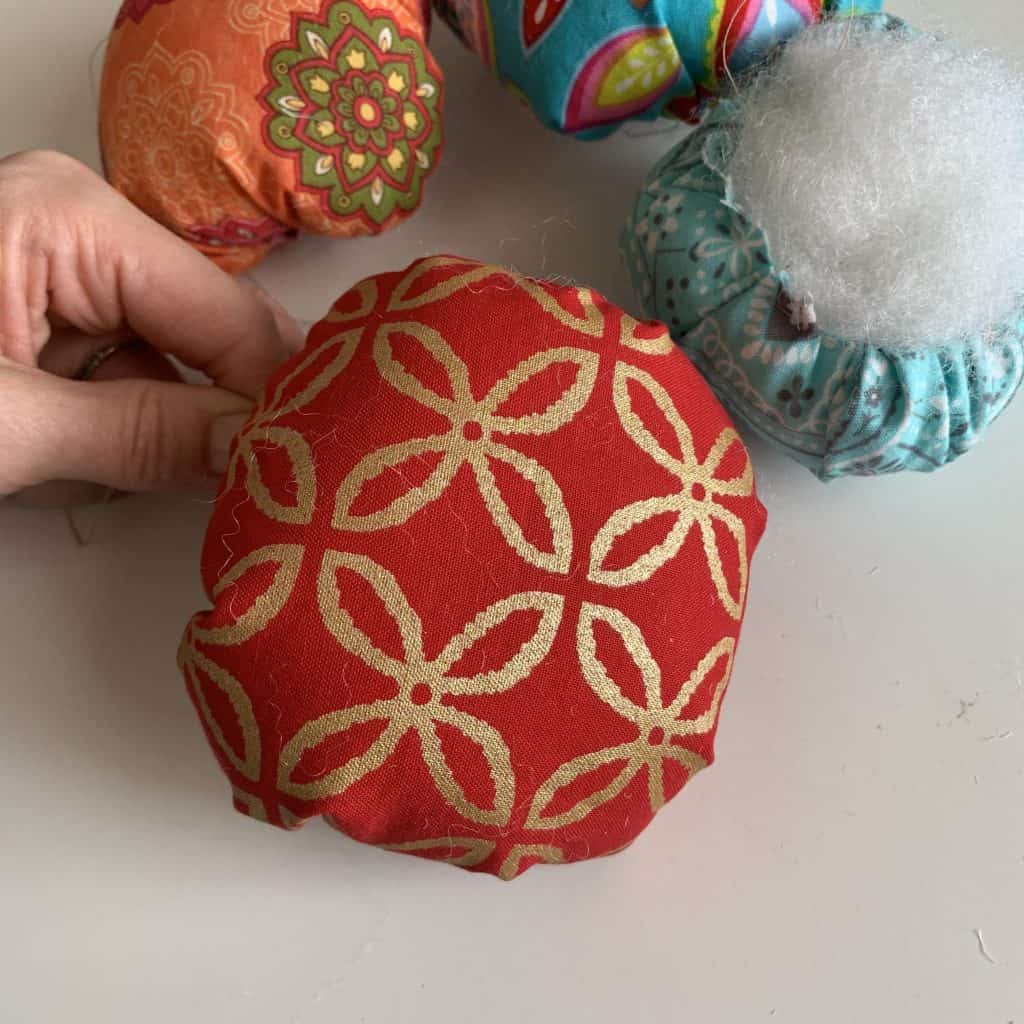
Gently cinch closed and tie. Gently. With care. Carefully. Catch my drift?!
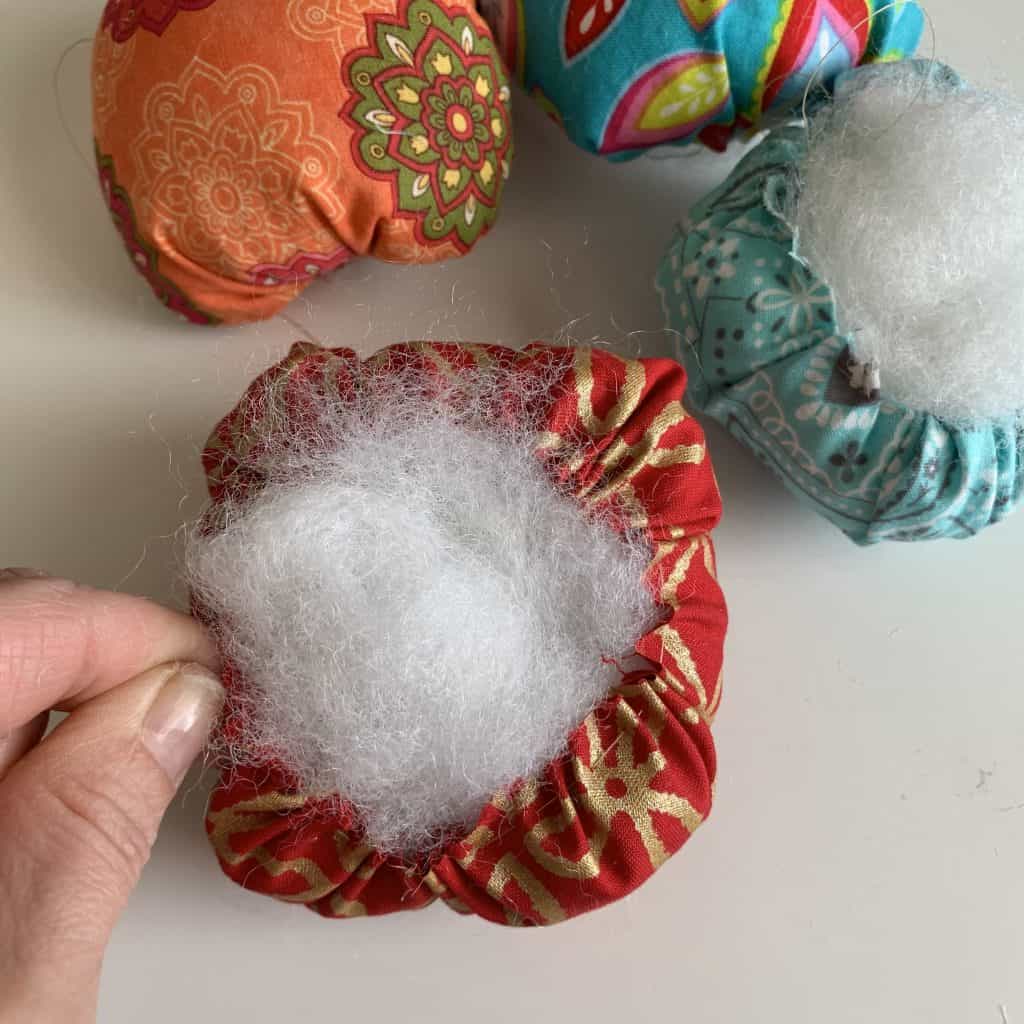
You may not be able to cinch the cushion completely closed; depending on how full you make it, you’ll most likely have stuffing popping out, even after you’ve tied the thread ends. That’s what the cardboard is for the in the next step.
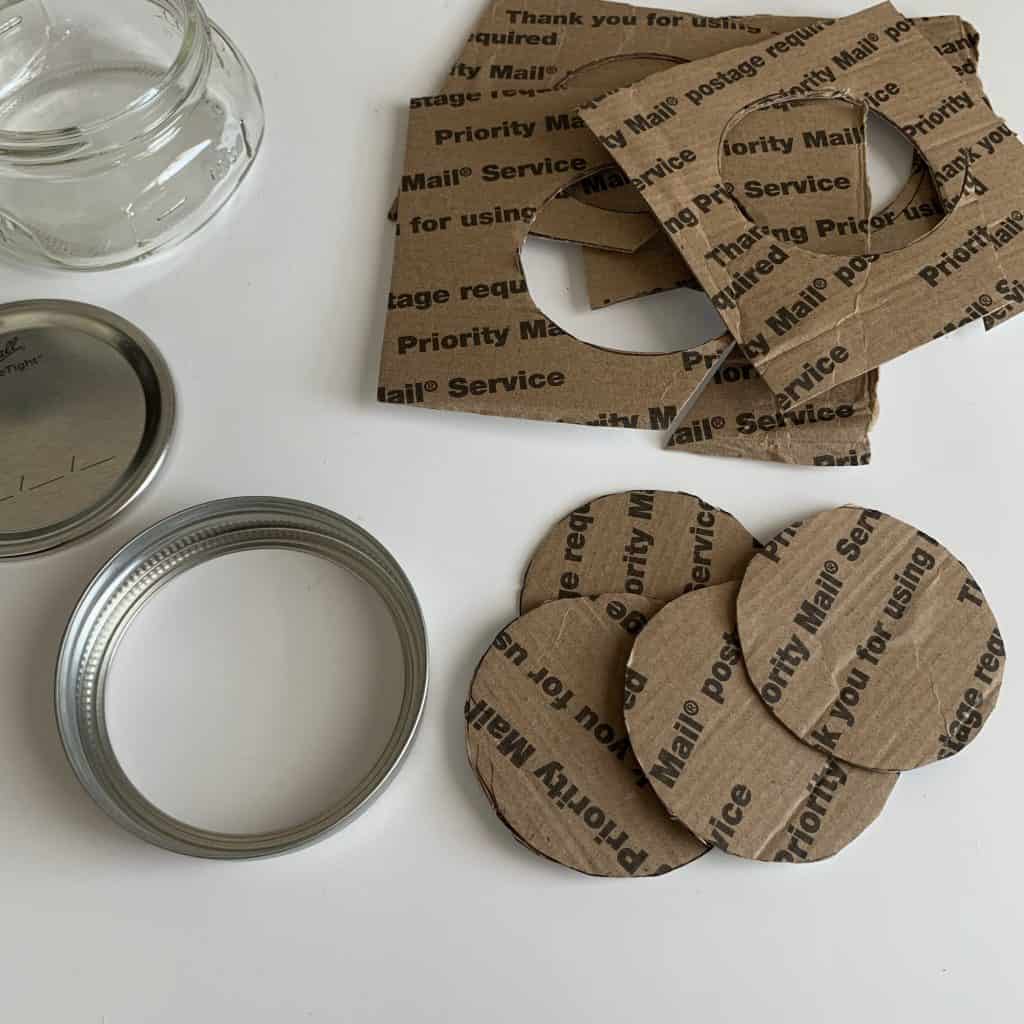
Pin Cushion Step 6: Trace the inner circle of the jar ring onto your cardboard.
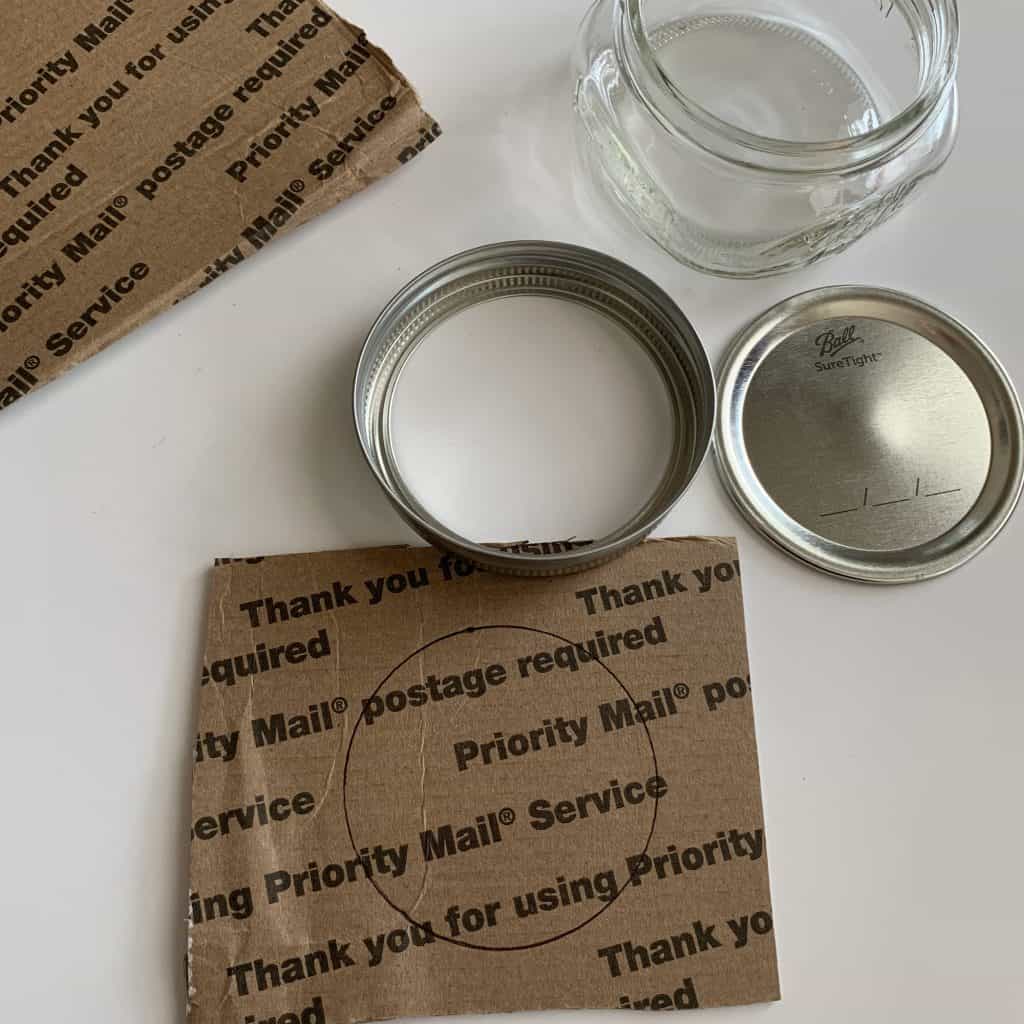
Cut out the circles.
Helpful tip: You may want to cut the circles just outside the line so the cardboard helps keep the cushion within the ring.
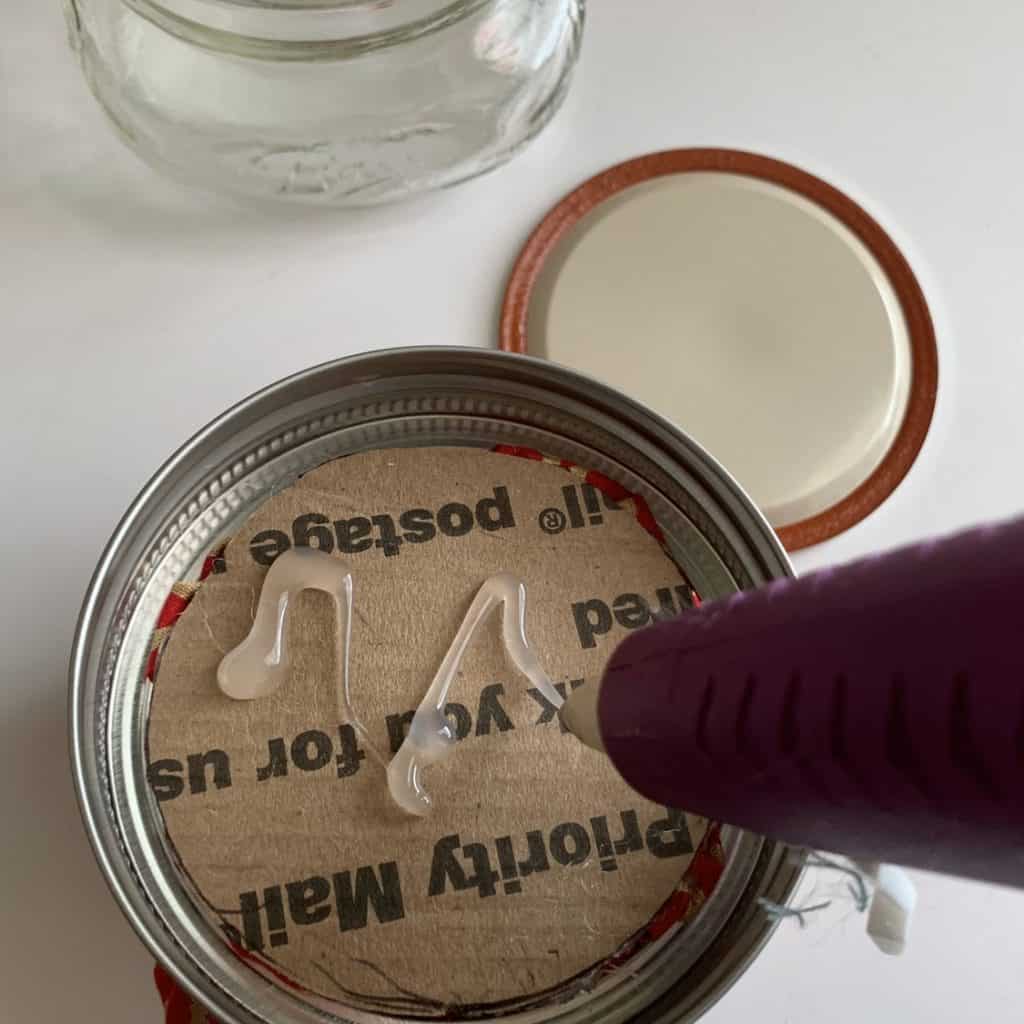
Step 7: Hot glue your cardboard circle onto the underside of the cushion, ensuring the stuffing is all pushed in and the raw edges of the fabric are hidden.
I recommend running a strip of hot glue around one side…
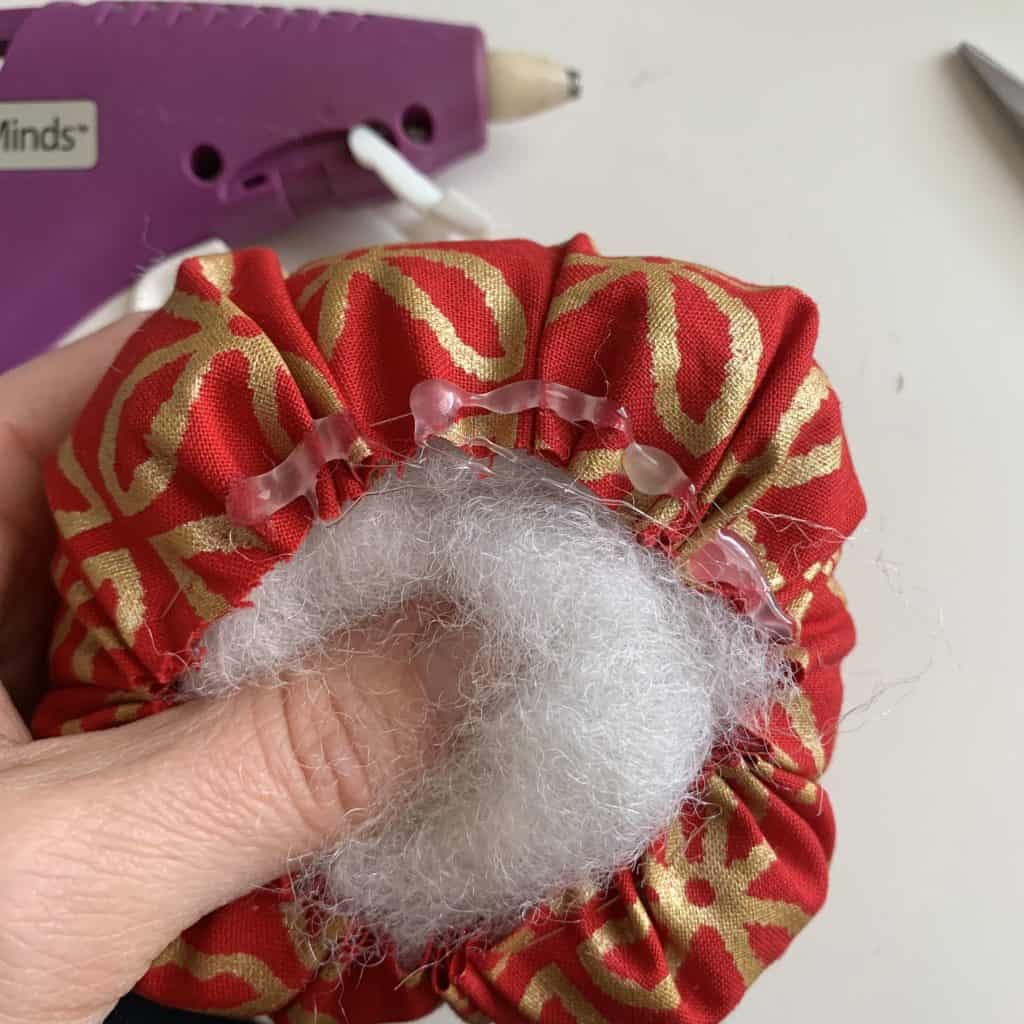
…placing the cardboard/felt down, then hot gluing the other half down.
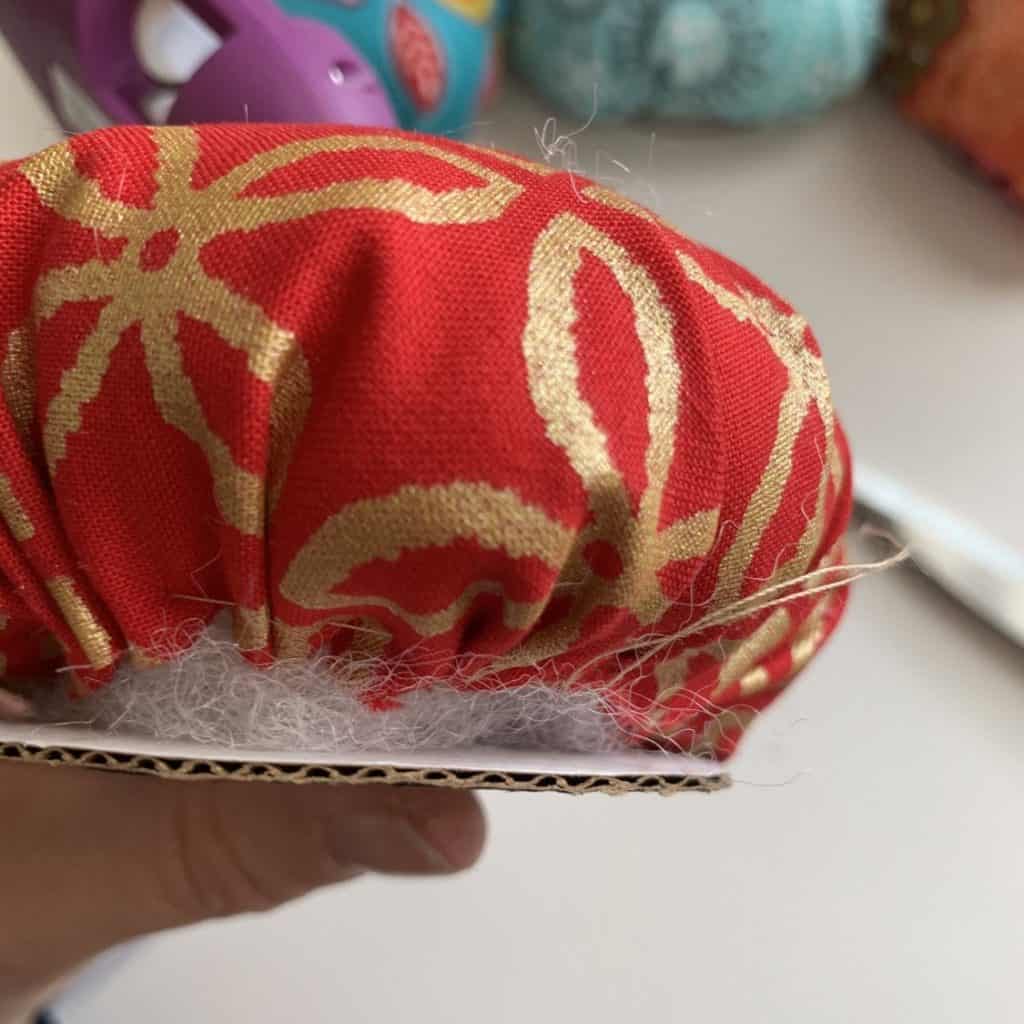
Inspect the cushion/cardboard and add additional hot glue as needed.
Once all sides are hot glued, hold the cardboard against the cushion for a minute or two until the glue cools.
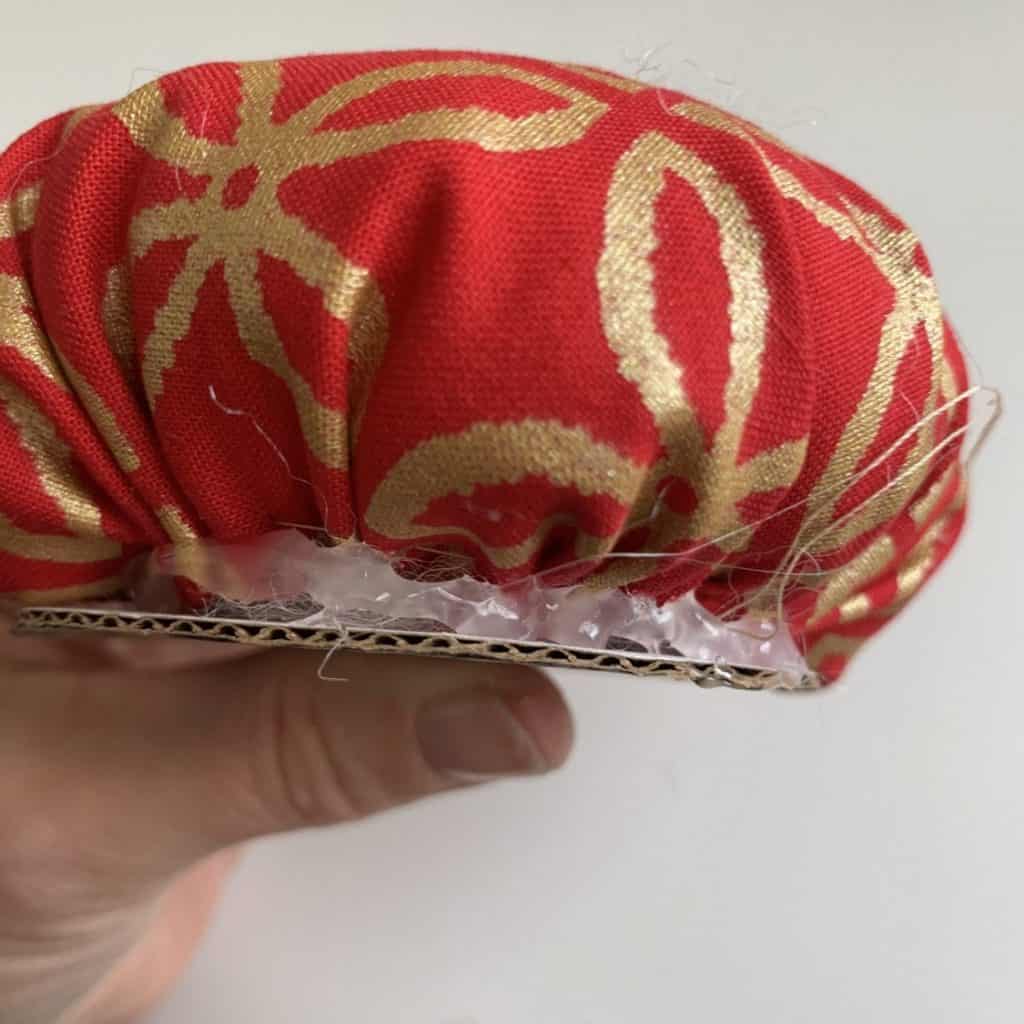
Trim any visible threads.
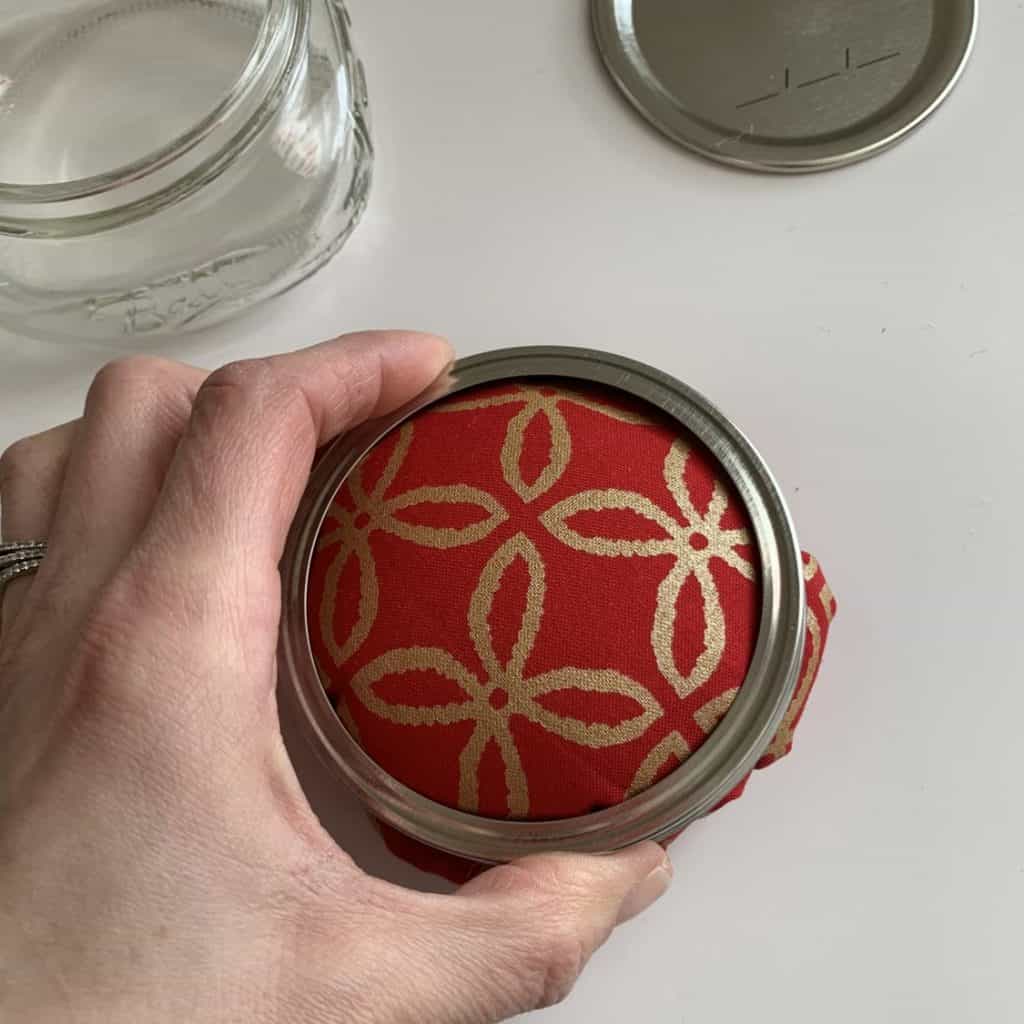
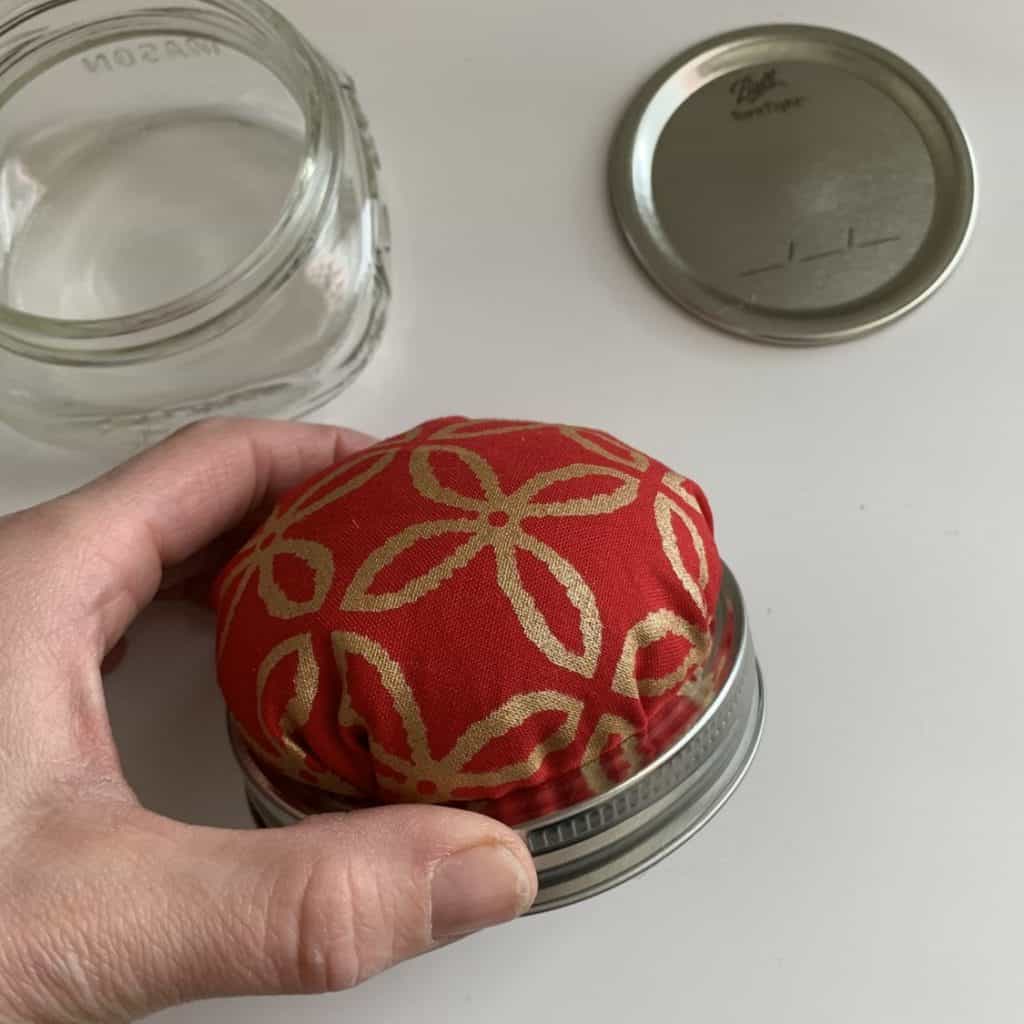
Step 8: Push the jar ring over the top of the cushion and pull the cushion through.
Step 9: This is optional, but if you’d like to hide the cardboard, hot glue the lid onto it.
This also helps keep the cushion in place as you remove and replace the lid to use what you store inside.
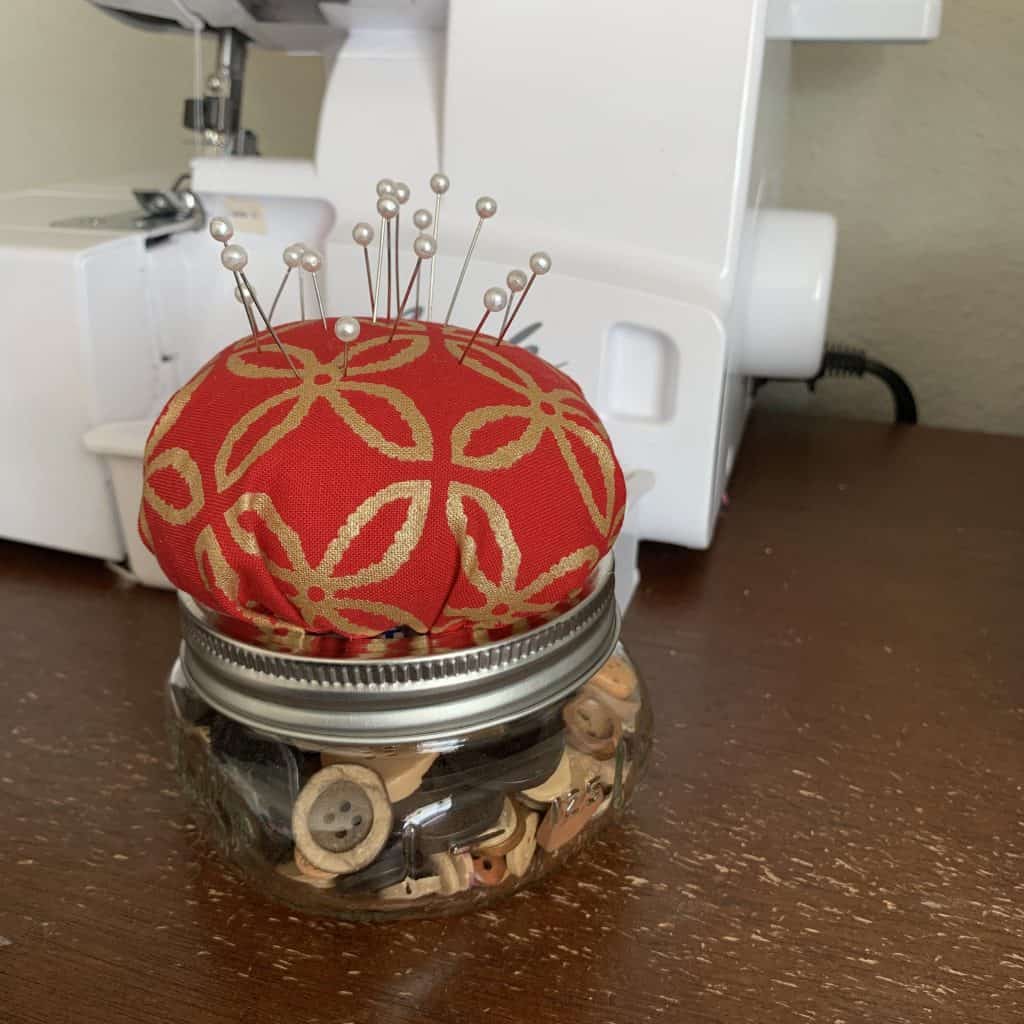
Step 10: That’s it! All done! Time to fill it up and admire your work!
How do I make a no-sew DIY pin cushion?
To make a no-sew DIY pin cushion, you can use materials like foam, cotton balls, or even a sponge as the cushion. Simply cut out a circle of fabric and secure it tightly around the cushion material using an elastic band or glue. Voila! You have a no-sew pin cushion.
Other Sewing Tutorials
Well, friends, I hope you enjoyed this tutorial. Please check out my profile down below to see what else I’ve written. You’ll see tutorials such as How to Make a TV Tray Ironing Board, How to Make a Self-Binding Blanket, How to Make Faux Layered Sleeves, How to Make an Aromatherapy Heating Pad… and so much more!
Hopefully through one or two of the how-to’s I’ve written – in addition to ALL the other amazing authors here at Peek-a-Boo Pages – you gain a little bit of knowledge, or at least learn some fun and easy projects.
Also be sure to join our Peek-a-Boo Pattern Shop Facebook Group for help with projects and to see our latest deals.