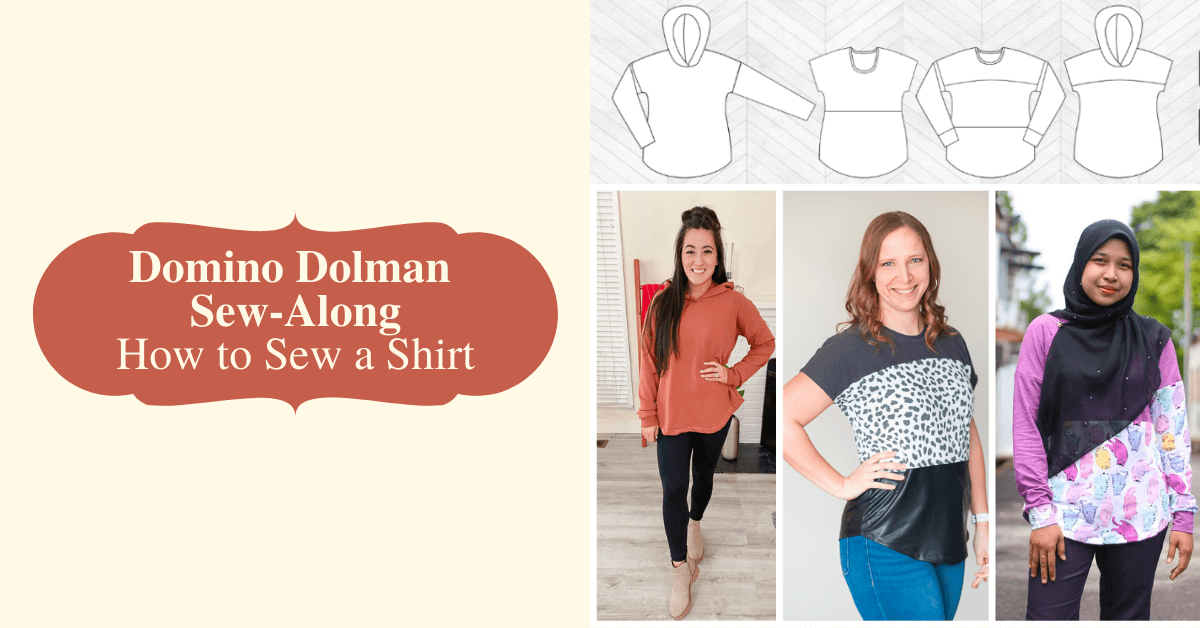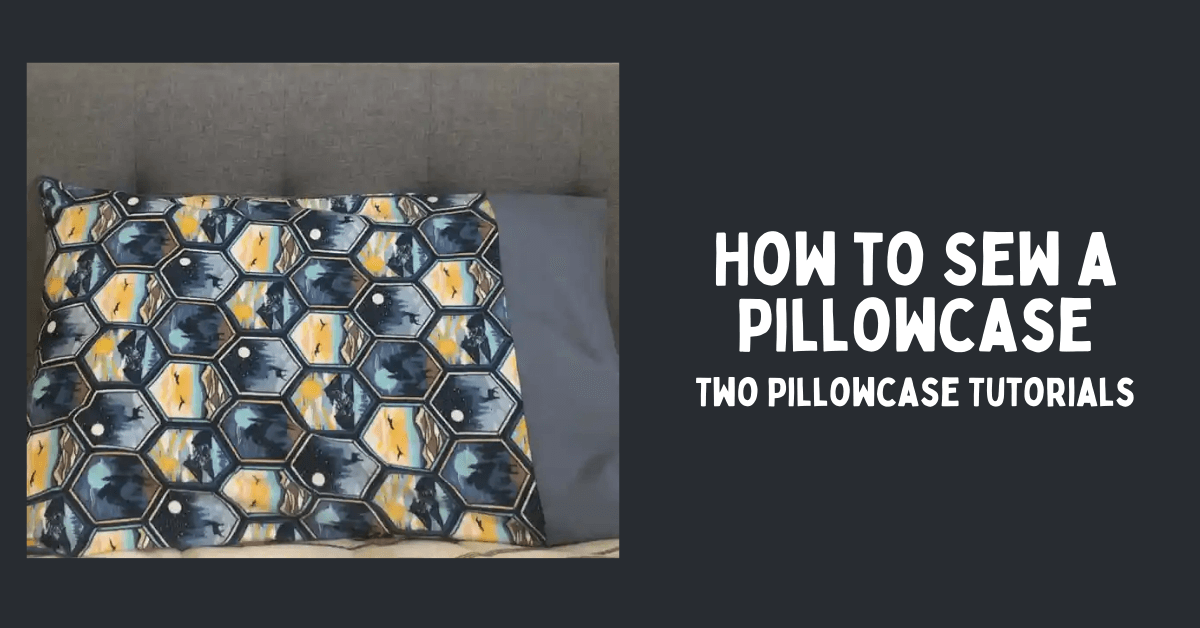
How to Make a Pillowcase | DIY Pillowcases
Are you ready to learn how to make a pillowcase? Tired of boring pillowcases? Do you want to add a personal touch to your bedding and make it unique? Then this DIY pillowcase tutorial is perfect for you! This post will provide a step-by-step guide to sewing your pillowcase. First, we'll show you an easy sewing technique. Second, we'll cover how to sew a pillowcase using the burrito method.
We will cover all the basics of sewing, including choosing the right fabric, cutting it to size, and even pressing for a professional look. We will also give you tips on using your sewing machine to make the process faster and easier. Whether you're a beginner or an experienced seamstress, this tutorial will help create beautiful and personalized pillowcases that will elevate your bedroom decor.
Understanding the Basics of Sewing a Pillowcase
Sewing a pillowcase is an ideal project for beginners. It allows you to practice your sewing skills while creating a functional item you can use every day. One popular technique for sewing pillowcases is the burrito method. This method involves rolling the fabric like a burrito to ensure clean and neat seams. By using this method, you can achieve a professional finish without the need for complex sewing techniques. So, whether you're following a tutorial on Pinterest or using your own creativity, sewing a pillowcase can be a fun and simple sewing project.
How Can I Easily Sew a Pillowcase?
We have a couple of easy methods to sew a pillowcase. Here is an easy 4-step process to help you sew a pillowcase with a little bit of easy folding, pressing, and sewing. We also explain the burrito method below.

Importance of Pillow Case Dimensions
Choosing the right dimensions for your pillowcase is essential to ensure a proper fit for your pillow. There are three basic sizes of pillows: standard, queen, and king. A standard pillowcase typically has a 4-inch cuff at the open end. However, dimensions can vary based on personal preference. When cutting fabric, make sure to account for seam allowances. By considering the dimensions of your pillow, you can create a case that fits perfectly and adds a touch of style to your bedding ensemble.

Supplies
To create a DIY pillowcase, gather the necessary supplies: fabric, thread, scissors, pins, and a sewing machine. These items are essential for this simple sewing project. Choose a fun fabric from your local craft store or find inspiration on Pinterest. Make sure you have enough fabric to accommodate the pillowcases according to the sizing chart above. Remember to measure and cut the fabric, paying attention to the hem and selvage. Having all the supplies ready will make the process smooth and enjoyable.
Choosing the Right Fabric
When it comes to choosing the right fabric for your pillowcase, 100% cotton fabric like quilting cotton is a popular choice due to its softness and breathability. If you're looking for extra warmth and coziness, flannel fabric is a great option, especially during colder months. Don't forget to select a fabric that complements your bedding or adds a pop of color to your bedroom decor. When it's time to shop for the perfect fabric, check out KnitFabric.com for various options.
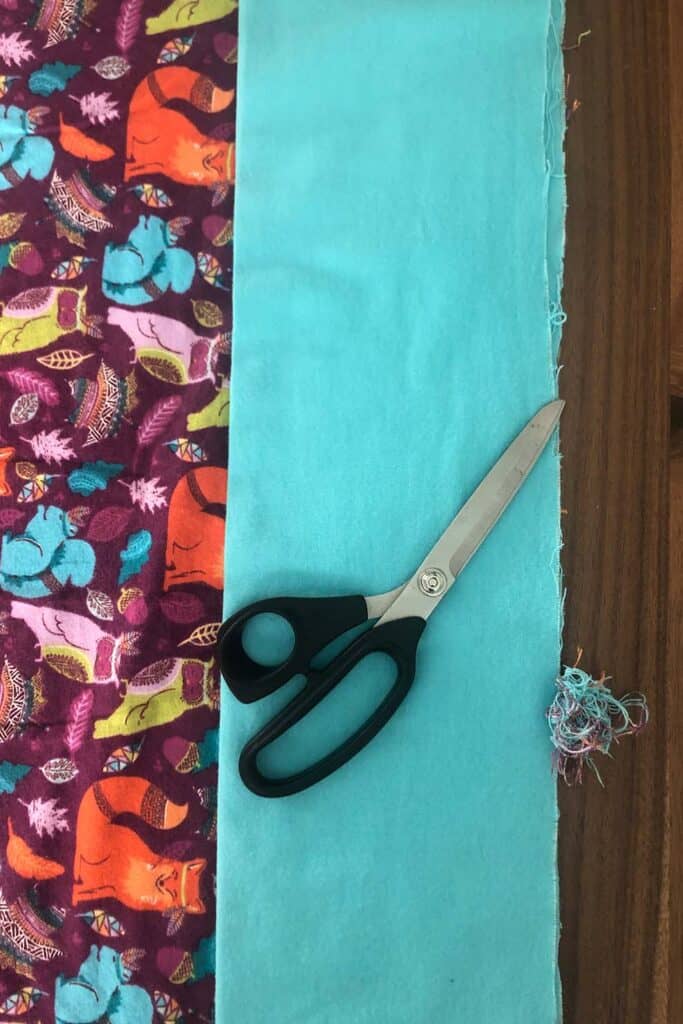
Wash, Dry, and Cut the Fabric
To ensure the best results for your pillowcase, start by pre-washing the fabric to remove any sizing or shrinkage. Follow the care instructions and dry the fabric accordingly to prevent further shrinkage. When cutting the fabric, use a rotary cutter or scissors to carefully measure and cut the pieces according to your desired dimensions. Pay attention to the right and wrong side of the fabric while cutting. This step is crucial to achieve a professional-looking and well-finished pillowcase.
Step-by-Step Tutorial on How to Make a Pillowcase with the Burrito Method
The seamless finish of a pillowcase without exposed seams can be achieved through the burrito method. With this technique, you can create a professional-looking pillowcase that is both functional and stylish. To start, lay your fabric right side up and place the hemmed edge on top. Roll both layers tightly, like a burrito, until only the bottom of the case is visible. Then, fold the long end of the main fabric over, encasing the rolled fabric inside. Finally, stitch around the edges to secure everything in place.
Step 1: Line Up Your Fabric Along the Edge to Sew
To begin sewing a pillowcase, line up your fabrics along the long edge to sew. First, lay your accent fabric down. Next, place your main fabric on top of that, aligning the raw edges. If you used a directional print, this is a good time to think about what direction you want it to lay. Now, roll your main fabric into itself, and wrap the other side of the accent material around and back onto itself. Check out the picture for a visual! Pin these 3 layers together. Make sure your roll of main fabric is out of the way from where you will be stitching!
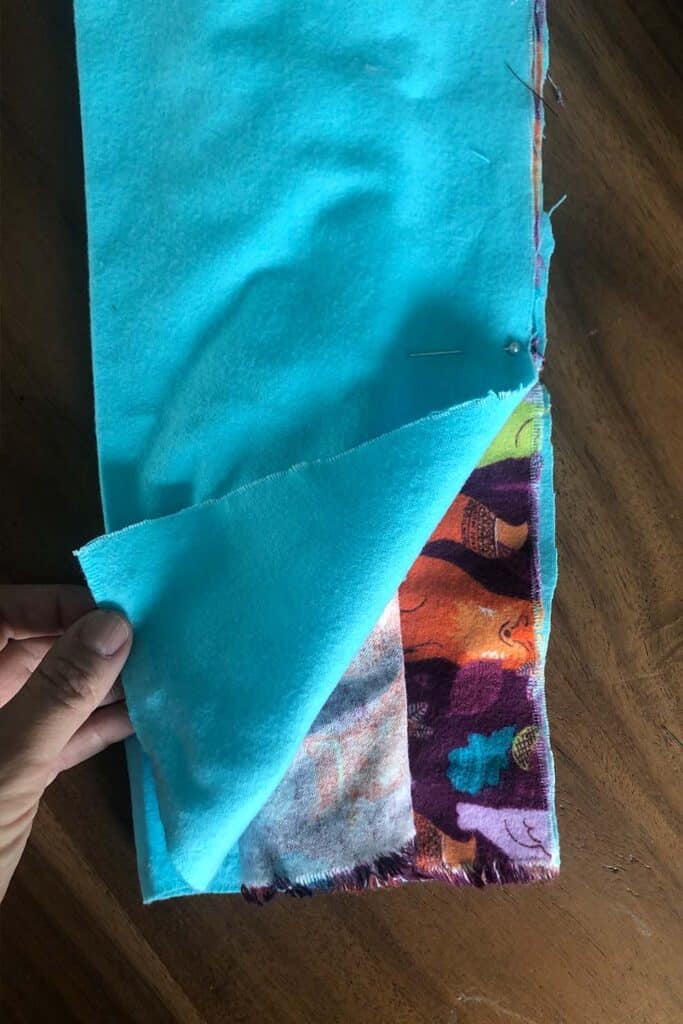
Step 2: Stitch 3 Layers Together
When sewing three layers of fabric together, it's important to first pin them together with the right sides facing each other. This ensures that the final product has a neat appearance and doesn't show any raw edges. Once you've pinned the layers together, use a short stitch to sew them together. The shorter stitch length will help secure the layers together more tightly, ensuring that they don't shift or come apart over time. Make sure to remove the pins as you sew so that they don't get in the way or damage your sewing machine.
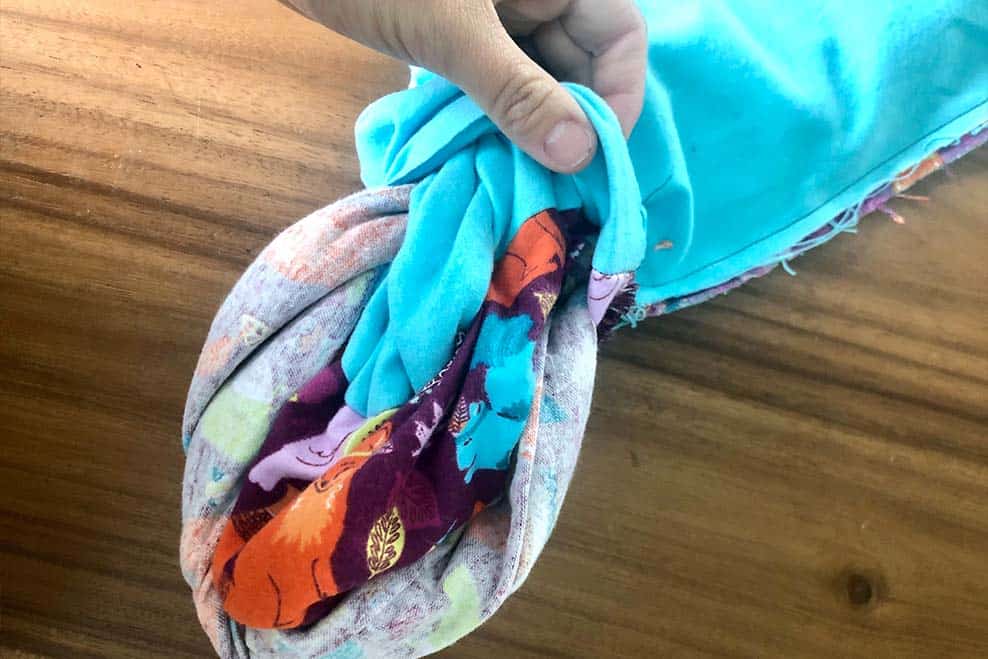
Step 3: Pull the Main Fabric Through Itself
To continue with the next step, reach inside and grab the bottom corner of the main fabric piece. With a gentle pull, guide the main fabric through the opening, flipping it right side out. Keep pulling until the entire pillowcase is turned right side out, making sure to use a chopstick or a similar tool to push out the corners for crisp edges. Once it is flipped, press it with an iron to remove any wrinkles and create a polished finish.
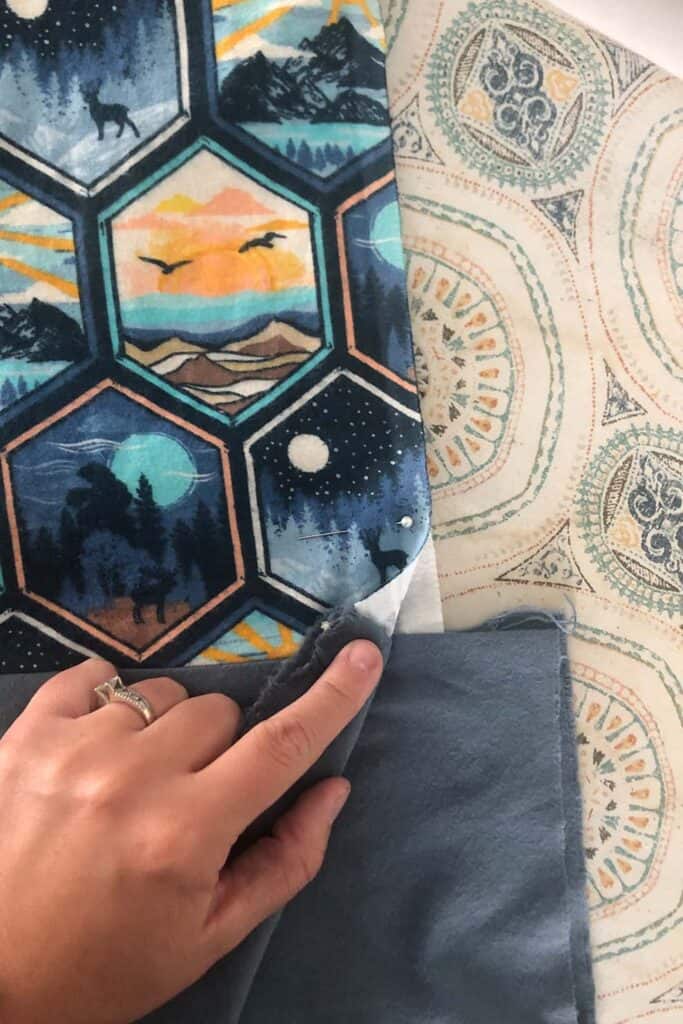
Step 4: Fold in Half Wrong Sides Together
Fold it in half Wrong Sides Together, aligning each side. Take special note to line up where the cuffs will be sewn together on the side.
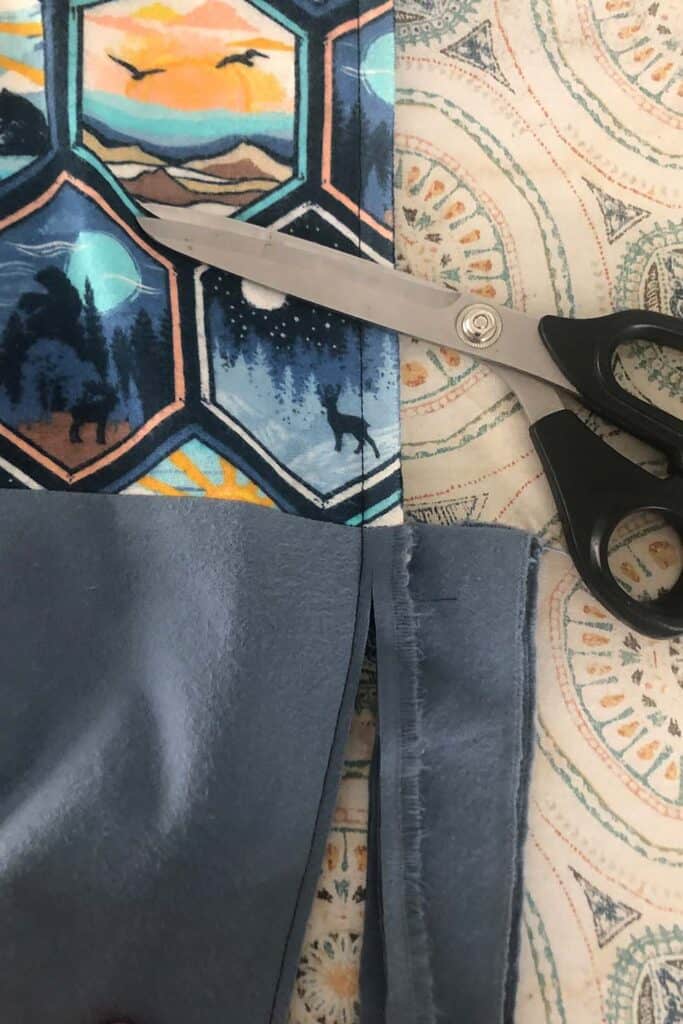
Step 5: Sew Around Your Case
Now, sew around your pillowcase. Now trim the edges close to the sea. Flip the pillowcase so it is now Right Sides Together. Sew around the same 2 sides of the pillowcase once more, enclosing that seam so it has a finished, professional and durable look!
Other Methods to Enhance Your Pillowcase
Consider using the burrito method for a seamless finish. Explore various decorative stitching techniques to add flair and personality to your pillowcase. Try making a reversible case with contrasting fabrics or prints for added versatility. Experiment with different sizes and shapes to create custom pillowcases that suit your style. Whether following a tutorial on Pinterest or developing your own design, sewing a pillowcase is a fun and simple sewing project. So grab your yard of fabric, thread your bobbins, and let's get stitching!
Pressing for a Professional Look
To achieve a professional look for your pillowcase, it's important to press it properly. Using a steam iron on a low heat setting, start by pressing the seams flat to set them in place. Then, work your way across the entire pillowcase, smoothing out any wrinkles. Pay special attention to the edges and corners for a crisp finish. To keep your pillowcase looking fresh and wrinkle-free, fold it neatly. Pressing your pillowcase is a simple yet essential step in creating a polished and professional result.
Using French Seams on a DIY Pillowcase
Using French seams adds a touch of elegance and provides a clean finish. To start, sew the wrong sides of the fabric together with a 1/4-inch seam allowance. Trim the seam allowance to a scant 1/8-inch and press it to one side. Next, fold the fabric's right sides together, enclosing the raw edge. Lastly, sew along the edge with a 3/8-inch seam allowance, effectively enclosing the previous seam. French seams are a simple yet effective technique that elevates the overall look of your pillowcase.
Tips on How to Sew a Pillowcase with a Sewing Machine
When using a sewing machine for pillowcase construction, there are a few tips to keep in mind. Set your sewing machine to a straight stitch with a standard tension and use a universal needle suitable for your fabric type. Remember to backstitch at the beginning and end of each seam to secure the stitches. It's also a good idea to practice sewing straight lines and corners before starting on your pillowcase. To ensure precise stitching, keep your fabric aligned using sewing clips or pins.
Conclusion
To finish up, learning how to make a pillowcase can be a fun and rewarding DIY project. By understanding the basics of pillowcase dimensions and choosing the right fabric, you can create a personalized pillowcase that suits your style and preferences. The step-by-step guide to sewing a pillowcase with the burrito method ensures a seamless finish and professional look. Don't be afraid to experiment with other methods such as using French seams or pressing your pillowcase for an extra polished appearance. Whether you're a beginner or an experienced sewer, creating your own pillowcase allows you to showcase your creativity and add a personal touch to your bedding. So grab your sewing machine and start stitching!
Before you leave, make sure to come join us in our Peek-a-boo Pattern Shop Facebook Group where we have almost 100,000 sewists ready and willing to help you with sewing issues. It's also a great place to share your sewing projects.