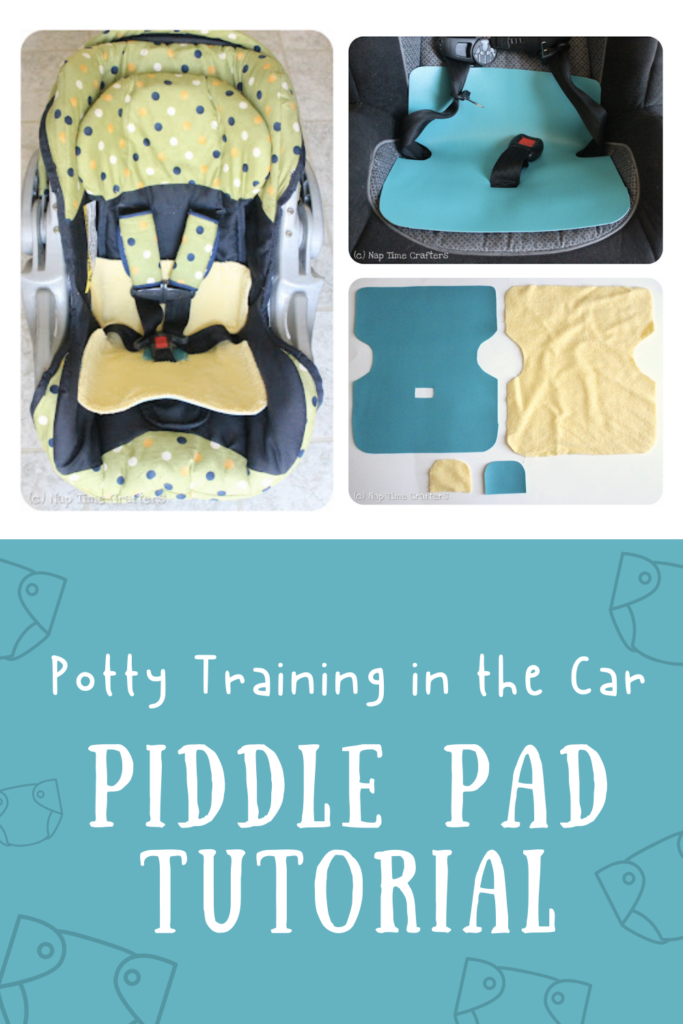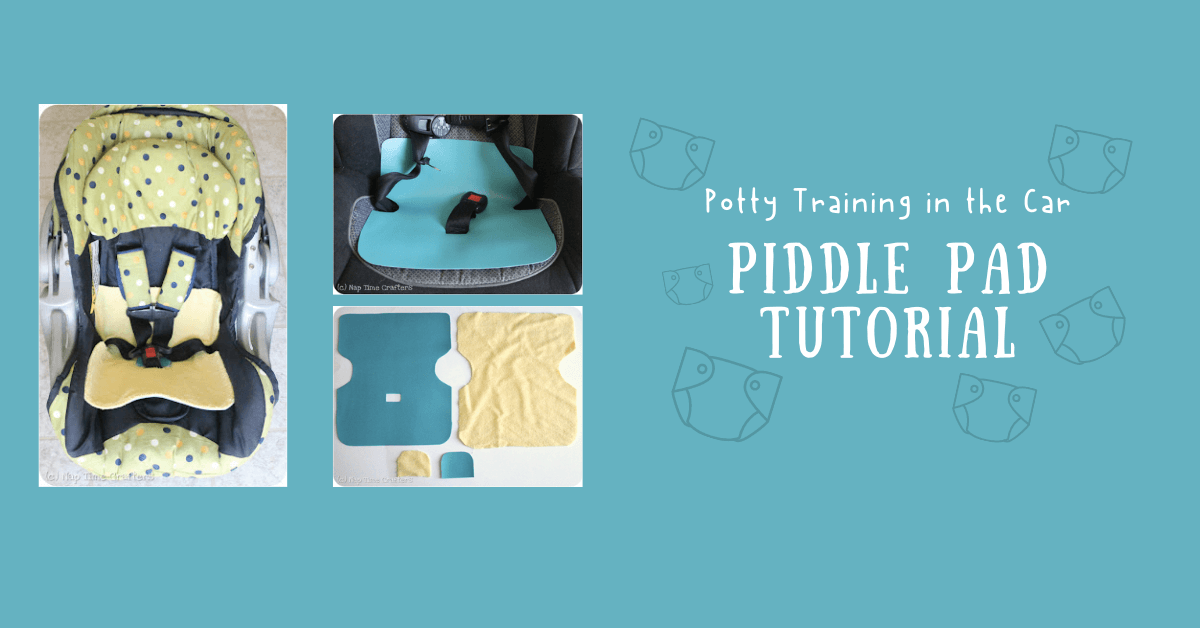
DIY Piddle Pad Tutorial | Potty Training in the Car
With a recently potty-trained toddler and lots of road trips this summer I decided to take some precautions...with this DIY Piddle Pad!
DIY Piddle Pad | Potty Training in the Car
Why a DIY Piddle Pad? Because I really can't think of much worse than having to sit in a soggy car seat for 4 hours- ick...
But... even if you aren't potty training right now you could also whip one of these up for trips home from the pool- sitting on a towel is a little tricky in a car seat. And... they also fit in infant car seats which is great if your little one has infamous diaper blowouts.


This whole project takes less than an hour- well worth my peace of mind. I put it through a test run and it held about 1/2 cup before it started spilling over. If you want a little more protection I have some tips that too
Let's get started!
Piddle Pad Materials:
- 1/3 yard terry cloth- the thicker the better
- 1/3 yard vinyl- I used marine vinyl left over from my storage bin project
Piddle Pad Step 1: Cut your vinyl to fit your car seat- remember you'll have a seam allowance so cut it a bit bigger- I should have made my cut outs by the straps a bit smaller.

Piddle Pad Step 2: Cut a 2nd layer from your terry cloth- if you want extra protection cut 2 layers- don't make a cut-out for the center buckle just yet. I also cut 2 small pieces as some extra protection by the buckle

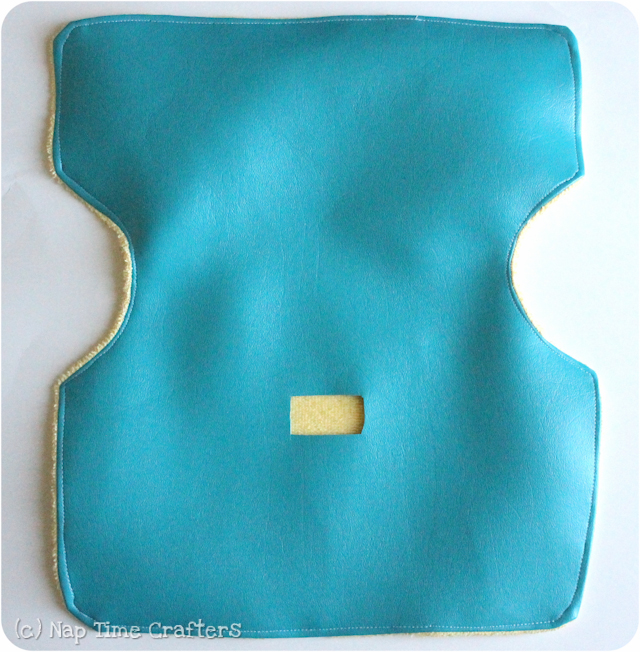
Piddle Pad Step 3: With right sides together sew your vinyl and terry cloth together leaving a gap along the bottom edge

Piddle Pad Step 4: Turn right side out and topstitch around all the edges. Apply some scotch tape to the bottom of your presser foot to help it slide along the vinyl
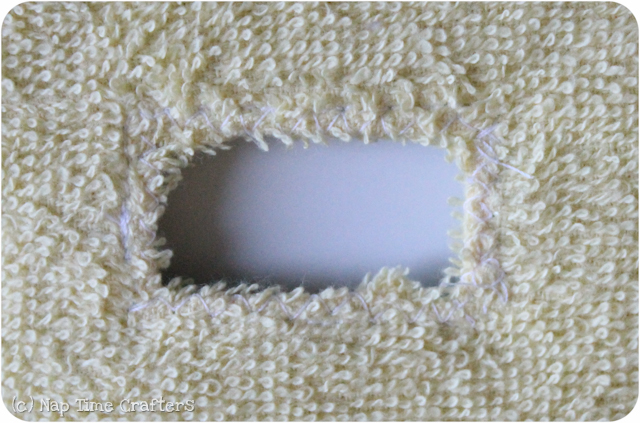
Piddle Pad Step 5: Cut a hole in your terry cloth for the buckle and snip towards each corner of the opening. Fold back the flaps and stitch down. For extra reinforcement and to prevent fraying I went around the whole opening with a zig-zag stitch

Piddle Pad Step 6: With right sides together sew your flap pieces together around the curved edge. Turn right side out and topstitch around all edges

Piddle Pad Step 7: Sew in place with the terry cloth sides together. This will flip up between your tot's legs to protect the buckle

Happy Travels! Before you leave, make sure to come join us at the Peek-a-Boo Pattern Shop Facebook Group.