Create Your Own DIY Picnic Blanket: Step-by-Step Guide
Are you tired of using your old, tattered picnic blanket for outdoor gatherings? Why not create your own DIY picnic blanket that is both stylish and functional! This step-by-step guide will cover everything you need to know to create a beautiful and durable picnic blanket. From choosing the right fabric to sewing it up, we have covered it all. We will also take you through preparing the blanket sandwich and ensuring a pretty finished edge. So, grab your materials, and let's start creating a picnic blanket that will envy all your friends at your next outdoor gathering!
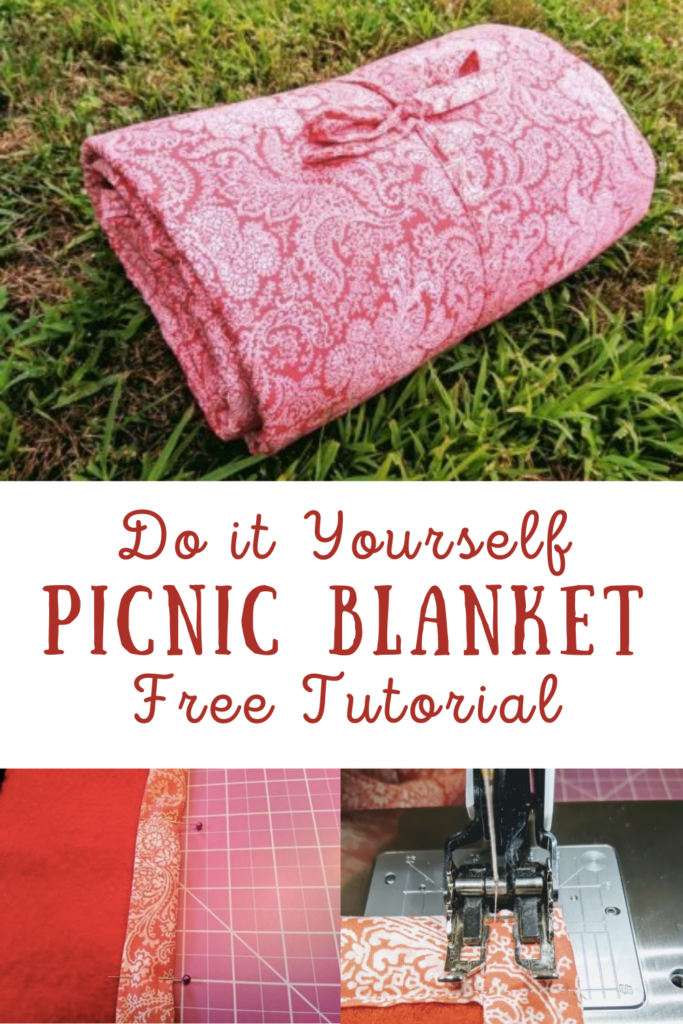
DIY Picnic Blanket | How to Sew a Picnic Blanket
Picnic Blanket Materials
- 1 piece of quilting weight fabric for the top fabric, 72″wide x 82″long. For your fabric needs go to www.knitfabric.com.
- 1 piece of medium to heavy weight fabric for bottom, 68″wide x 78″long
- fabric for optional tie, 3″wide x 60″ long
- Sewing Machine / Sewing Tools
Which Fabric Should I Use?
Choosing a water resistant or waterproof fabric for extra durability is a great idea for keeping this picnic blanket in good shape for years. Another option is a durable and sturdy duck cloth. You could also line the blanket with a cotton or flannel fabric for extra warmth.
Some go so far as using something from around the house to make a fun picnic blanket - maybe a vinyl tablecloth or even an old shower curtain liner.
Sewing the picnic blanket
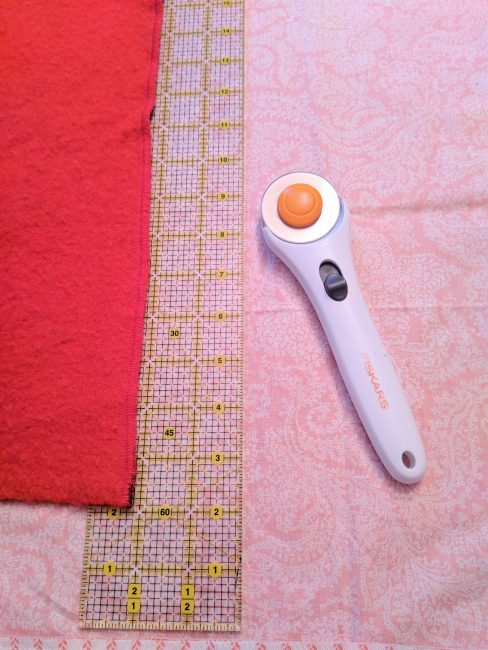
Step 1: Before starting, you will need to cut a fabric piece for the bottom of your project. If you are using a queen-sized sheet as the top layer, place the bottom piece on top of it and use a rotary cutter and mat to cut the sheet 2 inches larger than the bottom piece. This will ensure that there is enough material to create a border around the edges. It is important to measure and cut accurately to achieve a professional-looking finish.
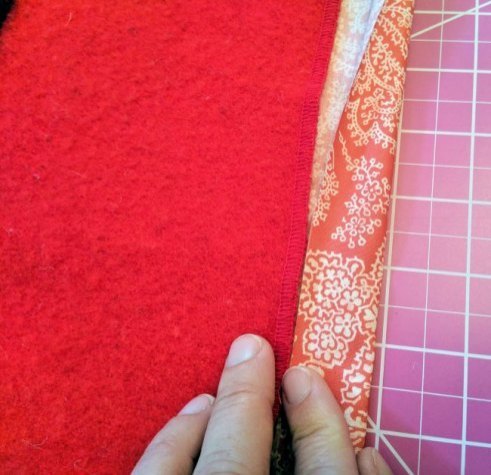
Step 2: With the bottom piece right side up and the top piece right side down, fold the top piece toward the bottom piece on the edges of the blanket as follows:
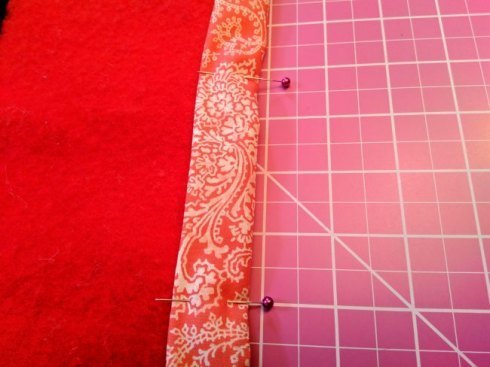
Step 3: Next, fold the top piece over once more toward the bottom of the blanket to create a binding. Pin in place and repeat for all four edges.
Step 4: At the corners, simply tuck in the fabric like this:
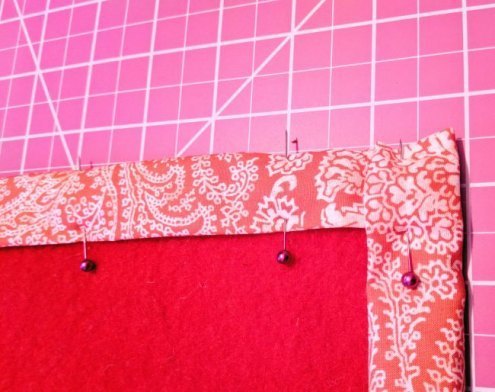
The fabric at the corners will be caught in the topstitching at the end.
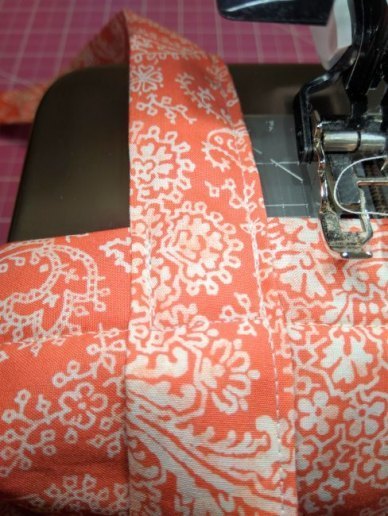
Step 5: After all sides have been pinned, press all edges flat. This can be done right on the floor if you are working on a thick rug. Sew along the fold right near the edge where the folded over top piece meets the bottom piece:
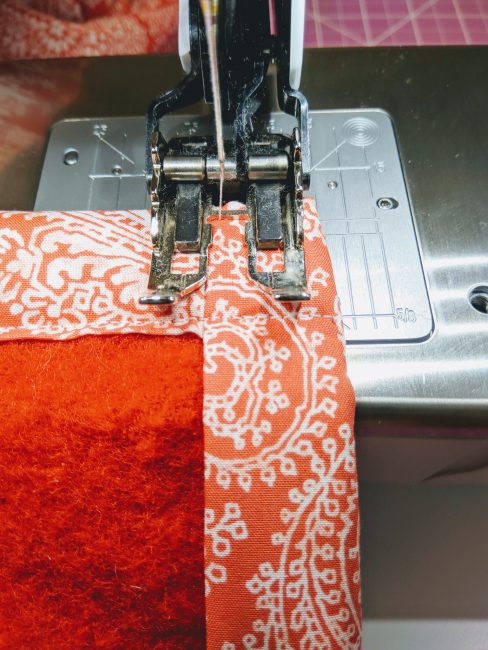
Step 6: When you get to the corners, sew all the way to the edge of the picnic blanket. Then start again at the edge and sew all along each side of the blanket. This reinforces the tucked corners.
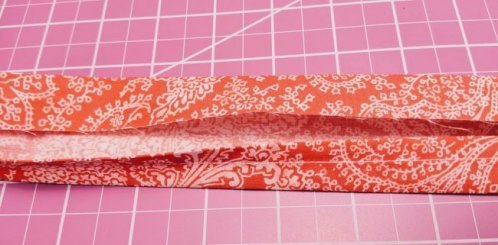
Step 7: Next, make the tie using the 3″wide by 60″long piece of fabric. Fold and press the tie in half the long way, then open and press the edges to the middle.
Step 8: Then, to tuck in the top for stitching, trim each corner and fold top over twice about 1/4″. Fold in half again the long way and pin for stitching:
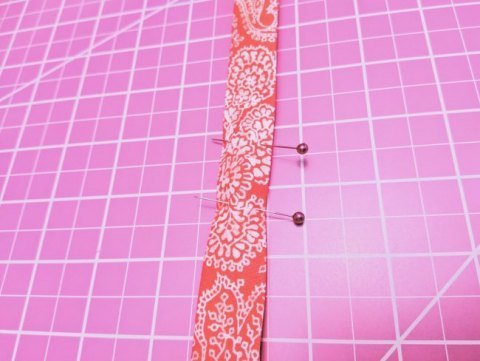
Step 9: Stitch along the length of the tie. With the blanket top facing right side up, measure 25.5″ inches from the right corner of the short edge. Center the tie over this spot and pin in place. The picnic blanket can be folded into fourths so it will roll up and be tied in place.
Sew tie in place, reinforce by stitching around several times:
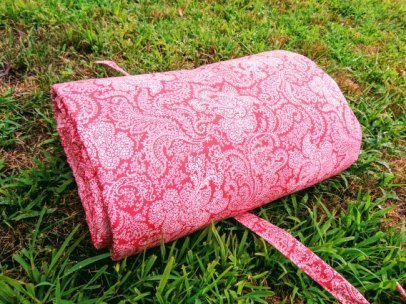
Step 10: To roll up your picnic blanket, place blanket bottom side facing up. Fold in half using the longer side, keeping the shorter side unfolded. Fold in half again this way, folding it into fourths. Roll the blanket, starting at edge furthest from the tie so that it will be centered on your rolled up picnic blanket.
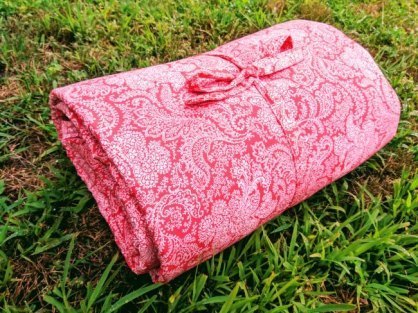
Step 11: Then tie a bow and your picnic blanket is finished!
What's the Best Way to Ensure a Pretty Finished Edge?
To achieve a beautiful finished edge on your DIY picnic blanket, sew binding around the perimeter for a neat and durable finish. Use a ruler to maintain consistent binding width throughout. Add a decorative touch by attaching the binding. Quilting the blanket secures the layers and adds an attractive design element. Finally, sew a strap with velcro to keep the picnic blanket neatly folded.
Conclusion
In conclusion, creating your own DIY picnic blanket is a fun and rewarding project that allows you to customize your outdoor experience. Selecting the right fabric and utilizing proper binding techniques ensures that your picnic blanket is durable and functional. Following a step-by-step process, such as preparing the blanket sandwich and finishing the edges, will result in a beautiful and professional-looking final product. Whether planning a romantic picnic for two or a family gathering in the park, your handmade picnic blanket will add a personal touch to your outdoor adventures. So, gather your materials and start creating your DIY picnic blanket today!
Thanks again for joining us for this DIY Picnic Blanket! Before you leave, make sure to join our Facebook Group and follow us on Instagram. Happy Sewing!