DIY Ice Pack | Ouchie Pack Tutorial
Our project today is a DIY Ice Pack or Ouchie Pack. It’s summer! Well, almost summer. My kids are officially out of school, so it’s summer to me. For us, that means loads of outside play! Baseball, softball, bikes, roller blades, climbing trees, and all the things that super crazy, busy, active kids do. And if your kids are like mine, you will likely encounter more than your fair share of scrapes and bruises this time of year as well.
My little niece was playing the other day on a bike and fell and scraped her knee up pretty badly. I felt terrible because I was out of ice and the only ice packs I had were the hard lunch box type. So while we made do with a cold rag, I made a mental note that we NEEDED some ouchie packs stat!
DIY Ice Pack or Ouchie Pack
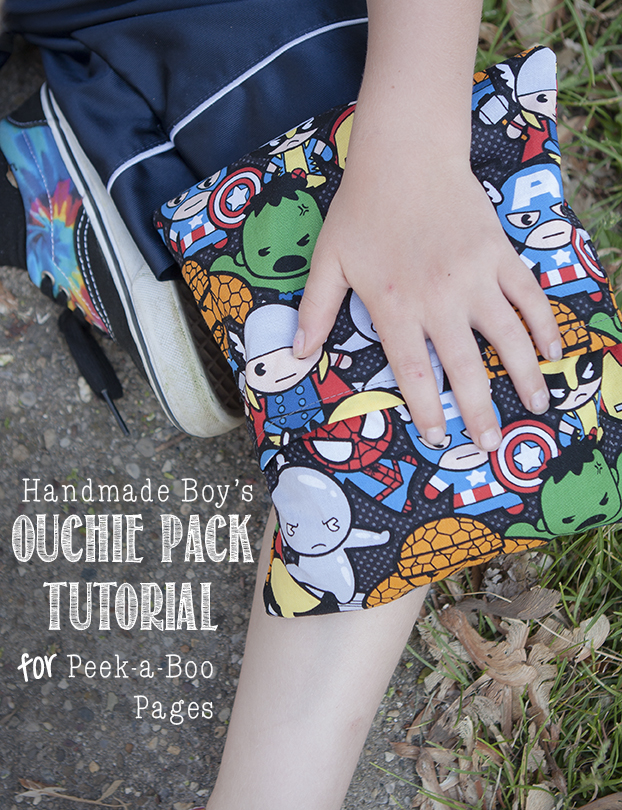
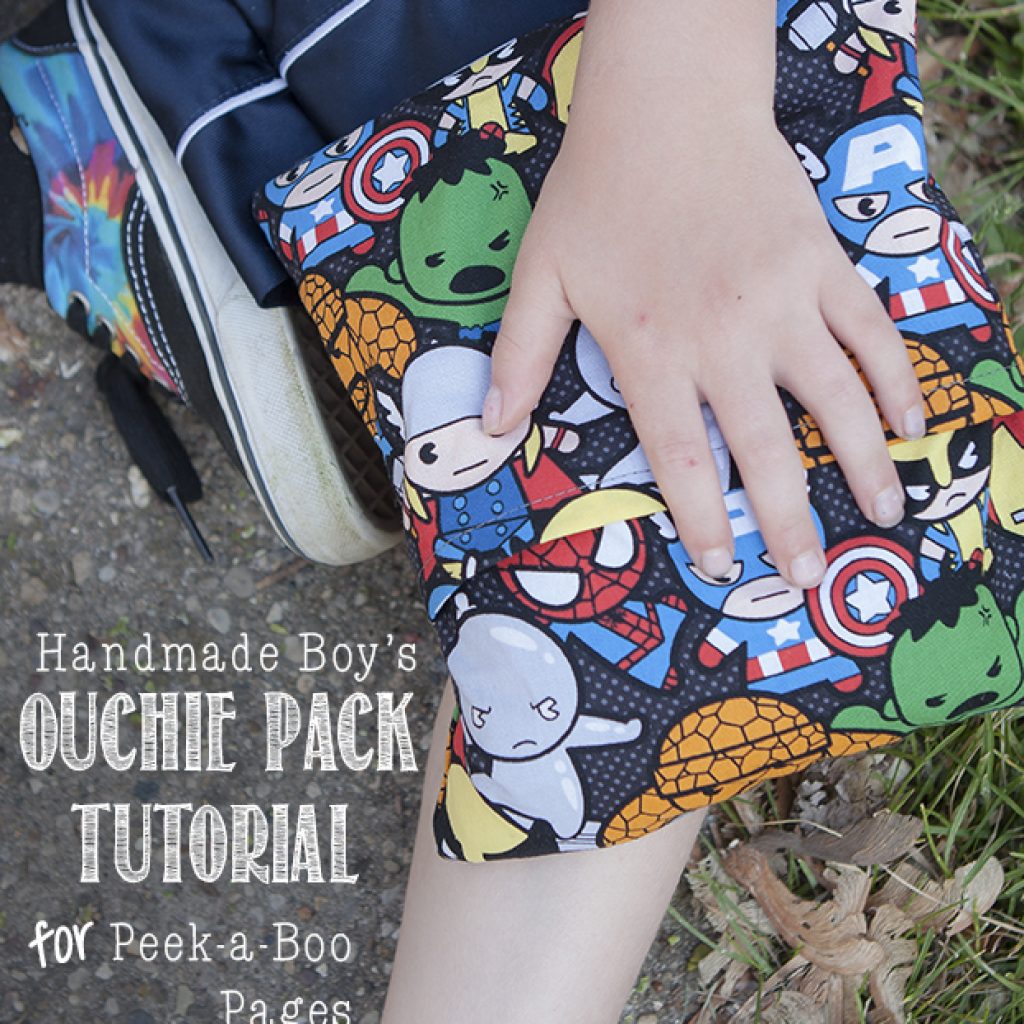
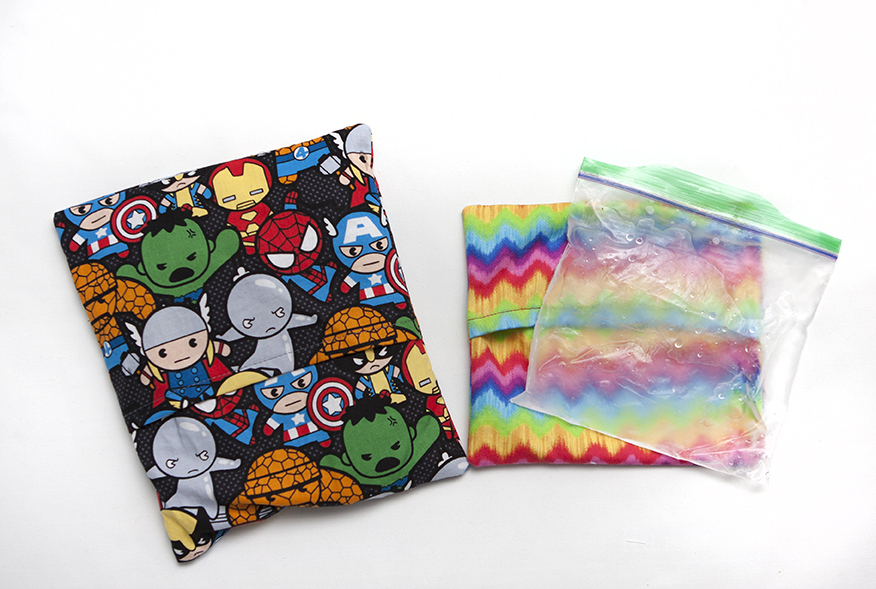
These ouchie packs take zero time to whip up! They are super easy, great for scraps and bumps and way more fun and easy to handle than a bag of peas wrapped in a kitchen towel. The one you see above with the awesome superheroes was made using a quart-size plastic freezer bag and filling it with some cups of water. I am also sharing the dimensions for making a sandwich size as well. Who doesn’t love options? 😉
You are going to need the following:
- plastic baggy
- scraps of fabric (dark colors hide blood better)
- basic sewing supplies
- ice or homemade ice pack recipe (see tutorial)
How to Make an Ice Pack Instructions
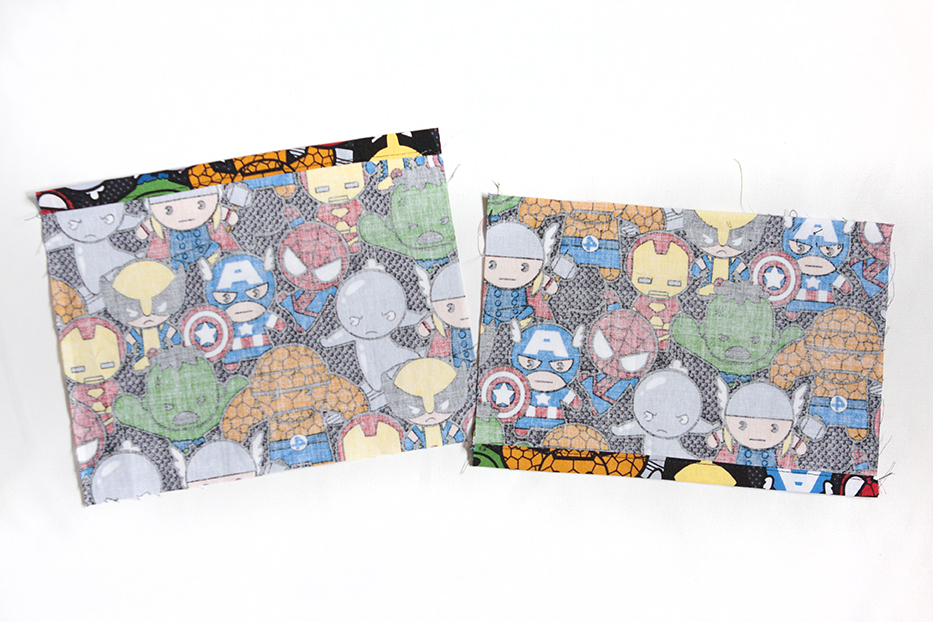
Cut your fabric into three rectangles.
Quart sized you will need 1 – 9″ x 10″, 1 – 9″ x 8″ and 1 – 9″ x 7″
Sandwich sized you will need 1 – 8.5″ x 7.5″, 1 – 8.5″ x 6″, 1- 8.5″ x 5″

Set the largest rectangle aside for now. Press the bottom edge of the smallest rectangle to the wrong side 1/2″ and again another 1/2″. Topstitch into place. Repeat with the top edge of the middle sized rectangle.
Place the largest rectangle right side up. Place the smallest rectangle right side down so that the top and side raw edges line up.
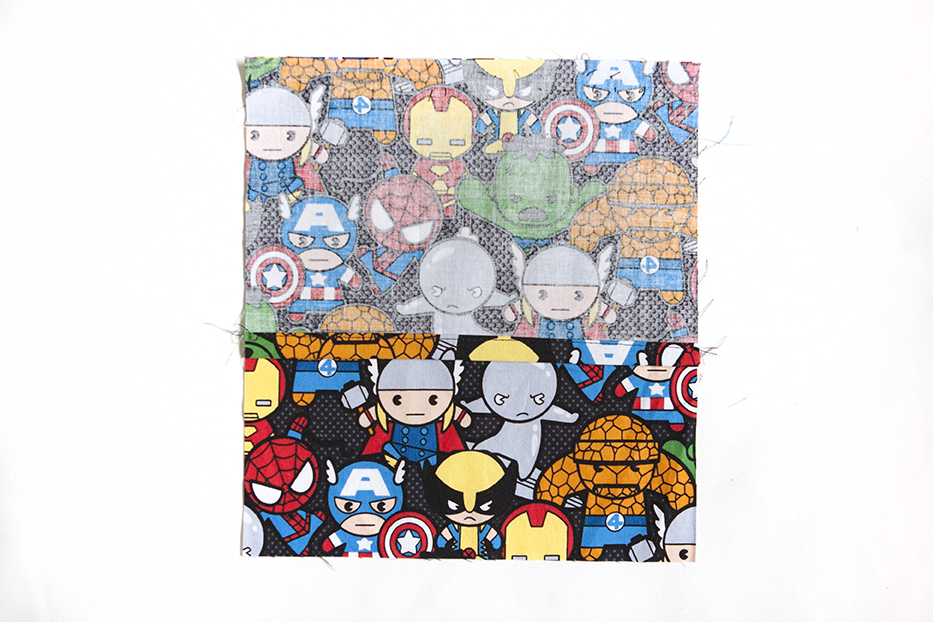
Now place the middle sized rectangle right side down lining up the bottom and side raw edges. Your smallest rectangle will be between the two other pieces.
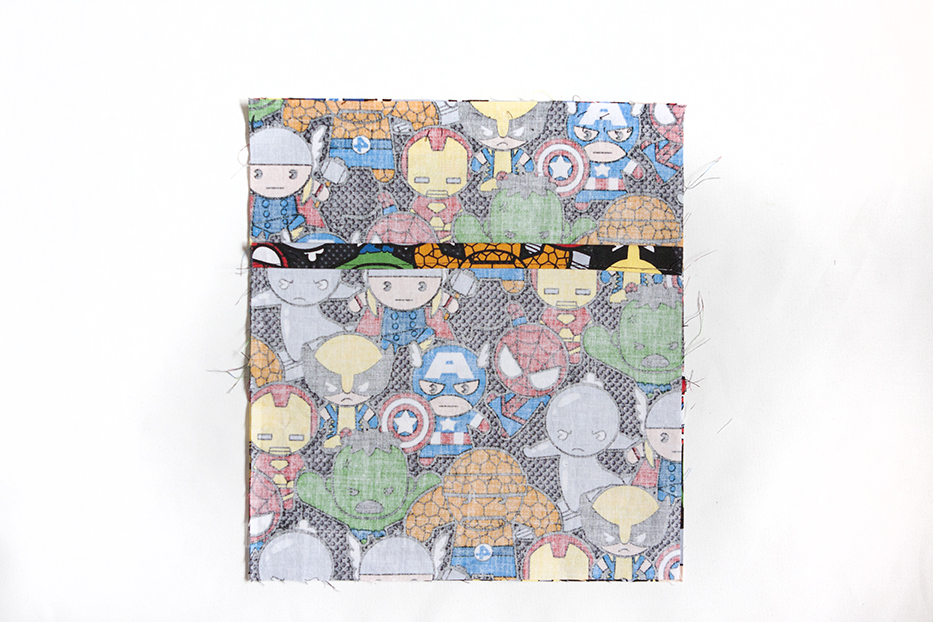
Pin into place and sew around all four sides with a 1/2″ seam allowance.
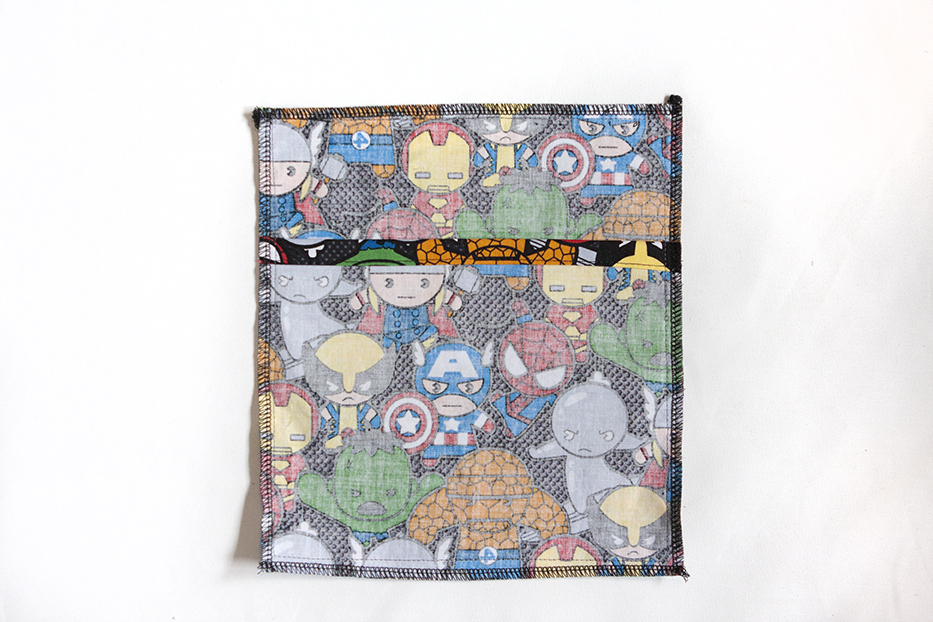
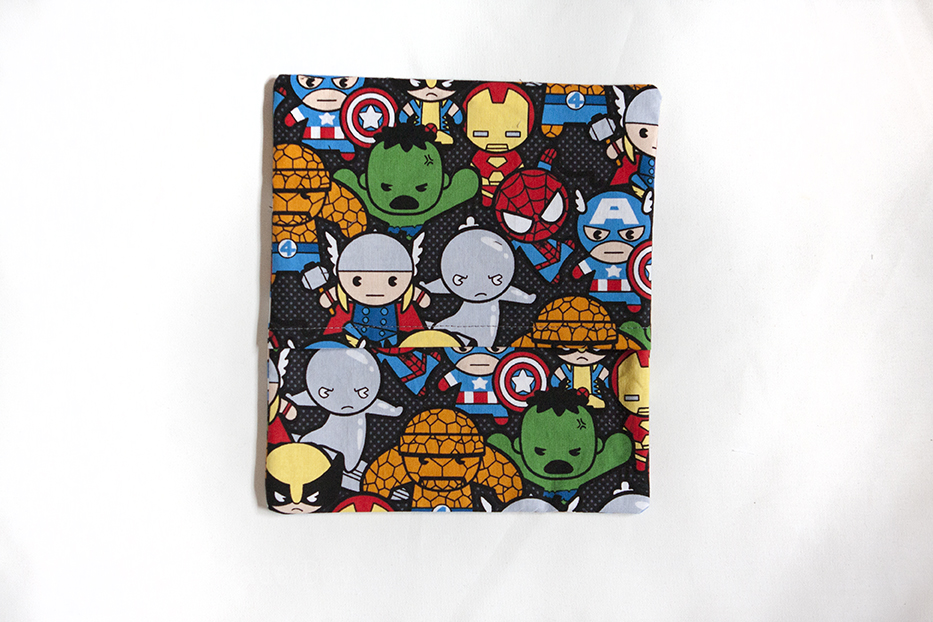
Turn right side out and press. If you didn’t use a serger, clip the corners first.
Now for the ice pack! You can of course just fill your baggy with ice and be done with it. I made an ice pack with a mix of 3 parts water, 1 part rubbing alcohol. Do NOT use this with young children unsupervised! If in doubt, just use ice. Or frozen peas.
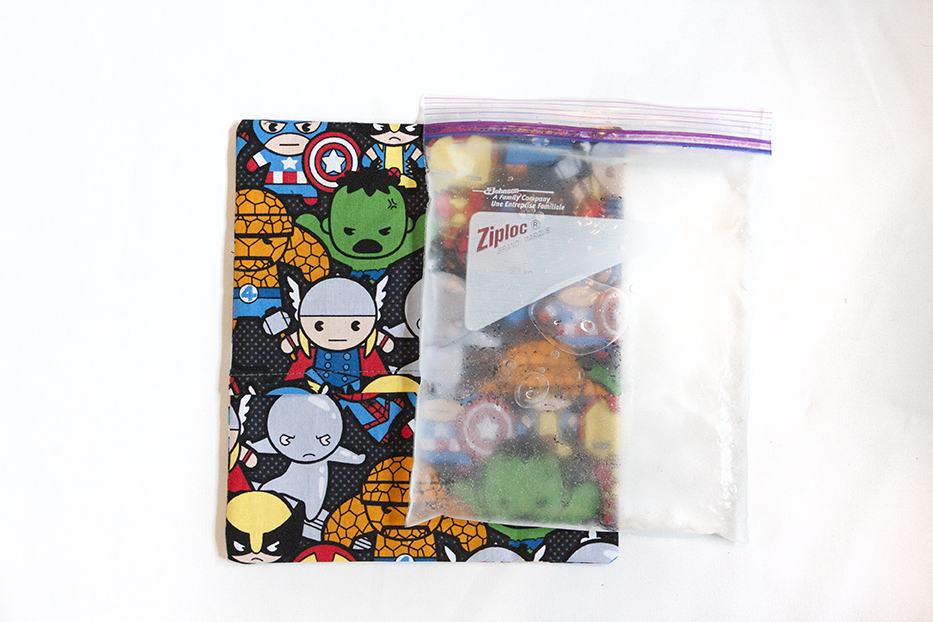
(impatient blogger picture. my ice pack isn’t frozen completely. for shame!)
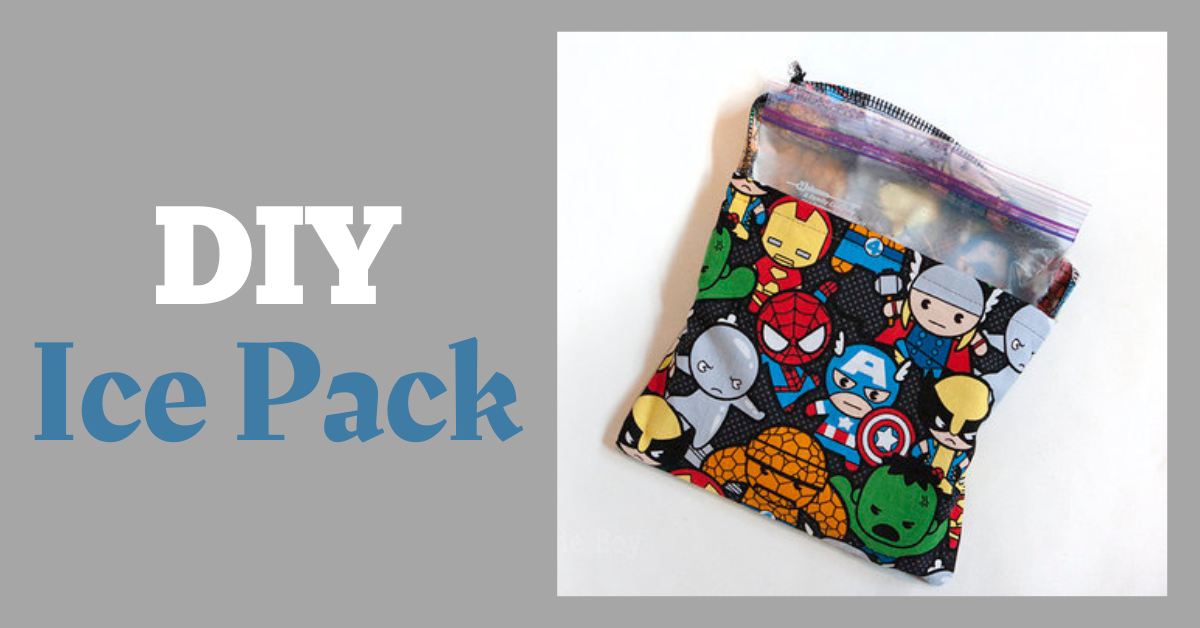
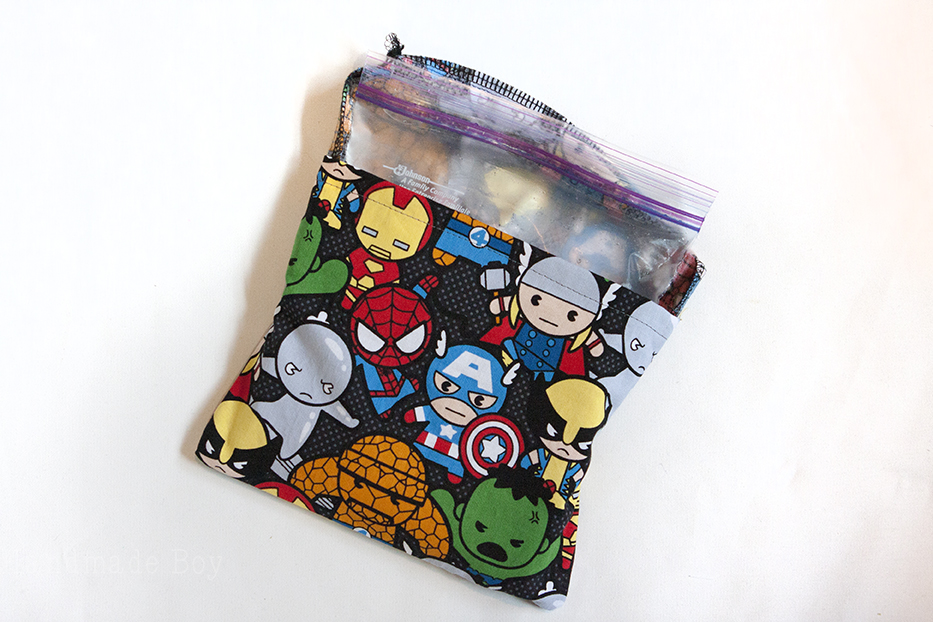
Just fill your baggy with your choice of freezing agent and slip it into the envelope pouch. No messing with velco or other closures.
Now, if your summer is going to be like mine, go ahead and make a few of these. 😉
What are some different materials you can use to make an ice pack?
You can make DIY ice packs using a variety of materials, such as a sponge, rice-filled sock, frozen vegetables, or even a mixture of dish soap and rubbing alcohol. These materials provide different levels of flexibility and coldness, allowing you to choose the one that suits your needs best.
There are lots of other ways to make DIY Ice Packs too - the simplest
Hopefully, you won’t actually NEED them. But they are great for placing on your forehead to cool down after all that playing, also! I hope you enjoyed this DIY Ice Pack tutorial.
Creating your own DIY ice pack is a simple and cost-effective solution for soothing injuries or reducing swelling. By following the steps outlined in this blog, you can easily sew your own ice pack using basic materials found around the house. Not only will this save you money, but it also allows you to customize the size and shape of your ice pack to better suit your needs. Whether you're dealing with a sprained ankle, a headache, or just need a way to cool down on a hot day, having a DIY ice pack on hand can provide instant relief. So why not give it a try? Get your sewing kit ready and start making your own DIY ice pack today!
Before you leave, you should go join our Peek-a-Boo Pattern Shop Facebook Group. You can also follow us on Instagram. Also, if so you might like some of these other tutorials.