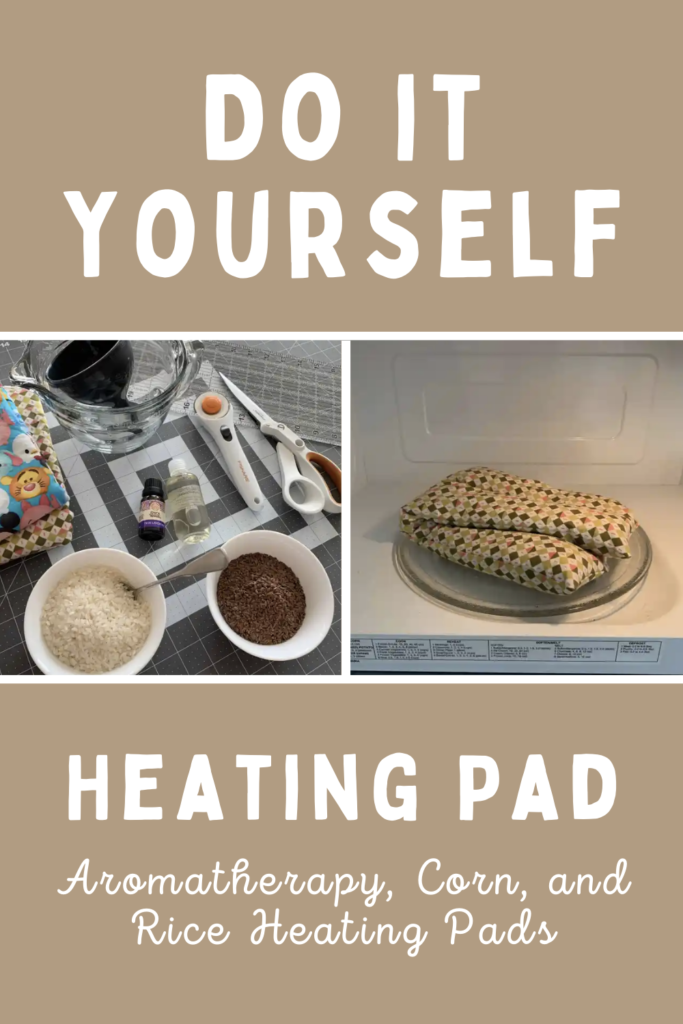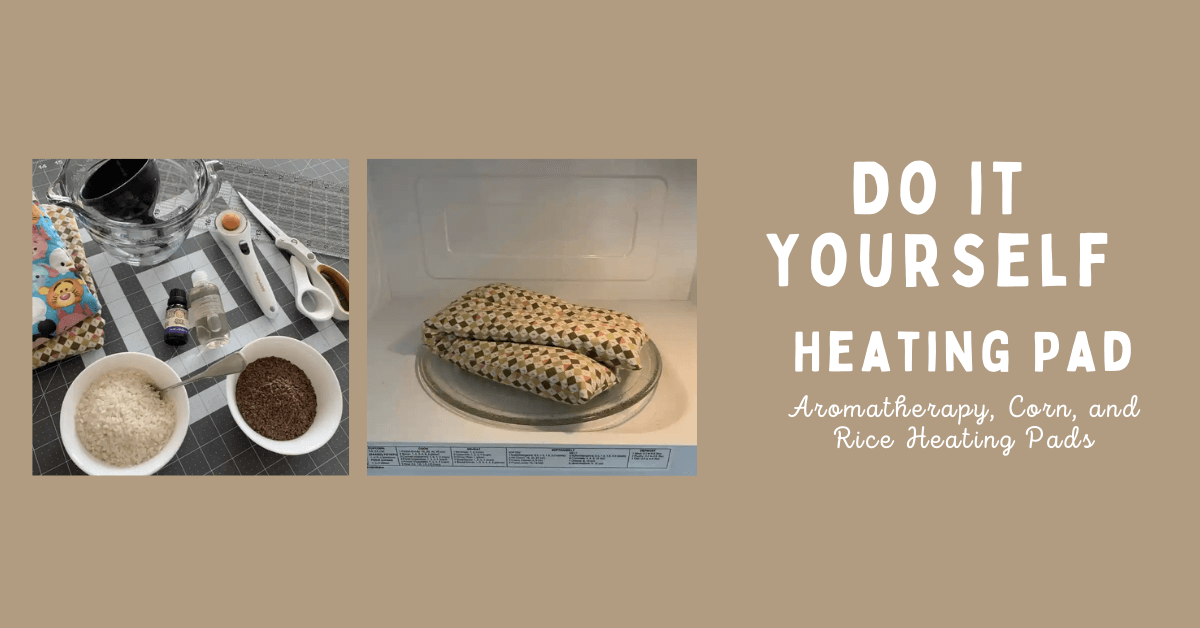
DIY Heating Pad | Aromatherapy, Corn, and Rice Heating Pads
Making a DIY heating pad or heat pack with rice or corn is an easy and affordable way to stay warm during the winter months or relieve aches and pains. We call them "bed buddies" at our house and they're a great substitute for an electric heating pad. Rice, flax seed, and corn work equally well for creating a microwavable heating pad, and they are readily available at any grocery store. Simply fill a fabric pouch and heat it in the microwave for a few minutes. The grains will hold the heat for an extended period of time, providing soothing warmth to help ease sore muscles or reduce stiffness. This simple and effective solution can be used anytime you need relief from discomfort, making it a great addition to your self-care routine.
How do you make a heating pad at home?
To make a DIY heating pad at home, you can use filler like rice, corn, or flaxseed. Fill a fabric pouch with the chosen material, sew it shut, and heat it in the microwave for a few minutes. Make sure to test the temperature before applying it to your body.
Which Filler Material Should I Use for My Heating Pad?
Rice, corn, and flax seed are all commonly used fillings that provide effective heat retention and distribution. Rice is a popular choice because it is readily available and affordable. It also holds heat well and conforms nicely to the contours of the body. Corn has similar qualities to rice and can provide long-lasting warmth. Flax seed is another excellent option as it retains heat for a longer period of time and has a pleasant natural scent. Additionally, flax seed has the added benefit of being hypoallergenic. Ultimately, the best choice for your heating pad filling will depend on your personal preferences and needs.
How To Make a Rice Bag Heating Pad
DIY Rice Heating Pad
These heating pad make great gifts for Christmas or any time of the year. They're perfect hand warmers or your own heating pad after a long day. What’s also great about this project?! You can throw ta homemade rice heating pad in the freezer for a mock-ice pack!
If you’d prefer not to add scents to your heating pad, by all means, omit the essential oils/dried herbs and flowers… your heating pad will work just as well and be just as wonderful at keeping the heat in.
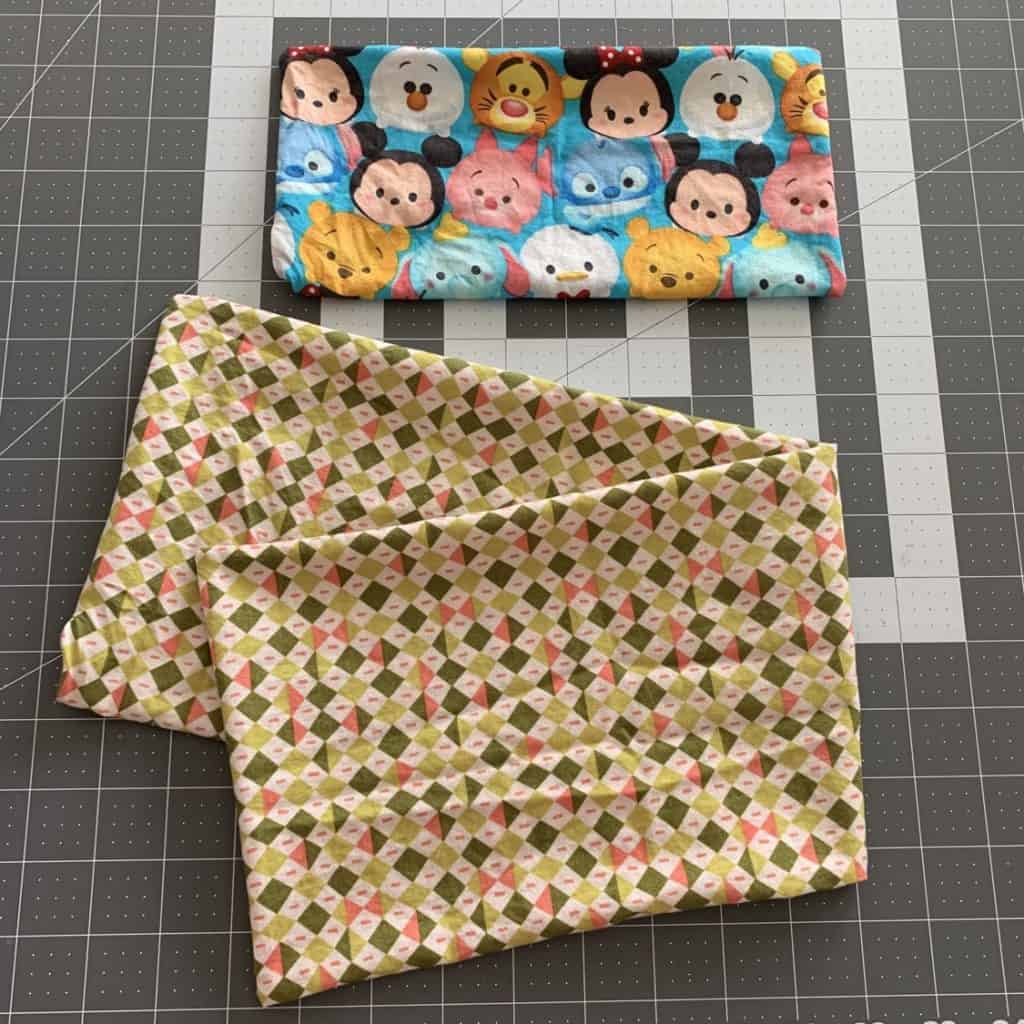
I’m going to be making two heating pads today, each a different size so I can show you a couple options, using both rice and flax seed. One is for our shoulders and neck, so will be long and thin, and will be sewn down the middle for better distribution of the filling, flax seed.
The other will be an everyday type heating pad that can be used really anywhere, and it will be filled with uncooked rice.
Lets dive right in with the DIY heating pad!
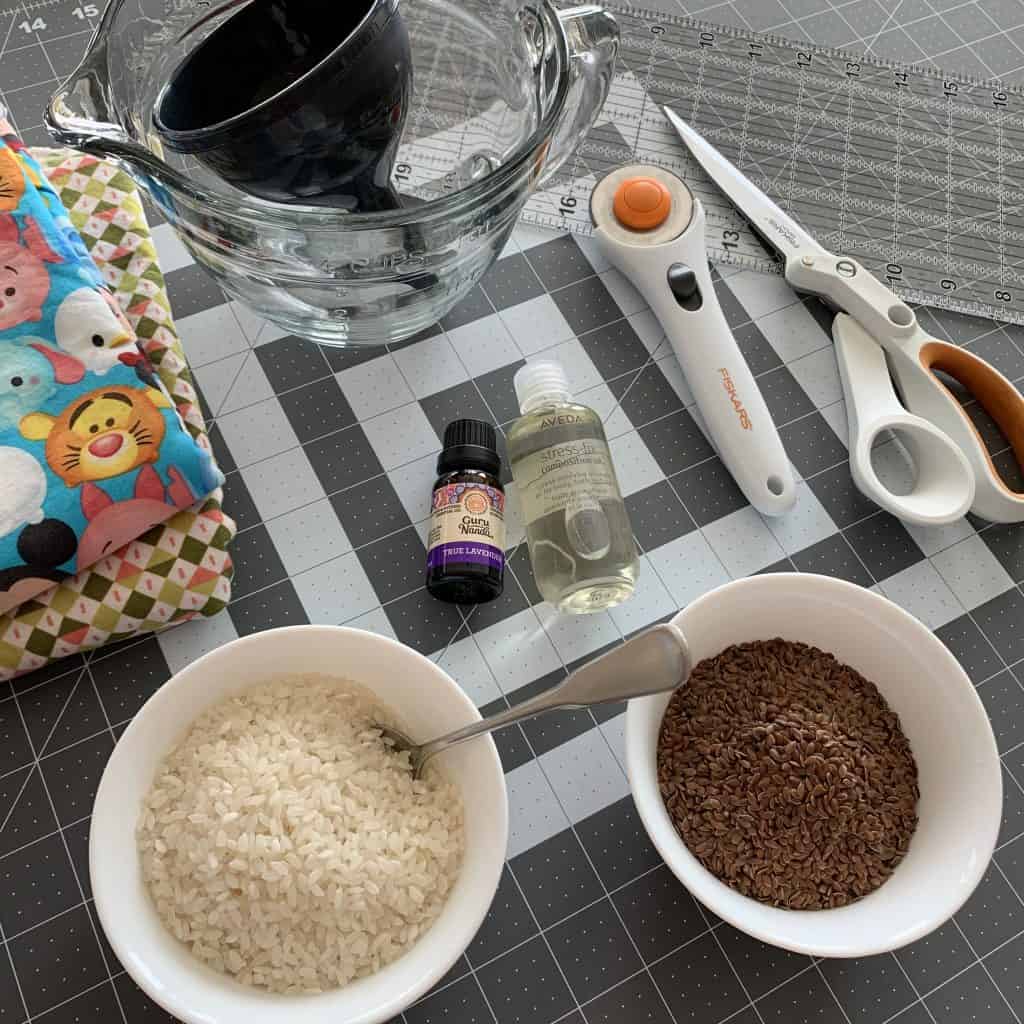
Materials for a Rice Heating Pad
- 100% cotton fabric (because you’ll be microwaving these, the fabric must be 100% cotton)
- For my large heating pad, I used a 14″ x 22″ rectangle
- For the smaller one, I used an 8″ x 10″ piece
- White Rice and/or flax seed (I used roughly 3 cups of rice for the small bag and 6 cups of flax seed for the large)
- Essential oil(s) (e.g. lavender or stress relief mixtures; you can also use dried flowers or herbs if you prefer)
- Large mixing bowl
- Spoon for mixing
- Funnel
- Scissors/rotary cutter
- Self-healing mat (if using a rotary cutter)
- Ruler/acrylic ruler
- Sewing machine and 100% cotton thread
- For my large heating pad, I used a 14″ x 22″ piece
- For the smaller one, I used an 8″ x 10″ piece
Step-by-Step Tutorial to Make Your Microwave Heating Pads
Step 1. Mix in your essential oils.
1. Add 15-20 drops of essential oils of your chosen scent to the right amount of rice or flax seed filling and stir to combine. (Ooohhh! It smells so good!!!)
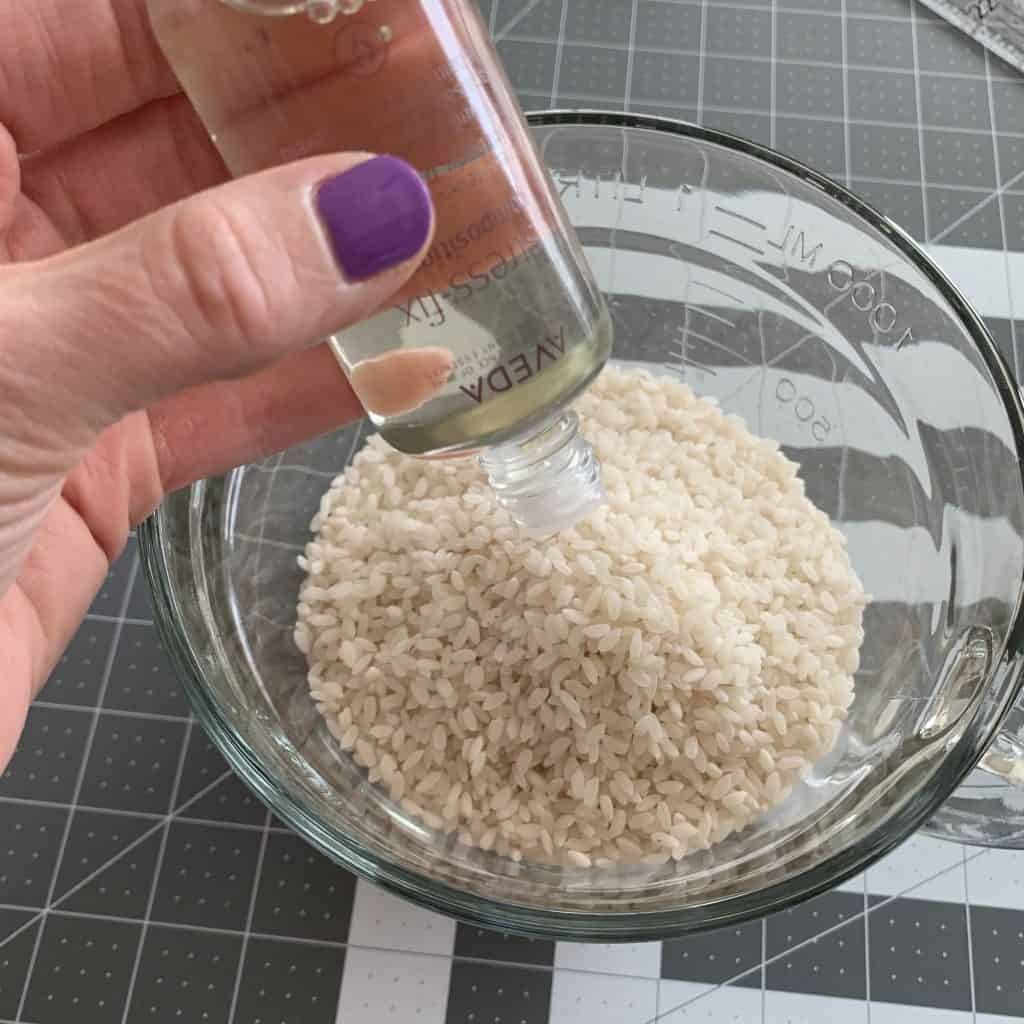
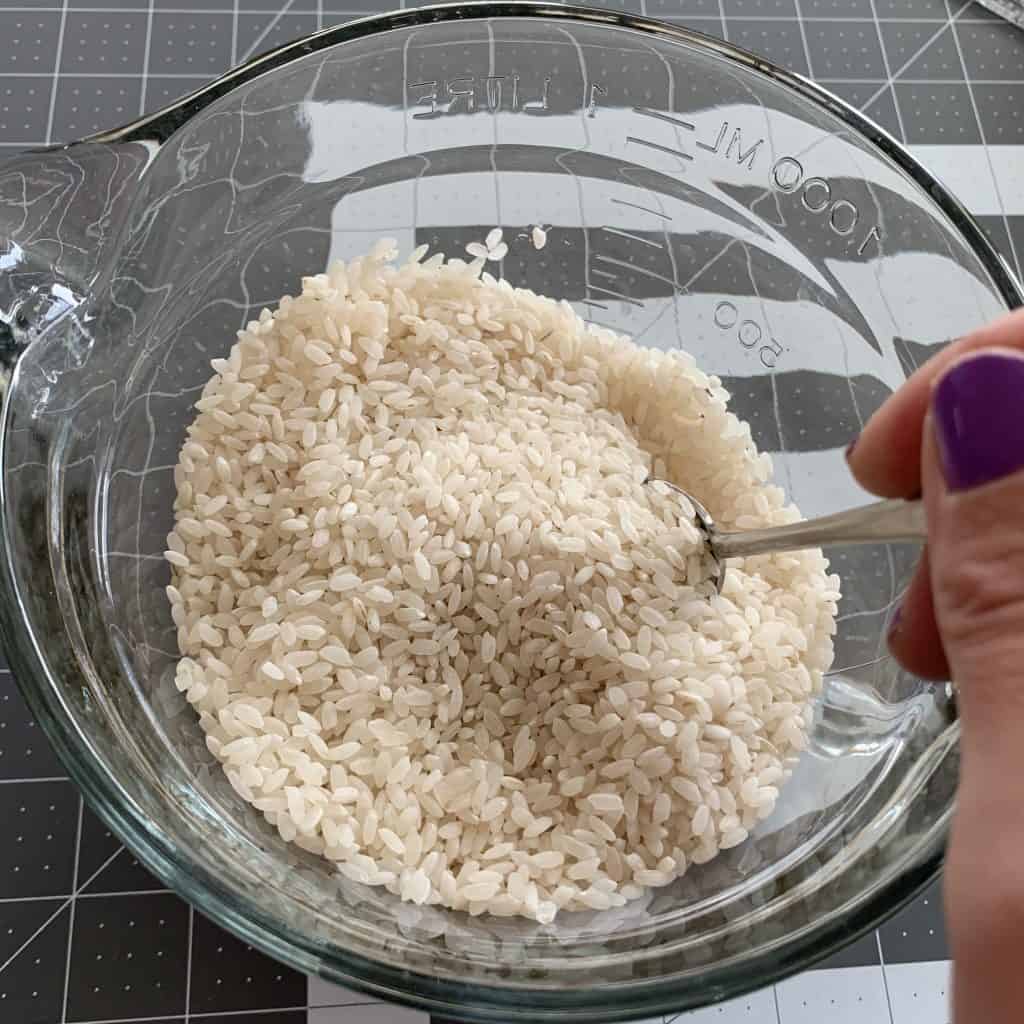
I recommend letting the aromatic rice or flax seed sit still for at least an hour if not more, so the oil dries a bit. It makes for clumpy rice and flax seed if you do it too soon, and it may make filling the heating pads harder.
Of course, this step is for an aromatherapy heating pad. Many times people don’t want the extra “aroma” and just make their heating pads with rice and omit the essential oil. That’s fine!
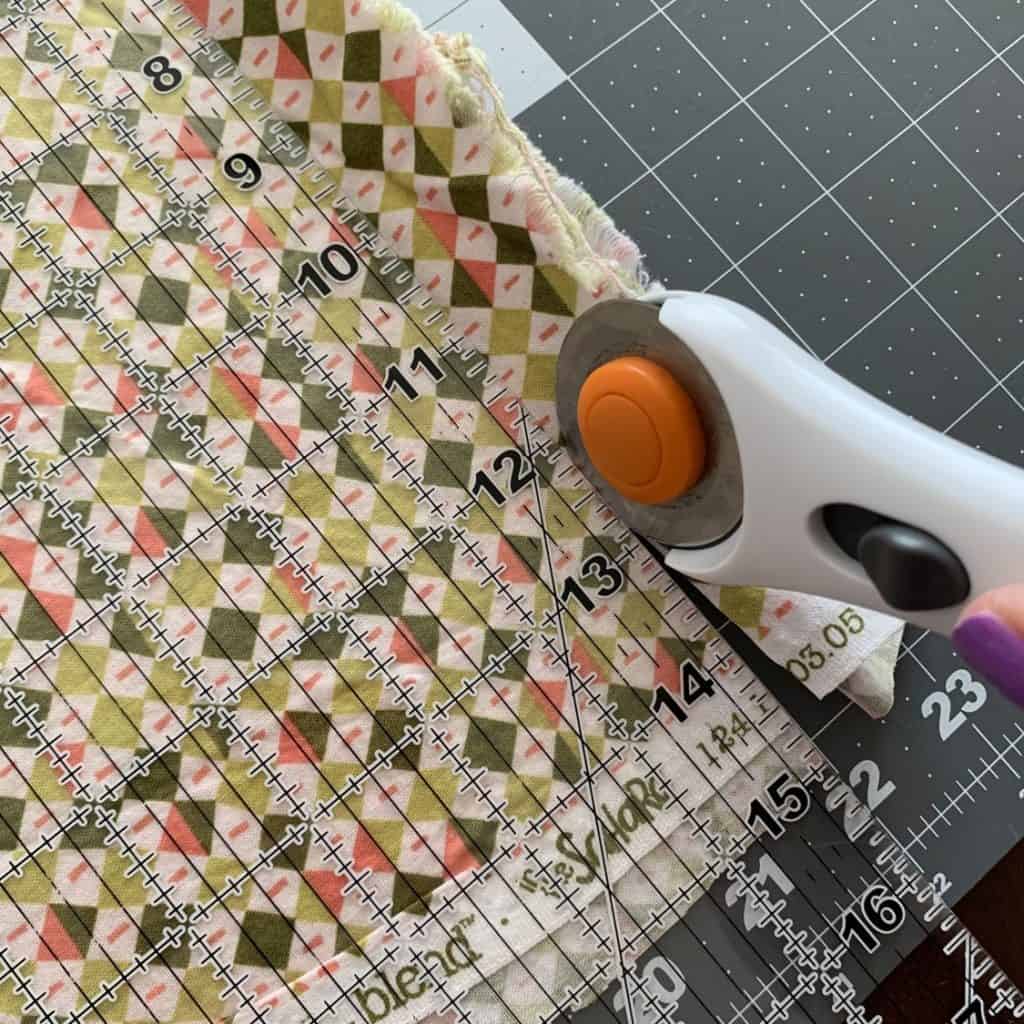
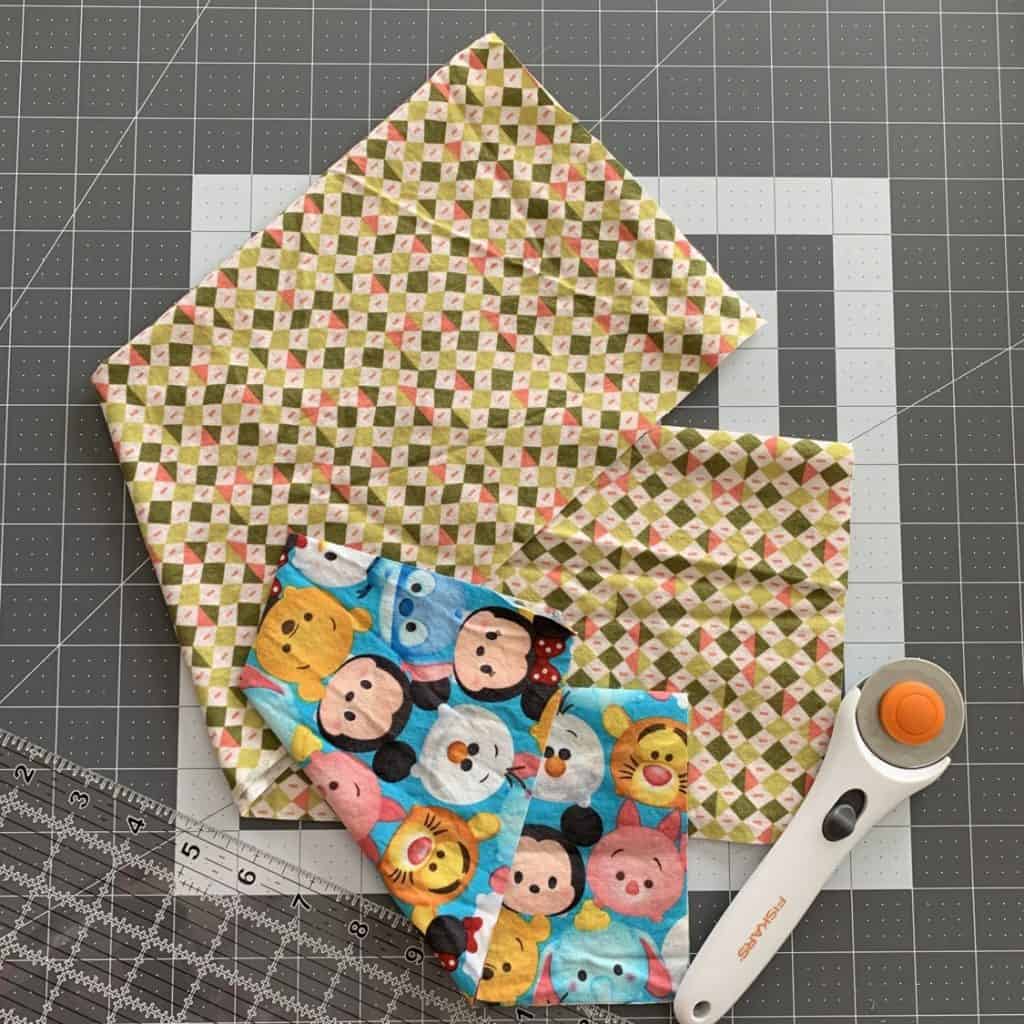
Step 2. Measure and cut your DIY Heating Pad fabric
For the bag, I folded my fabric in half, so cut out a 7″ x 22″ piece and a 4″ x 10″ piece.
I tend to cut out a piece slightly larger than my intended size…
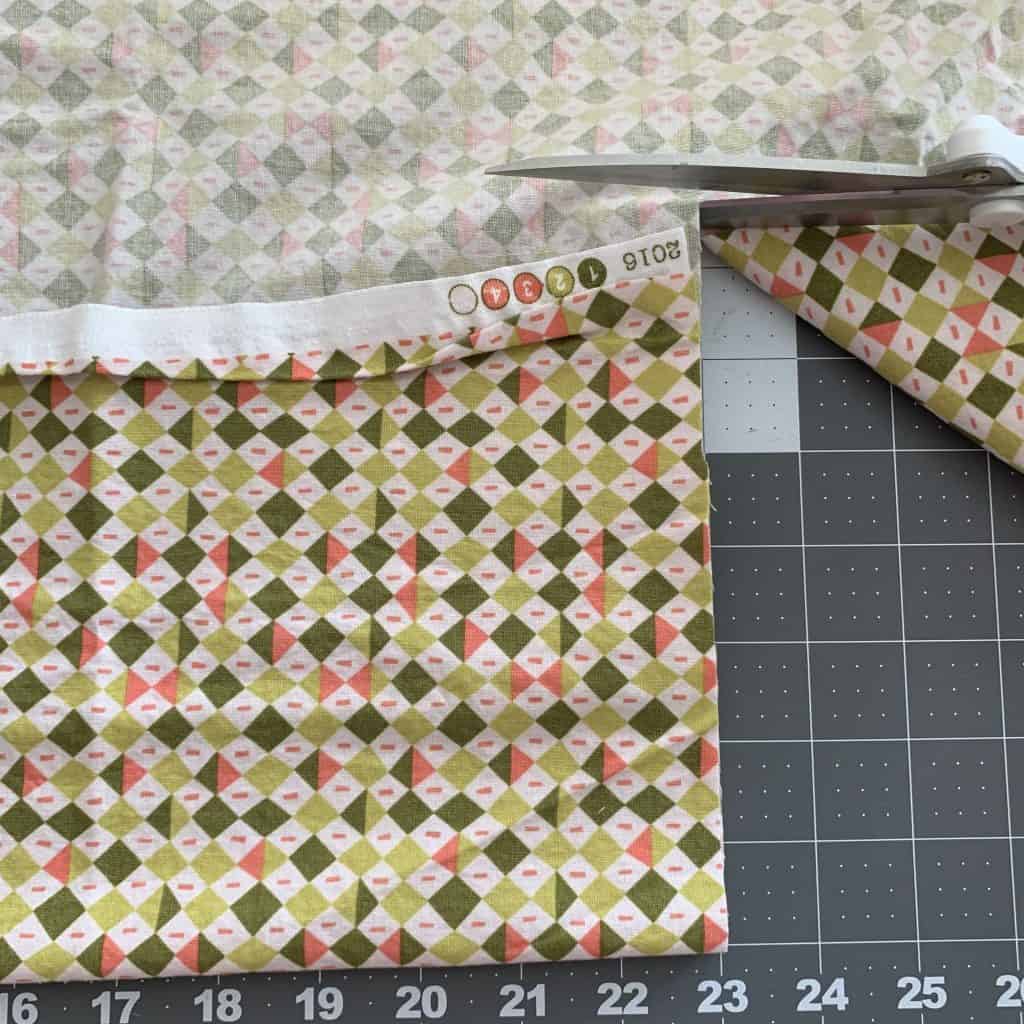
…and then come back with my rotary cutter and acrylic ruler to finish out the job.
If you’re making two like me, repeat with the second piece.
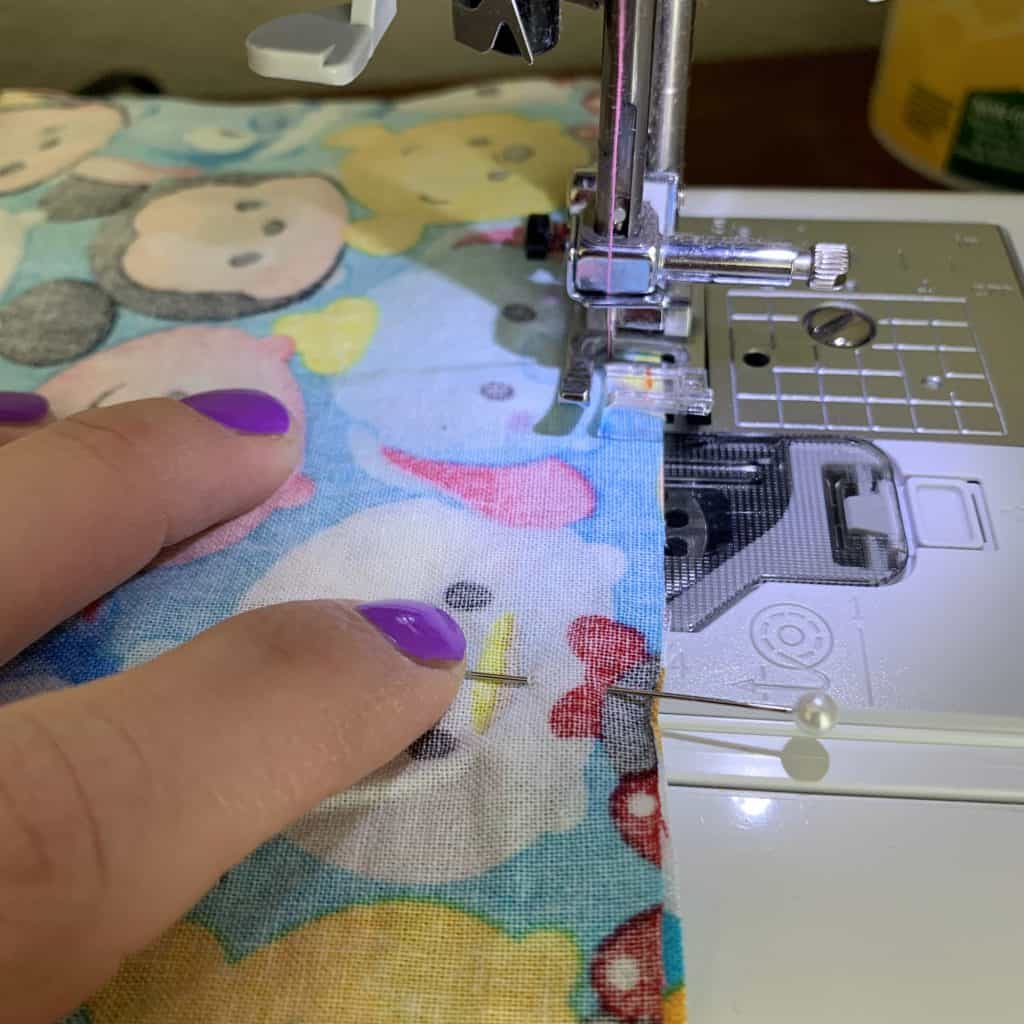
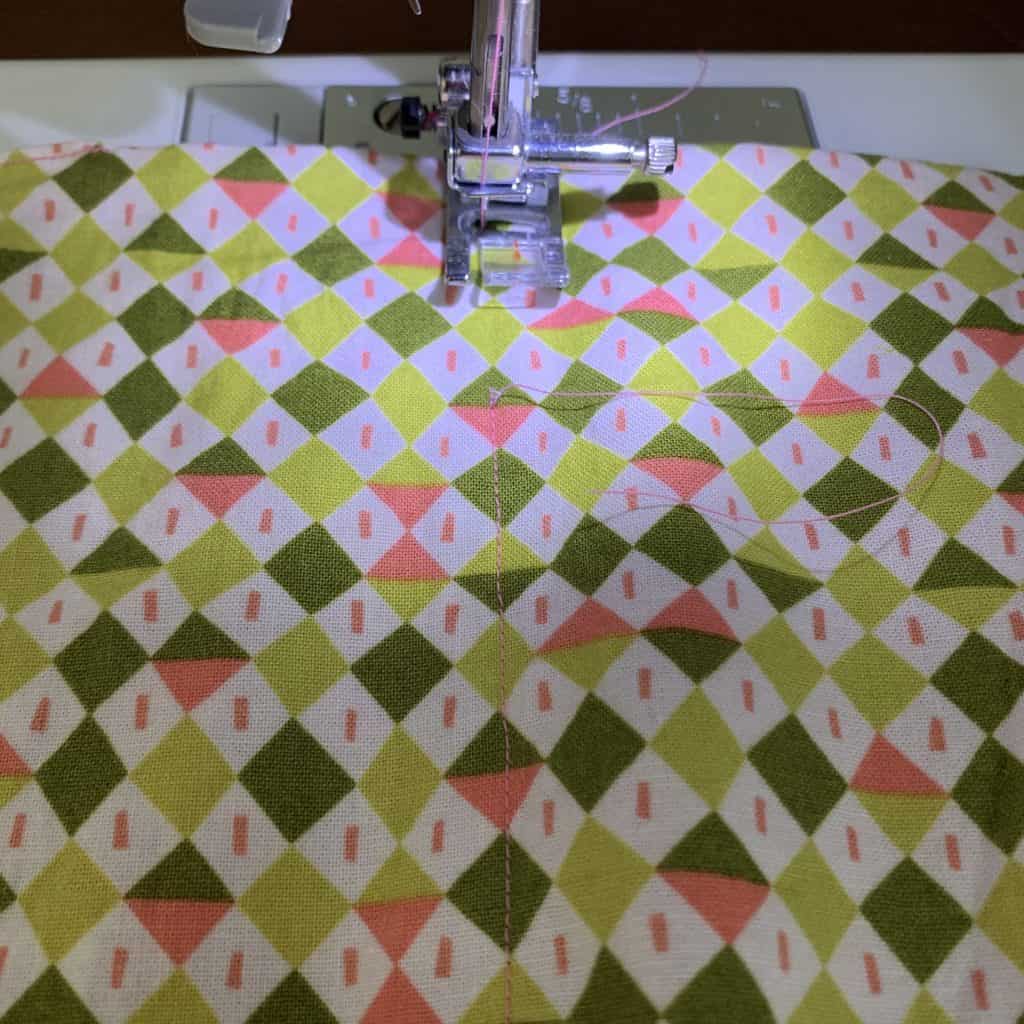
Step 3. Pin and sew.
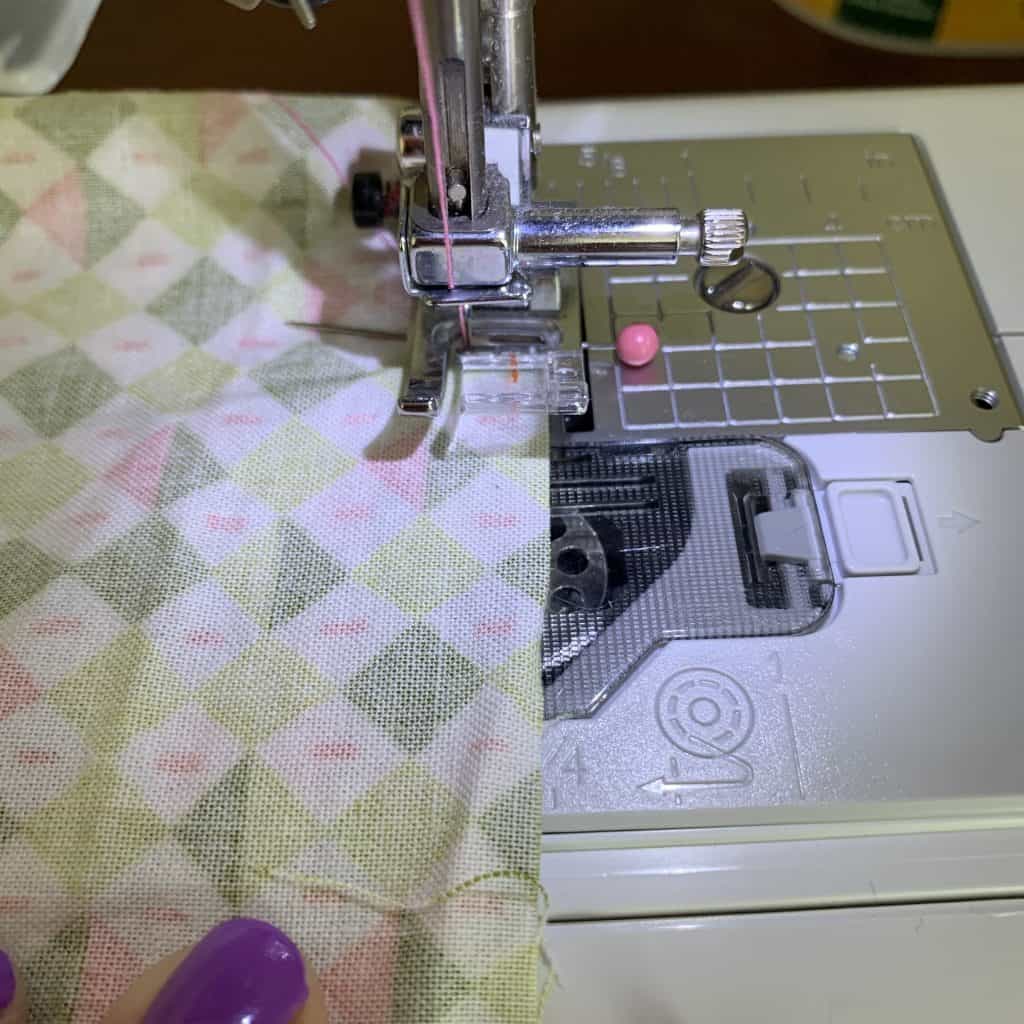
1. Fold each piece in half longways like a hot dog with right sides together (RST) and pin along the three raw edges.
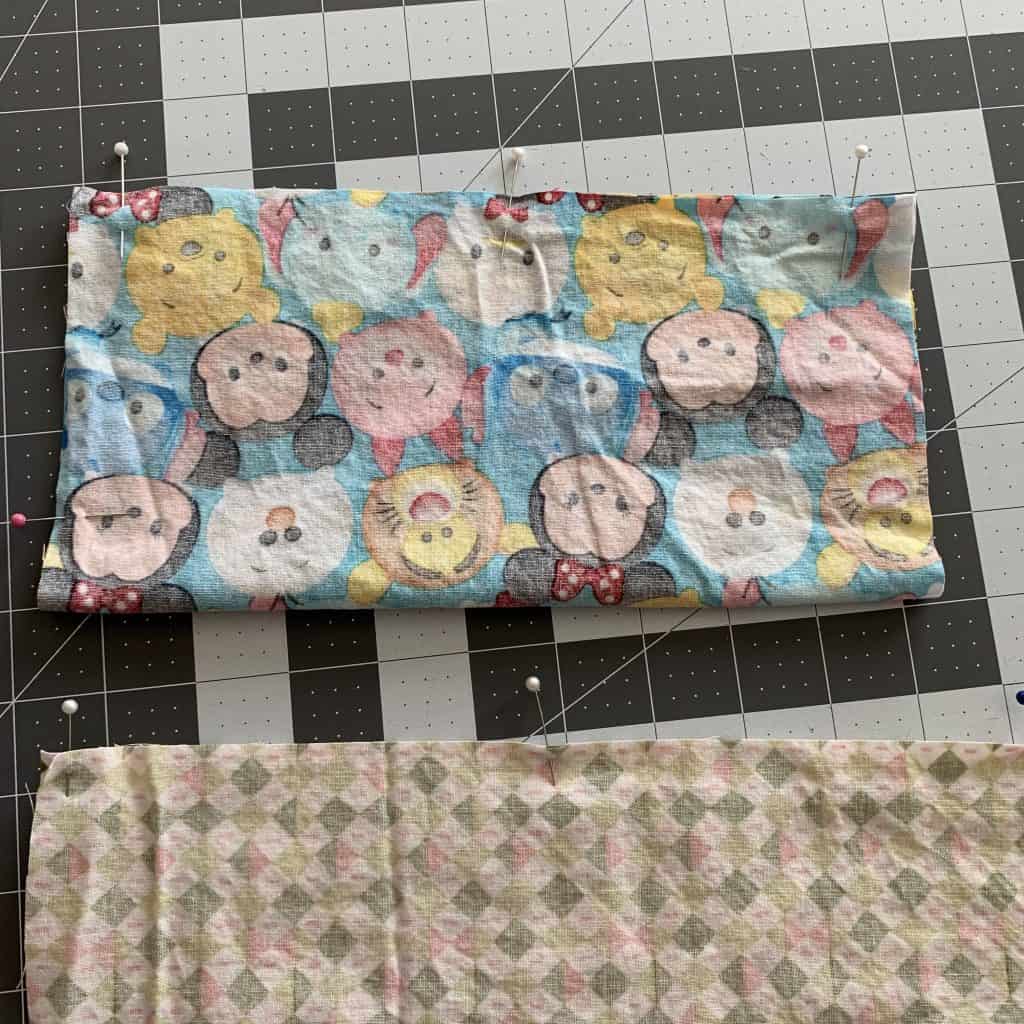
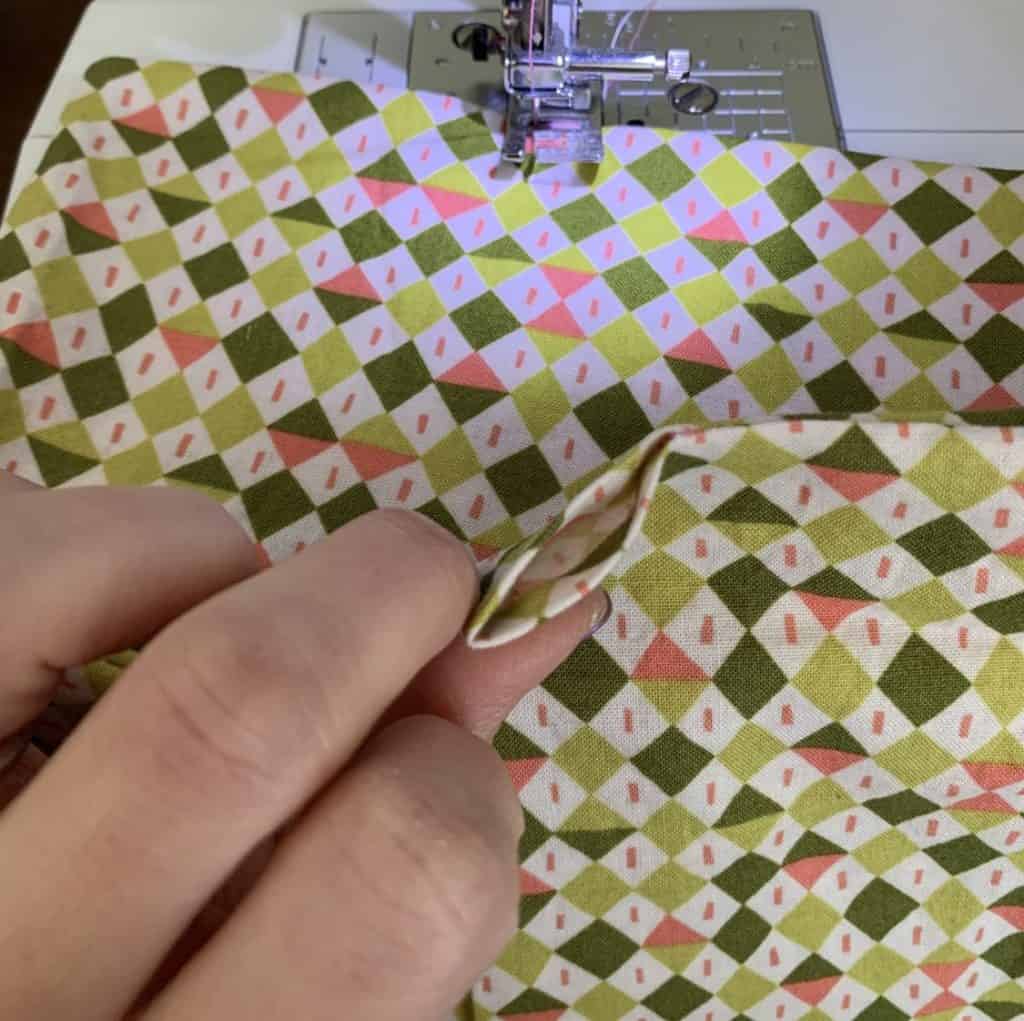
I’ve marked with a pink pin where I will begin sewing – about 2-3″ from the folded edge, enough to leave an opening to turn the sewn piece right-side out.
This opening will also serve as the hole for your funnel, so before you sew, make sure the funnel will also fit into it.
2. Sew the three raw edges together, starting (or stopping) at your opening. I’m using 1/4″-ish seam allowance (SA) but you can go smaller or larger depending on you personal preference.
Always remember to backstitch when you start and stop, especially since the stitches near the opening will be taking a beating as you turn this piece right-side out and use your funnel to fill the heating pad.
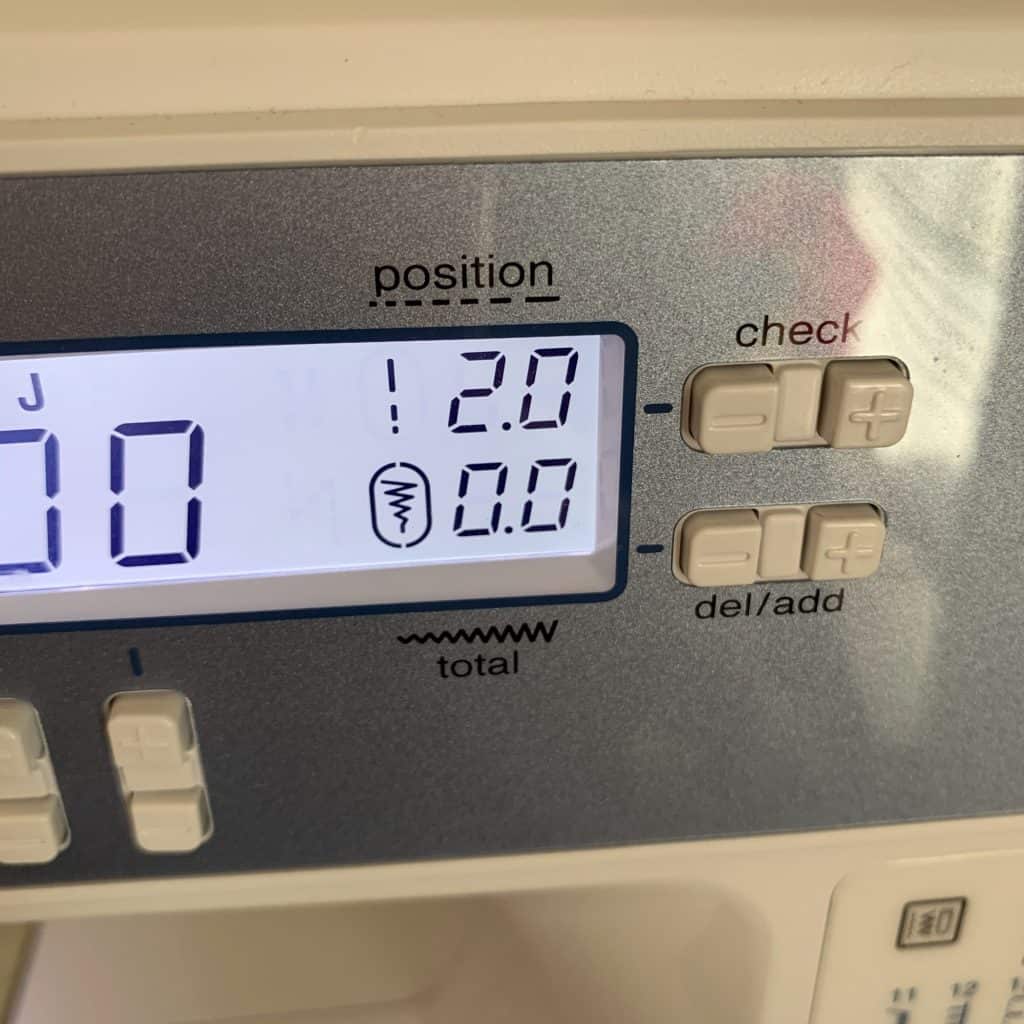
Tip: When making these or any filled item, I tend to use a shorter stitch length than normal (taking it down from 2.5 to 2.0) to ensure a tight hold.
Repeat if you’re making two. 🙂
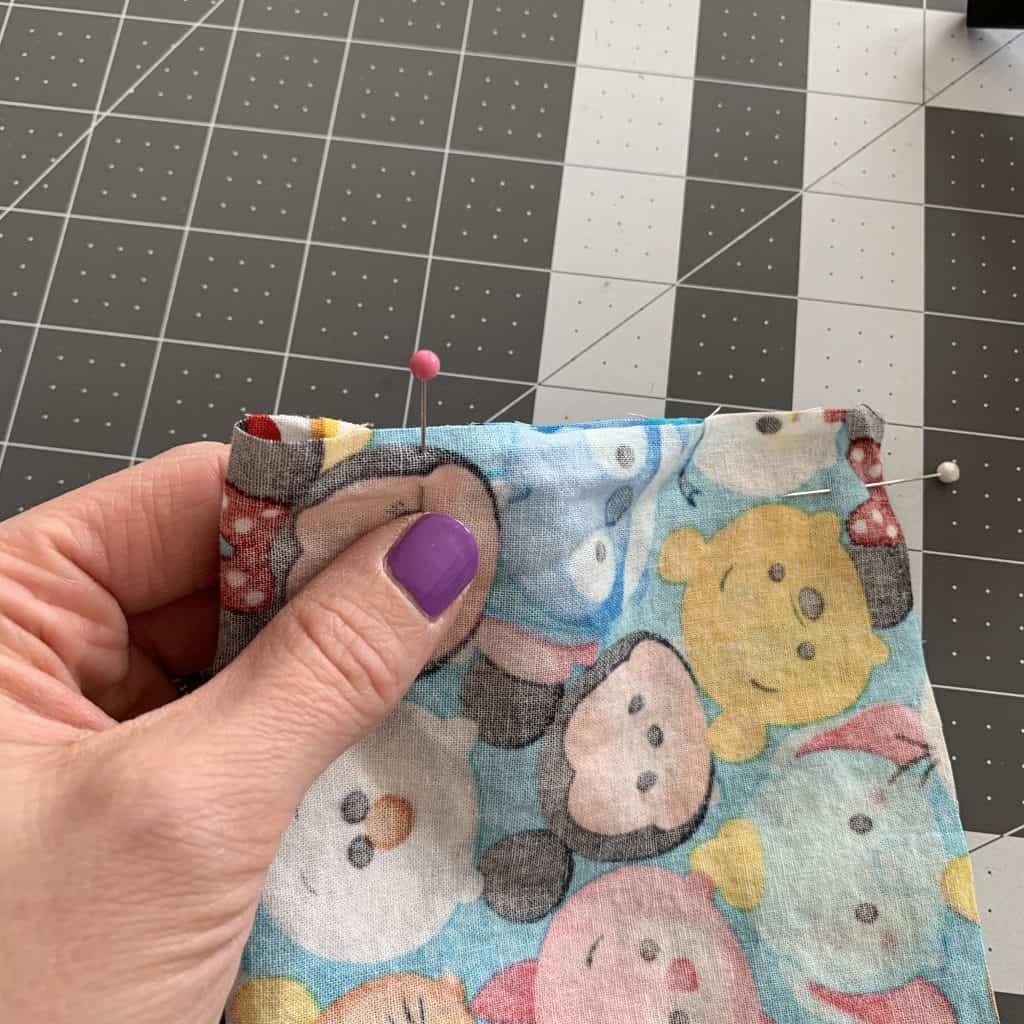
Did you remember to leave an opening?! Good! So did I! 🙂
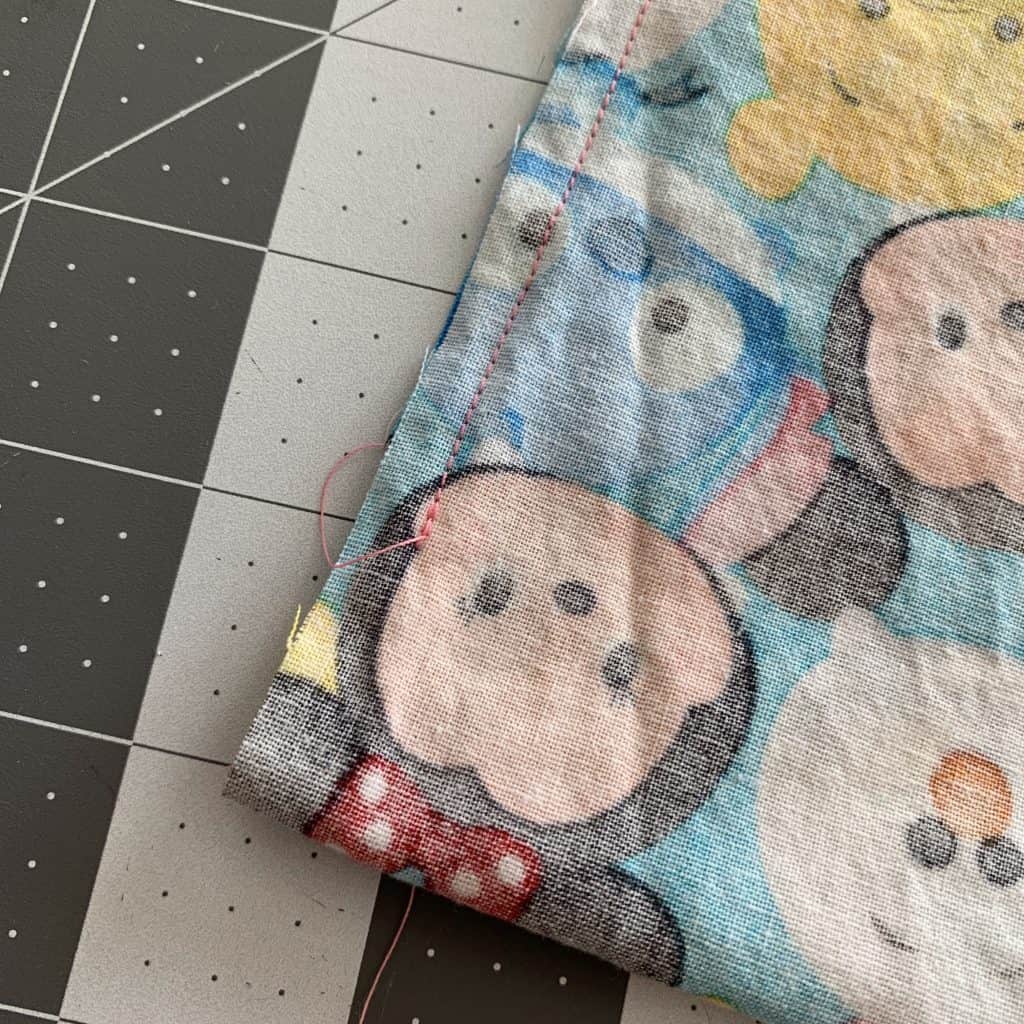
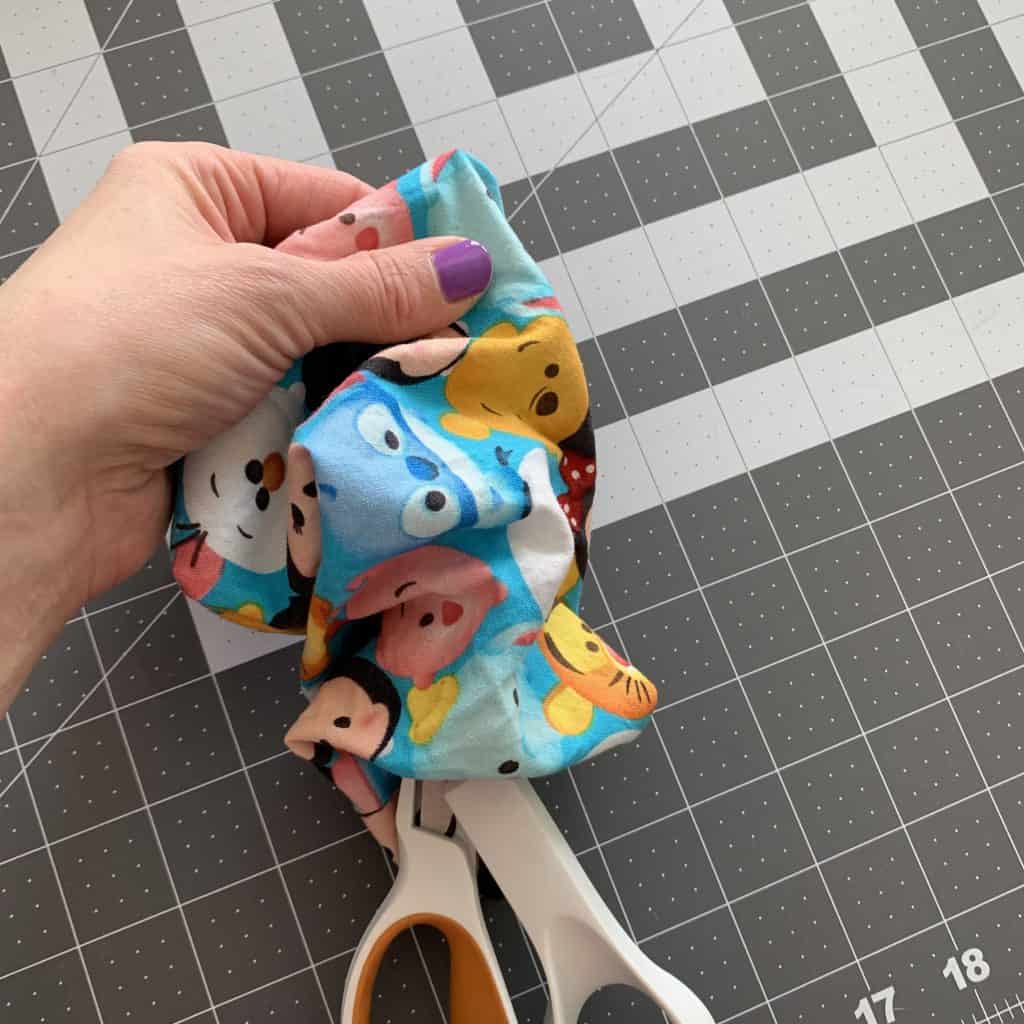
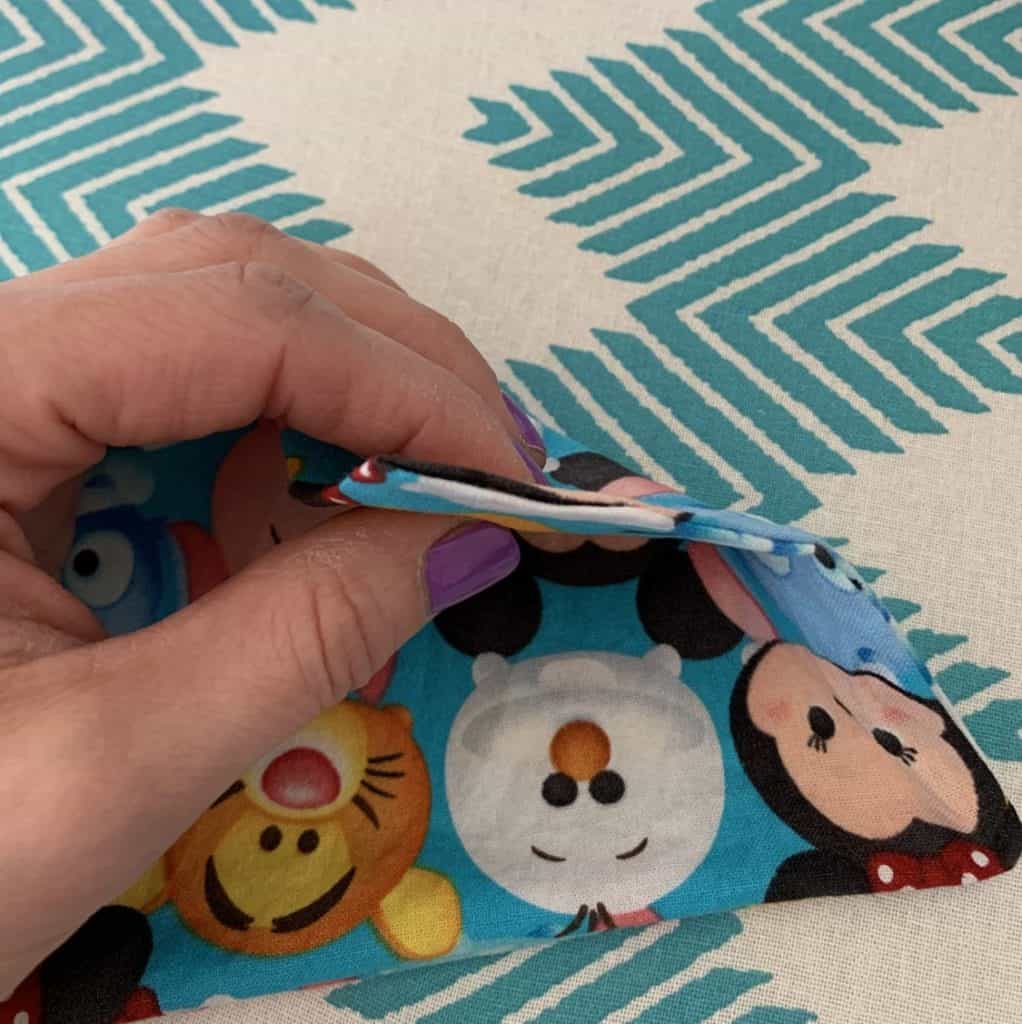
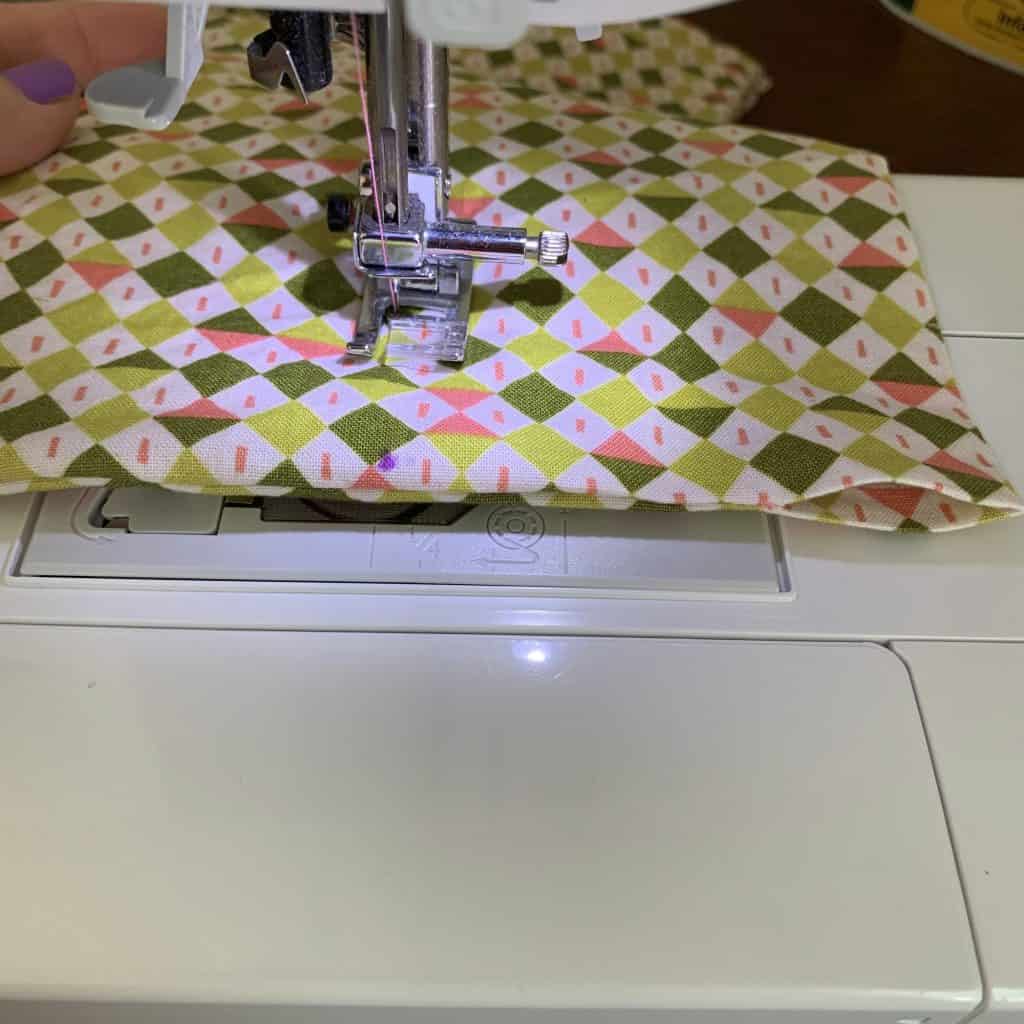
3. Trim the corners…
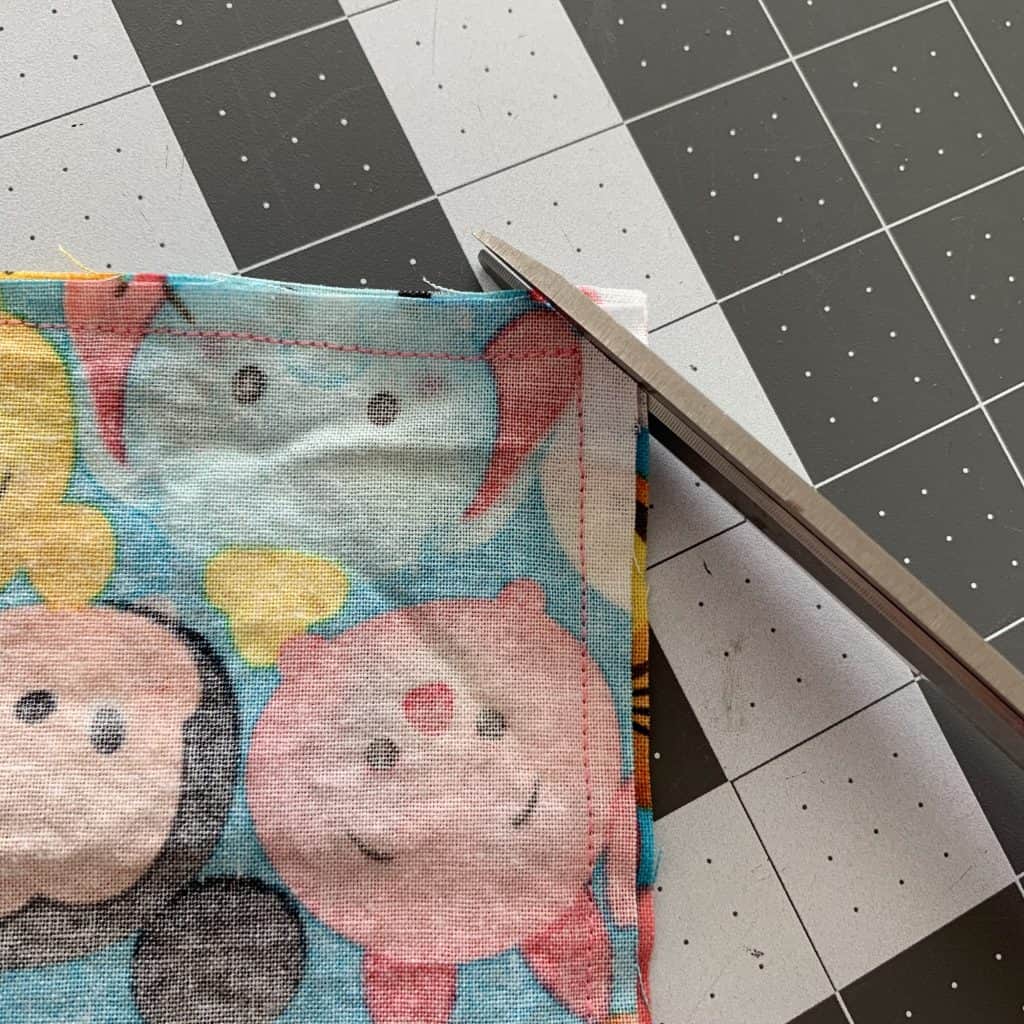
4. …and then turn right-side out.
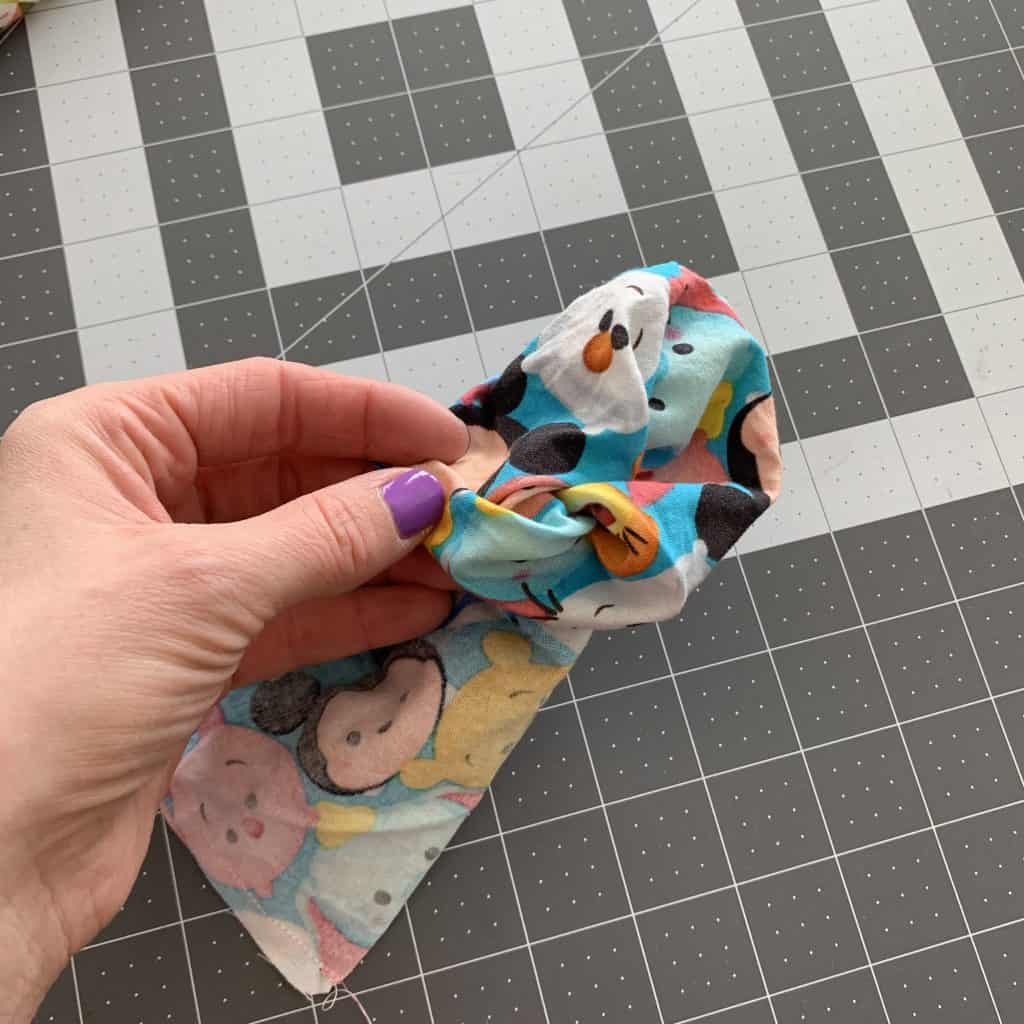
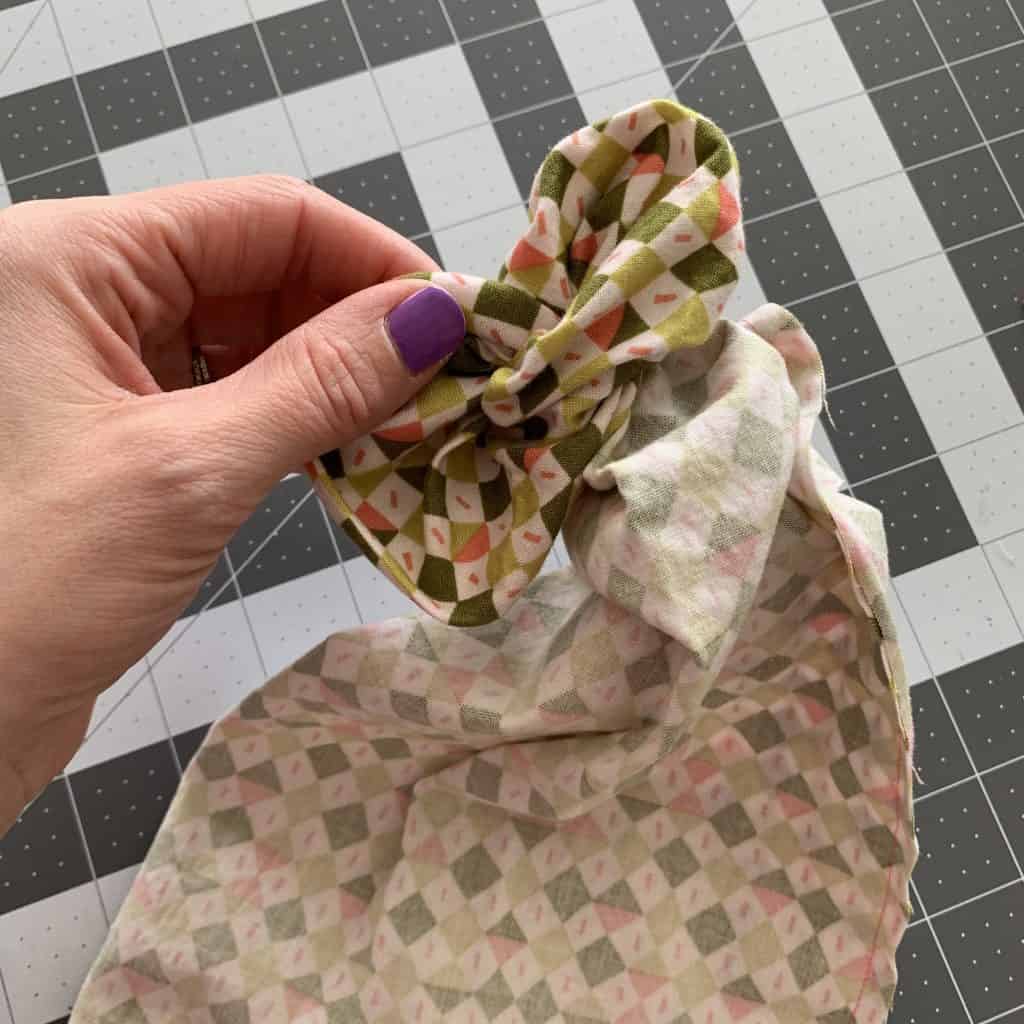
5. Use the DULL tip of a pair of scissors, a chop stick, or a special turning tool to push out of the corners.
Ta-da!
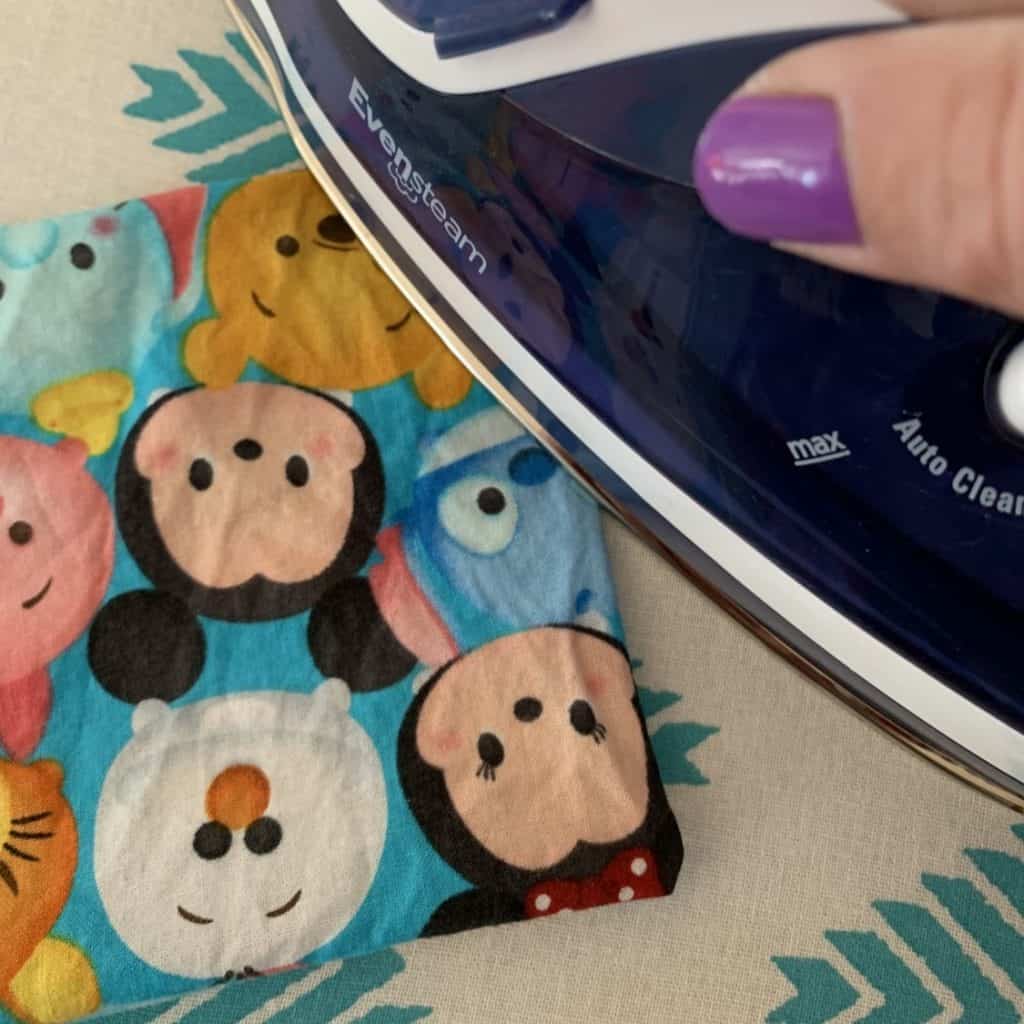
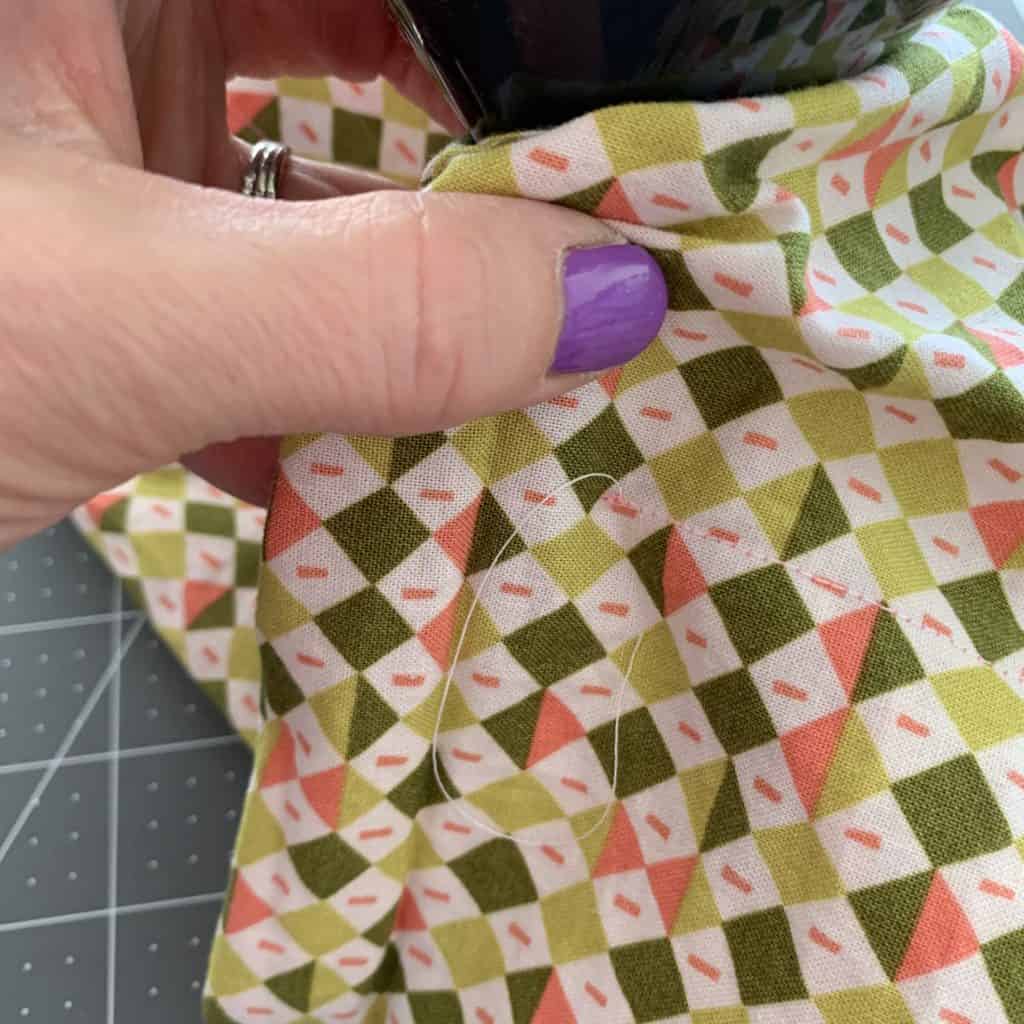
I highly recommend pressing the opening flat. This will make it much easier to stitch it closed in a few steps.
One last thing before we fill. We’re almost there!
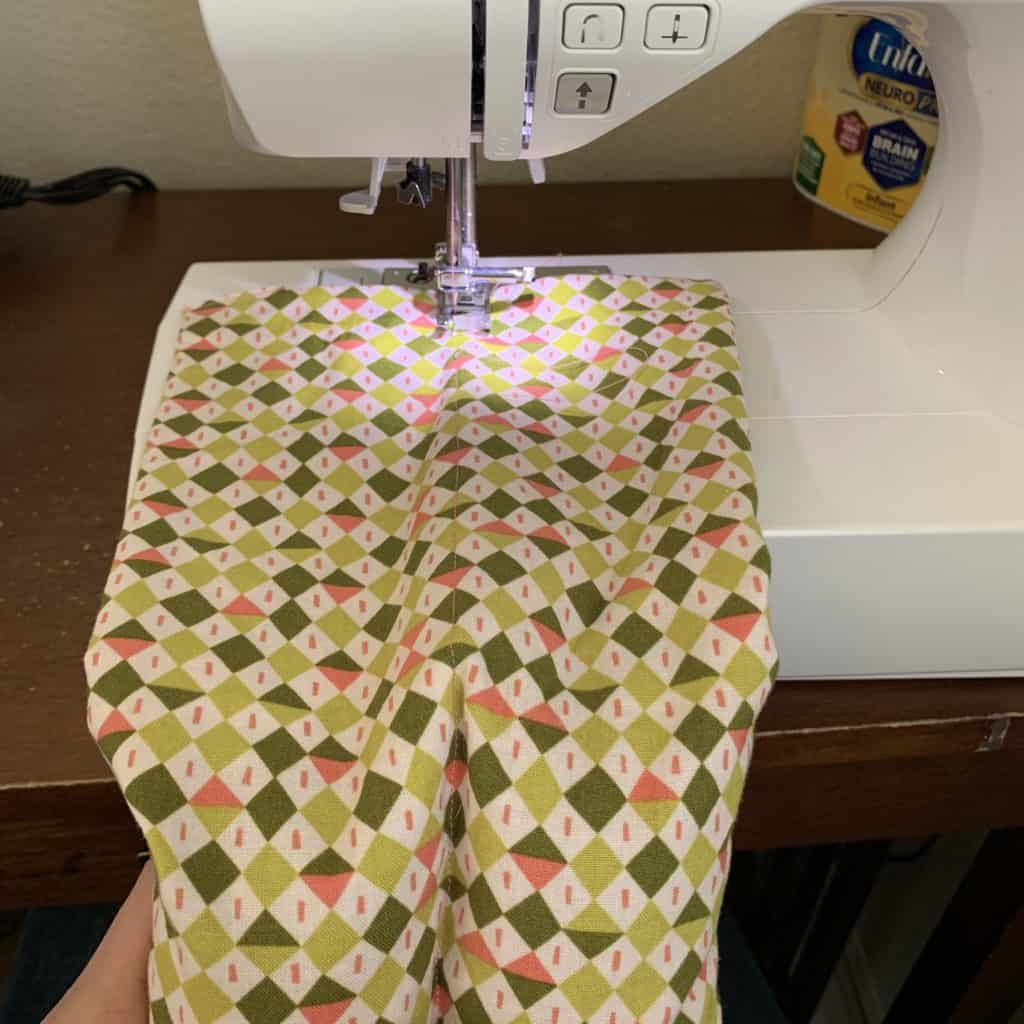
If you’re making a long or wide heating pad, I recommend splitting it into two or more “pockets” so the filling can be distributed more evenly, and not rush to one side or the other, depending on how you use it.
In my case, I know we’ll be using the large one across our shoulders, so I’m going to sew a seam down the middle, longways, so the filling doesn’t all droop along the bottom.
In order to do this, I marked the center on both short sides…
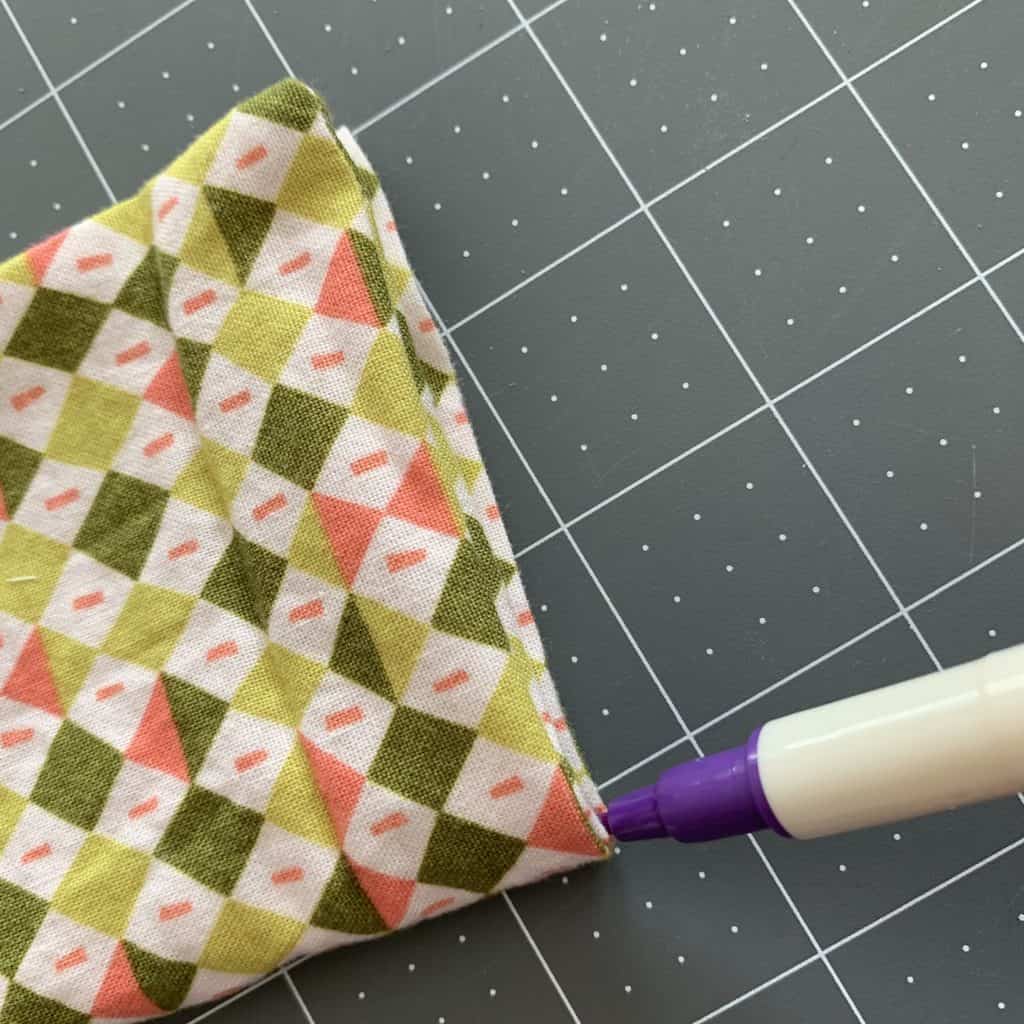
…and then sewed from the short edge WITHOUT the opening, towards the short edge WITH the opening.
Leave a gap between your center seam and the end seam with the opening because you have to position your funnel over both pockets to fill. If you sew the center seam all the way to the edge, you won’t be able to fill the side without the opening.
As you can (hopefully!) see in the image below, I left about a 2 inch space between the center seam and the edge with the opening.
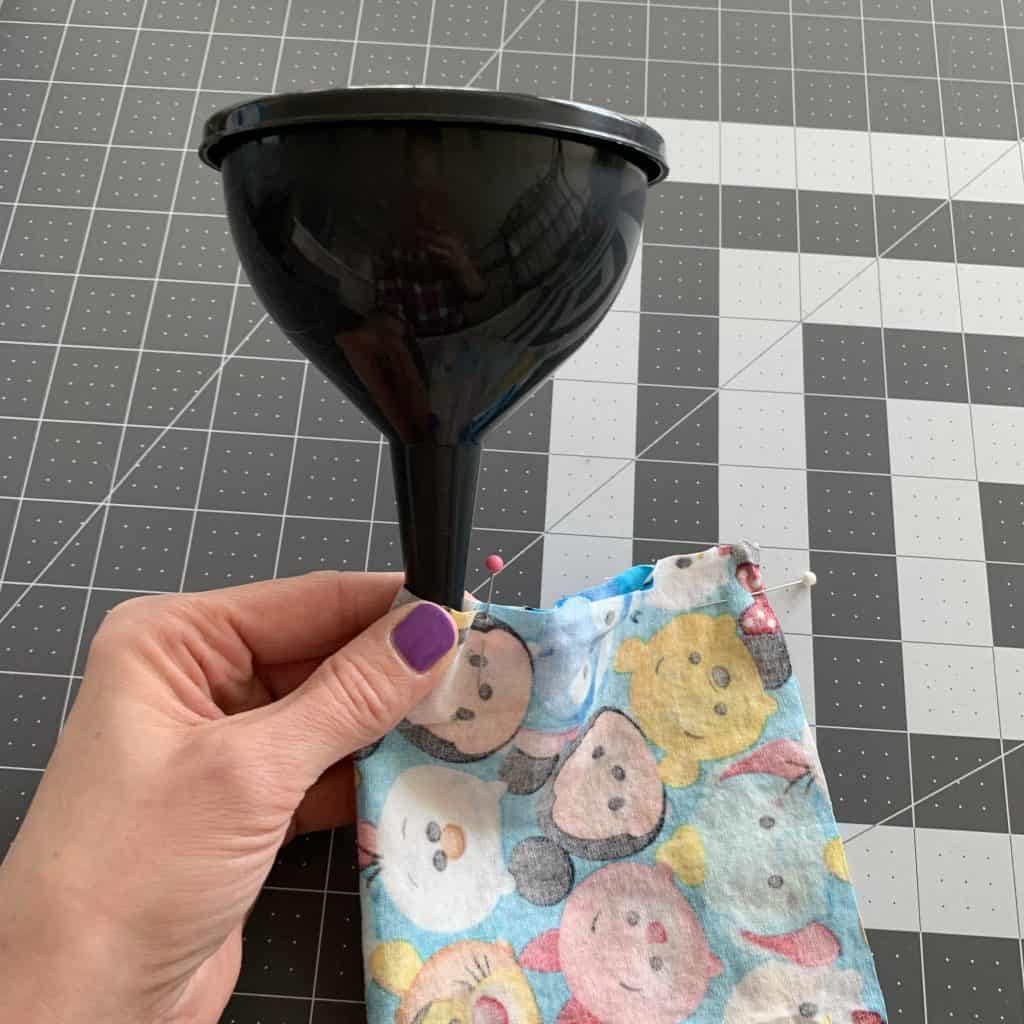
Step 4. Fill with Rice.
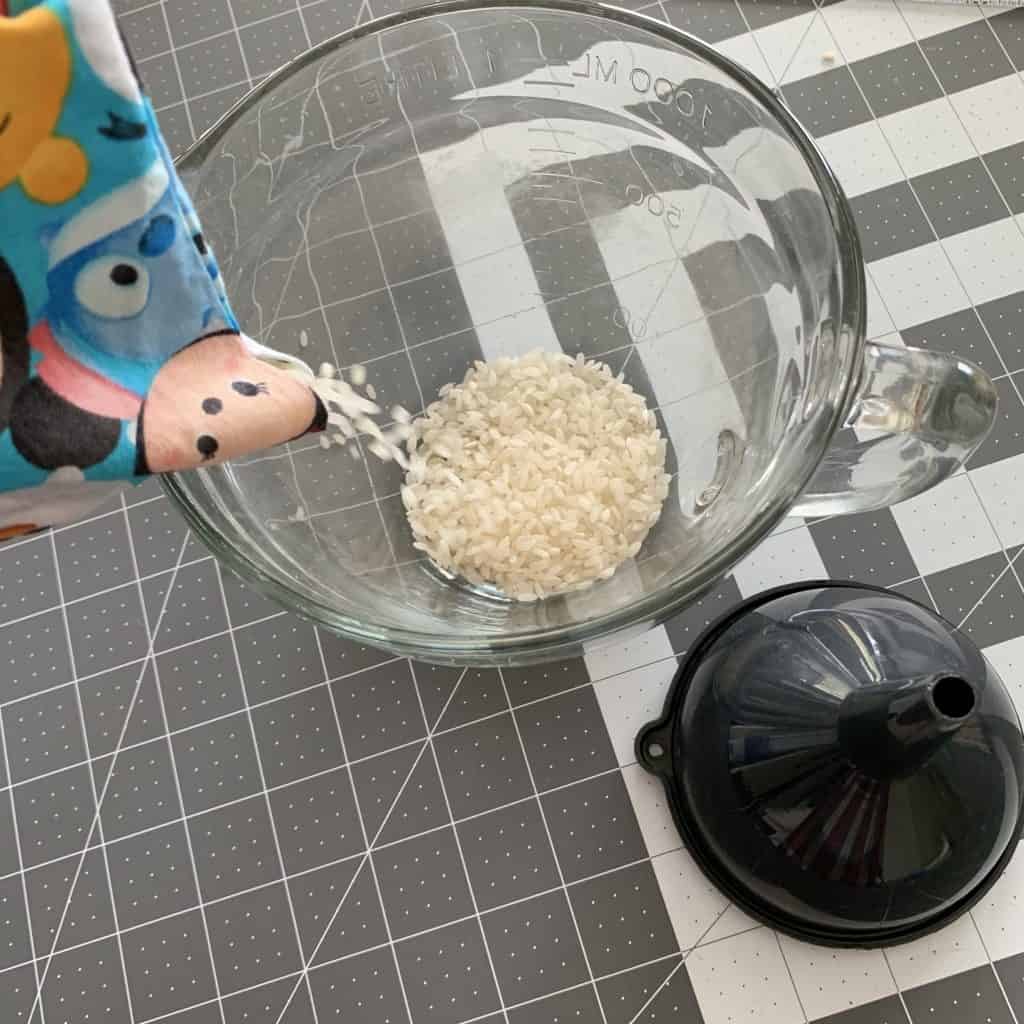
1. Place your funnel into the opening, get the rice or flax seed, and fill!
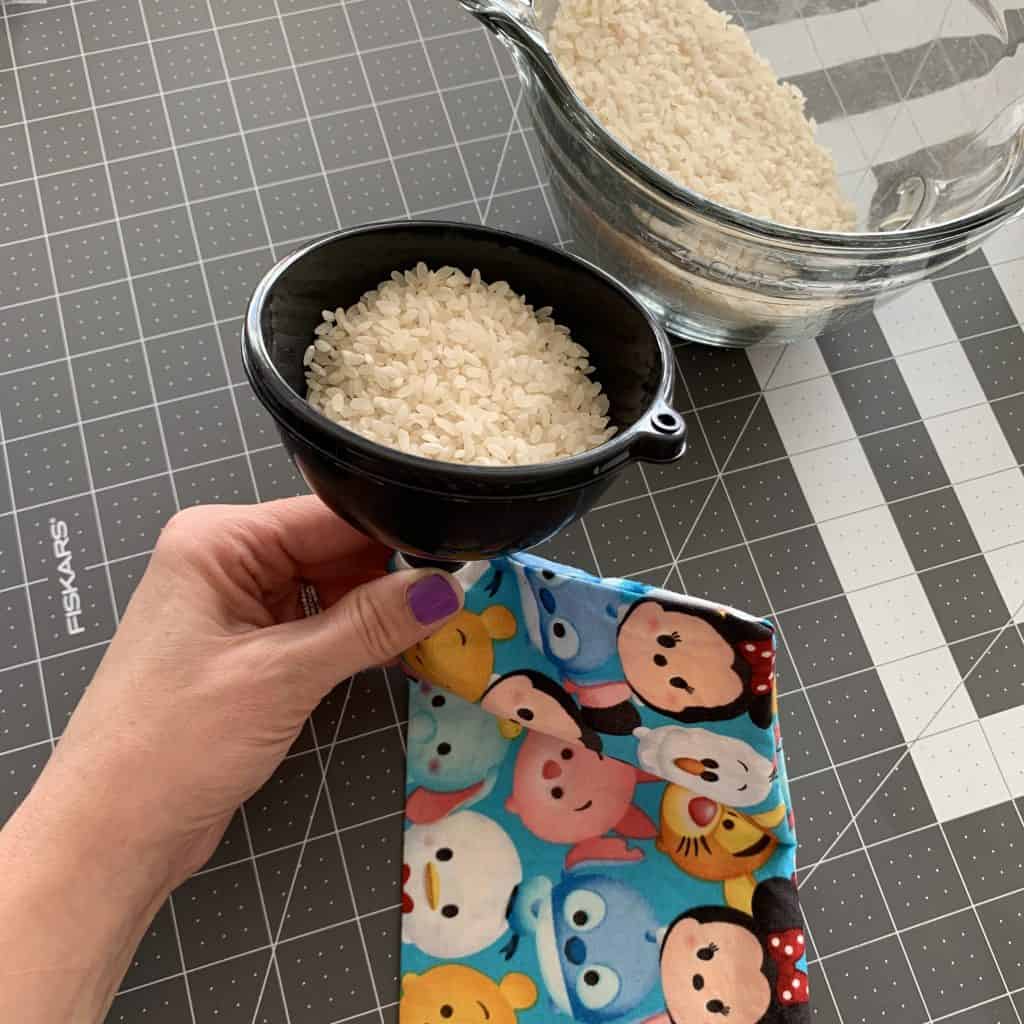
How much rice should you use? Well, that is entirely up to you. Less rice may allow you to move the heating pad more freely around your arms or legs. More rice may make a sturdier microwavable rice heating pad for back pain.
I didn’t want mine filled too full or they won’t bend/fold/lay around whatever part of the body they’re being used for.
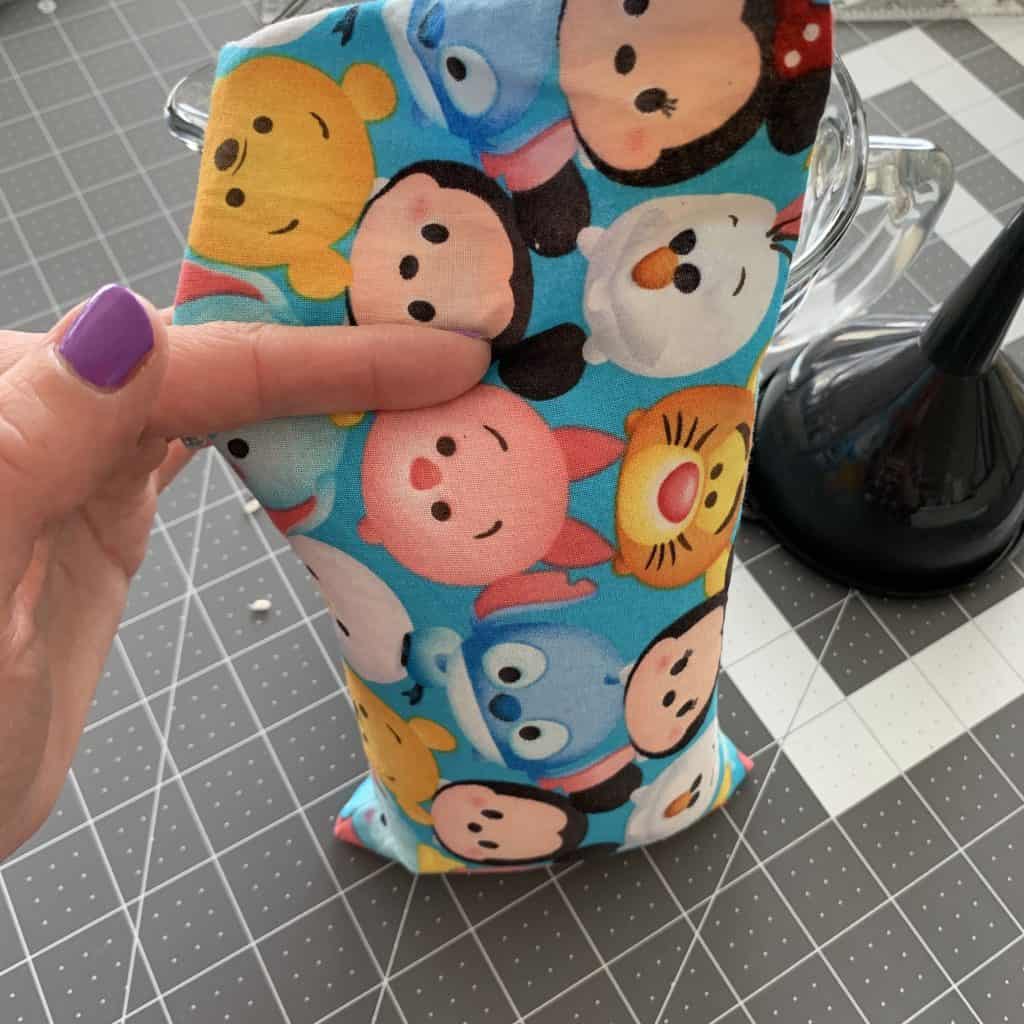
I suggest stopping at around 3/4 of the way full…
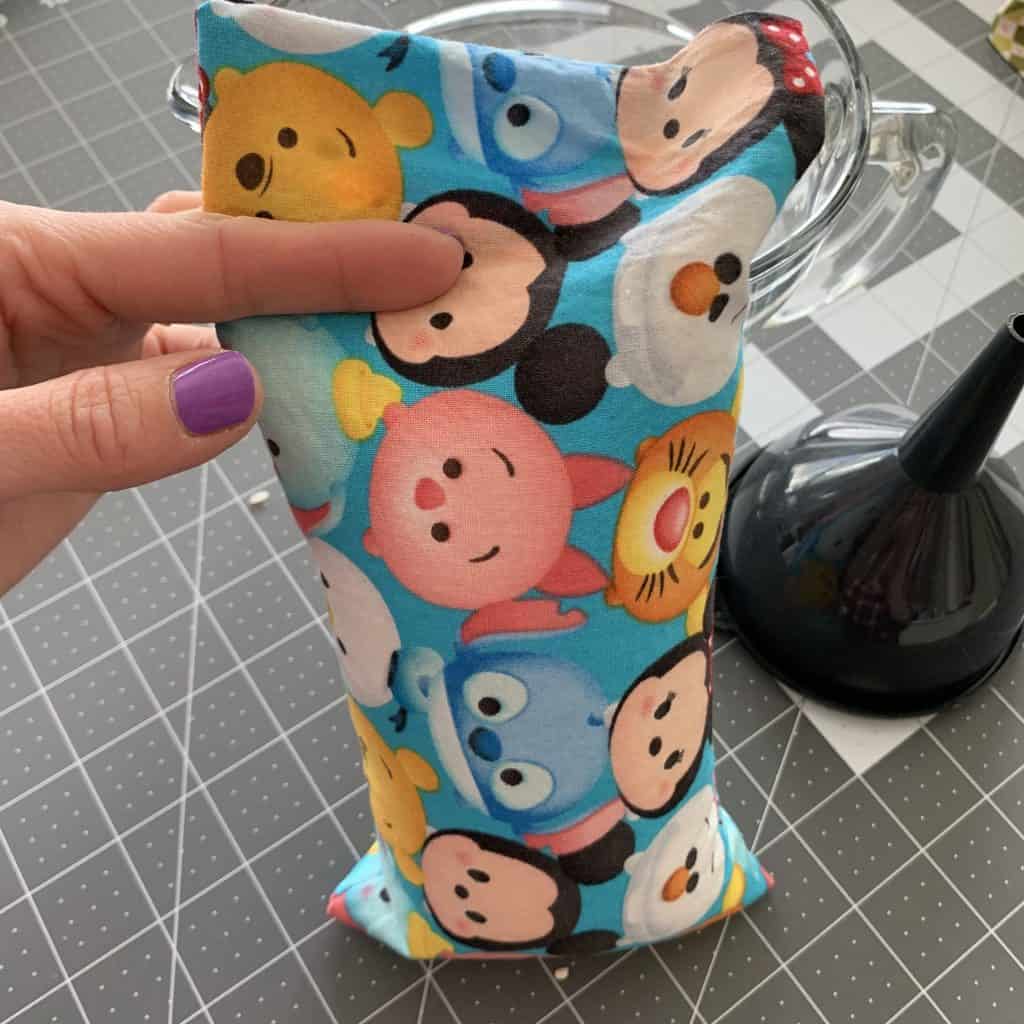
…and then – gently! – laying it flat and over your arm to test it.
Think it needs more rice? Add more! Think it has too much, take some out (as I had to do).
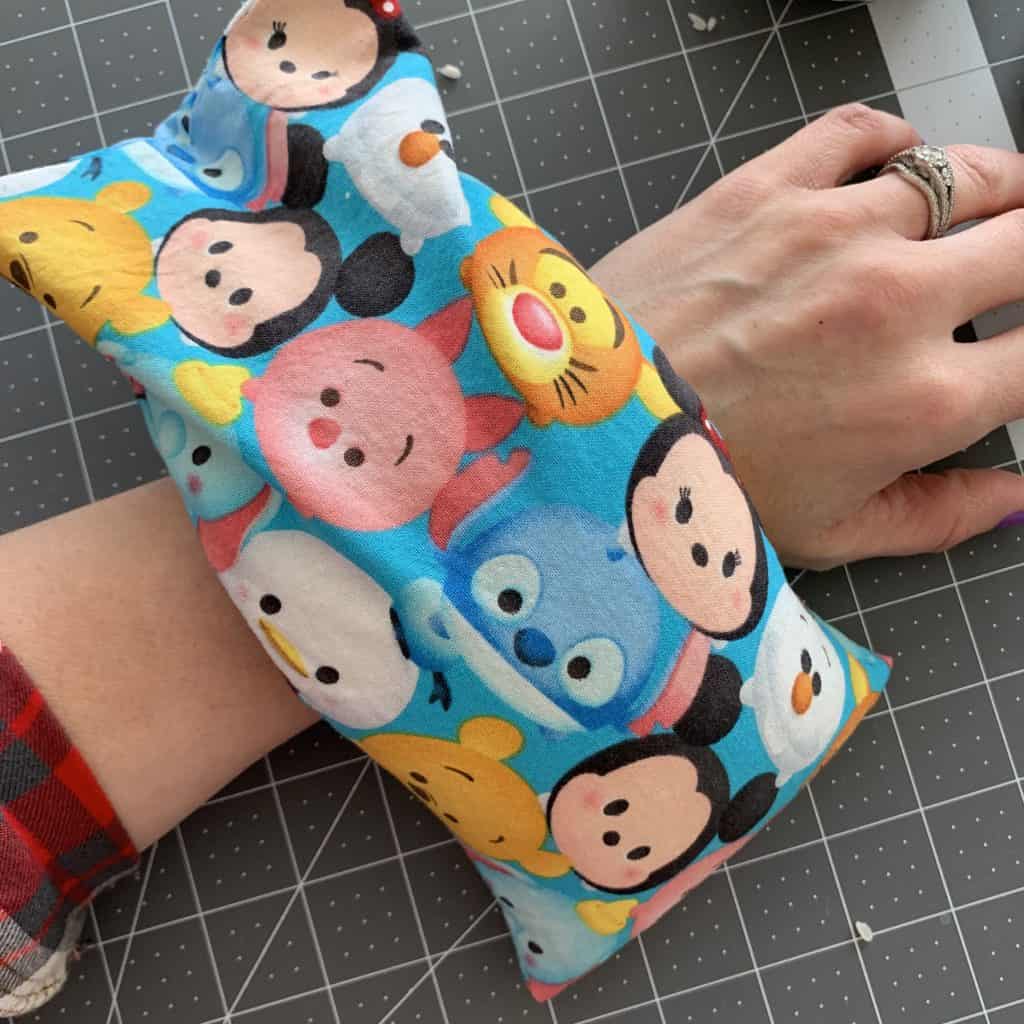
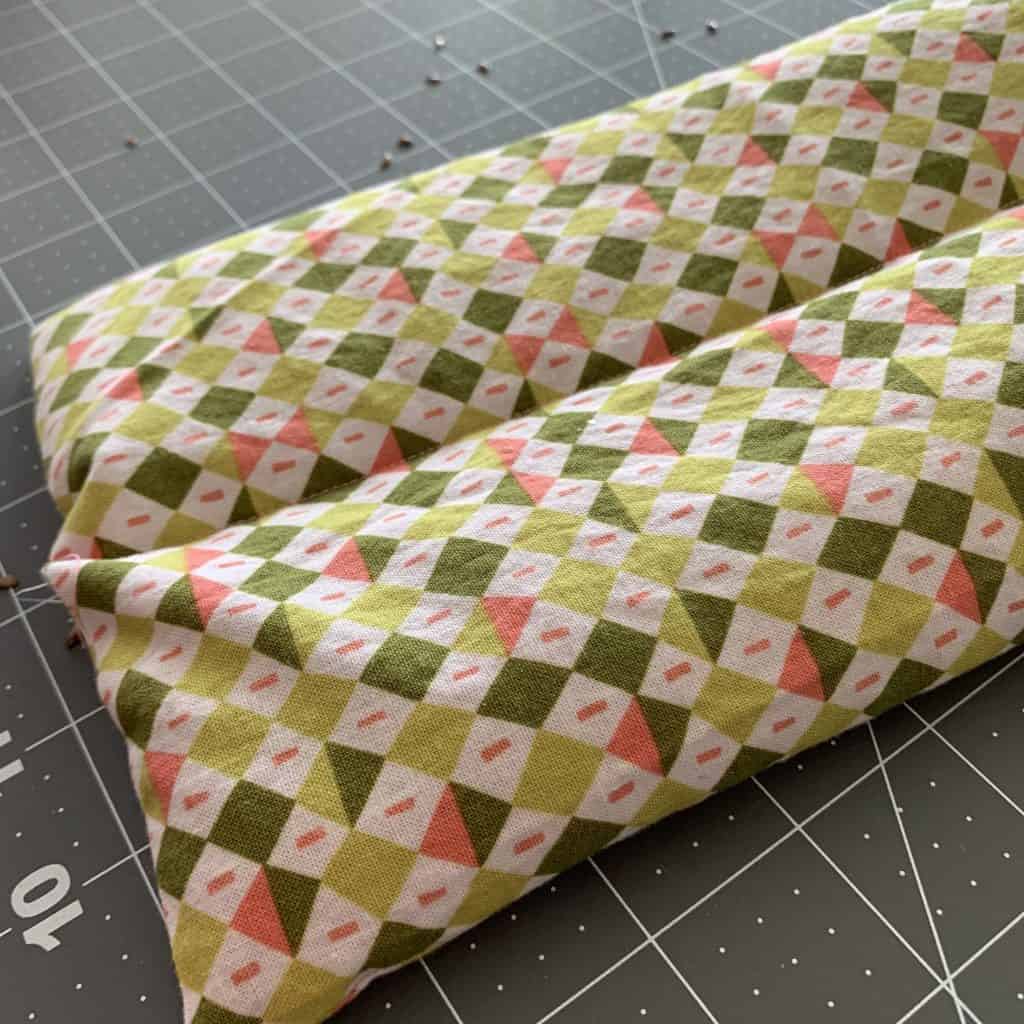
I ended up filling the small one just over 2/3 full of rice.
Filling the large one was a bit trickier and more time-consuming – but trust me, it’s well worth it.
Maneuver the funnel over the far pocket to fill that side. I did two funnel fulls on one side then two funnel fulls on the other so they’d fill up evenly.
I stopped at 2/3 of the way full of rice to test how it would lay.
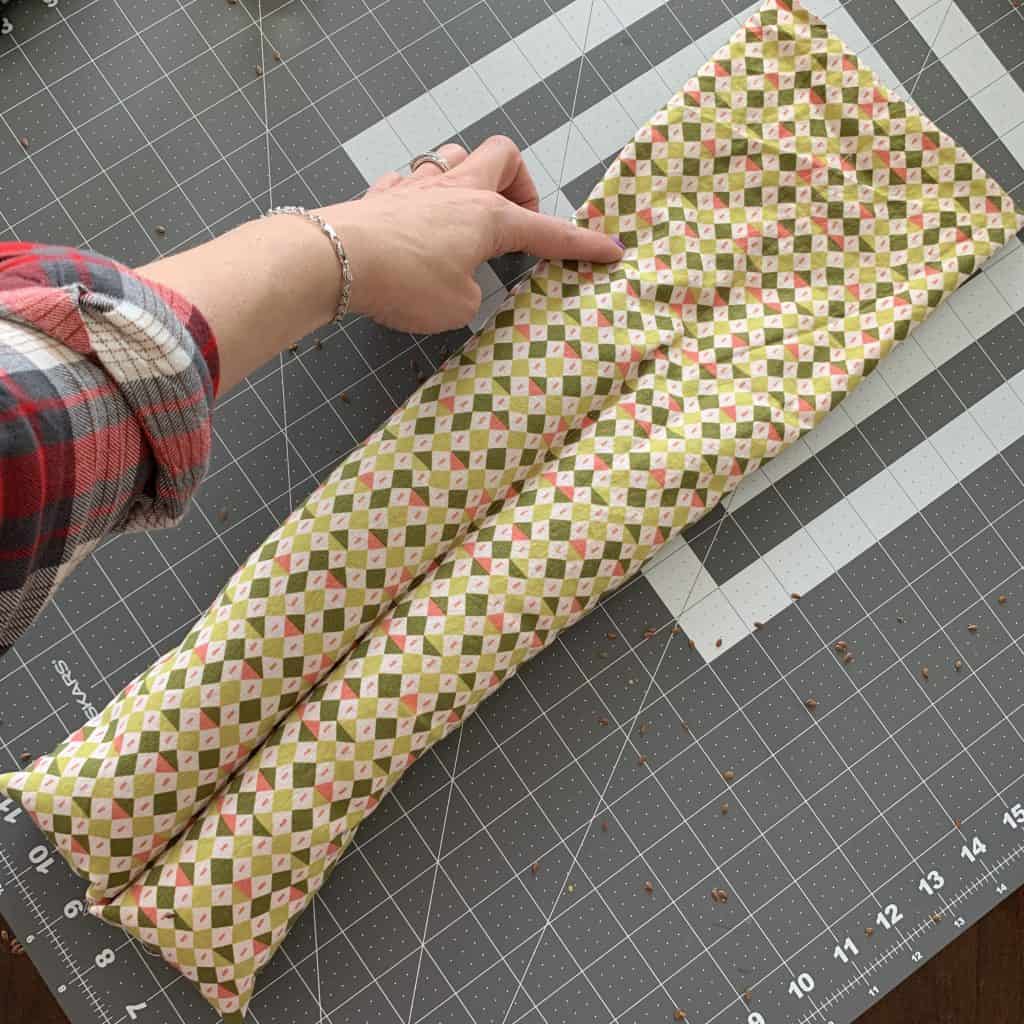
It was perfect! I wanted this one filled less than typical heating pads, because it has to fold/curve around our shoulders and neck easily.
Side note: Did filling this one it take a while? Yes. Did I watch an entire episode of The Resident on Hulu while I was doing it? Yes! Did I make a mess of rice all over the dining room? Also yes!
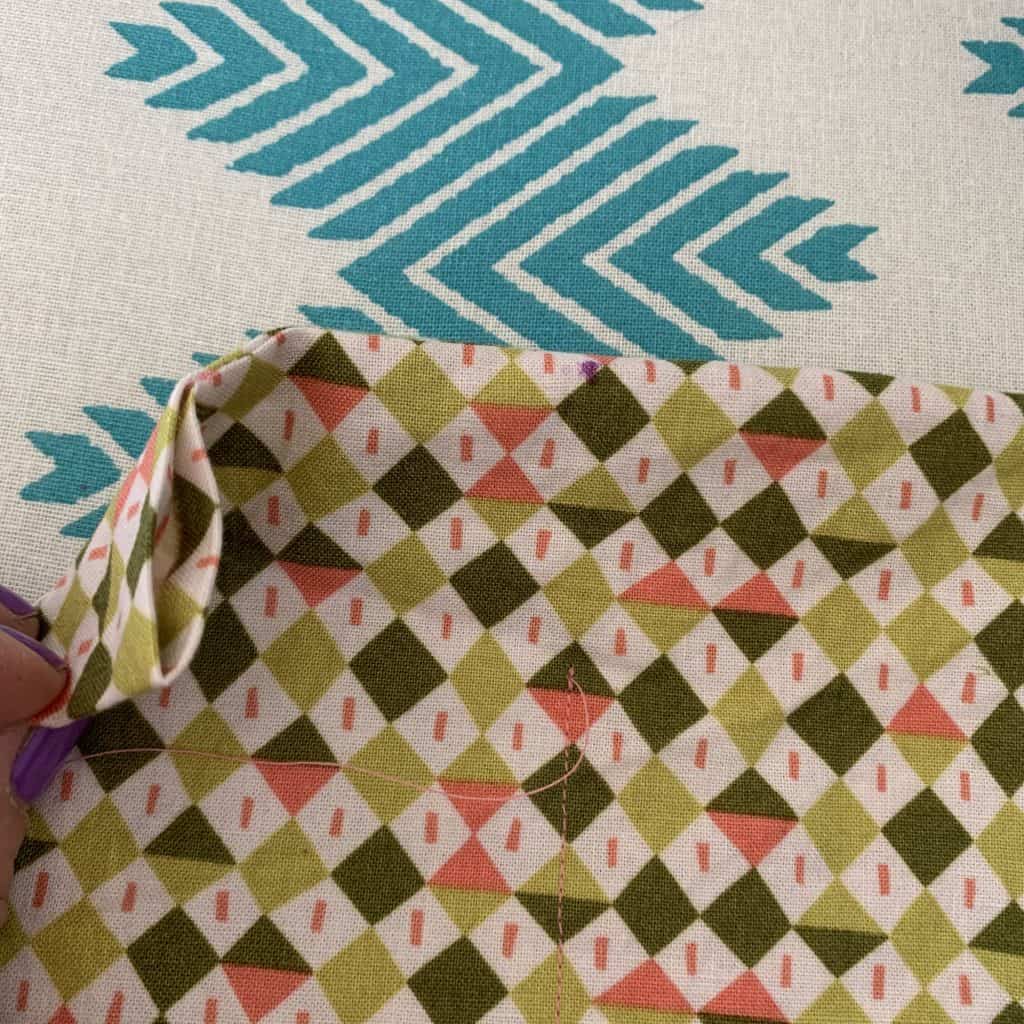
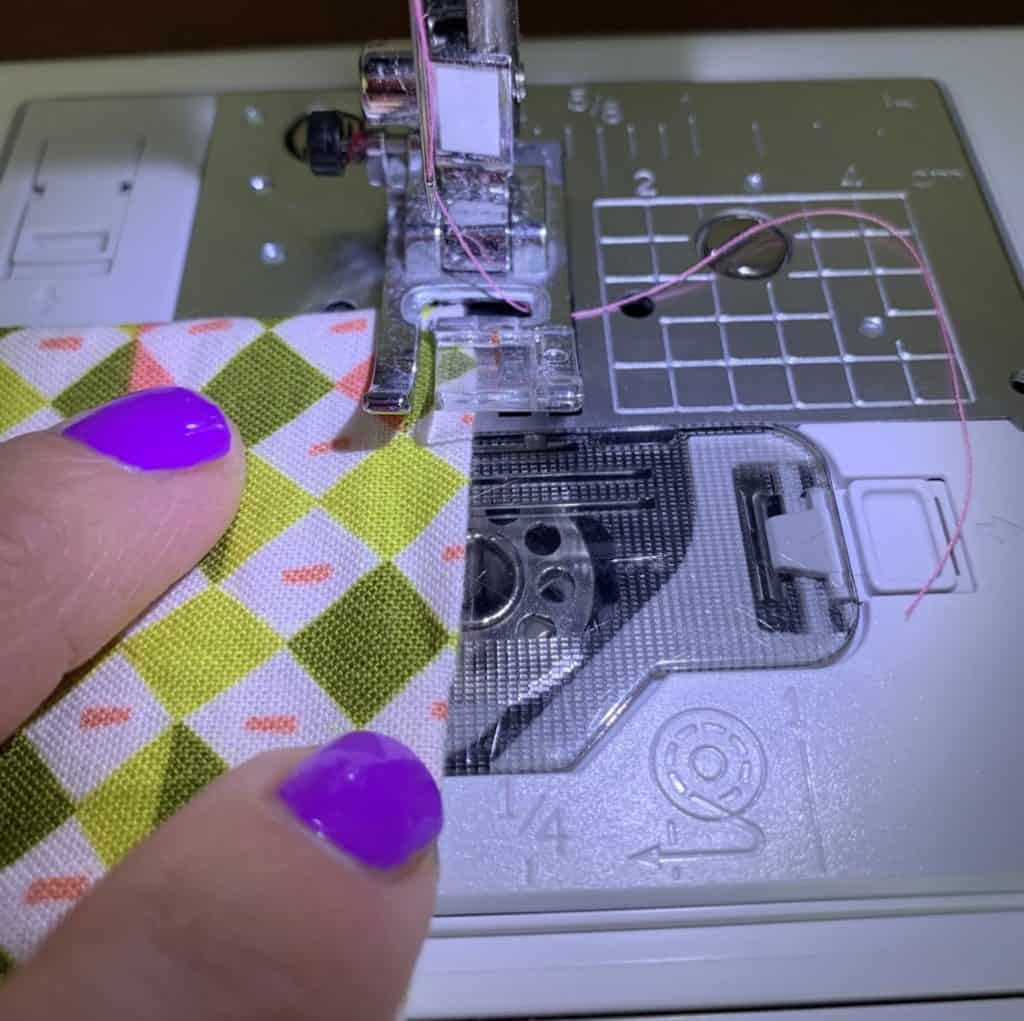
Step 6. Close the opening.
You can either topstitch the opening shut using a sewing machine, or use your hand stitch of choice – it’s up to you!
I chose to topstitch both of these two new heating pads closed since I was already going to be at my machine working on the big one.
I decided to close the center seam of our new shoulder heating pad, but you don’t have to. Just like many other things with this project, it’s up to you. 🙂
It was a bit weird sewing that seam while holding the heating pad in my lap, but it worked!
All done!!! Time to toss it in the microwave for 1-2 minutes (or the freezer for a couple of hours) and enjoy. Full disclosure, I threw mine in the microwave within seconds of finishing the seam (I left my sewing machine on I was in such a hurry!)
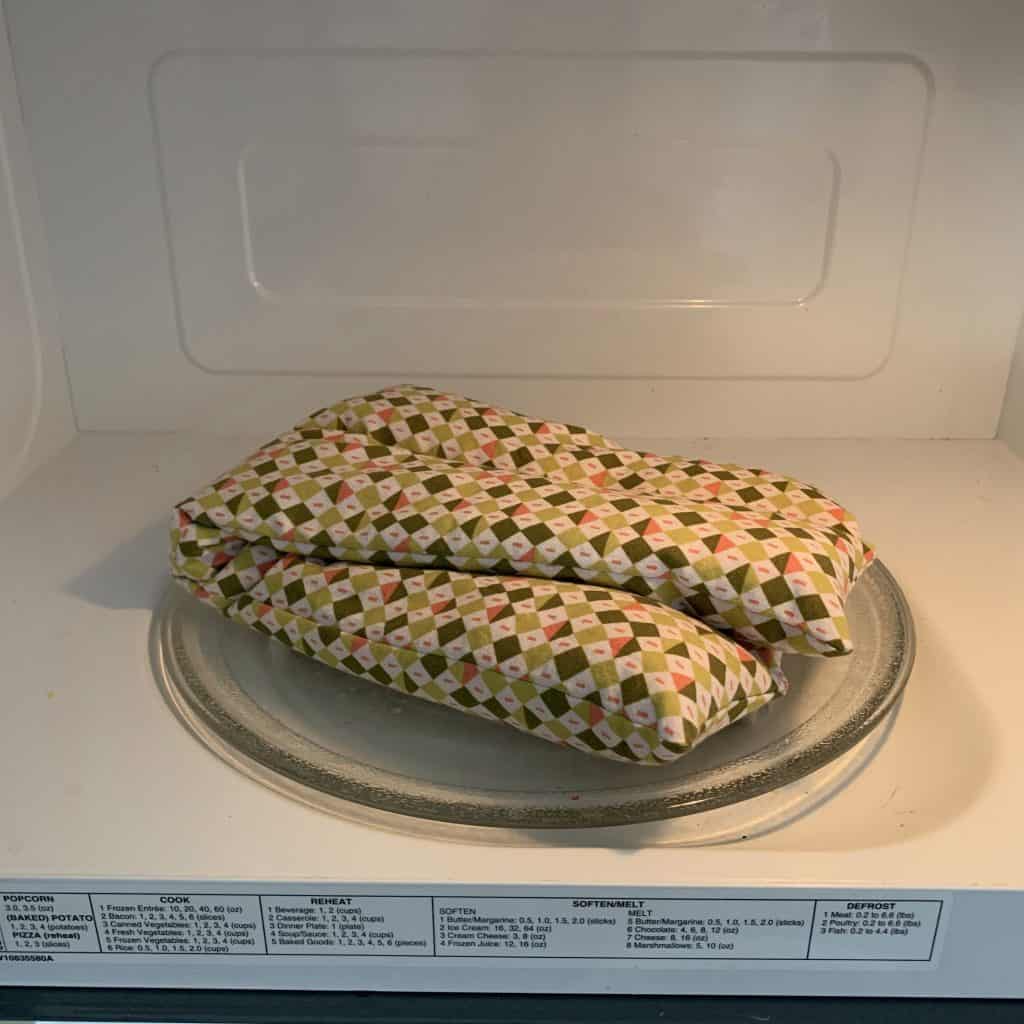
I’m VERY happy to report… this DIY heating pad is amazing. 🙂

How to Use and Care for a Homemade Heating Pad
To use, start by heating the pad in a microwave for a short period of time, typically around 30 seconds to 1 minute, depending on the size and thickness of the pad. Be sure to test the temperature before applying it to your body to avoid burns. Once heated, place the pad on the desired area of your body for soothing warmth and pain relief. To care for your homemade heating pad, it is important to keep it clean and free from any spills or stains. If necessary, spot clean the fabric with a mild detergent and warm water. Avoid fully immersing the pad in water or machine washing it, as this can damage the filling inside.
When not in use, store your heating pad in a clean and dry location, away from direct sunlight or heat sources. This will help prolong its lifespan and ensure that it remains effective for future use.
Sewing Safety Precautions
Safety precautions should be taken when using a homemade heating bag with rice or corn. First and foremost, it is important to ensure that the fabric used for the bag is heat-resistant and can withstand high temperatures. This will help prevent any potential accidents or injuries. Additionally, it is crucial to properly measure and fill the bag with rice or corn, leaving enough space for the filling to move around freely. Overfilling the bag can cause excessive pressure, leading to the bag bursting or leaking. It is also essential to test the temperature of the heating bag before applying it to the body to avoid burns or discomfort. Lastly, always supervise children when using a heating bag and make sure they understand the importance of caution and safety. By following these precautions, you can enjoy the benefits of a homemade heating bag while minimizing any potential risks.
Thank you for joining us today to create a DIY heating pad. Creating your own DIY heating pad is a simple and cost-effective way to soothe sore muscles and provide comfort. Whether you choose to use rice, corn, or flax seed as the filling, you can easily customize the size and shape of your heating pad to suit your needs. With just a few basic sewing skills, you can have a homemade heating pad that provides warmth and relaxation whenever you need it. So why not give it a try? Get creative with your fabric choices, experiment with different fillings, and enjoy the therapeutic benefits of your very own DIY heating pad.
If you enjoyed this easy tutorial for a DIY heating pad you might also enjoy our other Sewing Tutorials. Also, be sure to join our sewing community in the Peek-a-Boo Pattern Shop Facebook Group.