DIY Head Wrap | Free Flower Wrap Tutorial
DIY Head Wrap | Free Flower Wrap Tutorial
Are you tired of the same old hairstyles and looking for a way to switch things up? Why not try making your own head wrap? Head wraps are a versatile accessory that can add a touch of style to any outfit. Plus, they're super easy to make out of a little extra fabric you have lying around! In this blog post, we'll walk you through the steps of creating your own DIY head wrap. Whether you're a seasoned seamstress or just starting out, this project is perfect for all skill levels. So grab your sewing machine and let's get started on creating a stylish head wrap that's uniquely yours!
DIY Head Wrap | How to Make a Head Wrap
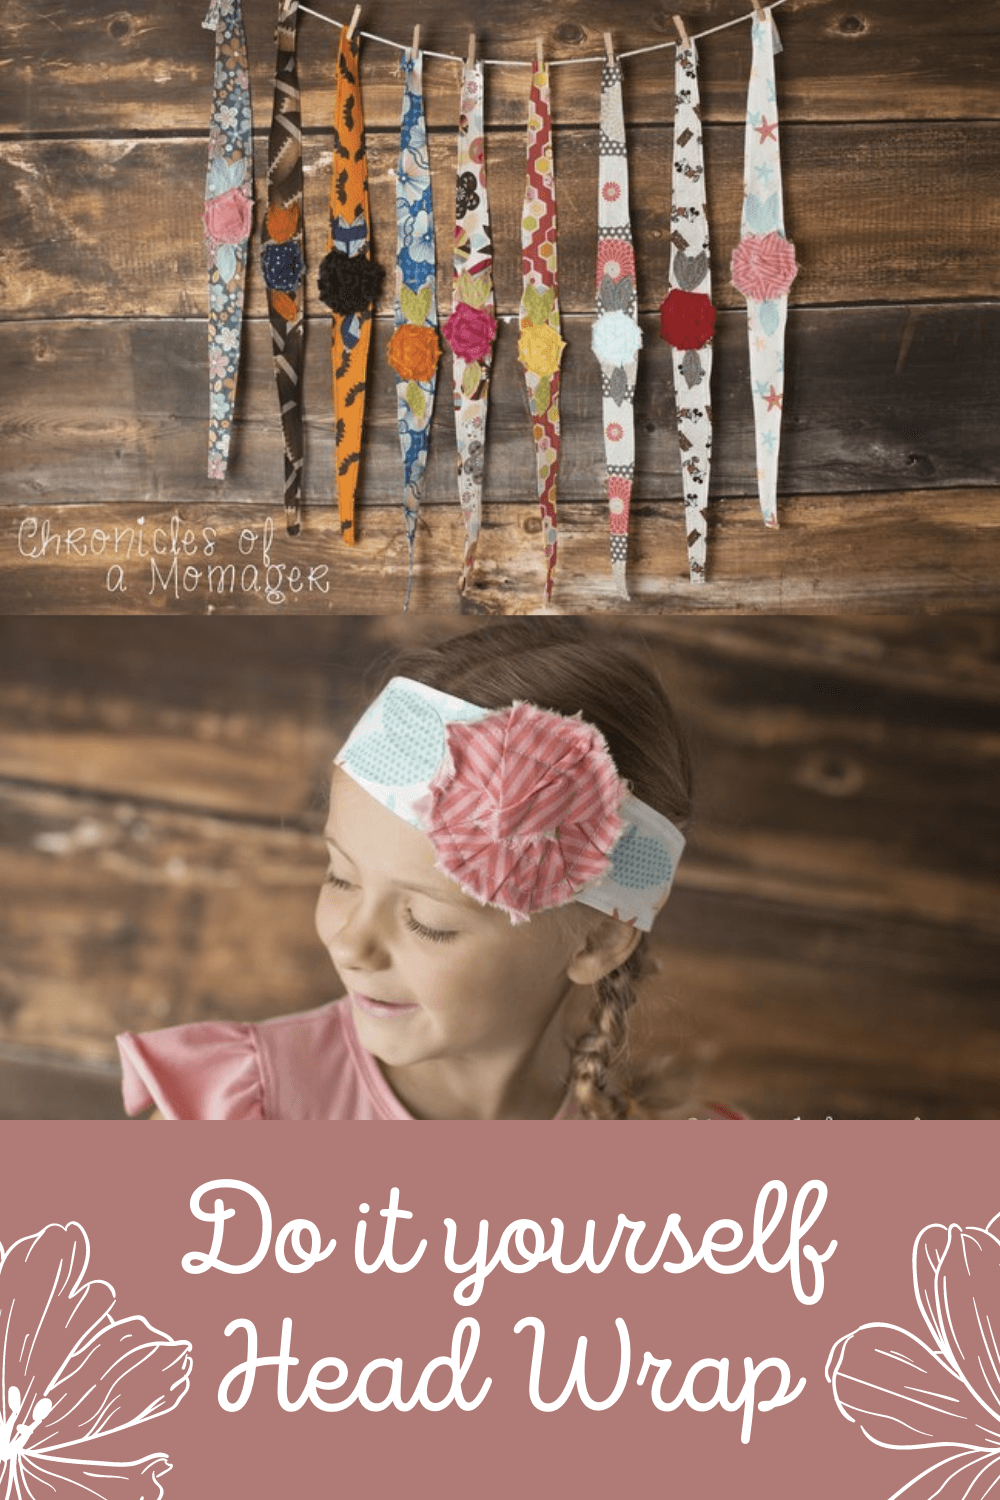
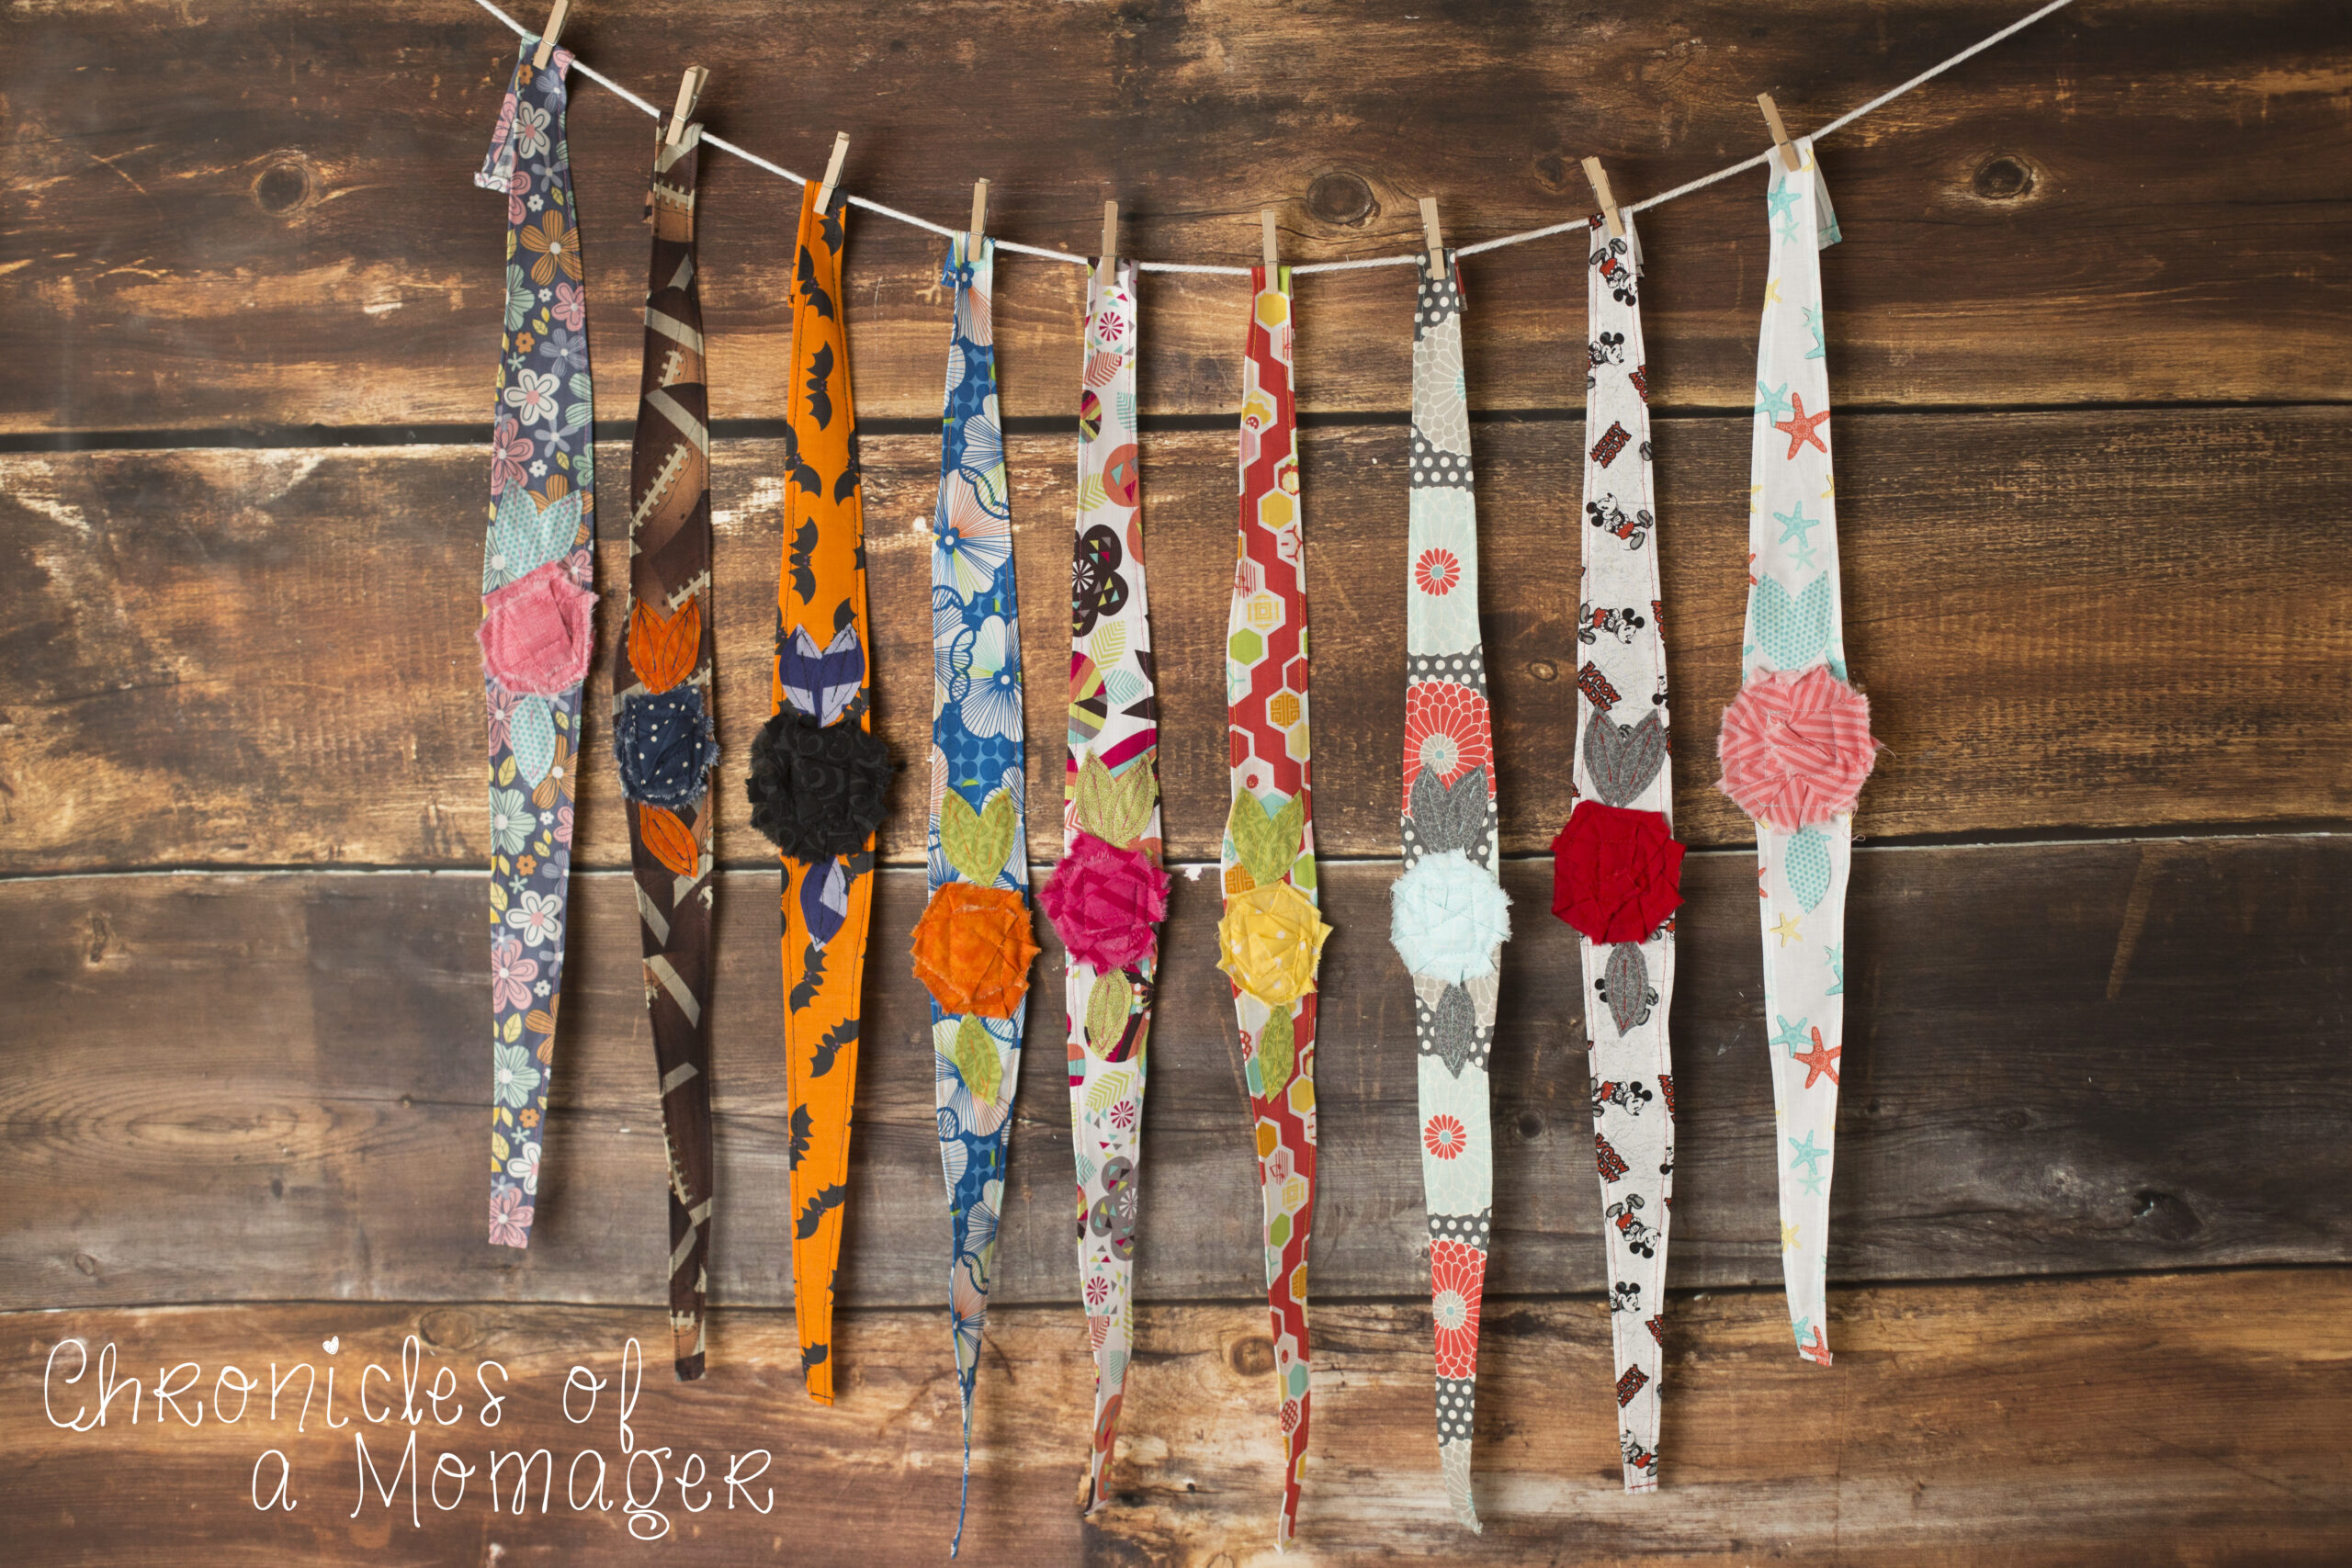
My daughter and I share a large assortment of colors and patterns to mix and match with just about any outfit we own. She loves a wrap too. And was overjoyed that I was making more fresh new wraps for this blog post. She has already started planning outfits to go with each wrap. Did I mention she was 4? Yeah we’re in trouble as she gets older!
Anyway, on to the tutorial! Did I mention the hair wrap is super easy to make! And a great scrap buster!!!
Sewing a Flower Head Wrap
What Materials Do I Need for a Head Wrap?
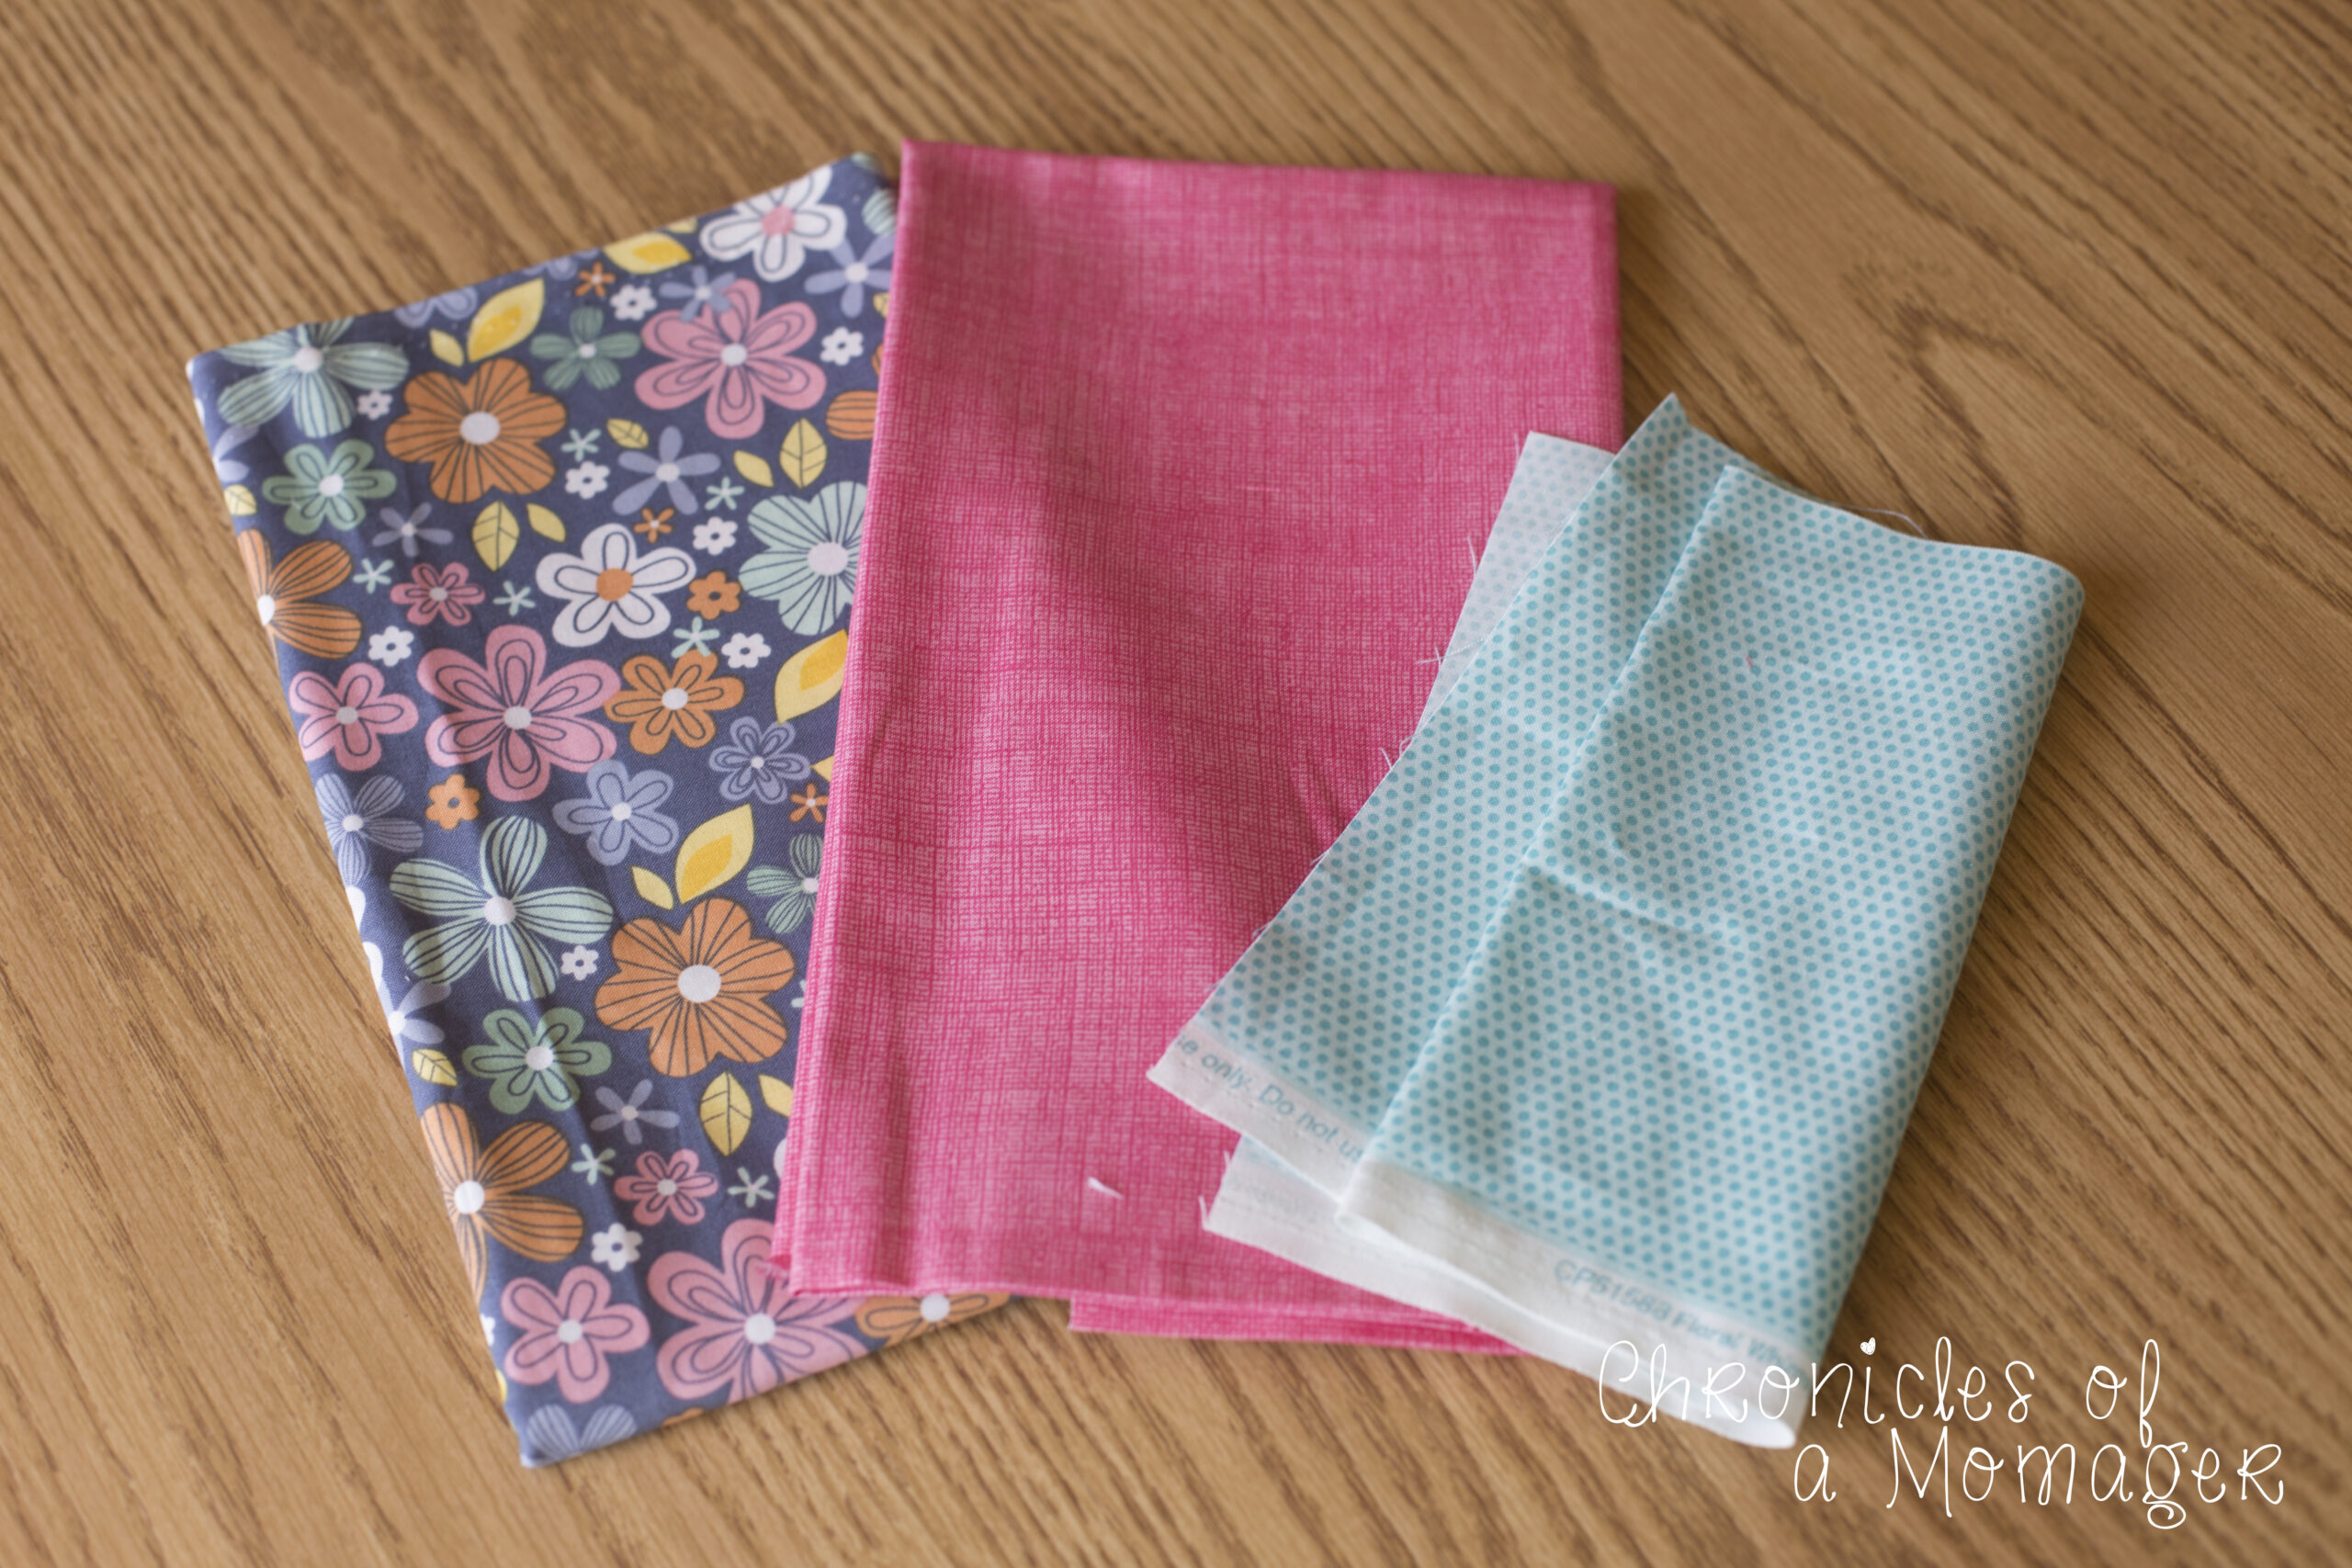
To create a stylish and comfortable head wrap, you'll need fabric (I used woven today), fabric scissors or rotary cutter, elastic or a stretchy band, and basic sewing supplies. Cut the fabric to size, secure it with elastic, and sew the edges for a clean finish. With these materials, you can create a fashionable and versatile head wrap that reflects your style.
Pattern Pieces
Before we get started, you need to make sure and download the headwrap pdf sewing pattern pieces I made up for you:
Cutting the Headwrap
First, decide on your head wrap fabric. Then, get your pattern and let’s start cutting:
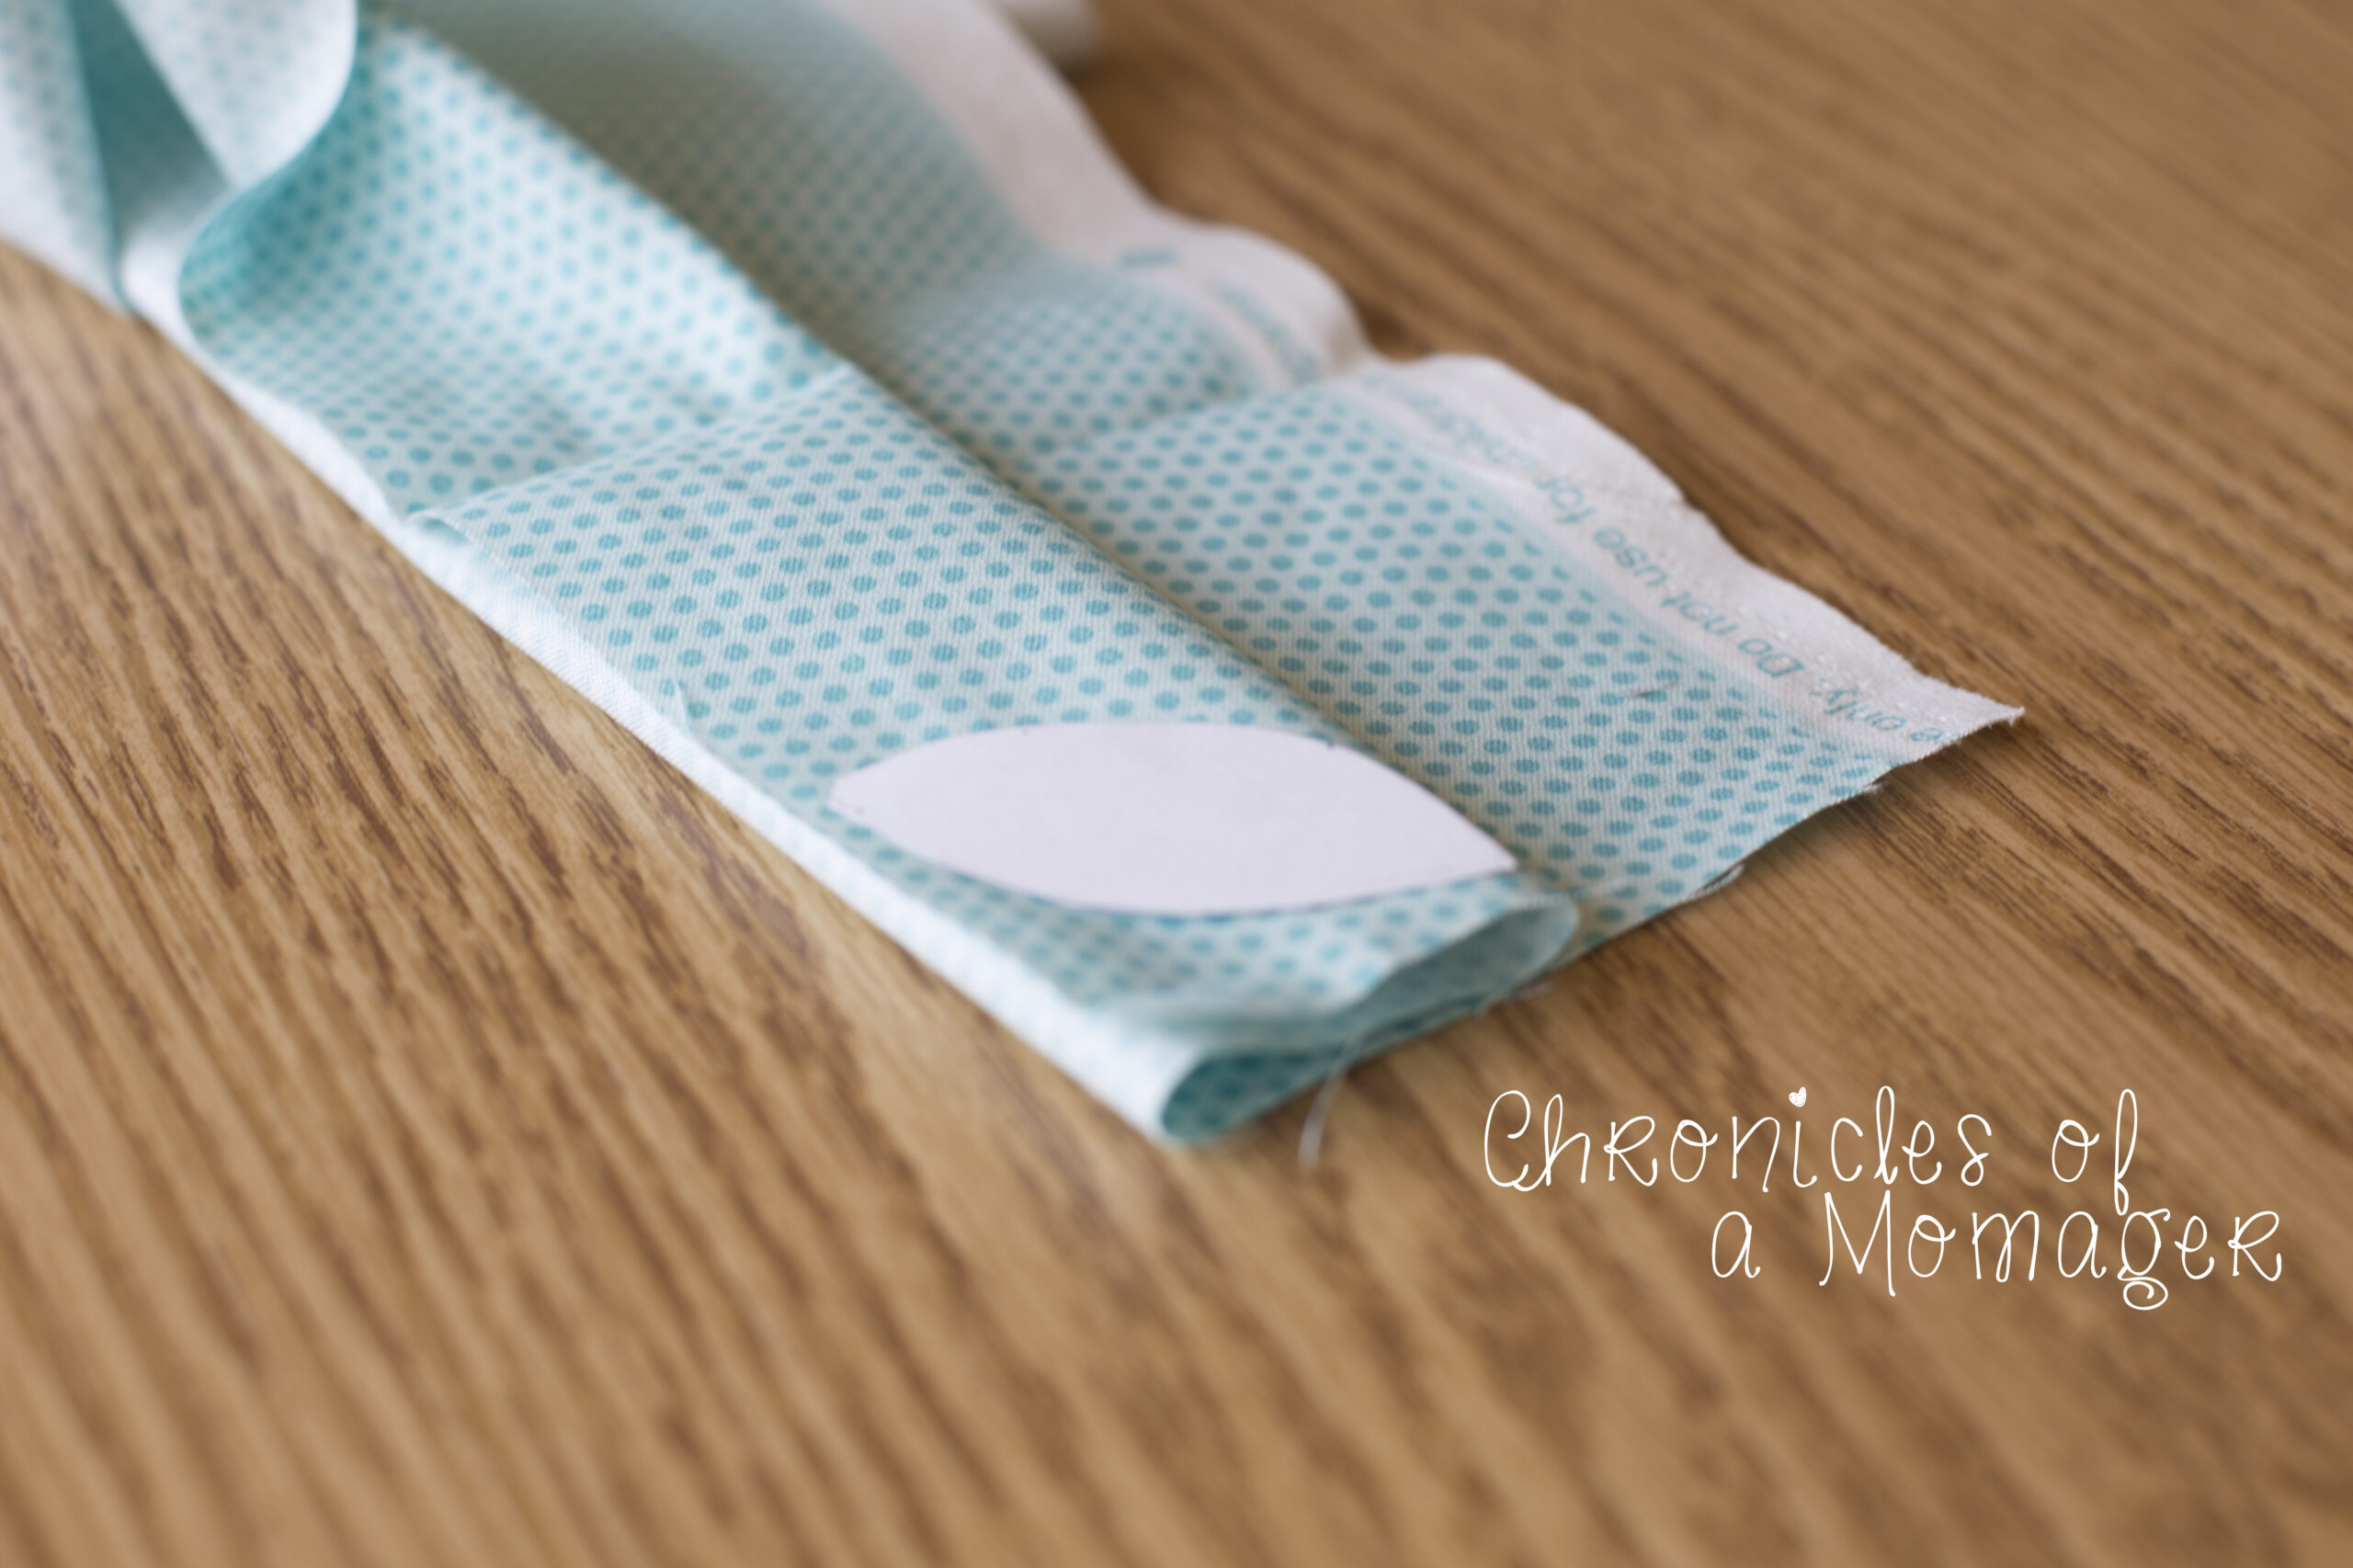
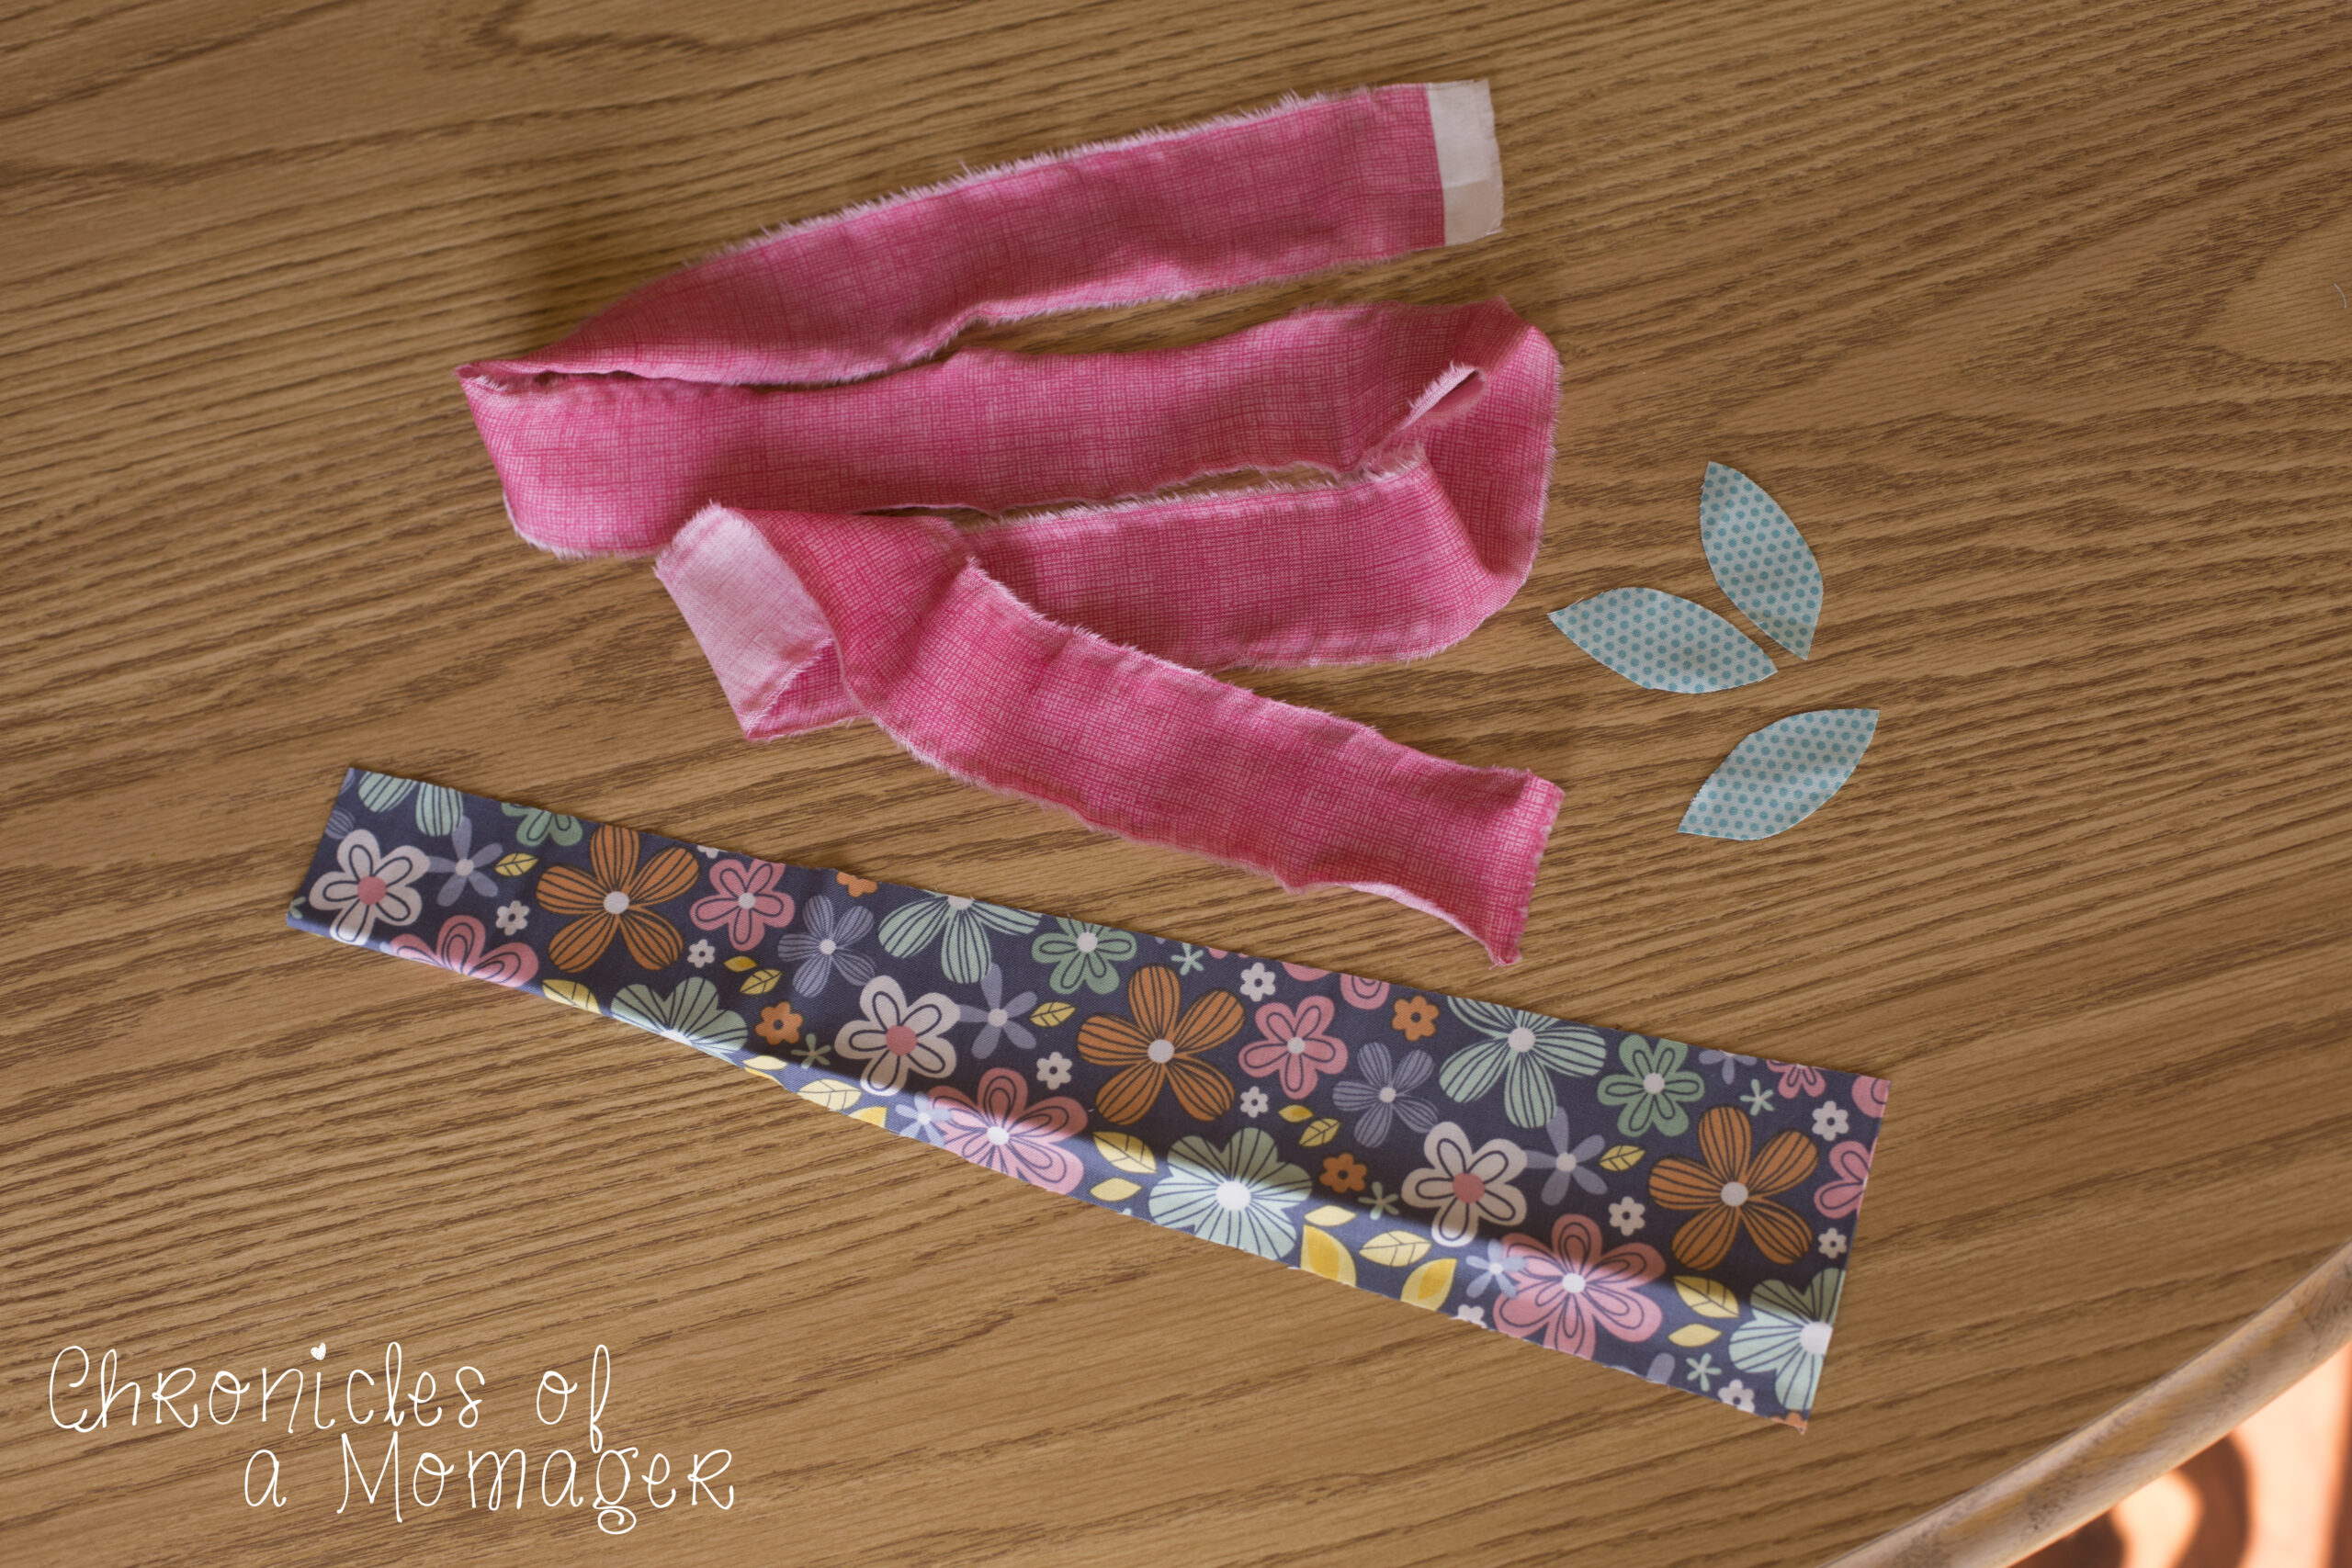
- Cut 1 headband on the fold

- Cut 3 leaves out of another piece of fabric
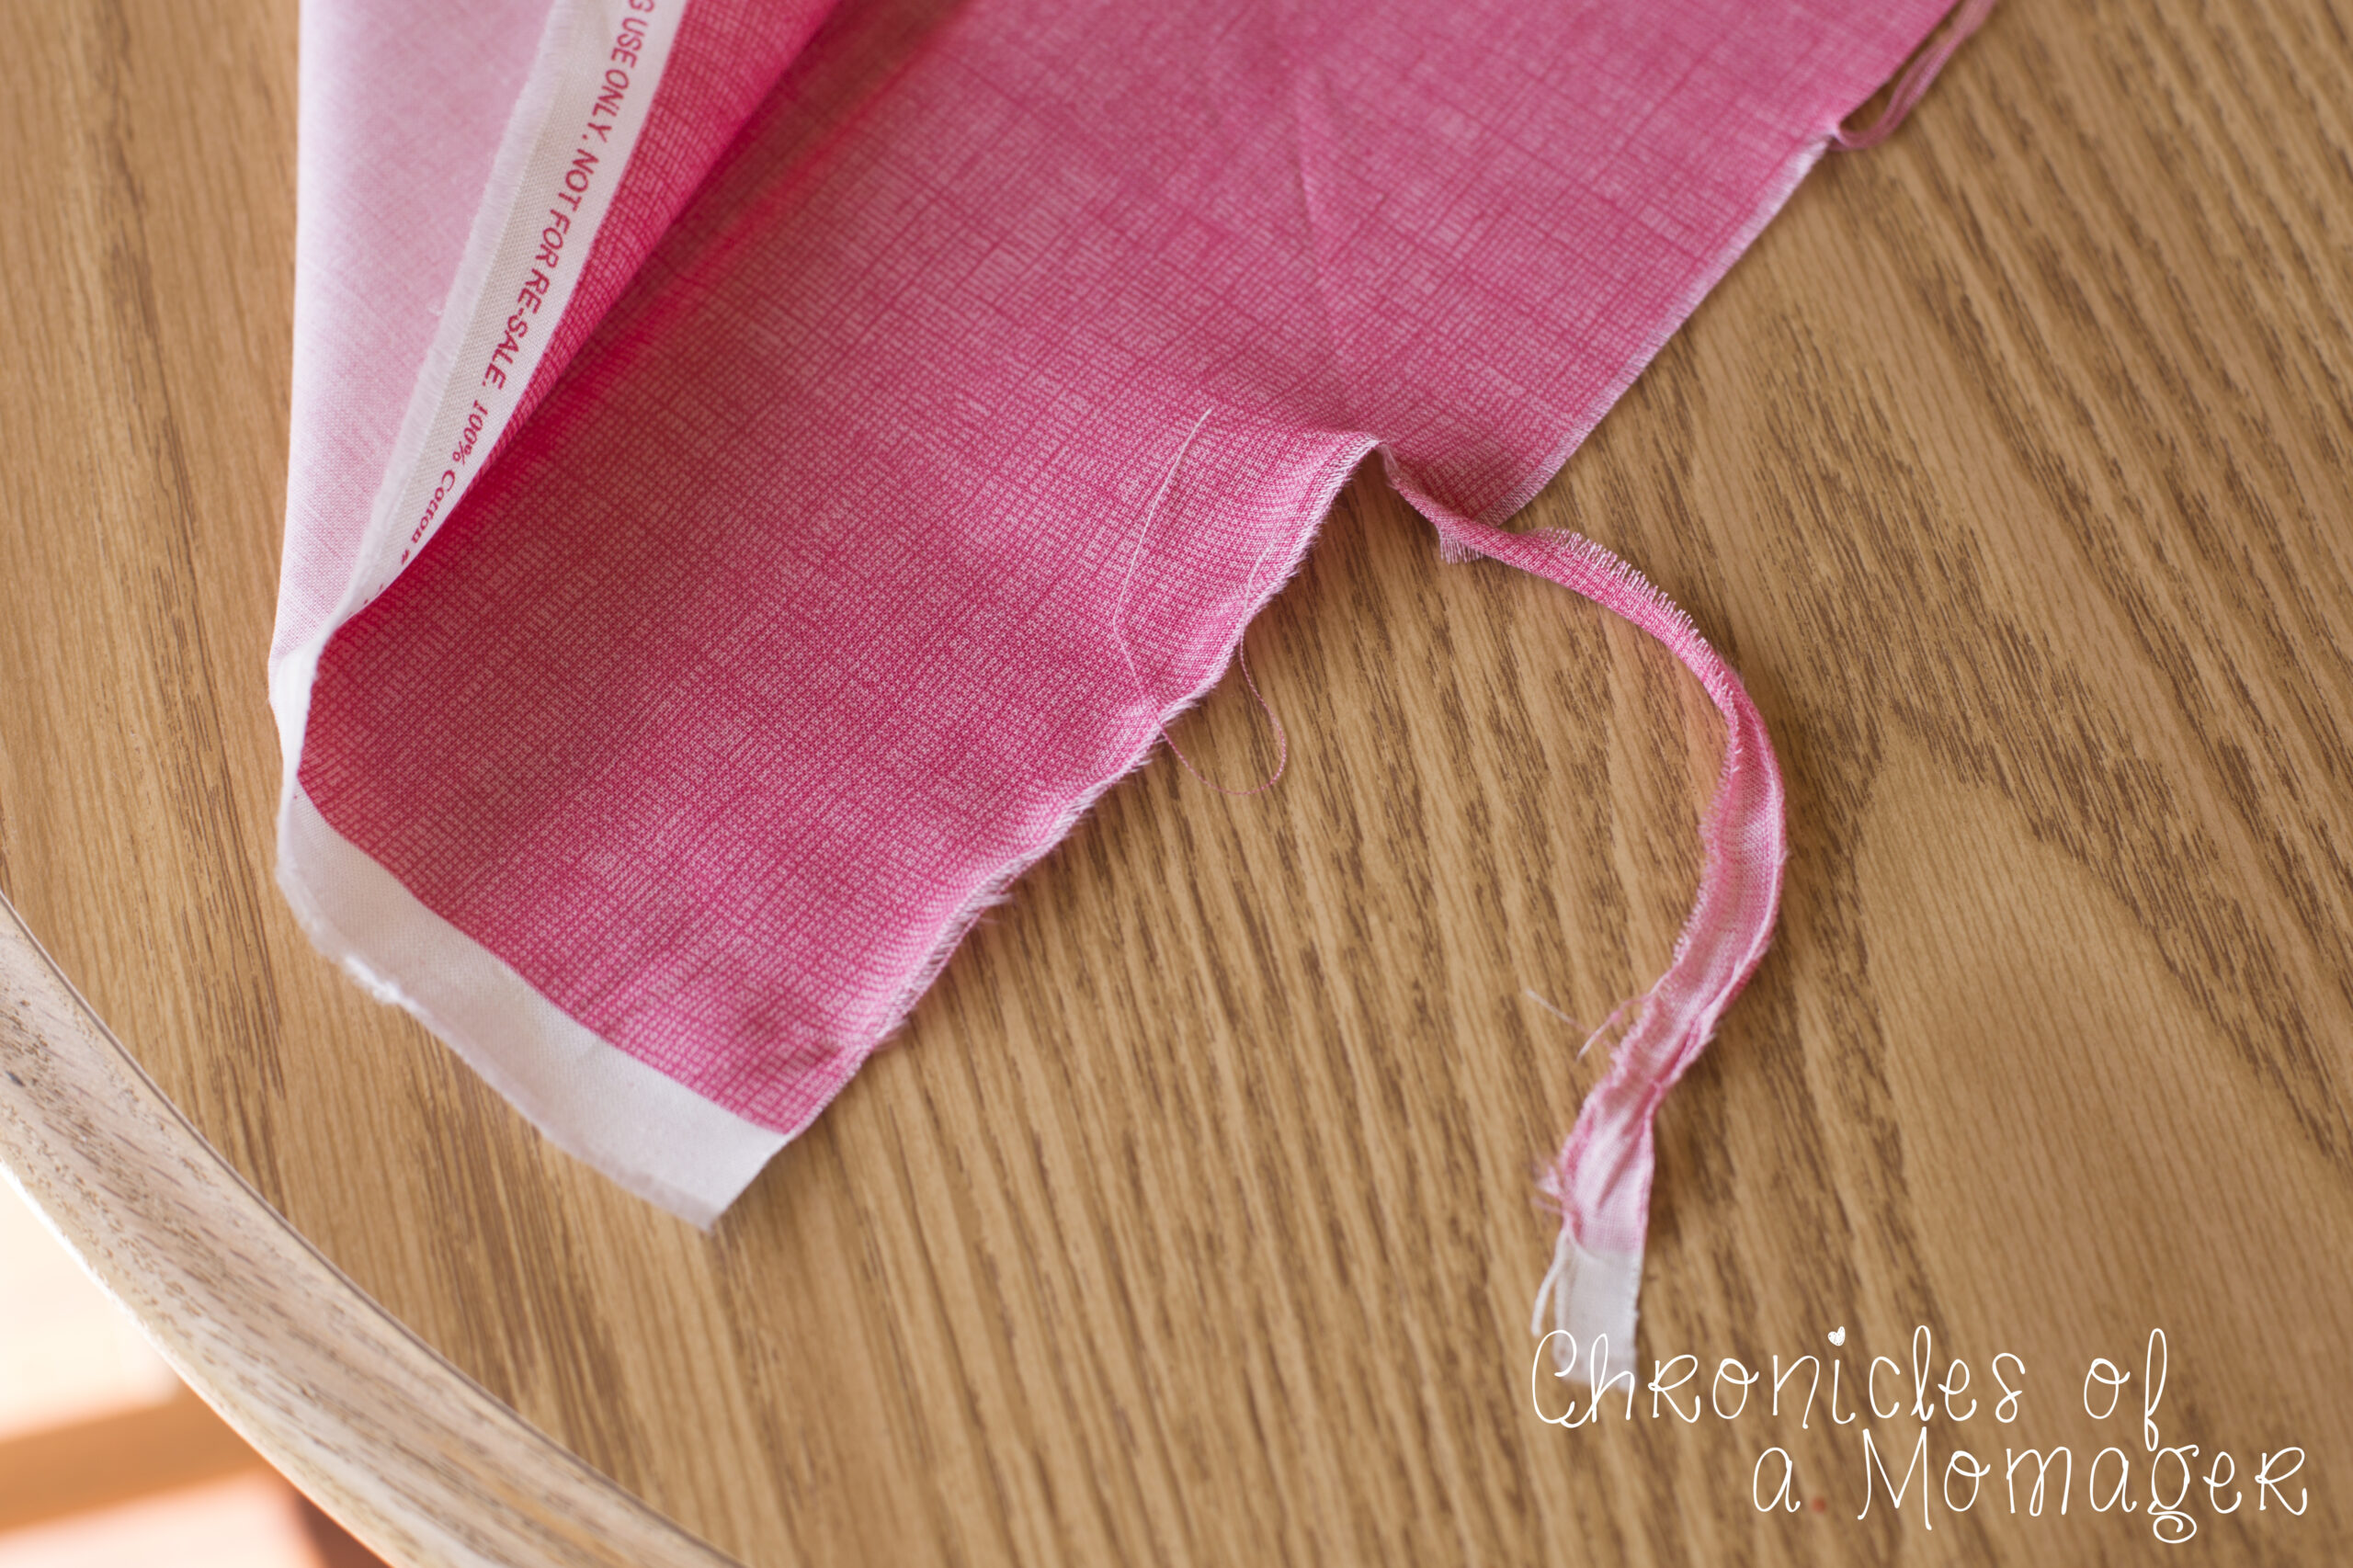
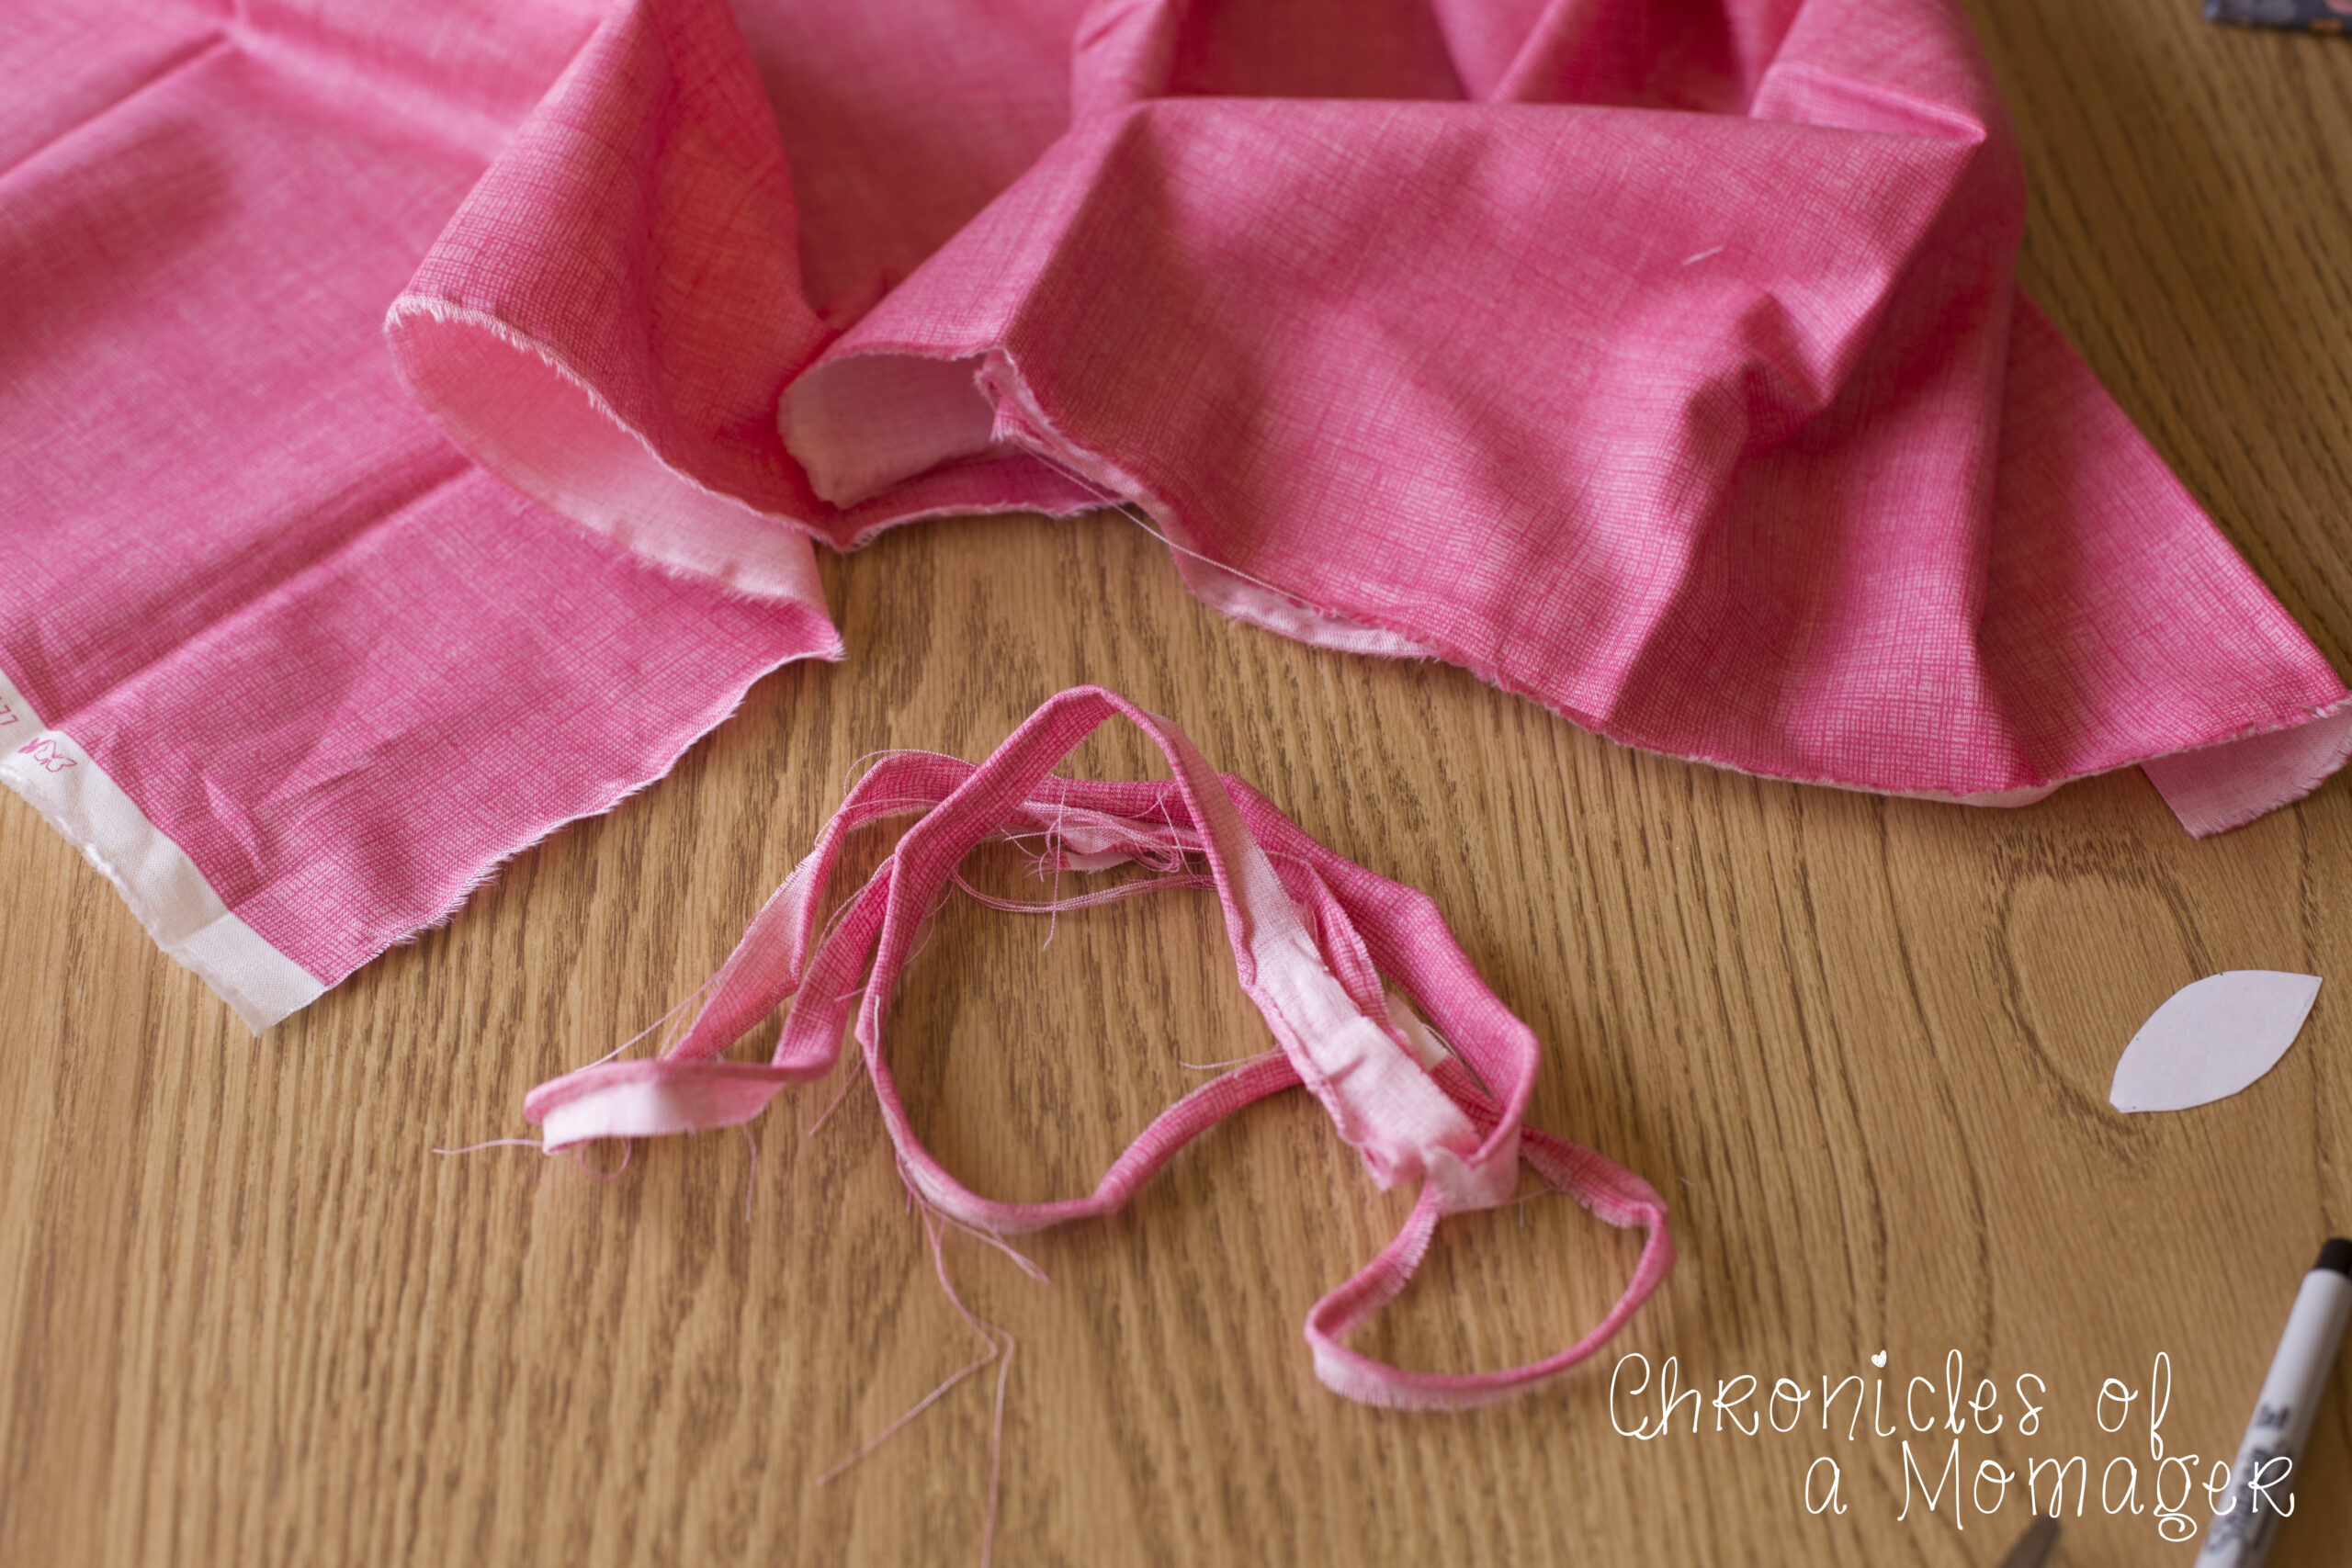
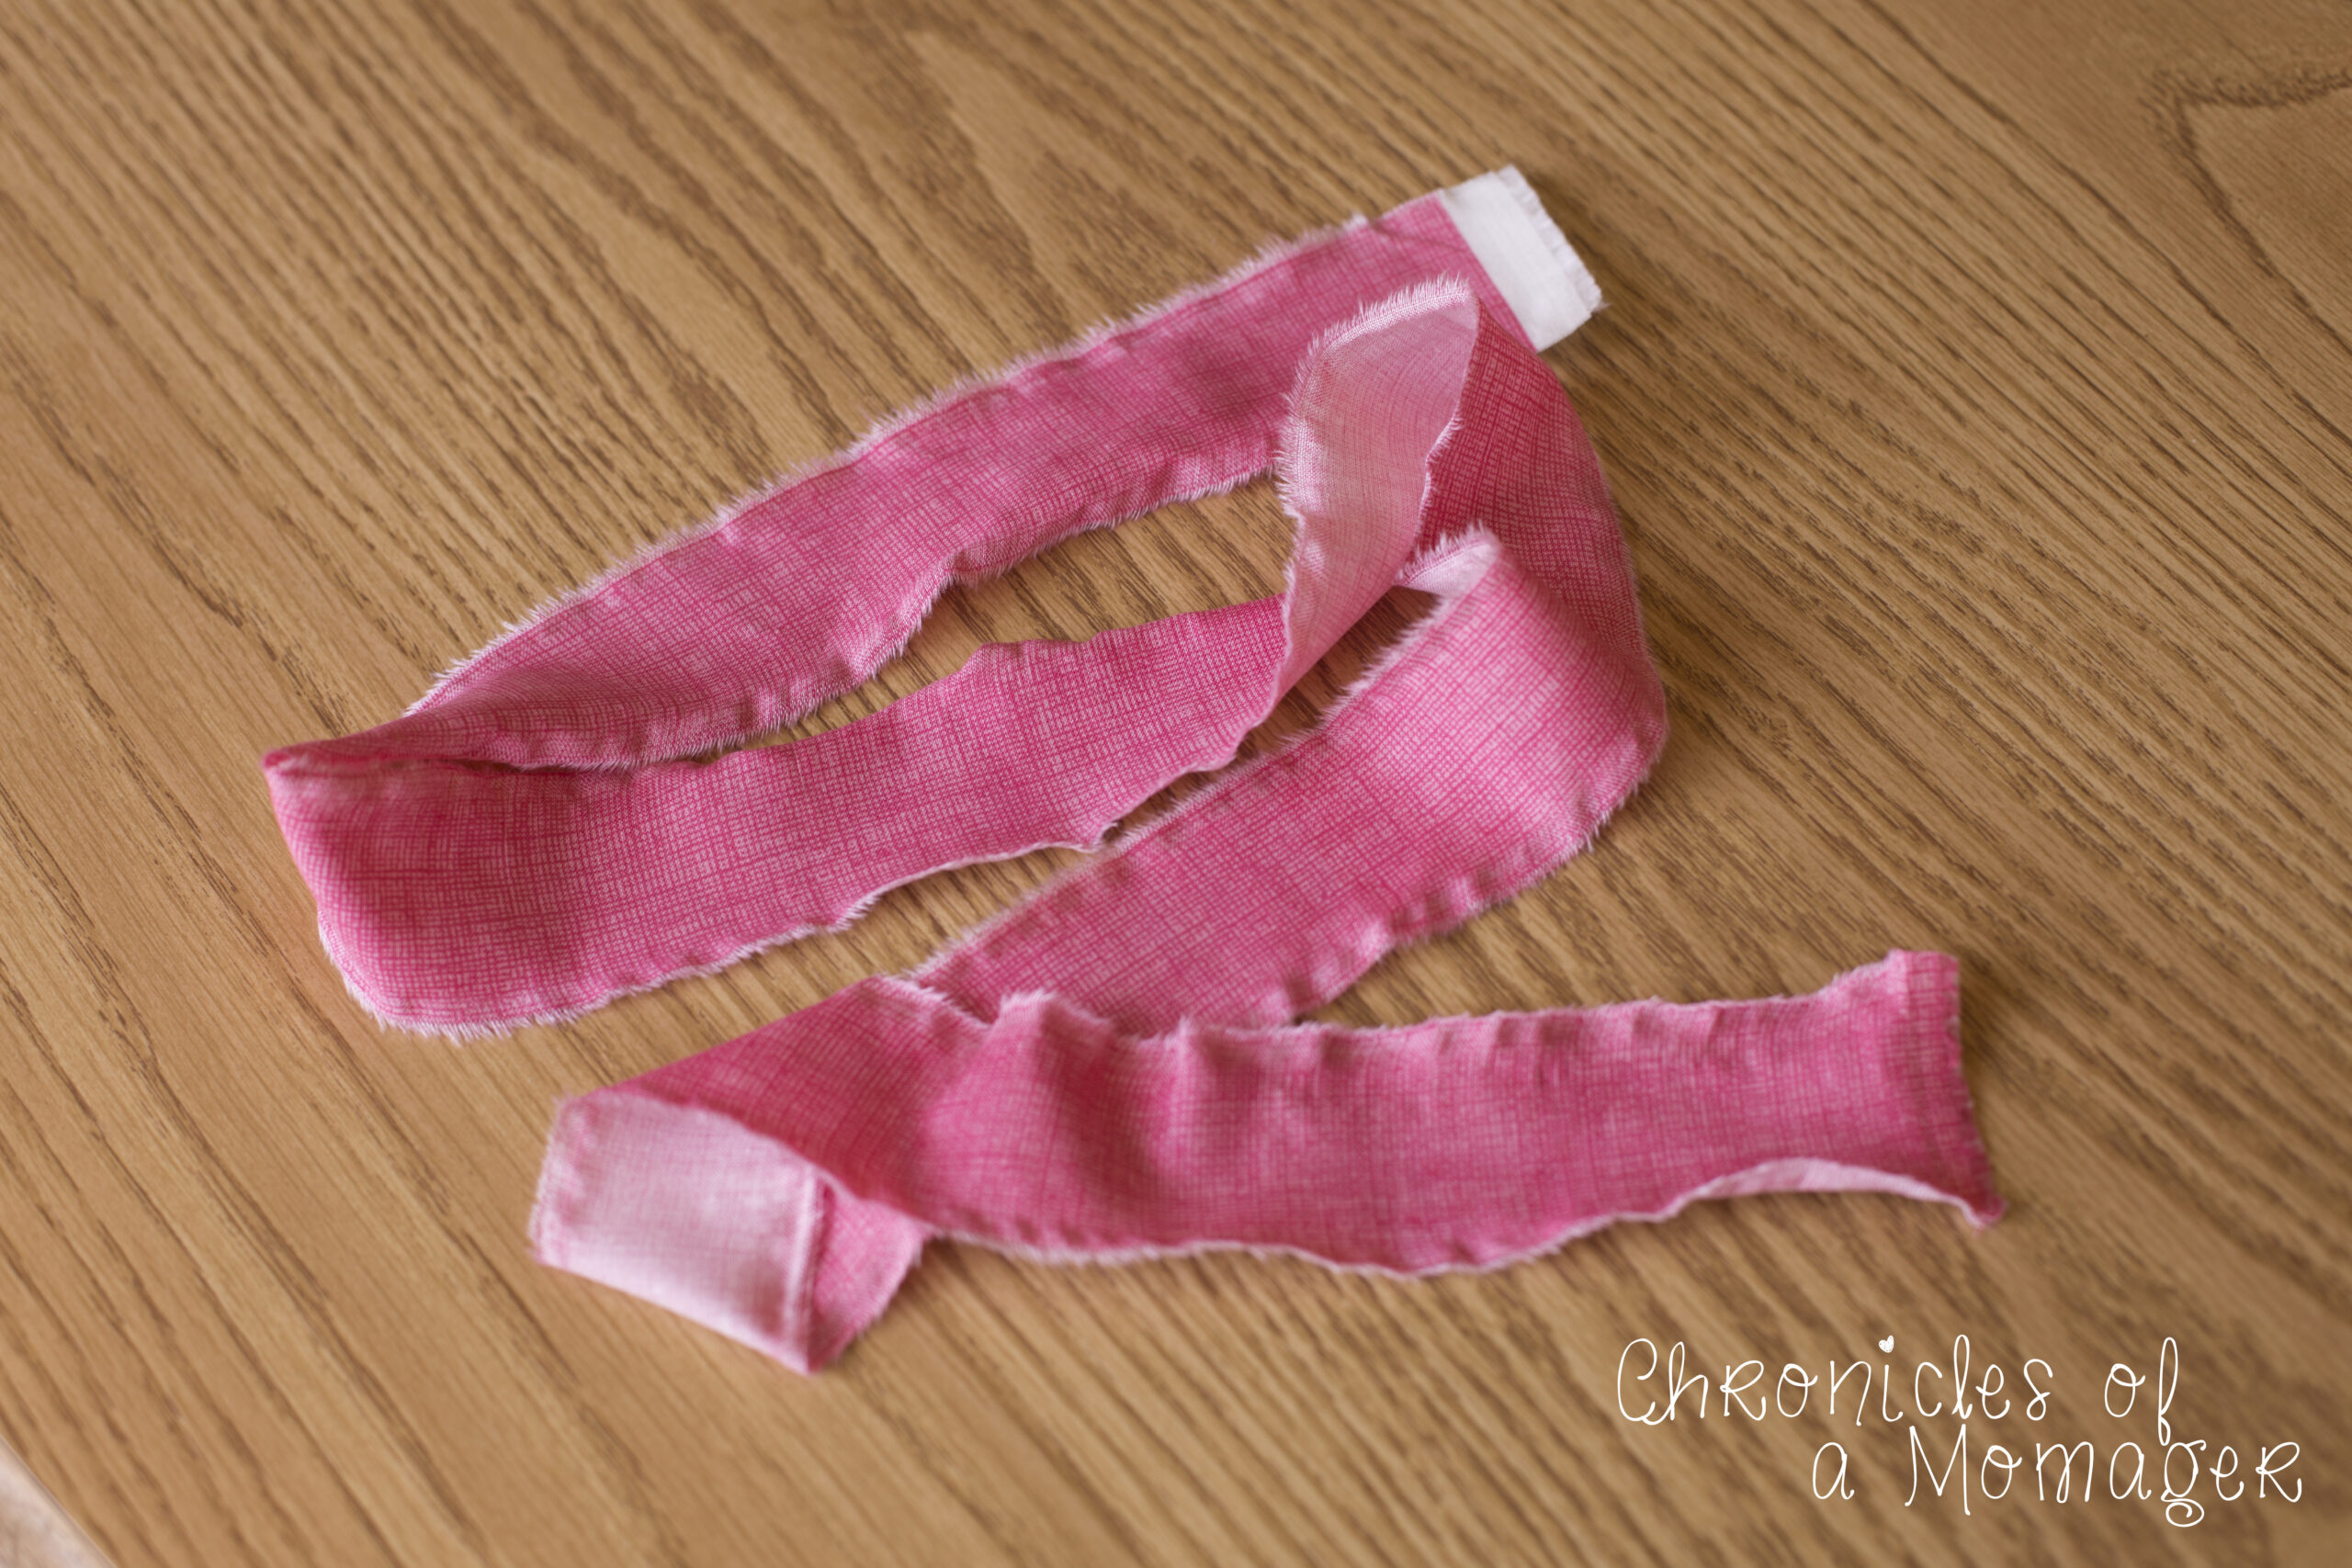
- Cut 1 strip for the flower. To do this I start by making a small cut in the long edges of the fabric and then I rip it all the way up to get a raw edge.
Head Wrap Instructions:
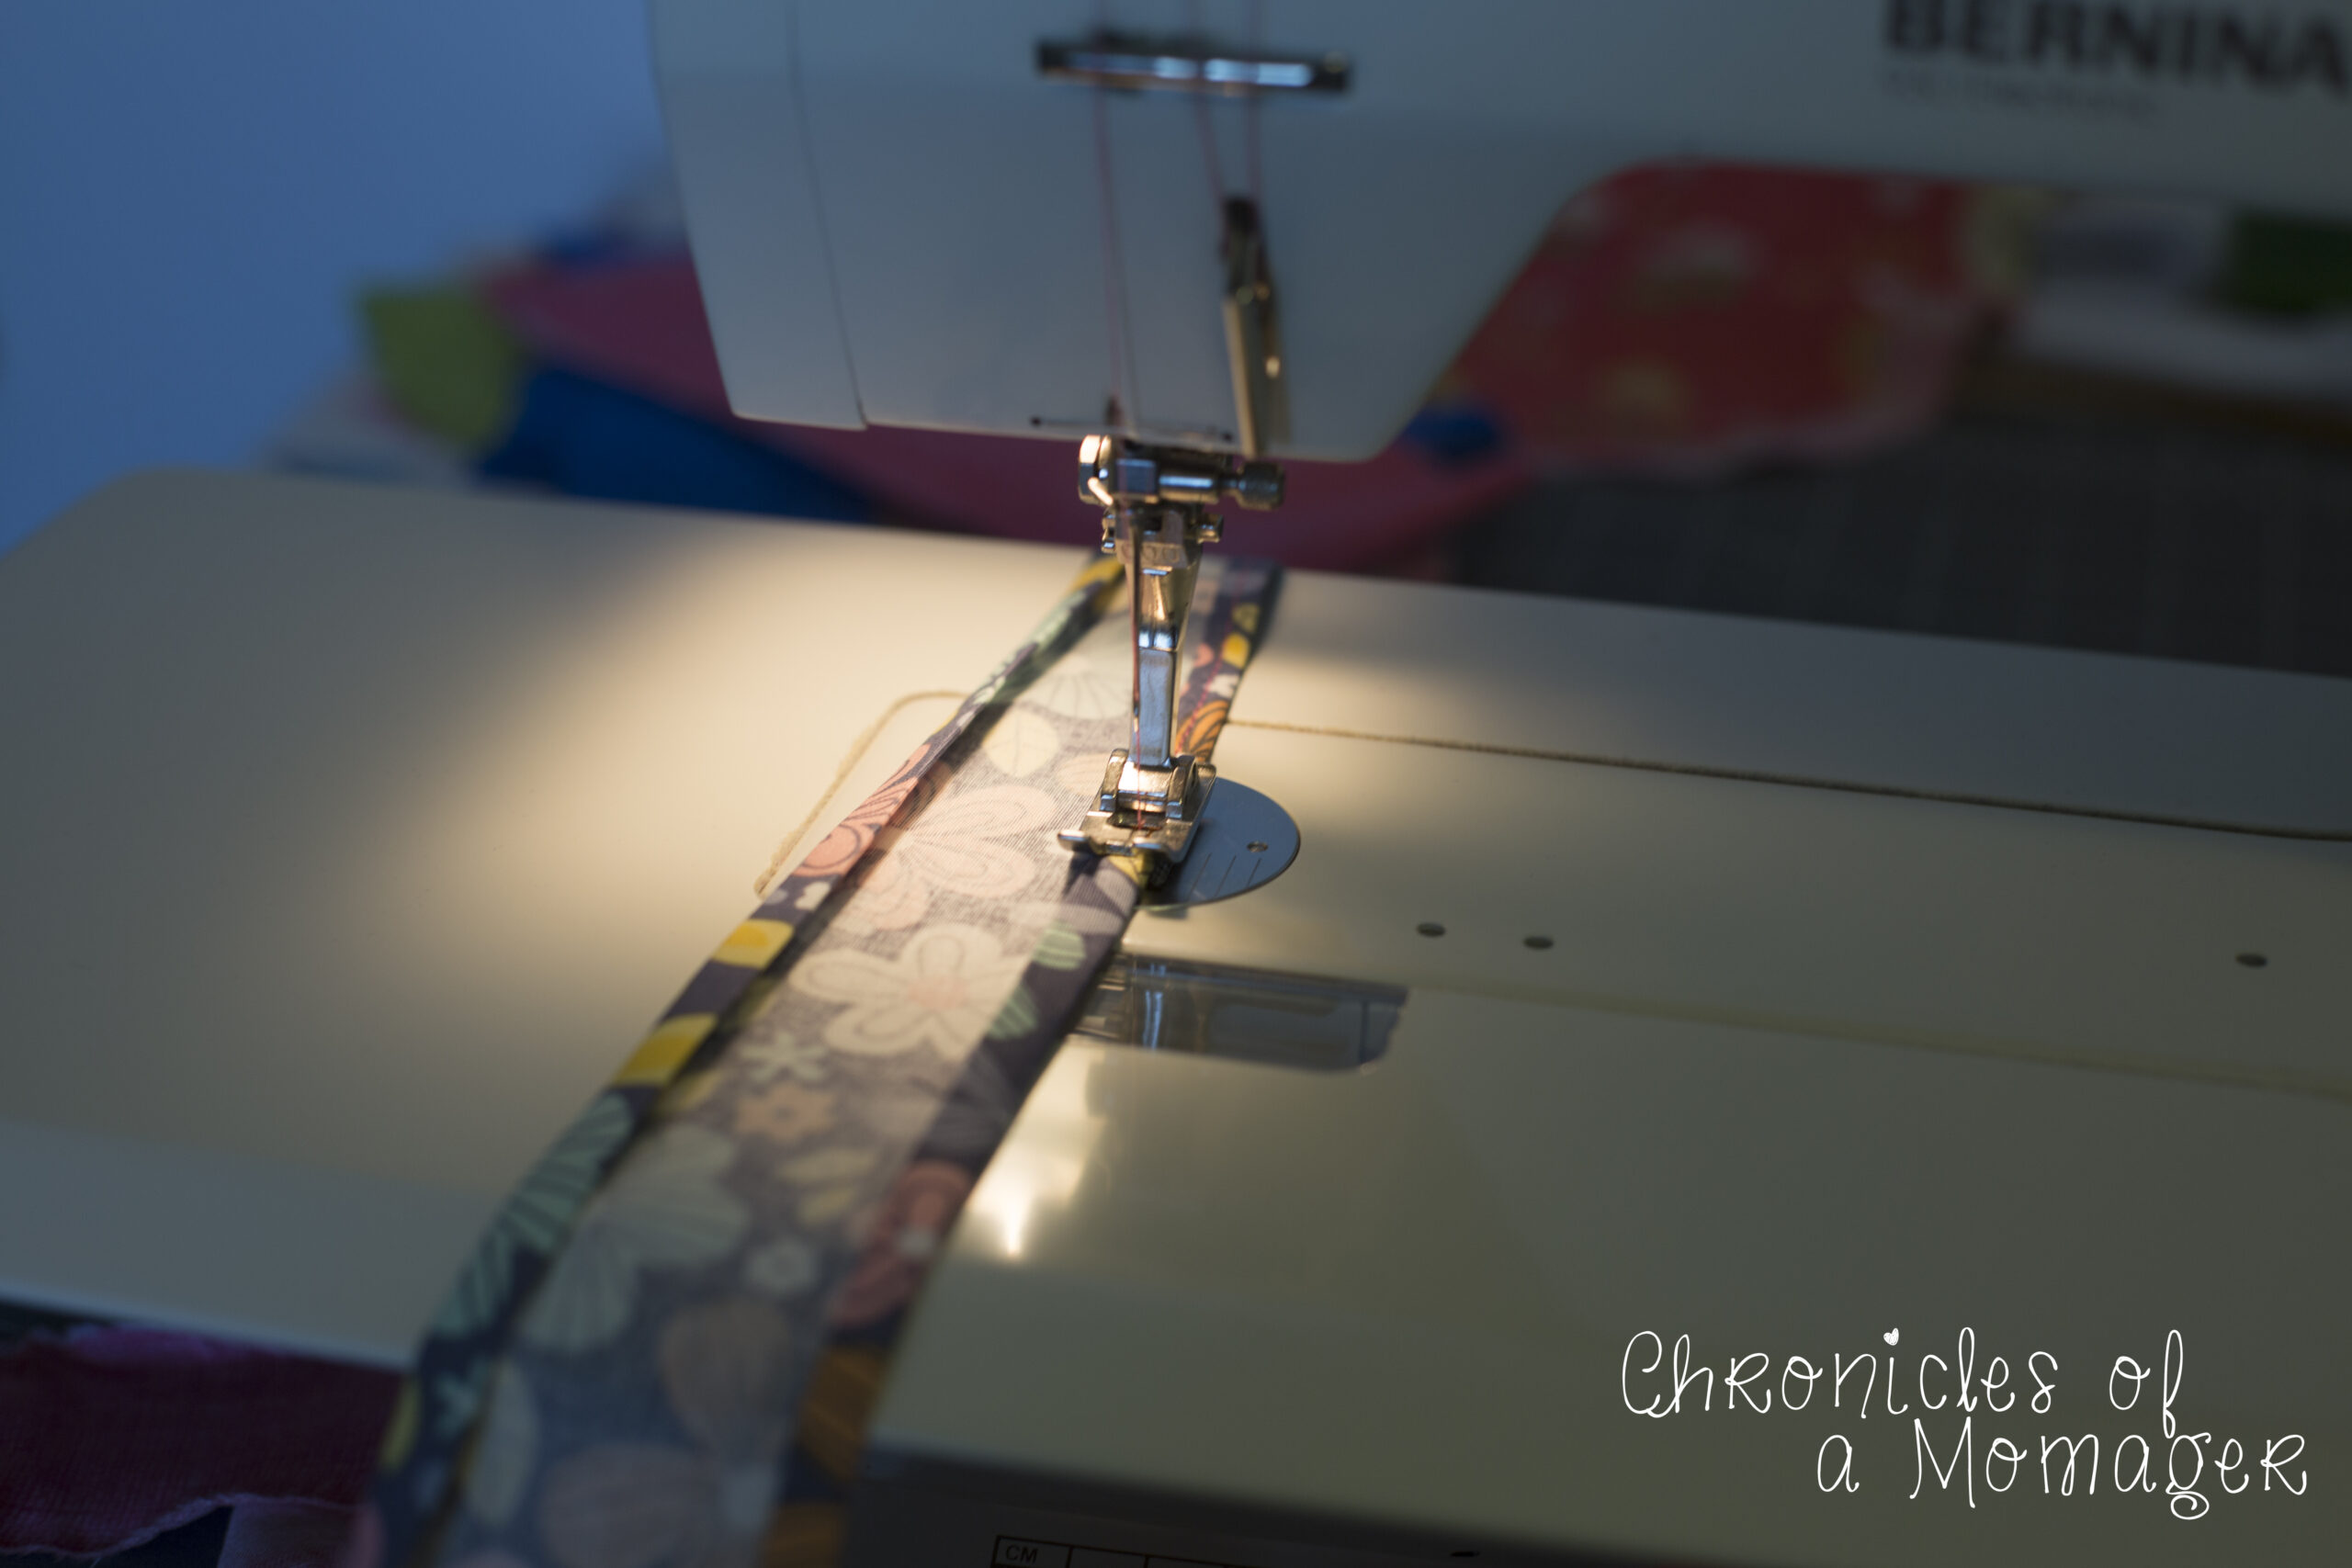
Step 1: Press long sides of the head wrap piece in 1/4″. Press in another 1/4″. Topstitch both long sides.
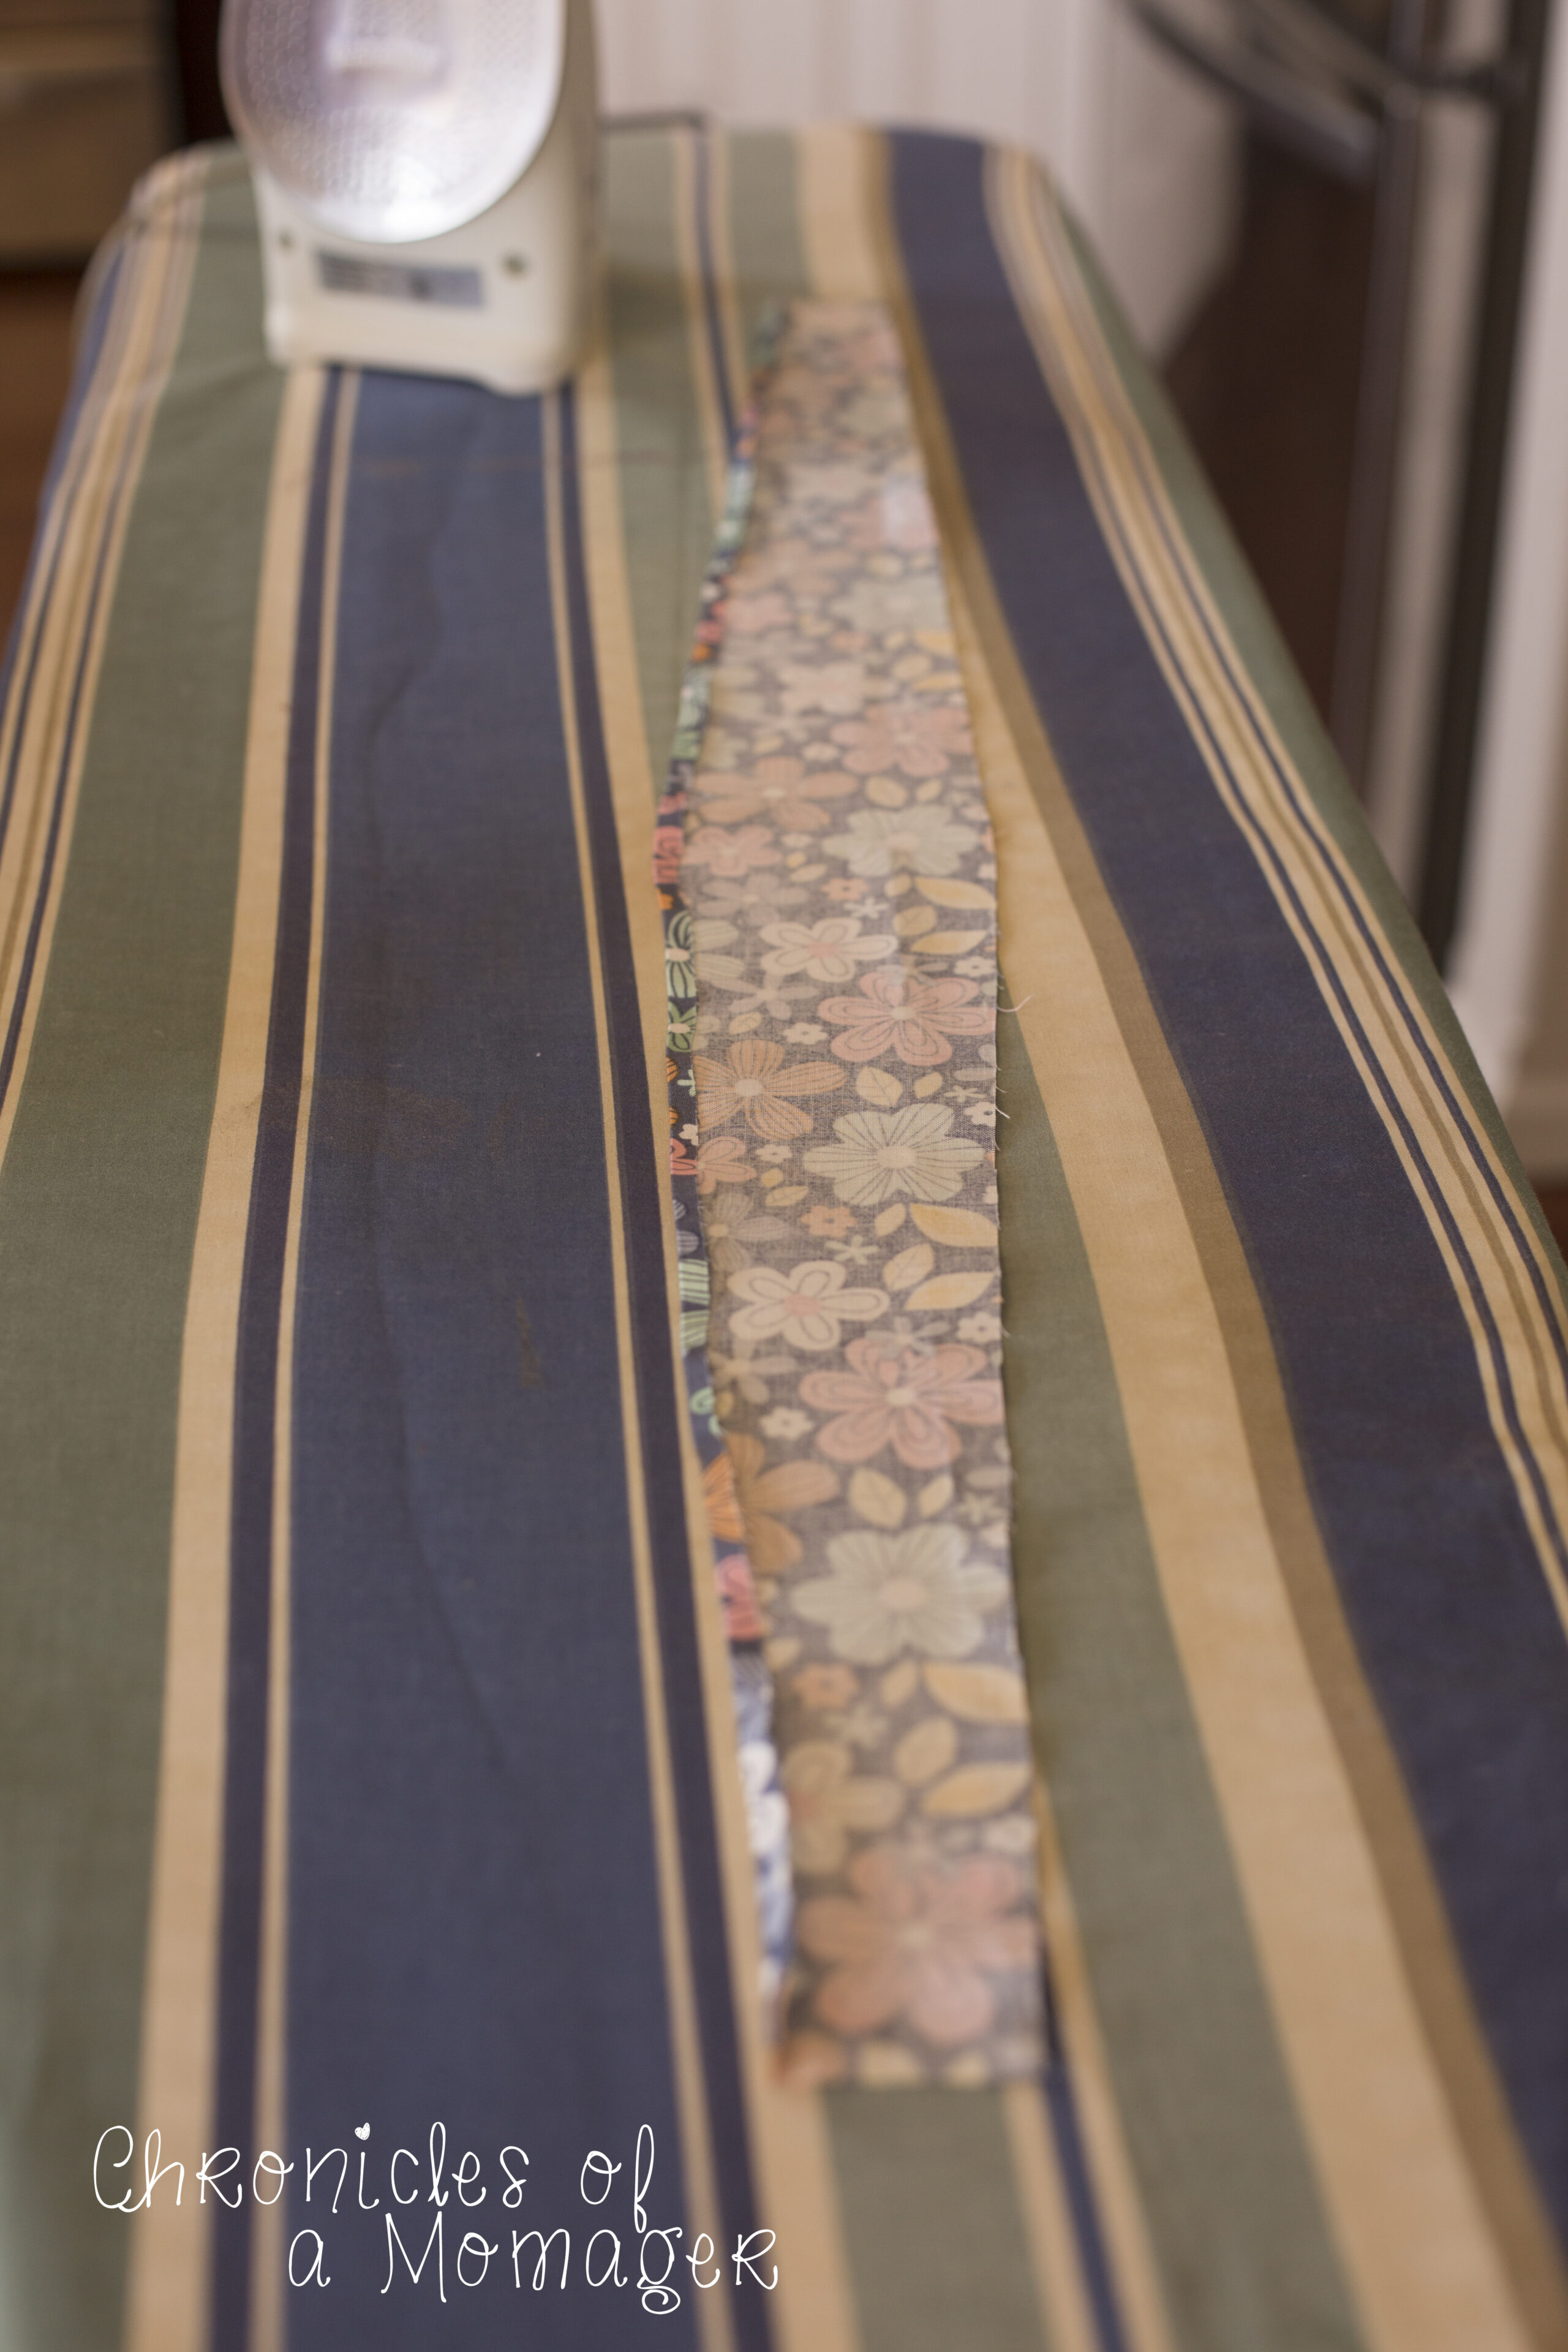
Step 2: Press short ends in 1/4″. Press in another 1/4″. Topstitch both long sides.
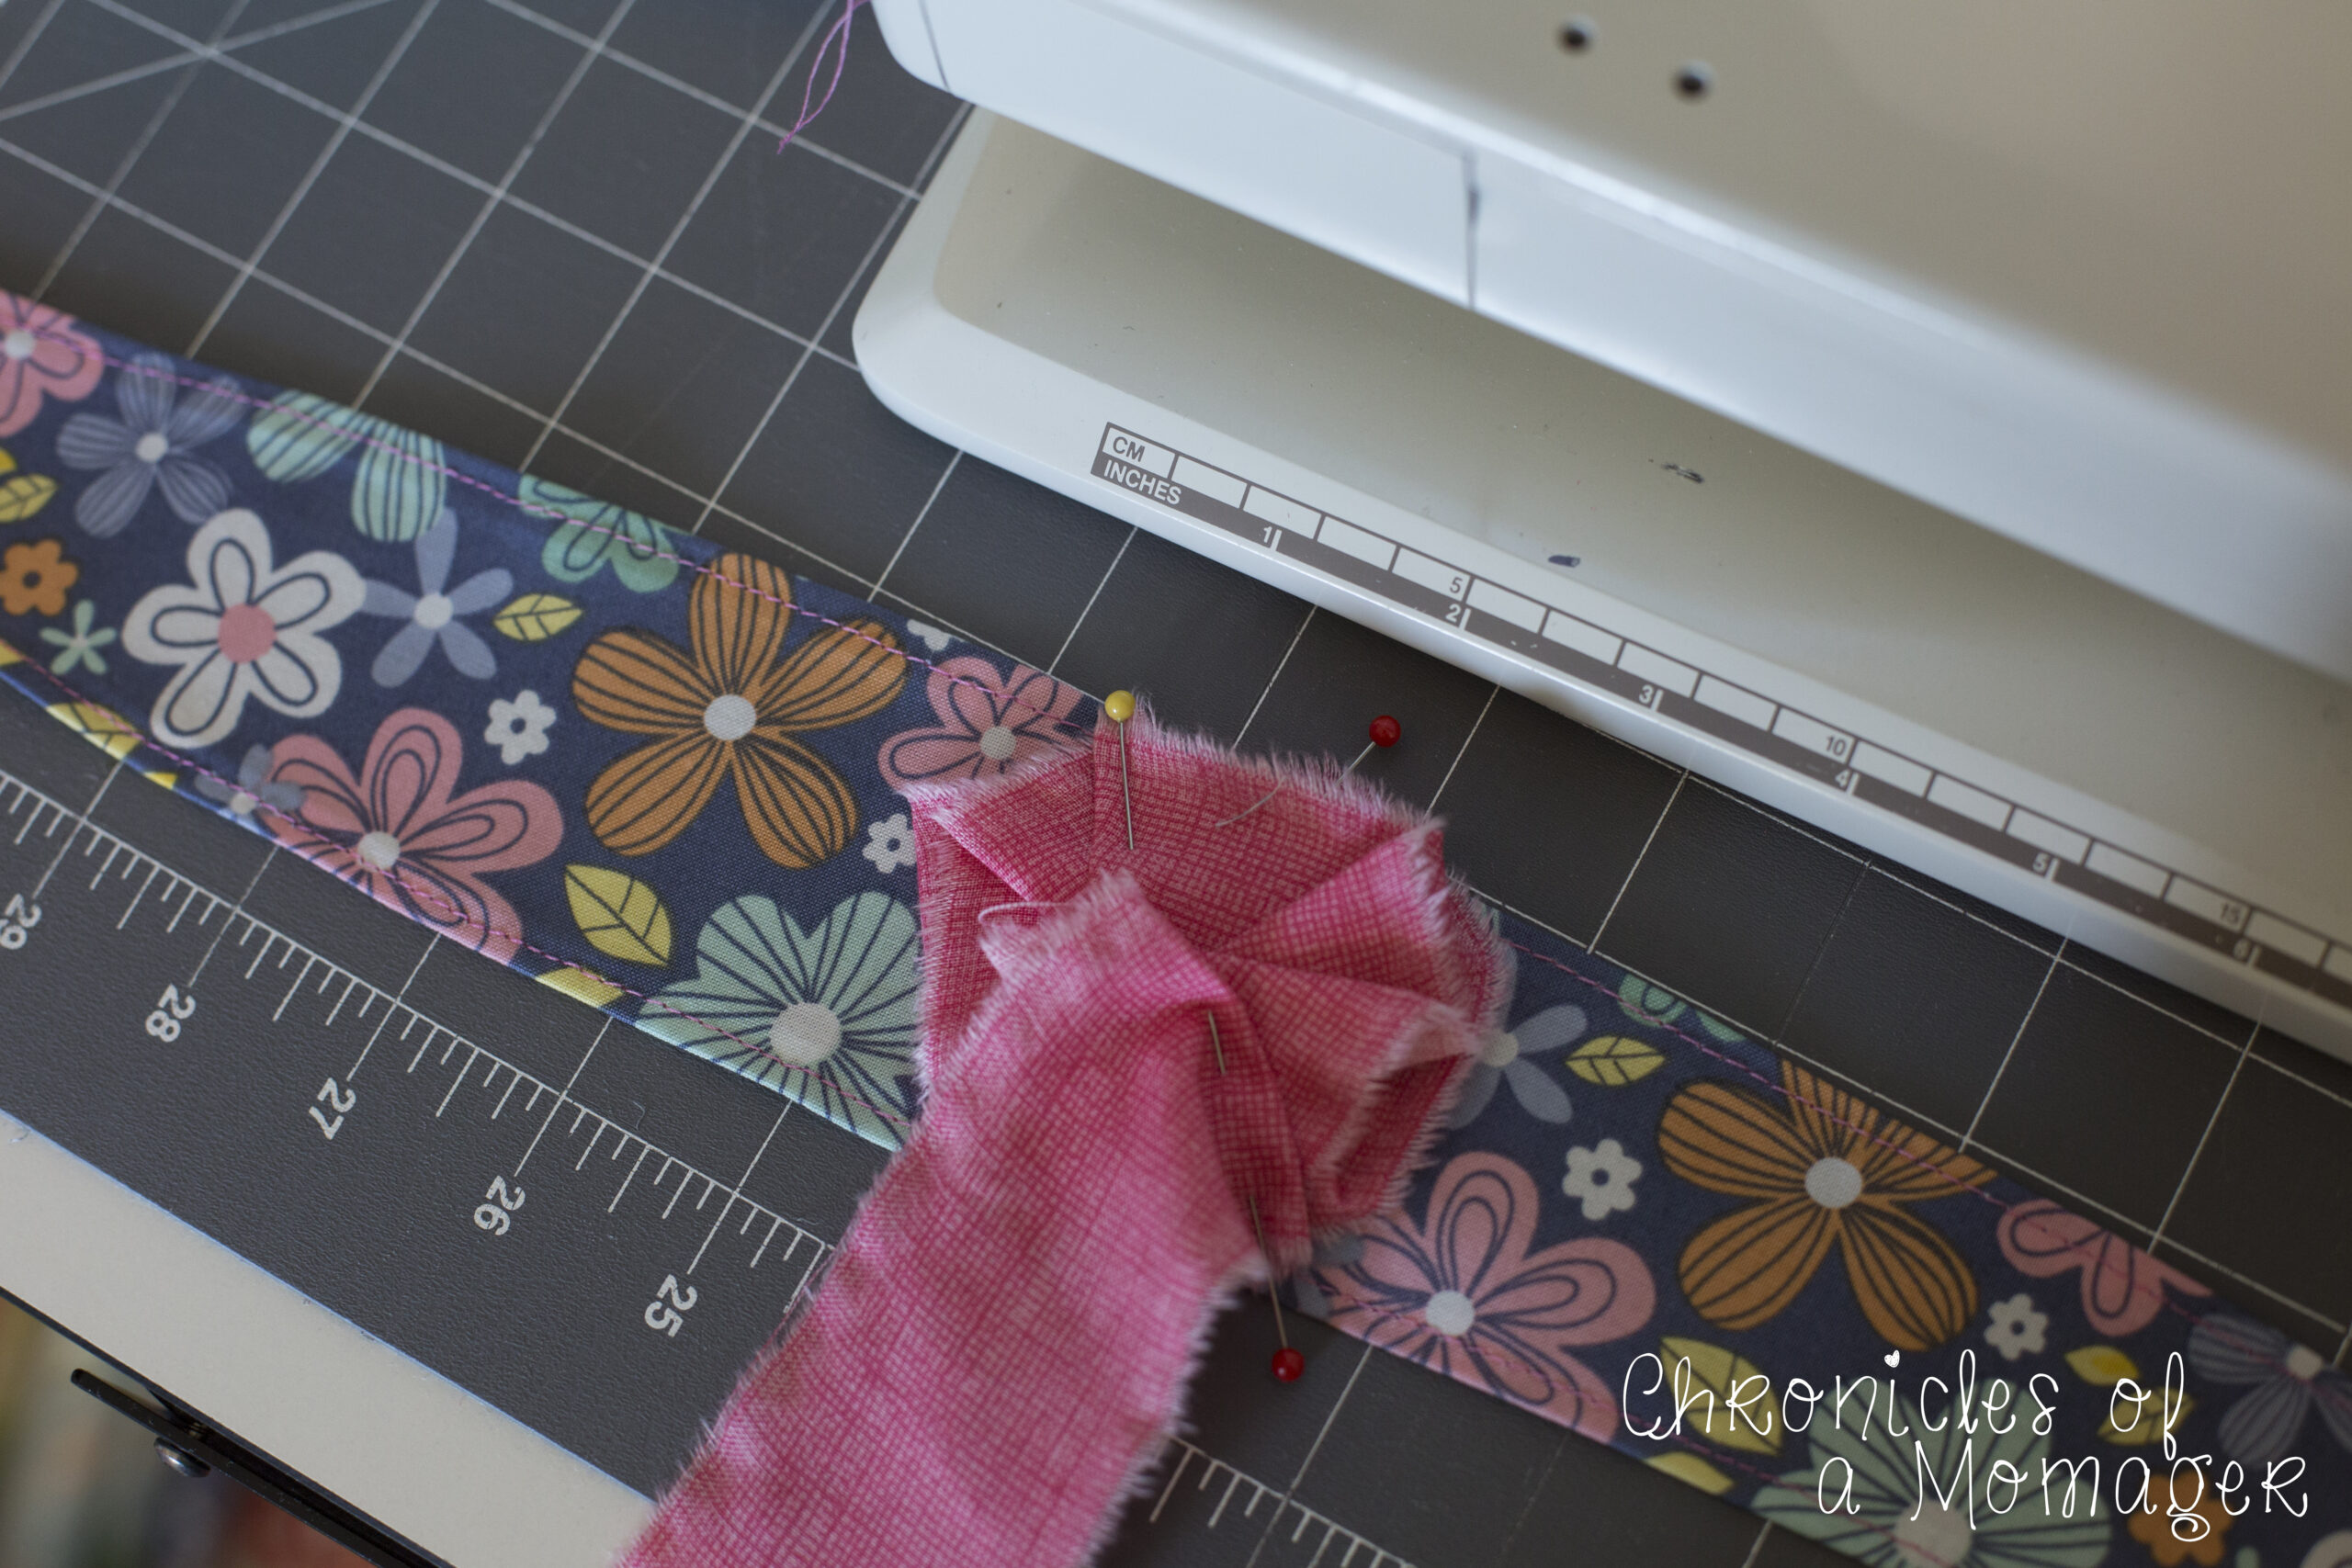
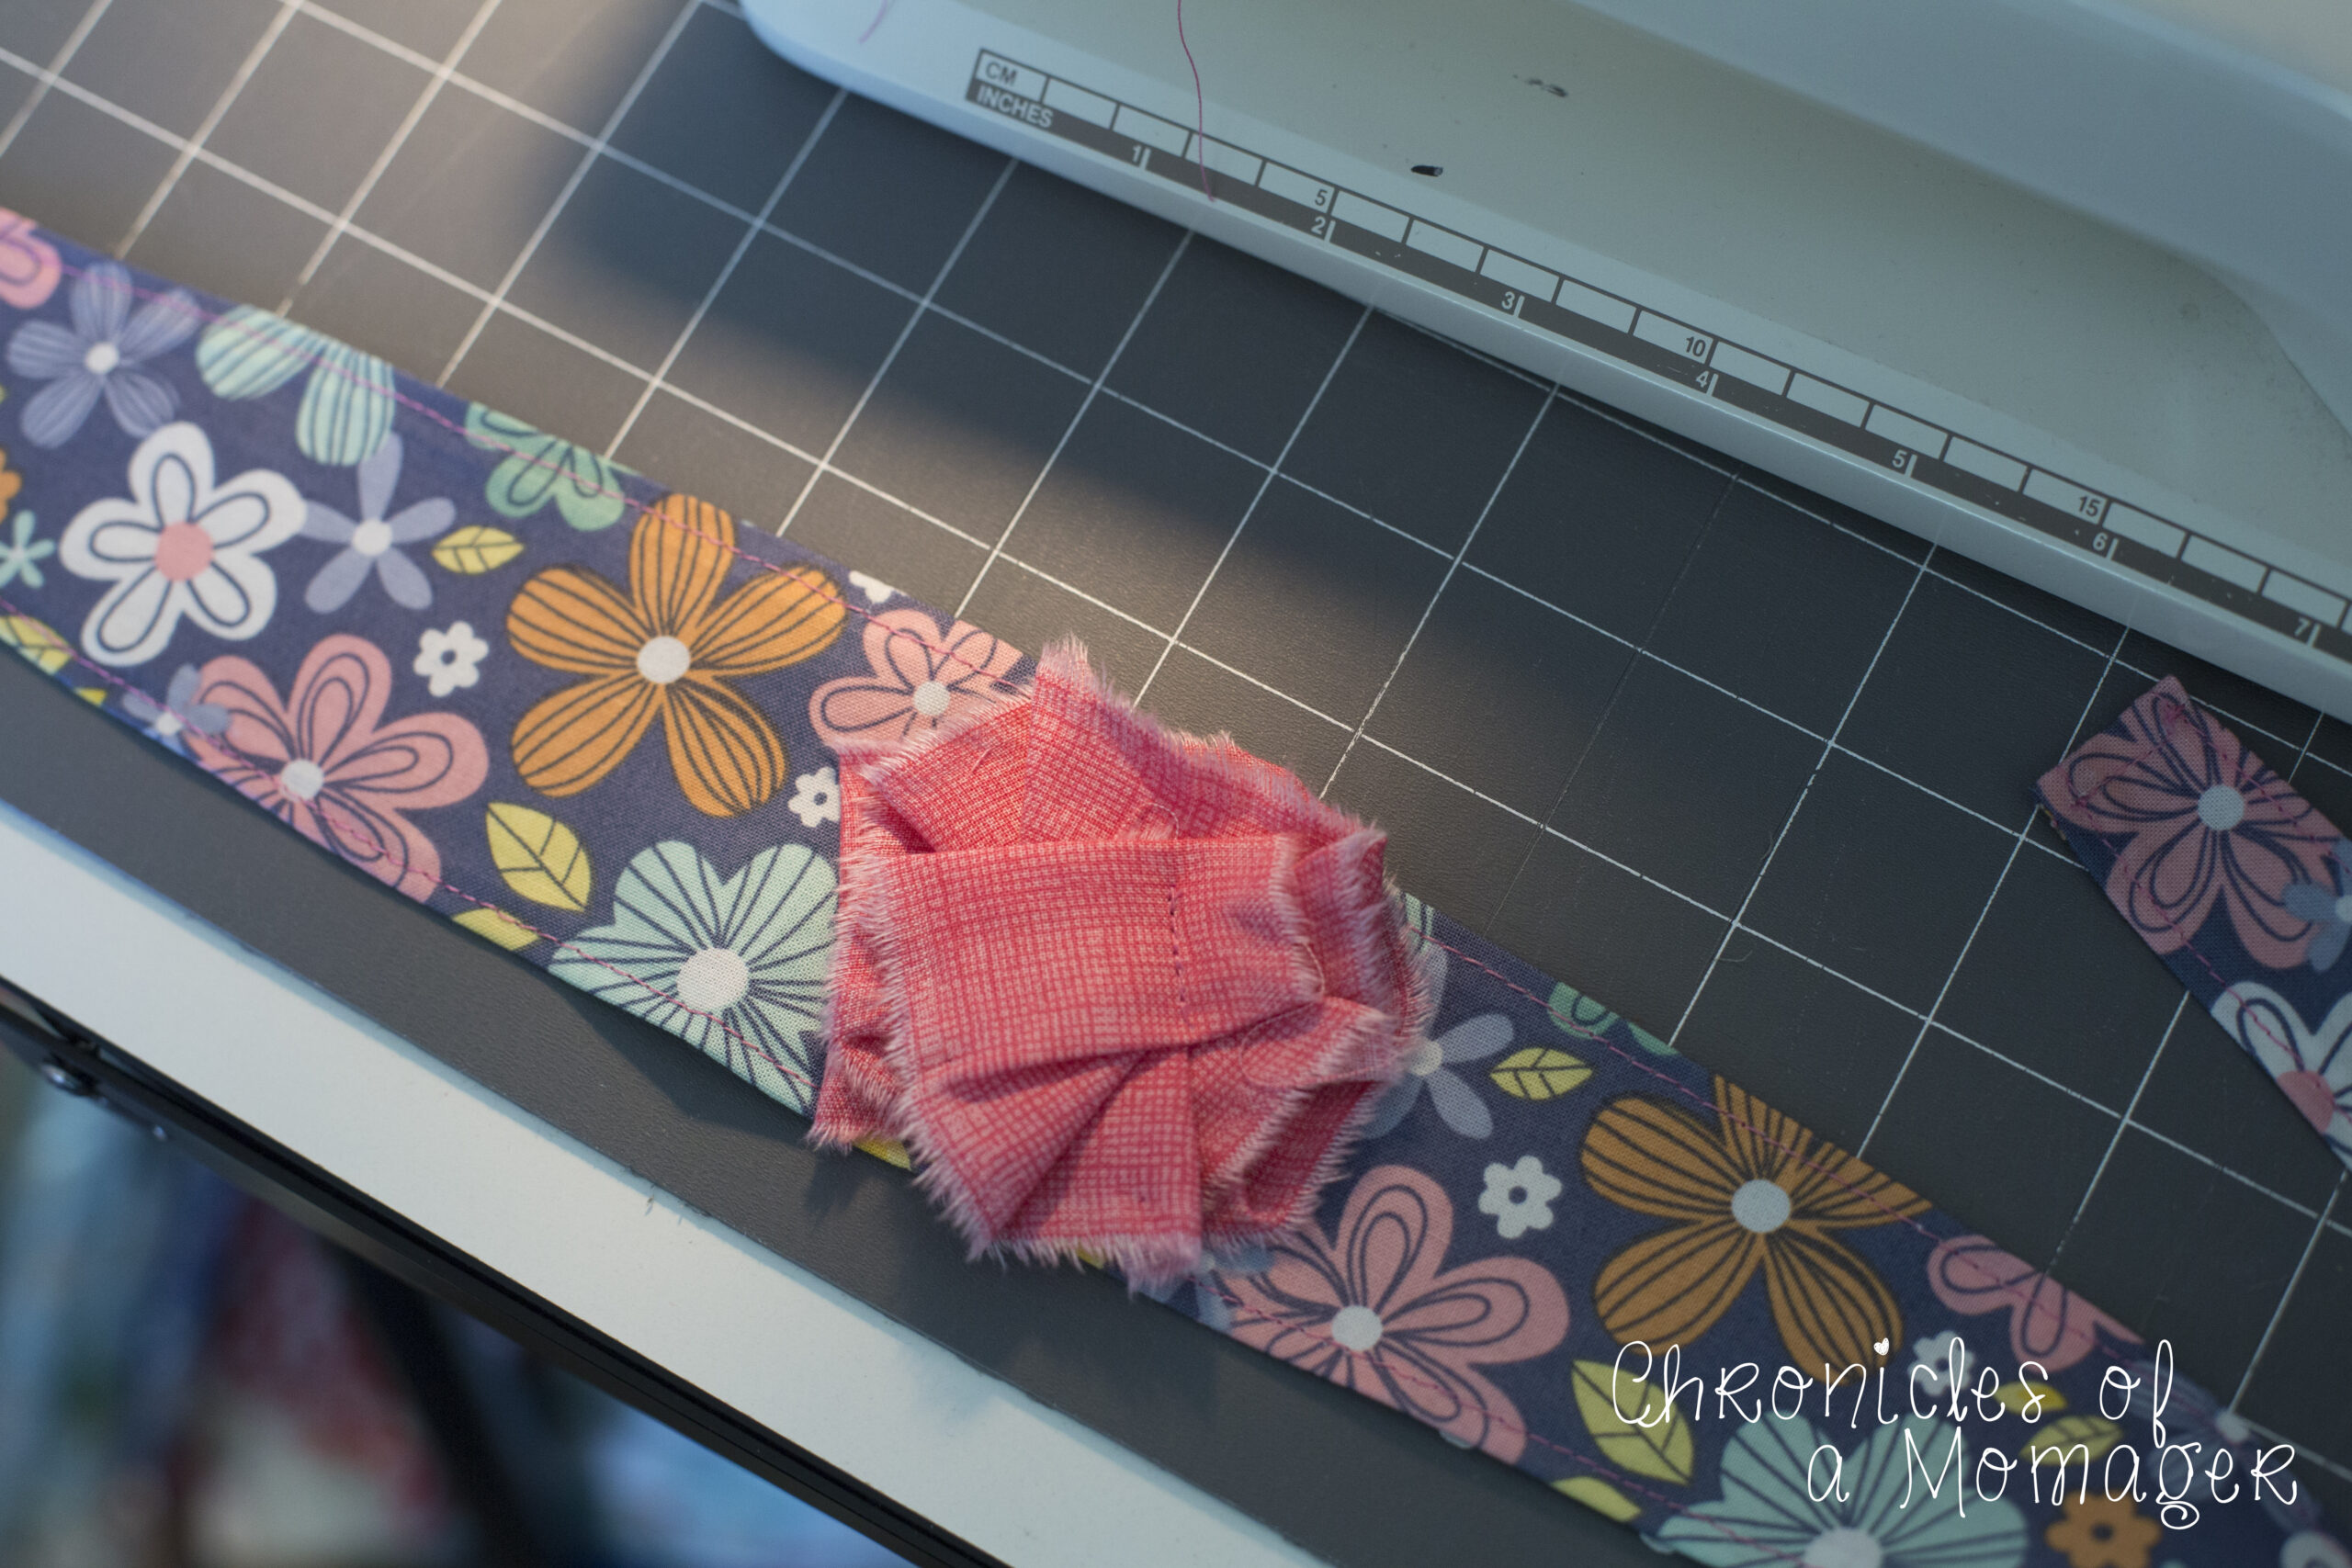
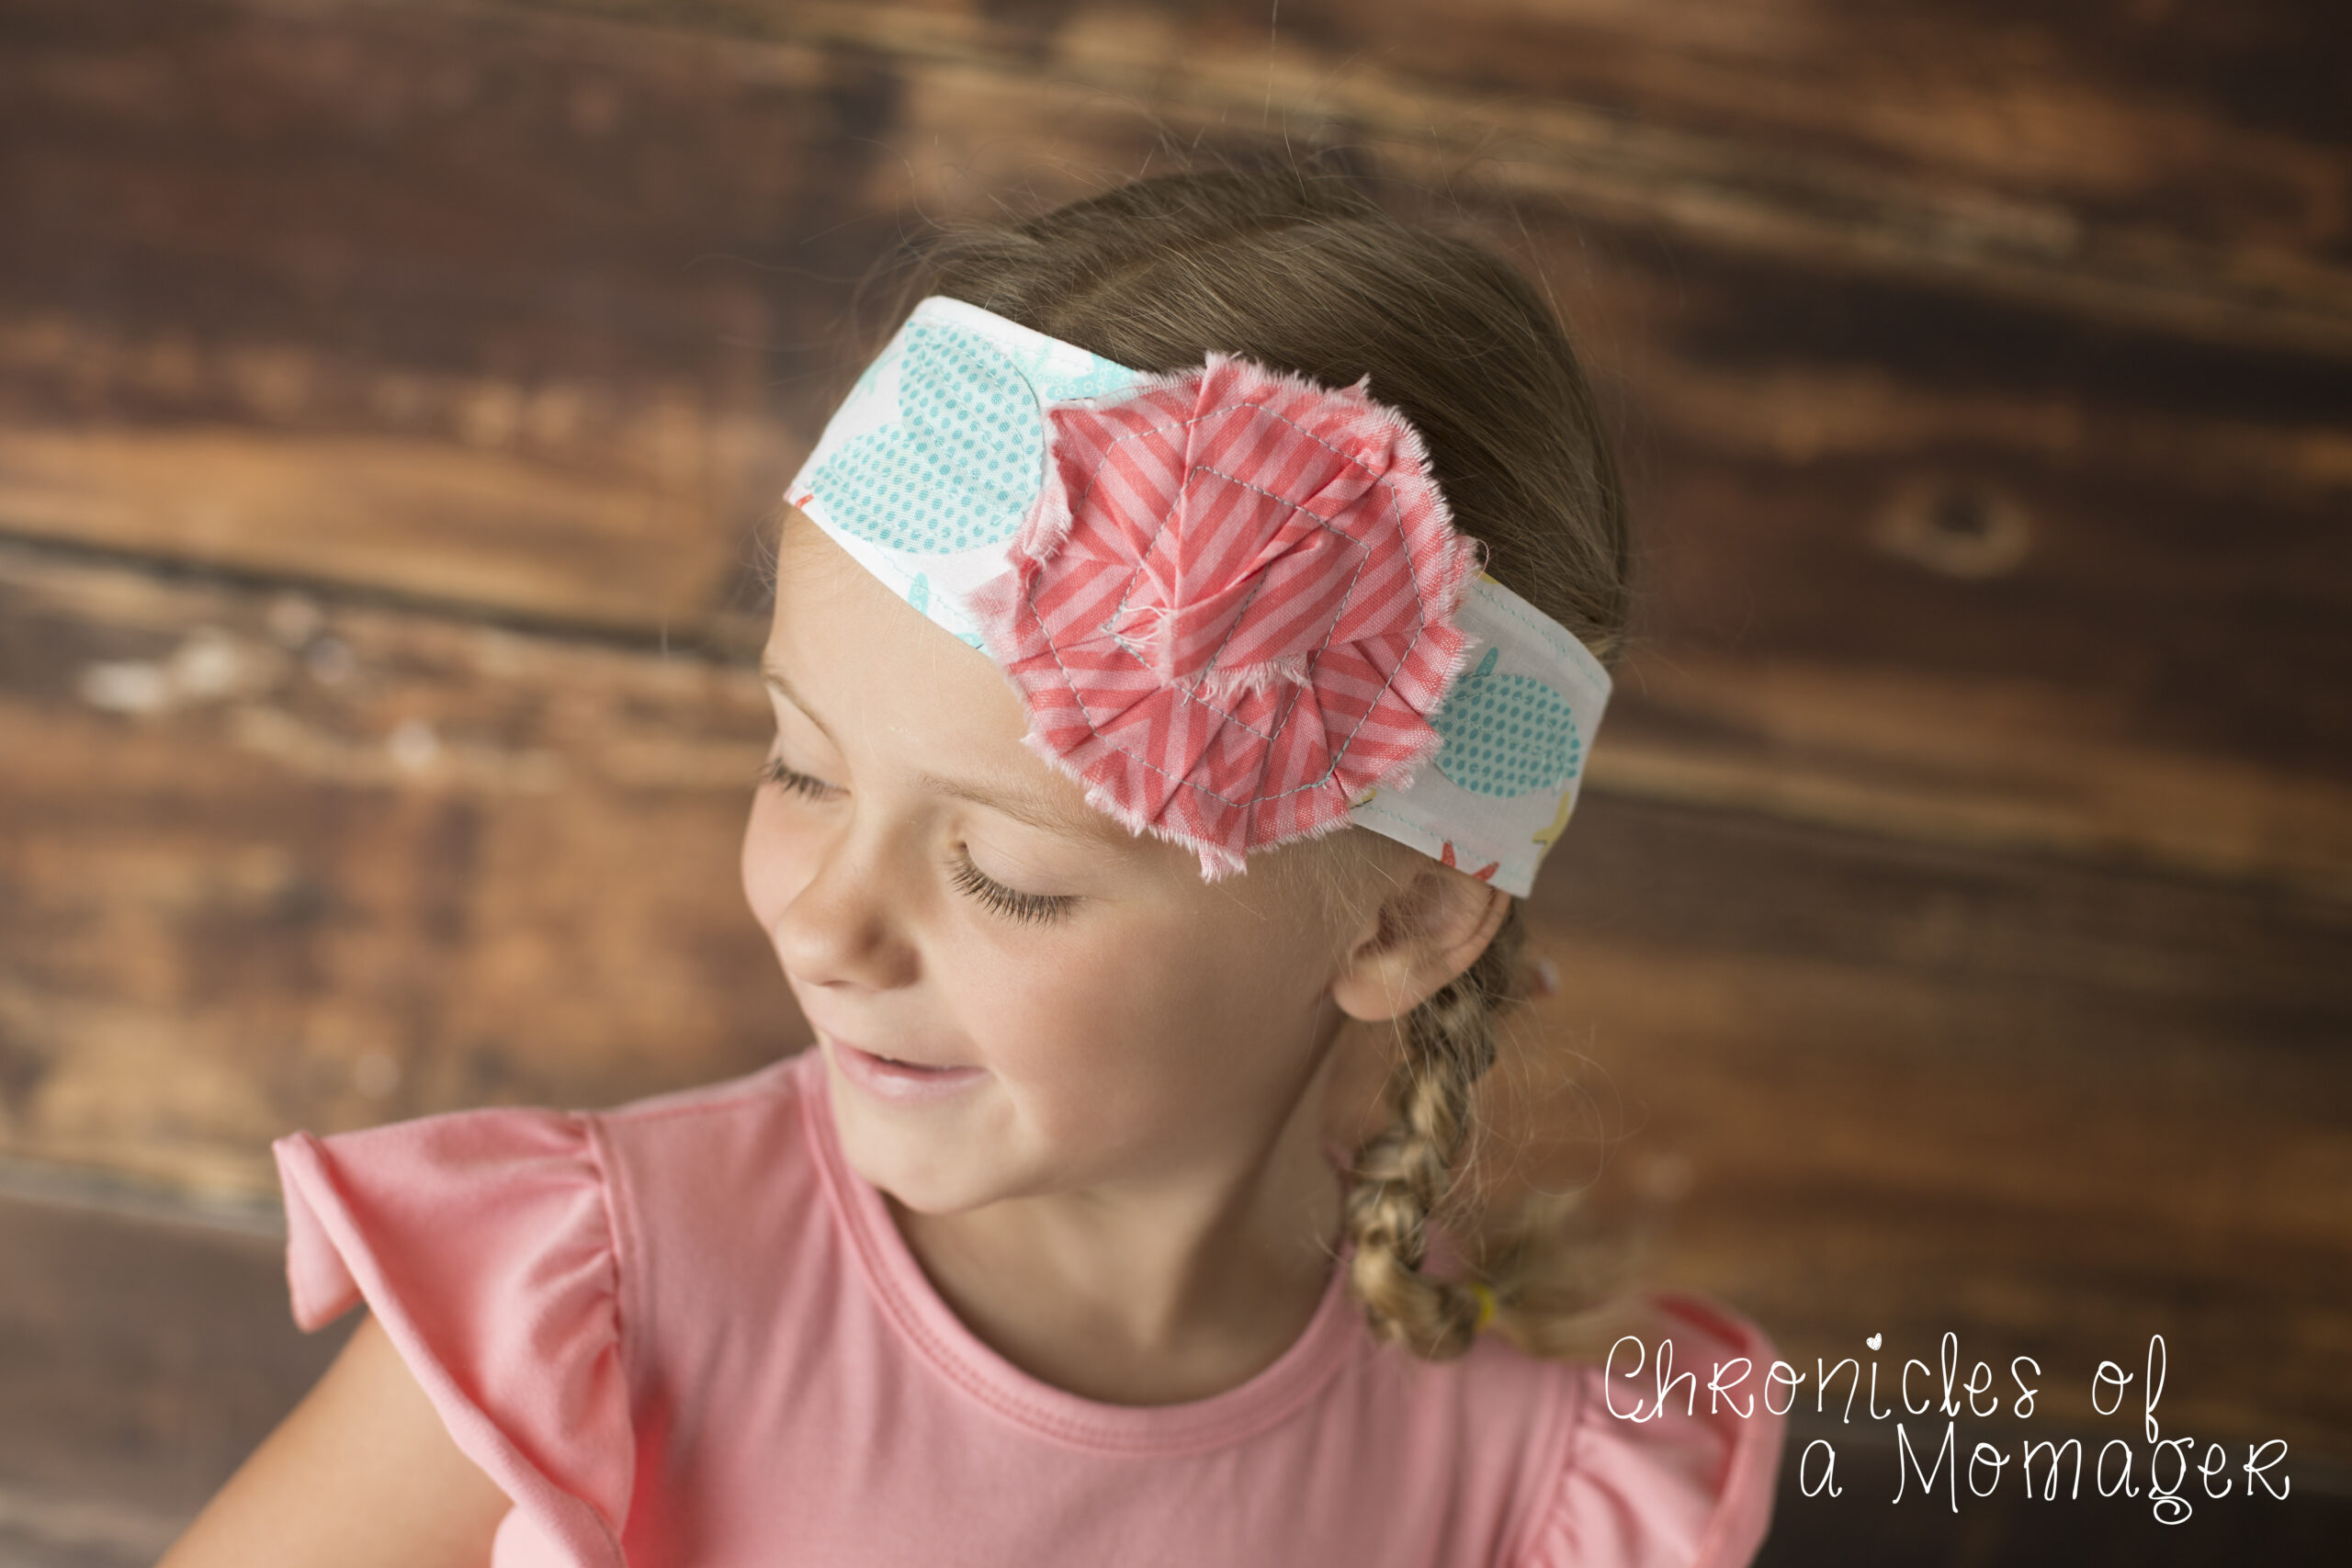
Step 3: Fold the wrap in half to find the center. Starting pinning the strip for the flower just to the right of the center. It doesn’t mater which side it goes on. Fold the strip over as you go so that you only see the right side of the fabric. Continue to fold it around until your flower looks like you want it. I only ended up using about half of the strip of fabric I ripped. On some of the head wraps I made I used smaller pieces because that’s what I had in my scrap pile. Use as much as you like to give you the desired effect you want for your wrap.
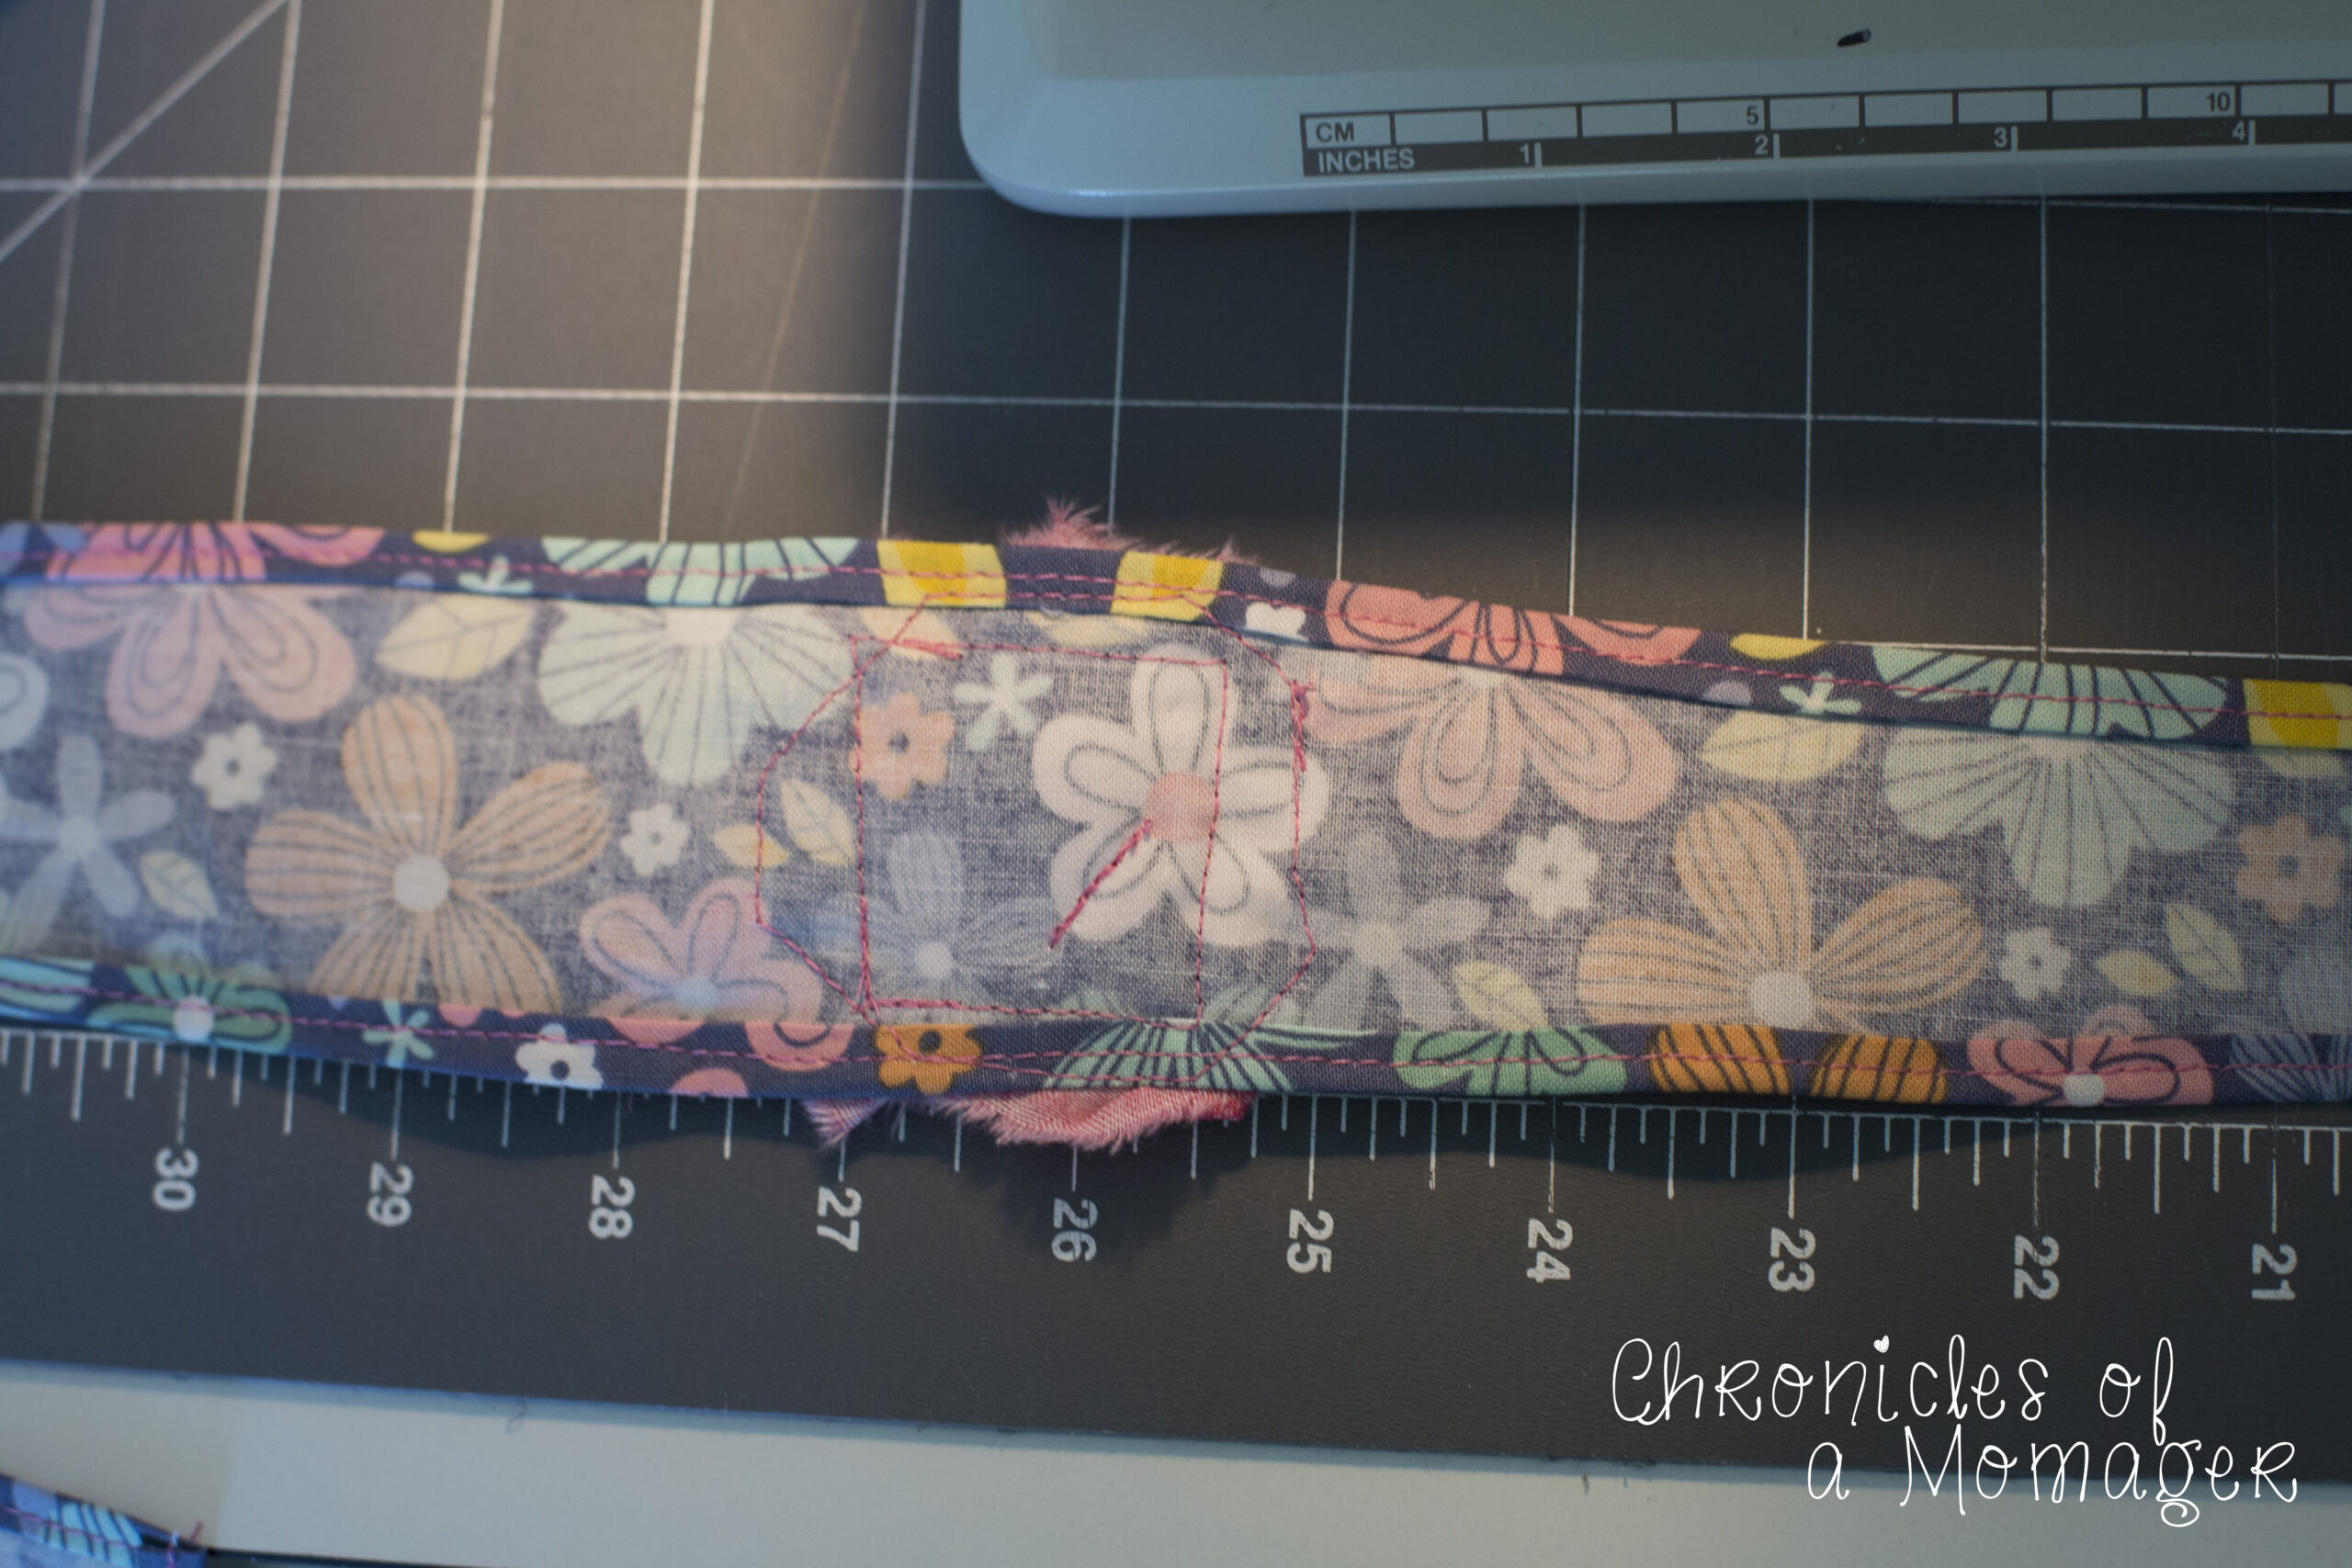
Step 4: Once your flower looks like you want it, sew a straight line in the center to hold it in place. Then you will sew a square around that line, followed by an octagon around the outside edge. This doesn’t have to be perfect and if it’s a little wonky it will help give your head wrap some character!
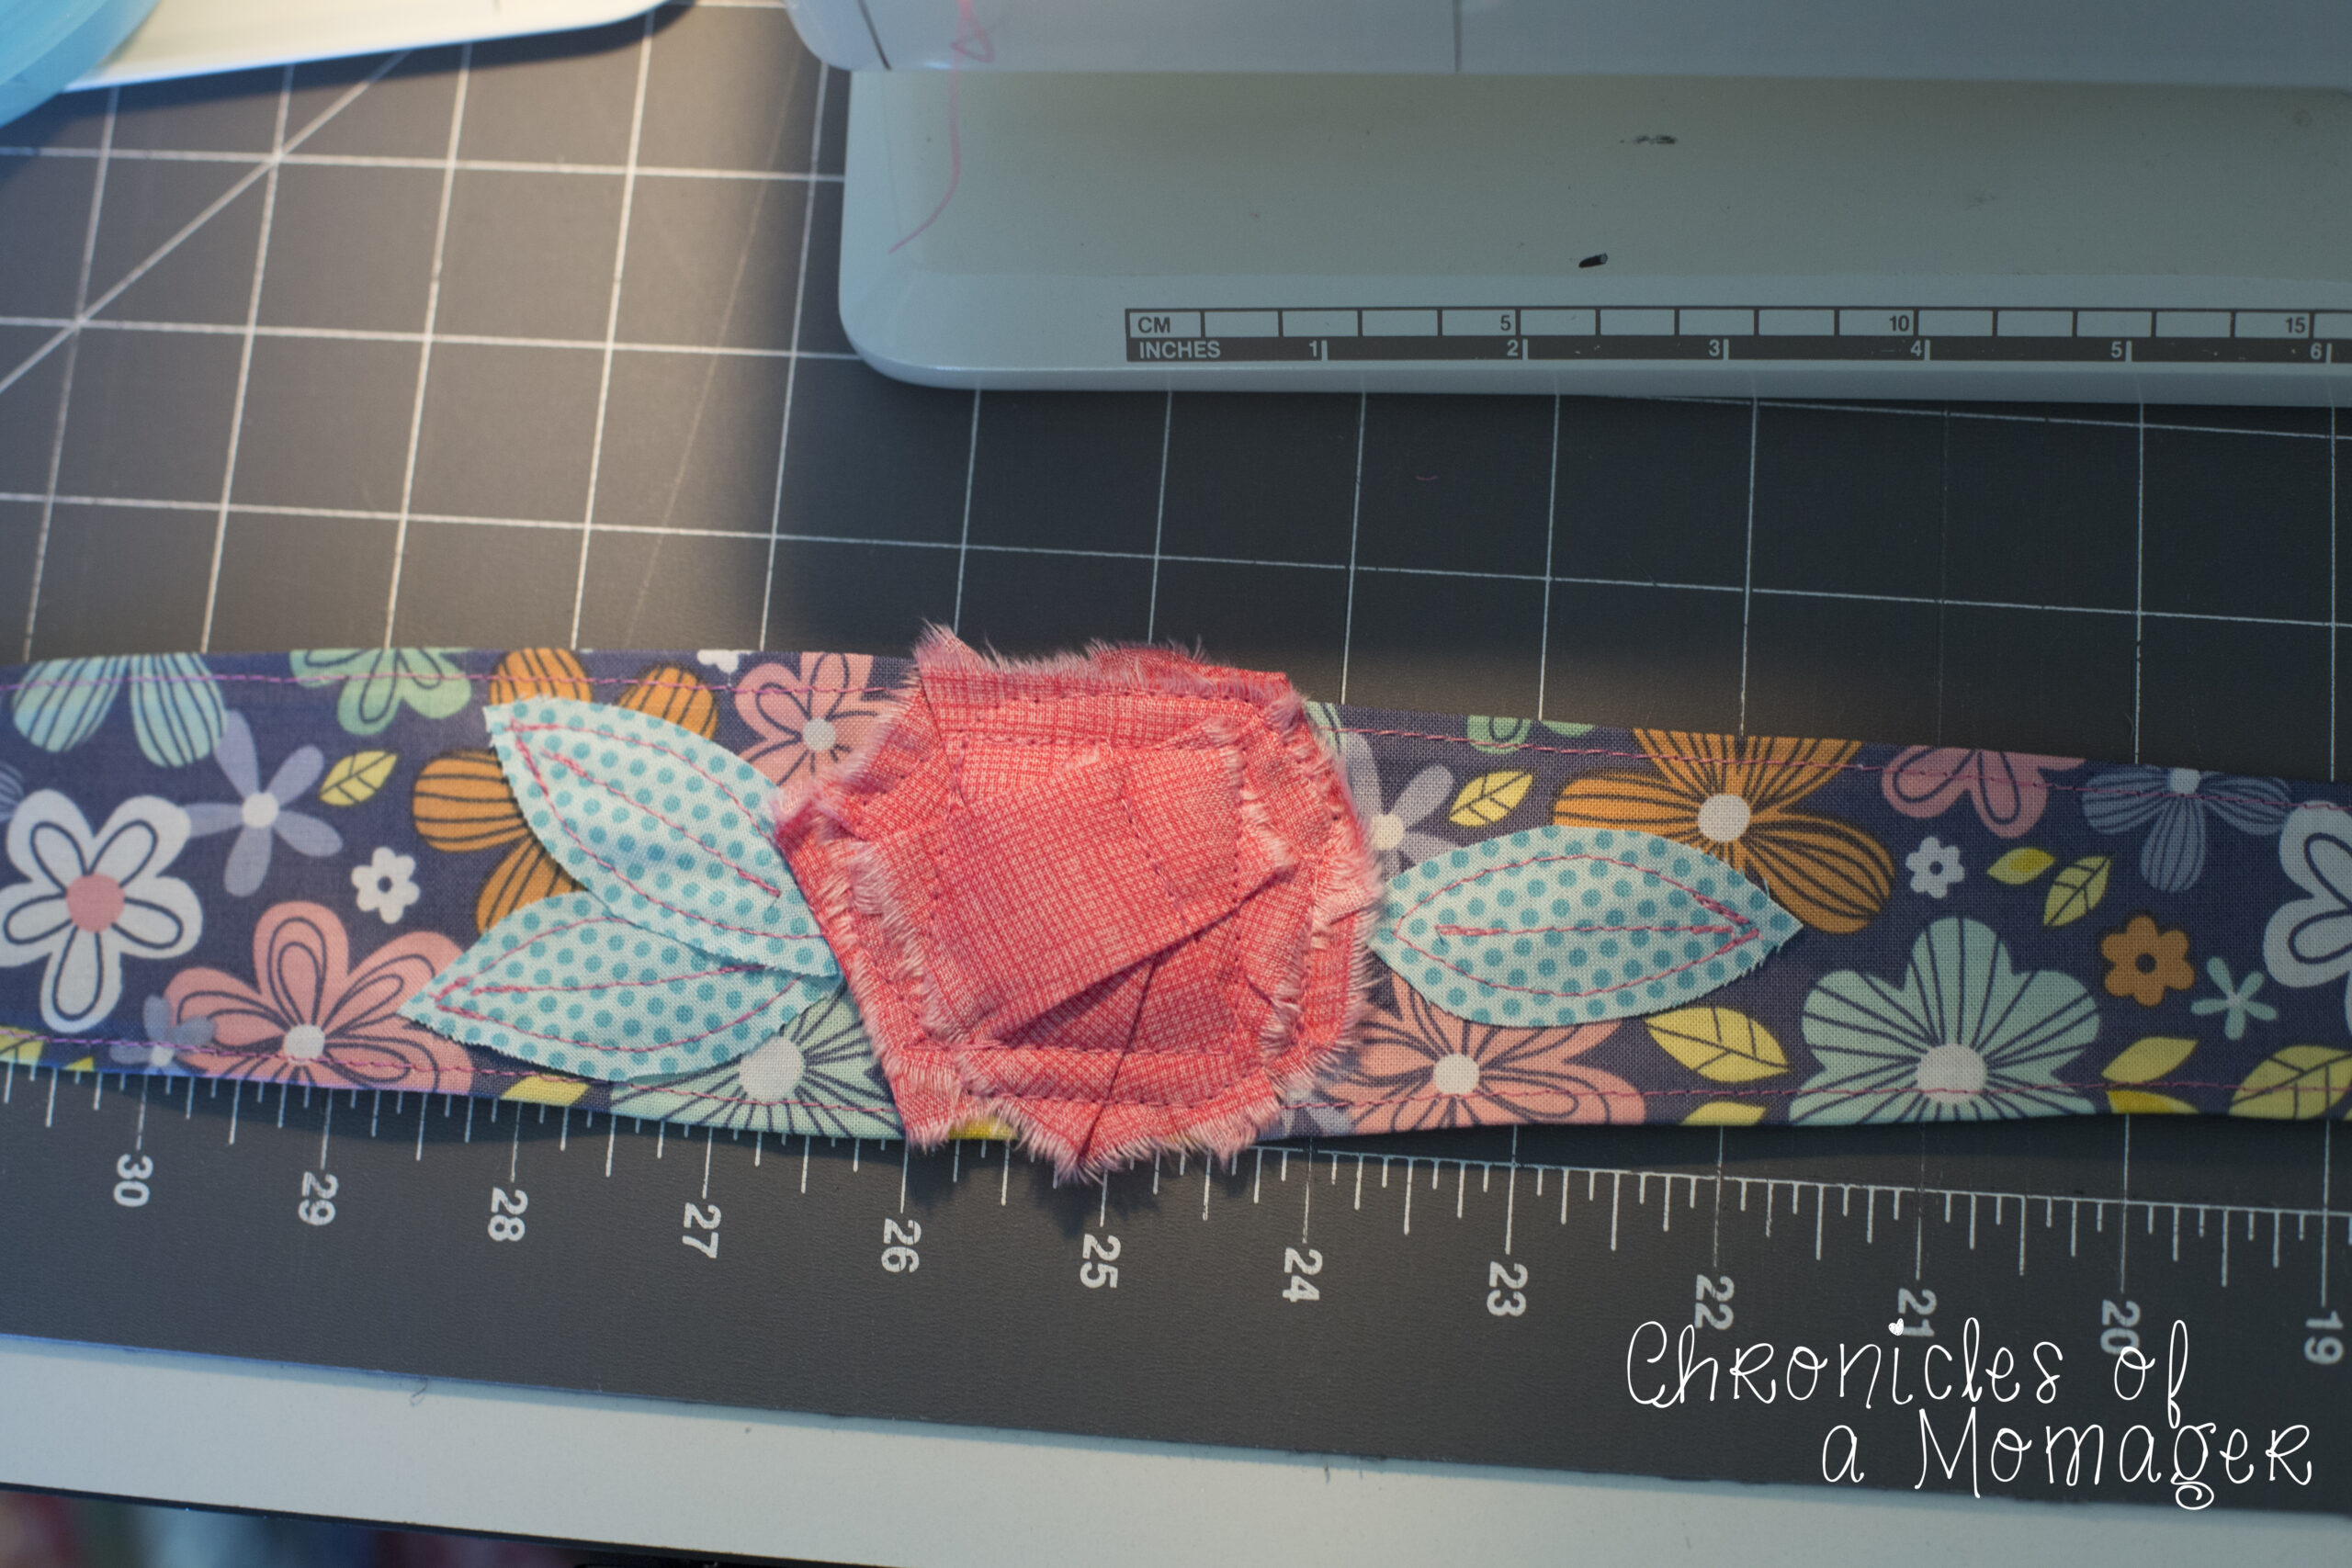
Step 5: Find the half way point again, on the other side of the flower sew on two of the leaves. To do this, start with 1 leaf. Sew straight down the middle, and then around the edges. Again this doesn’t need to be perfect and looks good when it’s not. Next sew the second leaf on the same way. On the other side of the flower you will add the third leaf. Once those are sewn on, your head wrap is complete!
Now go wear each wrap in your unwashed mom hair with pride! or wash you hair and wear them to be an overacheiver. Whatever works!
Well - that about wraps up the DIY head wrap. Creating one of these can be a fun and stylish way to accessorize your outfits. Whether you're looking to add a pop of color or want to keep your hair in place, a head wrap is a versatile accessory that can be customized to suit your personal style. By following the steps outlined in this blog, you'll be able to sew your own head wrap with ease. So why not give it a try and add a unique touch to your wardrobe? Get creative and start sewing your own DIY head wrap today!
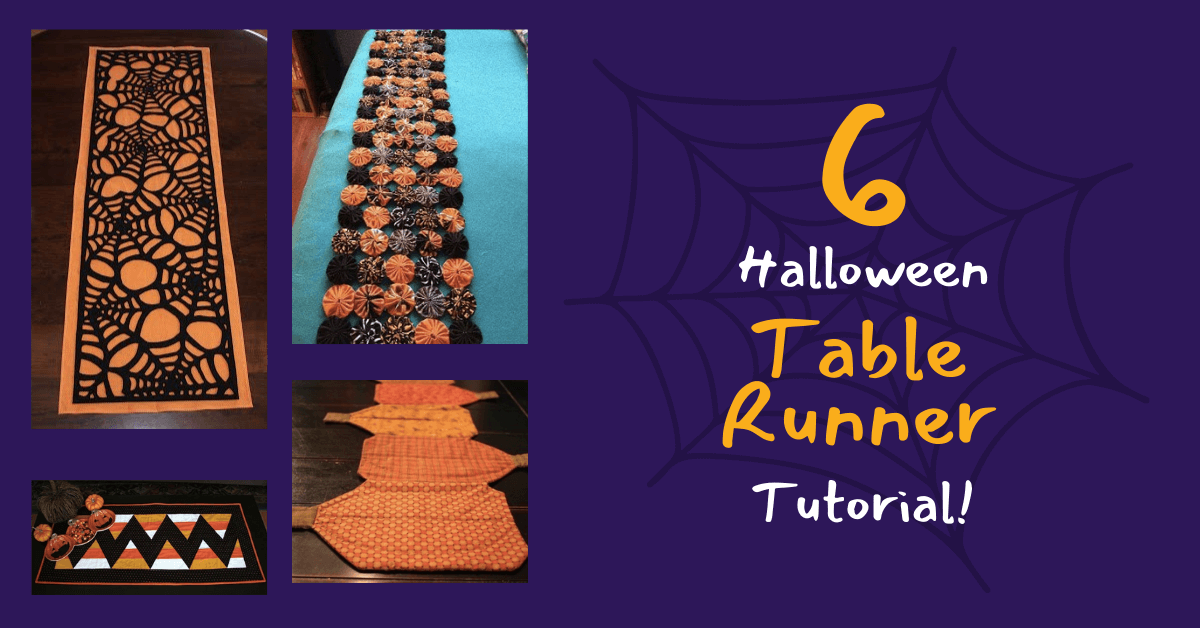
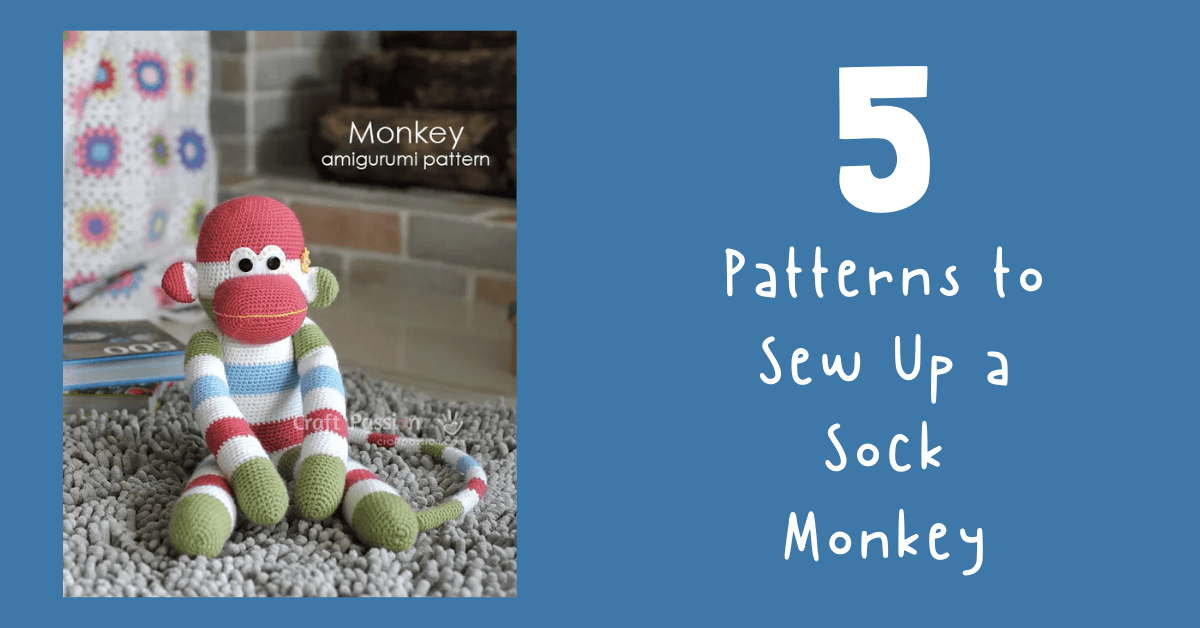
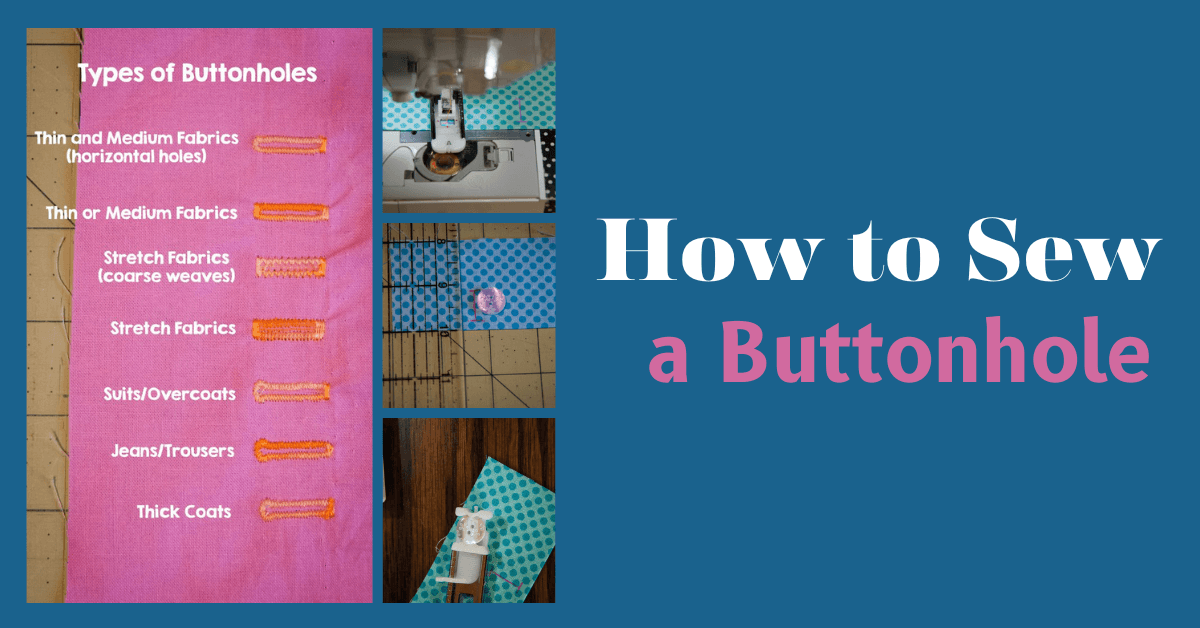
Other Head Wrap and Head Band Tutorials
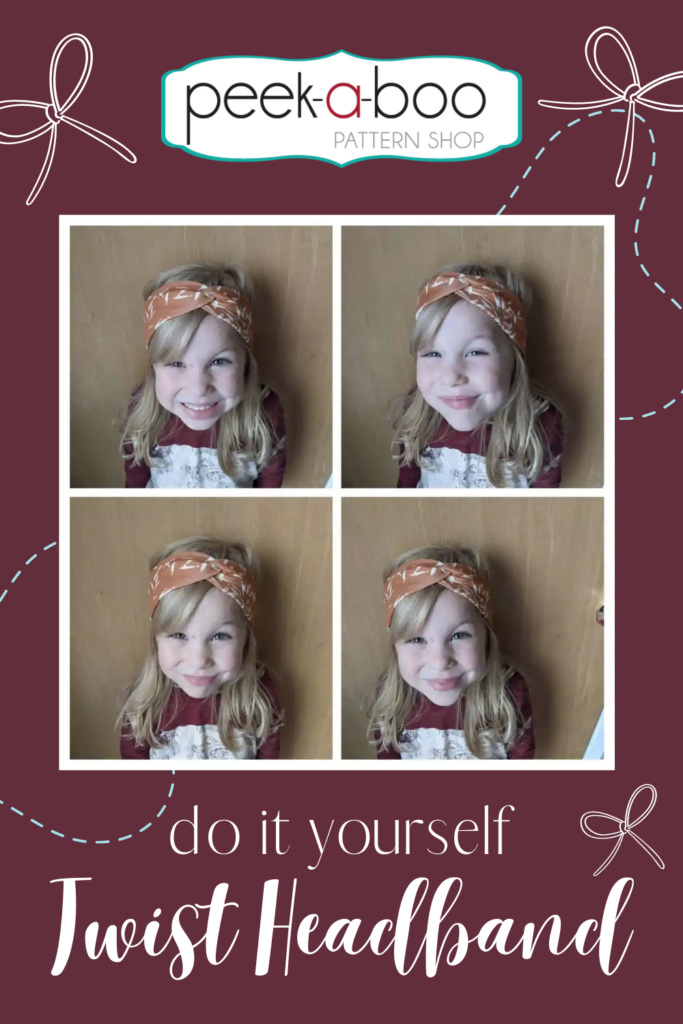
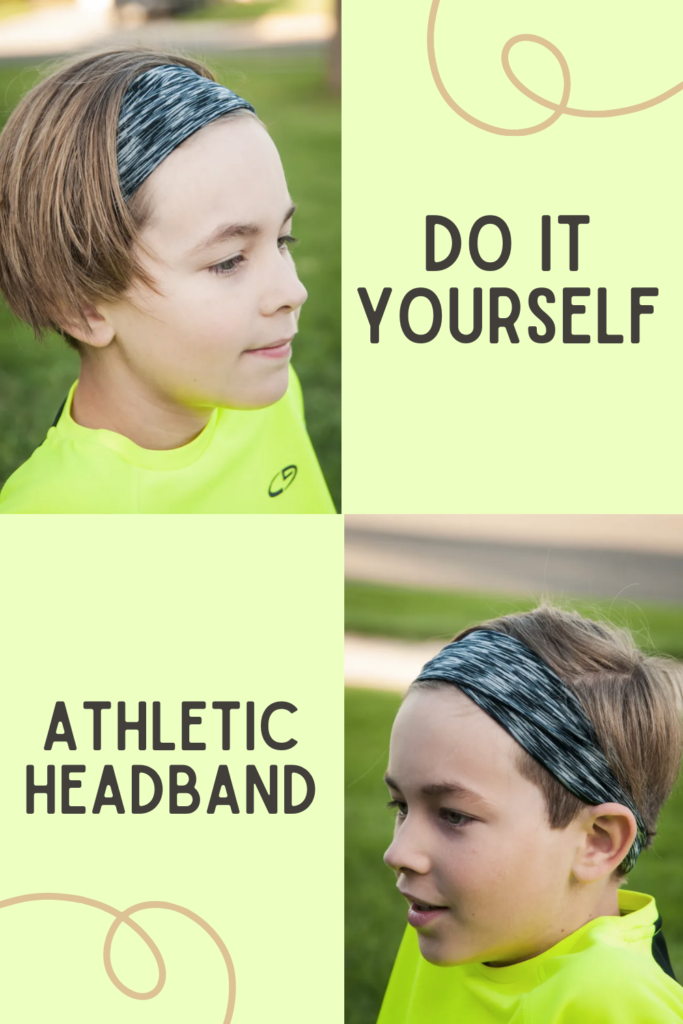
We’d like to thank Tina for her excellent tutorial on how to make a wrap to go around your head. We have several other DIY tutorials for different headbands and other head accessories. Take a look at a few of them here:
 |
 |
 |
Thanks again for joining us today to learn a little more about a head wrap, head scarf, hair accessories - whatever you want to call it. Before you leave, make sure to stay in touch through social media. Come join us in our Peek-a-Boo Pattern Shop Facebook Group to share what you make and ask your questions. You can also follow us on Instagram and Pinterest.