DIY Gumball Machine Costume for Baby | Free and Easy Costume
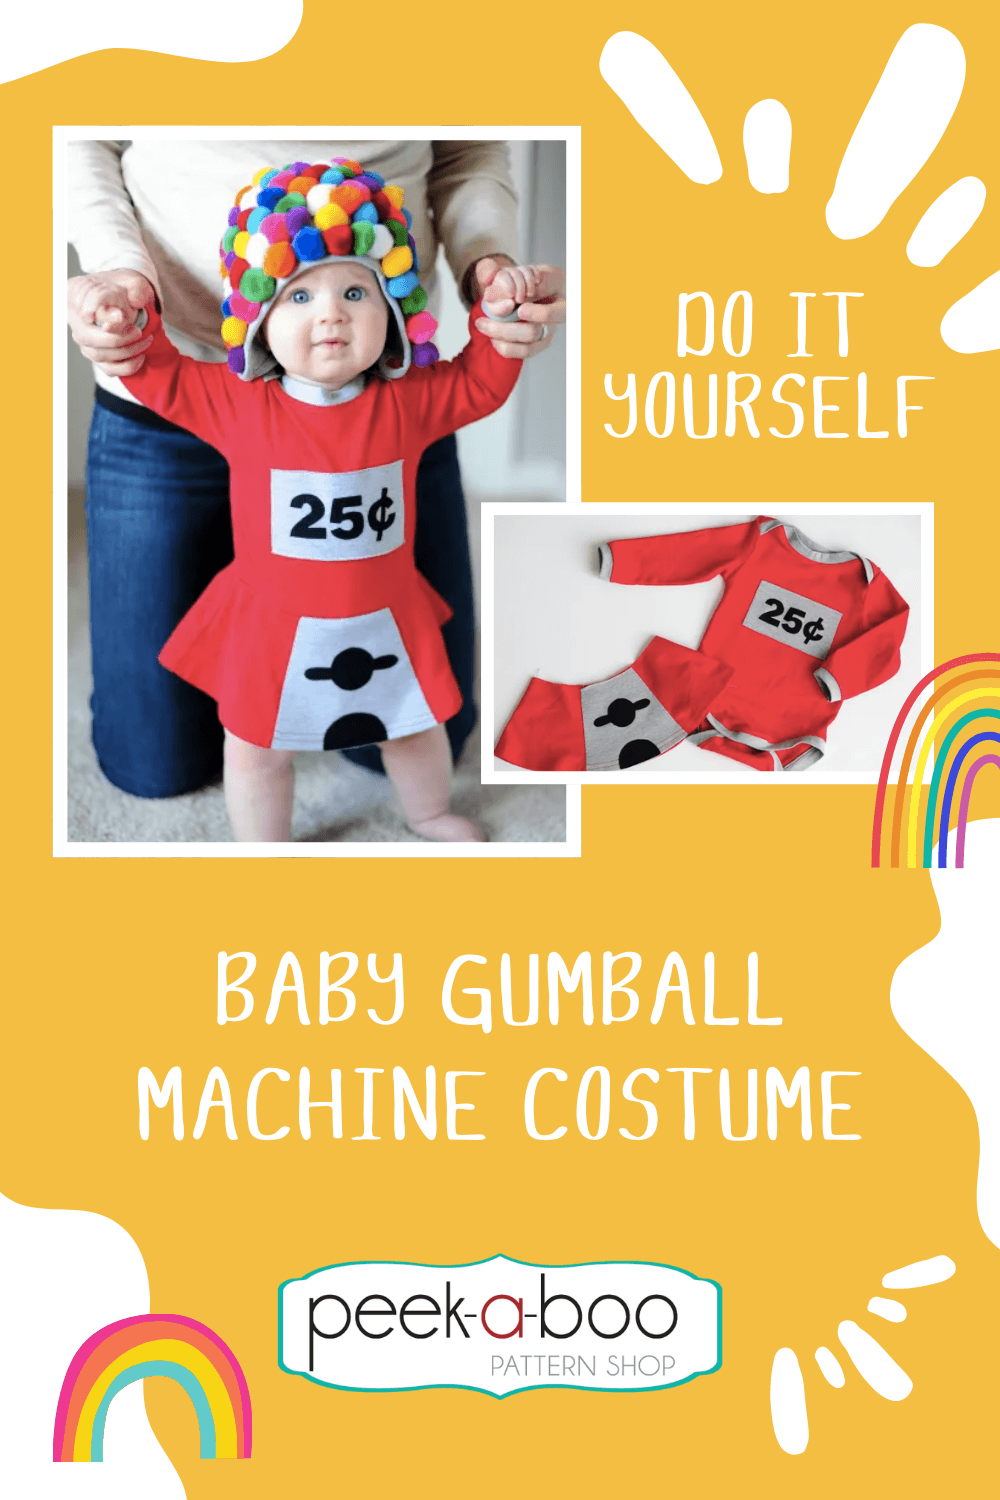
Today we’ll learn how to make a DIY Gumball Machine Costume. You might also enjoy my tutorial on Sewing with Knits.
I know I said last year that I’m not a huge fan of Halloween and sewing costumes, but I think this year may have turned the tides. My own kids (at 3 and 5.5 years) are super excited about it and have had so much fun planning their costumes, and I’ve got an adorable niece and nephew to sew for now, too. How can I not be excited when I’ve got a cutie like this to sew for?? Miss J is 5 months old and her mom and I thought this would be a great gumball machine costume would be great for her very first Halloween.
DIY Gumball Machine Costume | Materials for Halloween Costume
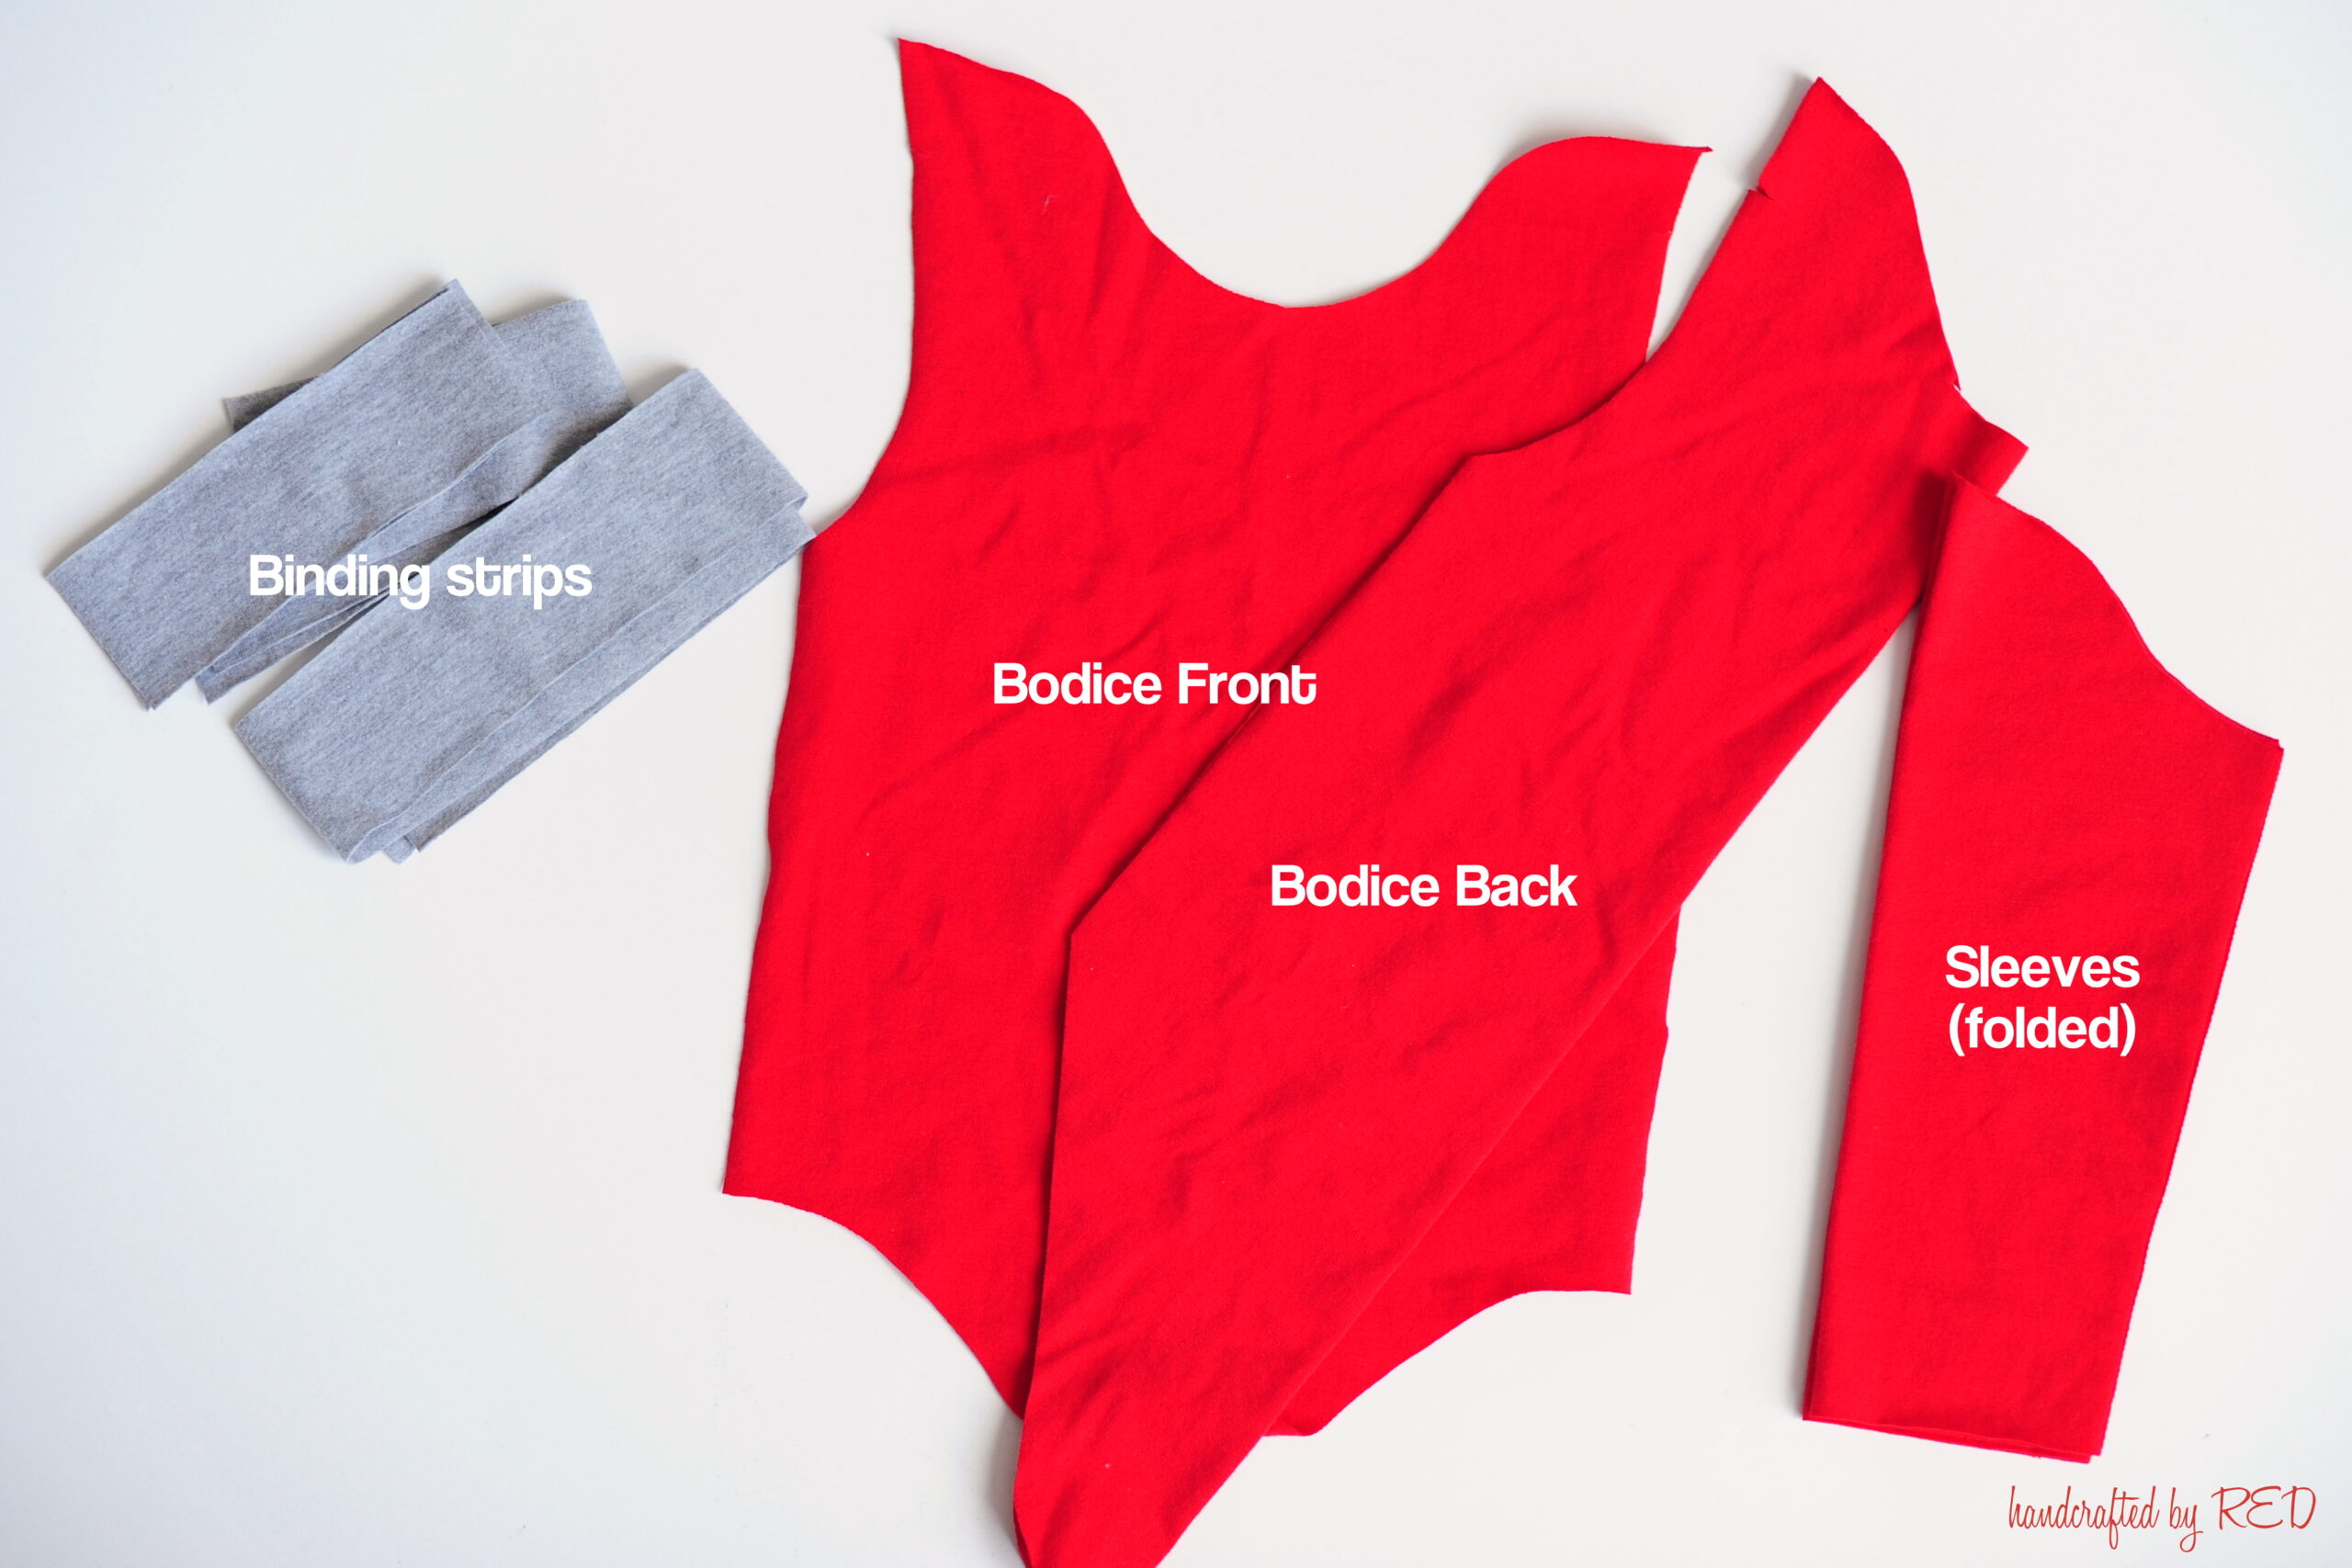
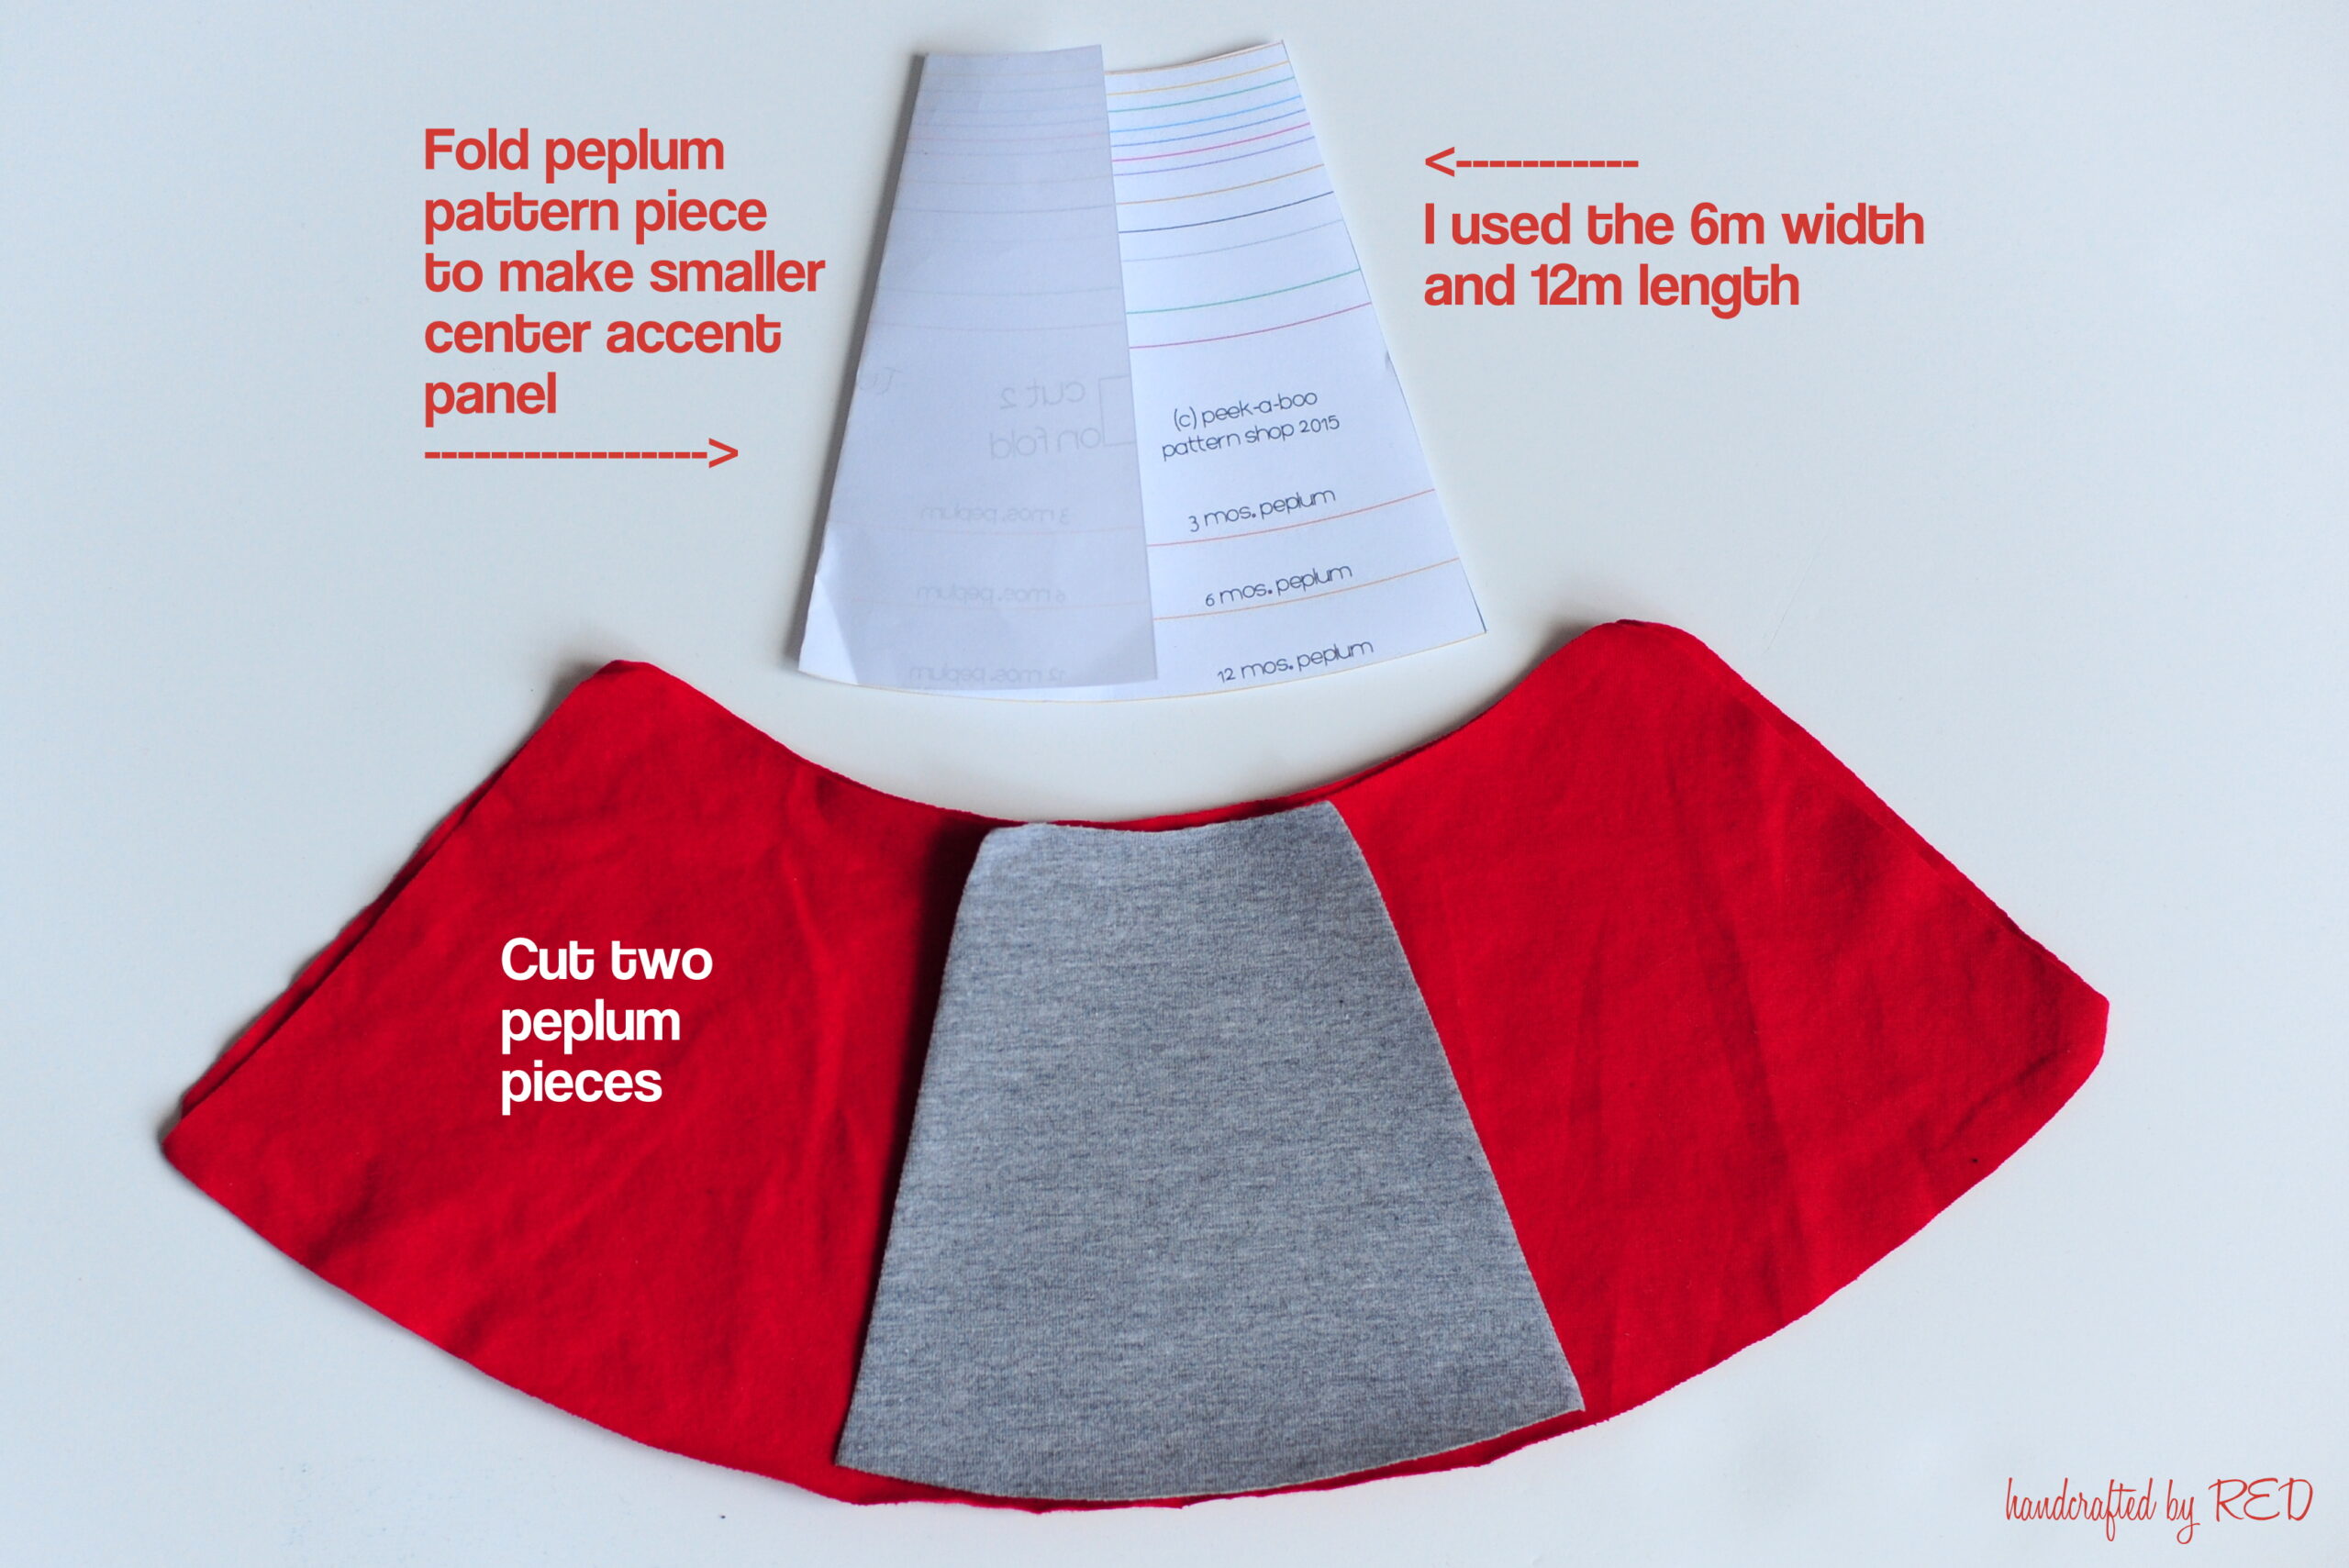
And the fact that she’s a really good sport about hats made it a done deal. Can’t do this one with a kiddo who hates hats! I used the Lullaby Line Bodysuit and the peplum skirt from the Twist and Shout dress for the base of this outfit, both in the 3-6 month size, and they worked perfectly for this. Here’s what I started with:
Gumball Machine Costume Instructions
I knew I’d be cutting the bodysuit in half to add the skirt (as in this tutorial from the bodysuit sew-along), but my personal preference is to sew it all in one piece first and cut it later. (Oh, and I used all cotton/lycra solid knits for this, so it was a really economical costume, too.) You’ll also need fusible adhesive like Wonder Under or Heat n Bond to attach the applique portion to the main outfit.
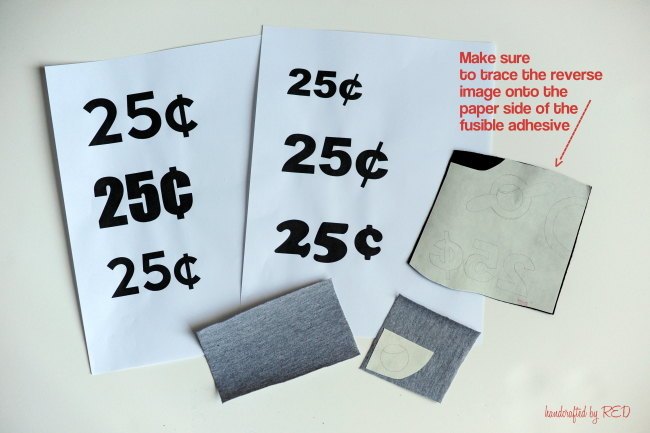
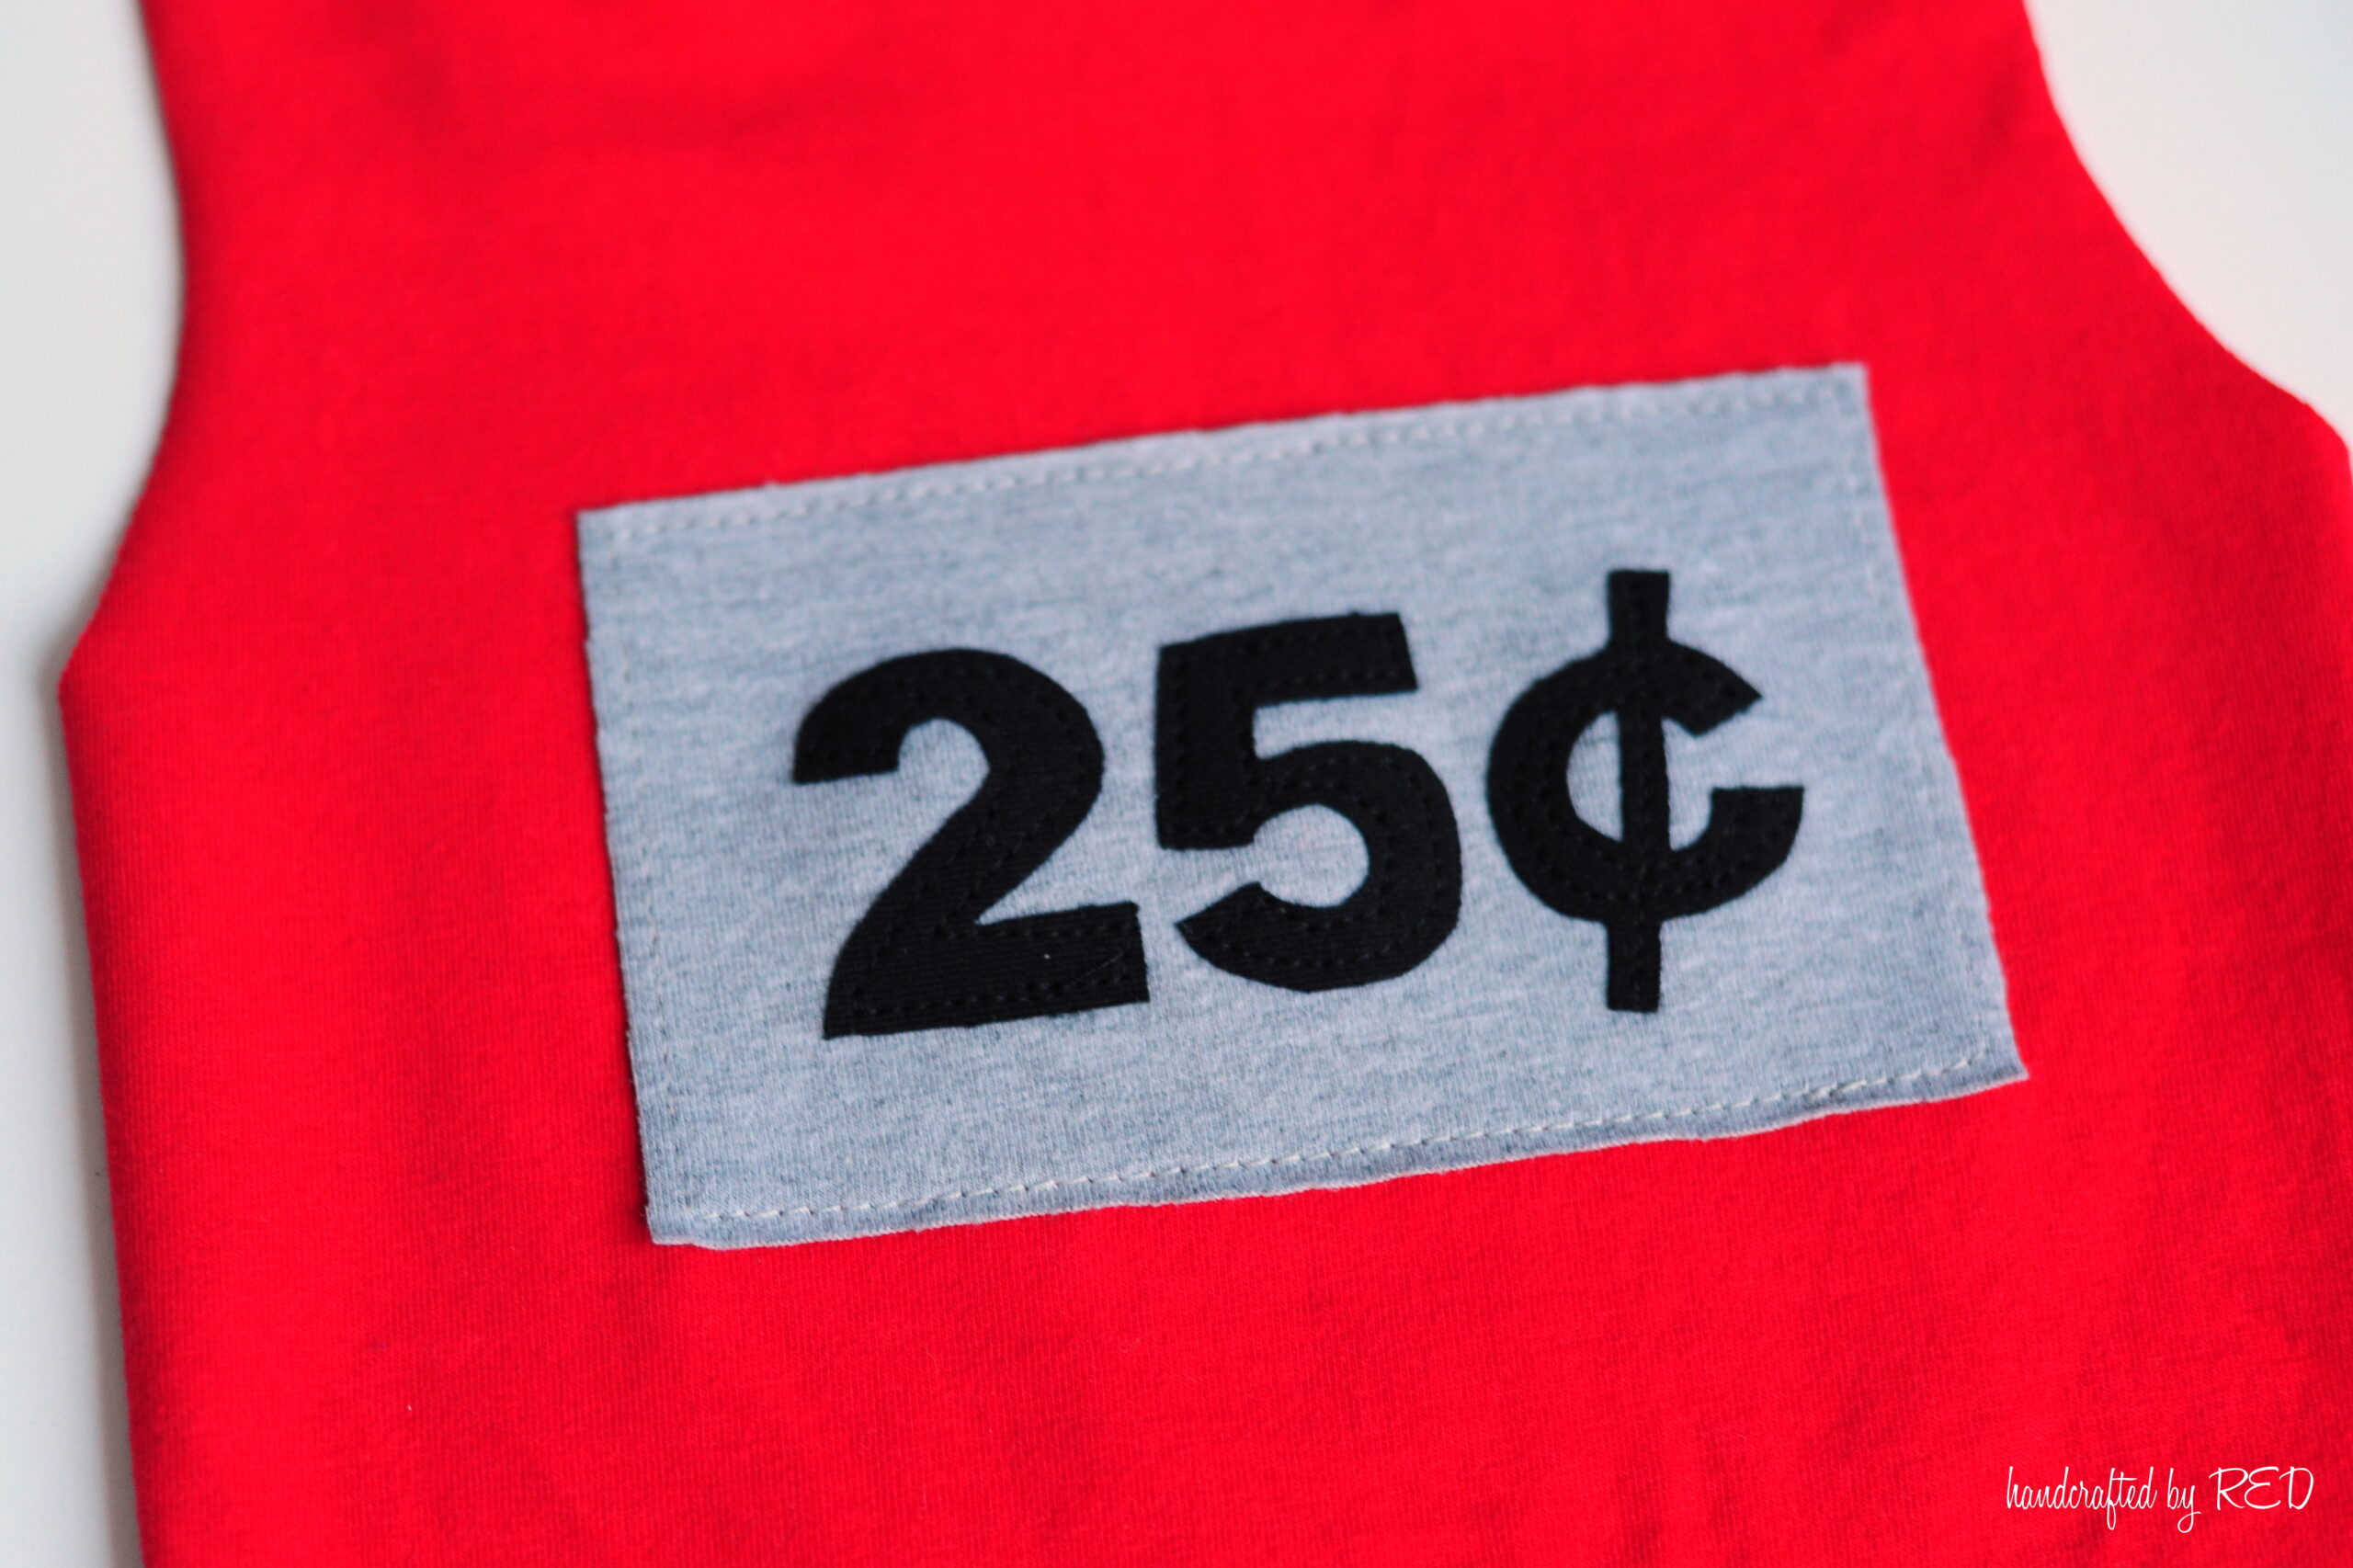
I used Heat n Bond lite so I needed to topstitch everything, but if you use the permanent Heat n Bond, you can just iron on and leave it unstitched. It’s been a while since I sewed a onesie this small so I wasn’t exactly sure what size or font I wanted for the “price tag.”
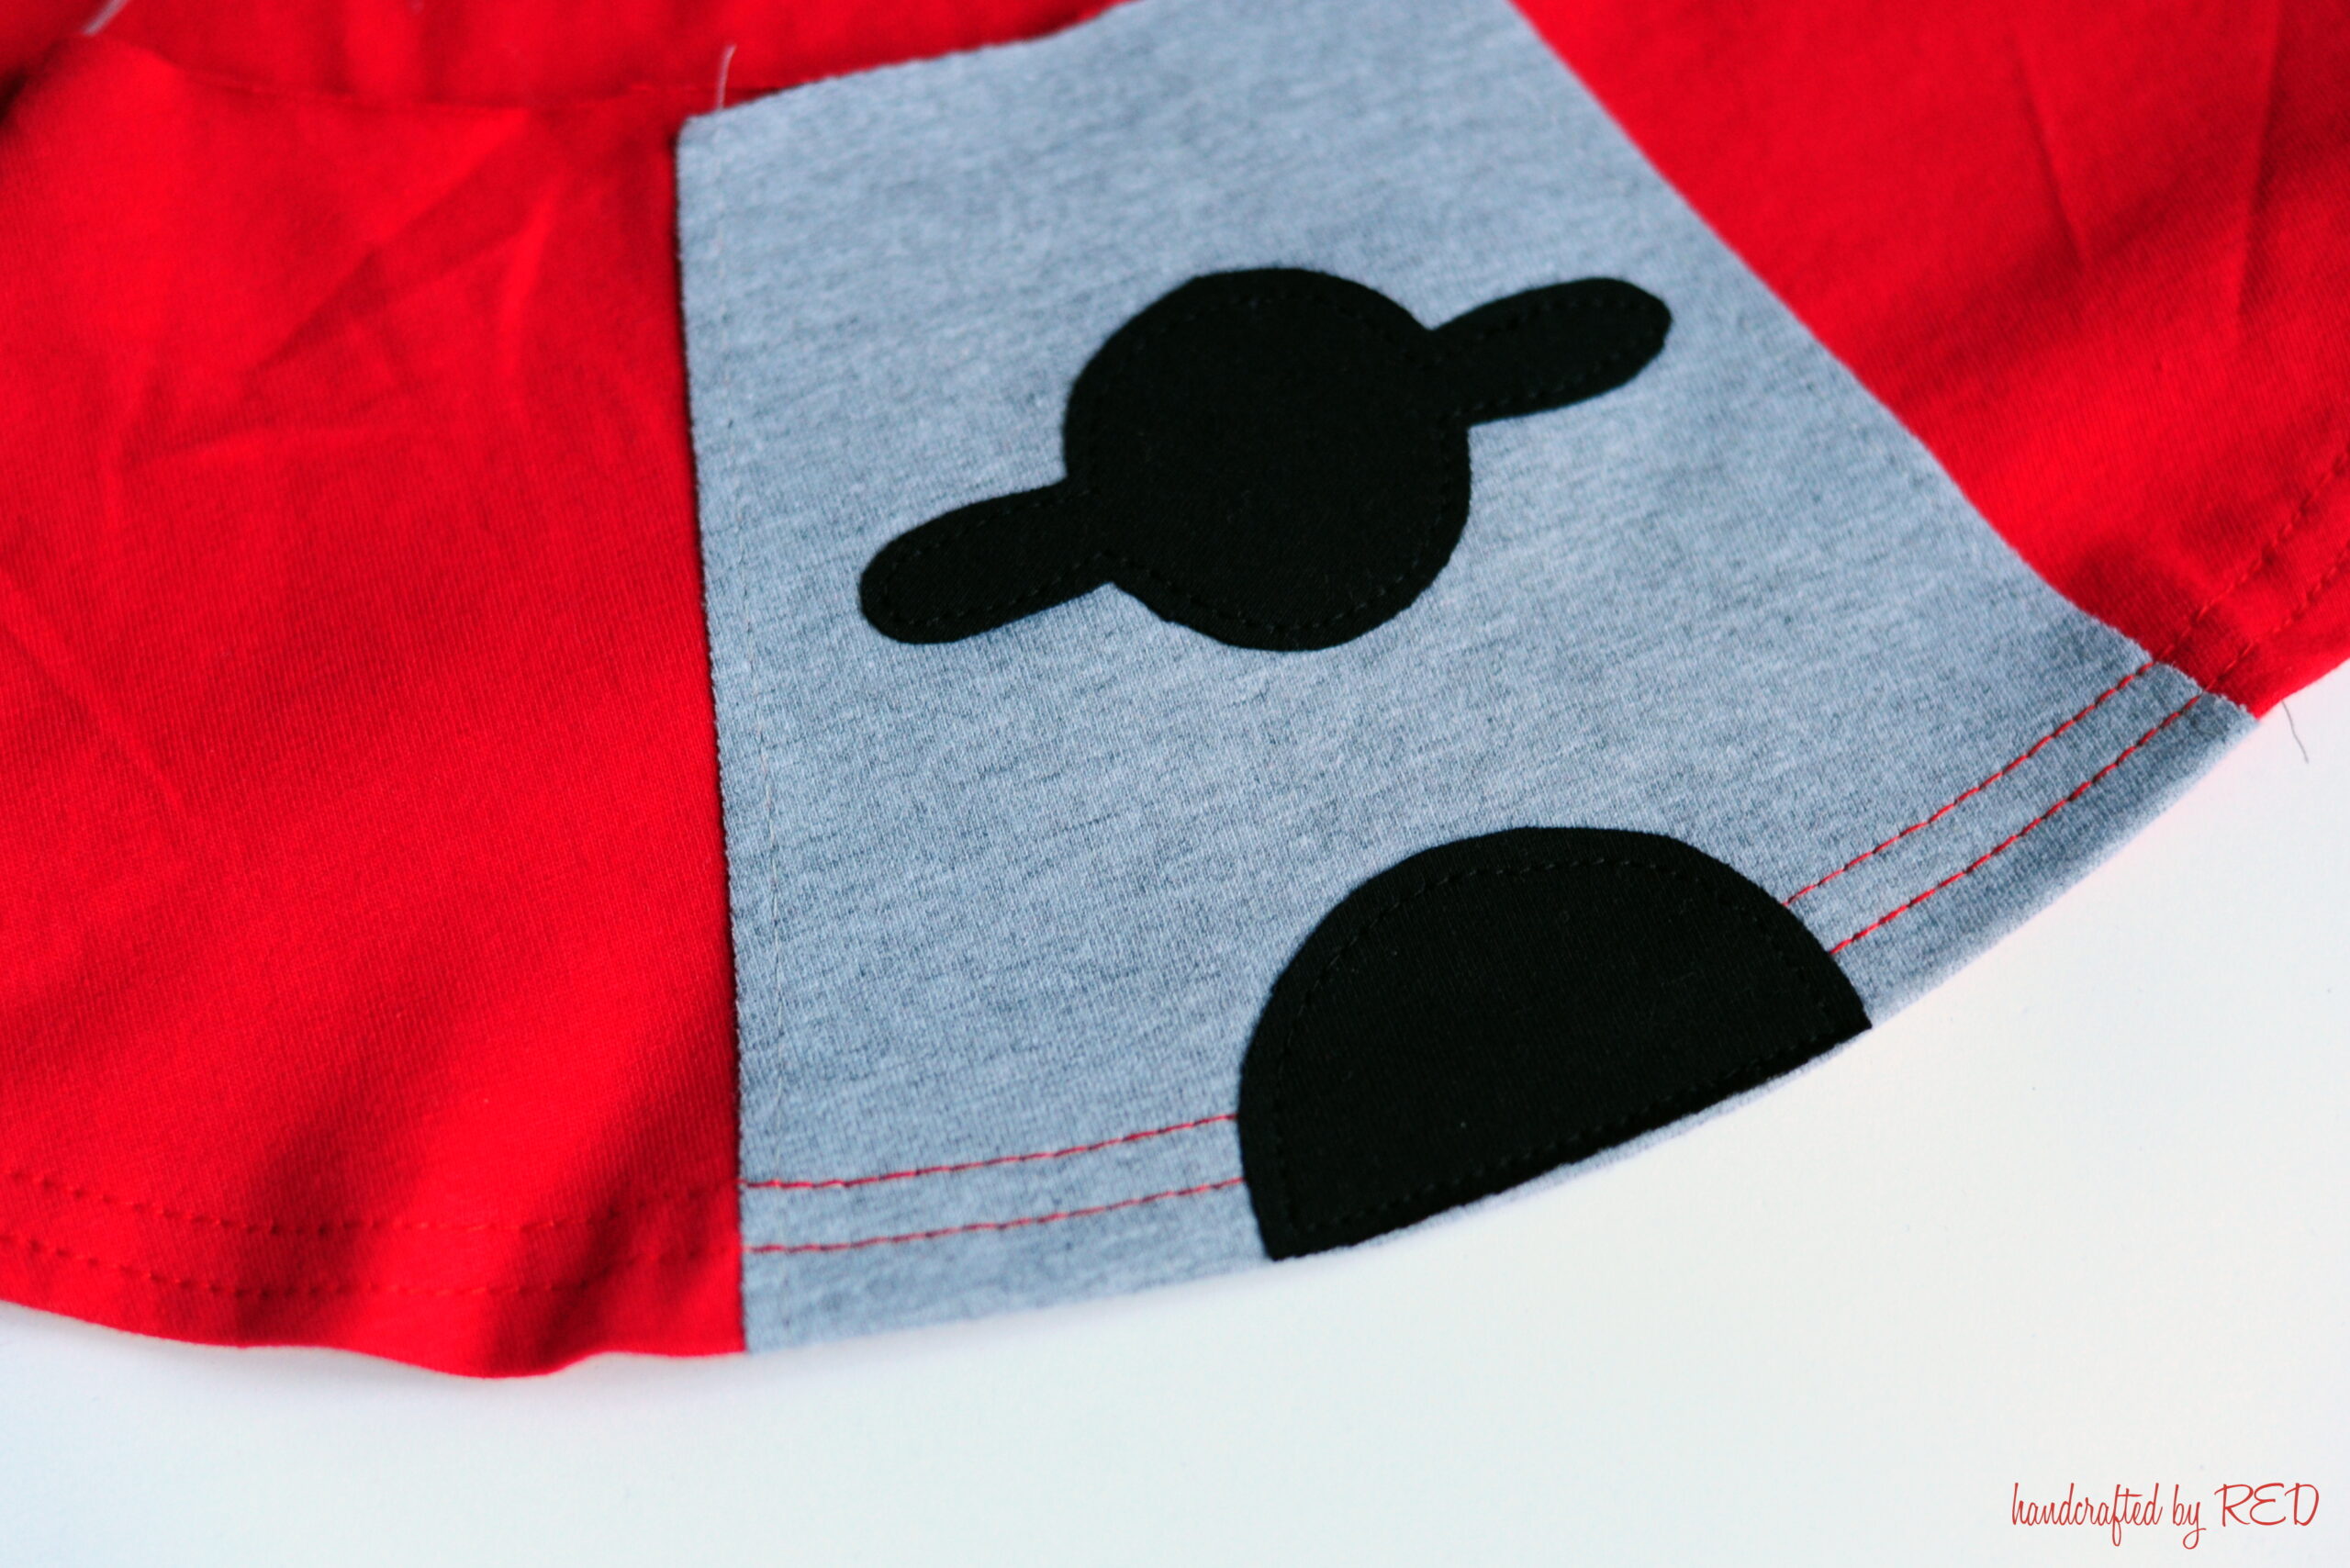
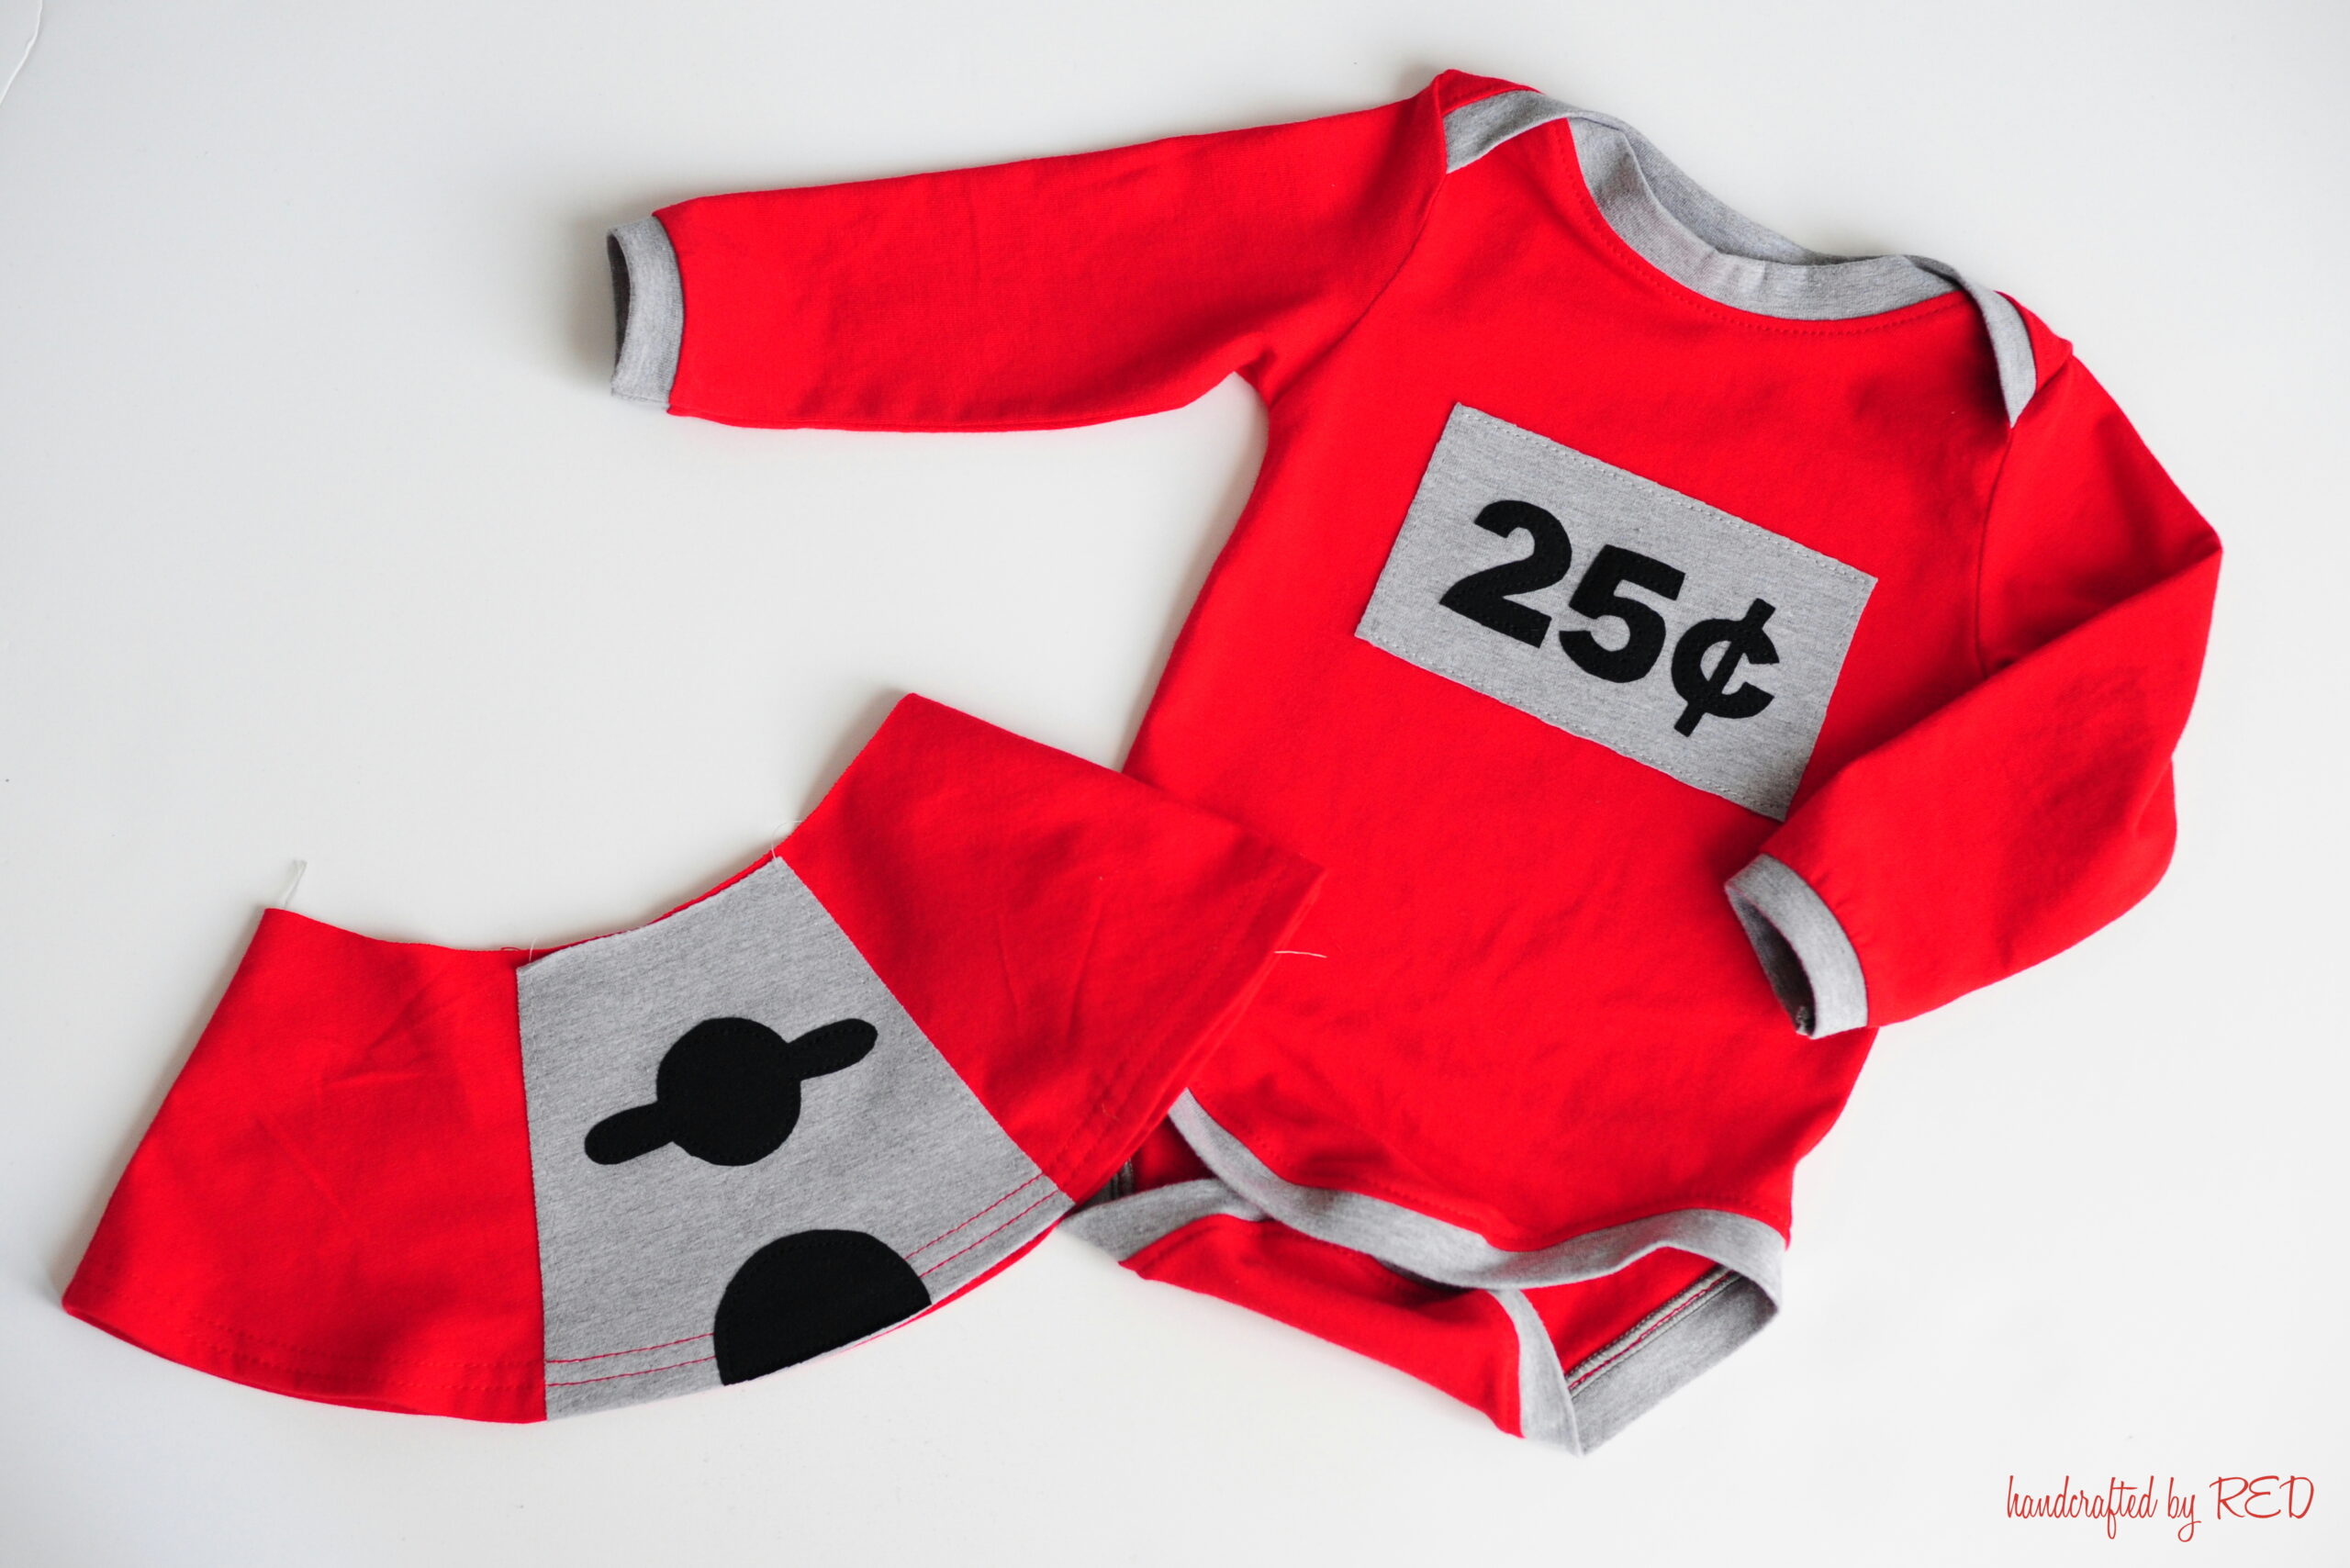
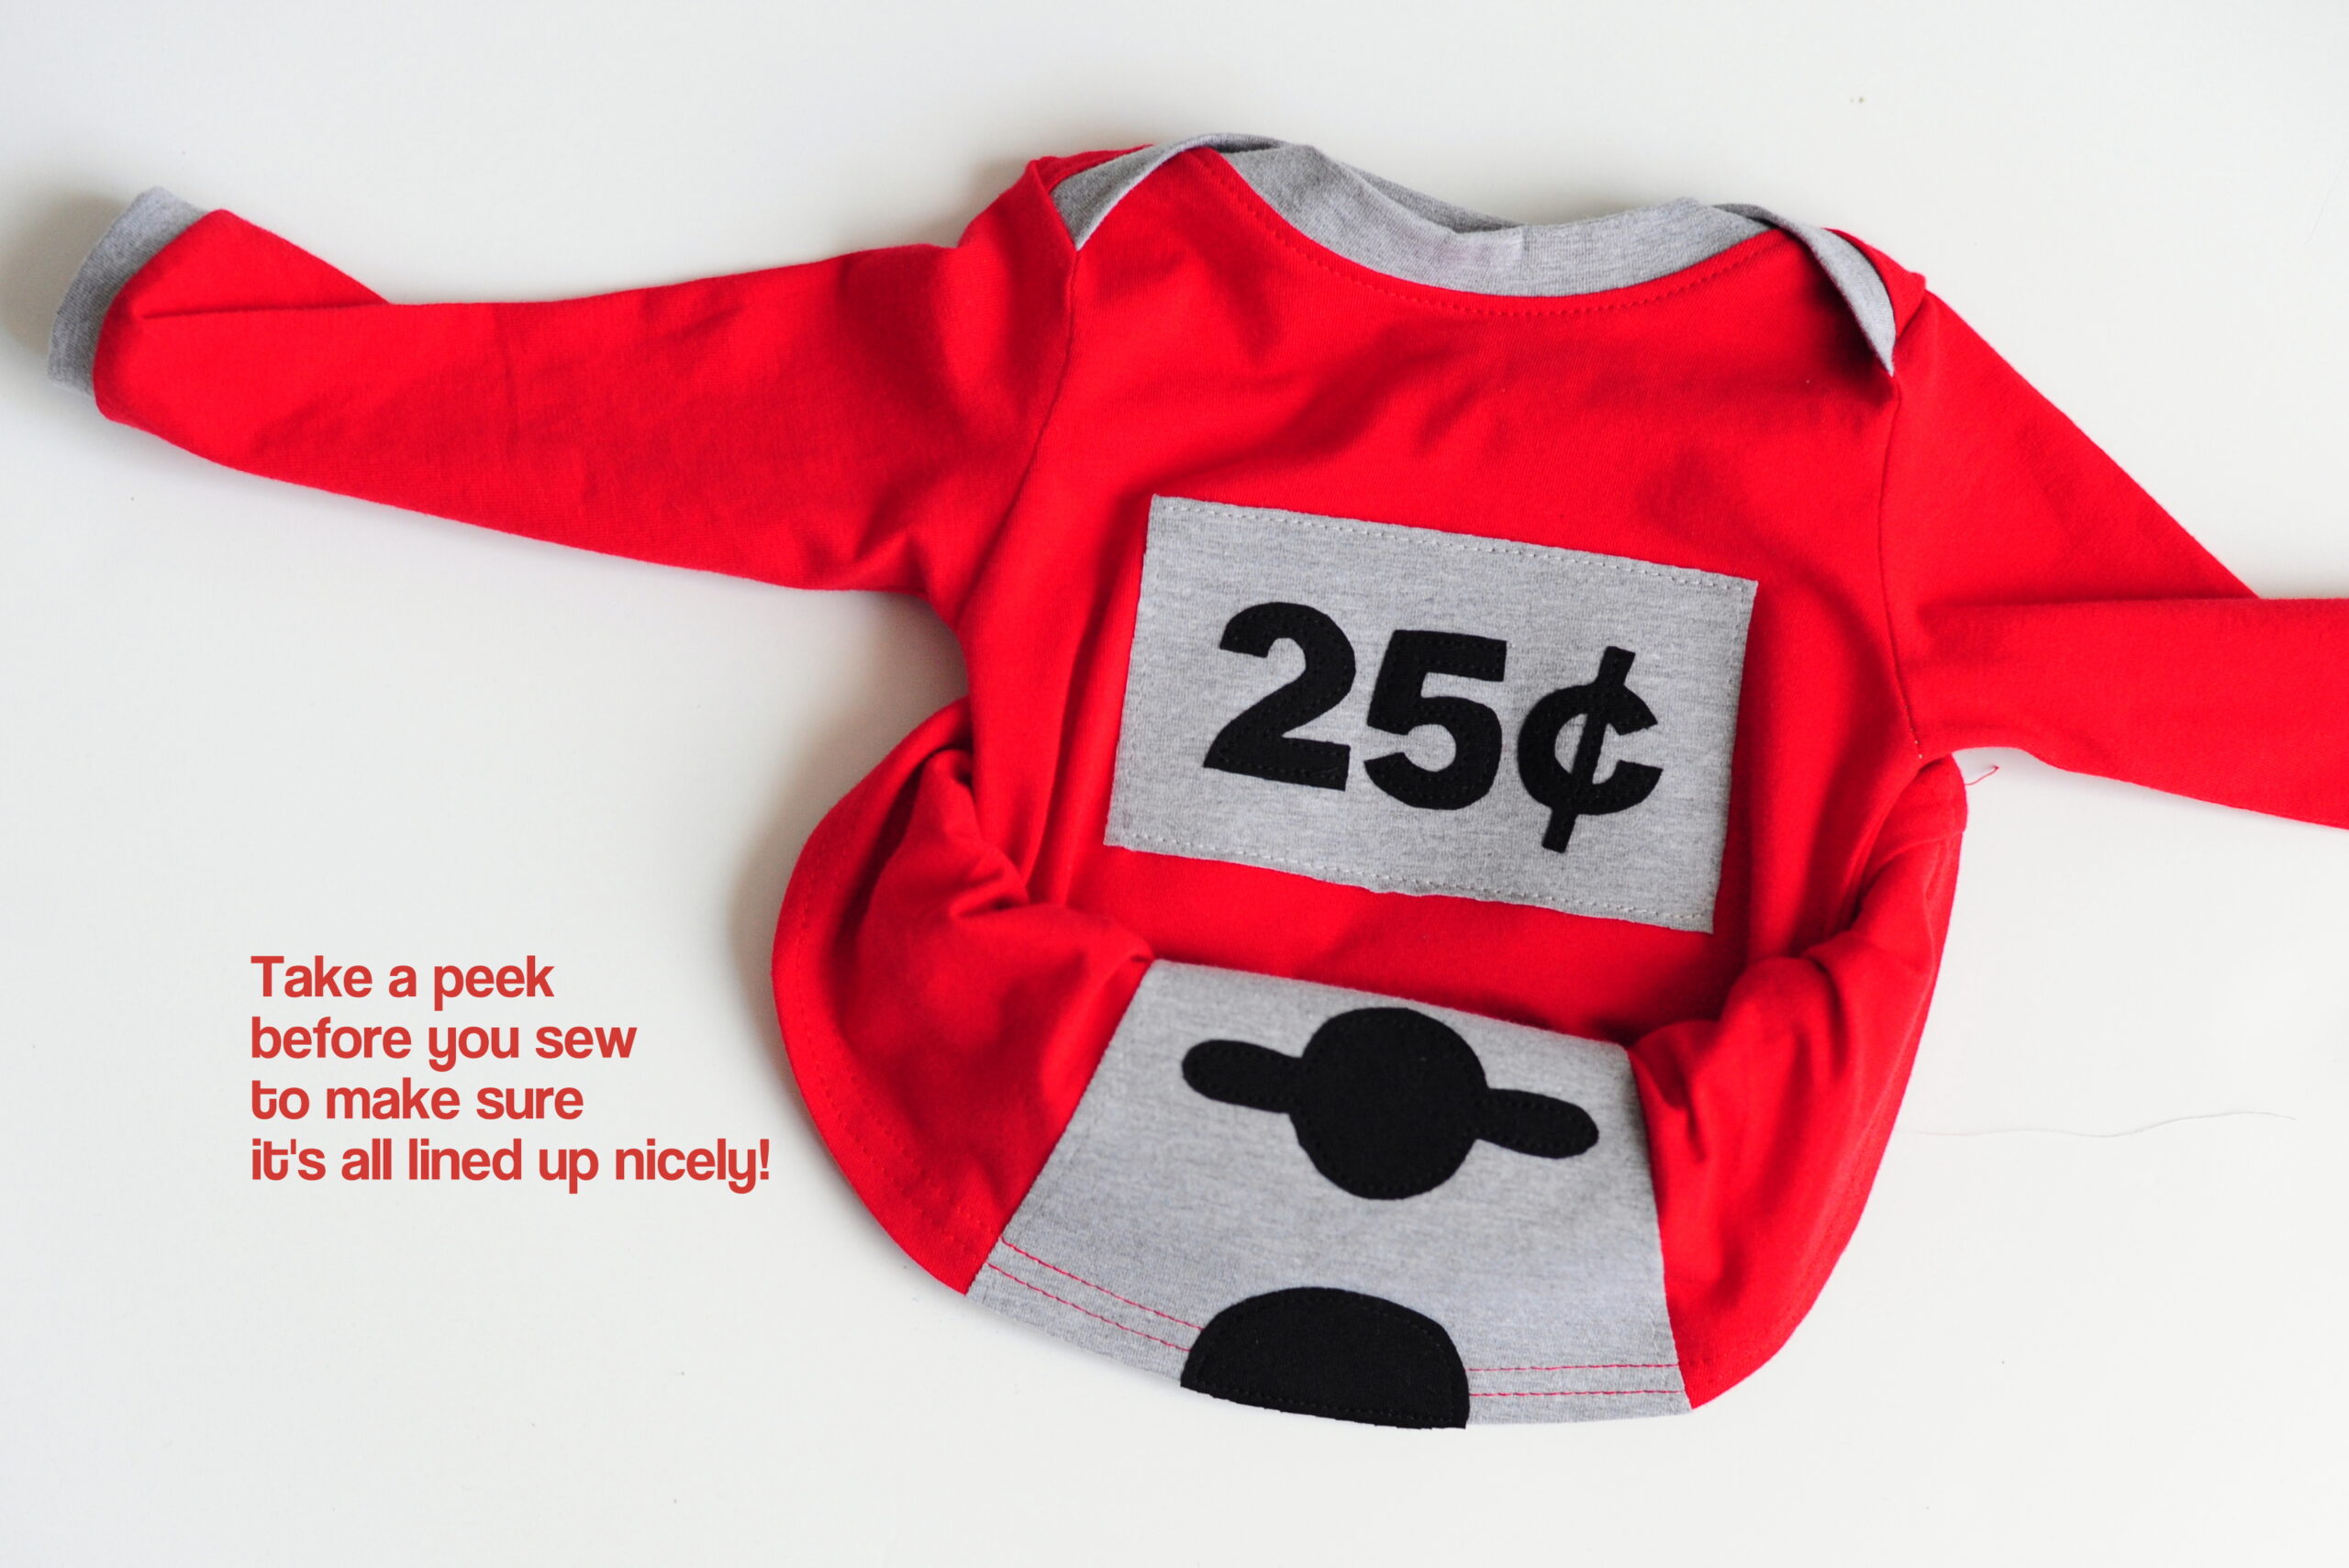
I printed out a few options from a Word document, and then just traced the image onto the paper side of my Heat n Bond. Make sure to trace the numbers in reverse, so the orientation is correct when you flip the numbers over to iron them in place. I just freehanded the “dial” and the “chute” at the same time.
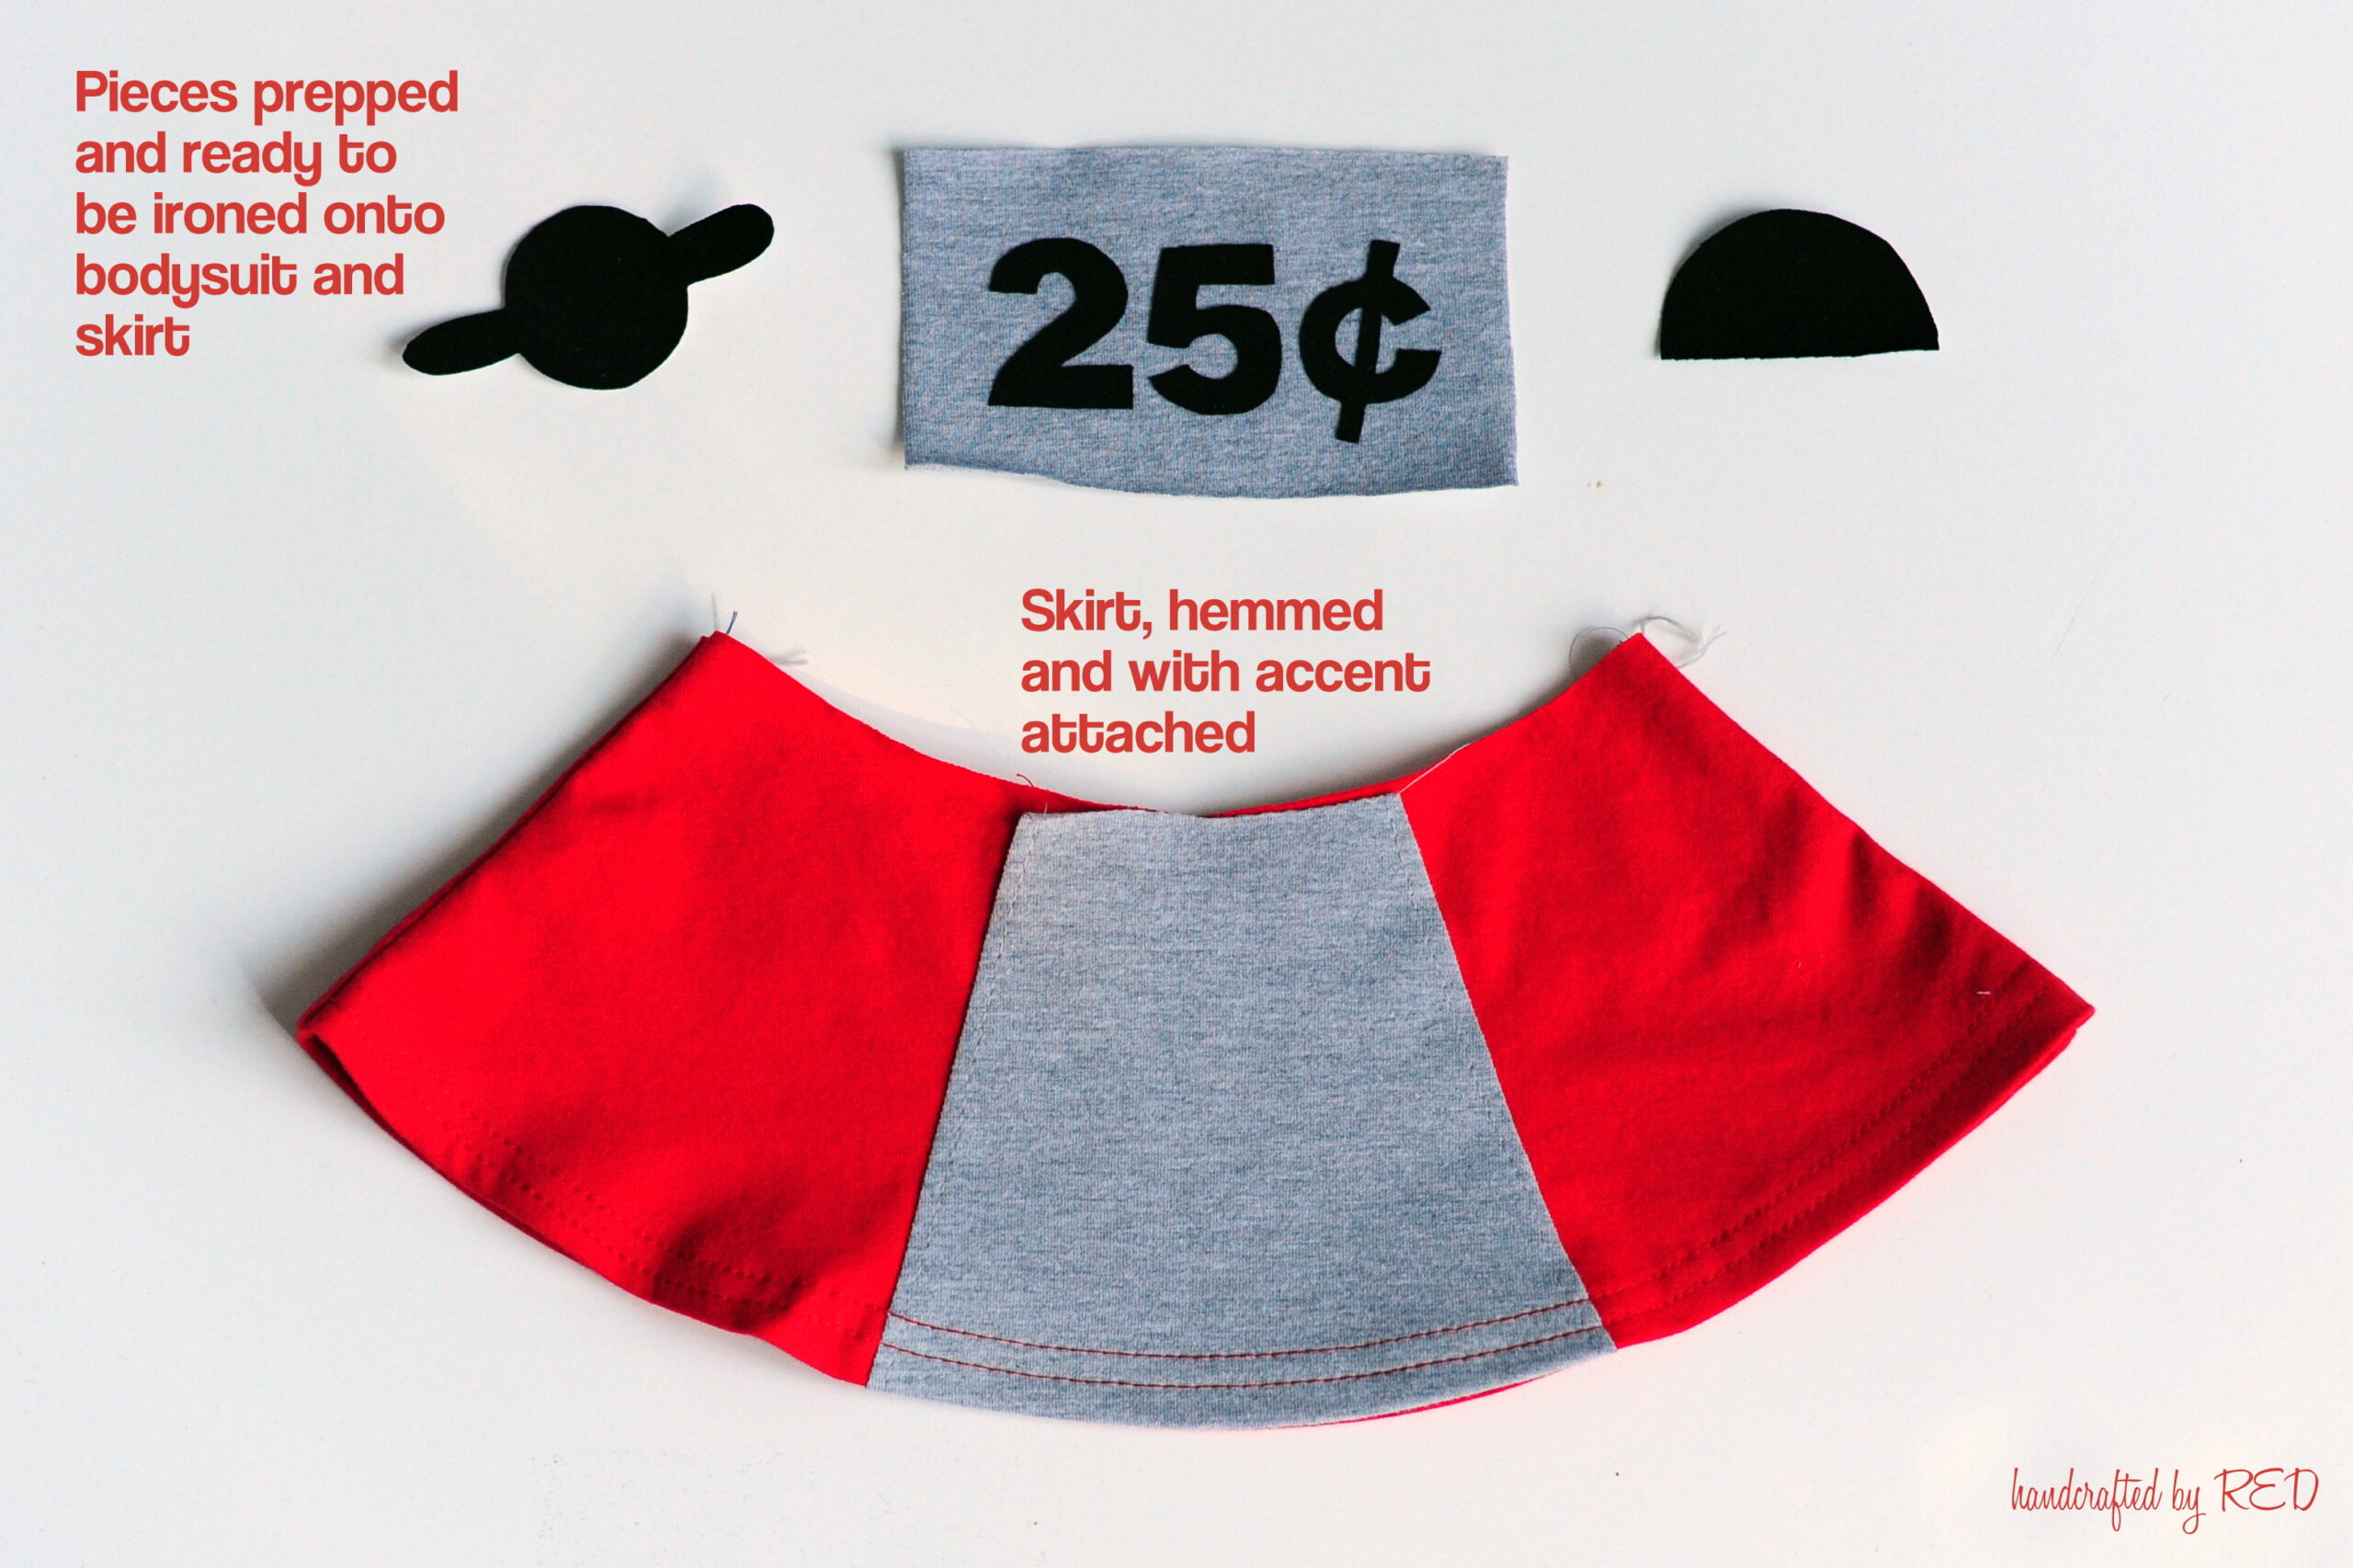
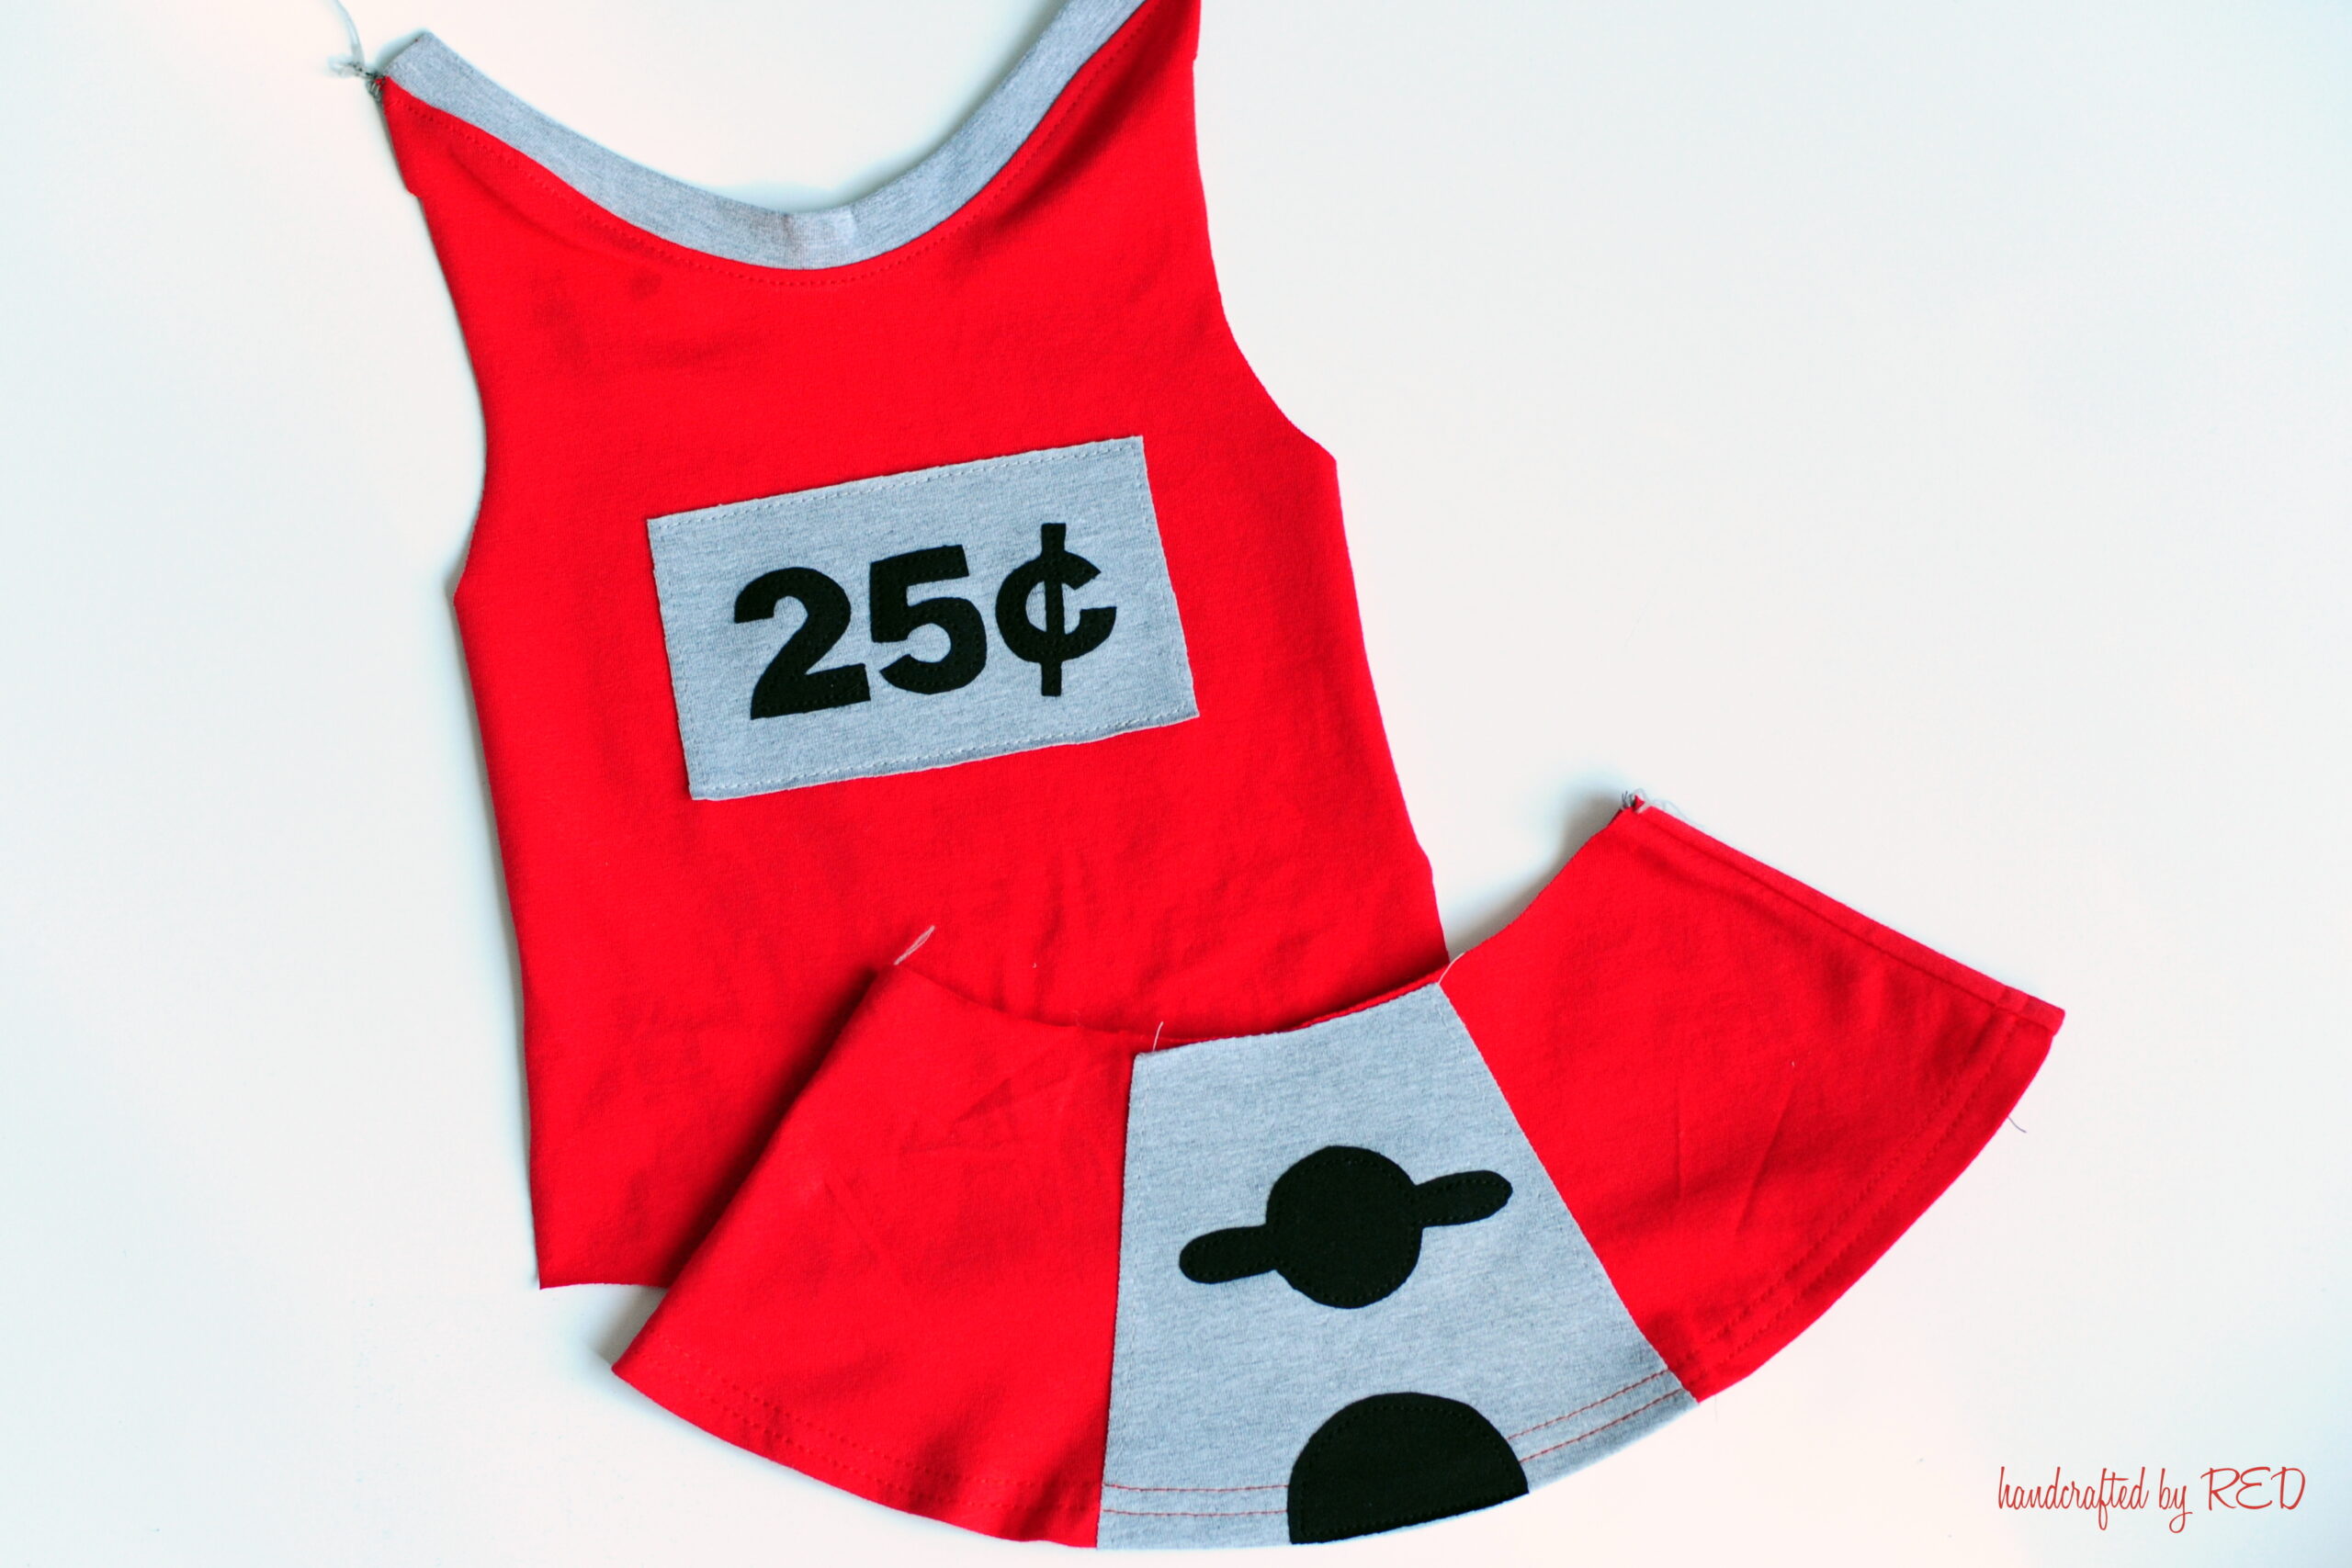
I ironed the pieces onto the bodysuit and red skirt, and then topstitched in place with a short, straight stitch.
Next I assembled the bodysuit per pattern instructions, including the binding. (If you haven’t already assembled and hemmed the skirt portion, make sure to do that now as well.)
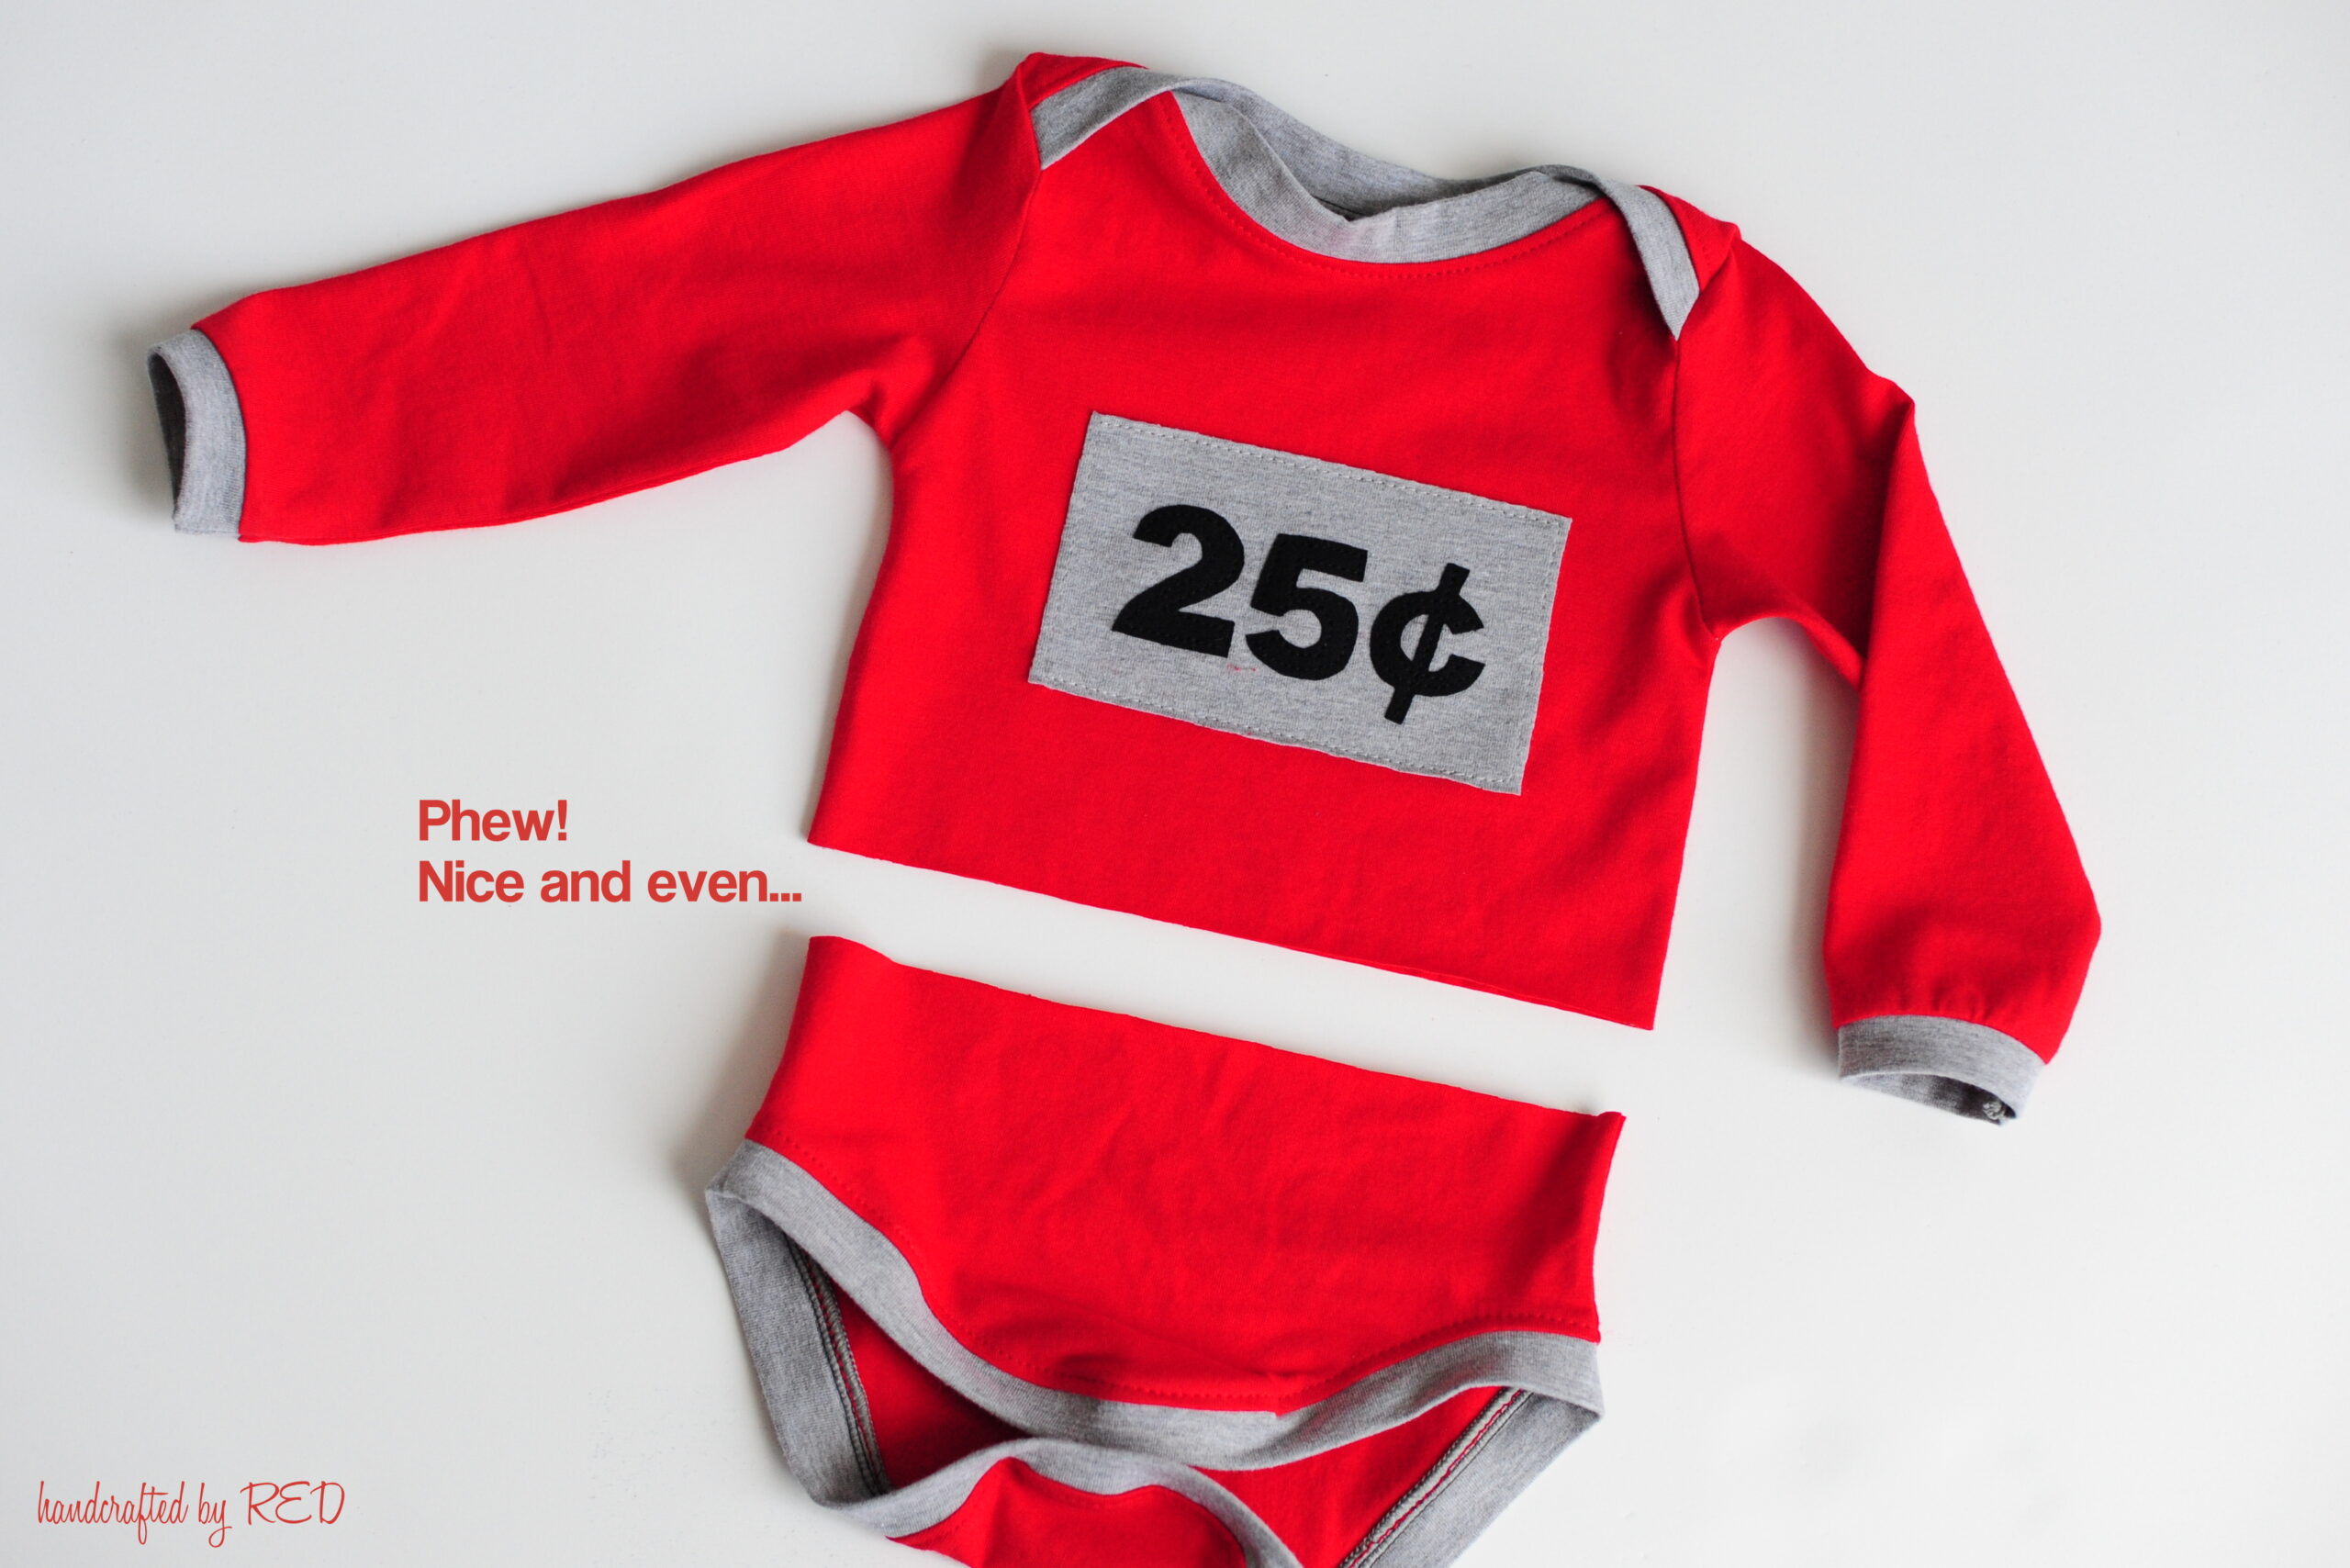
Now it’s time to cut the onesie in half and attach the skirt – this part always makes me nervous! 😉 You can cut it anywhere you want (higher for an empire waistline, lower for a drop waist), just make sure to use a ruler or straight edge to keep your line level.

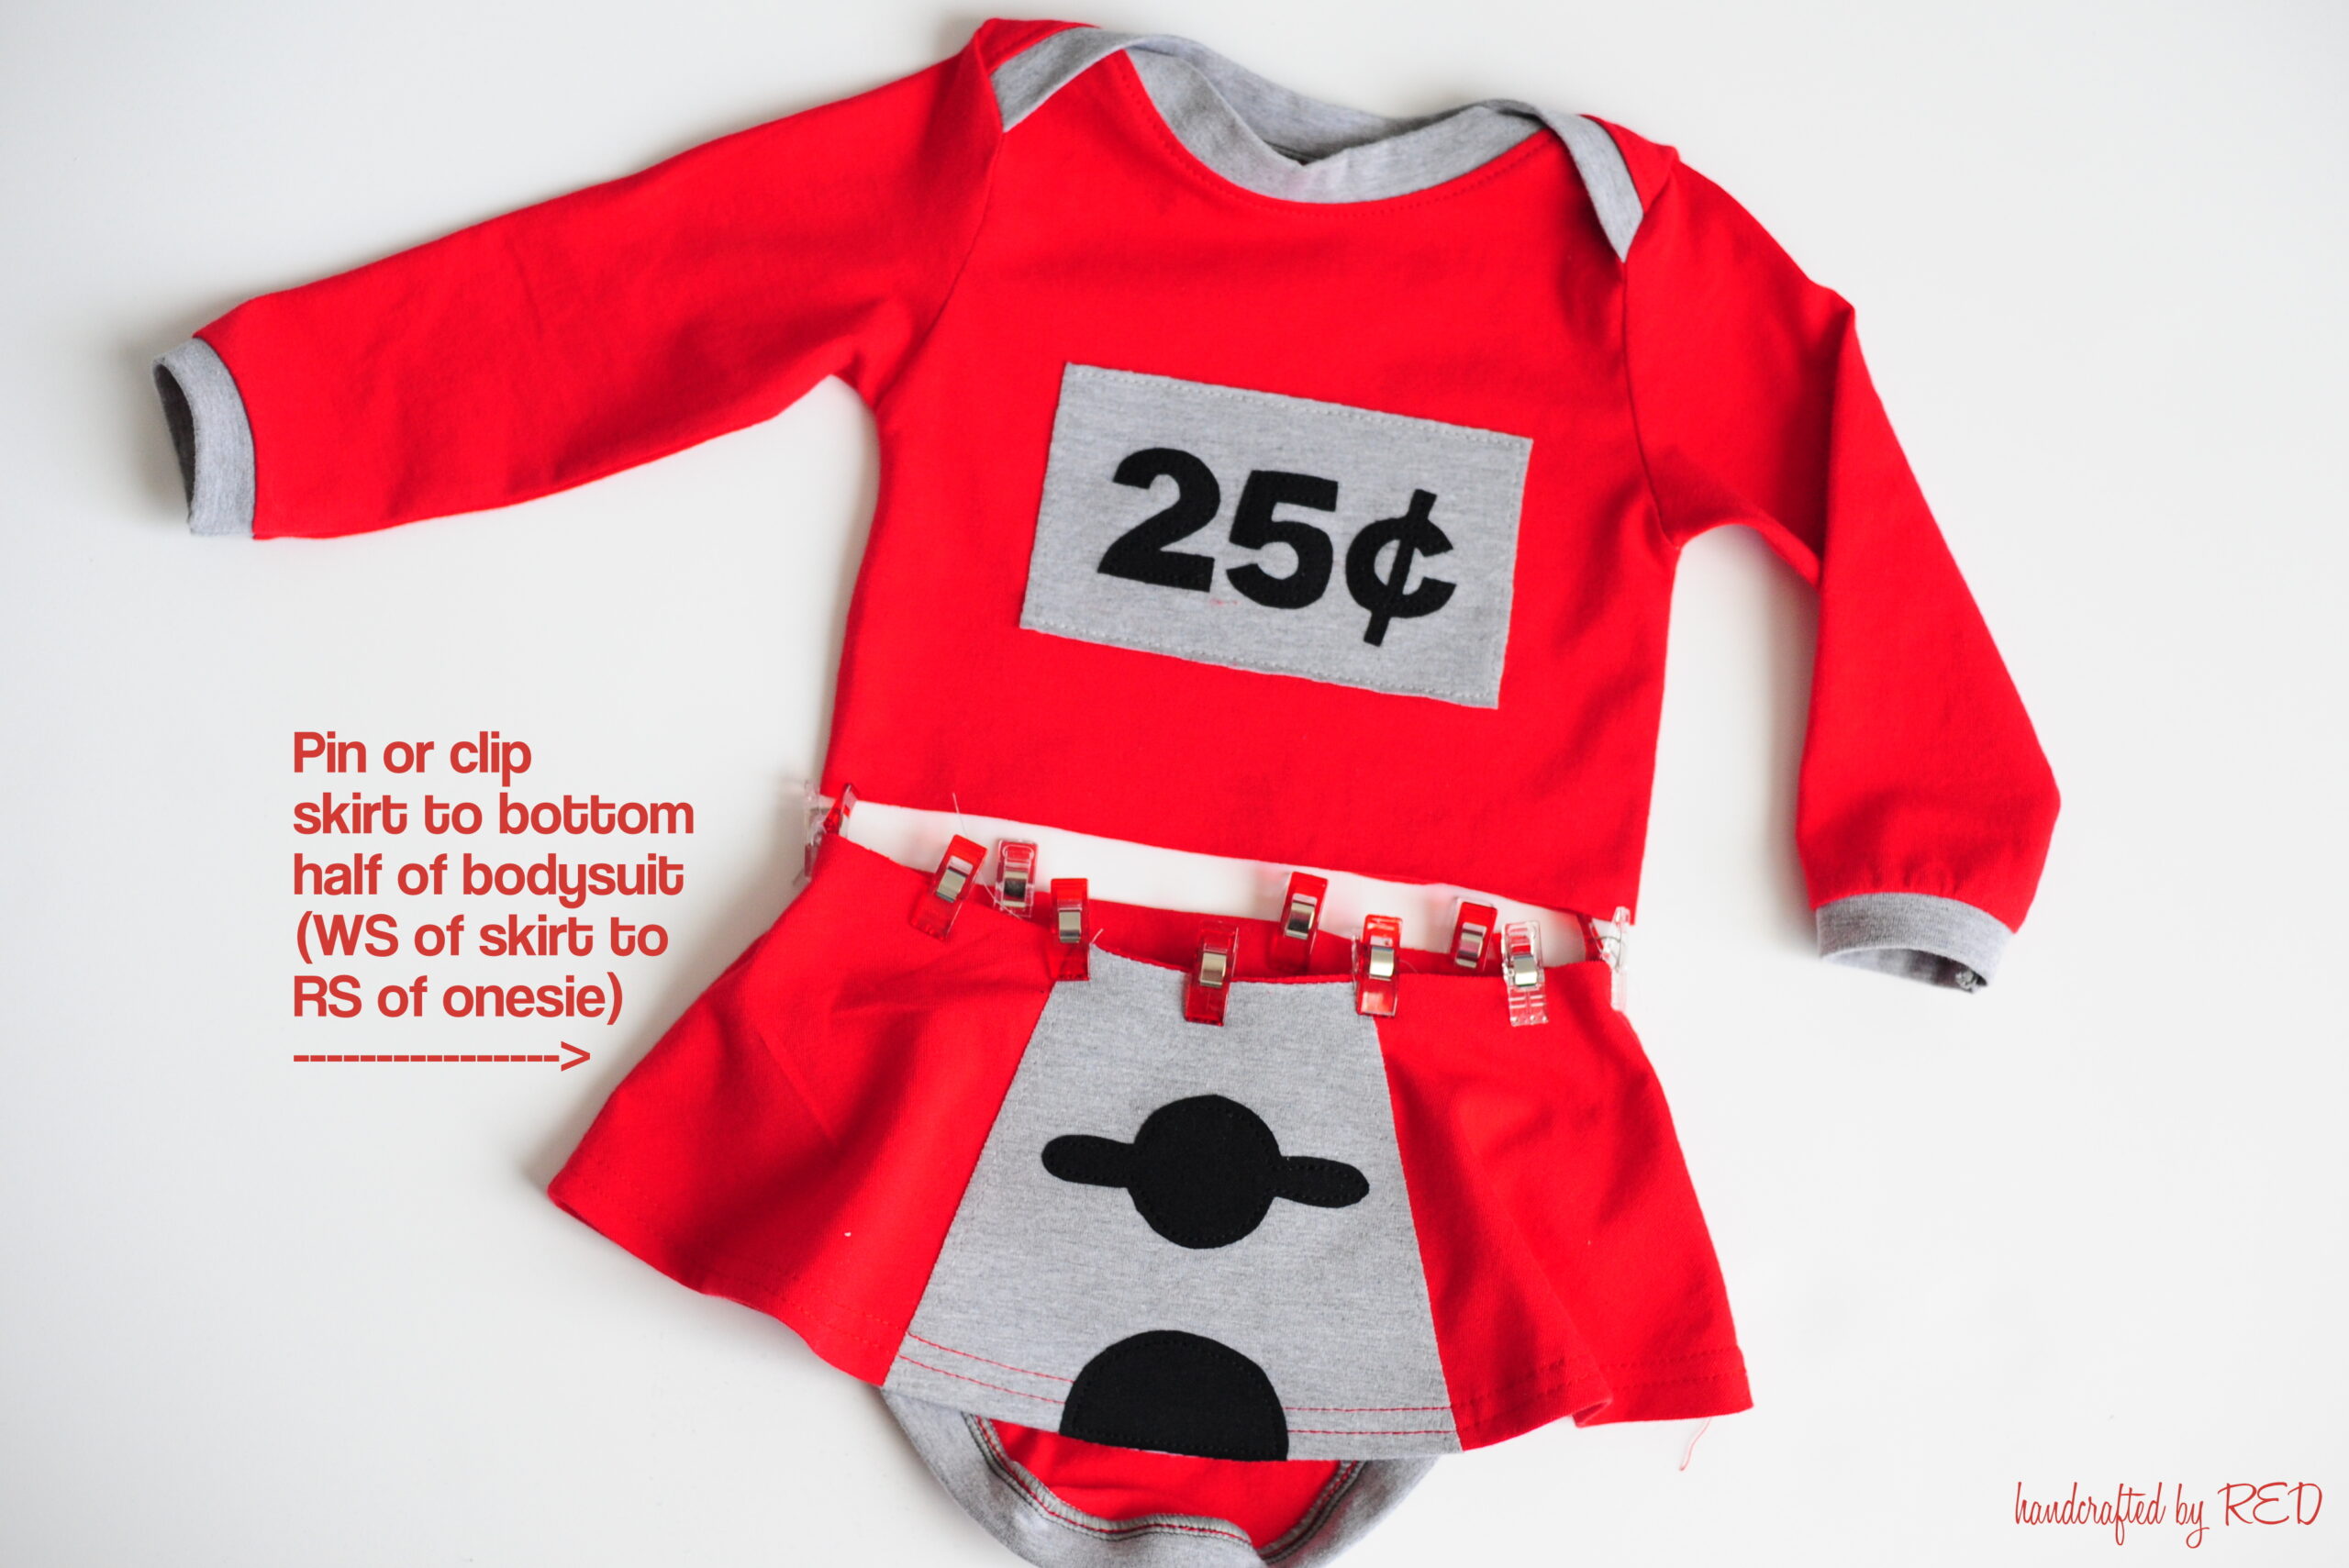
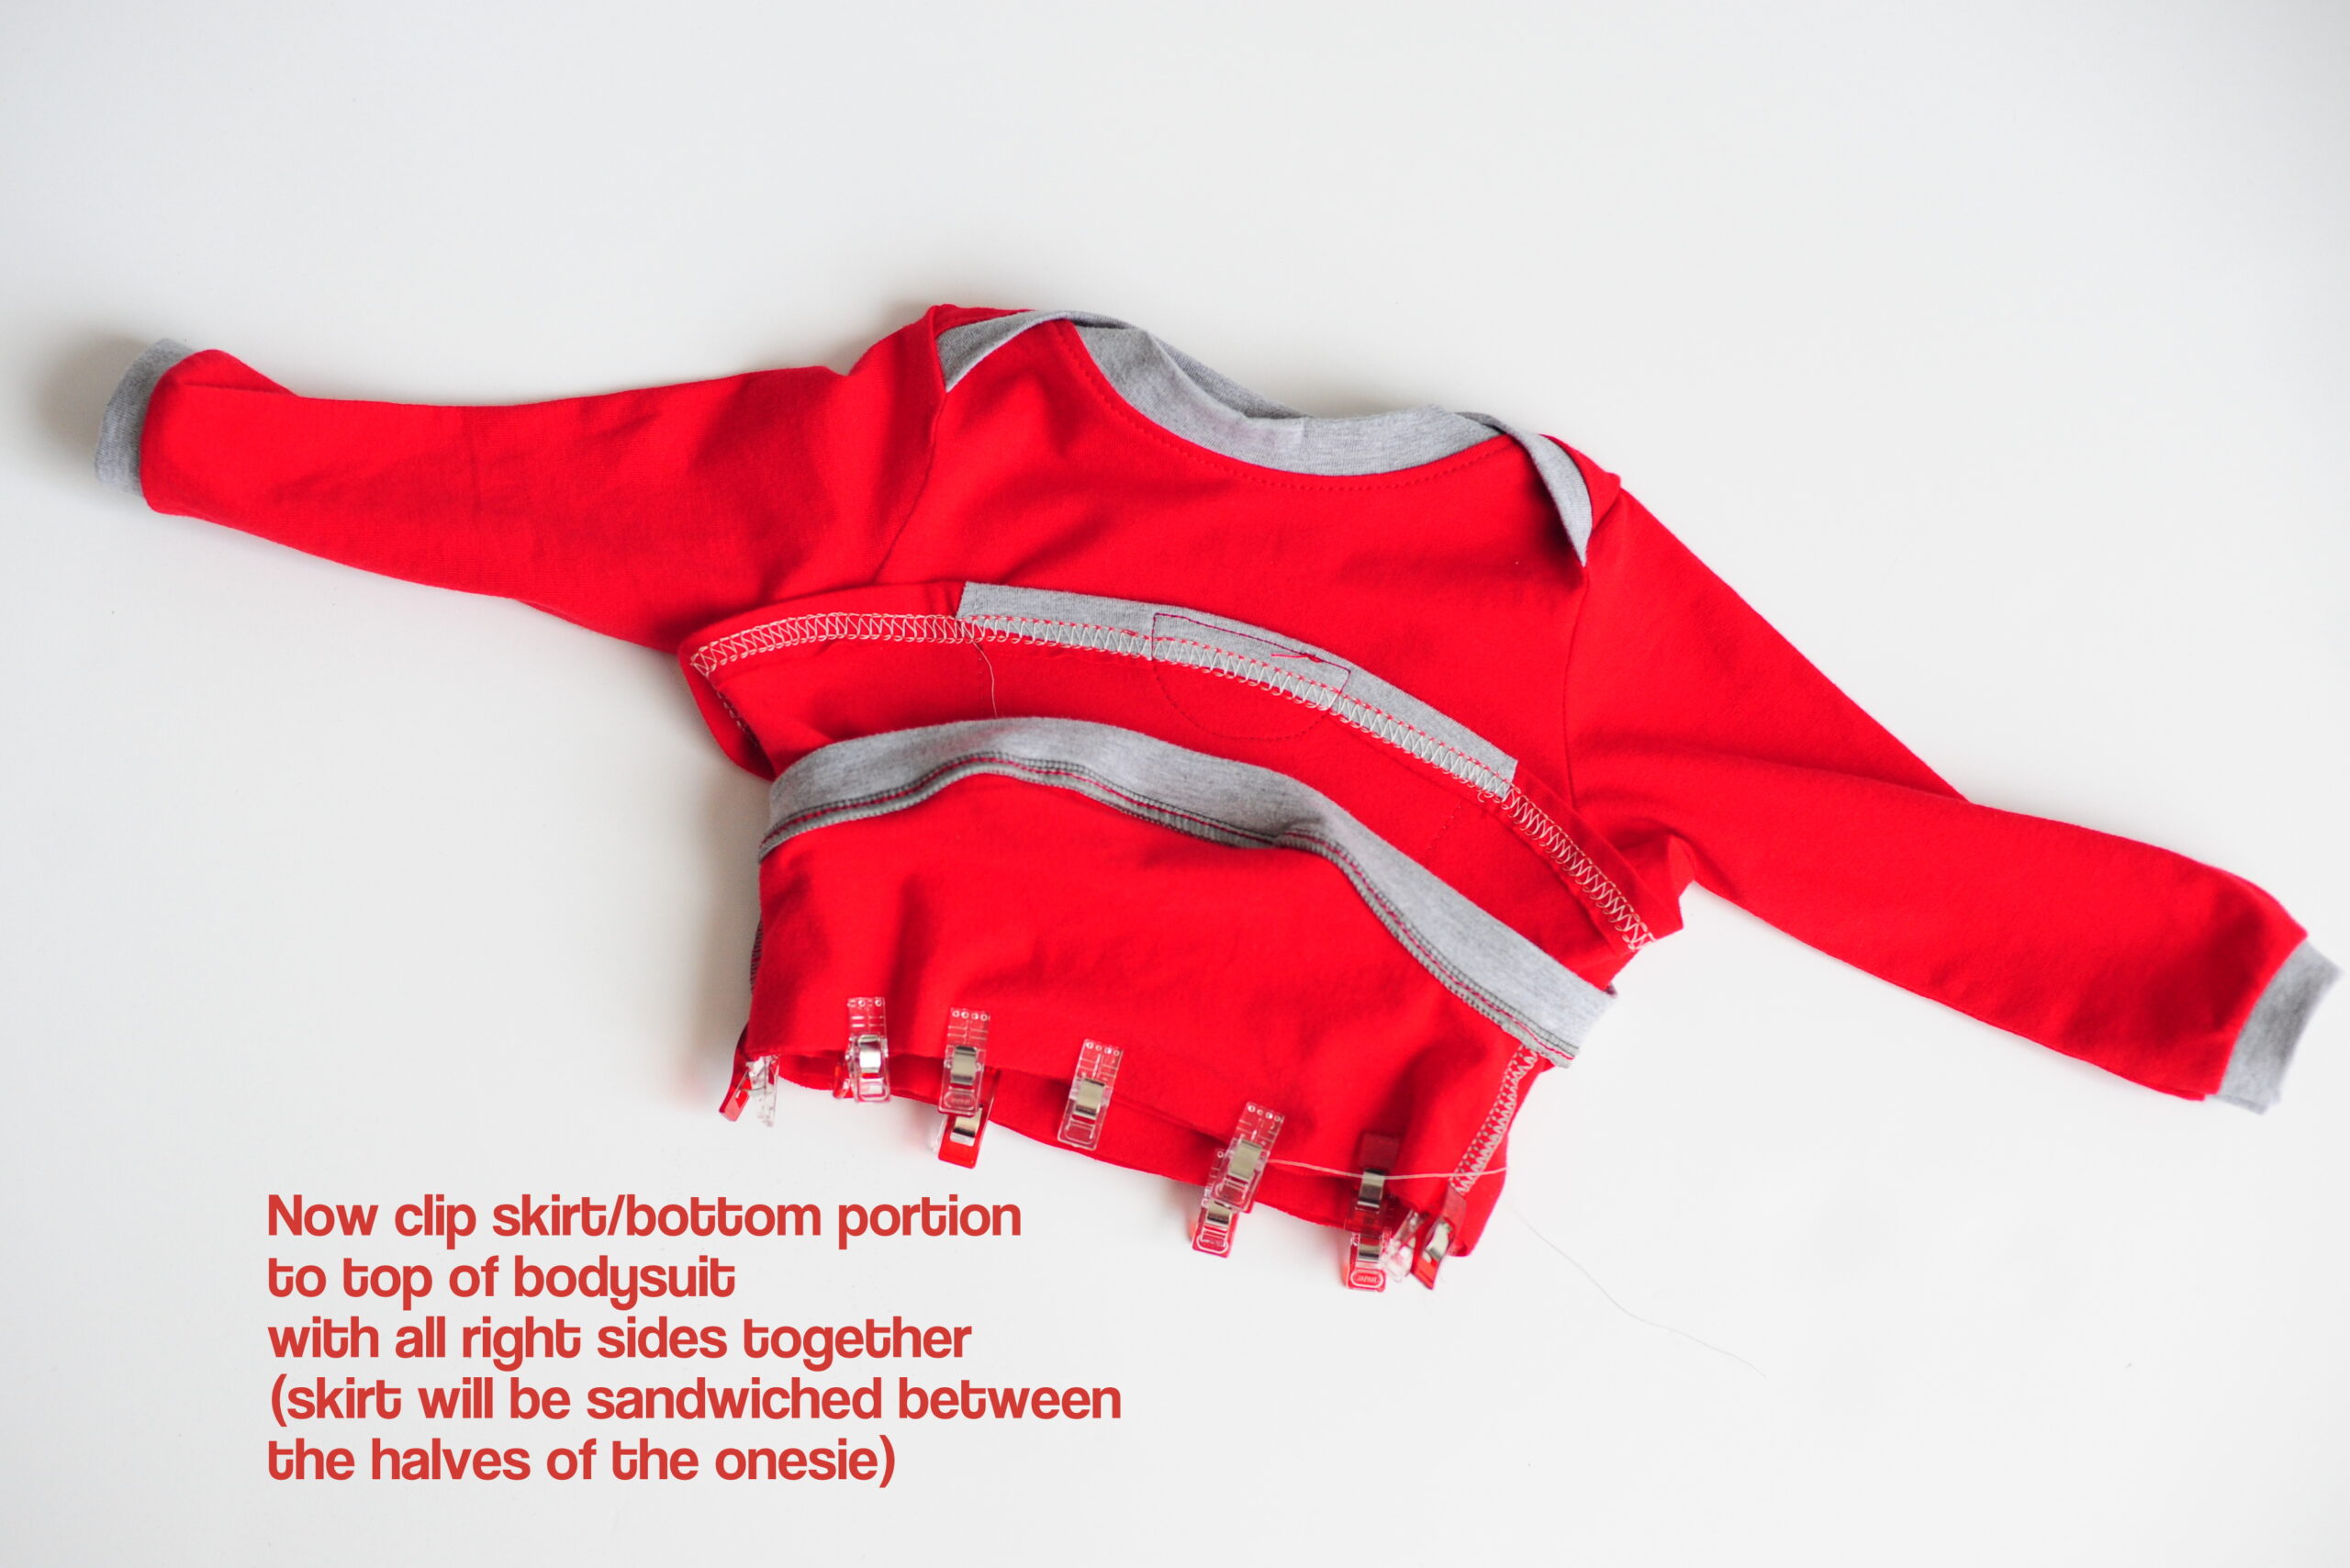
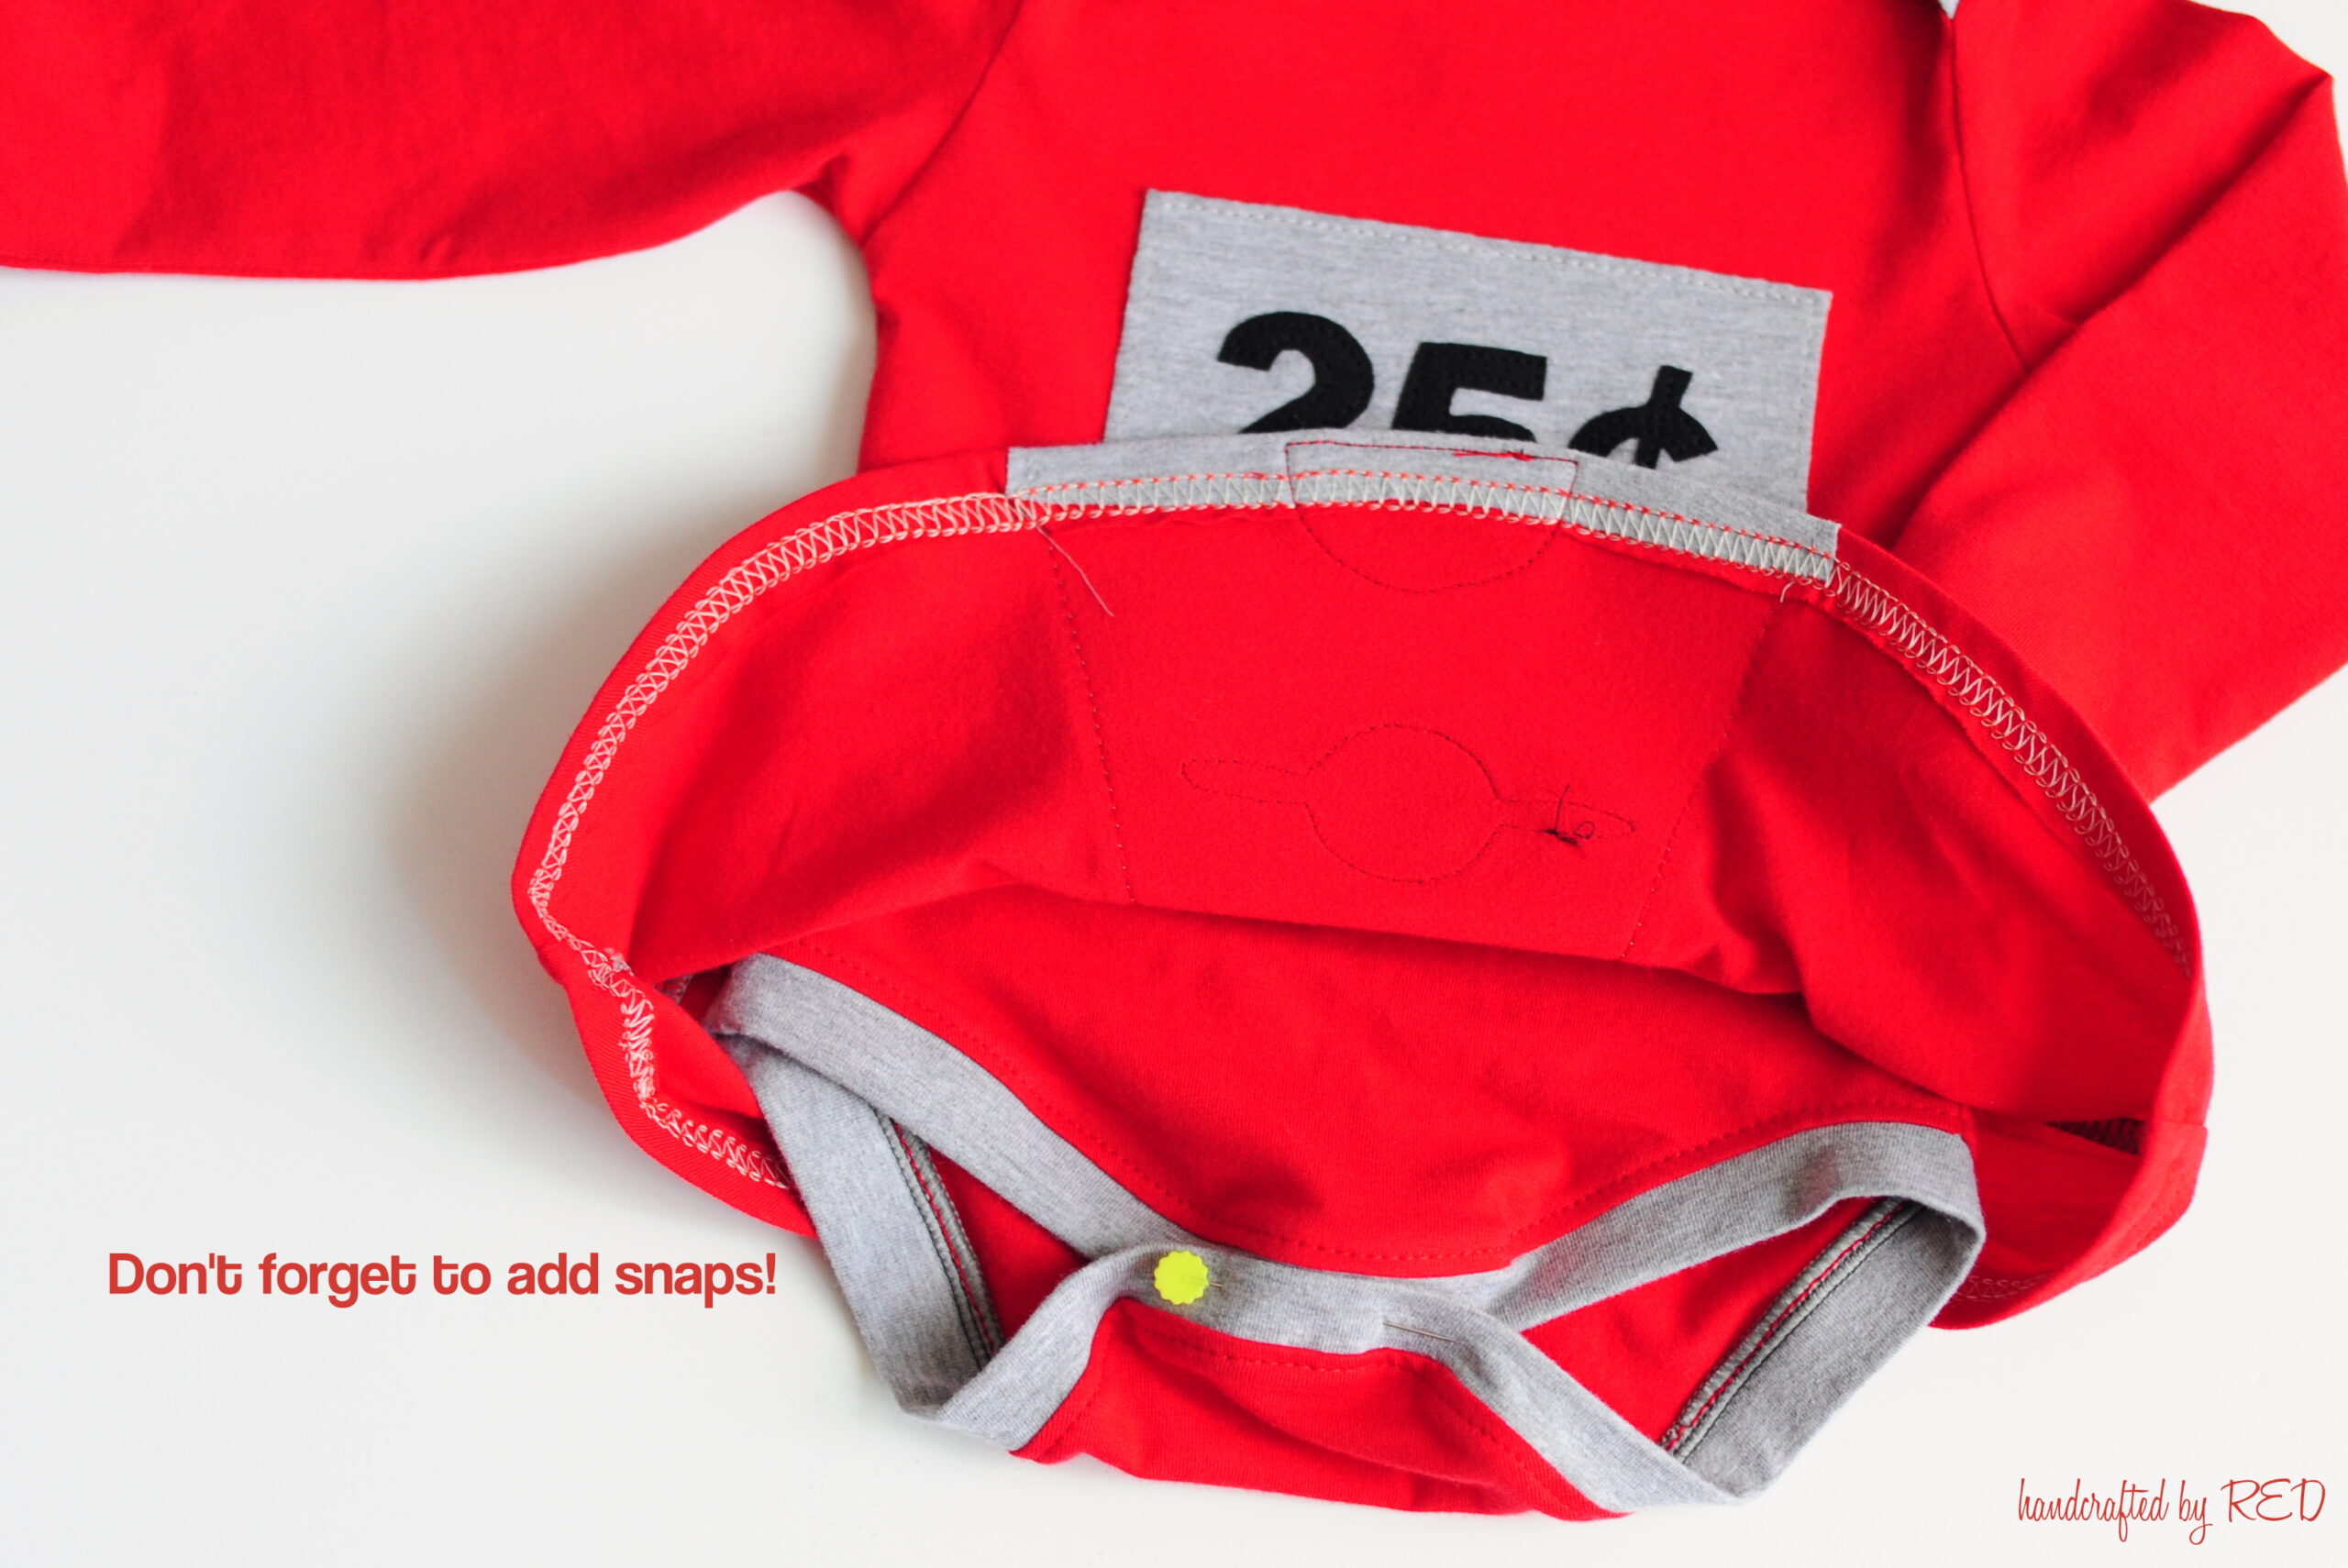
Take the skirt and pin or clip it to the bottom portion of the onesie, with the wrong side of the skirt facing the right side of the bodysuit. Basically, you want to place the skirt the way it will be oriented on the finished bodysuit. You can baste it in place if you’d like, but I just used a lot of clips and nothing slipped when I sewed it all together.

Add snaps to the bodysuit, making sure that you added interfacing to the binding where the pattern specifies. I opted to use size 14 metal open ring snaps for this, and they were the perfect size. (I like the long prong snaps from Snap Source, and have been using those pretty often lately.)
For the hat, I used a helmet-style knit cap from another pattern designer, but you can use any hat pattern that fits your child well. (Check out the basic hat from the Lullaby Line, or consider modifying the Snow Day hat for another option.) Make sure it’s not too snug before you add the pom poms, since all of the glue used will reduce the stretch a bit.
Gumball Hat | Glue on the Pom Poms
Time to get out the hot glue gun. I decided to hot glue pom poms since they tend to absorb liquid glues and I needed something that would dry quickly so I could attach all of the pom-poms at one time. I recommend lining the hat so the baby won’t feel all of the glue dots through the hat, and also the glue won’t seep through both layers. I also recommend buying A LOT of pom-poms, since this hat takes a TON! For reference, we used nearly 200 of the 1″ size pom-poms for this 3-6 month size hat!

All that’s left to do is find a little cutie pie like Miss J and dress that kid up for her first Halloween – we can’t wait to show her off at the town Parade next week. 🙂 Make sure to stop by the Peekaboo Patterns group on Facebook Group for costume ideas and to share what PAB patterns you hacked for Halloween costumes this year, too!
What are some other creative DIY costumes that you can make at home?
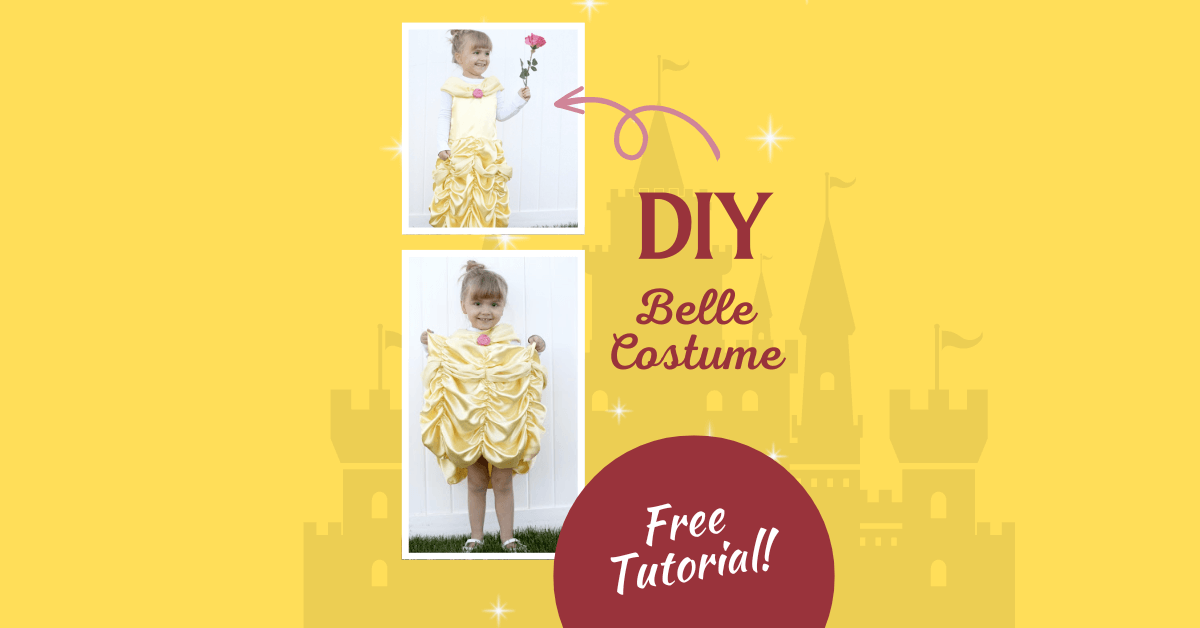
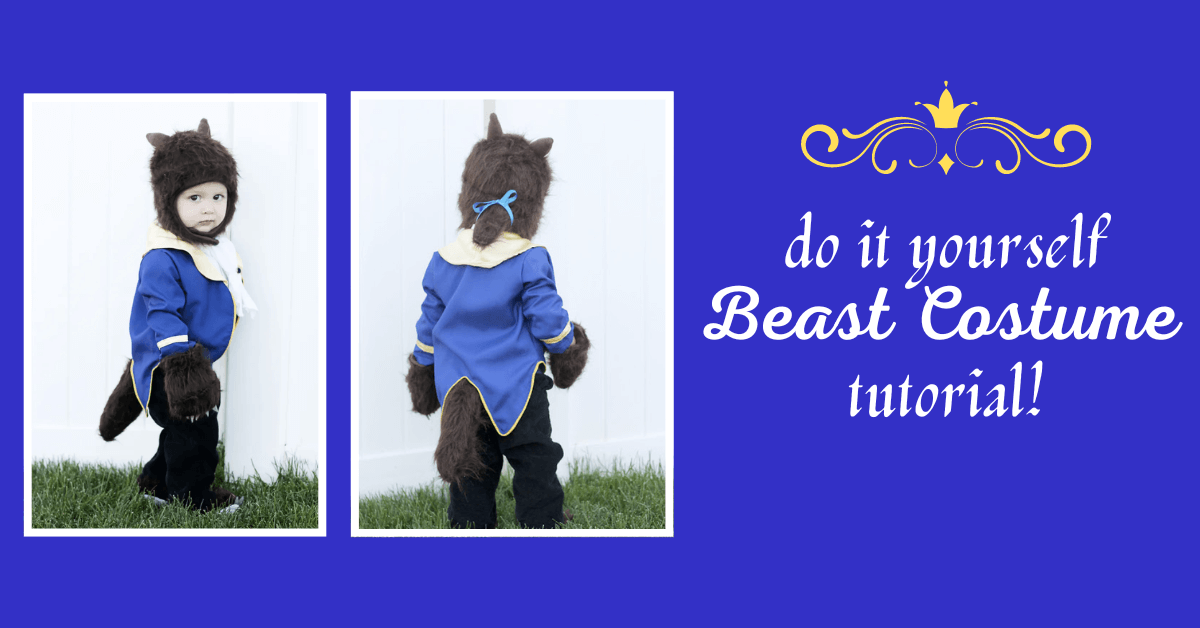
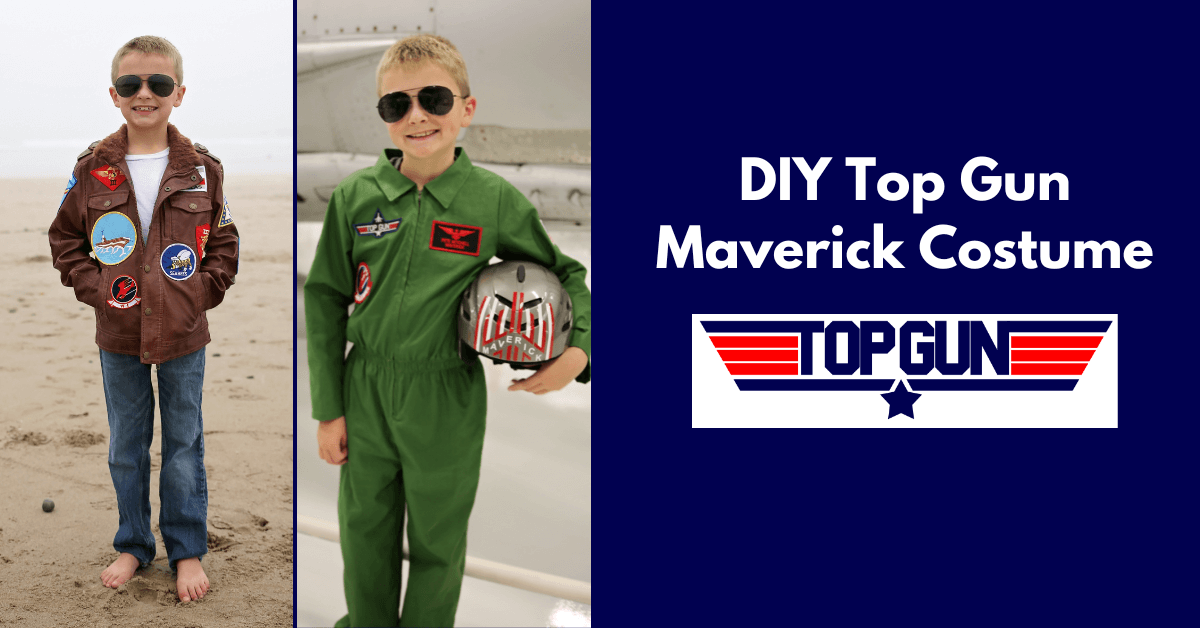
We have a lot of creative costumes around here that will help you win any costume contest. A few of our recent favorites include DIY Top Gun Maverick, DIY Lego Costume, DIY Chewbacca Costume, and the DIY Popcorn Costume.
As always, make sure to check out our DIY Halloween Costume section for some creative ideas for Halloween or Christmas costume parties before you leave and follow us on Instagram or Pinterest. Happy Sewing!