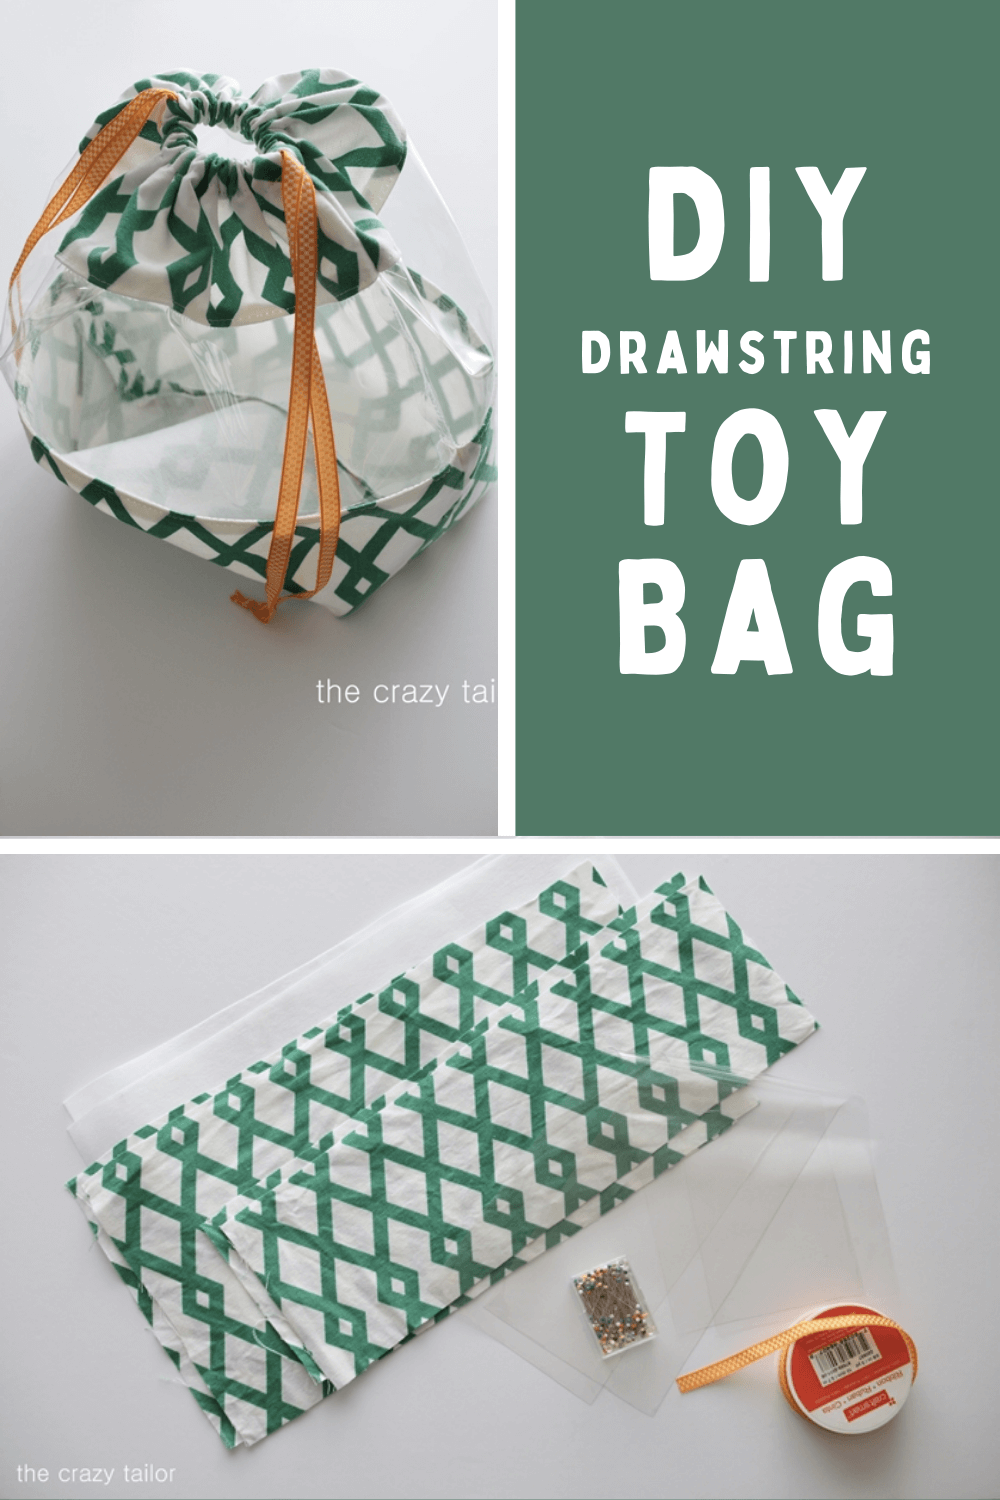
DIY Drawstring Toy Bag
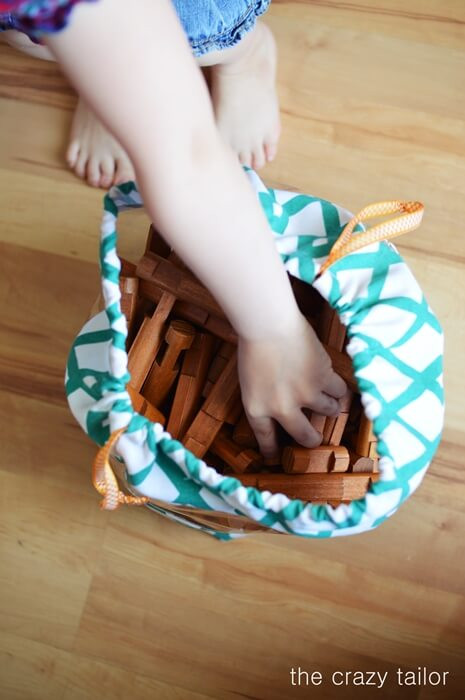
Hi there! I'm here with the DIY Drawstring Toy Bag - a project likely everyone needs to make! Haha, at least I know I need about a dozen more! I picked up a bag of Lincoln Logs at a thrift store a while back, and they've been living in a trash bag ever since because I had no place to put them.
And if there's no special place for them, I find them EVERYWHERE! So I decided to make a draw-string bag with a peekaboo window. Easy to use for the kiddos, and it fits into the toy bin nicely. I've made a medium size here, but I've included measurements for three sizes. Feel free to modify this to suit your needs!
DIY Drawstring Toy Bag | Sewing a Drawstring Bag
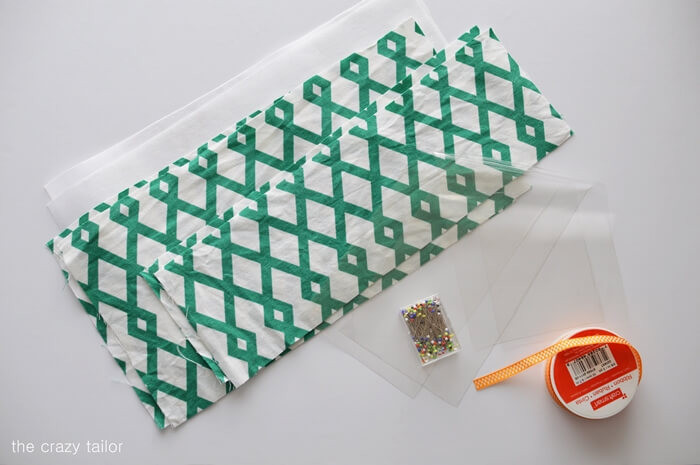
Drawstring Bag Materials:
- bottom weight fabric
- 12-18 gauge clear vinyl (I used 12 gauge and it's great!)
- fusible heavy interfacing (I used Pellon 808)
- ribbon or twill tape
- pins, scissors, etc
Drawstring Toy Bag Measurements:
Here are the measurements for the three different sizes:
Small Bag:
- cut two: 6" x 12" (bottom of bag) in fabric and interfacing
- cut two: 5" x 12" (top of bag) in fabric
- cut two: 4" x 12" in vinyl
- cut two lengths of ribbon or twill tape both 30" each
Medium Bag:
- cut two: 8" x 16" (bottom of bag) in fabric and interfacing
- cut two: 6" x 16" (top of bag) in fabric
- cut two: 5" x 16" in vinyl
- cut two lengths of ribbon or twill tape both 40" each
Large Bag:
- cut two: 10" x 20" (bottom of bag) in fabric and interfacing
- cut two: 7" x 20" (top of bag) in fabric
- cut two: 6" x 20" in vinyl
- cut two lengths of ribbon or twill tape both 50" each
Toy Bag Sewing Instructions
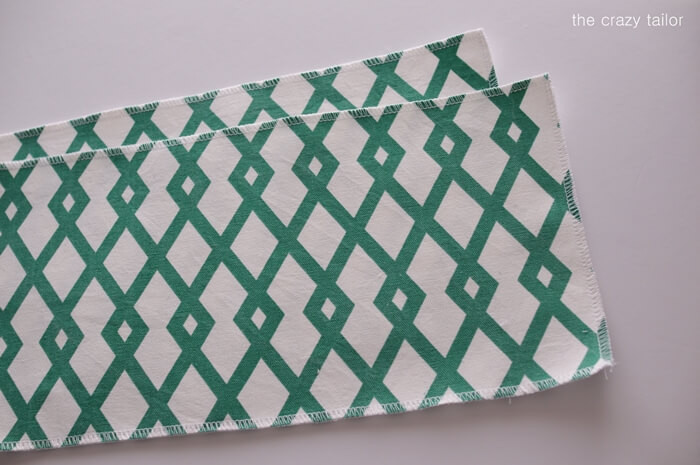
Step 1: Once you've got your pieces cut out, fuse your interfacing to the wrong side of your bottom fabric pieces. Then you'll want to serge or zig zag around all four sides of your fabric pieces.
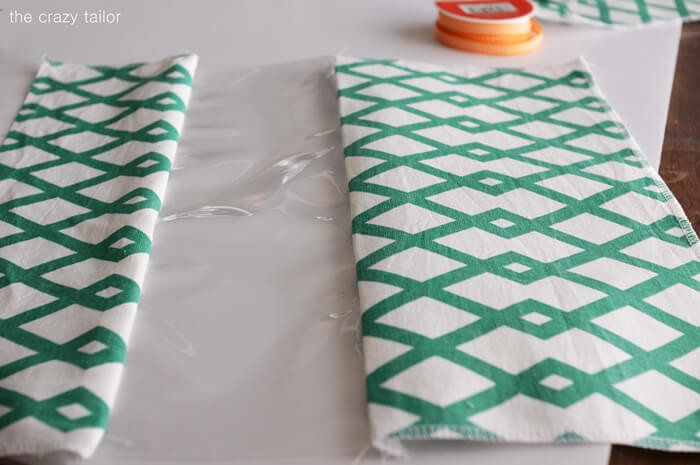
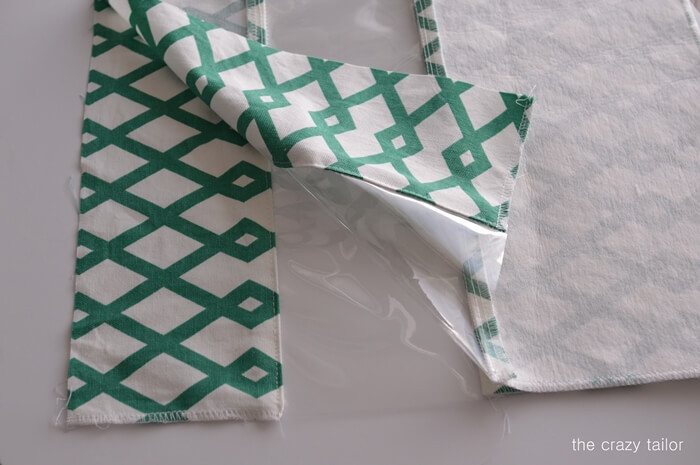
Step 2: Next, lay out your pieces like this: top, vinyl and bottom

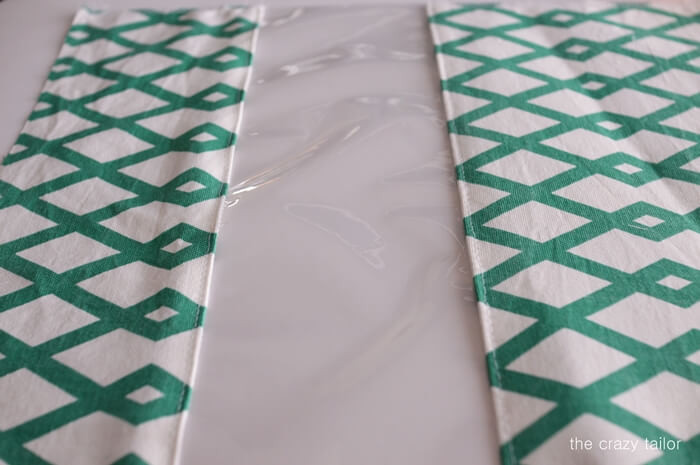
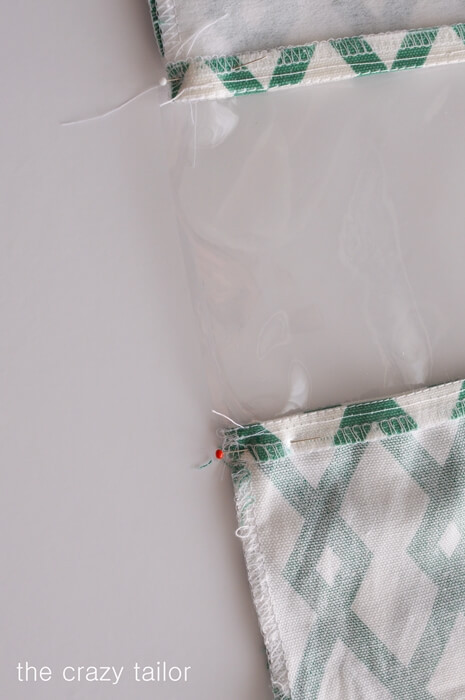
Step 3: Sew the long sides together using a 1/2" seam allowance. If you need some tips on sewing with vinyl, check out this post!
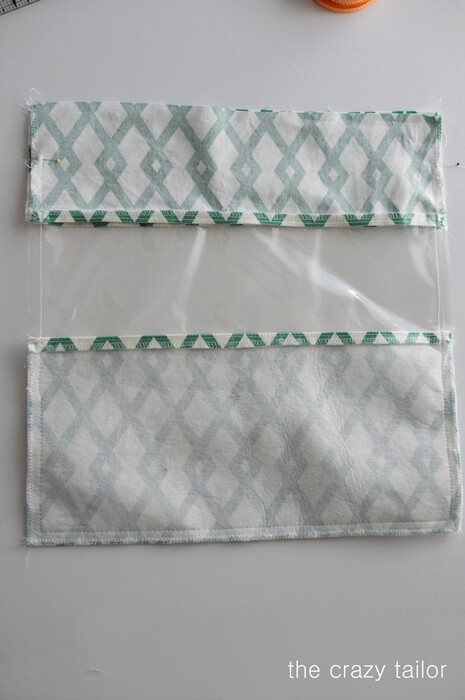
Step 4: Topstitch along the seams you just sewed to keep the vinyl window looking neat :)
Step 5: Repeat with the other pieces, and then put them right sides together. I used pins just outside of the vinyl area to keep my seams lined up nicely. You could also use clover clips.
Step 6: Starting at the top (that's the shorter, non-interfaced piece of fabric!) make a mark 2" down on both sides. I put a pin there so I would see it. Then, using a 1/2" seam allowance, starting just at that mark/pin, sew down the side, pivot at the corner, across the bottom and up the other side to your mark/pin.
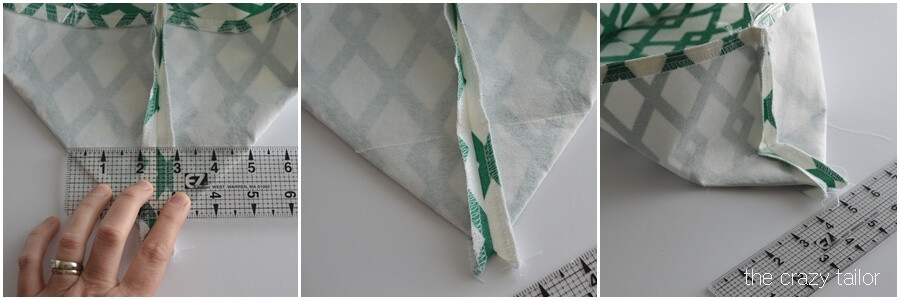
Step 7: Now it's time to make the bottom of this thing square!
You'll keep it turned inside out. You want to line up the side seam with the bottom seam, making a triangle shape, like this:

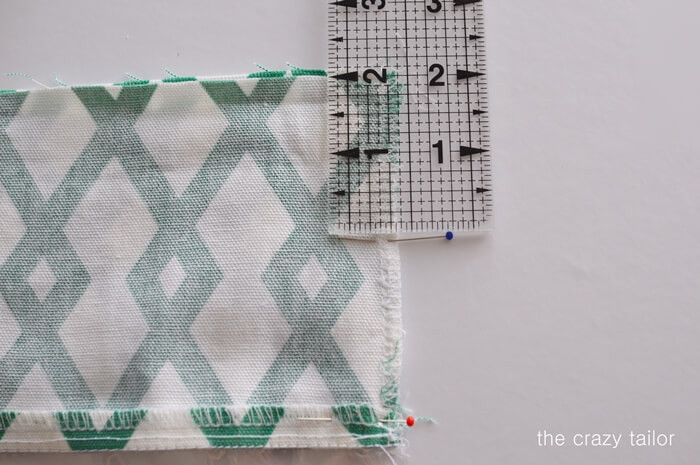
Step 8: Once you've got it lined up nice and square, mark a (perpendicular to the seam) line across the point, 3" for size small, 5" for medium and 7" for size large.
You can see how my ruler is going from side to side totaling 5" here. You'll have to slide your ruler up or down to get the proper measurement.
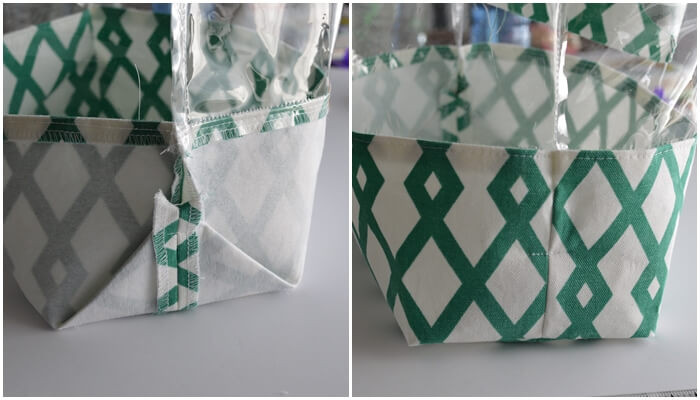
Step 9: Mark the line, and then sew it! Repeat on the other side. Now your bag will stand up! You can either serge off the excess of that triangle piece sticking out, or tack it up to the side seam. That's what I did, just to give it a bit more stability.
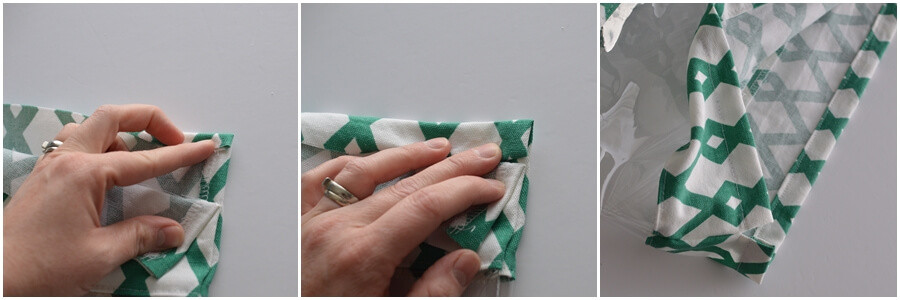
Step 10: Time to finish the drawstring casing and we're done!
Turn your bag right side out. Fold the top edge down 1/4" and then 3/4" and press (be sure to keep your side seams tucked in a 1/2" as you fold down the casing). Sew 1/8" up from the bottom fold line. Do not sew the ends closed. Repeat on the other side.
Step 11: Using a safety pin or bodkin, thread one ribbon through one side and then the other, then tie a knot. Thread the other ribbon through both sides the opposite way and tie a knot.
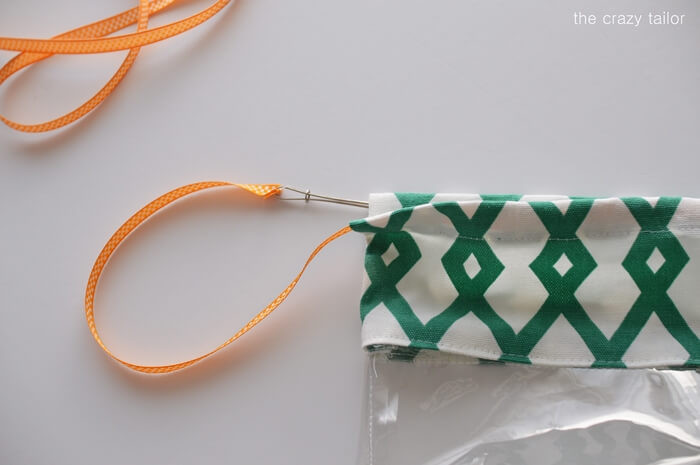
Done!
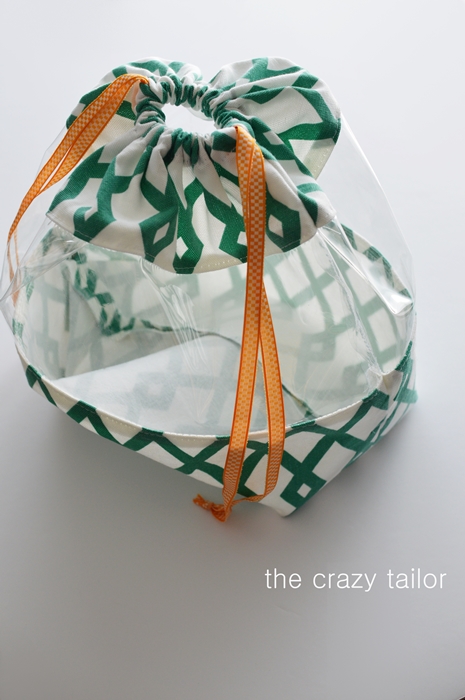
Now jam that thing full of toys, cars, socks, whatever you need to put away!
Happy Sewing! Make sure to come join us in Peek-a-Boo’s Facebook group.