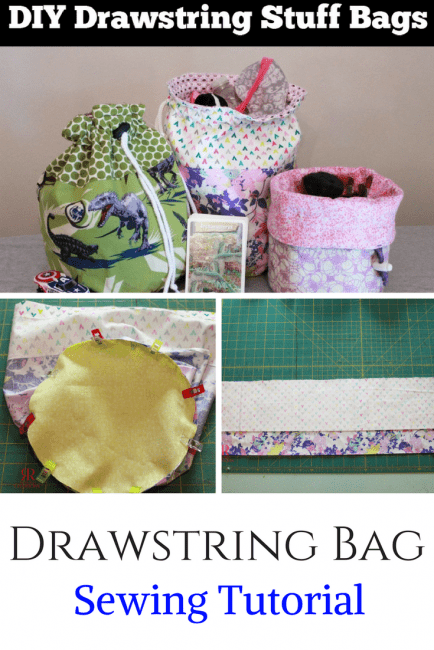
Tutorial on How to Simply Make a Drawstring Bag
Welcome sewers! Today we have some different tutorials to share with you to show you how to make a Drawstring Bag. These little bags make great gift bags or great little drawstring pouches that you can make out of a fat quarter or fabric scraps and use for small items, toiletries, crayons, etc. All you'll need are some rectangles of fabric and a few craft supplies to make these. There's no right way to do these - here are a couple of ideas.
DIY Drawstring Bag
First – we have Kasey Bealer from Ruby Rue Creations with the DIY Drawstring Stuff Bags:
Mother is the necessity of invention, right? Well, I’ve had a lot of necessities lately! I noticed last week that my favorite makeup bag had a hole in it. AND since we are going on a family vacation soon and I needed bags for my kids to shove their stuff in to keep them entertained on the plane trip! So voila – the DIY Drawstring Bag Tutorial was born! I call it the “Stuff” bag because you can put all kinds of stuff in these and use them for all sorts of purposes! Mine will be for makeup, but you can also use a drawstring bag for trash bags in your car, quiet bags in church, snack bags for on the go… the possibilities for a simple drawstring bag are endless!
How to Make a Drawstring Bag
Here’s how I made my drawstring bag. The measurements are approximations and will vary depending on the size of the bottom of your bag and how tall you want it.
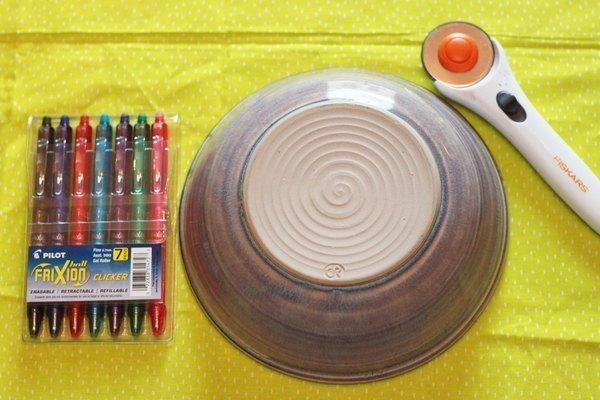
Drawstring Stuff Bag Materials:
- Quilting Cotton Fabric Pieces
- Cording
- Fusible Fleece
- Lace Locks
- A Bowl
- Clips / Pins
- Mesh (If you want mesh pockets)
- Fold Over Elastic (If You Use Mesh Pockets
- Scissors
- Thread
- Sewing Machine
- Frixion Pens
I highly recommend using Frixion pens for marking on your fabric for the pockets. The ink disappears when you iron over it! Note that my seam allowance is 3/8 inch.
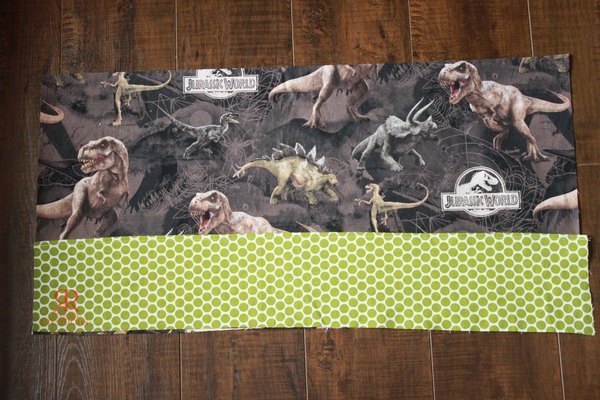
The piece of fabric you will cut will be a top panel, main panel, bottom circle, lining, lining bottom circle and a pocket strip (optional).
How to Sew the Drawstring Stuff Bag
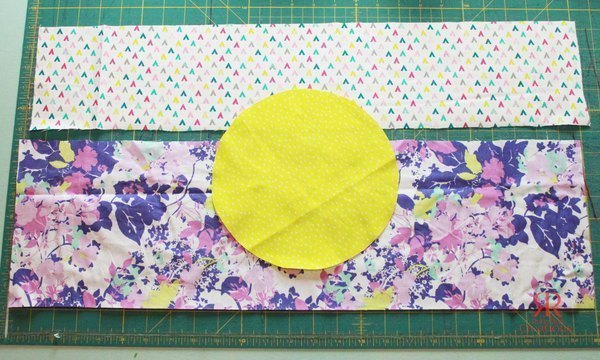
Stuff Bag Step 1: Start the drawstring bag by laying a bowl upside down on your bottom outer fabric to get a drawstring bag pattern. Trace around it with a Frixion pen and cut that out. Measure the circumference. The width of your top and main panels will be the circumference of the bottom panel plus .75″ (for seam allowance).
So if my bottom circumference was 20″, then the width of my top and main panels would be 20.75″. The height of the top and main panels can vary and can be completely customized! My top panel measured 5″x20.75″ and my main panel measured 7.5″x20.75″ for the bag.
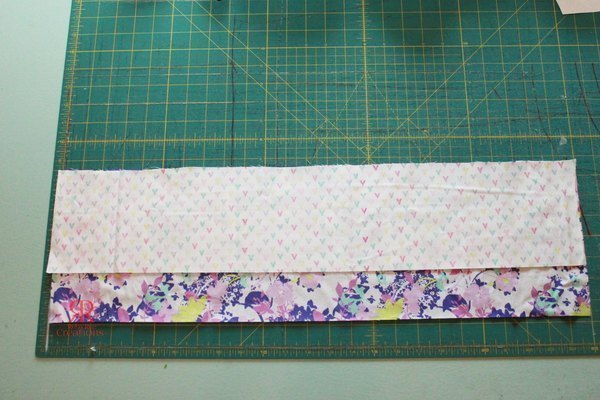
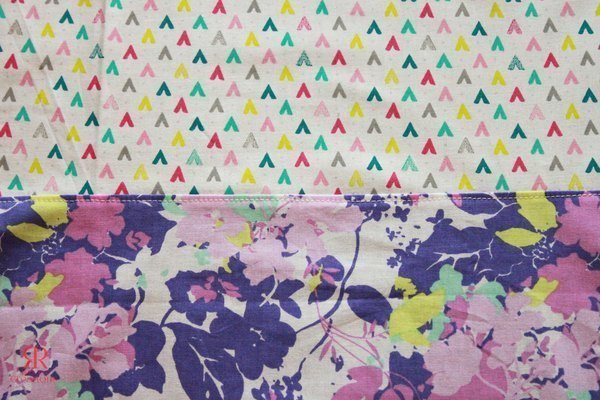
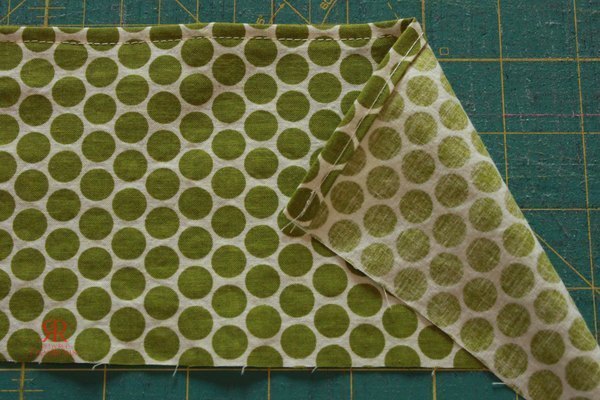
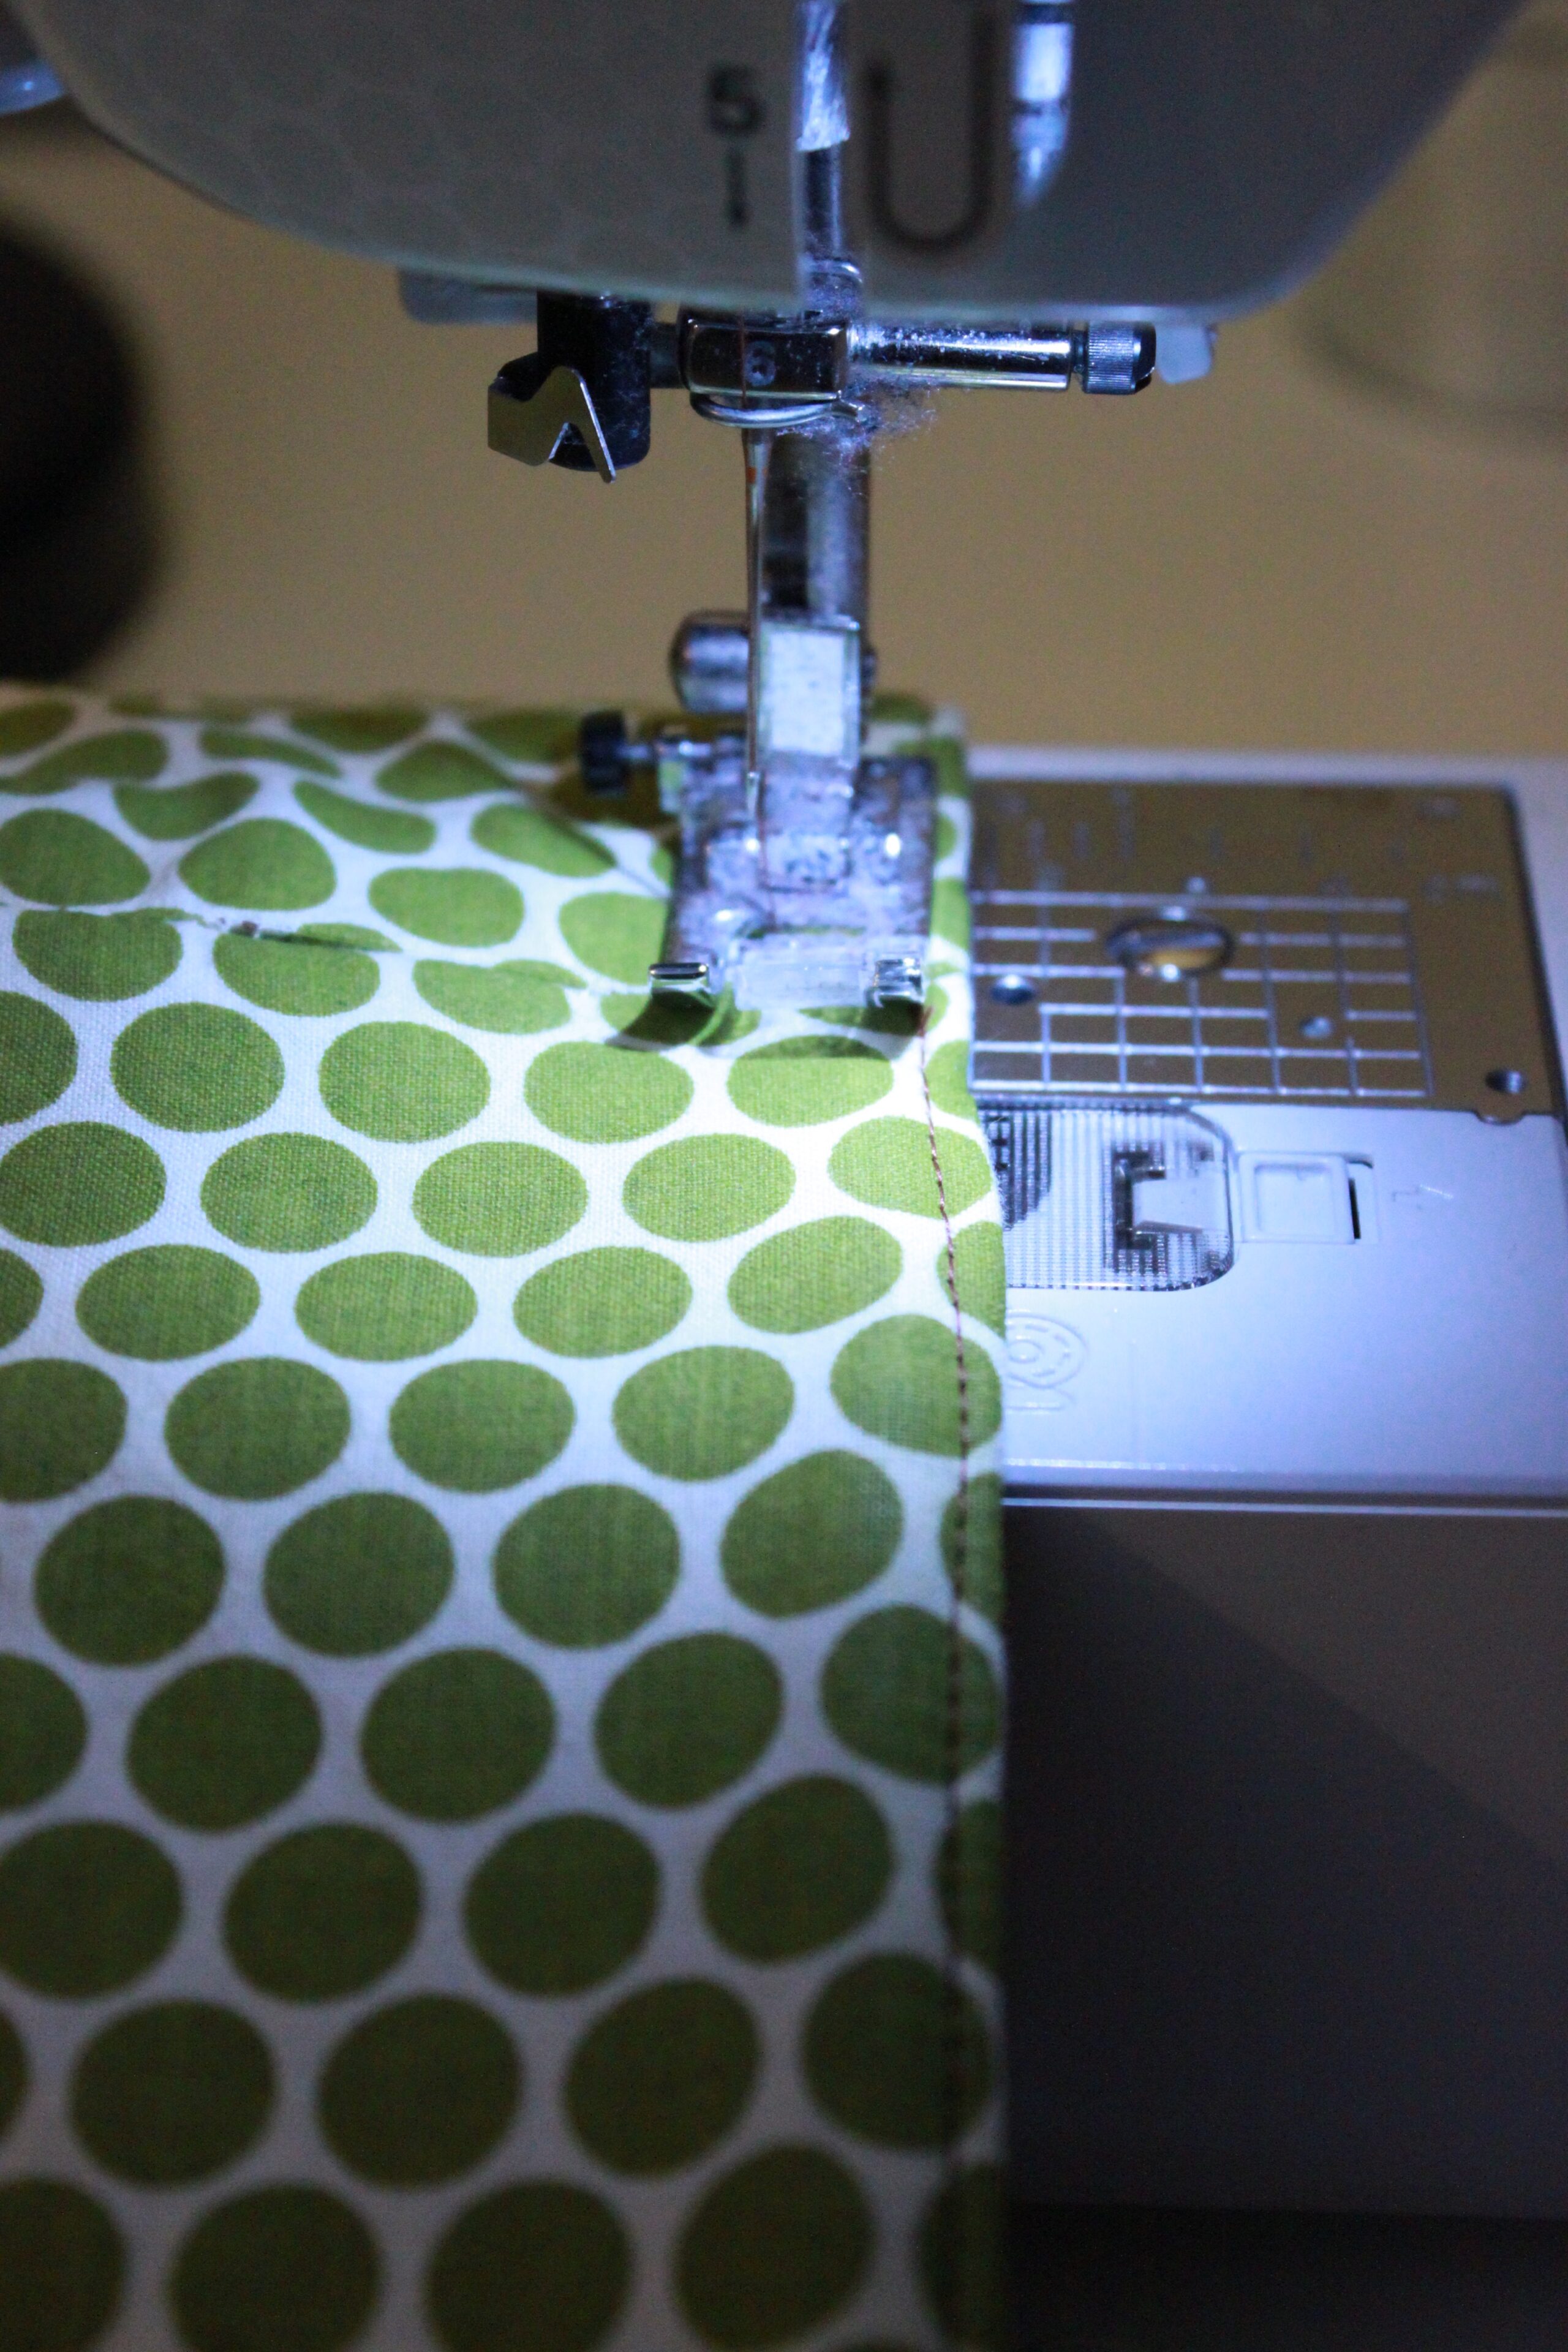
Stuff Bag Step 2: Let’s start the drawstring bag construction! With RST, sew the top panel to the main panel along the top edge. Flip the top panel up and press seam allowance towards the main panel (you can press either way, really). Topstitch 1/8″ away from the seam.
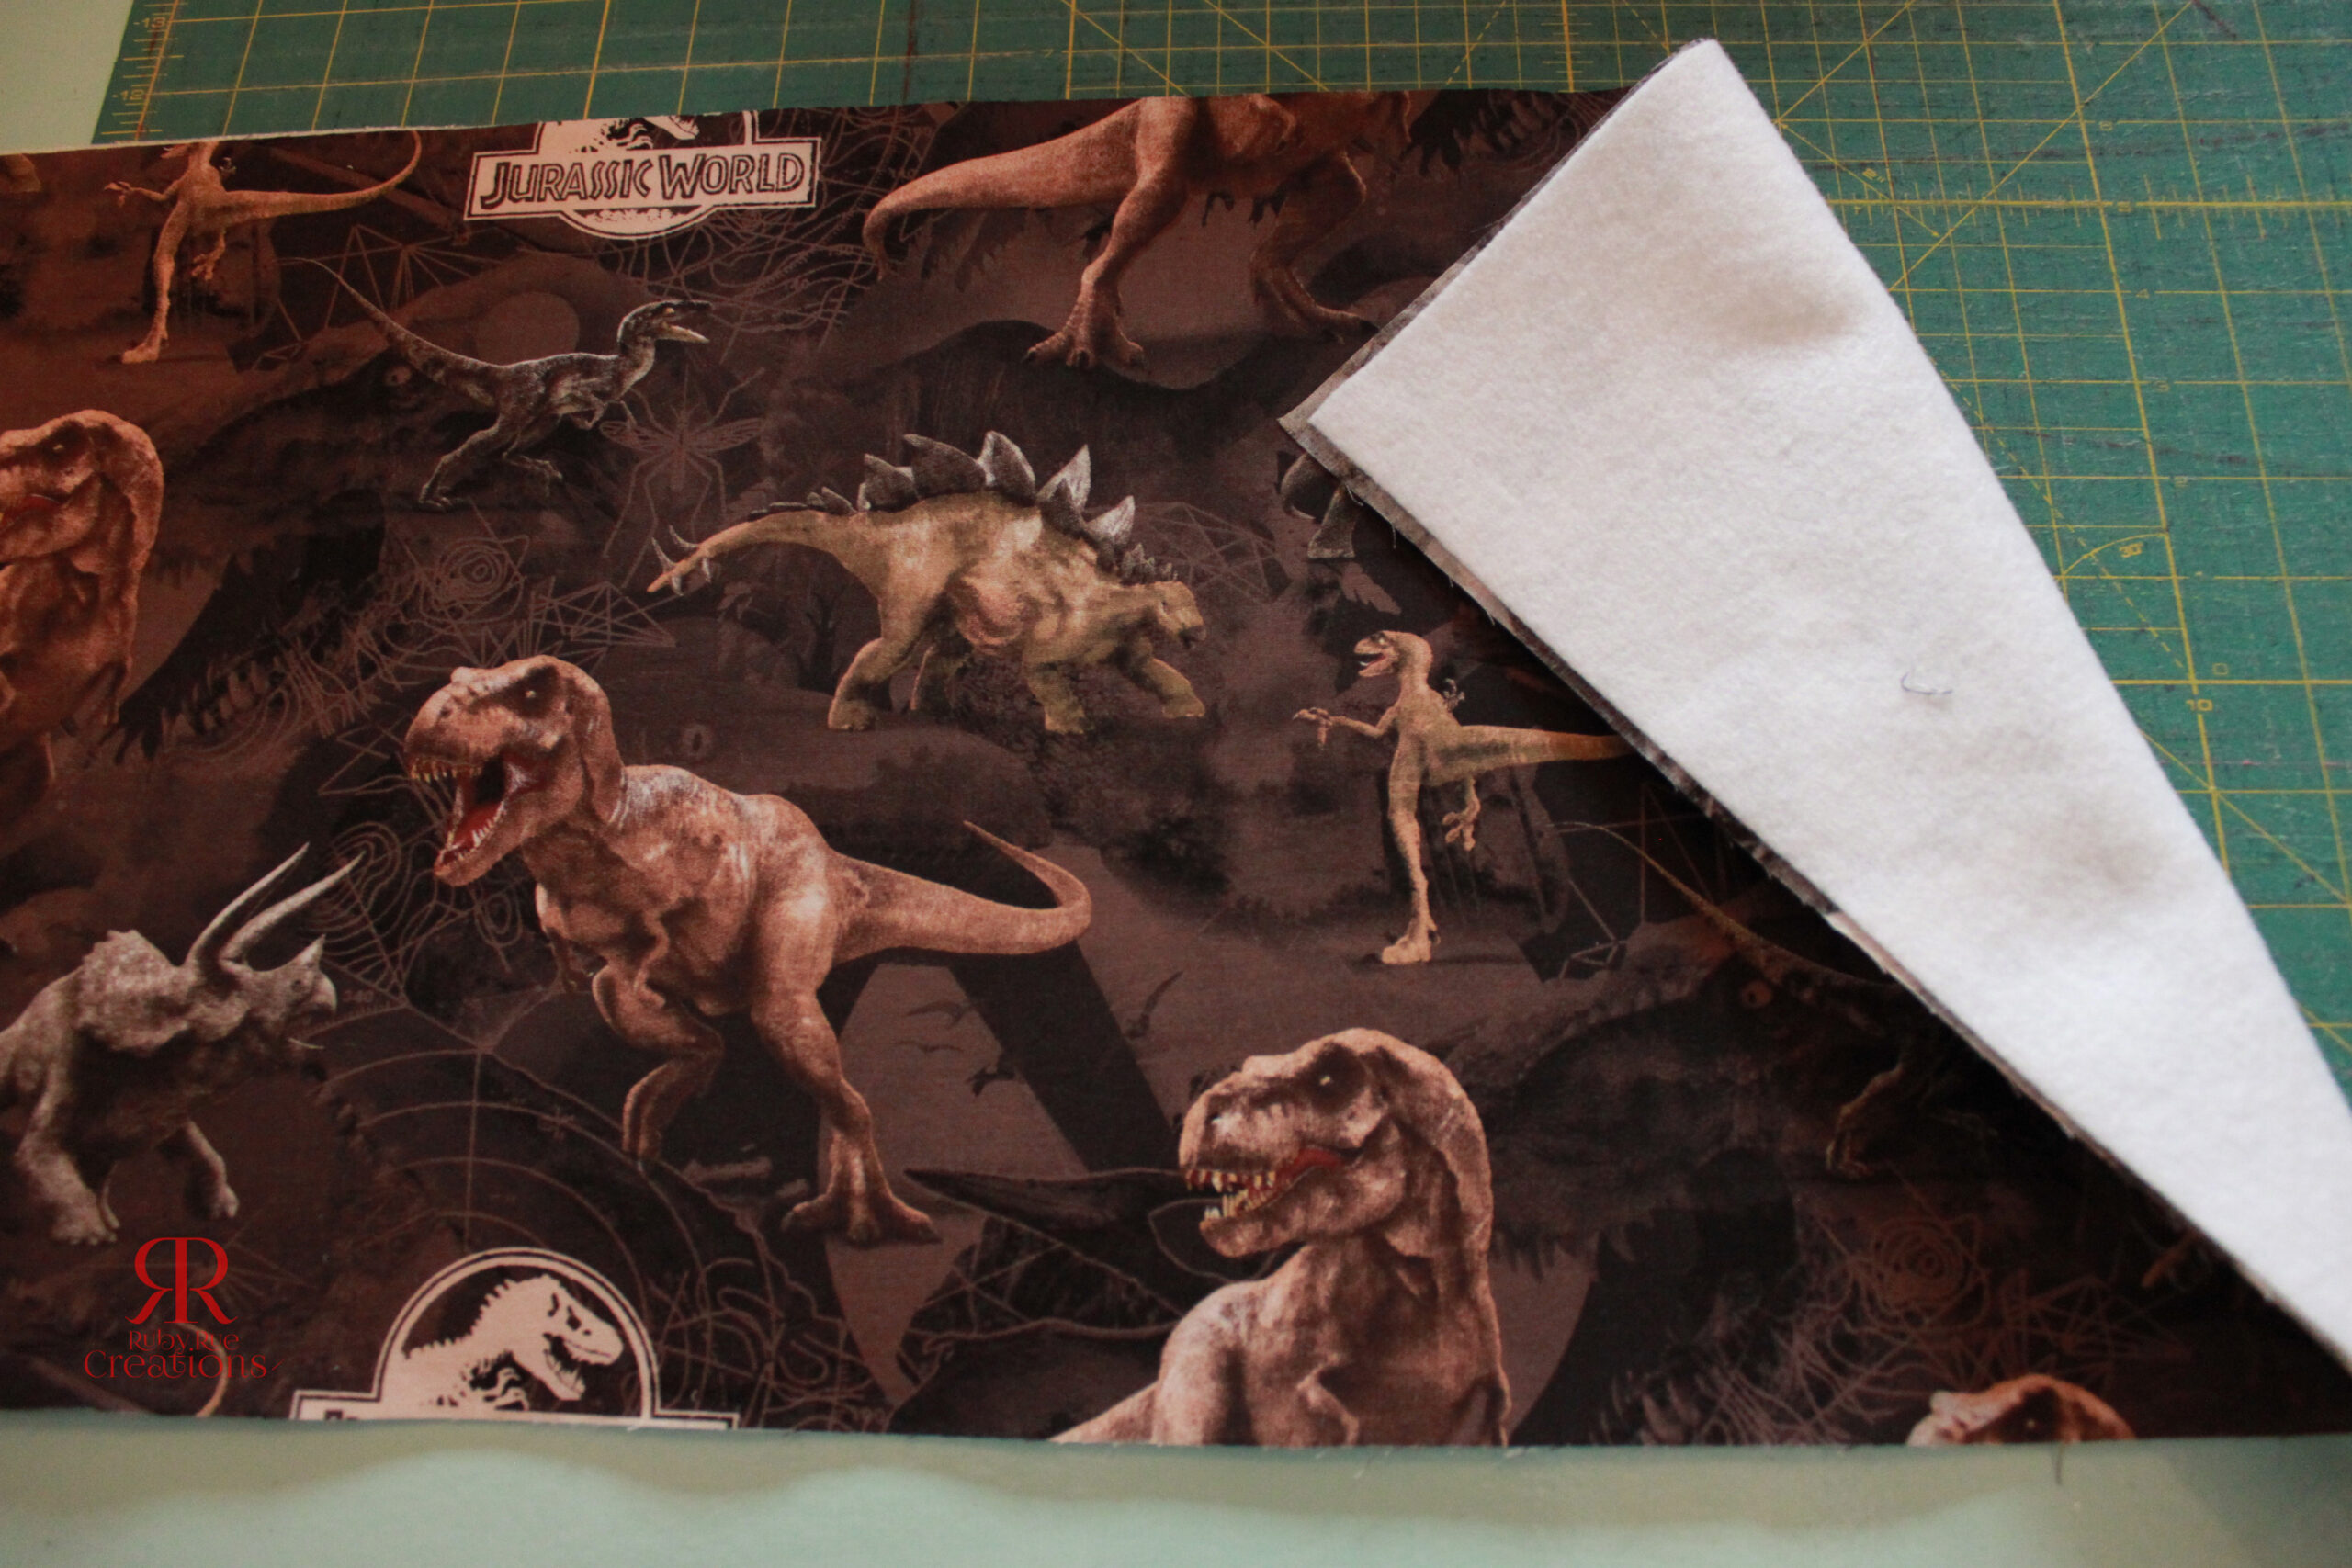
Stuff Bag Step 3: Now cut your lining for the drawstring bag. Make it the same height and width as the outer portion (top/main) you just sewed. Cut a piece of fusible fleece the same dimensions as your lining piece and fuse it onto the back of the lining fabric following manufacturer instructions.
Stuff Bag Step 4: If you’d like pockets for your drawstring bag then cut a strip that’s the same width as your lining and whatever height you’d like. My pockets measured 5″x 20.75″. If using woven cotton for your pocket, serge/overcast stitch the top edge. Then fold the top edge down 1/2″ and topstitch.
Stuff Bag Step 5; If using mesh for the drawstring bag pockets, cut a piece of Fold Over Elastic (FOE) about 2″ shorter than your pocket strip. Attach it to the top edge of the mesh, stretching slightly as you sew.
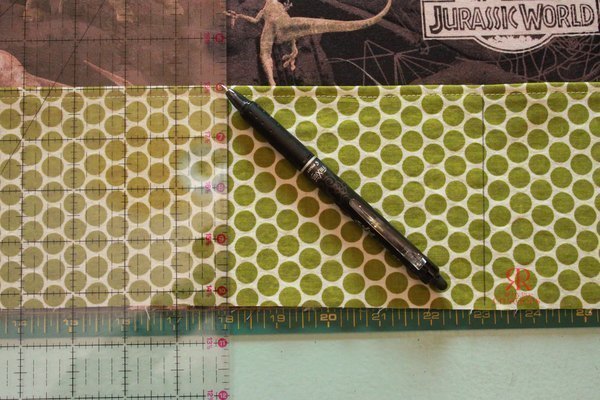
Stuff Bag Step 6: Align the pocket strip along the bottom edge of the lining, matching raw edges. Baste along sides of pockets to hold in place. Individual pocket widths can vary. Use your Frixion pen and a ruler to draw vertical lines marking the width of each pocket. Topstitch along the lines, backstitching several times when you start at the top of the pocket. Press to remove Frixion pen marking lines.
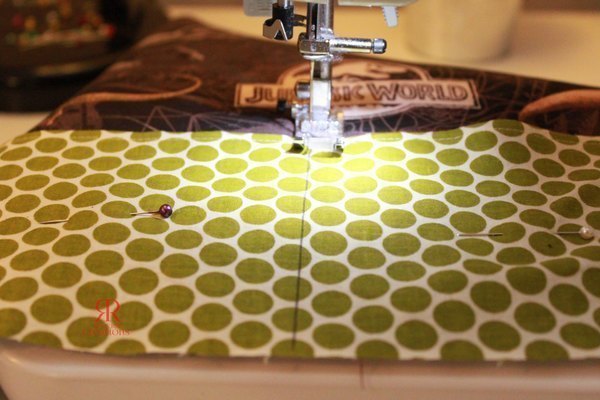
Stuff Bag Step 7: Grab your outer (top/main) portion. Fold it in half so the short edges meet. With your Frixion pen, make a mark 1.25″ down from the raw edge and another mark 1/2″ below that mark. This will be the hole for your drawstring bag cording. Sew along the short side but NOT between the marks you just made! Fold the lining in half aligning the short edges and stitch along the short edge.
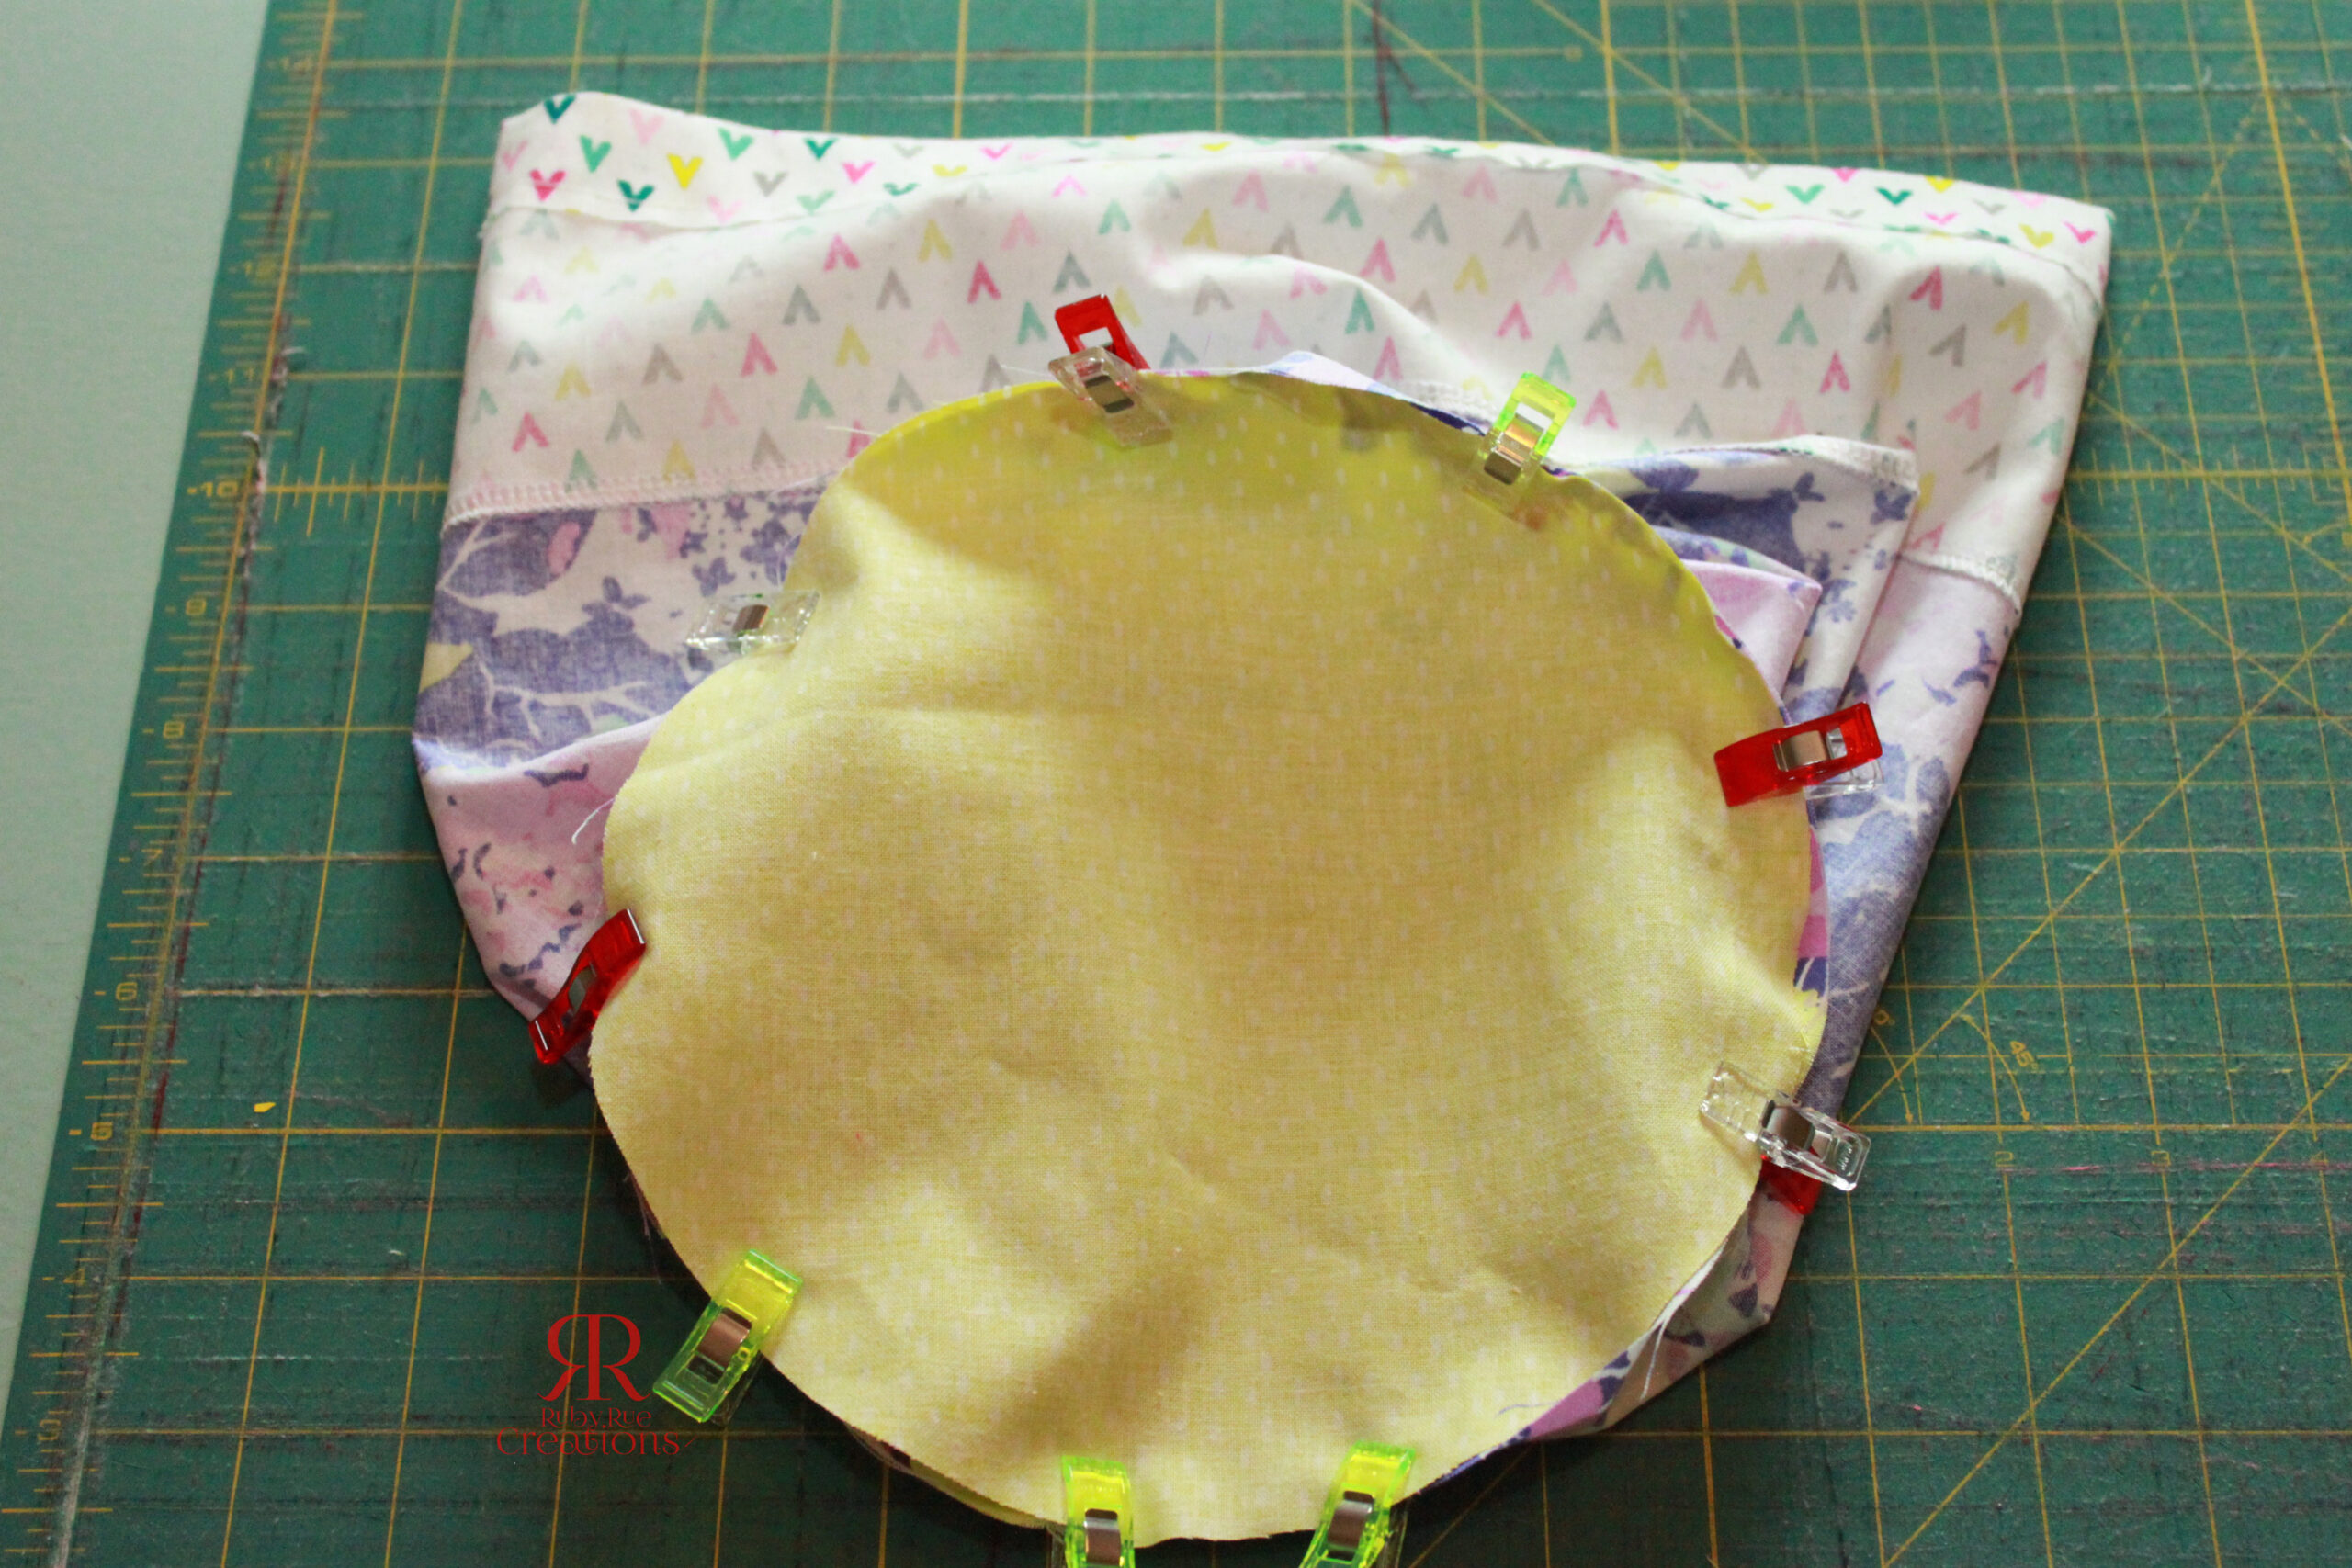
Stuff Bag Step 8: With RST, clip/pen the bottom circle to the outer portion and then do the same for the lining bottom circle and lining. You may need to ease it a bit to fit. Sew bottom circles on.
Stuff Bag Step 9: With the lining right side out and the outer portion wrong side out, slide the lining inside the outer portion. Stitch 3/8″ from the top raw edge, leaving a 3″-4″ gap for turning.

Stuff Bag Step 10: Turn the bag/lining right side out. Push the lining inside the outer and press the top edge well. Topstitch 1/8″ away from the top edge, taking care to close the hole you had from turning the bag.

Stuff Bag Step 11: Now create the casing for the drawstring bag cording. Topstitch all around the bag approximately 1/2″ below the stitches from the previous step. From that point, mark 3/4″-1″ below and topstitch around the whole bag (make sure that your drawstring opening is between your casing!). Now you will have a casing through which to pull your drawstring. Feed the cording through the casing using a safety pin or bodkin. Once through, slide a lace lock over each end of cording. Make a knot on each end of the cording so it does not come out of the lace lock.
Now grab as much stuff as you can find to shove in your all new Drawstring Bag!!! A few ideas for bag customization would be vinyl/embroidered names for bag personalization, adding piping between the top/main bag panels (I did for one of my bags), adding an exterior bag pocket, adding internal zippered pocket to the bag, or creating removable bag pockets using Velcro. I can’t wait to see how you customize yours!
I love little bags and this bag is especially fun! No raw edges so it looks pretty inside and out. Perfect for making a gift extra special or containing little sets of things. Fill the DIY drawstring bag up with jewelry, diaper bag essentials, toys, etc.
Lined Drawstring Bag Tutorial
I love using these for busy bags for my diaper bag. Will got this little set of cars and trucks for Christmas and I made a little bag to contain them all.

Turns out for a toddler half the fun is taking them in and out of the bag. Double score! Since the drawstring is continuous it can’t ever be pulled out and it’s easy for little hands to open and close.
How to Make the Lined Drawstring Bag
Lined Bag Step 1: Cut out 2 rectangles for the outside of the bag and 2 for the inside. For a little grab bag size I made my pieces 6″ tall x 5″ wide and I used 1/4″ seam allowances.
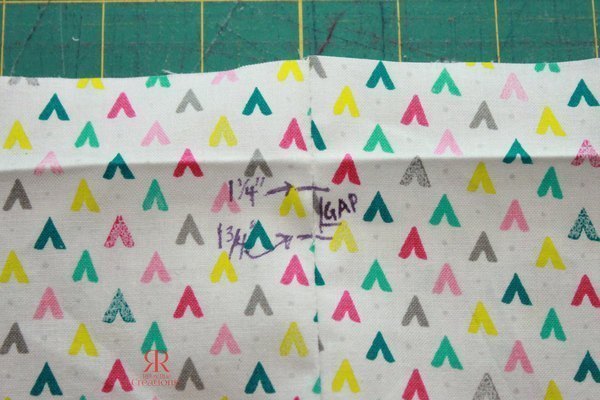
For the lining pieces just sew them together with right sides together around the sides and bottom edge. For the outside layer you need to leave a gap for your drawstring. Start sewing at the top and sew for 1-1.5″, leave a 1/2″ gap (or wider if you are making a bigger bag with a wide drawstring such as ribbon), and then continue sewing. I circled the 2 gaps below:

Lined Bag Step 2: This is completely optional but if you want the bag to stand up a bit on it’s own you can create little boxed corners. Just fold each bottom edge into a point (I found it helpful to clip my seam allowance so it would lay flat) and then sew across the bag approximately 1″ in from the point.
After making your first corner make sure you measure and sew the others to the same size. Trim away the excess fabric. You’ll need to repeat this for the lining.

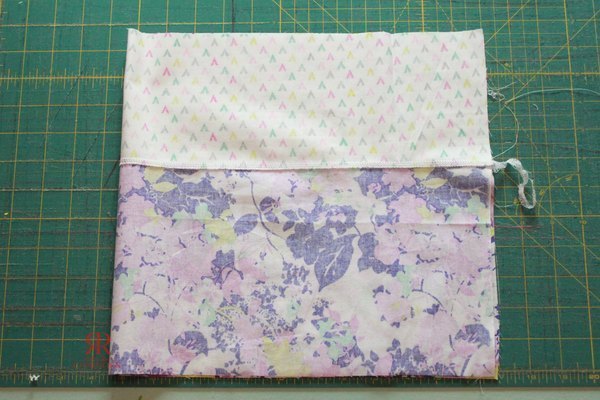
Lined Bag Step 3: With right sides together sew the outer bag and the lining together along the top edge leaving a 2″ gap.

Lined Bag Step 4: Turn right side out through the gap you left and then push the lining inside the bag. Press the top edge so it lays flat and the raw edges from the gap you left are on the inside.

Lined Bag Step 5: Topstitch along the top edge of the diy drawstring bag. Add a 2nd row of topstitching just above the gap you left for the drawstring and a 3rd row of topstitching just below the gap. I found it helpful to draw out my stitching lines for the 2nd and 3rd rows with a fabric marker to keep them nice and straight.

Lined Bag Step 6: Wrap a length of bias tape or ribbon around the bag leaving a 2″ tail off each end. Cut to length and then cut 1 more for the other side of the bag.

Lined Bag Step 7: If you are using bias tape (I used single fold) fold it half and sew it shut. Contrast thread adds a fun touch.

Lined Bag Step 8: Use a safety pin to slide one drawstring through the little gap, all the way around the bag top and back out the other side.

Lined Bag Step 9: Repeat with the 2nd drawstring starting on the other side of the bag. Knot the drawstring tails together to keep them from being pulled out of the bag and you’re done! Now go and make a few more with all those scraps you’ve been hoarding 🙂

Can I customize the size of my drawstring bag?
Yes, you can easily customize the size of your drawstring bag by adjusting the dimensions of the fabric and cord used. Simply measure and cut the fabric to your desired size before following the tutorial steps, and choose a cord length that suits your bag's dimensions.
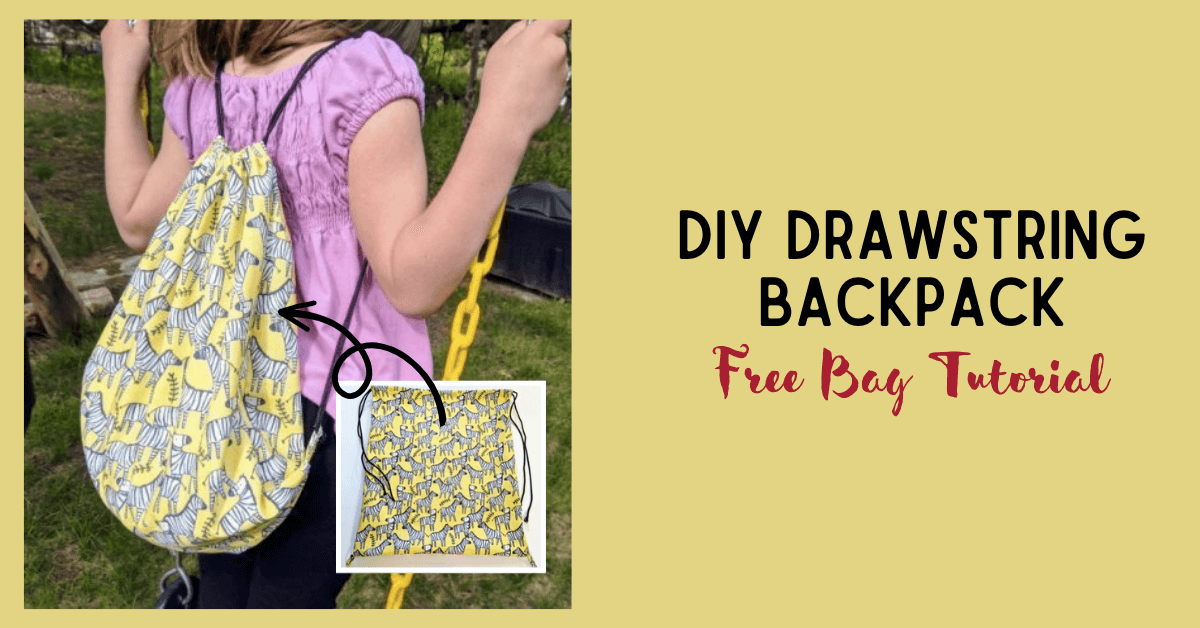
And there you have it – 2 different ways to make a DIY Drawstring Bag. I hope you enjoyed this tutorial. If you did then you might also like our DIY Drawstring Backpack Tutorial or our Messenger Bag Tutorial. If you need help with a sewing project, make sure to join our Peek-a-Boo Pattern Shop Facebook Group.
Also, for all of your sewing patterns make sure to come see us at Peek-a-Boo Pattern Shop and for your apparel fabric come see us at KnitFabric.com where we offer higher quality fabric, at better prices, with flat rate shipping.