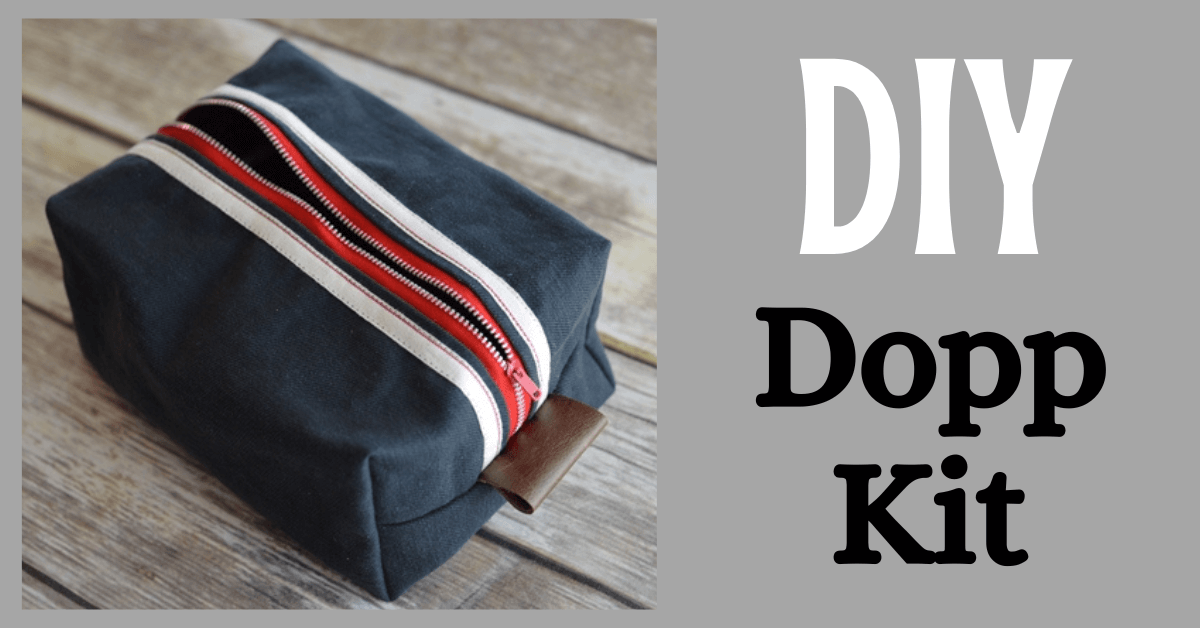
DIY Dopp Kit | Make Your Own Toiletries Bag
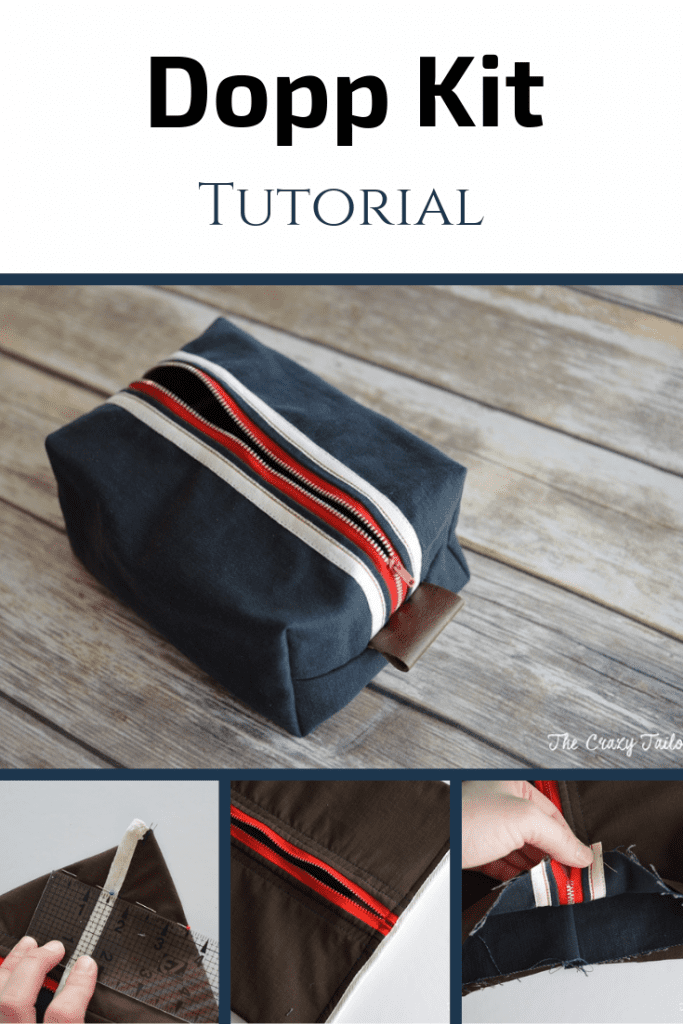
Hi there! Sarah here from The Crazy Tailor with a DIY dopp kit tutorial to get you ready for Father’s Day! A dopp kit, or dopp bag is a small travel bag for men’s toiletries. The bag I’m making today is made with canvas and ripstop to make a sturdy bag that will travel well! Let’s get started!
DIY Dopp Kit | Make Your Own Toiletries Bag
Dopp Kit Fabric, Zipper, & Supplies:
- 2 – 9 1/2″ x 13″ pieces of canvas, duck cloth or other bottom weight fabric (or use something lighter but fuse a heavy interfacing to it, something similar to Pellon 520 Deco-Fuse)
- 2 – 9 1/2″ x 13″ pieces of lining fabric. I chose rip stop for it’s water-resistant properties.
- 12″ zipper
- some twill tape or bias tape
- leather scraps
- rivets (and necessary setting tools), optional

Sewing Instructions
Step 1: Start the bag by sandwiching your zipper between a piece of lining and outer fabric right sides together. Be sure that the zipper pull is facing the right side of the outer fabric (blue/grey fabric in the photo) and not your lining (brown fabric in photo)! Stitch using a zipper foot, 1/4″ from edge.

Step 2: Open up your seam and give it a gentle press.

Step 3: Now sandwich the other side of your zipper between your remaining fabric, being sure that the zipper handle/pull is against the right side of your outside fabric.

Step 4: Stitch again using your zipper foot, and then flip it around and give it a press with the iron. This is how it should look so far:

Step 5: If you want to add any trim or topstitching detail to the bag, now is the time! I added some twill tape along each side of the zipper. You could also add a leather monogrammed detail somewhere, using rivets to hold it in place.

Step 6: Making sure your zipper is half unzipped, grab both outside pieces and put them right sides together, and pin along the side parallel with the zipper. Do the same with the lining pieces. Sew using a 1/2″ seam allowance.

Step 7:Flip it around and it should look like this:

Or it might be right side out, depending on which way you flipped it…make it look like the photo above 😉 Again, make sure that zipper is partially unzipped. Center the zipper on the seam and if you would like to add a little folded piece of leather on each end, just sandwich them in between, centered over the zipper, folded edge facing inward.
Step 8: Sew each end using 1/2″ seam allowance. Watch your zipper ends when you sew over them – I like to manually turn the wheel just to make sure nothing breaks…


Step 9: You can finish the seams here either with a zig-zag stitch, serger or by sewing some bias tape or twill tape over the edge.

Step 10: Flip it around and make sure everything is looking good:

Step 11: Alright! Now we need to give it the boxy shape by pinching the corners together. Turn it back wrong side out:

Step 12: Pinch together the corners and mark a line at 3 1/2 inches. Sew on that line. You can serge off the excess or use whatever method of seam finishing you’d like. This is how it looks prior to cutting off the excess:
Step 13: Flip it around and you’re done! Fill it with some special treats for the man in your life!


Happy Sewing! If you enjoyed the tutorial, you might also enjoy our DIY T-Shirt Blanket Tutorial. If you need help with your sewing projects, be sure to join our Peek-a-Boo Pattern Shop Facebook Group.