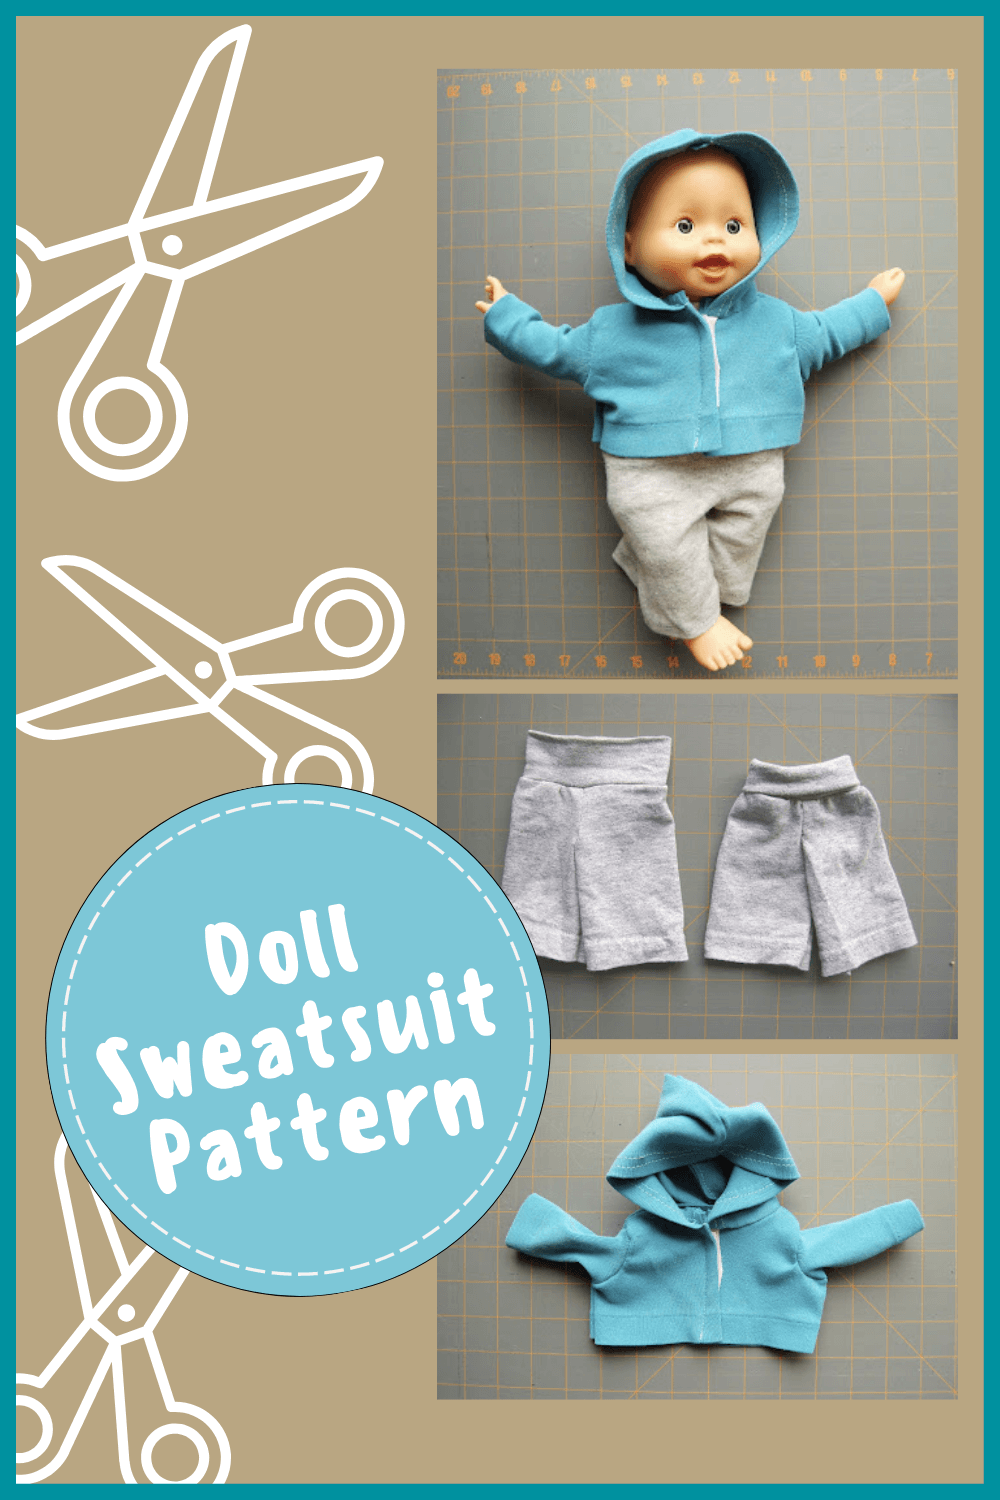
FREE Doll Sweatsuit Pattern & Sweatpants Tutorial
Hi Peek-a-Boo Pages! I'm so thrilled to be here with you today participating in the Dressing Up Dolly series and today I'm sharing the DIY Doll Sweatsuit Pattern! My name is Amanda. My hubby and I make our home in the midwest and we are parents to identical twin girls who will soon be turning 3. The girls are my main sewing inspiration, although I love to sew for pretty much anyone!
Also - be sure to see the rest of the Doll Clothes Patterns here at Peek-a-Boo Pages.
Doll Sweatsuit Pattern | How to Sew a Doll Sweatshirt and Sweatsuit
Amy has put together such a fabulous series! It drives me crazy to see those poor baby dolls laying around with next to nothing on. For Christmas, my girls received baby dolls and doll strollers and they are loving this new stage of pretend play. I decided to make a comfy cozy little outfit for the dolls based off some of our wardrobe favorites around here.
The girls have some gray yoga pants that are worn at least once a week and they are often paired with a warm hooded sweatshirt. They pull the hoods up and say "I look like a princess!" I don't quite get the correlation between hoods and princesses, but it makes them happy! :)
-001.JPG)
You can download a free pattern for this outfit here. This should fit most 12" dolls. For larger dolls, you can try enlarging the pattern on a copier or in photo editing software.
DIY Doll Sweatsuit Materials Needed:
- Knit fabric (old t-shirts work great, but if you are using yardage, 1/4 yard is plenty)
- Small scraps of hook & loop tape (Velcro)
- Coordinating thread
- Ballpoint machine needle
- Sewing stuff (machine, scissors, pins)
Doll Sweatsuit Instructions


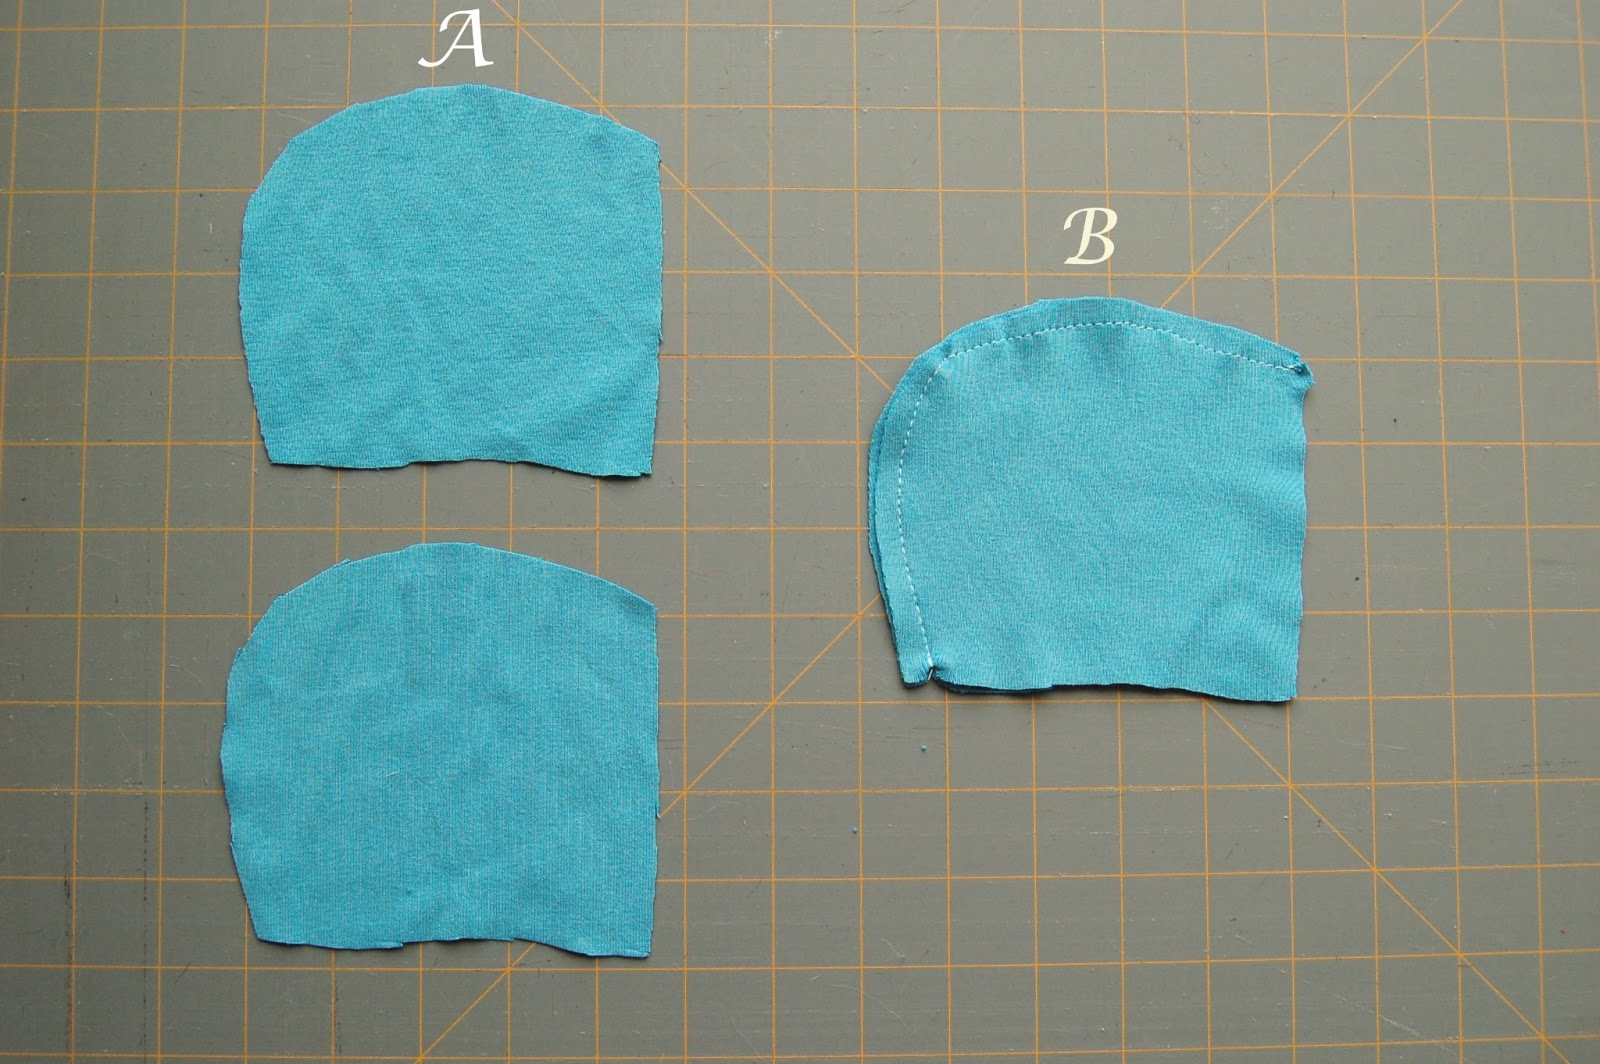
For the hood, cut two hood pieces (A). With right sides together, stitch the hood pieces together along the entire curved area (B).
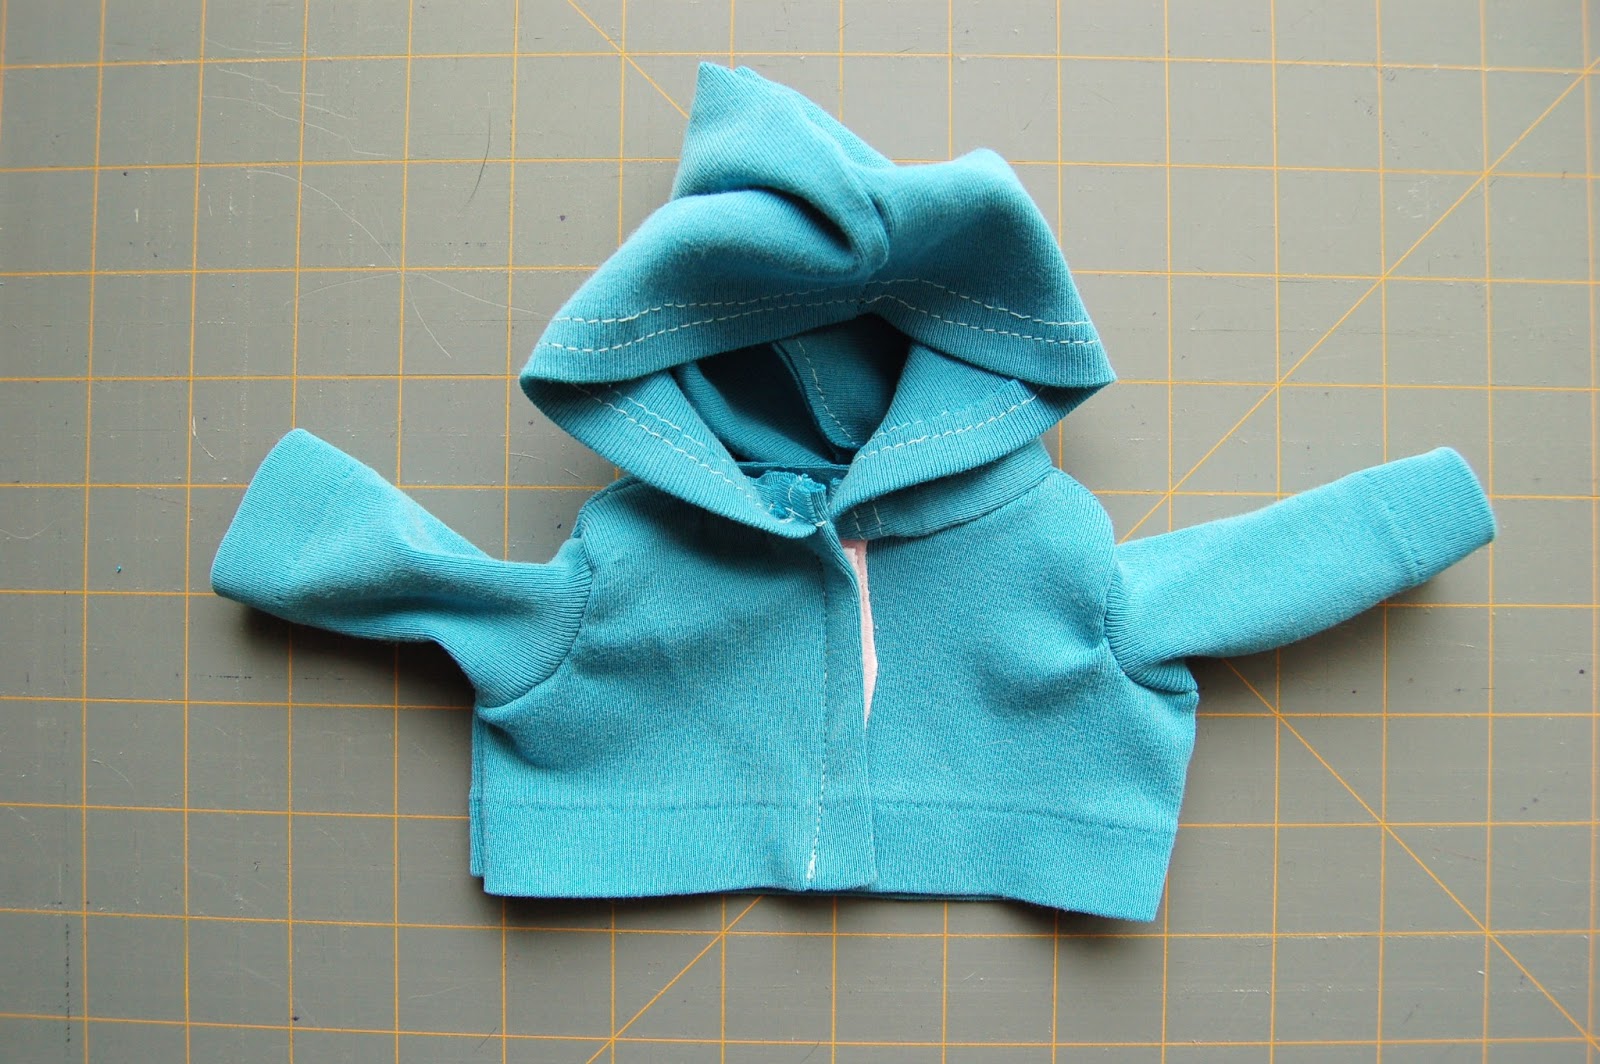
Fold and press the front edge of the hood under 1/4". Hem in place. I used two lines of stitches because I like the look and my daughters can be hard on things, but one line is fine!

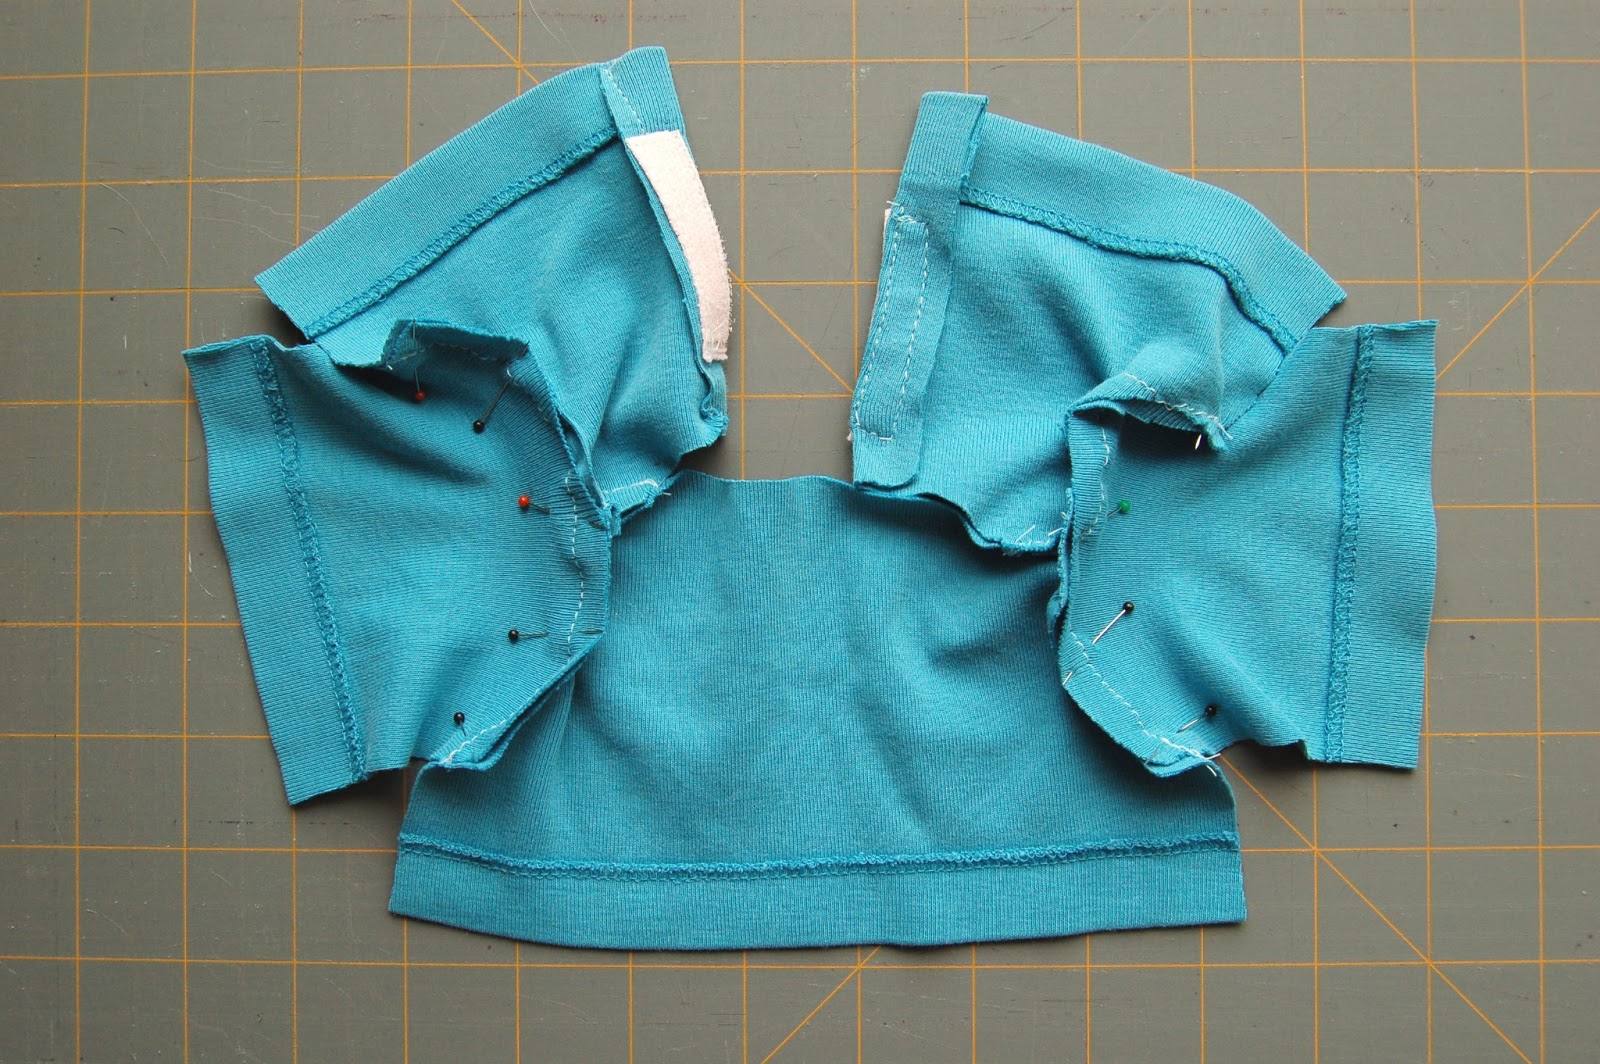
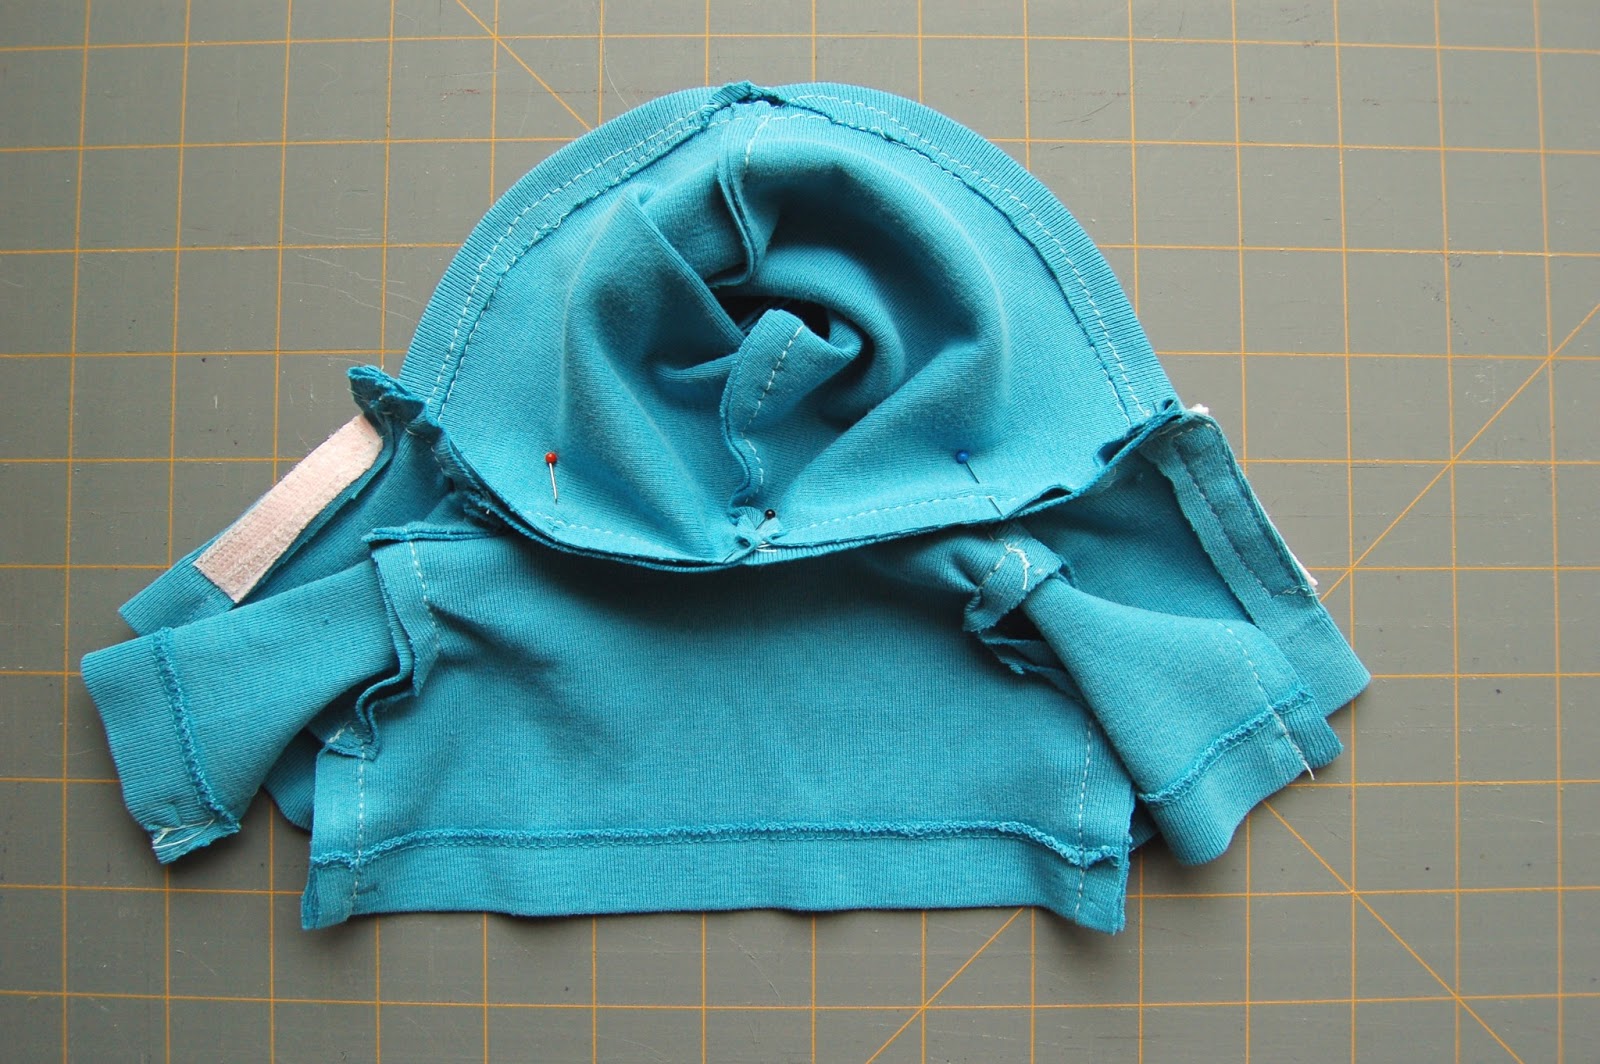
With the right sides together, fit the hood to the neckline of the sweatshirt. Pin and stitch in place.
For the yoga pants, cut 2 leg pieces and 1 waistband piece. Again, it is helpful to use old t-shirts so you can reuse the factory hem. If you are using regular knit yardage, turn the bottom edge of each leg piece up 1/4" and hem in place.

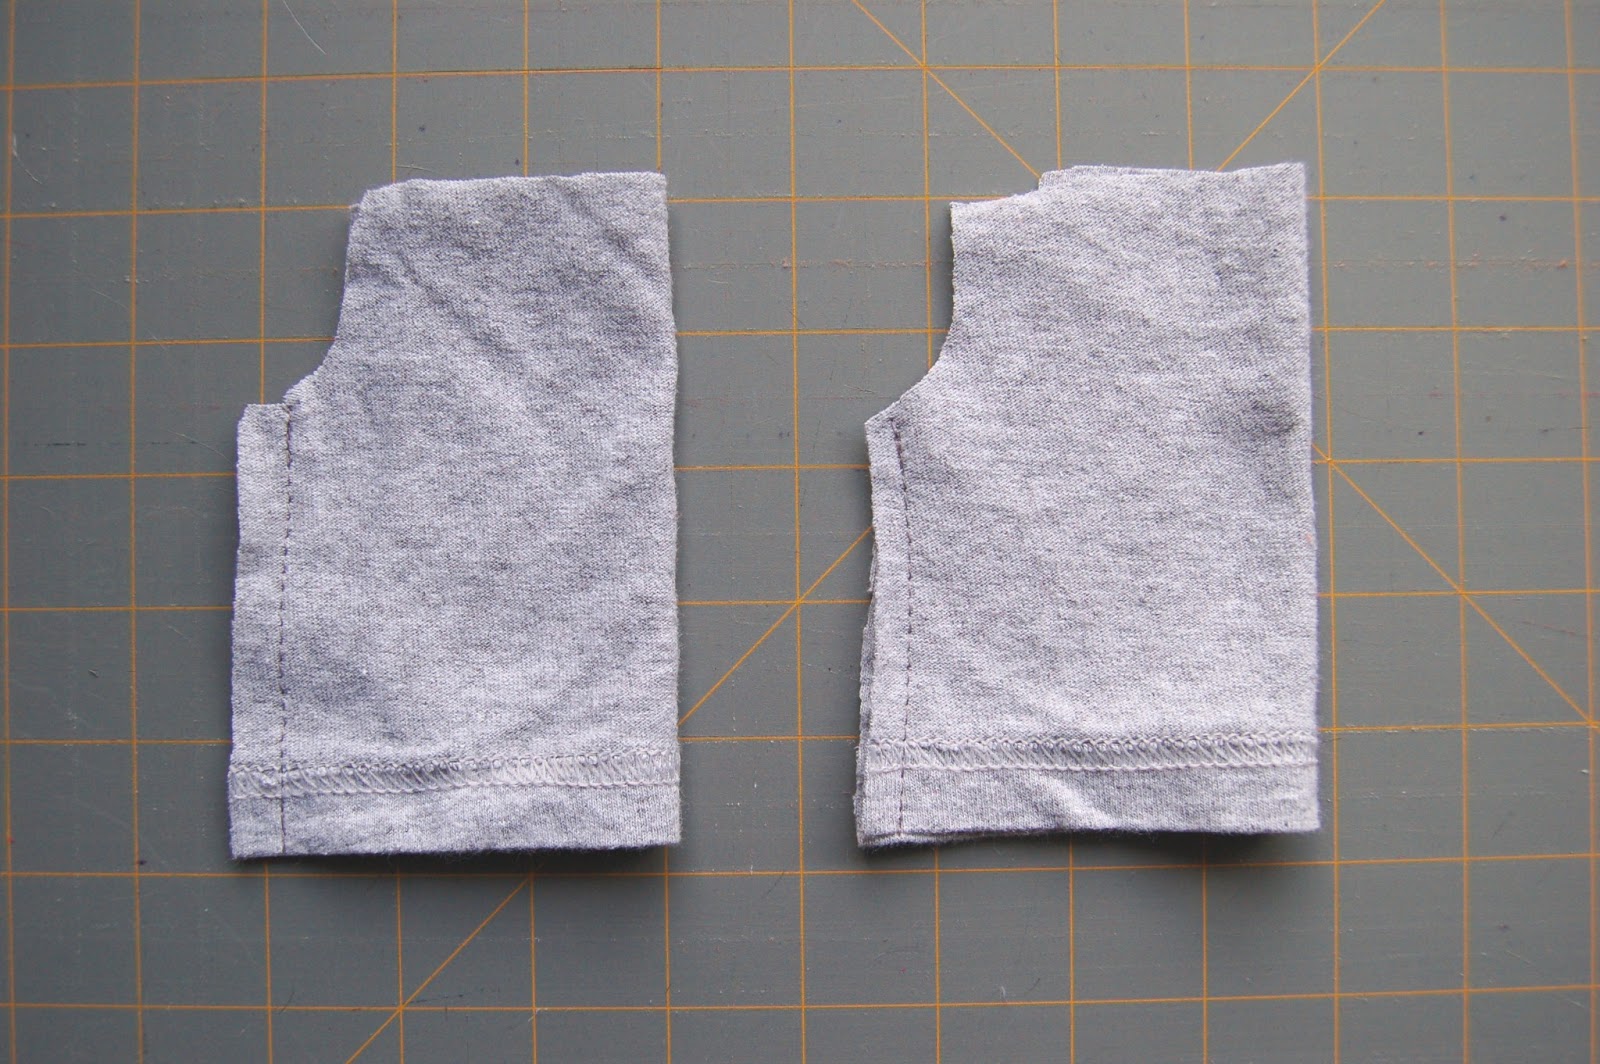
Turn one leg right side out and slip it inside the other leg so they are right sides together.


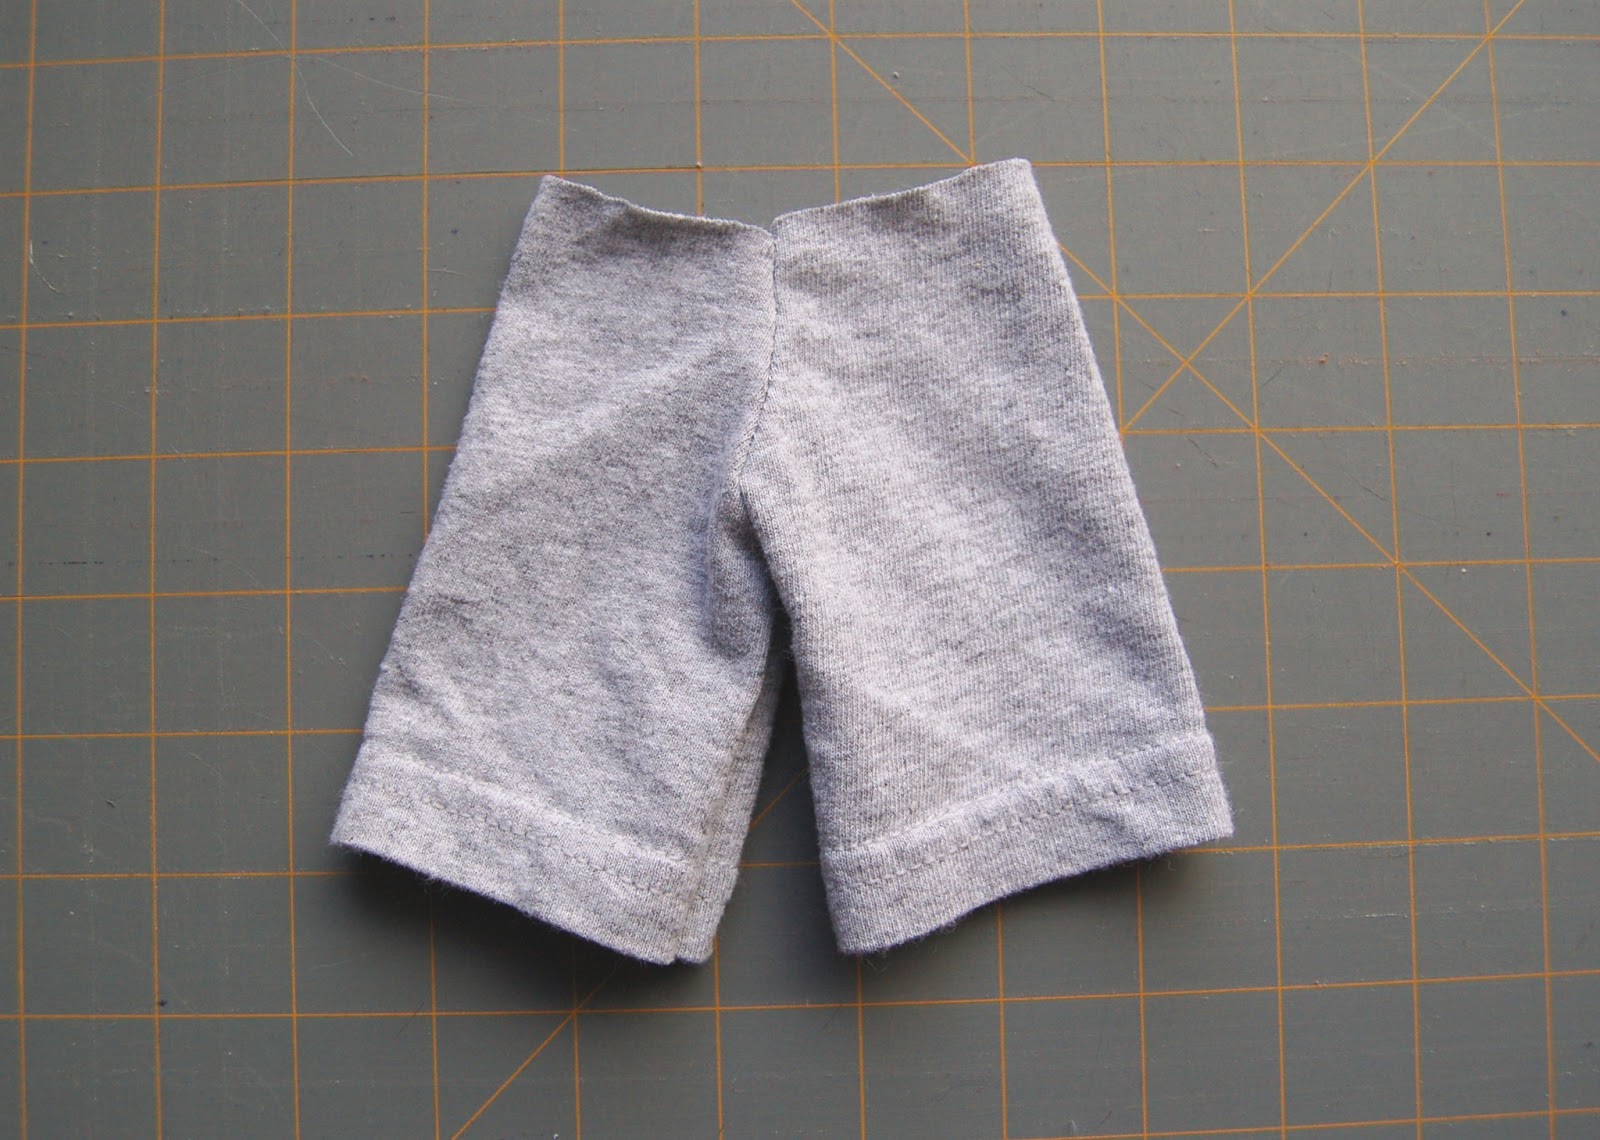


Mark the waistband and the top edge of the pants in quarters using pins.

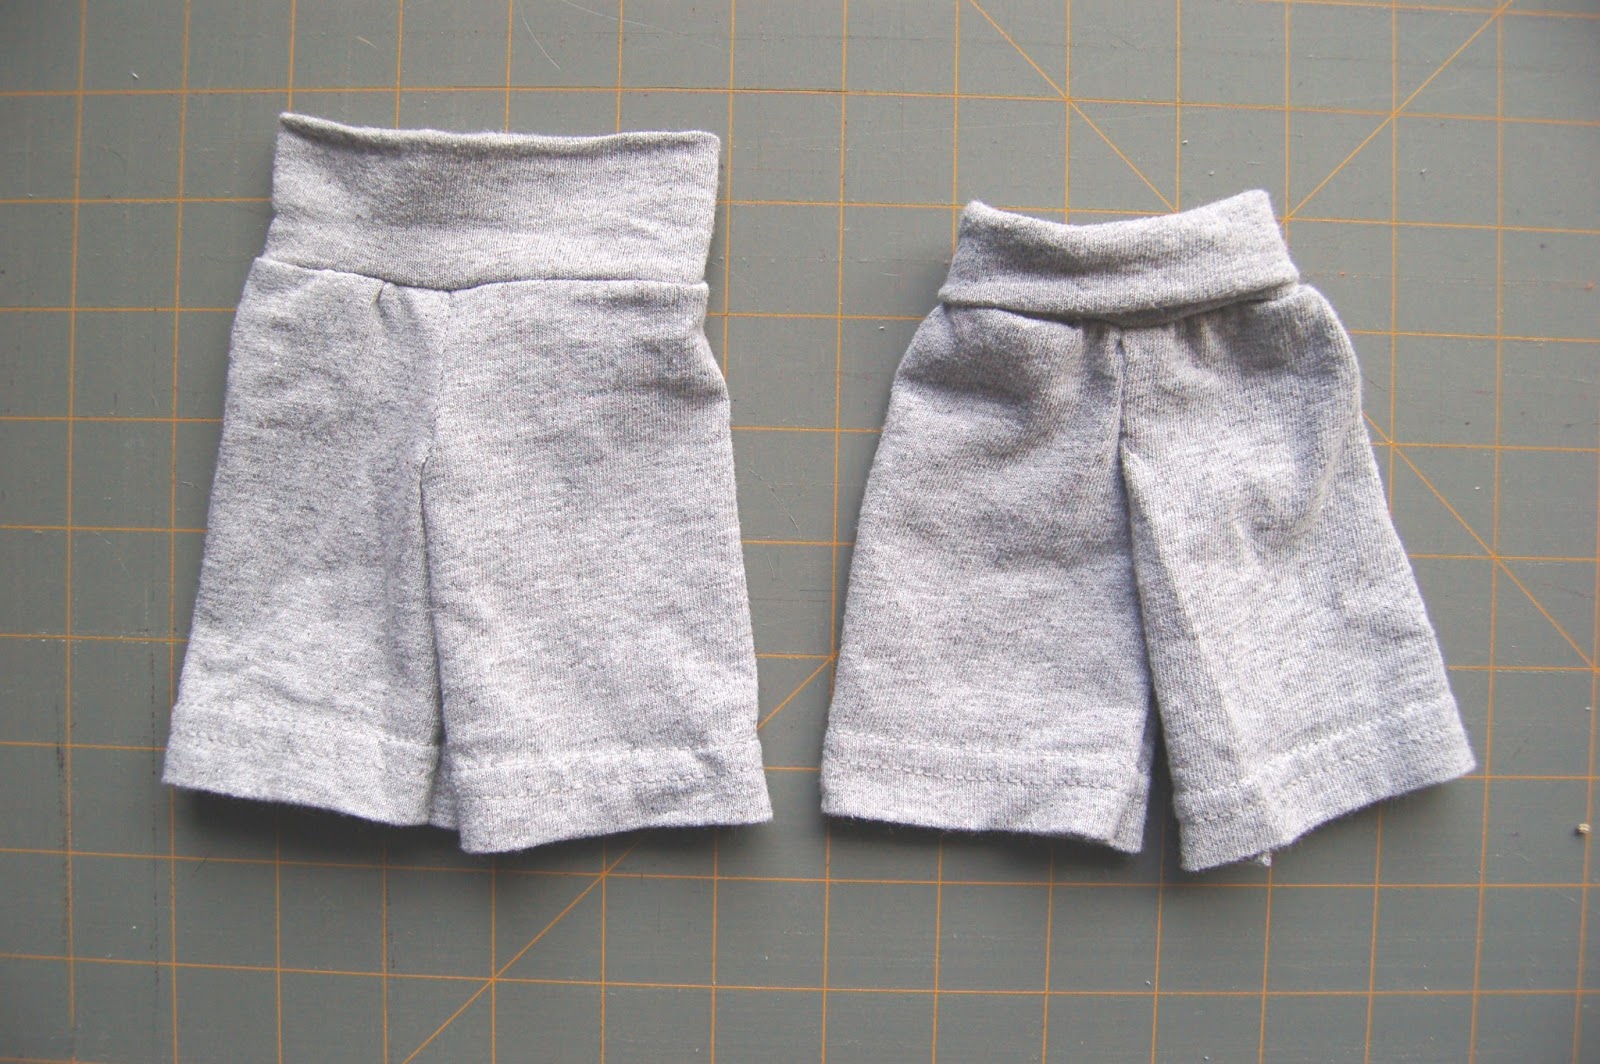
Slip the waistband over the pants matching up the pins and the raw edges. You will need to stretch the waistband to fit the top of the pants.


Flip the waistband up and you have pants! They can be worn with the waistband extended as on the left or folded over as on the right. If your doll has a thinner waist than ours do, the folded waistband will help hold the pants in place better.
You're done! Now dress that baby!
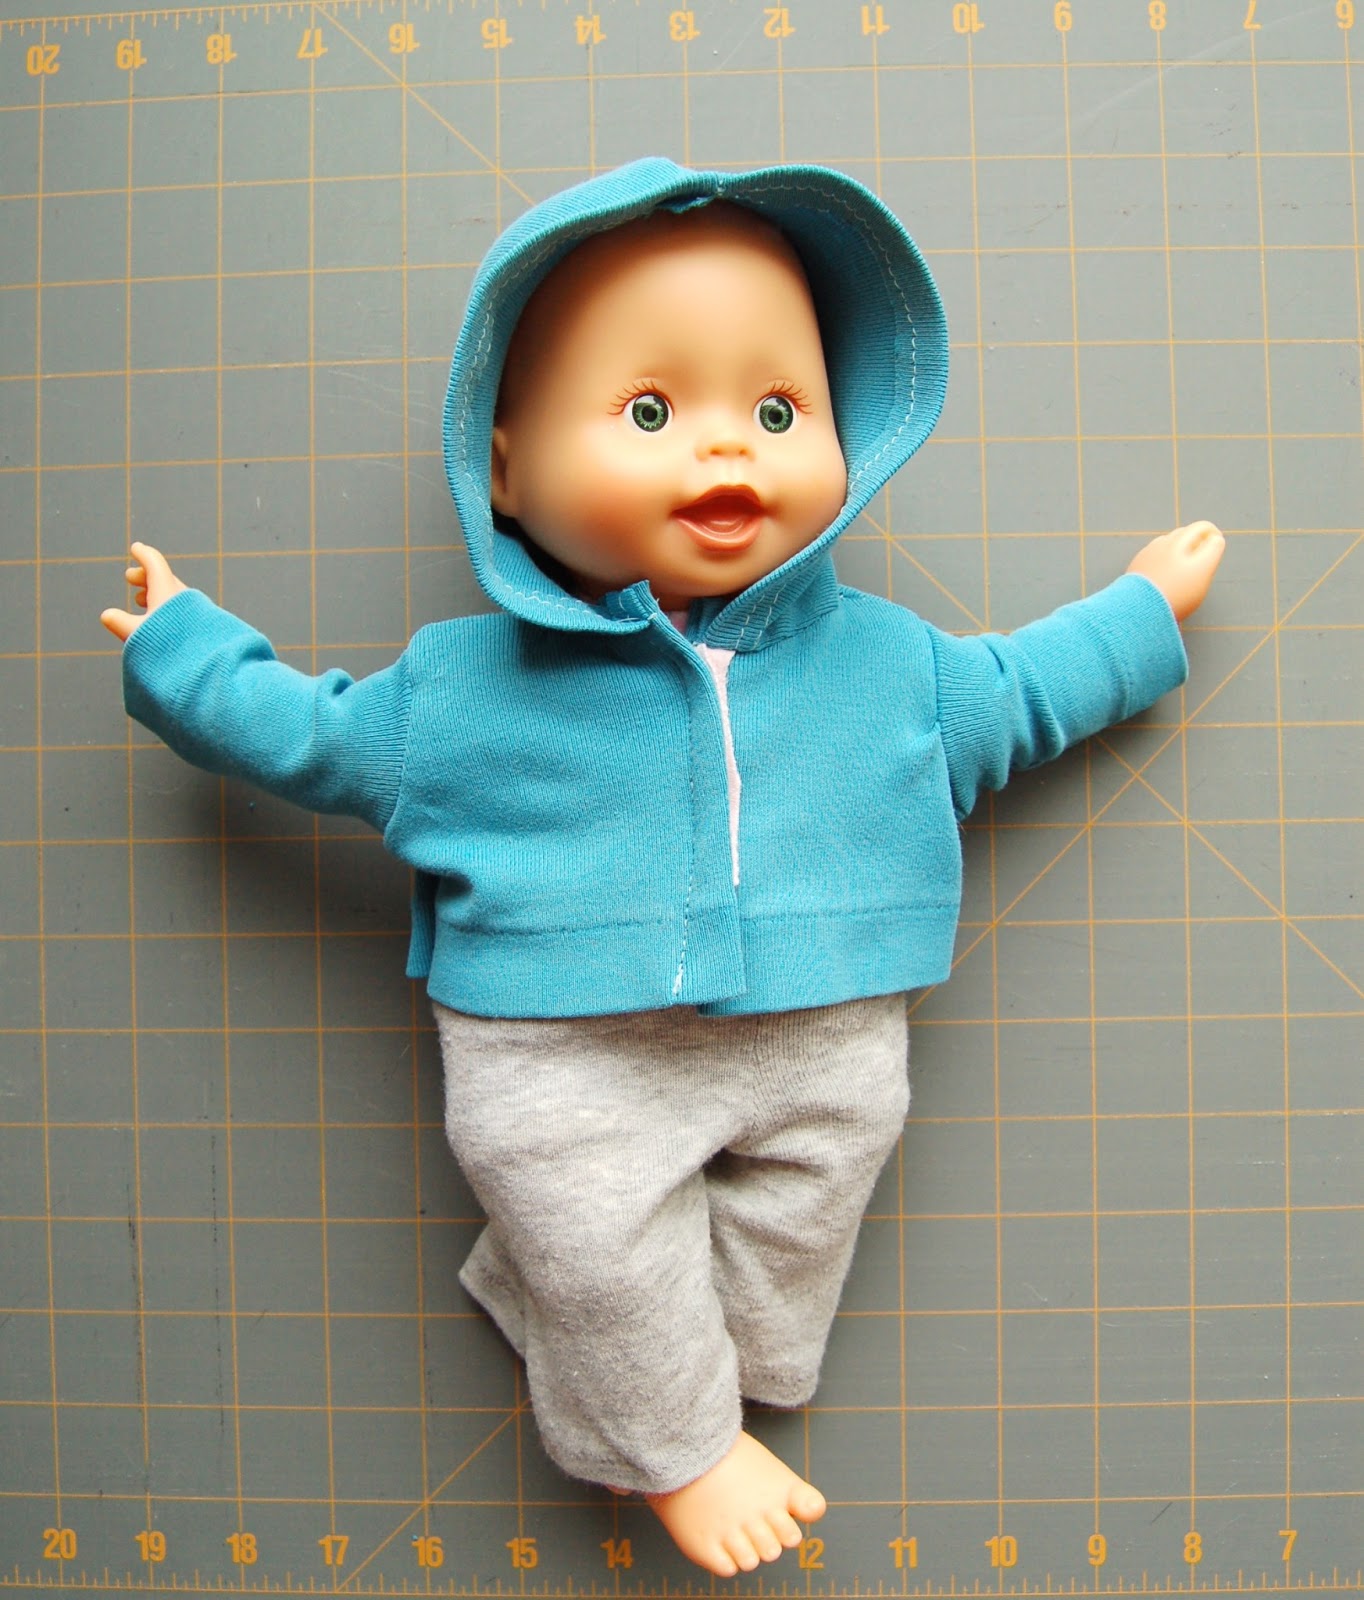
I think she's ready for a stroll! My girls always say they're taking their babies shopping at Kohl's. Ha! I guess you know what we like to do!
.JPG)
I hope everyone has warm and cozy baby dolls now :) Thanks so much for having me, Amy!