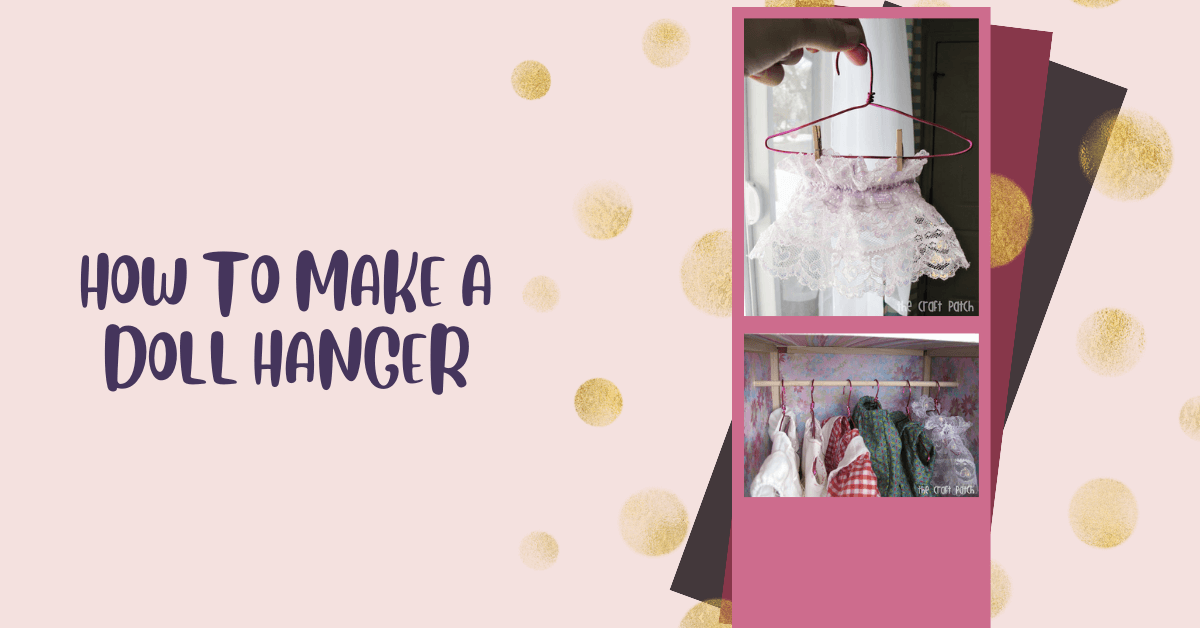
How to Make a DIY Doll Hanger
DIY Doll Hangers
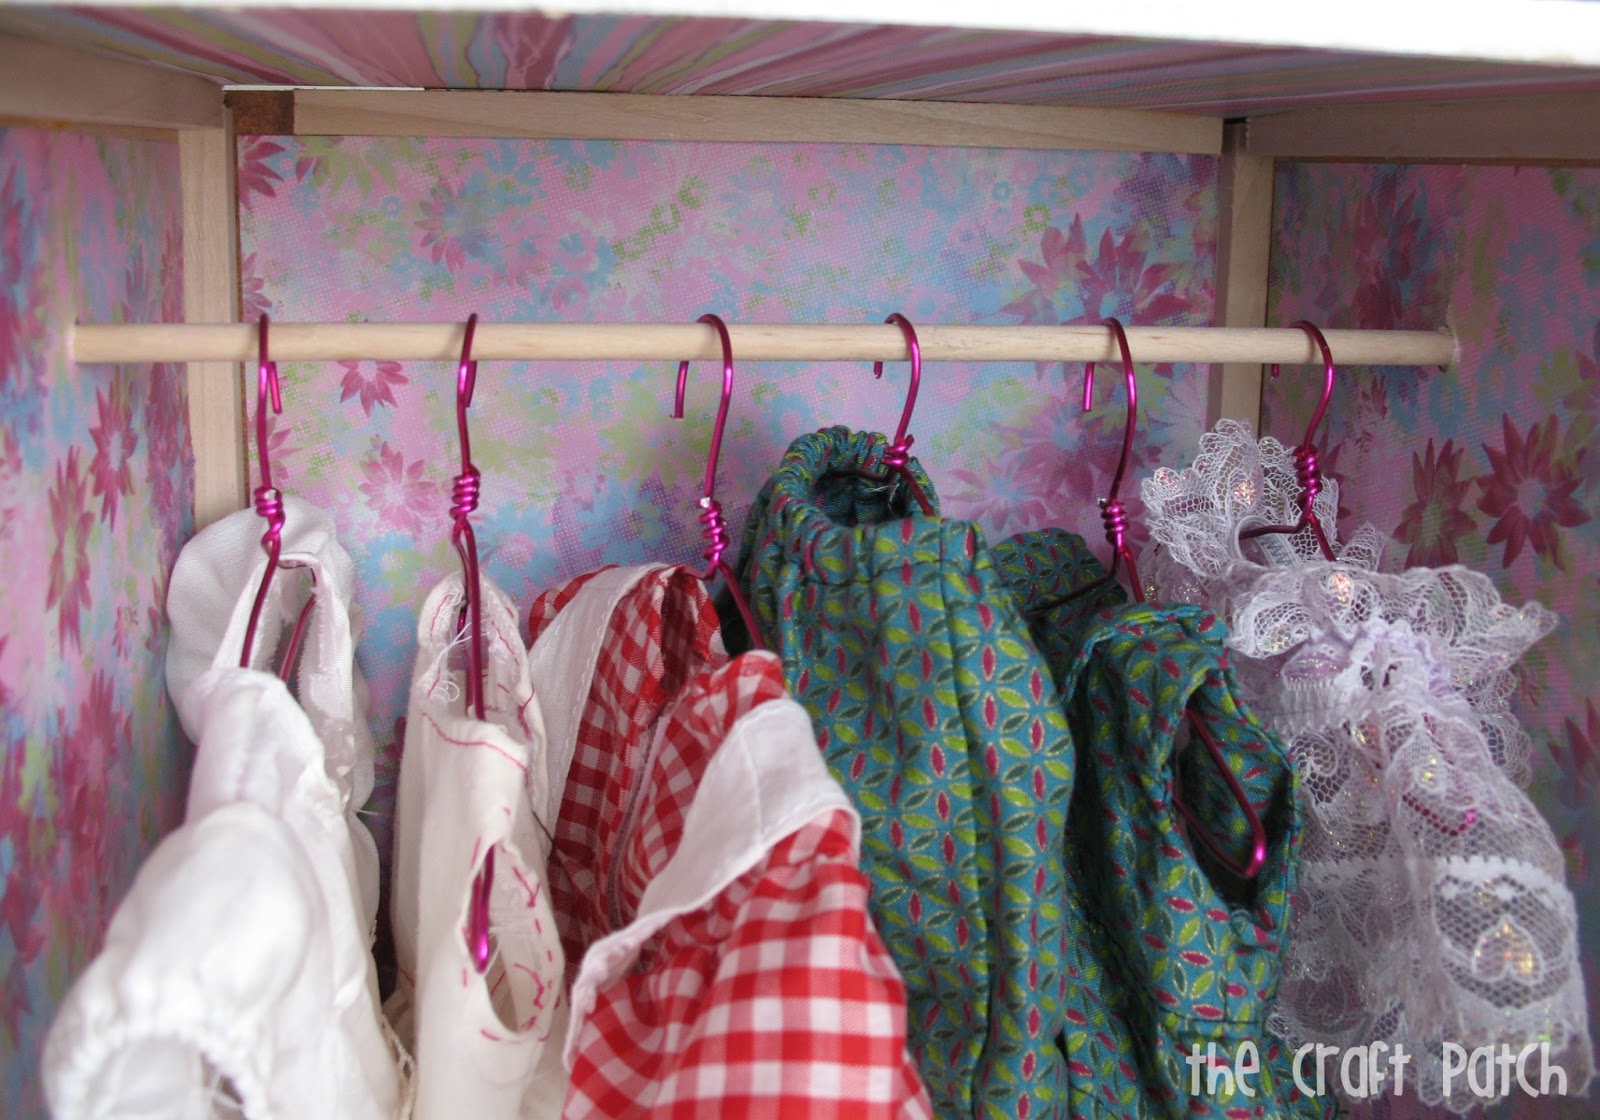
Doll Closet

How to Make Doll Hangers for the Closet
Doll Hanger Materials
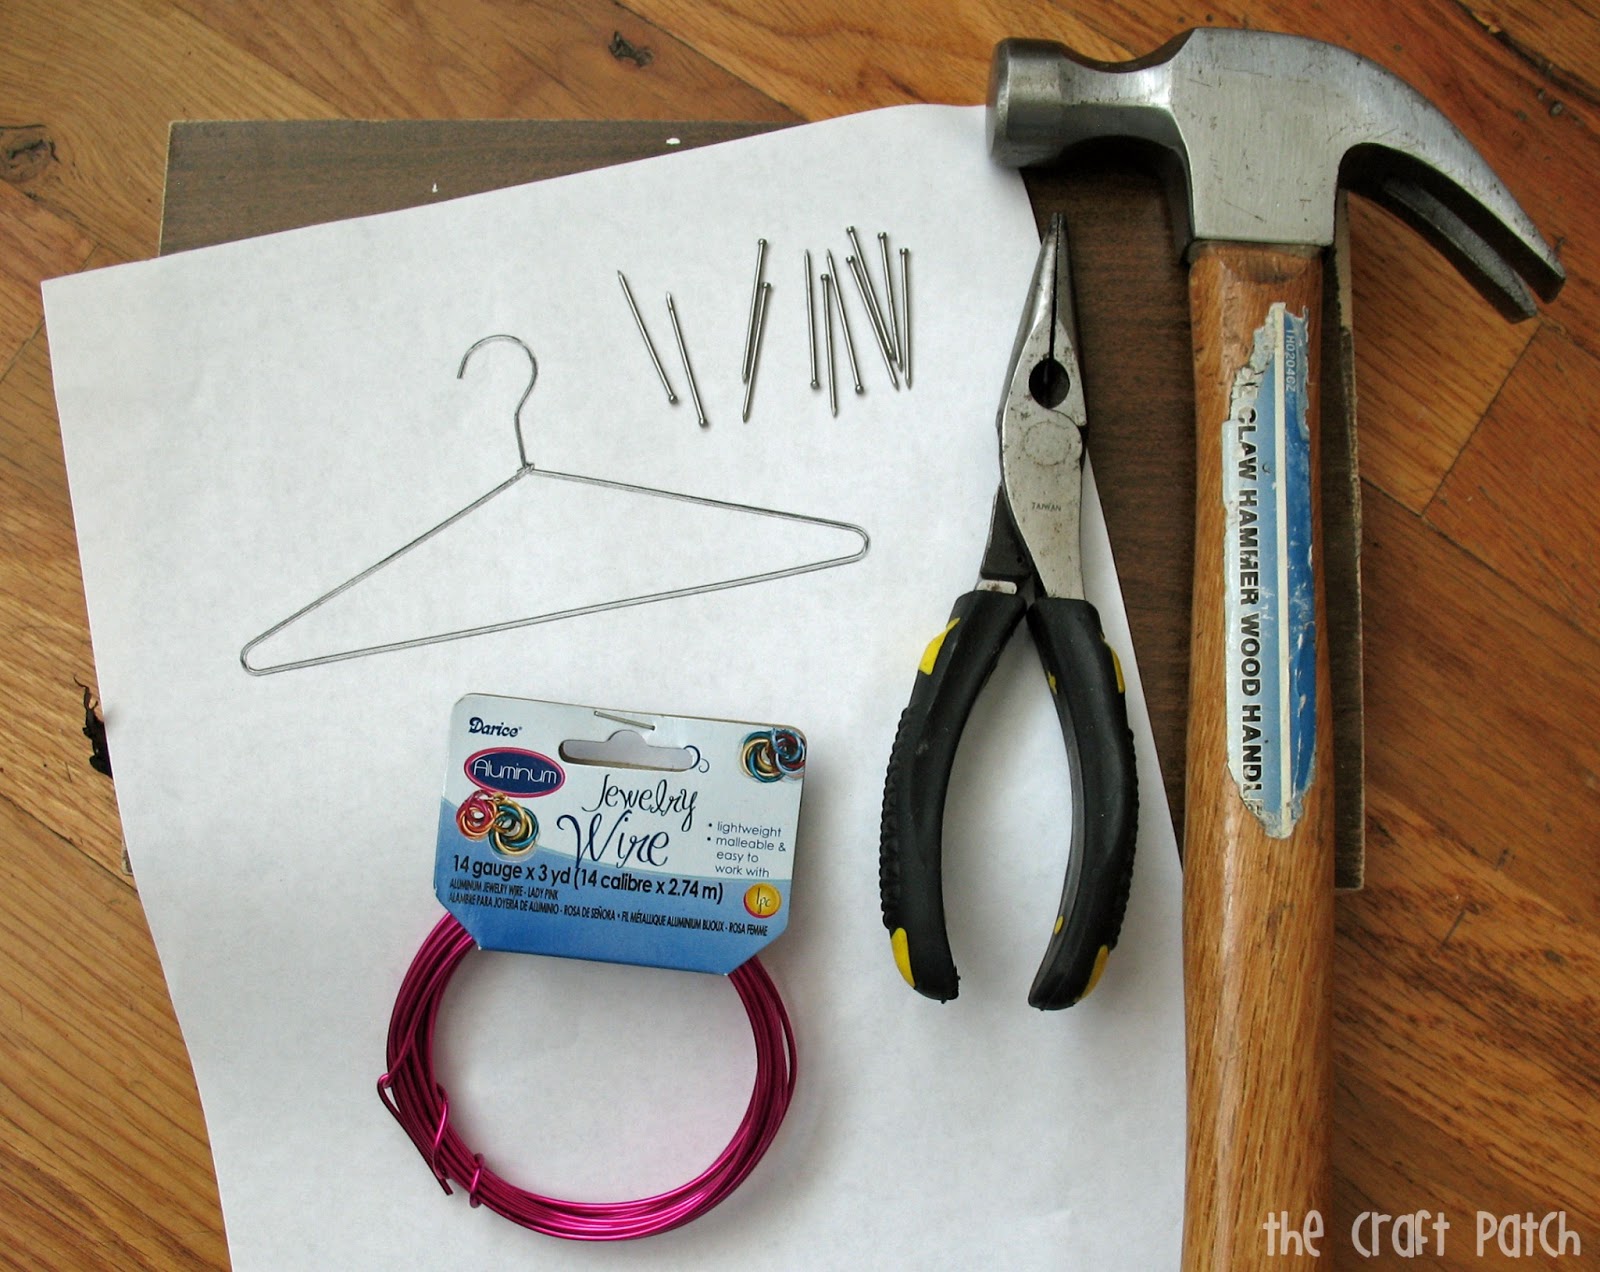
- A picture of a wire hanger (or you can draw it yourself if you are good at stuff like that)
- A small scrap of wood
- A few nails
- A hammer
- Needle nosed pliers
- Wire. I bought mine at Joann's in the jewelry section. It was about $1.25 with a coupon and I was able to get eight 6 inch hangers from the 3 yd package. I chose 14 gauge, because that was the thickest size they made. And a bonus... it comes in lots of colors!
Doll Hanger Instructions
 |
|
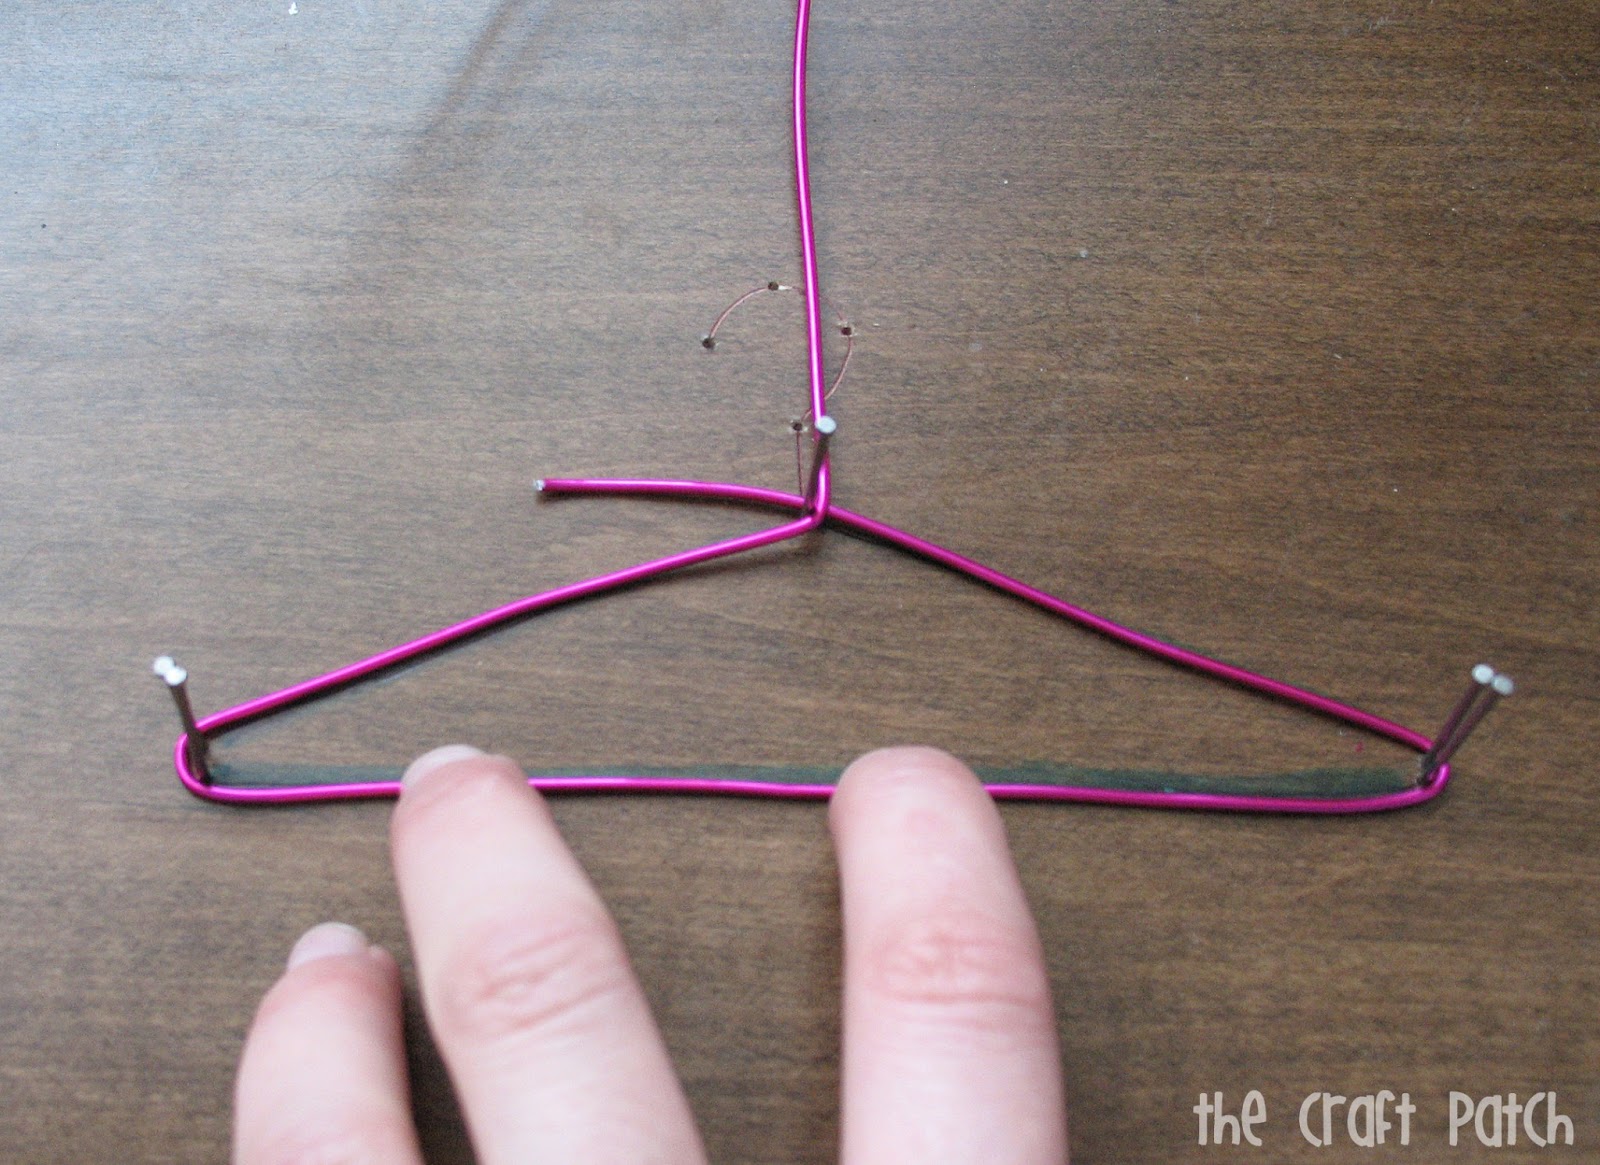
Doll Hanger Step 1: Start by drawing the bottom triangle part of the hanger onto your board. Put a nail or two into each of the three points of the triangle. |
 |
|
Doll Hanger Step 2: Next, unroll your wire and start wrapping it around the nails, pulling tight to get the straightest lines you can. Leave a little overlap at the beginning. |
 |
|
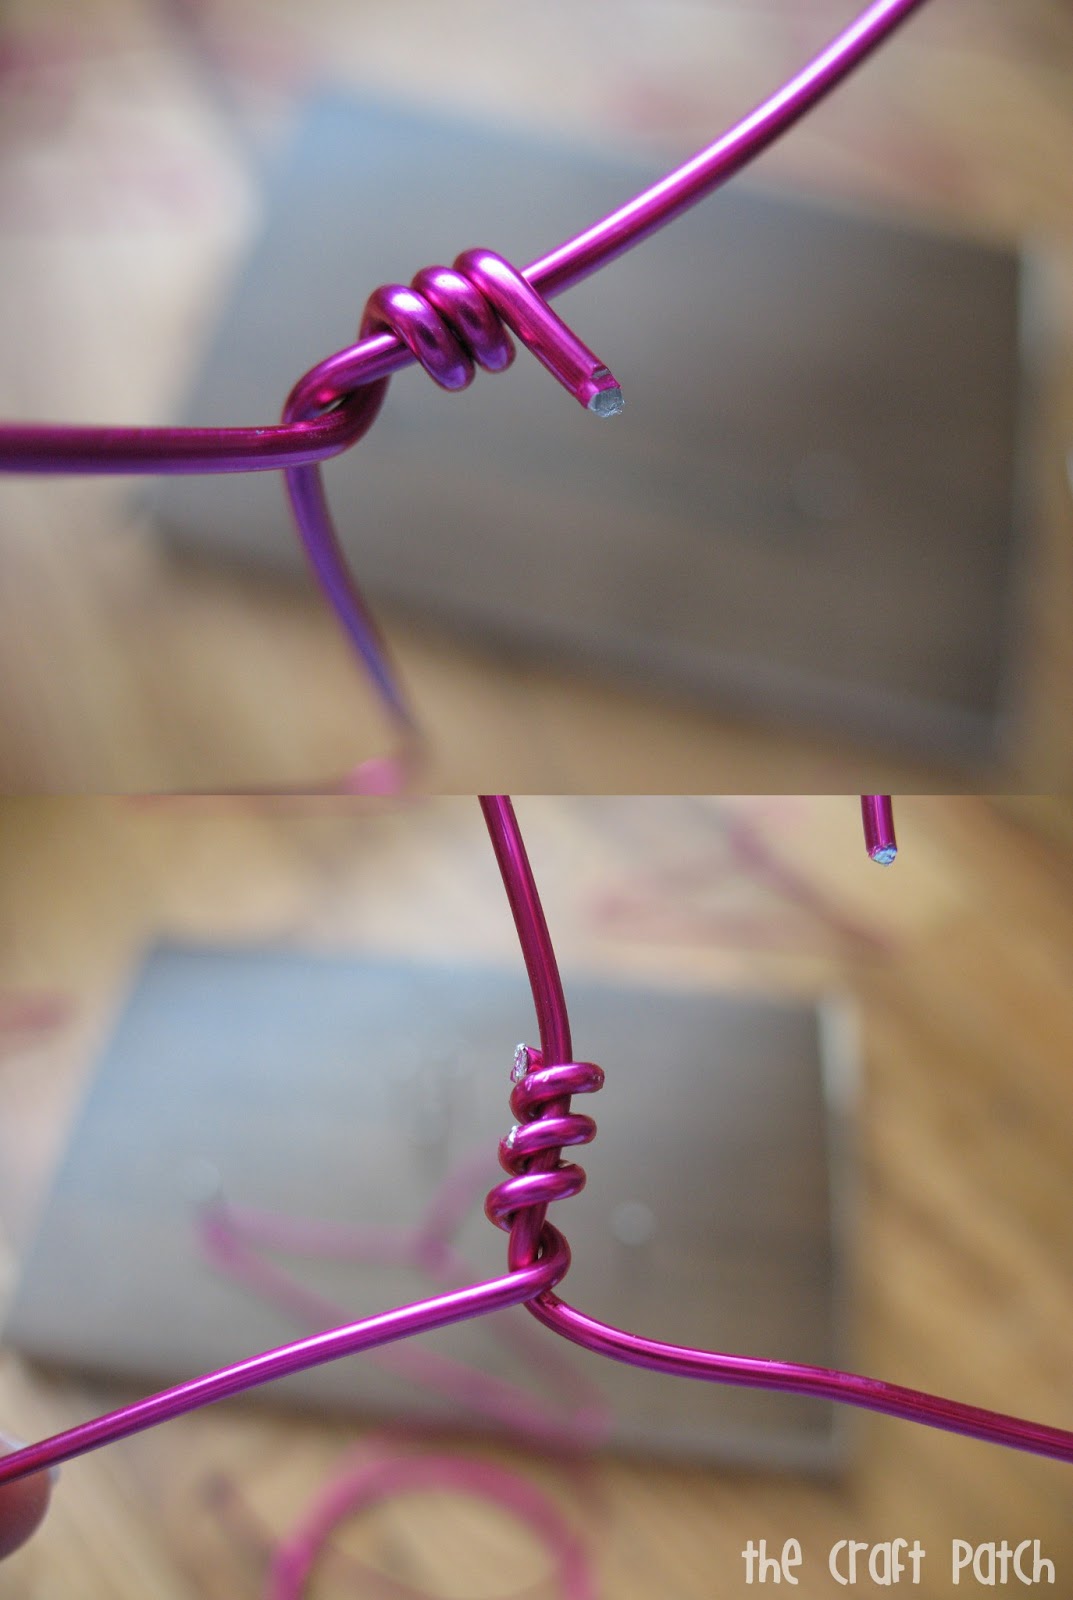
Doll Hanger Step 3:Twist the triangle together at the top part, using the overlap you left. Use the needle nosed pliers to make sure the end isn't sticking out. We don't want any snagged doll clothes or poked fingers! |
 |
|
Doll Hanger Step 4:Use a marker or glue stick that is the size you want to shape the curved top part of the hanger. Cut off any extra wire using the cutters inside your needle nosed pliers. |
 |
|
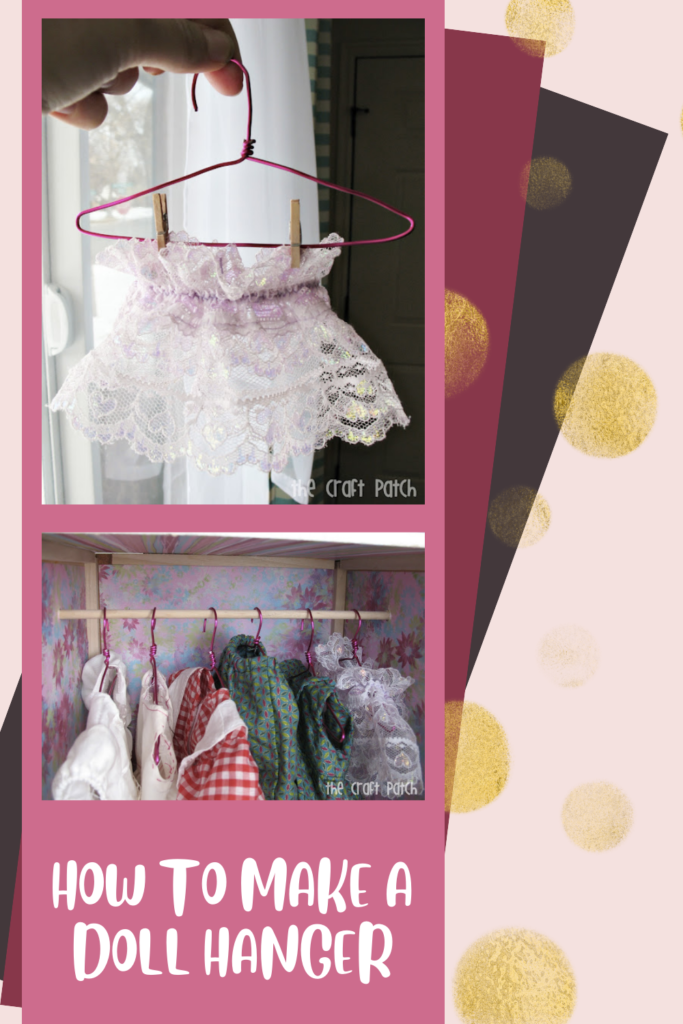
Doll Hanger Step 5:That's it! Look what a cute little hanger you just made! |
 |
|
Now your little one can hang up all her doll clothes on real wire hangers! |
 |
| These work great for skirts too if you add two miniature sized clothespins. And seriously, are these not the cutest thing ever? |
Thanks so much for stopping by to share the DIY Doll Hanger with us Jennifer! These hangers are absolutely adorable!!