How to Make a Burp Cloth | Sew a Burp Cloth
If you're looking for how to make a burp cloth for your baby, there are two easy ways to do it. The first is by creating a simple burp cloth, which involves cutting out a rectangular piece of fabric and hemming the edges. This straightforward design is perfect for beginners and can be customized with fun patterns or colors with extra fabric or scrap fabric you have lying around.
Another option is to create a contoured burp cloth, which has a curved shape that fits comfortably over your shoulder while burping your baby. To make this style of burp cloth, you'll need to create a pattern using cardboard or paper and then trace it onto your chosen fabric. Once you've cut out the fabric pieces and sewn them together, you can add decorative touches like embroidery or appliques to personalize your creation.
Both of these methods are budget-friendly and allow you to create practical yet stylish burp cloths for your little one. Making your own burp cloths is perfect for a baby shower gift. Today, we'll show you how to do both:
DIY Burp Cloth | How to Make a Baby Burp Cloths
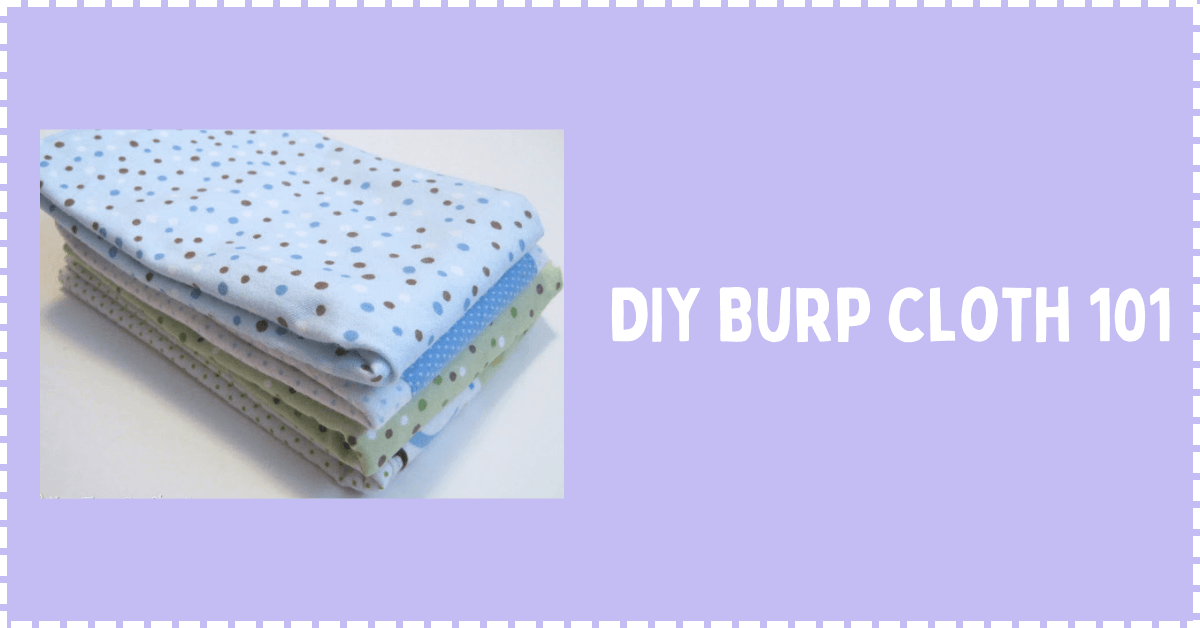
Tutorial #1 | Simple Burp Cloth
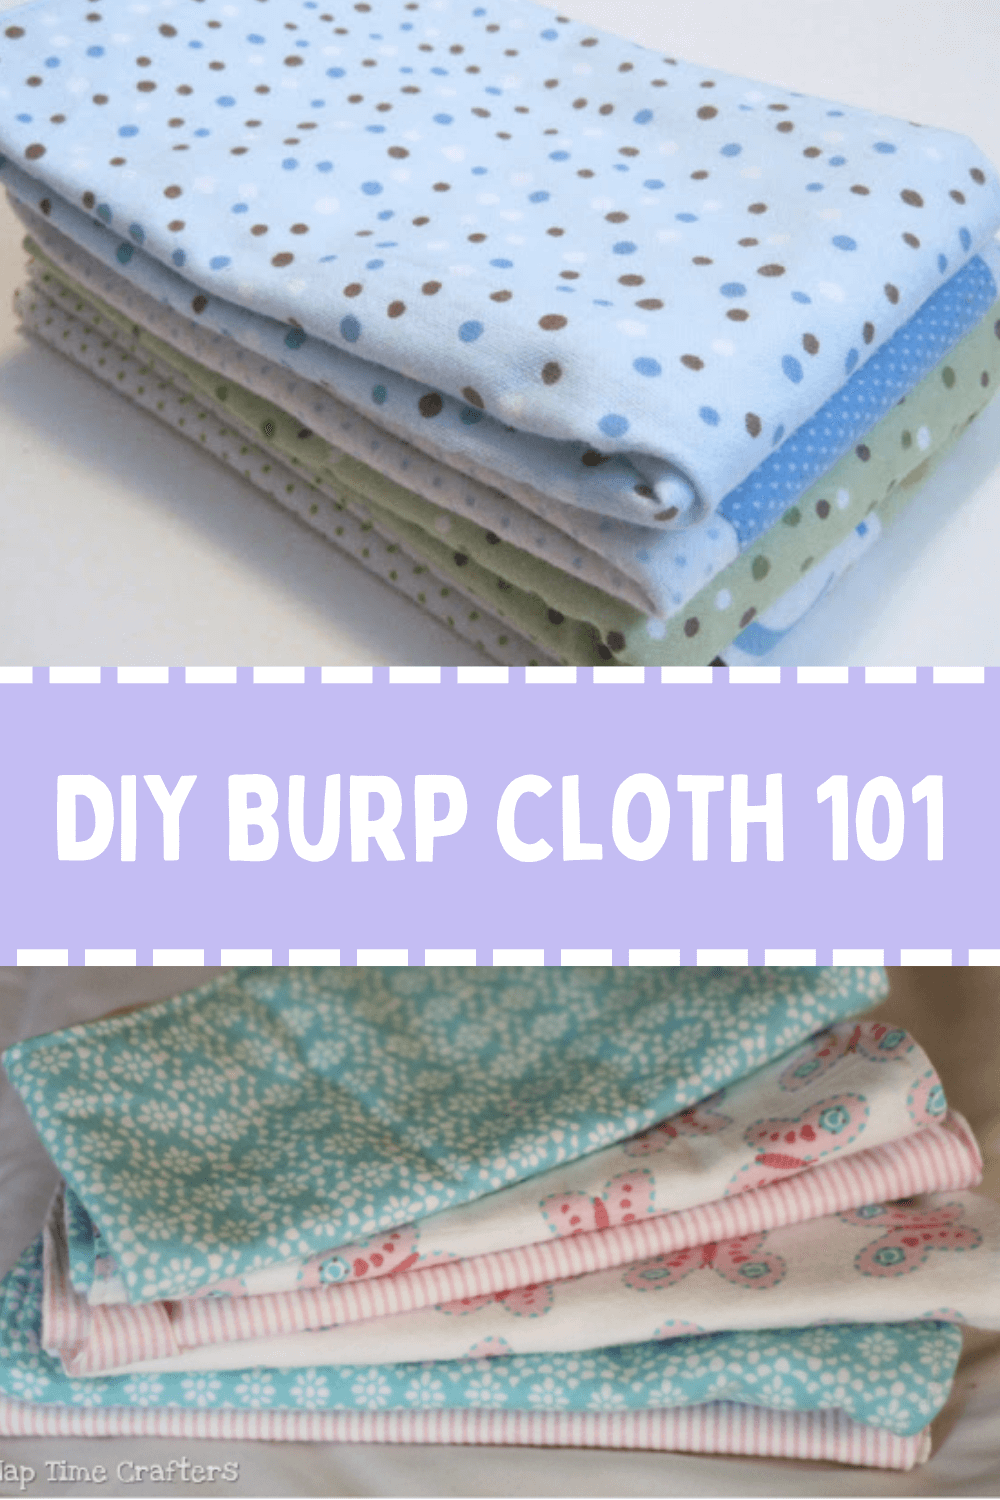
With #2's arrival growing closer I'm starting a few baby crafts! One thing you can never ever have enough of is burp cloths so when flannel was on sale at JoAnn's I just couldn't resist. This DIY burp cloth tutorial is a simple project and will give you all the tips to make a stack of your own!
I think the hormones might be getting to me because something about a freshly folded pile of burp clothes makes me really happy. And since we don't have a washing machine I know I'll get a lot of use out of the DIY burp cloth!
What Fabrics are Best for a Burp Cloth?
I chose flannel - as noted above. When choosing a fabric for a burp cloth, consider absorbency, durability, and comfort. Cotton flannel and terry cloth are absorbent options, while fabrics that can withstand frequent washing without losing shape or softness are more durable. I wouldn't recommend a thin woven cotton fabric, like quilting cotton. For comfort, you could choose soft fabrics like cotton jersey or bamboo viscose. The best fabric for a burp cloth will offer optimal functionality and practicality.

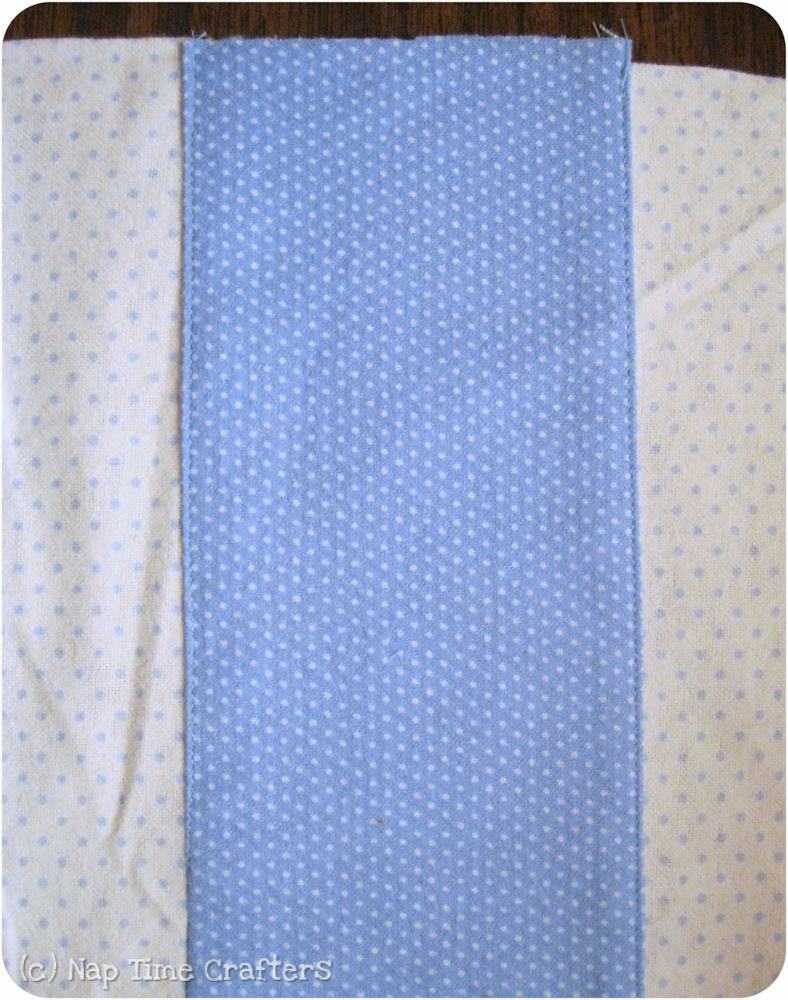
And the DIY burp cloth has a nice extra panel down the middle to soak up the big messes. Maybe if I make a few more to add to my current stash I can spare little man from being carried around with pink and purple burp cloths (ah...the joys of having an older sister).
DIY Burp Cloth Instructions
I used 1/3-yard flannel in 4 different prints. And if you get a bit extra while you're at it you'll have enough leftover to make a cute and simple rag quilt- tutorial coming Wednesday:)
A standard burp cloth is 12x18" so use your rotary cutter or scissors to cut 2 rectangles for each burp cloth and then a 5x12" (I used leftovers from my stash) panel for the middle.
Simple Burp Cloth Step 1: Iron the edges of the panel in towards the wrong side. Give it a good press with the iron so it lays flat.

Simple Burp Cloth Step 2: Topstitch to 1 side of the burp cloth along each long edge
Simple Burp Cloth Step 3: With right sides together, straight stitch 2 burp cloth pieces together going around the entire perimeter. Leave a 3" gap on one side.

Simple Burp Cloth Step 4: Turn right side out, tuck in the raw edges and topstitch around all edges

So quick and if you catch a sale you can make the DIY Burp Cloth for a lot less than the store-bought ones. I spent about $2 on all 4 of these. I hope this diy burp cloth tutorial gave you some inspiration for your own baby. Time to put those fabric scraps to work :)
Burp Cloth Tutorial #2 | Contoured Burp Cloth
These contoured burp cloths are quick and easy to sew and in my opinion you can never have too many 🙂 Even though my kids are no long in the spit-up phase (thankfully!) I still keep a couple of these in my diaper bag for wiping up spills and cleaning messy hands and faces.

Why Make a Contoured Baby Burp Cloth
The contoured shape makes these perfect for tossing over your shoulder. These aren't much more difficult to make than the simple burp cloth above either.

Contoured Baby Burp Cloths Materials
To make a coordinating set of 6 you need 1/2 yard of flannel in 3 different prints. From each print I cut out 4 rectangles 18″ long and 11″ wide. Then I stacked them up and cut out a contour shape.
How to Make Burp Cloths
Contoured Burp Cloths Step 1: With right sides together stack 2 pieces together and sew around all edges leaving a 3″ gap at one end. Clip the seam allowance at the curve so it will lay flat after turning.

Contoured Burp Cloths Step 2:Turn it right side out and tuck in your raw edges along the 3″ gap. Press flat and then topstitch around the entire edge.

Contoured Burp Clotsh Step 3:Repeat 5 more times 🙂

What Are Some Other Creative Designs for Sewing Homemade Burp Cloths?
Homemade burp cloths are wonderful sewing projects to get creative and add a personal touch to an essential baby item. While the traditional rectangular shape is always a practical choice, there are other creative designs that can make your homemade burp cloths even more special. One idea is to make them in the shape of cute animals, such as bears or elephants, using soft and colorful fabrics. Another option is to incorporate fun patterns and prints, like polka dots or stripes, for a playful and vibrant look. You could also experiment with different textures, such as adding a layer of minky fabric for extra softness. The possibilities are endless when it comes to creating unique and adorable burp cloths that will not only be functional but also bring joy to both babies and parents alike.
Can you personalize a burp cloth with embroidery or applique?
Yes, you can personalize a burp cloth with embroidery or applique. Adding a baby's name, initials, or a cute design can make the burp cloth a unique and special gift. Just make sure to use a soft and washable thread or fabric to ensure comfort and durability.
Learning how to make a burp cloth is a fun and practical DIY project that can be easily accomplished with just a few materials and some basic sewing skills. Whether you prefer a simple rectangular design or a contoured shape for added comfort, you can customize your burp cloth to fit your needs. By following the step-by-step instructions in this blog, you'll be able to create a burp cloth that is functional and stylish. So why not try it and make something special for yourself or as a thoughtful gift for new parents? It's time to get out your sewing machine, grab some pieces of fabric, and get to work making some baby gifts.
Thank you for joining us today. Before you leave, make sure to join our Facebook Group or follow us on Instagram or Pinterest. Happy Sewing 🙂