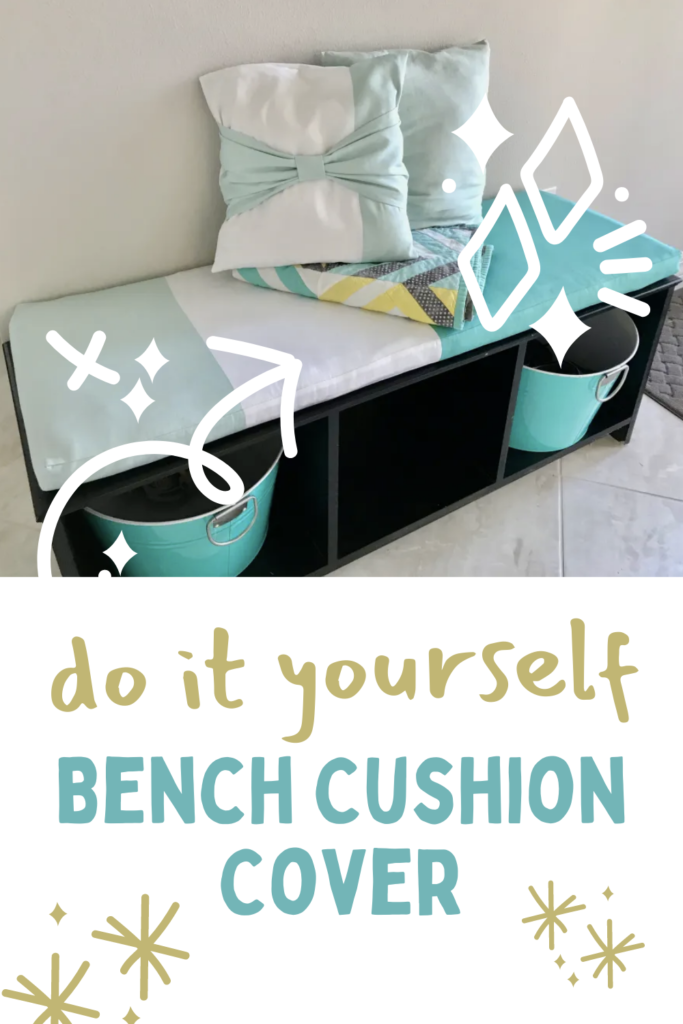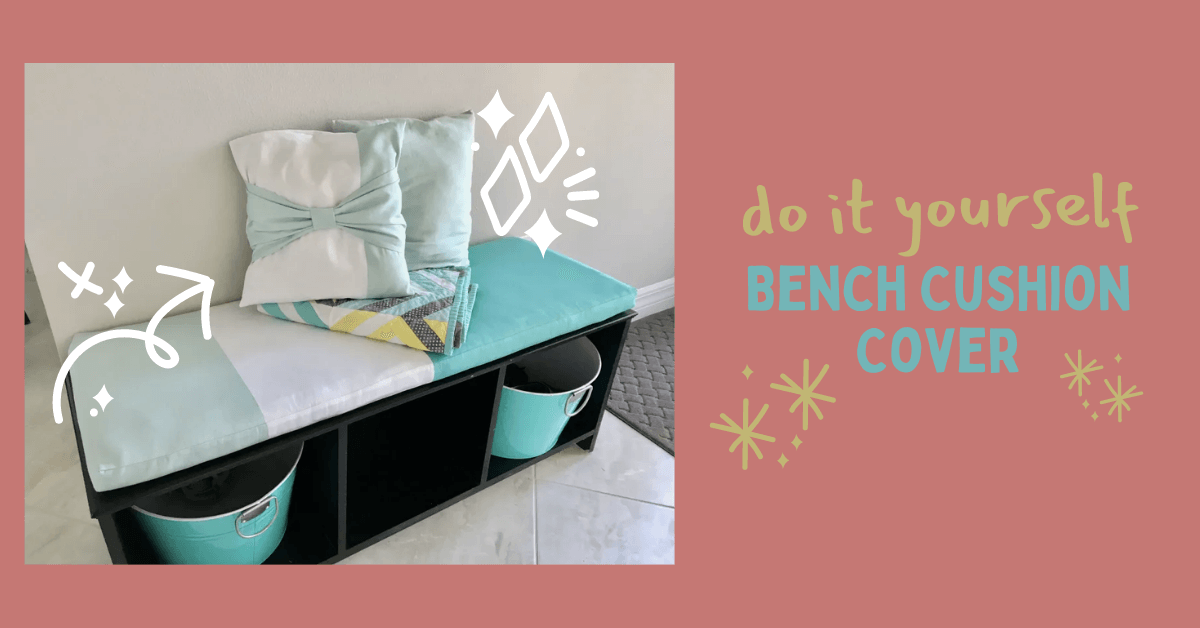
How to Make a Bench Cushion
Today I’m going to show you how to make a bench cushion. Have you ever wanted to add a pop of color and comfort to your indoor or outdoor seating area? Look no further than a bench cushion! In this blog post, we will guide you through the process of making your own bench cushion, step by step. Whether you're a seasoned DIYer or just starting out, this project is perfect for adding a personal touch to your home. These are great for a window seat or bench.
So grab your fabric and sewing machine, and let's get started on creating a cozy and stylish bench cushion that will have your guests begging for a seat!
How to Make a Bench Cushion | Custom Cushion Cover
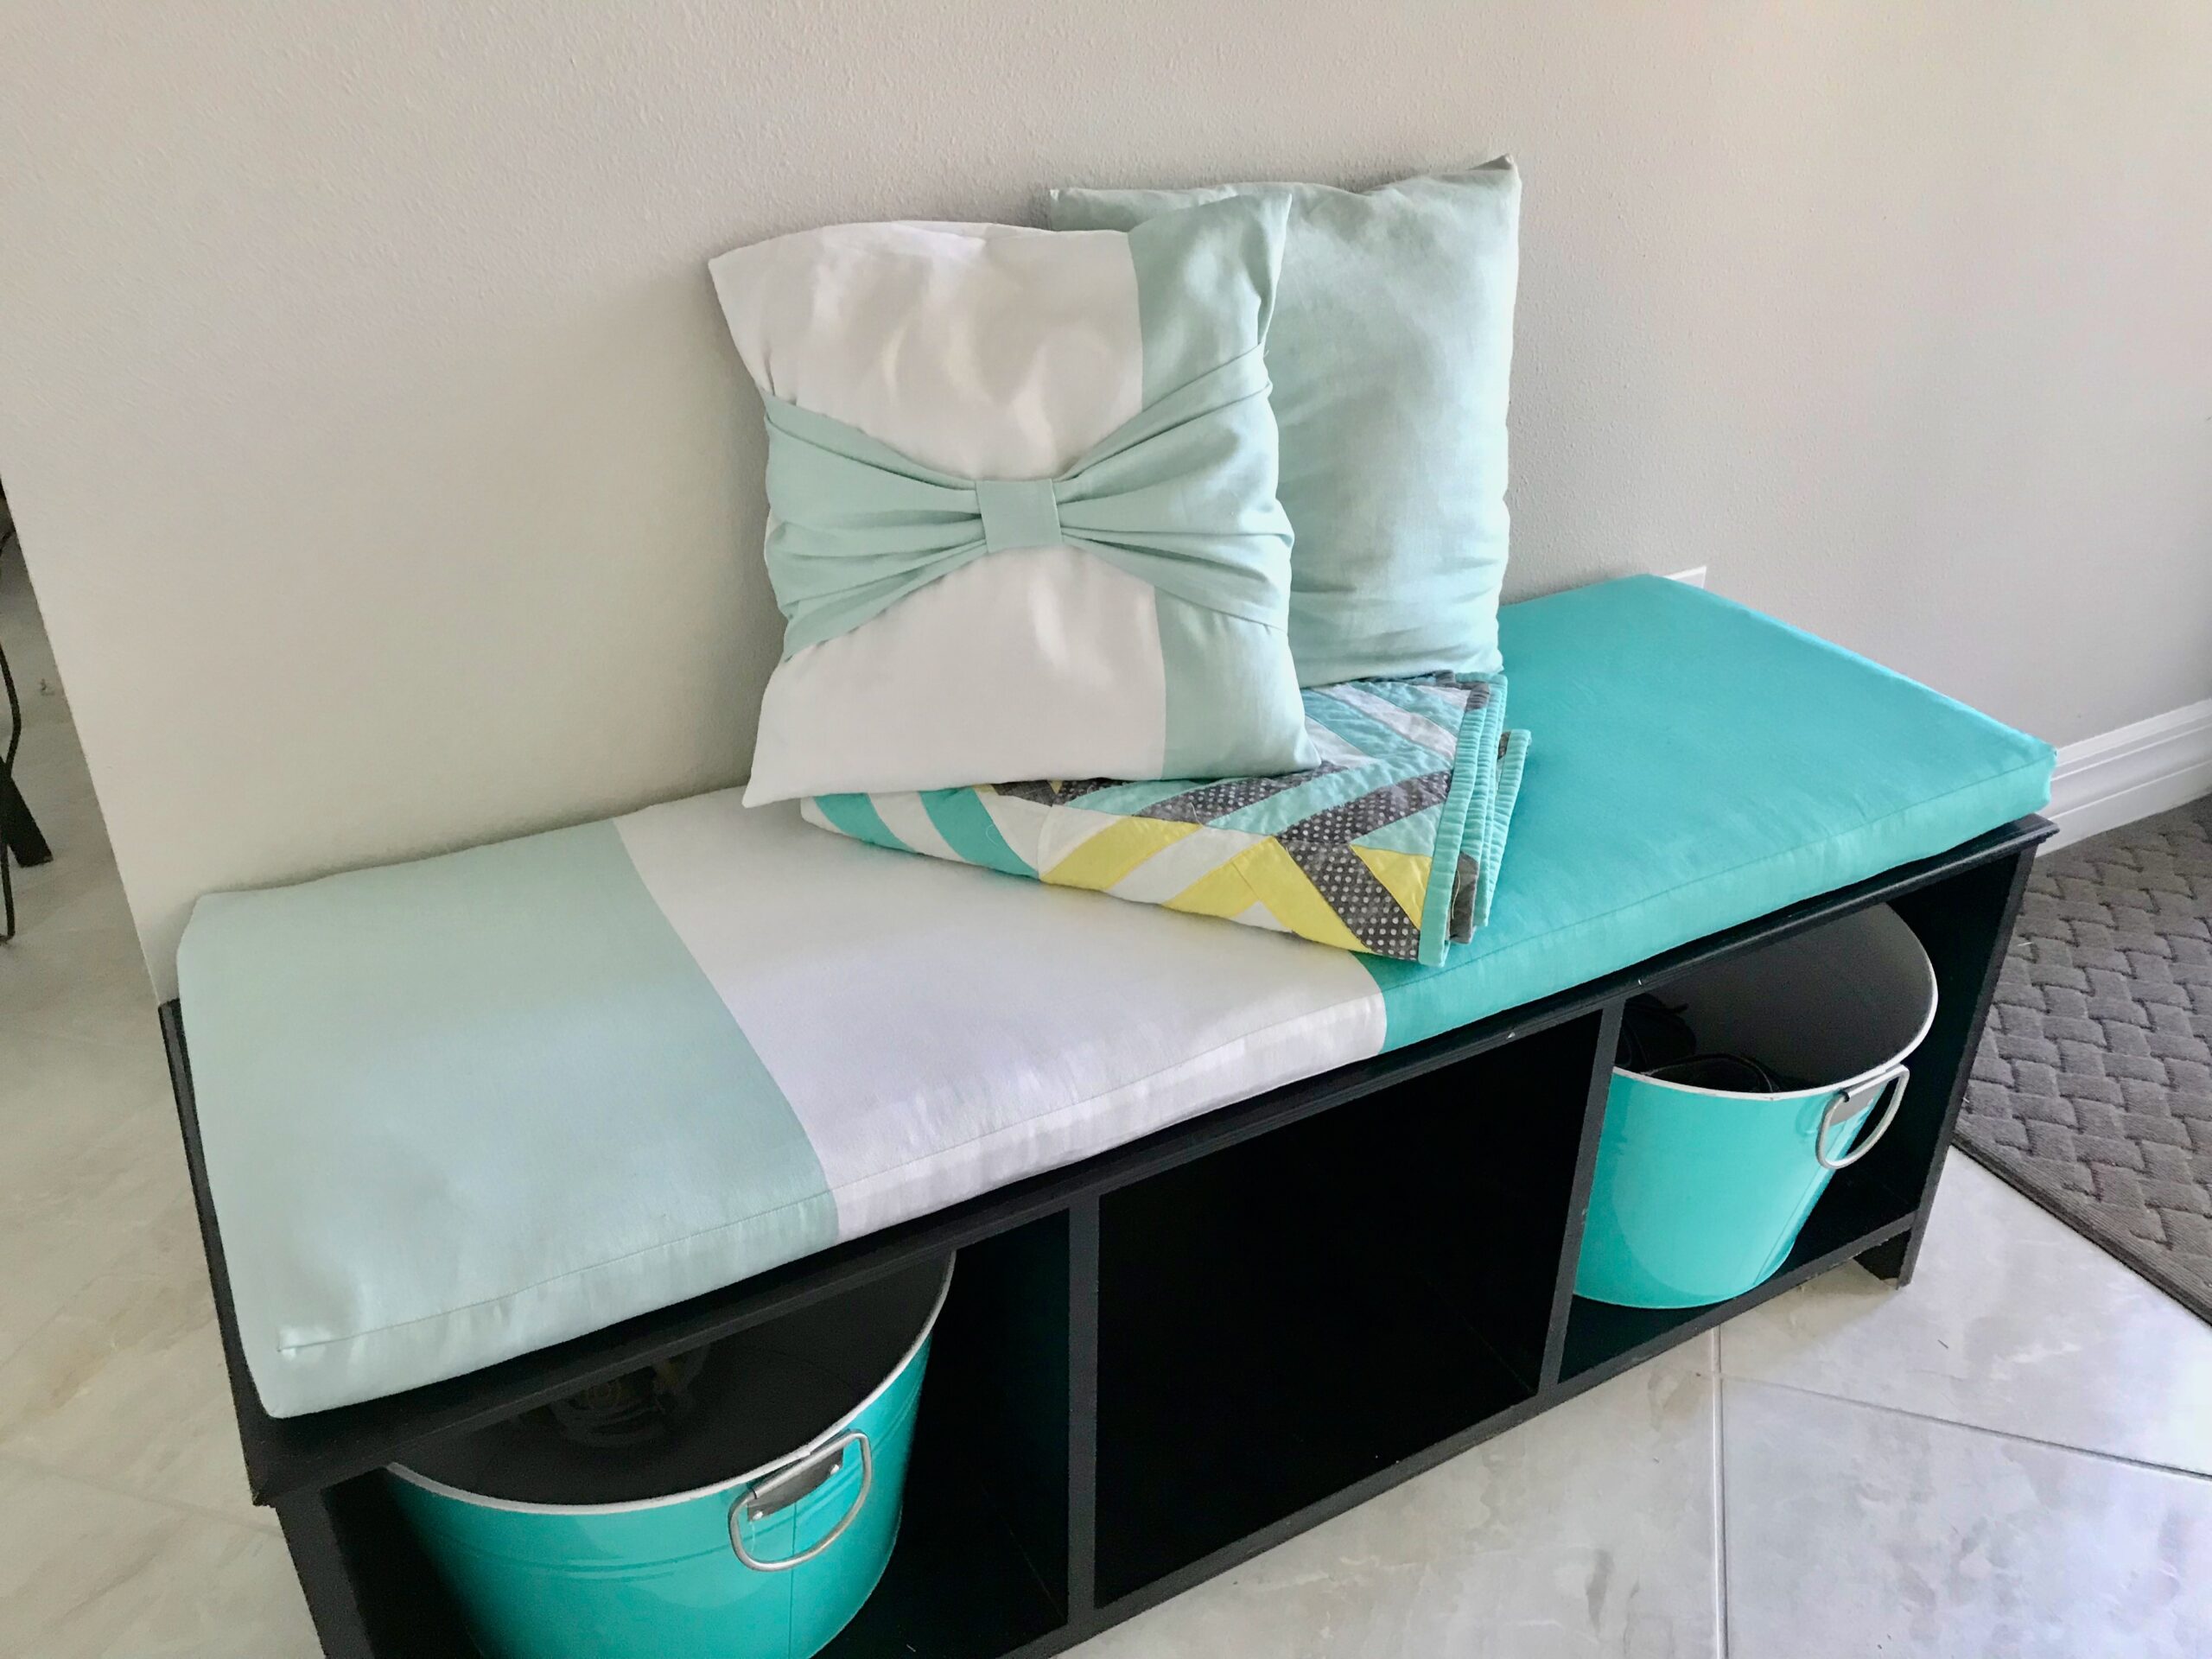
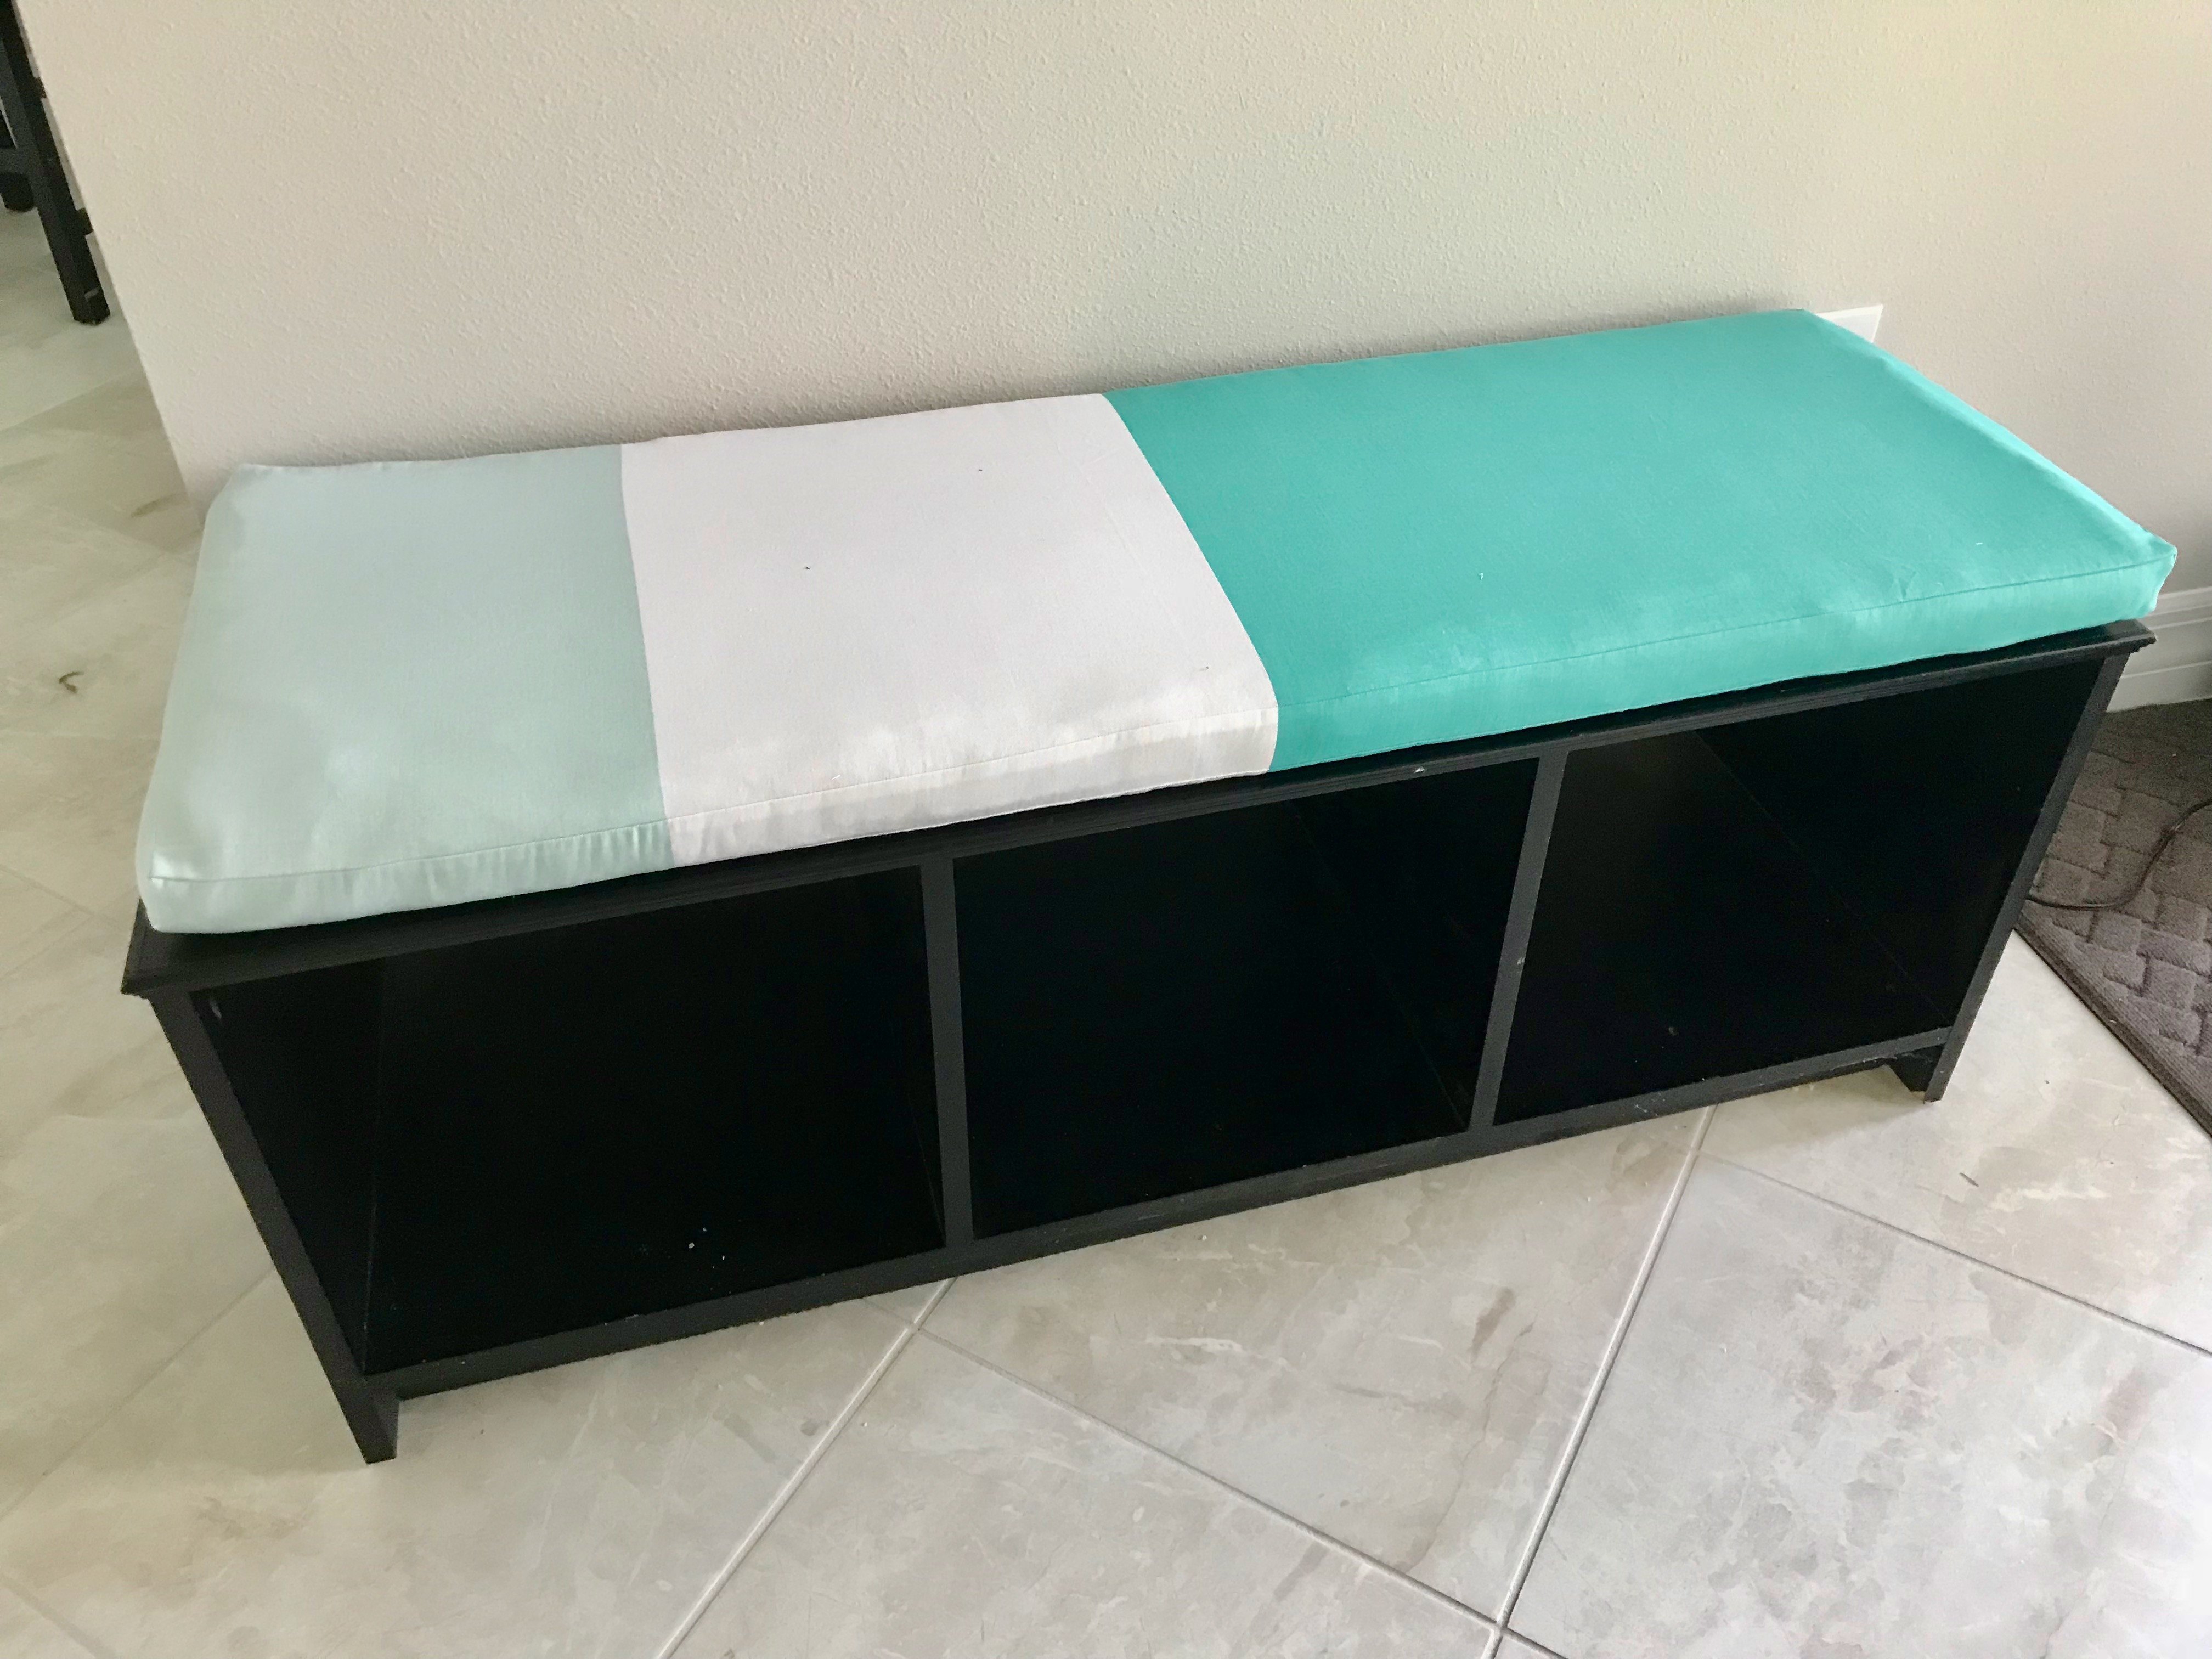
Years ago, my husband made this bench for our home but the bench seat cover has gotten pretty dirty. The cushion cover is beyond a simple run through the washing machine. Time for a new bench seat cover! This is an easy and fun DIY project. If you don't have an old bench cushion that you're looking to refinish, then you'll need to get a cushion or foam and cut it to size. A good option would be upholstery foam for your padding.
DIY Bench Cushion | Materials for the Cushion
You'll want to use thick woven fabric such as home decor canvas or upholstery fabric for your bench fabric. You can get creative - Ttday I'm repurposing a shower curtain made out of canvas. It has the colors I want and I don't need it as an actual shower curtain anymore so I'm going with it!
Step 1: Cutting Cushion Cover Pieces
The first thing to do to make a cushion cover is cut out your pieces. If you’ve already got a cushion that you are just making a new cover for, you can take the old cover off, measure each piece of the cushion, add seam allowance, and cut out your pieces from those measurements. Or you can take the cover completely apart and use the pieces as pattern pieces.
If you’re making the cushion cover from scratch, measure the length, depth, and height of your cushion. Cut out rectangles for each of the faces of the cushion using the measurements you took plus seam allowance. My cushion is 48.5 inches by 17 inches by 2 inches tall and I decided to use a 1/4 inch seam allowance.
- Two 49 X 17.5 inch rectangles for the top and bottom
- Two 2.5 X 17.5 inch rectangles for the short sides
- Three 2.5 X 49 inch rectangles for the long sides.

You need three pieces for the long sides because two are for creating the opening to get the cushion cover on and off the cushion.
Step 2: Velcro
You also need some velcro:
- 48.5 inches of 1-inch velcro
- 3-4 inches of 2 inch sew on velcro
- 3-4 inches of 2-inch sticky back velcro
The 2-inch velcro is for getting the cushion to stay on the bench. You can skip this part if you have a different method for getting it to stay.

Step 3: Sewing the Covers for the Cushions
Take two of the long side pieces and serge one of the long edges on each of the pieces. Then iron the serged edge under using the serging as a guide. Don’t have a serger? Zig zag the edge and then iron the edge under 3/8 inch. If your fabric is directional, take care which side you sew under.

Position the ‘hook’ part of the 1-inch velcro to the wrong side of one of the pieces you just turned under and stitched. The velcro should be close to the finished edge. Position the other side of the velcro on the right side of the second long rectangle 3/8 inch from the edge you did not serge and sew. Stitch in place.

Take those two long sides with the velcro and lay them on top of each other with the velcro together. Check to make sure the width of them together is the same as the width of the short rectangles. Adjust the ends of the long rectangles to match the end of the short rectangles if needed. Bast the two long rectangles together on the ends. It can now act as one long rectangle!

Sew the two long sides to the top and bottom pieces, right sides together. One of those long sides is actually the rectangle with two layers of fabric and velcro.

Now is the trickiest part. Looking at the wrong side of your cushion cover, align one short rectangle into one of the open ends of the cover. Pin the middle of the sides together. Clip a corner of the short rectangle diagonally, from the point in towards the center of the rectangle. Cut up to but not past your seam allowance.

Push the seam allowance to one side so it continues the side and pin your short rectangle close to the seam.

Push the seam allowance to the other side and line up the other edge of the short rectangle and pin it as well. Repeat with the other 4 corners. Lots and lots of pins!!

Now stitch all around the short rectangle. At the corners, stitch up to the pin, then place your needle in the fabric one stitch past the pin.

With the needle in the fabric, lift the pressure foot, pivot the fabric to face down the other side of the corner, and reposition the seam and fabric underneath to be behind the needle.
Repeat with the other short rectangle.
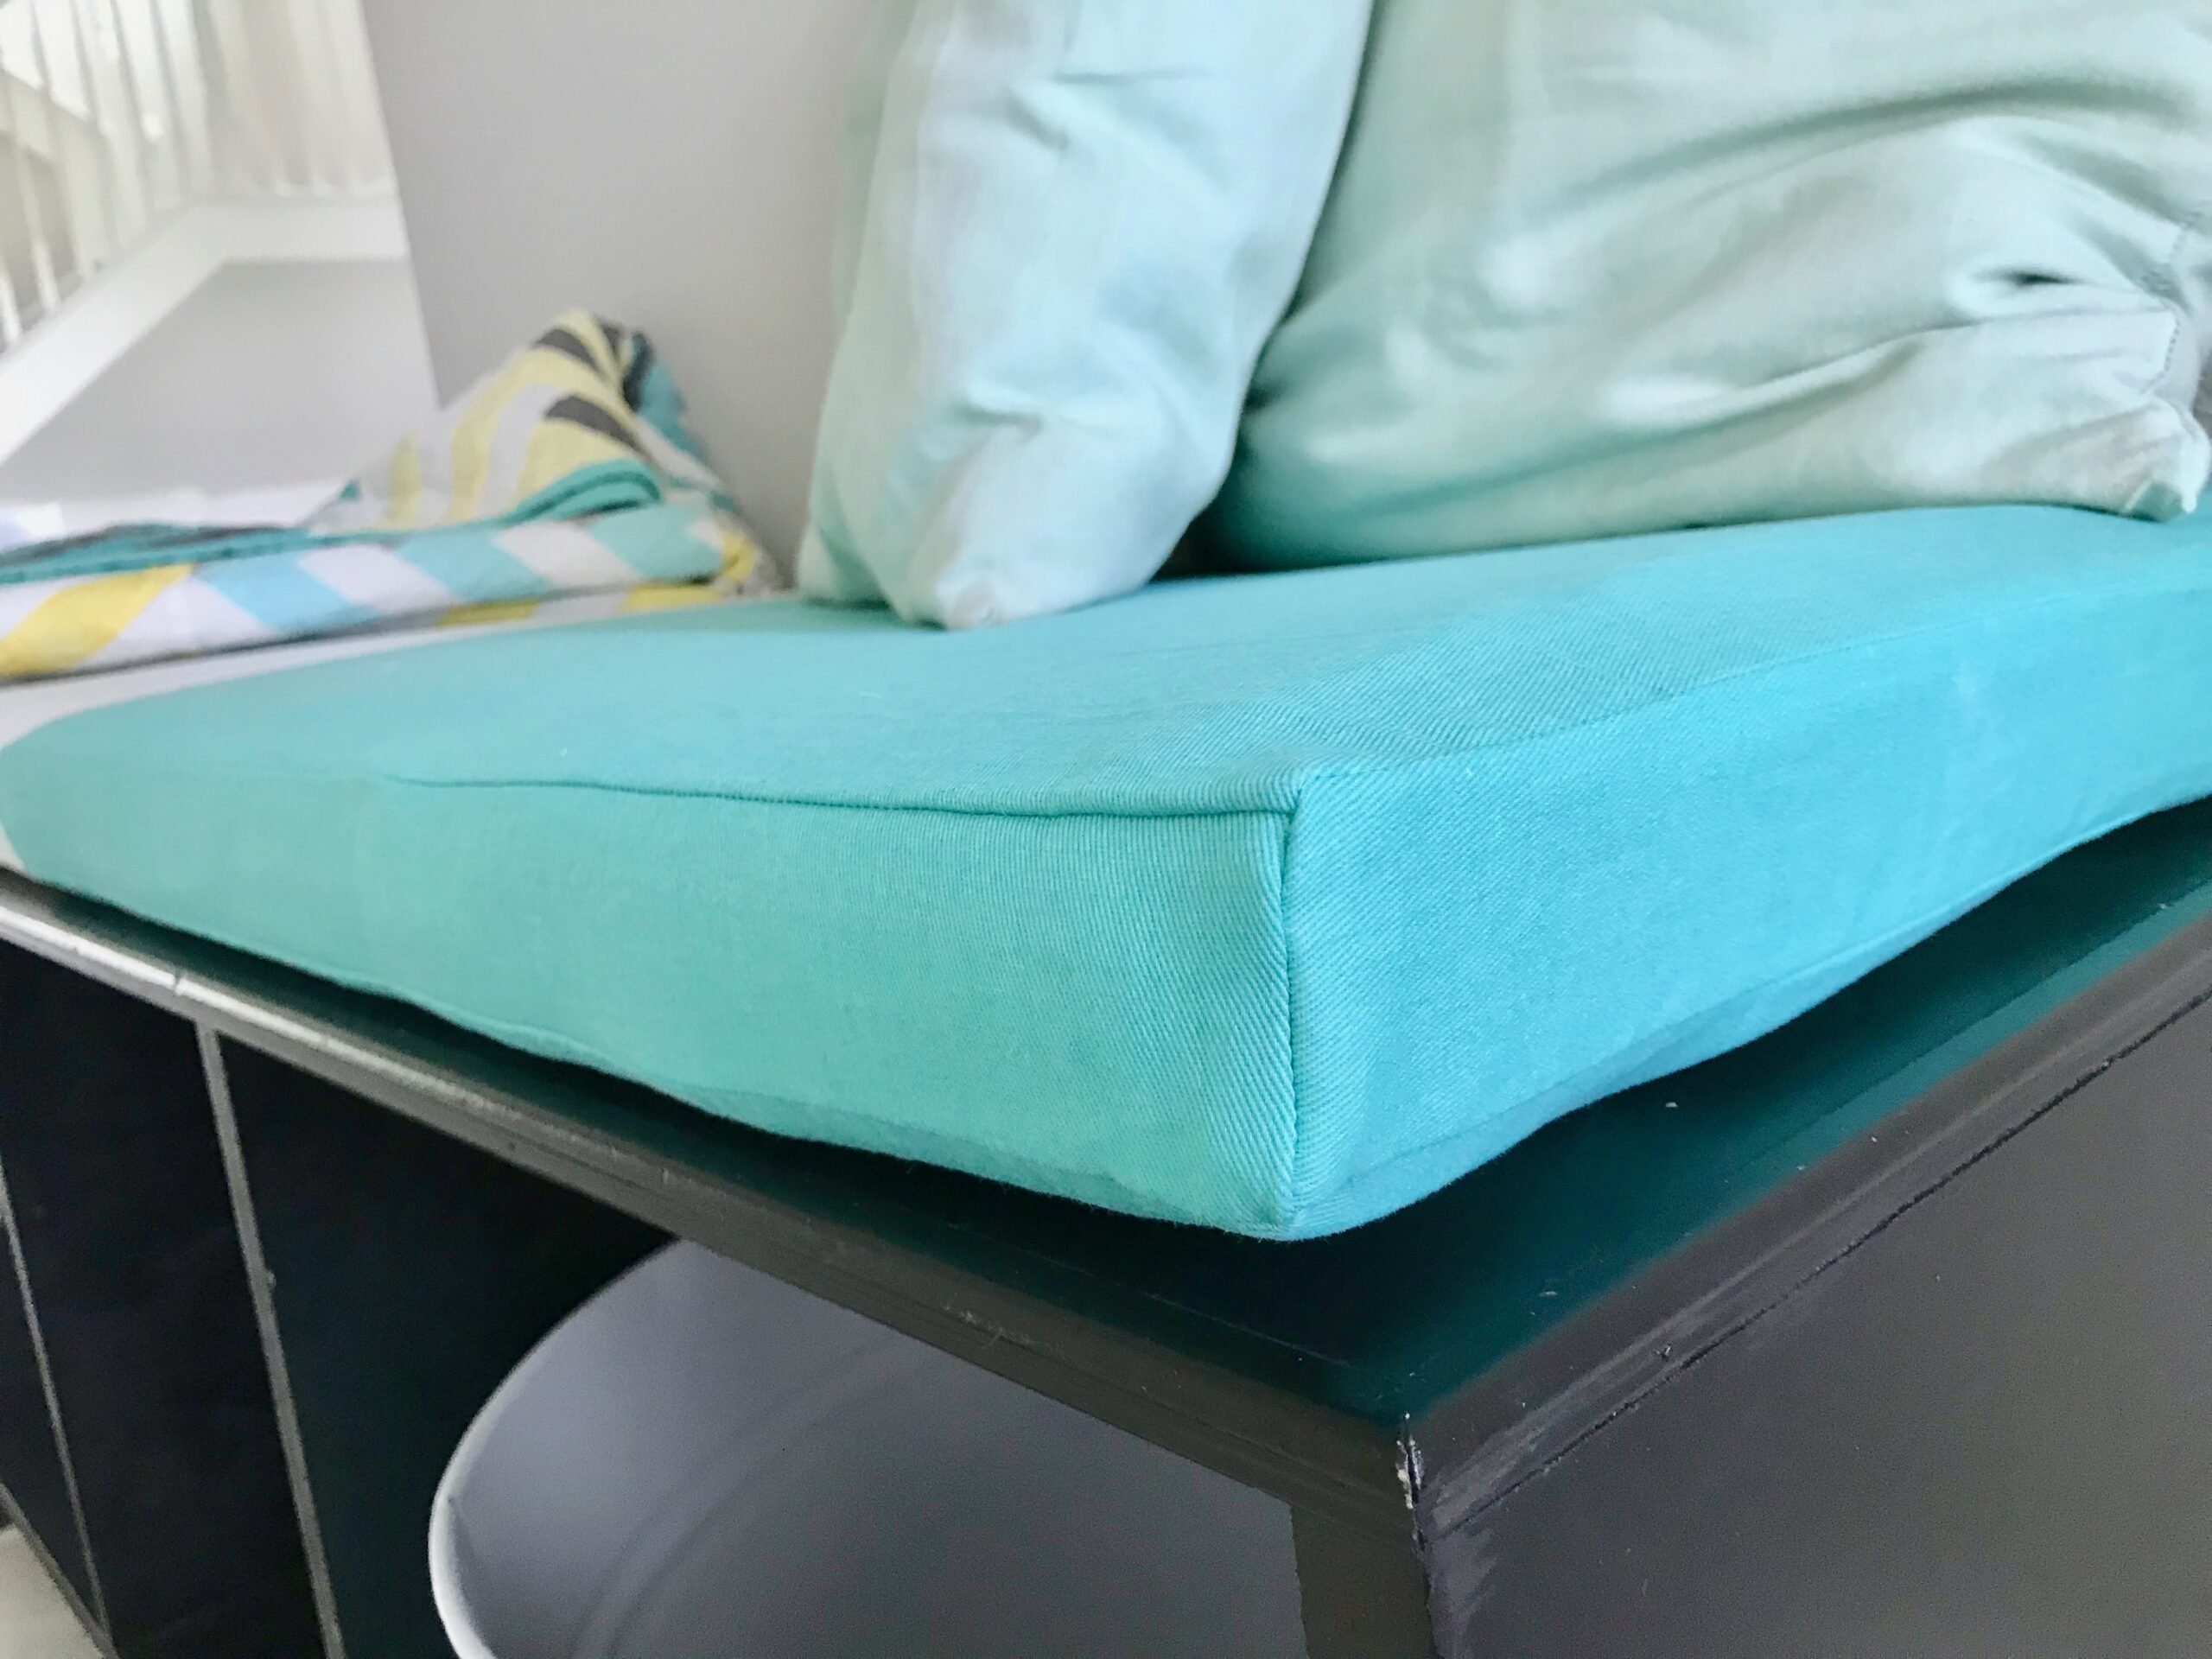
Turn the cushion cover right side out through the velcro side. Gently poke out the corners. They should be pretty crisp points.

How to Make a Bench Cushion Step 4: Placement
The last step for your DIY bench cover is to attach the cushion to the bench! Position both sides of the sew on velcro to the bottom of the cushion cover. Take the sticky back velcro, separate the side, and place them on the corresponding sew on velcro. Then take the film off exposing the sticky backs. Place the cushion on the bench where ever you want it to stay. Now the cushion will stay on the bench but can be slightly repositioned and removed for washing! There you have your seat bench cushion cover!
Is there any way to make this more sturdy?
Sure. You can use some plywood and staples to attach the fabric to a more solid base. Some suggest using spray adhesive or glue to attach the phone to the plywood. Make sure to tightly wrap the extra fabric around the edge of the plywood and use lots of staples.
Before you leave, please come join our Peek-a-Boo Pattern Shop Facebook Group to stay up to date on pattern releases, get help sewing, and to share your creations. Also, if you enjoyed this DIY project, be sure to look through some of Peekaboo Pages' other tutorials.