How to Make Athletic Headbands | DIY Athletic Headband
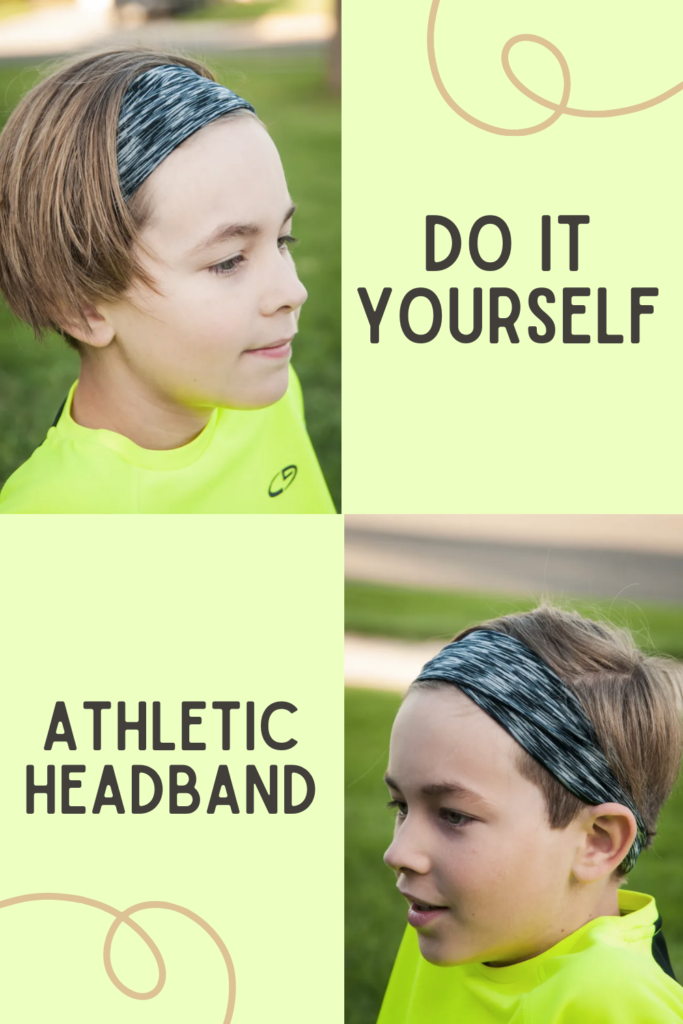
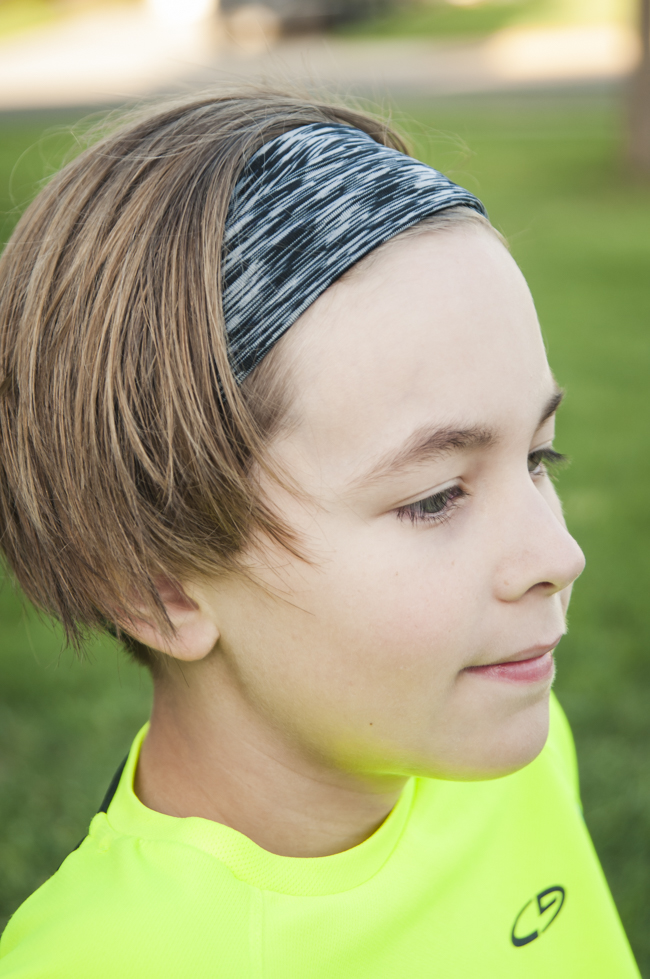
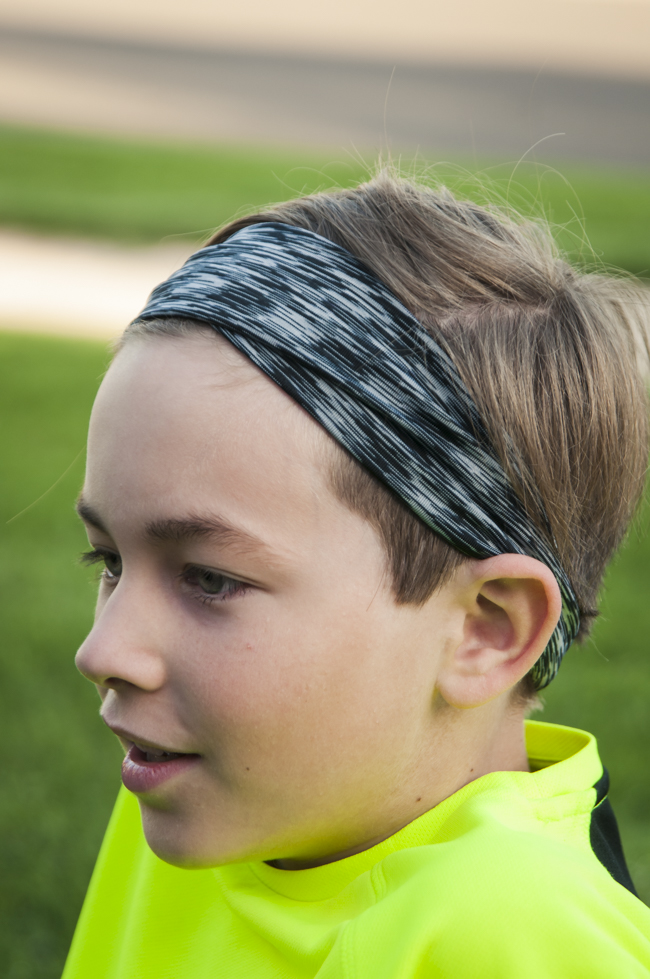
Today we're going to learn how to make athletic headbands! Some of the best things I have ever made come directly from an immediate need that must be met. This week our church is hosting Uncharted Waters Sports Camp. Kristjan, my 10-year-old, is playing sand volleyball and has run into a slight problem with seeing the ball…because of his “ultra-cool” hair (his words)!
He’s on that cusp of tweendom and I am finding these waters difficult to navigate as things that were once cool is no longer cool and now appearance has become important…to an extent. In any case, this week, his hair has simply blocked his view of an oncoming volleyball! Enter mom – the problem solver.
I assumed (stupidly) that I could just find “cool” dude headbands that would fit a 10-year-old. We all know what our parents said about assuming…so turns out if they exist they are super expensive and blah blah blah. This tutorial shows you one way – of which there are many – to make a quick, simple, athletic headband for a child, with a bonus armband for little brother (woo!). No elastic required and its easy to make different sizes.
DIY Athletic Headband
Benefits of Wearing Athletic Headbands
Athletic headbands offer numerous benefits to athletes of all levels. First and foremost, these headbands are designed to keep sweat away from the eyes, preventing it from interfering with vision during intense physical activity. This not only helps athletes perform at their best but also reduces the risk of accidents or injuries that could result from impaired vision. Additionally, athletic headbands can help keep hair out of the face, providing a clear line of sight and reducing distractions.
They also help to absorb moisture and provide a comfortable fit, keeping the head cool and dry during workouts or games. Furthermore, some headbands are designed to provide a secure grip on headphones or earbuds, ensuring that they stay in place even during vigorous movement. With their practicality and style, athletic headbands are a must-have accessory for any athlete looking to enhance their performance and stay focused on the game.
Athletic Headband Supplies:
- Rotary cutter or scissors
- Cloth Measuring Tape
- 4 way stretch knit fabric – mine is HL and kinda sporty/swim feeling
- Sewing Machine
- Serger (Optional)
- Cover Stitch Machine (Optional)
- Twin Needle (Optional)
Tips for Choosing the Right Fabric for Your DIY Athletic Headband
Choosing the right fabric for your DIY athletic headband is essential for ensuring comfort, functionality, and durability. When selecting fabric, opt for materials that are moisture-wicking and breathable, such as polyester or nylon blends. These fabrics will help keep sweat away from your skin and prevent overheating during workouts. Additionally, look for fabrics with a good amount of stretch, like spandex or elastane blends, to ensure a snug yet comfortable fit.
It's also important to consider the weight of the fabric – lighter weight options are ideal for activities that require maximum movement and breathability, while heavier weight fabrics can provide extra warmth during colder weather. Lastly, don't forget to choose a fabric that matches your personal style and aesthetic preferences – after all, your DIY headband should not only perform well but also look great! So consider bold prints or colors that reflect your personality and make you feel confident as you conquer your workouts.
Step-by-Step Guide for Making an Athletic Headband:
Step 1: To determine the appropriate headband size, the first step is to measure around the head where the band will be placed. For instance, if you're purchasing a headband for someone, measure their head and record the measurement in inches or centimeters. For example, Kristjan's head measured 21 inches around. This measurement can then be used as a reference point to select an appropriately sized headband.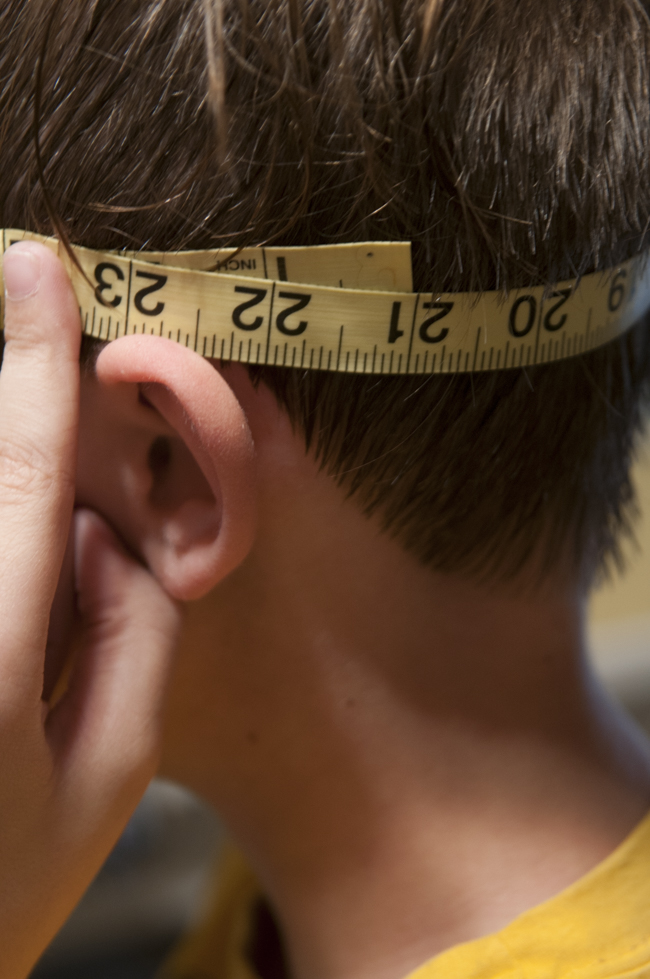
Step 2: Cut your knit rectangle 4 inches by the head measurement. This makes a 2-inch across sport band. If you are looking for a wider band, increase your width by a couple of inches.
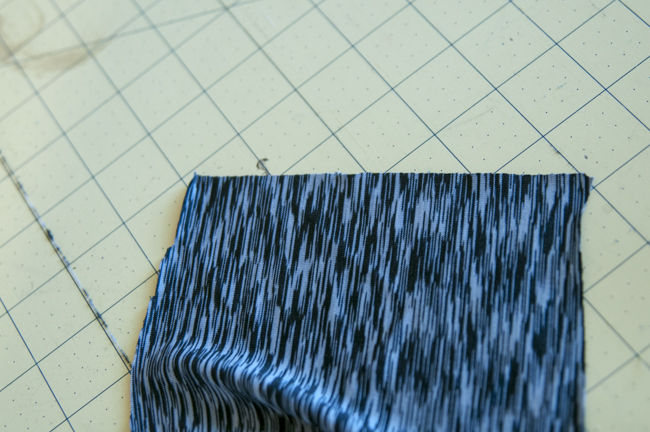
Step 3: Fold the right sides together on the length and serge. If you use your sewing machine, use a stretch stitch. You’ve just made a tube.
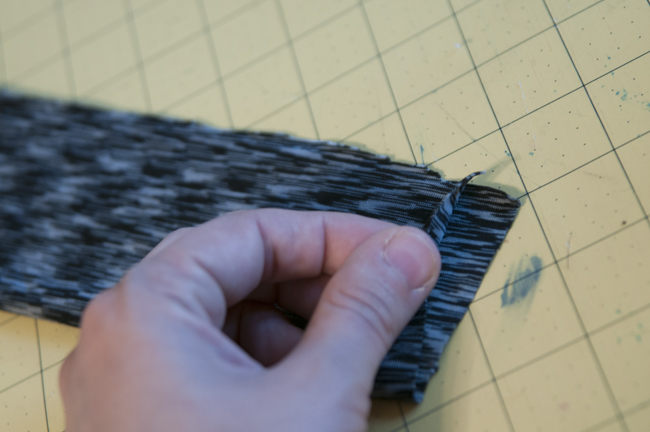

Step 4:Trim threads and turn your tube right sides out.

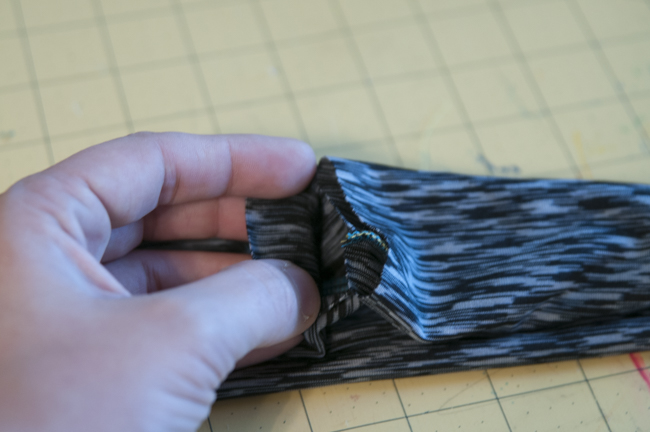
Step 5:Tuck one end of the tube into the other. This can be tricky as the fabric was kind of slippery. I clipped mine until I was happy with it. **Be sure you don’t twist the fabric. The twist works well for a girl, but the boys aren’t so keen.**
If you choose, you can fold over the end of the tube that is on top. I chose not to put in the extra effort because knit won’t fray and honestly if he makes it through sports camp with just the one athletic headband d I’ll be shocked!
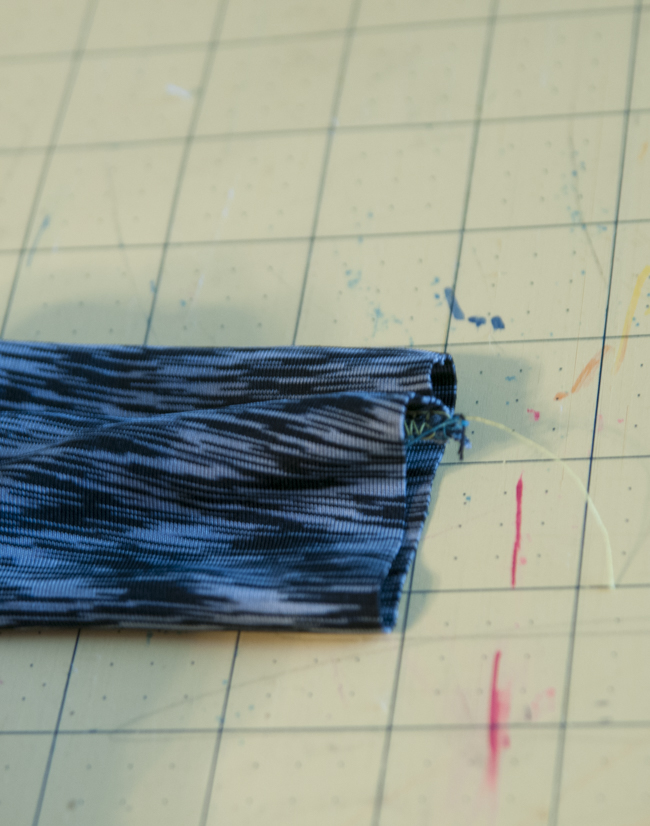
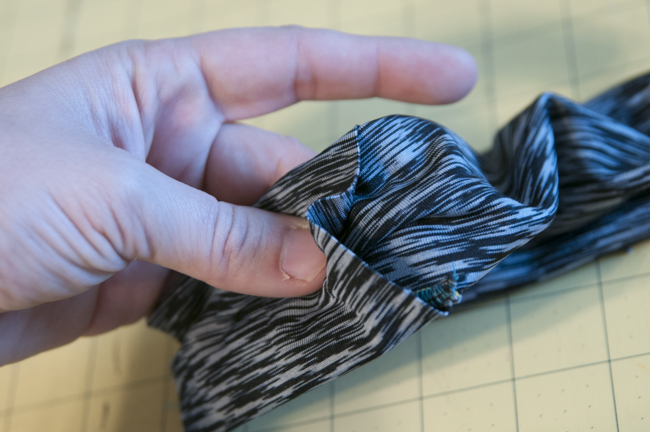

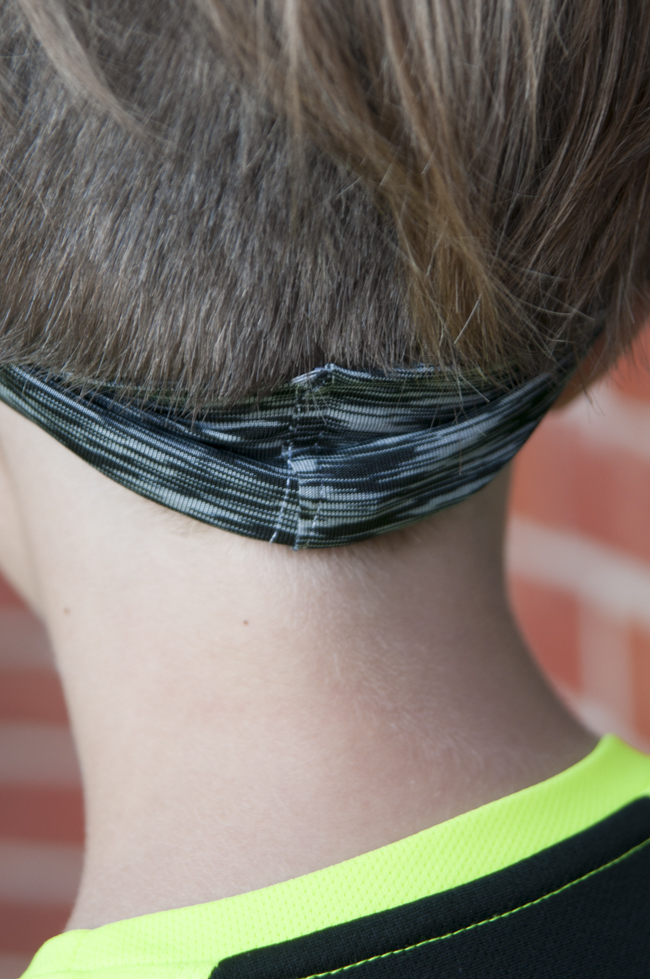
Step 6: Stitch the band closed. I used my cover stitch machine to get that twin-needle look with a bit of extra oomph on the other side of the seam. You can also use a serger or a stretch zig-zag stitch on a regular sewing machine.

Step 7: Flip right side out and voila! Athletic Headband is complete! Great way to use a small piece of leftover fabric.
Accessory Armband to Go with the Headband
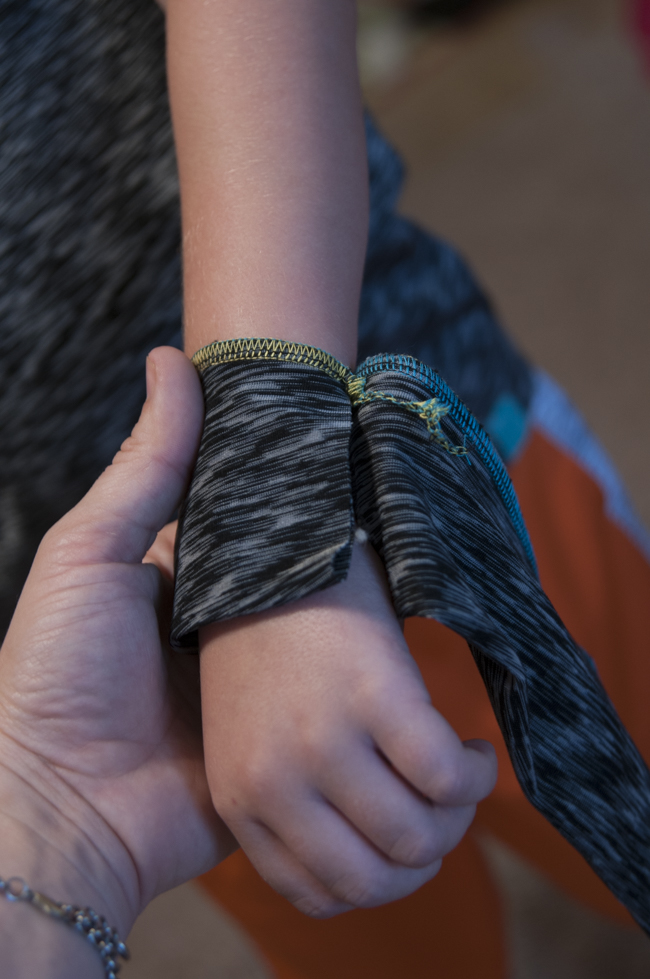
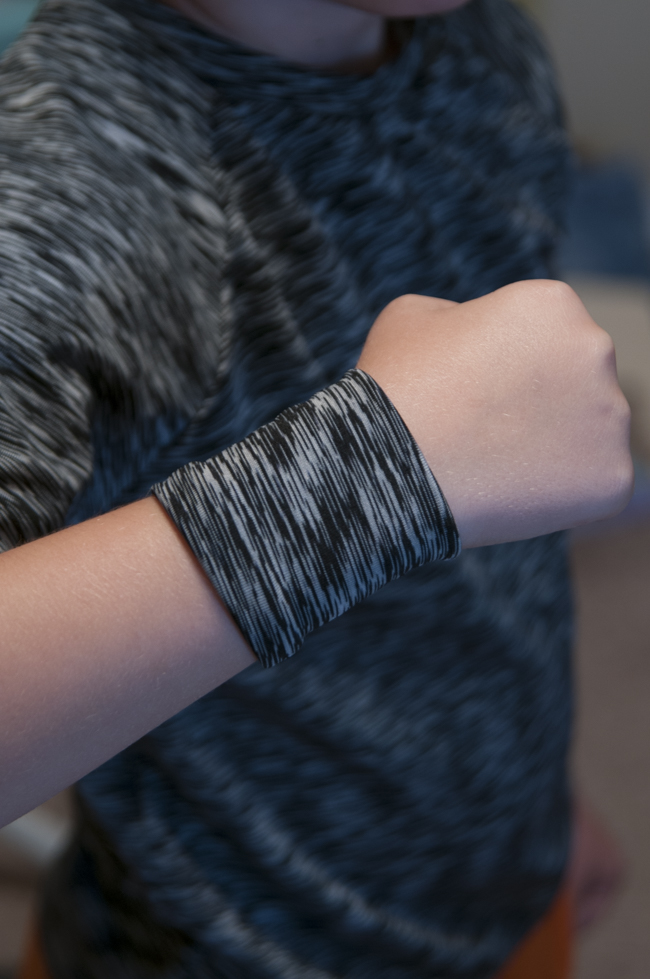
Now little brother noticed what was happening and requested an armband for his sweaty self (he’s playing basketball at camp). So, I took the leftover fabric, made another simple tube, measured his little wrist, hacked off the fabric, and serged it shut. Exactly what we just did with the sport band, but smaller for the wrist.
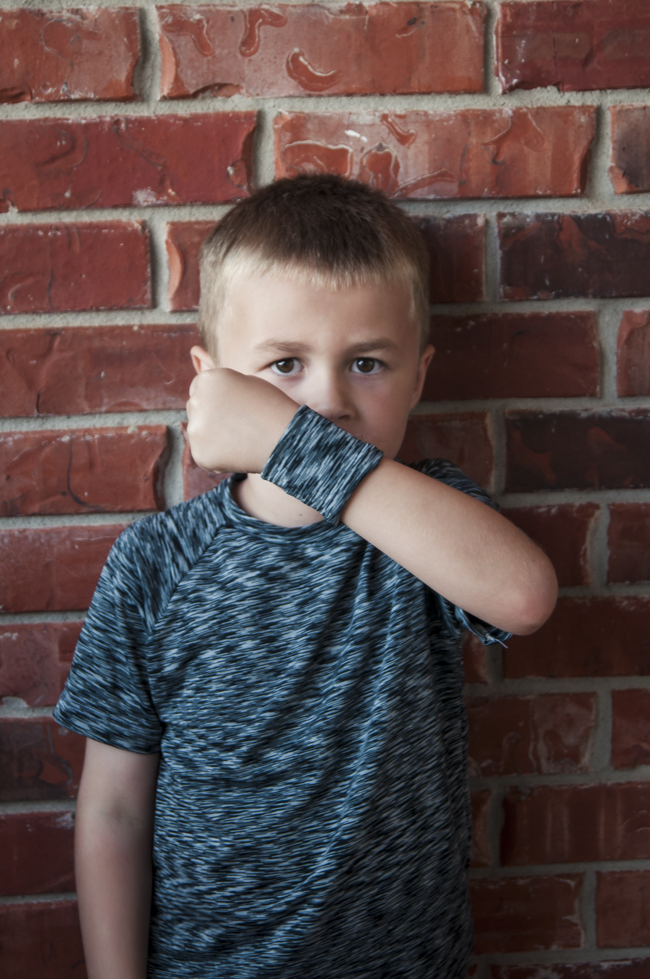
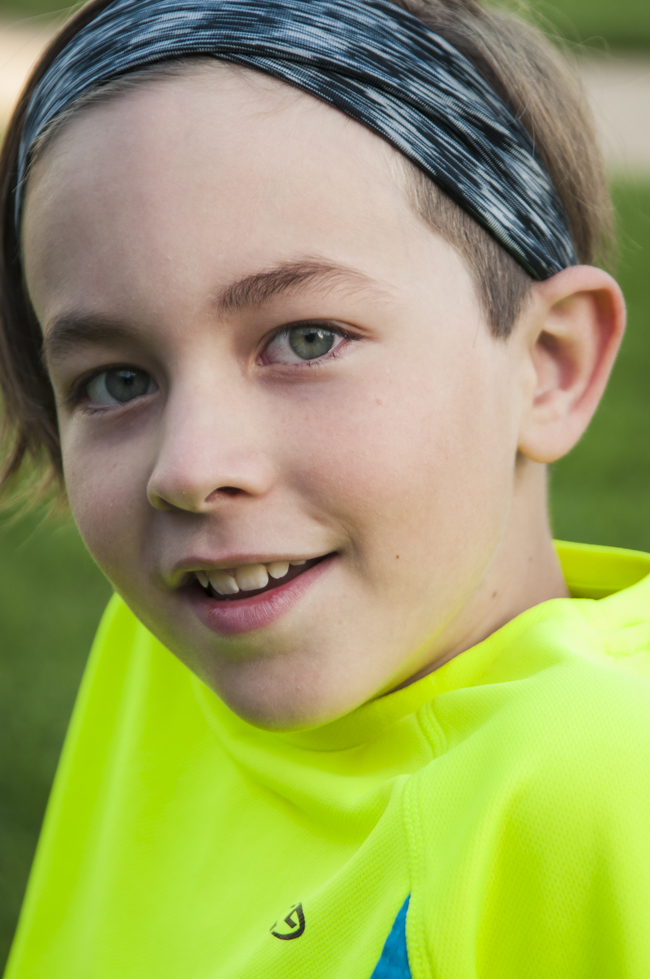
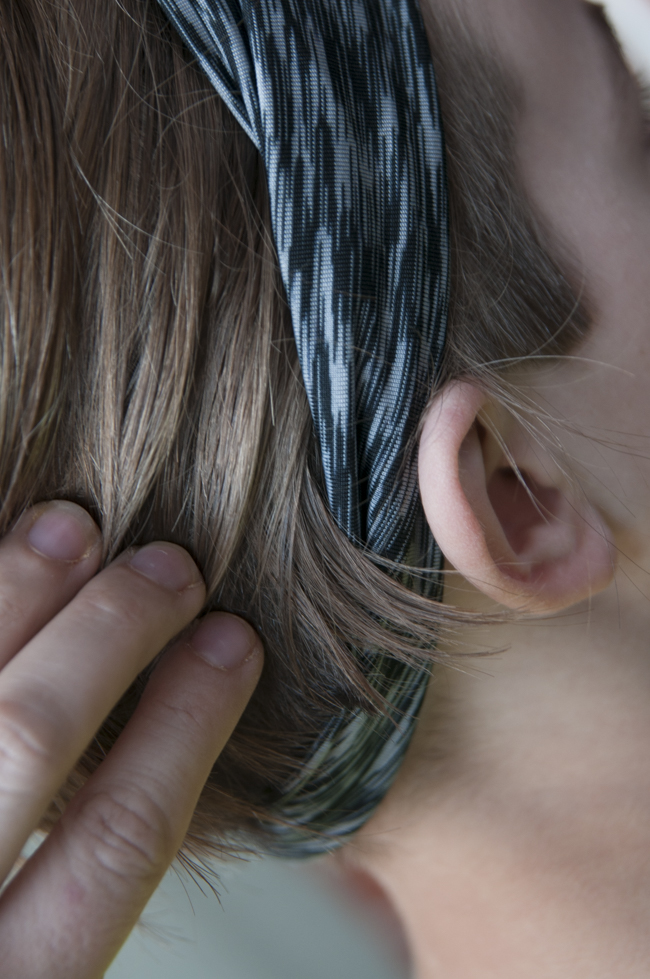
And now, for the ever so important test run of our new sports bands.
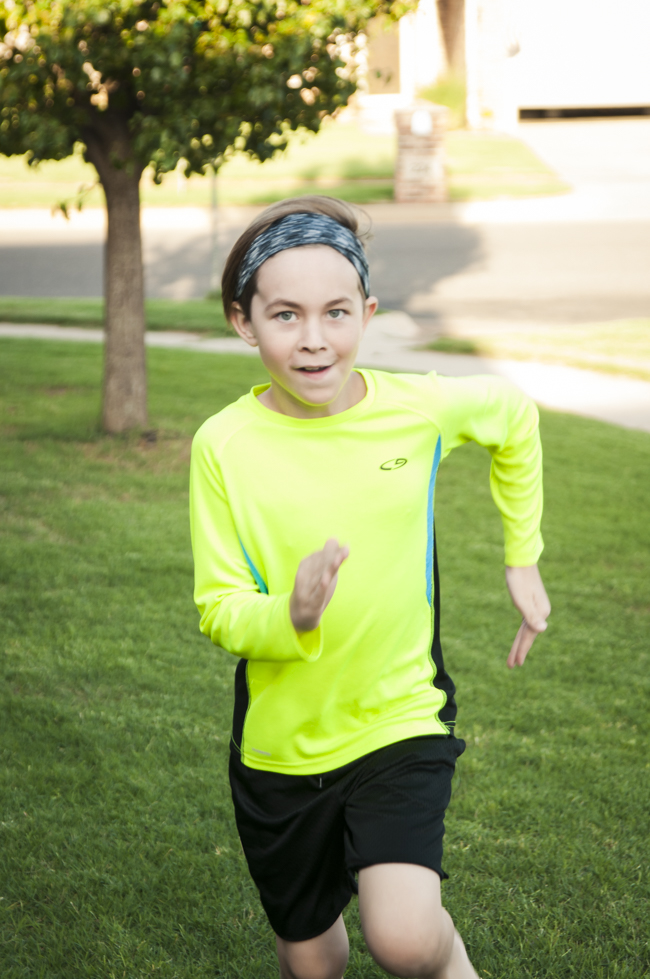
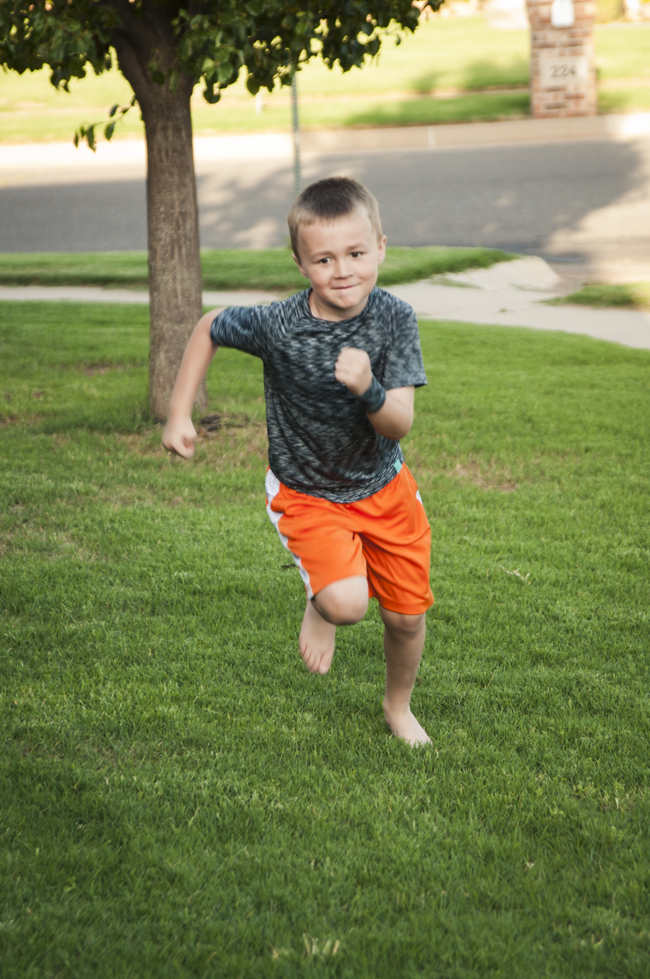
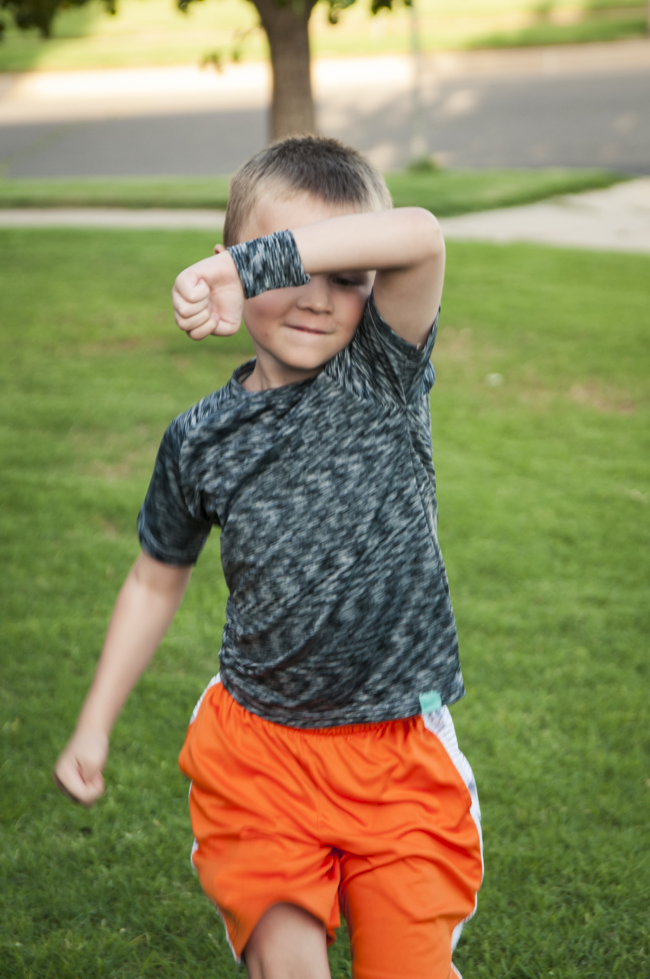
Kid tested, sewist approved with a perfect fit! I hope you enjoyed the DIY Athletic Headband sewing tutorial! Creating your own athletic headbands is a fun and creative way to add a personal touch to your workout gear. With just a few simple materials and some basic sewing skills, you can make headbands that are not only stylish but also functional. Whether you prefer a wide or narrow band, a bold pattern or a solid color, the possibilities are endless. So why not give it a try? Get out your sewing machine, gather your favorite fabrics, and start designing your own custom athletic headbands today. Your workouts will never be the same!
Do You Have Anymore Headband Tutorials?
Yes!! We have a number of other headband tutorials to help you out. We have an excellent twist headband tutorial you can make out of knit fabric. We also have a great DIY headband tutorial for woven fabric with elastic.
Thank you for joining us today for our beginners' how to make athletic headbands tutorial. Before you leave, make sure to join our Facebook Group and follow us on YouTube and Instagram. You can also sign up for our email newsletter below for special offers and 25+ free sewing patterns.