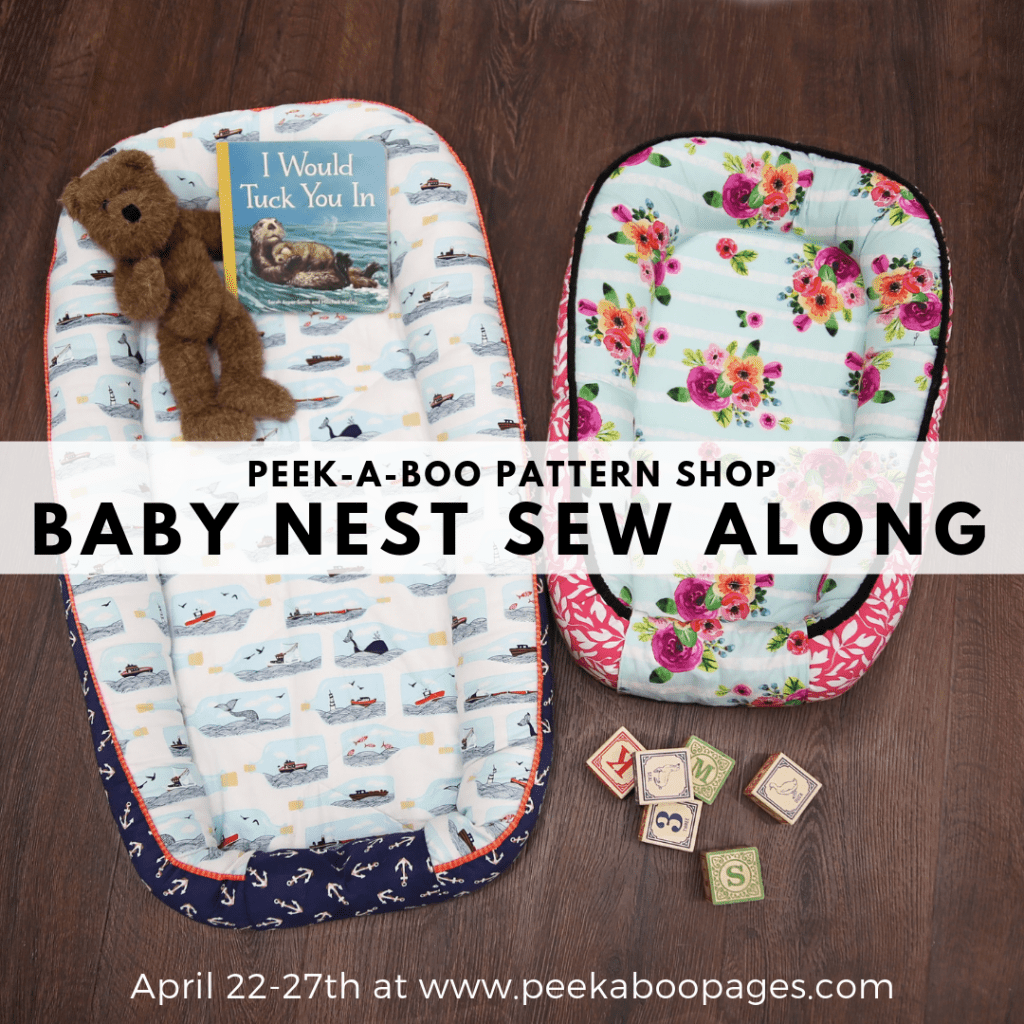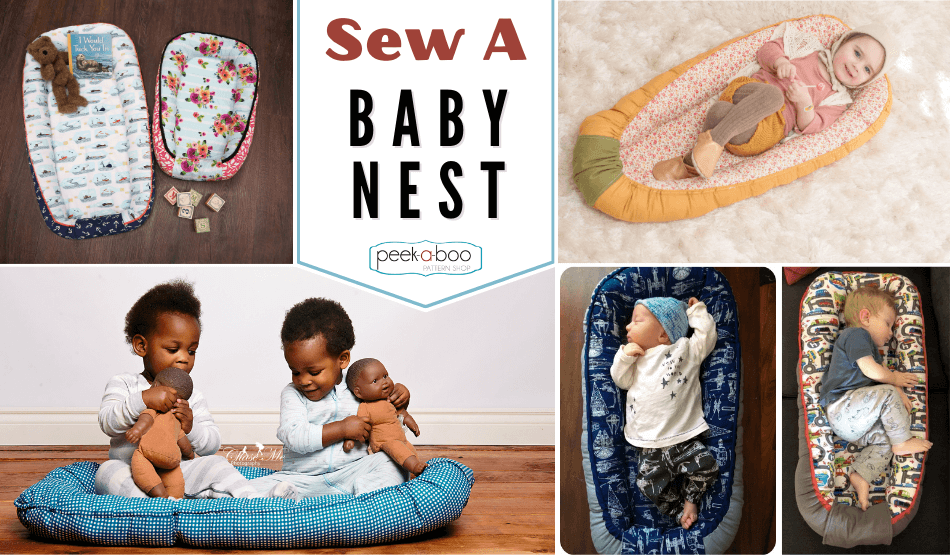
Baby Nest Pattern | How to Sew the Baby Nest
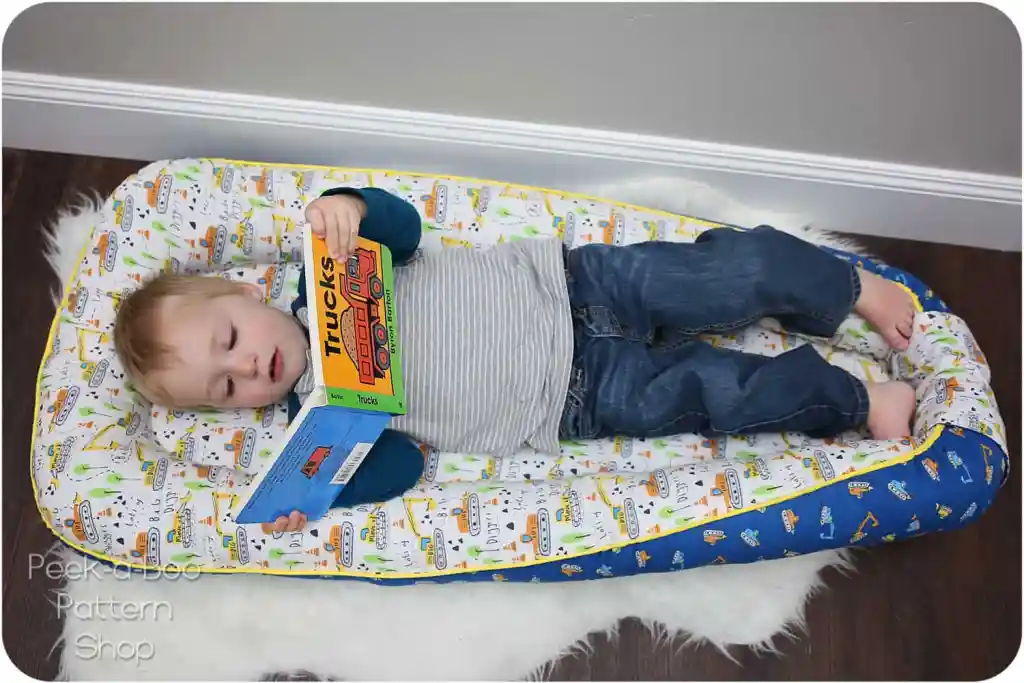
Learn how to sew a DIY baby nest! The pattern we're using is the Lullaby Line Baby Nest from Peek-a-Boo Pattern Shop. The Lullaby Line Baby Nest Pattern is a clean and cozy space for supervised play, tummy time, diaper changes, and rest (not sleep). Use it at home or bring it along on all of your adventures! The baby nest pattern includes 4 sizes: doll, baby, toddler and preschool.
Sew a DIY Baby Nest
Baby Nest Safety
Before we get started, let's review some very important baby nest safety! All of this information is also included in the pattern along with a free printable safety tag. If you are giving the next as a gift, make sure you include the safety tag and share the information with the recipient.
The Baby Nest is a clean and cozy space for supervised:
- Play
- Tummy time
- Diaper changes
- Rest
Use your baby nest around the house or bring it with you on all your adventures to the park, beach, friend's homes, etc.
The Baby Nest should not be used:
- For unsupervised infant sleep
- For co-sleeping
- On soft or uneven surfaces (beds, air mattresses, couches, etc.)
- Inside another product (crib, bassinet, playpen, cradle, etc.)
- On elevated surfaces
When in use:
- Place the baby nest on a firm, flat surface where you can easily supervise the baby
- Place baby's head away from the end with the drawstring and lay baby in the nest on his or her back
- Inspect the nest before use for any loose stuffing, threads, etc.
- Supervise the baby and ensure the baby does not roll onto his or her side or stomach
- When the nest is open, pull the strings inside the casing; they should not extend more than 4" beyond the end casing
The nest should never be used without supervision.
For more information on infant sleep safety please visit the Guide to Safe Sleep
Baby Nest Pattern Supply List
On page 2 of your pattern you'll find a supply list. For easy reference, I'm posting it here as well. Gather all of your materials now so you are ready for next week!

Baby Nest Step 1: Cutting Pieces for the Nest
I'm sewing a toddler size so I have 3 bags of polyfil (pattern calls for 32 oz so I'll have a bit extra), quilt padding (I used a crib size and had extra), 1.25 yards of fabric in 2 prints, cording and extra-wide bias tape (I used this for my trim as well so I bought 2 packages), snaps (not shown) and interfacing (not shown).
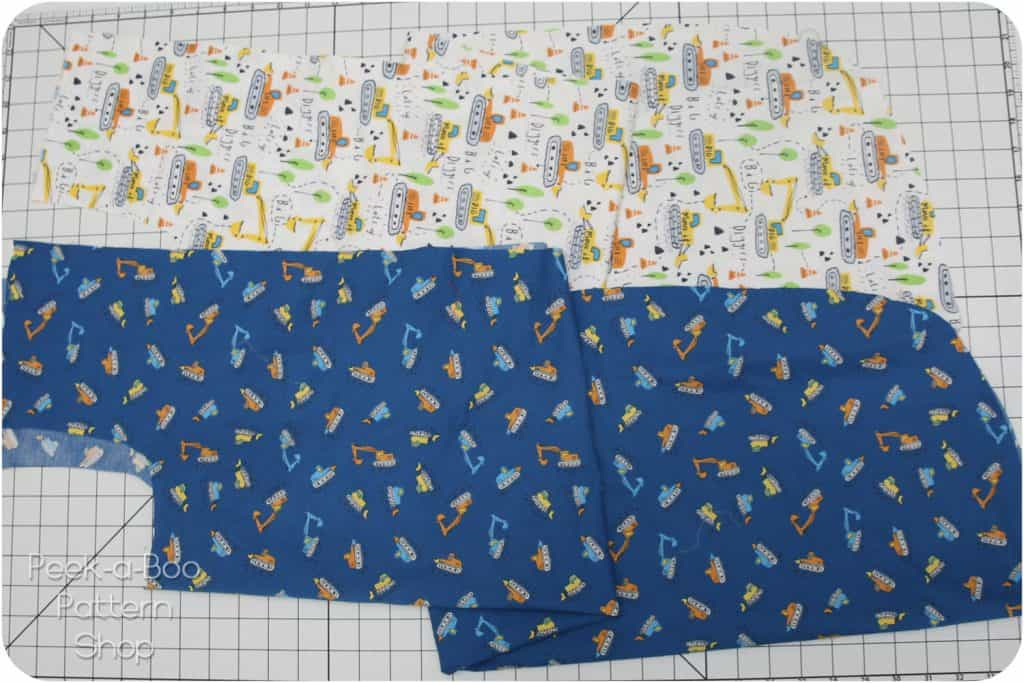
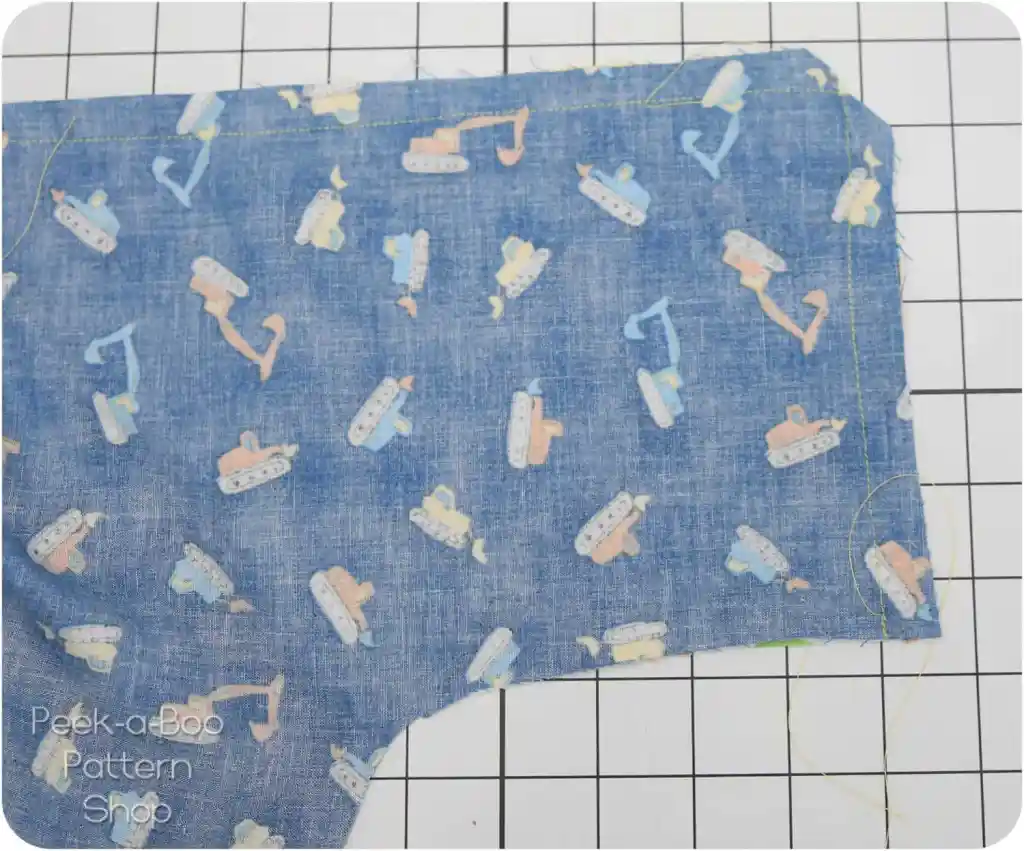
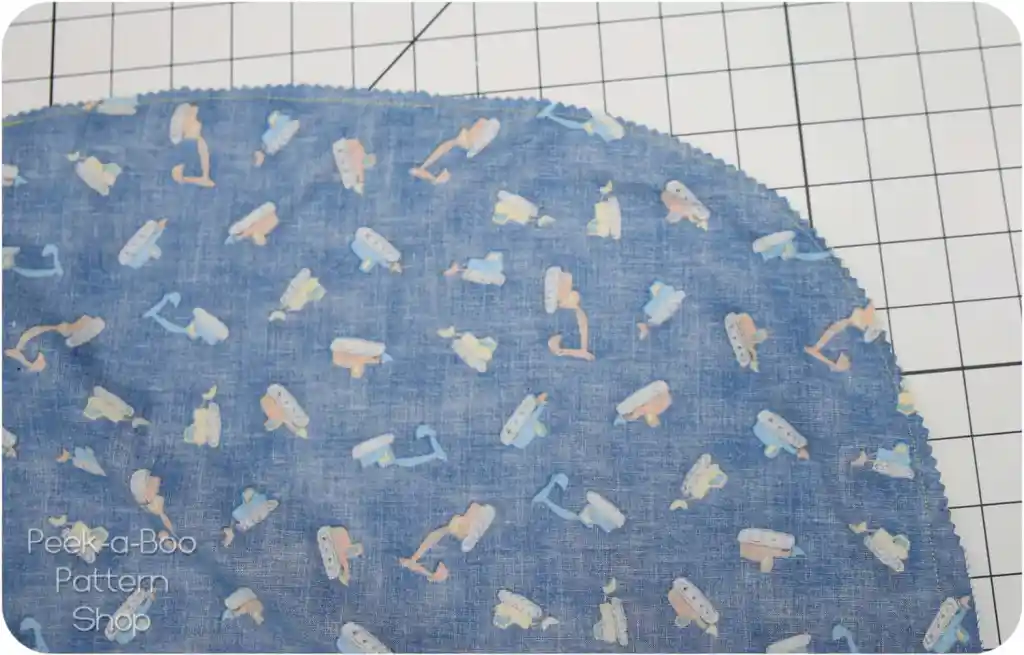
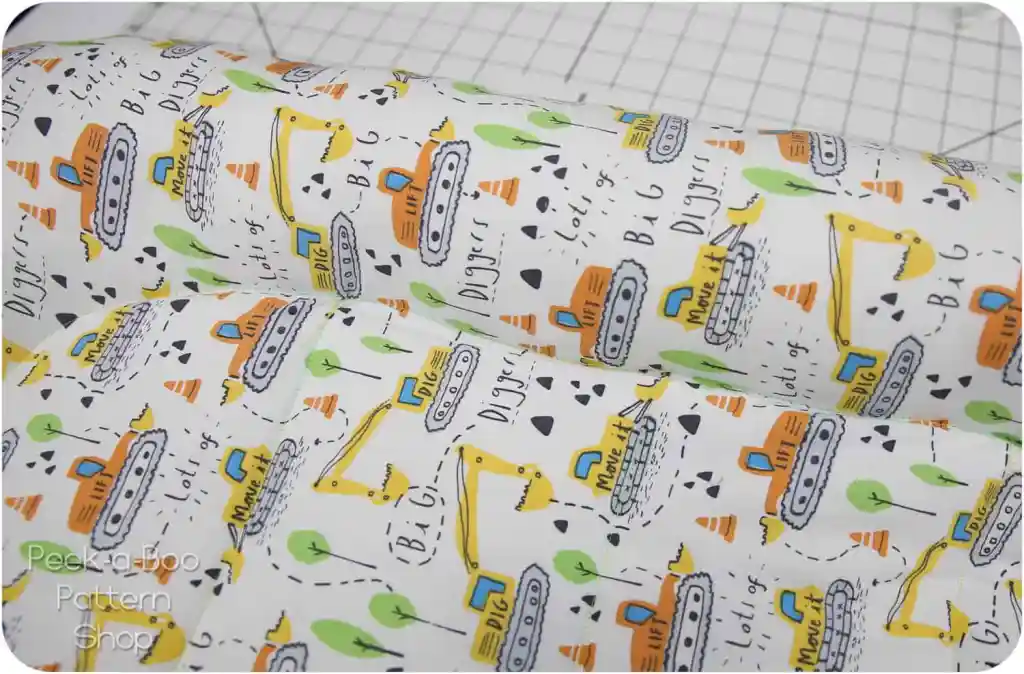
Main nest pieces cut from each of my main fabrics. Remember to cut them on the fold!
Toe flap cut in 2 fabrics and interfacing. This piece wraps around the end of the nest. I actually should've cut the main print the other way since mine ended up upside down (see below; it's the piece at the end of the nest)
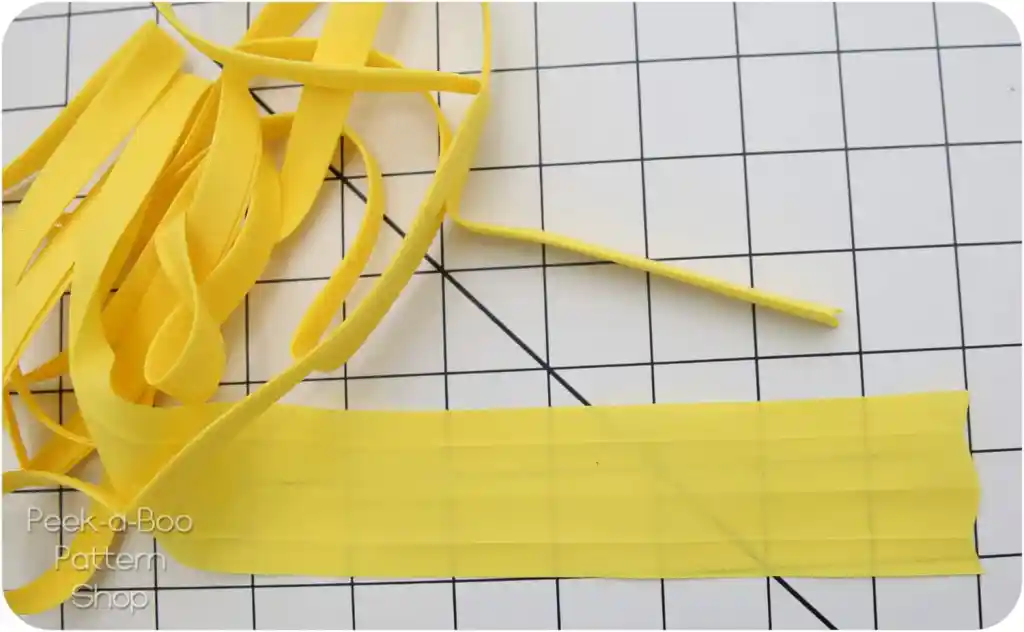
Instead of trim fabric I decided to use double-fold bias tape. It is a bit wider than 1.5" so depending on how thick your cording is you may want to trim it down some or just use a larger seam allowance when you attach the trim to the nest. I like to press the upper and lower folds out of the bias tape before using it. If you are using bias tape instead of trim, just add the required trim lengths together and then subtract seam allowances. Alternatively you ,can measure the outer edge of your nest.
I didn't include the insert, but if you'd like to include it, you will need to cut those pieces as well. I like to use fleece or flannel for the bottom layer, PUL on the inside (to stop leaks) and coordinating quilting cotton for the top.
Baby Nest Step 2: Sewing Steps 1-5 of the Patttern
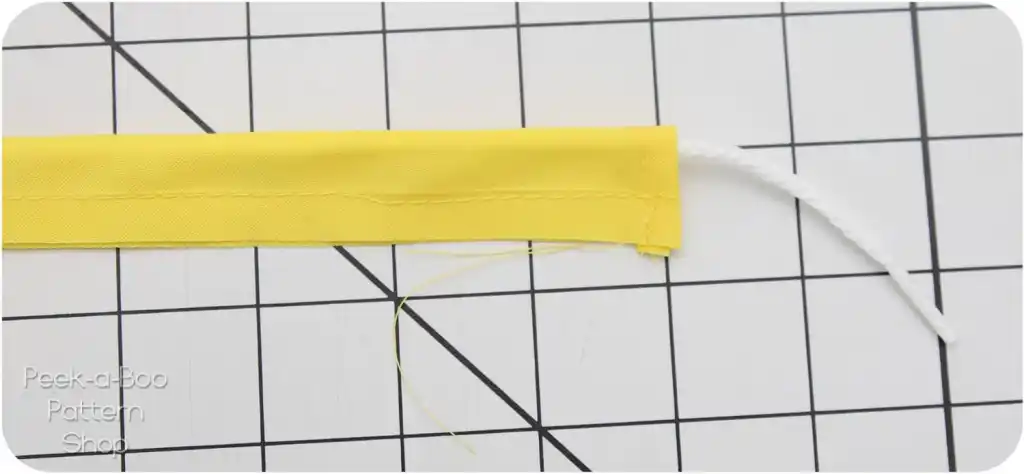
Now we’re going to sew steps 1-5. First, sew your trim pieces together into one long strip. I’m using bias tape so I skipped that step. Next, finish the ends of the trim by folding them over twice and topstitching. If you want a little leeway in getting the trim length correct (great idea if you altered the size of the nest or are using bias tape), just hem one end for now and leave your time a little longer than you think you’ll need. You can hem the other end later.
Next sandwich the trim around the cording. You need enough room for the cording to slide through the trim piece. If your cording is fairly narrow you may want to reduce the width of your trim a bit. You can see here I have a little more wiggle room than necessary.
In step 3 it’s time to attach the trim/cording to the nest. Find the middle of the trim and pin it to the center top of the nest. Pin the ends in place 3/8″ from the end of the nest.
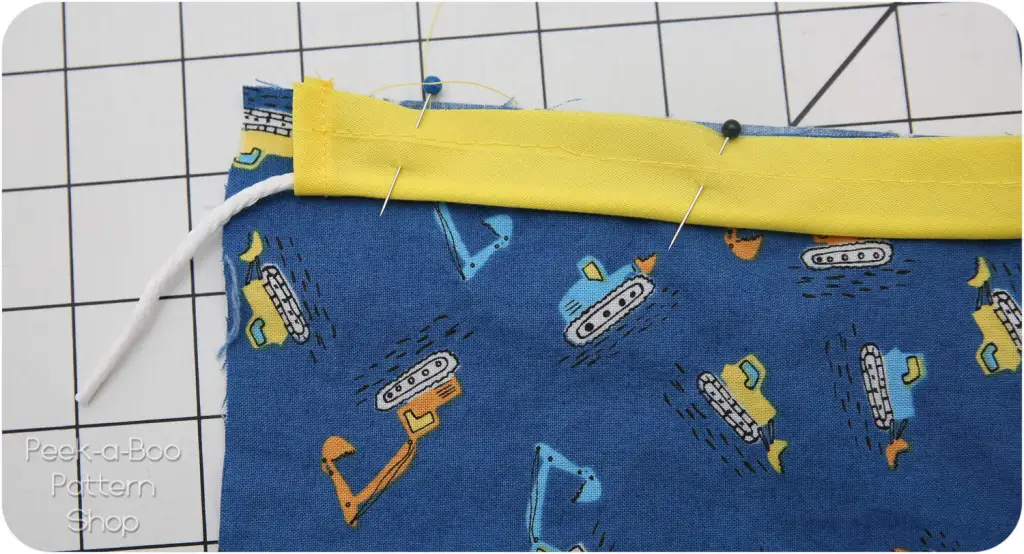
It may look like your trim is too short. Don’t panic! Just clip into the seam allowance of the trim and that will help ease it around the corners.
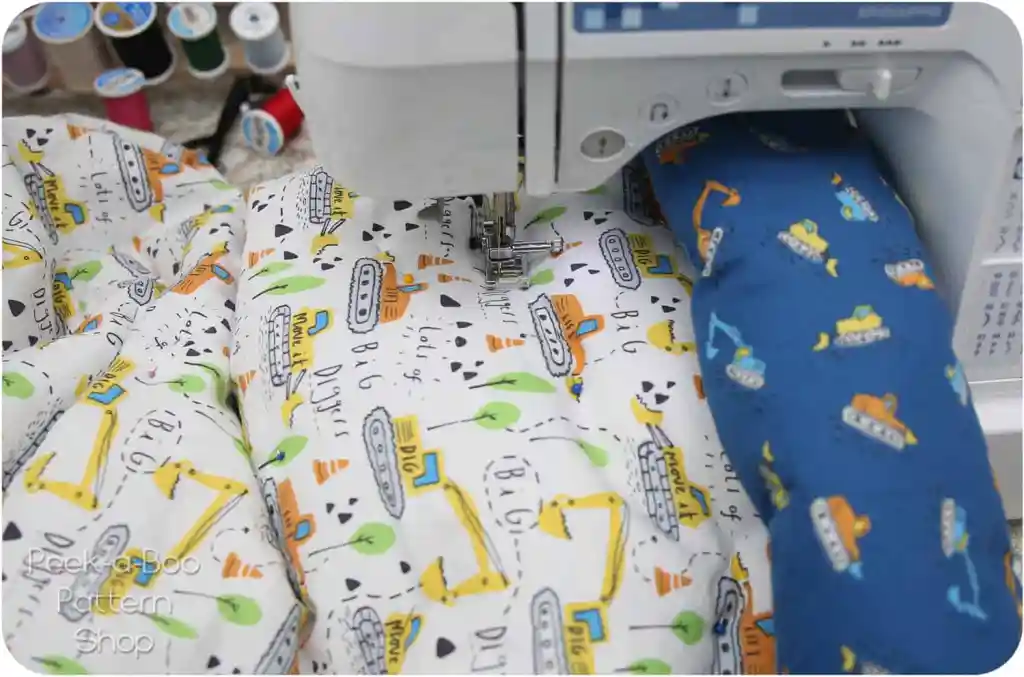
In step 5 you sew both nest pieces together with the trim sandwiched between the 2 layers. I like to use a zipper foot for this step. You want to sew fairly close to your cording, but make sure it still has enough wiggle room for you to tie the nest. Depending on your cording width, you might need to use a bit larger or smaller seam allowance for this step. The important thing is to sew about 1/8-1/4″ from the edge of your cording.
After you sew the layers together, trim away the seam allowance at the corner.
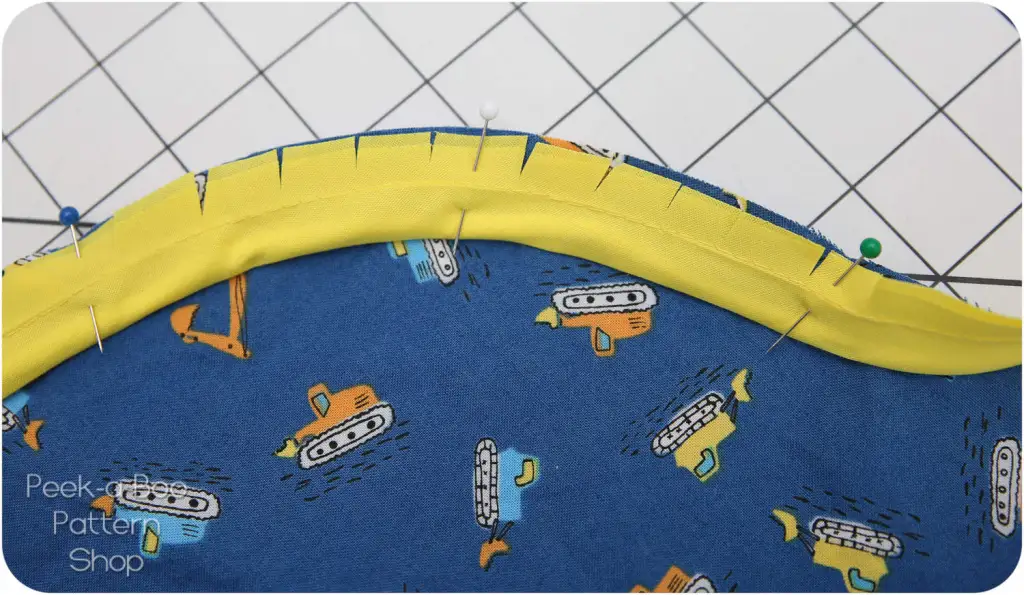
And then notch the seam allowance on the curved upper corners. This will help the nest lay smoothly when you turn it right side out.
Baby Nest Step 3: Adding Padding to the Nest Base
The first thing we need to do is mark where the base layer belongs. This will ensure the nest is symmetrical and the padding is right in the middle. I find the easiest way to do step 6 is to fold my nest in half. Whichever fabric you want to show on the inside of the nest should be face-up. Lay the base piece on top and trace around it. Then flip your nest over and repeat on the other side.

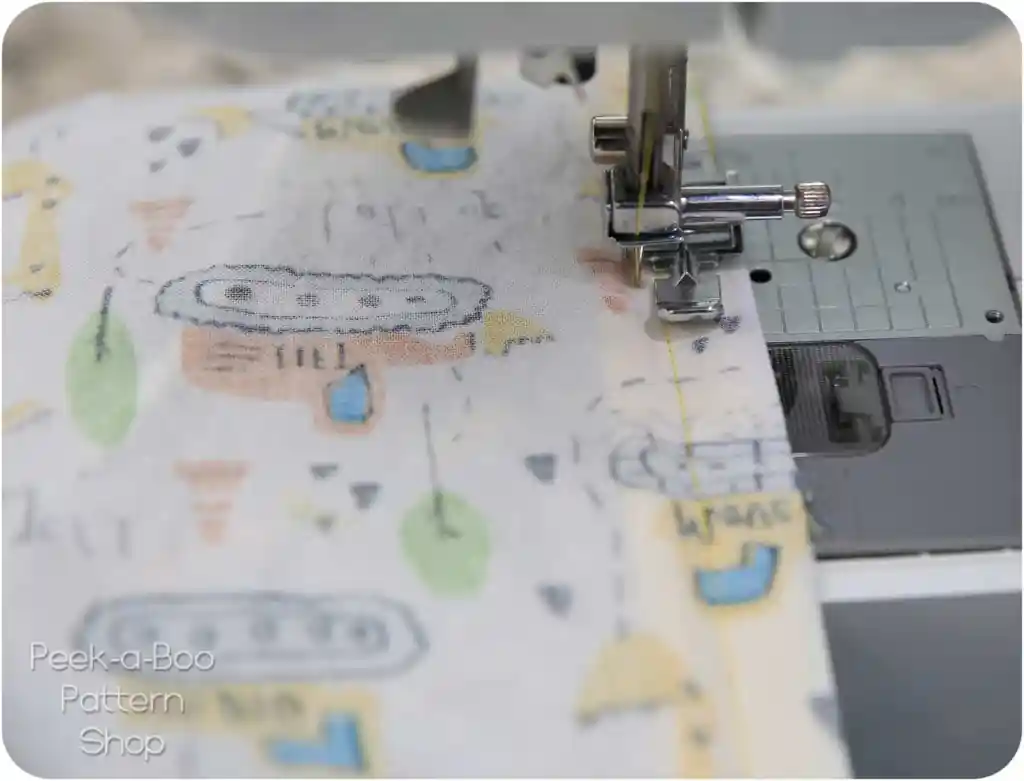
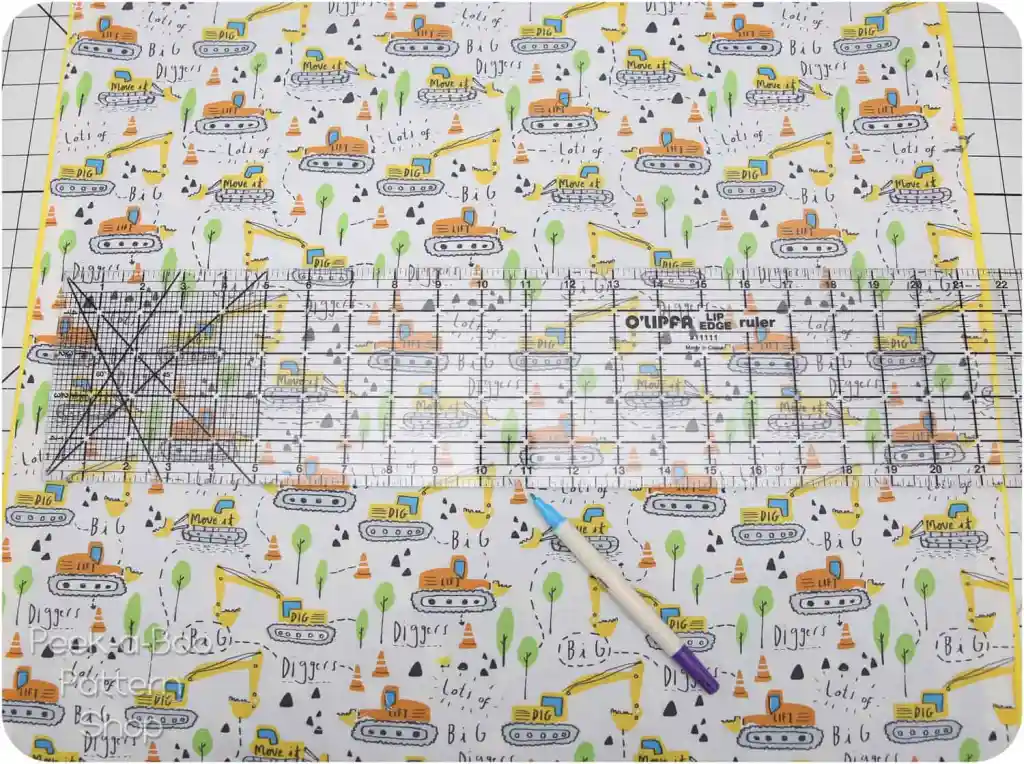
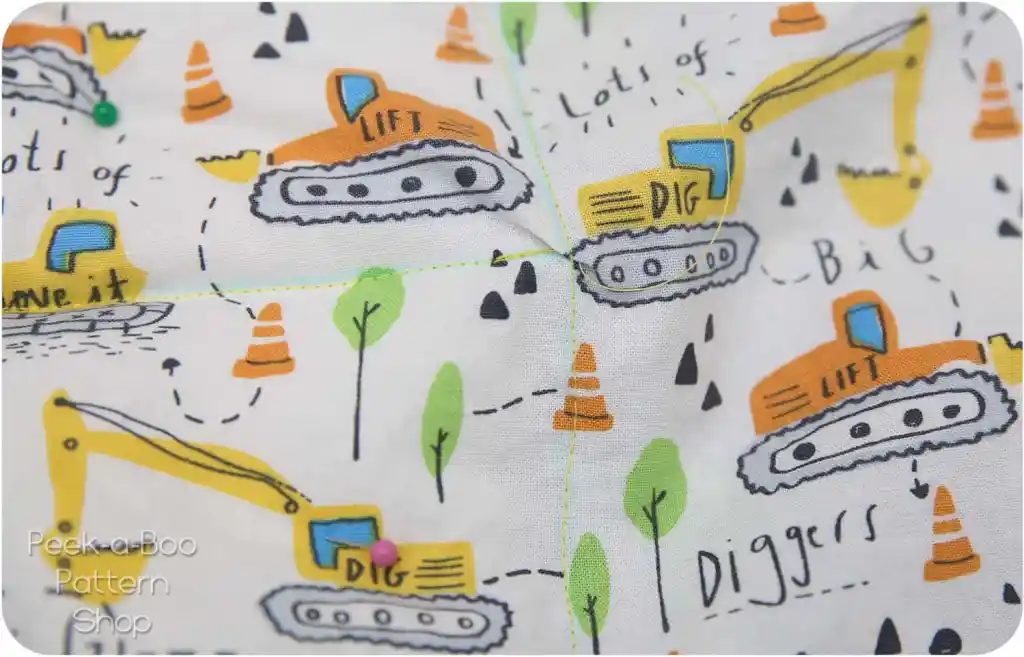
In step 7 it’s time to mark the quilting lines. It’s much easier to mark these before adding your padding since everything is nice and flat right now. I decided to do horizontal rows and used my quilting ruler to keep them nice and straight. For my toddler size nest I made the rows 5″ apart.
Before adding the base padding to the nest, baste the outside edges together. I found this easiest to do with my serger. This will keep all of your layers together so they aren’t shifting around while you add them to the nest.
Now it’s time to slide the padding in-between the 2 layers of the nest. In the larger sizes this can take a little patience to get everything centered. I found it easiest, to line up all the layers at the base and then do a little shaking (imagine shaking out a beach towel before folding it up). Then I just laid it flat, stuck my arm inside the nest and scooted the padding around a bit until it was centered inside my marked lines. If your padding is a bit bigger than your marked lines it will work out just fine so don’t worry about it.
Now pin all of those layers together; the more pins the better! I try to pin at least every 3″. If you have a walking foot, it will make the quilting a bit easier. I don’t have a walking foot and it still turned out just fine. Roll up one side of the nest and then slide the whole nest under your machine so you can quilt the layers together.
Unless you are experienced with quilting and pin like crazy, you will most likely end up with a few little pleats in your fabric when you topstitch around the edge of the base. You can see a little pleat in my project right there in the center of the picture. Don’t worry about and don’t pick it out to try again. Once you get the stuffing added to the sides, this won’t even show, so there’s no need to stress over getting this perfect.
Baby Nest Pattern Step 4: Optional Insert
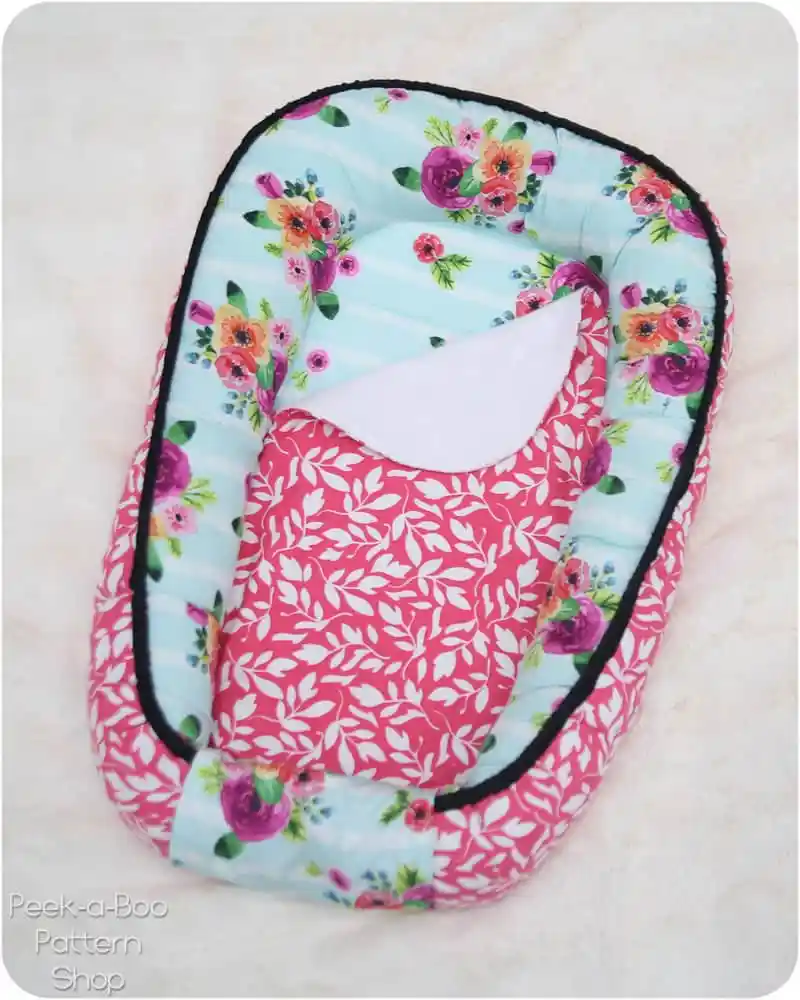
Steps 9-12 is the optional insert. Since I’m sewing for a toddler I decided to skip the insert. If you are sewing for a baby and don’t want to deal with washing the nest for diaper blow-outs, spit-up, etc. the insert is definitely worth including! Here’s the insert I made for another nest. It just lies right on top of the base of the nest and is secured with Velcro. Make sure you put the soft side of the Velcro on the nest so you can still use it without the insert.
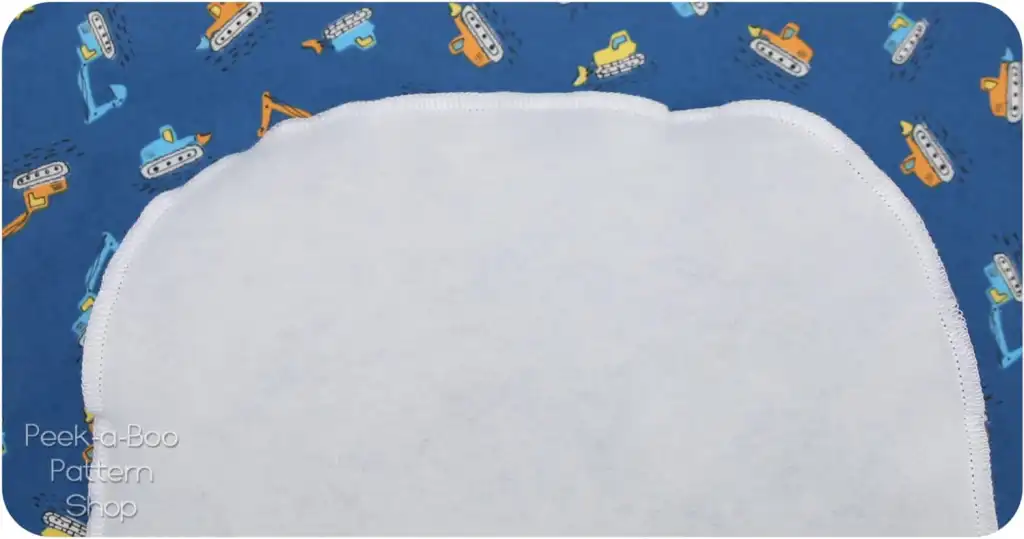
Steps 13-17 is the toe flap. This flap wraps around the base of the nest when it’s shut to give the nest a neat & tidy finish and keep curious little fingers away from the cording. Once the flap is sewn together you will baste it to the bottom of the nest in step 15. Whichever side you would like to show should be face-down (for this nest I had the white side show).
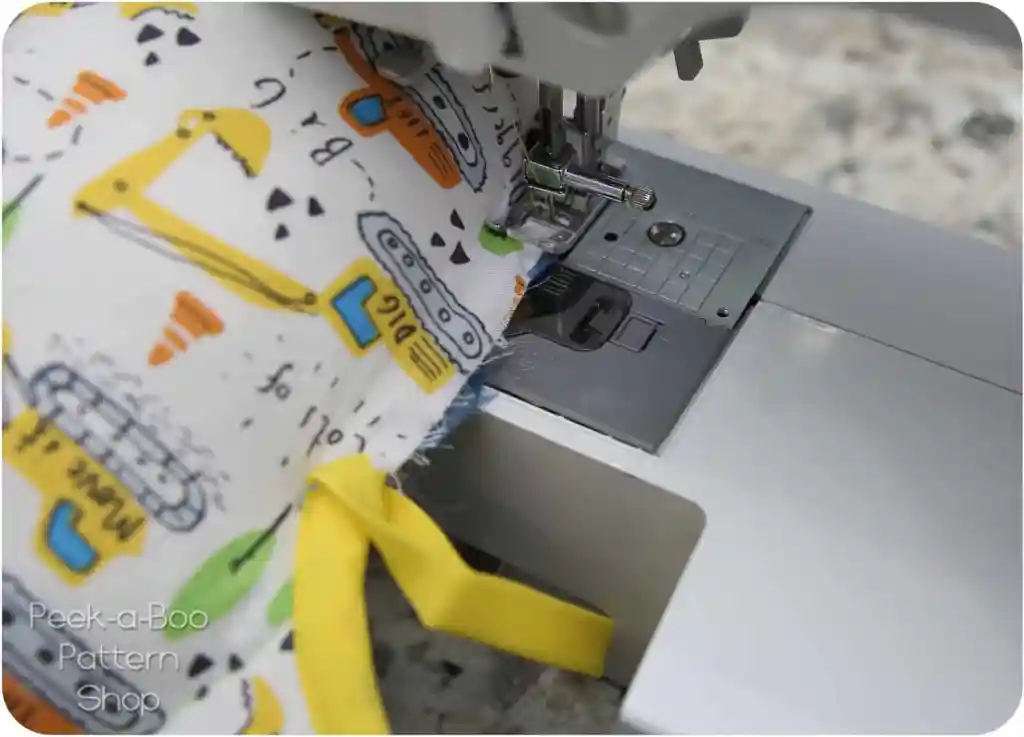
Now don’t get too excited and start stuffing yet! First we are going to add our bias tape to as much of the nest as possible because it is much easier to attach before adding the stuffing.
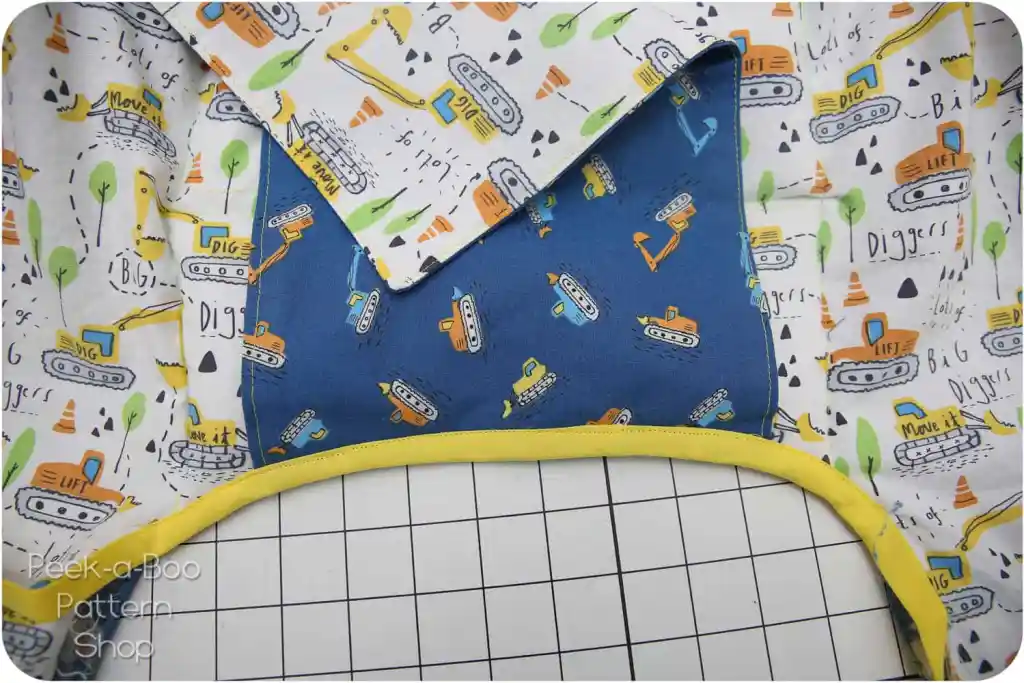
Here’s what the bias tape looks like on the back of the nest. If you need help with bias tape, a tutorial is available here.
Don’t sew the bias tape to the entire opening yet (stop at the marked star) or you won’t have an opening to add the stuffing.
Baby Nest Step 5: Finish the Baby Nest
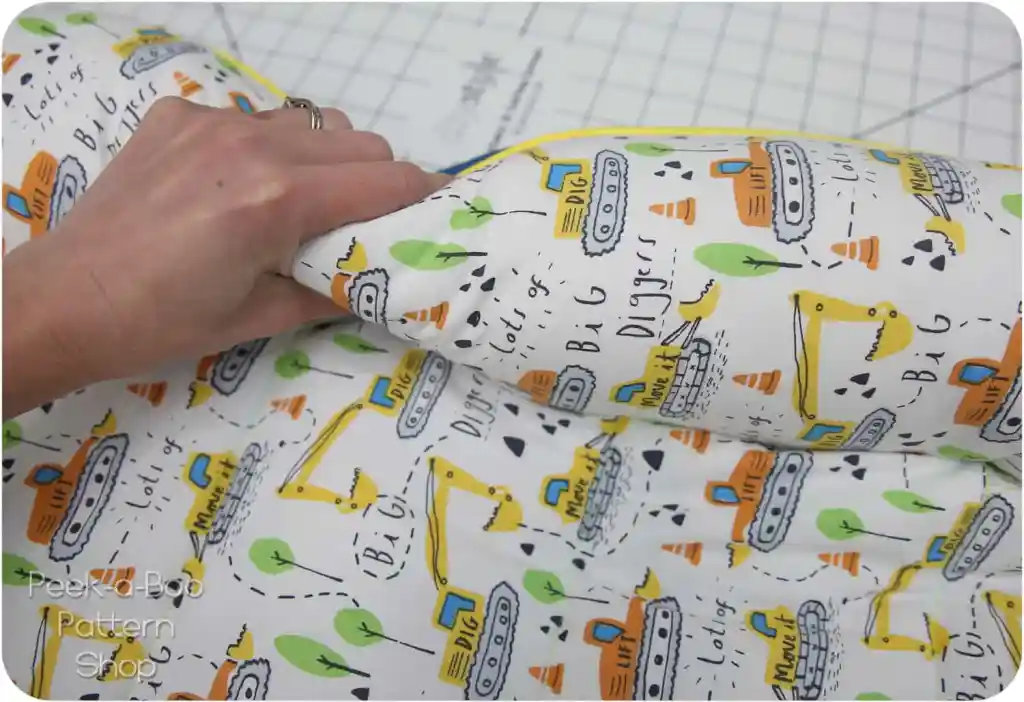
It’s time to stuff! Start by grabbing a fistful of polyfil and positing it at the very top of the nest. Then work your way down each side one fistful at a time. The listed polyfil requirements are a general guideline and you may want to use a little more or less than listed. I like to stuff my nest until it’s plump but still squeezable.
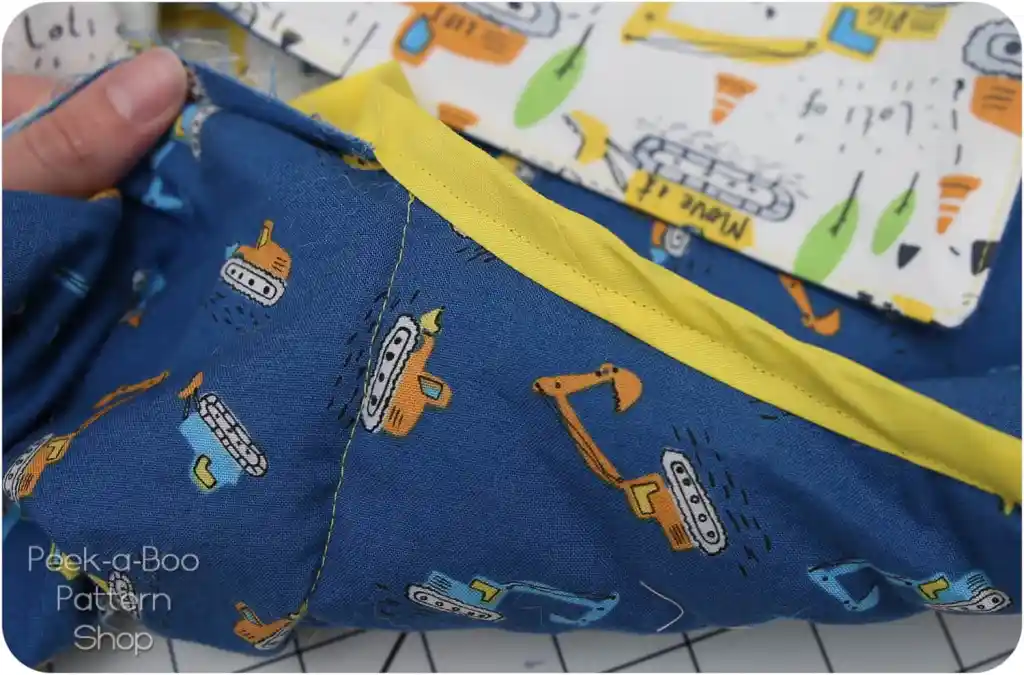
Once you’re done stuffing it’s time to close up the legs. Do not overstuff the legs or this will be super difficult. Baste the legs shut either with your machine or by hand. It’s not very far to sew, so if you can’t get your nest under your machine very easily it might be quicker to do this by hand.
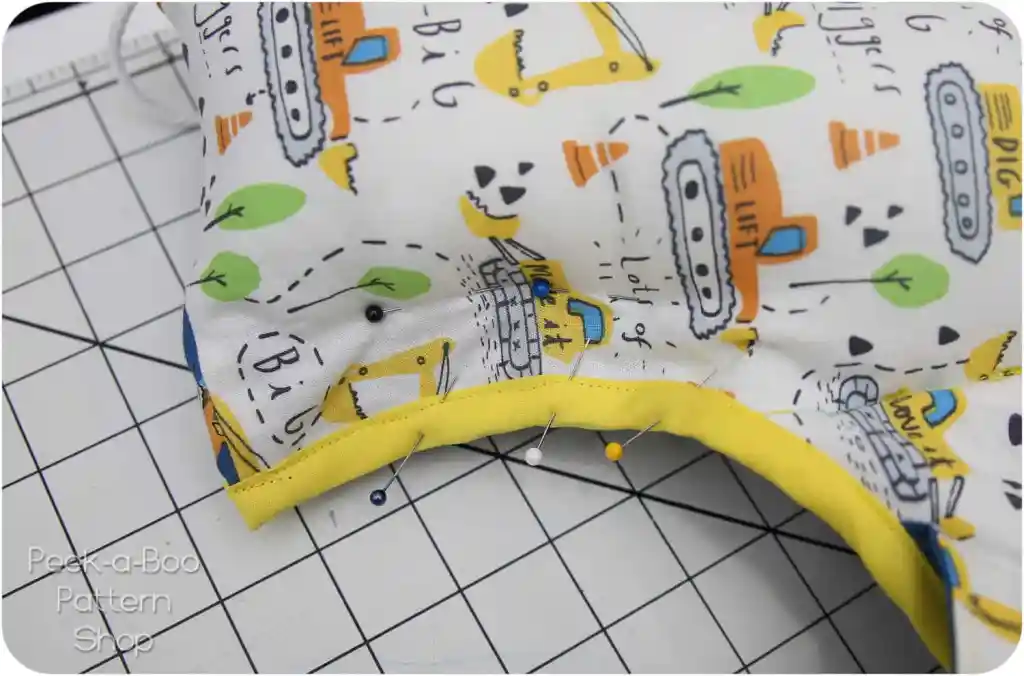
On my latest nest I shoved all of the stuffing towards the outside of the leg and then pinned the nest together about 1″ from the raw edge. This made finishing up the bias tape much easier! Once you’re done with the bias tape, remove the extra pins and the stuffing will fill the gap. The legs will be hidden by the toe flap so if you have some spots that aren’t 100% perfect don’t stress over it.
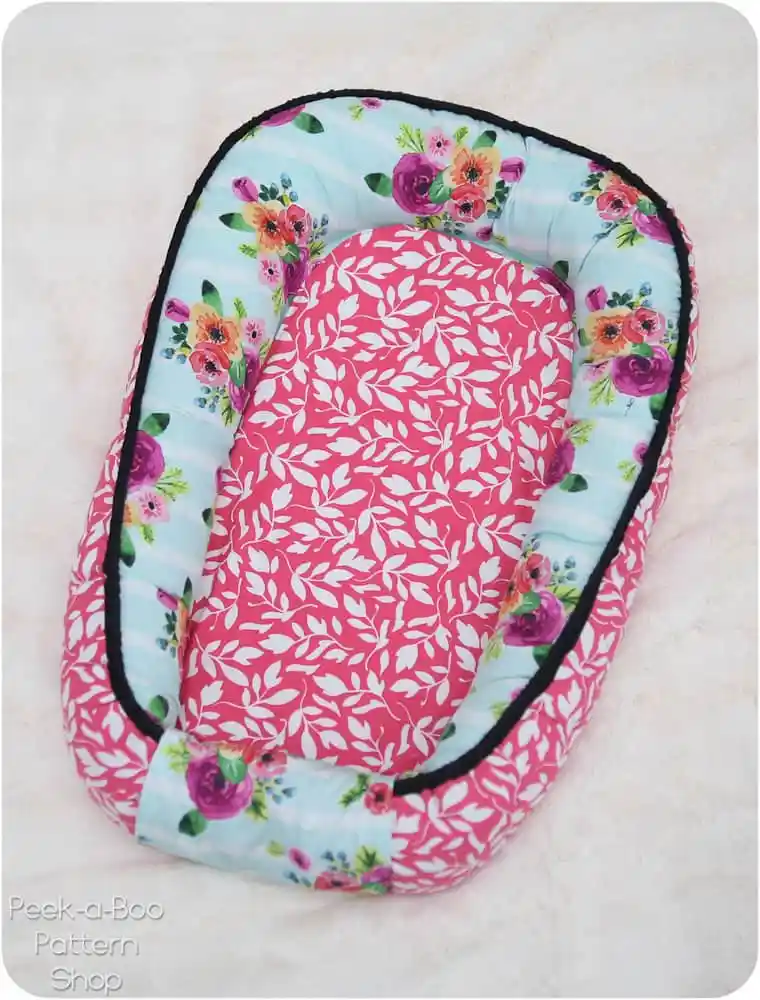
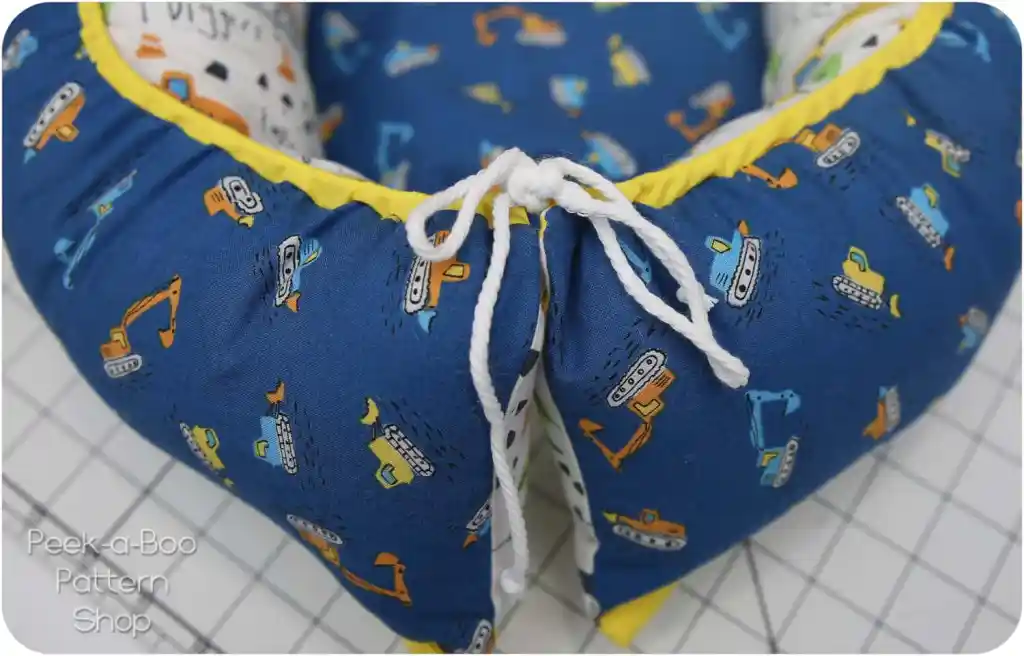
Add your snaps (step 21), then pull on the cording a bit until the nest is nicely rounded up top, and tie in a bow. I like to double knot for security.
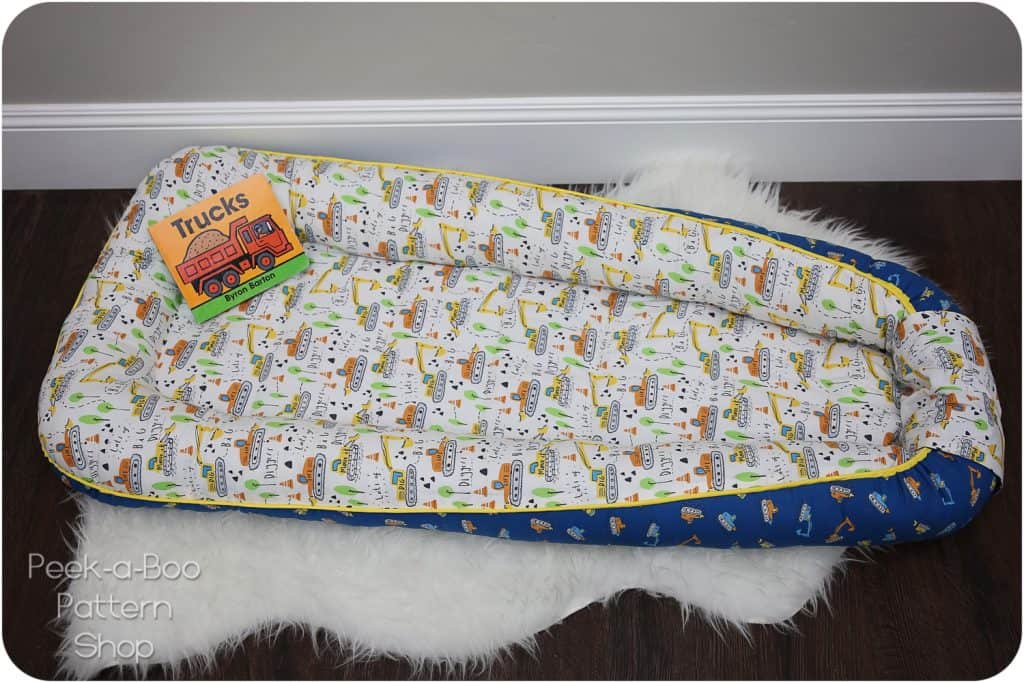
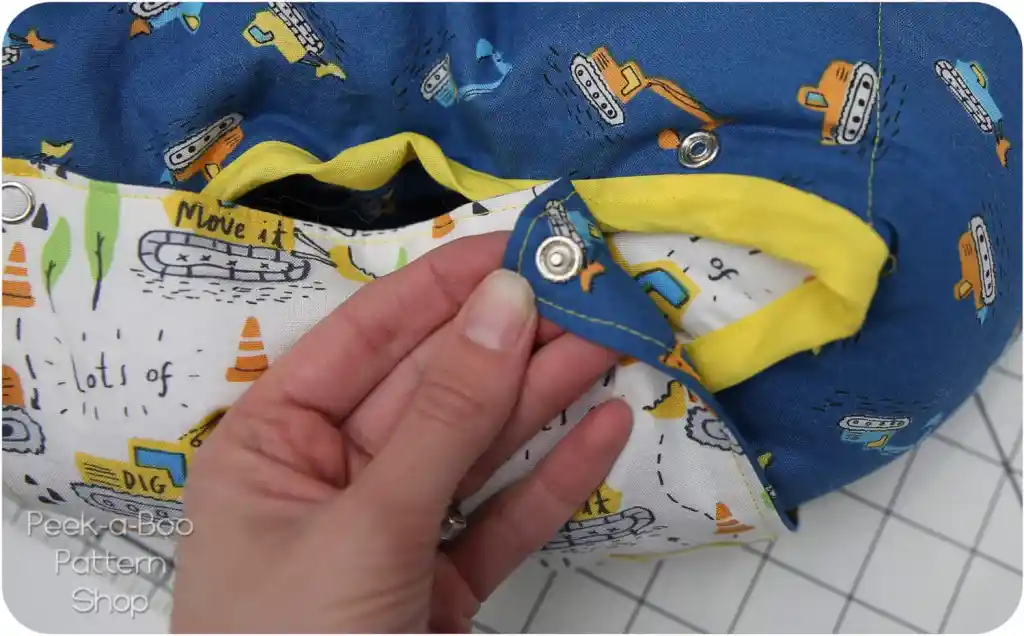
Wrap the toe flap around the nest and snap in place on the underside of the nest. And you’re done!
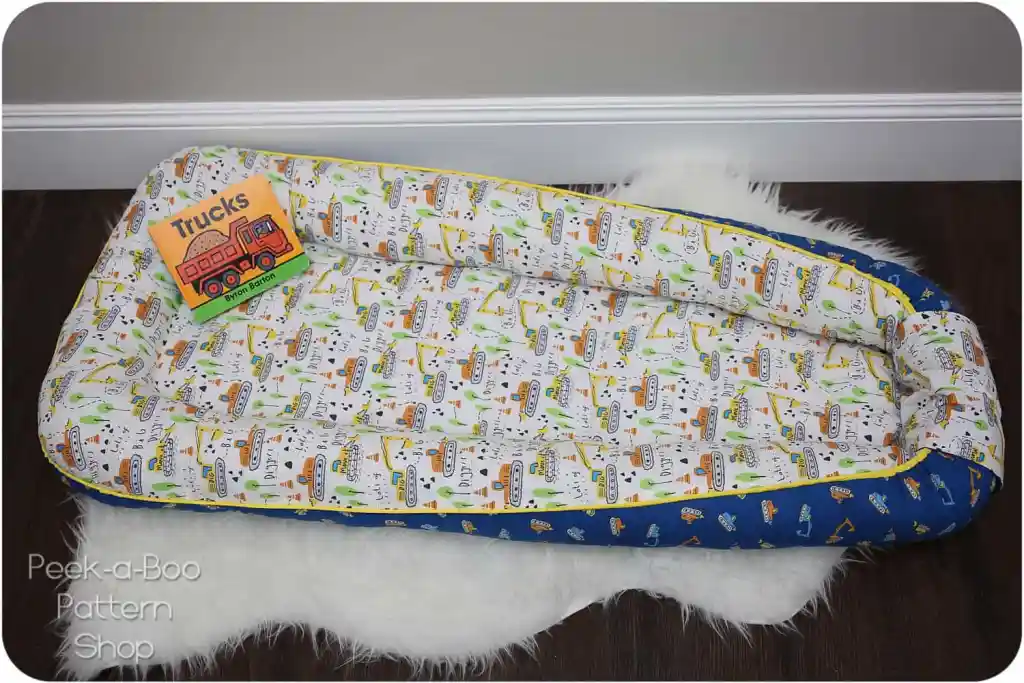
I hope your little ones enjoy their baby nests!

Baby Nest Pattern FAQ
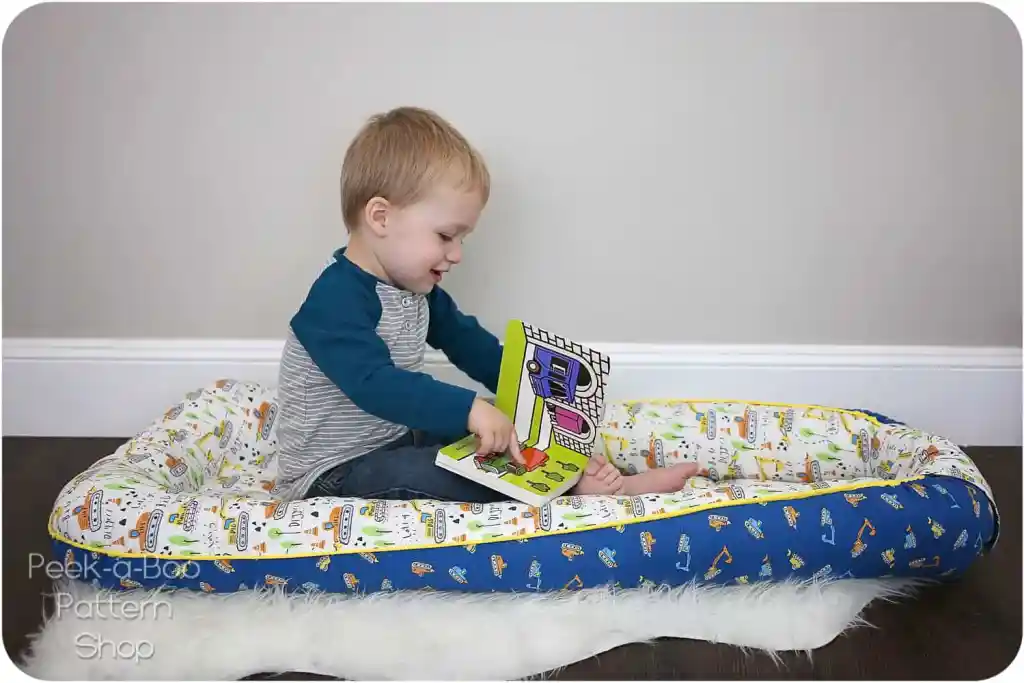
- What do I use the nest for? Do I need one for my baby/toddler? The DIY Baby Nest is a clean and comfy place for you to set your baby down while you get some things done! The Nest is easy to carry around the house with you or bring on outings, so your baby has a clean and familiar place to relax while you fold laundry, sew, play with older siblings, etc. For toddlers and preschoolers, it's a great place to read, watch TV or use as a nap mat. It's also great for pretend play as a boat, spaceship, etc.
- What size should I make? This is the most commonly asked question about the DIY Baby nest. The finished mattress lengths are listed in the size chart. Keep in mind that most babies and toddlers like to curl up in the nest. If you plan to mostly use the nest while the baby is immobile (up to around 4 or 5 months) and then put it away, I would go with the baby size. If you plan to continue using the nest into the toddler years, I would skip straight to the toddler size. You can also cut the nest right in between 2 sizes for a custom length; just remember you will need to measure how long to make your trim pieces.
- How long does it take to sew? Is it hard? The baby nest is not particularly difficult to sew. I rate it as an intermediate project and most people can complete it in a few hours (your first one may take you longer).
- What type of fabric should I use? Can I use knit? The Baby nest is designed for non-stretch fabrics. Quilting cotton works really well or you could use flannel if you plan to mostly use the nest during colder months. If you want to use knit, I would back your knit in lightweight fusible interfacing so it holds its shape. You need 2 cuts of fabric for the nest. One piece of fabric becomes the outside of the nest and the other fabric becomes the inside of the nest (this is different than the optional insert). For example, for the baby size, you need two 1-yard cuts of fabric.
- What should I use for filling and padding? The sides of the nest are stuffed with poly-fill. If you prefer, you can also use a natural fiberfill. The padding is for the base of the nest. My preferred padding is 2-3 layers of quilt batting. Keep in mind that babies and toddlers don't weigh much and very little padding is needed for them to lay comfortably on the floor, especially if you will be using the nest on a carpeted surface or grass.
- Can I use bias tape instead of trim? Yes! I'll cover this more next week during the sew-along. Buy 2 packs of bias tape so you have enough for the trim and the bias tape used to close up the ends.
- How much does it cost to make? This will depend on your fabric choice and the supplies you already have on hand, but for a baby size expect to spend around $40. This is assuming fabric is $10/yard and you are not using coupons.
- What is the insert? Do I need it? The insert lays in the base of the nest (it's secured with Velcro). The purpose of the insert is to catch any diaper leaks and/or spit up so you only have to wash the insert instead of the whole nest. Alternatively, you can just lay a receiving blanket down before placing the baby in the nest. For older children, I personally wouldn't bother including the insert.
- How do you wash it? For minor spills, spot clean with a damp rag and air dry. If the entire nest needs to be washed, you can machine wash it on a delicate cycle. After removing from the washer, re-shape the nest a bit if the padding has shifted and then lay flat to dry or tumble dry low.
- Can I use the nest as a pet bed? Yes! The nest makes an excellent pet bed for cats and small dogs. I don't recommend using the nest for large dog breeds as it doesn't provide sufficient padding for proper joint health.