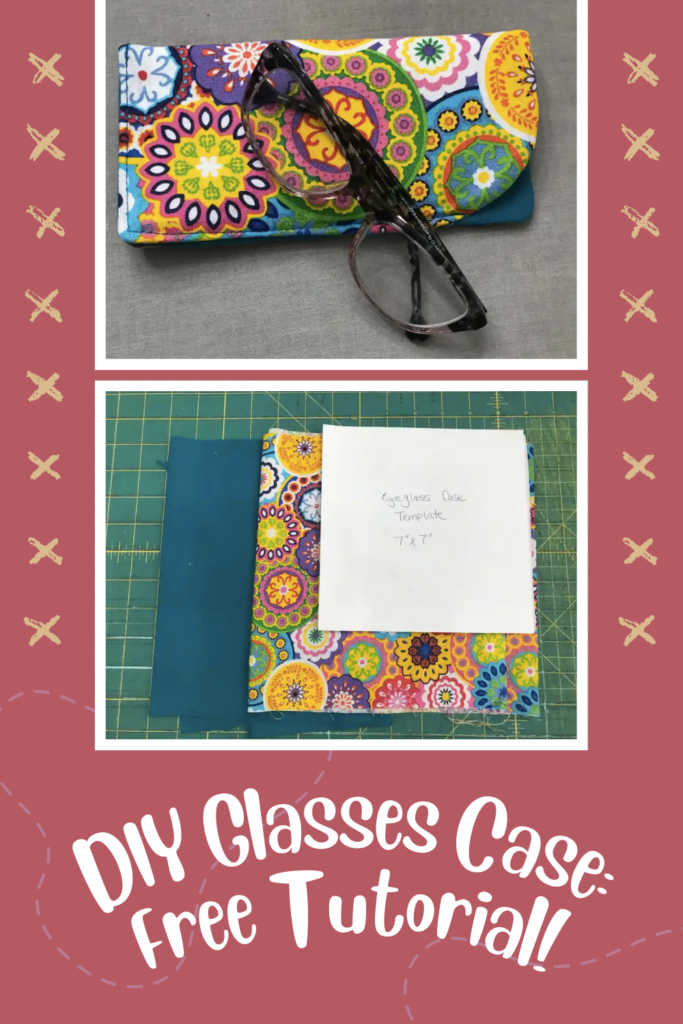
DIY Glasses Case
When I was creating this DIY glasses case tutorial, "The better to see you with, my dear!" is what was running through my head the entire time! You can make a case for your glasses in no time and it will soon be your go-to gift for all of the near and far-sighted folks in your life! Plus, the beauty is that you can use those favorite tiny scraps you've been hoarding for the case! I was able to use my un-sewn mask panels that I cut last year during the height of the pandemic!
DIY Glasses Case | How to Make a Glasses Case
NOTE that if you have bigger glasses, you will need a bigger case template! Make a sample eyeglass case first if you are not sure. I used a simple case from my eye doctor as a sample to measure against.
Supplies for Your DIY Glasses Case | Eyeglass Case Pattern Template
- A scrap of fabric for the outside of the case at least 8"x8" (I used quilting cotton)
- A scrap of fabric for the case lining at least 8"x8" (I used flannel for softness, but you can also use quilting cotton)
- Flex Foam scrap that's at least 8"x8" (You can use the single-sided or double-sided fusible)
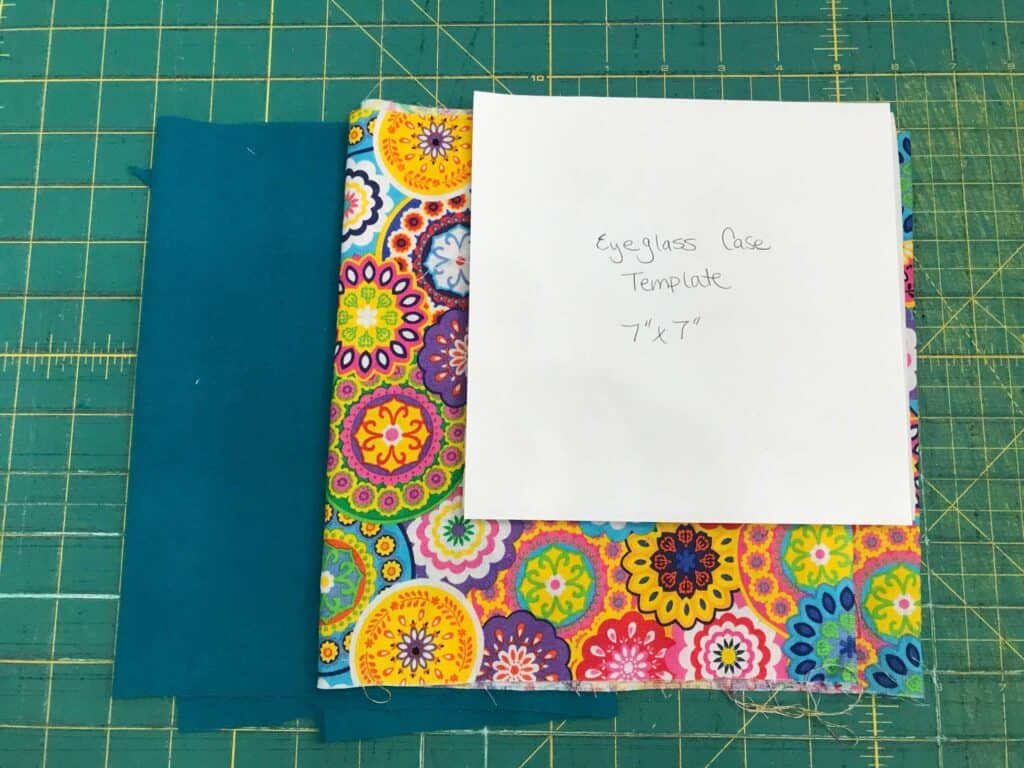
- 1 piece of printer paper or freezer paper to make a case template
- Regular sewing supplies (coordinating thread, scissors, etc.)
DIY EyeGlass Case Prep Time
I used a piece of printer paper to make a case template that was 7"x7". Next, I cut my inner and lining fabrics plus the Flex Foam to the size of the case template. Now adhere the Flex Foam to the wrong side of the lining fabric following the manufacturer's instructions. This will now just be referred to as the lining.
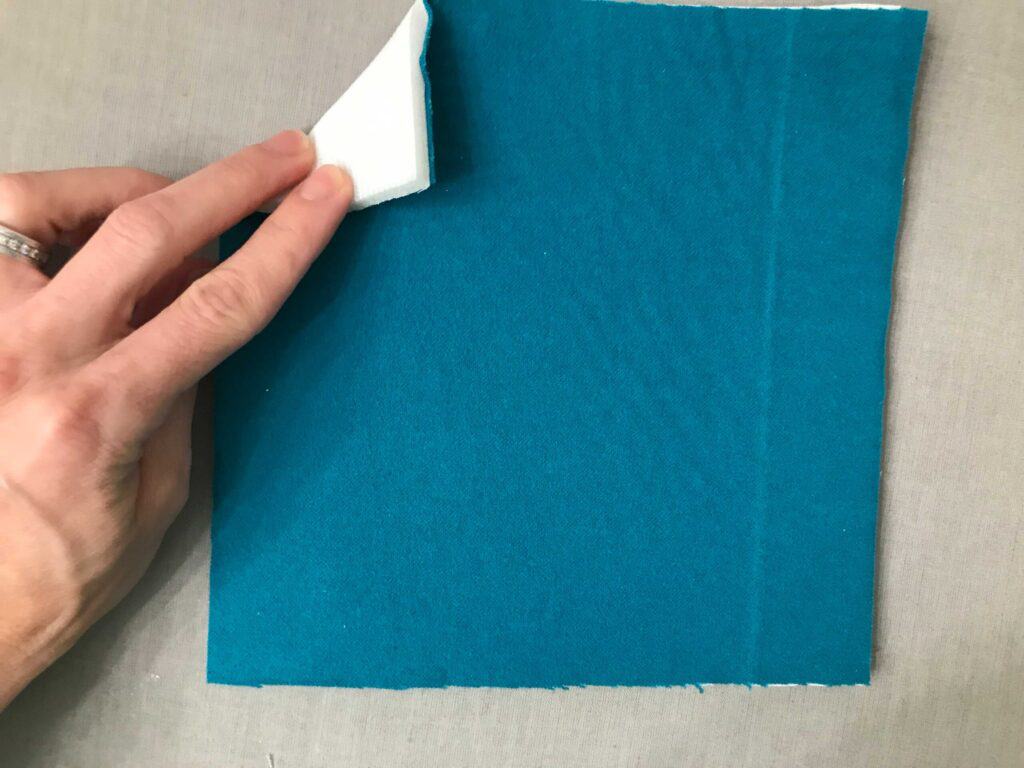
Glasses Case Step 1: My DIY glasses case lining fabric is teal flannel which looks the same on both sides. The Flex Foam adheres to the wrong side of the fabric.
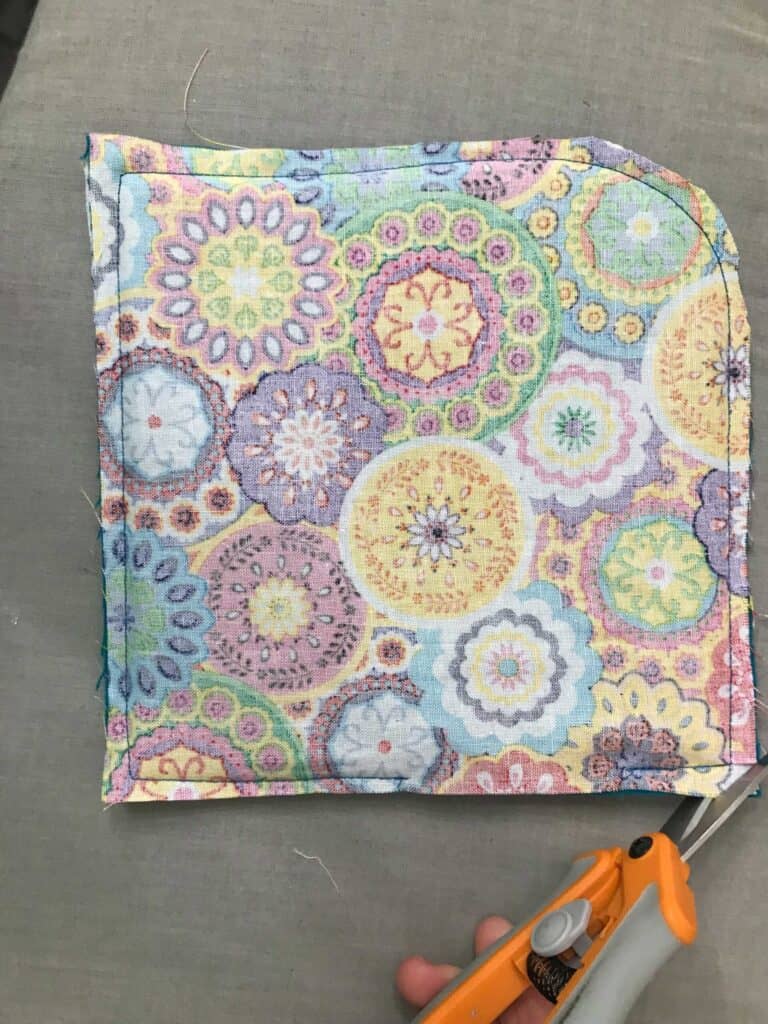
Glasses Case Step 2: I wanted the top of my case to be rounded a little on one side. To do this, lay the lining right side (fabric side) up and then place the outer fabric right side down on top of it. Next, use a bowl or cup to trace the rounded edge with a fabric pen. Trim along the curved line.
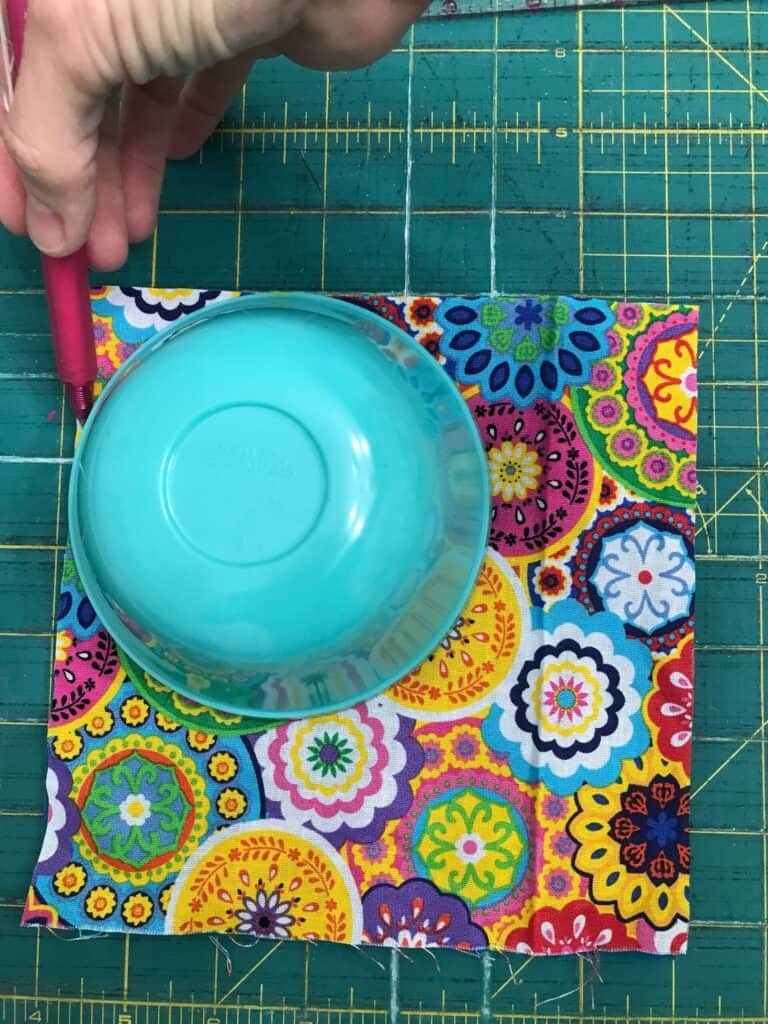
My outer fabric is only pictured here, but you will trace the curve on the lining and outer as indicated in the case instructions above.
Eye Glass Case Sewing Tutorial
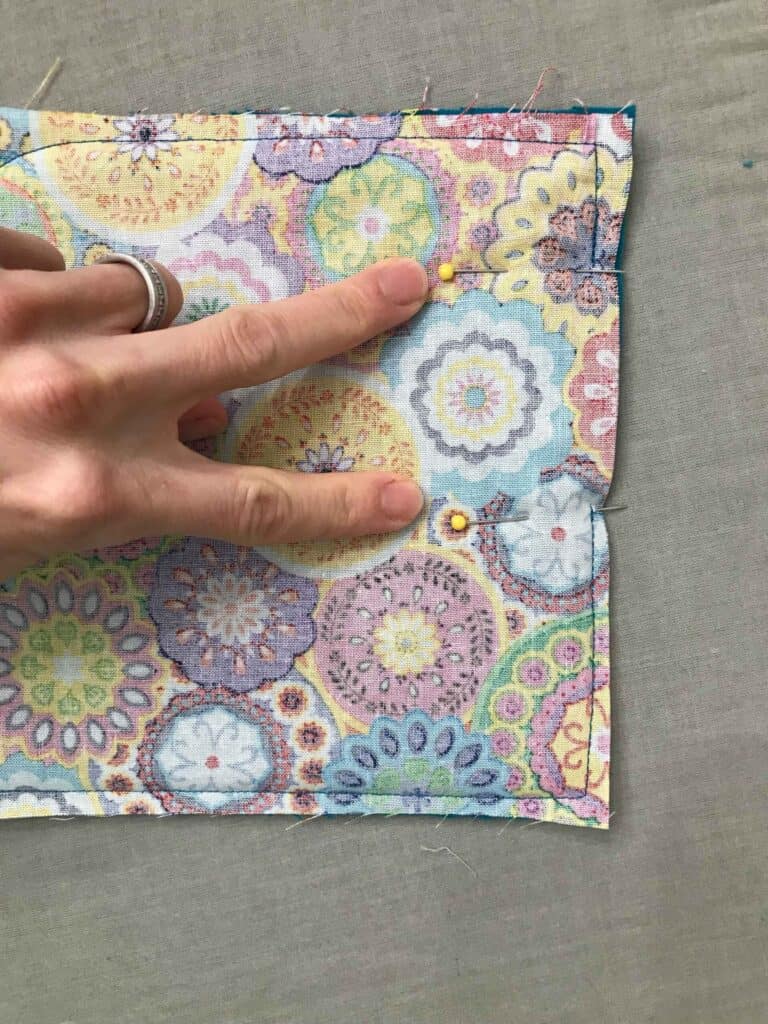
Glasses Case Step 3: With your pieces right sides together as in the last step, pin around all edges, leaving a 2"-3" no-sew zone on one of the side or bottom edges. Sew around the perimeter, backstitching when you start and stop. Remember, do not sew in the no-sew zone!!
Glasses Case Step 4: Clip your corners and clip the curve if you curved the top edge. Take care and snip close to the stitching but not through it!
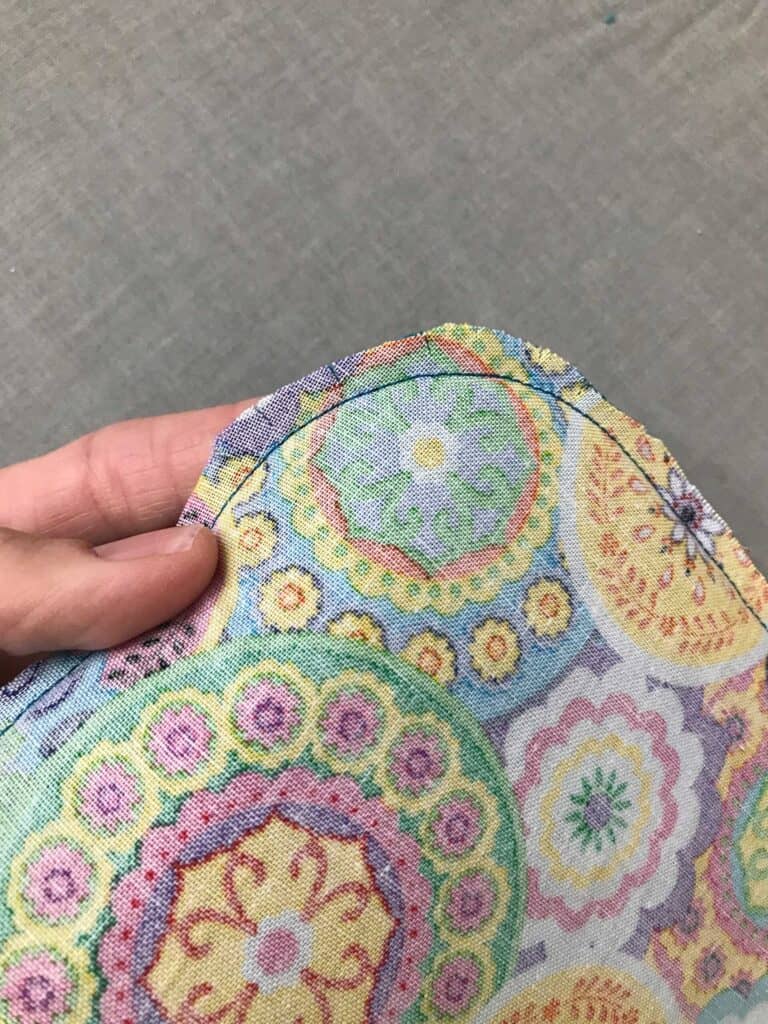
Glasses Case Step 5: Clip diagonally across the right-angled corners and clip around the curved edge.
Glasses Case Step 6: Next, turn the case right side out. Using a chopstick or blunt object, poke out the corners. Press well. If you used double-sided fusible Flex Foam, this is when the foam will adhere to the outer fabric.
Glasses Case Step 7: Now it's time to close the no-sew zone hole. There are a few ways to do this. My favorite way is by using Steam-A-Seam Iron Tape. This is a permanent adhesive and comes in either 1/4" or 1/2" widths. Simply measure the opening and tear a piece of Steam-a-Seam tape to match the width. Remove the paper backing and place the strip of the tape inside the opening, making sure that the raw fabric edges are tucked in well. Use your iron and steam it shut! You can also hand-sew the opening closed using a ladder stitch.
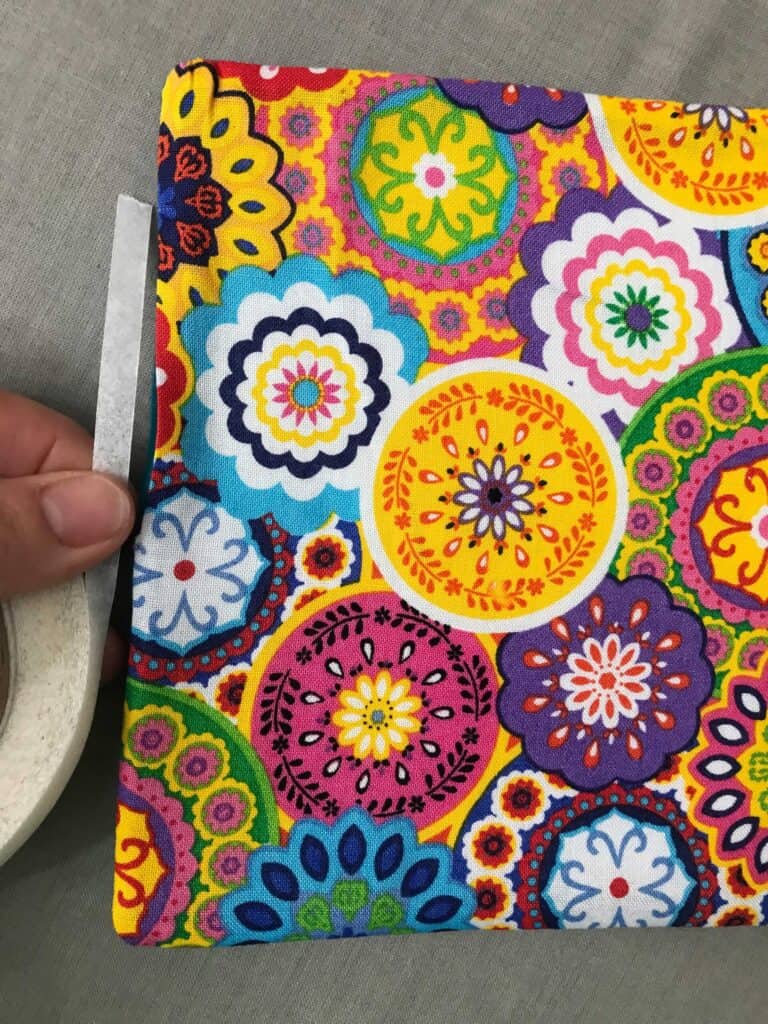

Glasses Case Step 8: Measure the Steam A Seam, peel away the backing, and place the tape in the opening. STEAM AWAY!
The End is In Sight!
SEE what EYE did there?? I'm cracking myself up! Anyway...FOCUS!
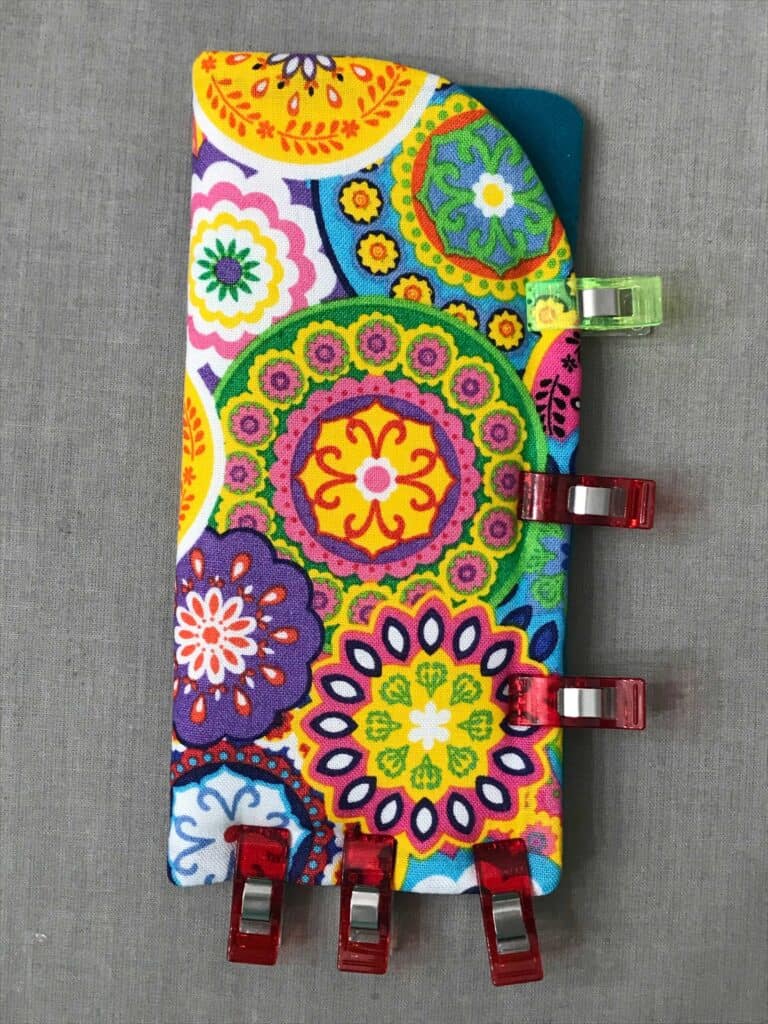
Glasses Case Step 9: Fold the DIY glasses case in half with the lining sides together. Pin around the side and bottom edges and stitch 1/8" away from the edge. Remember to backstitch when you start and stop; this is especially important at the top edge near the opening where your glasses will slide in. That's a stress point so be sure to reinforce it!
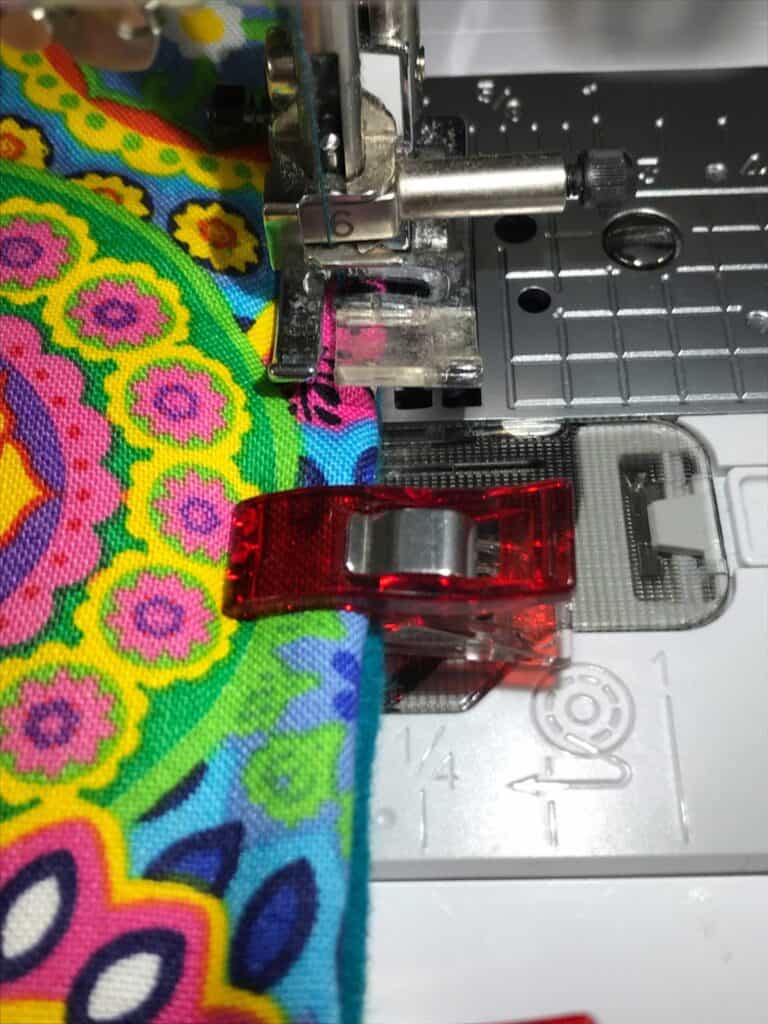
Case Step 10: Starting at the base of the curve, topstitch around the side and bottom.
THE EYES HAVE IT! You're done with the DIY Glasses case! Before you leave, make sure to join our Facebook Group. Happy Sewing!