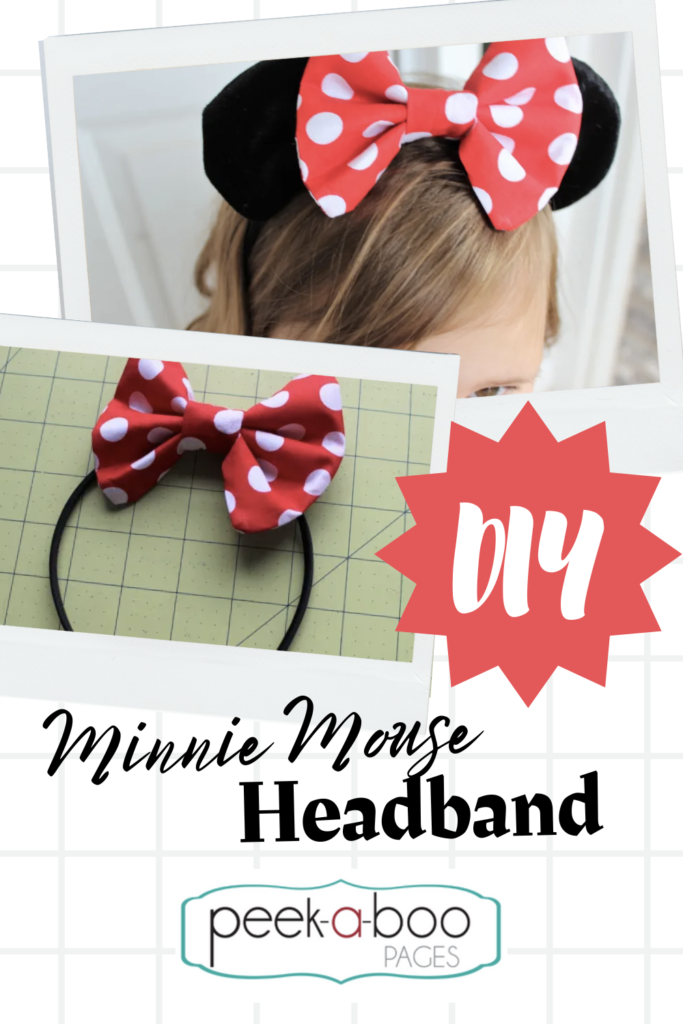
DIY Minnie Mouse Ears | Costume Tutorial
Today’s tutorial is for DIY Minnie Mouse Ears. With Halloween just around the corner, I know you’ve probably started thinking about your kids’ costumes. I know not everyone feels the same way, but I genuinely enjoy making my kids’ costumes. It’s a fun way to get creative, and my kids like to get involved too by making requests and helping pick out patterns and fabric.
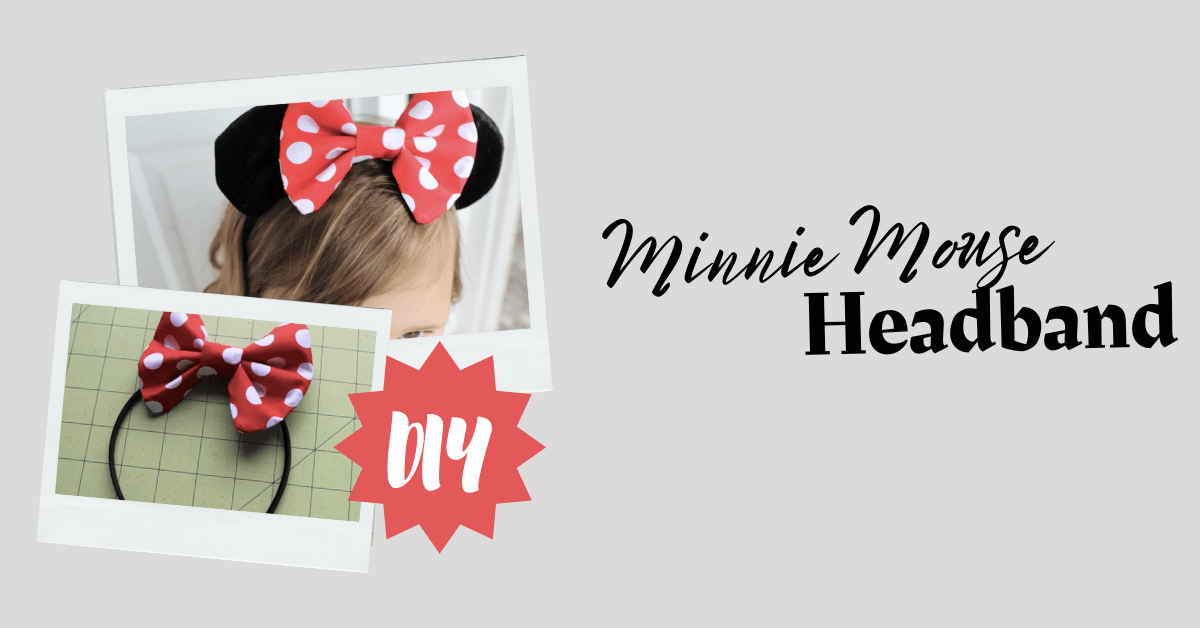
Costume-making doesn’t have to be intimidating. In fact, today I’ll show you a simple tutorial for making a Minnie Mouse headband with a bow and ears. Pair the headband with a homemade polka dot dress or even a store-bought one for a complete costume. These are also great if you’re taking a trip to Disneyland or World. Just a fun, simple way to enjoy the magic!
Of course, you can use this tutorial to make headbands for Mickey Mouse ears too…or just mouse ears I guess…
DIY Minnie Mouse Ears Headband

DIY Minnie Mouse Ears Supplies:
- Polka Dot fabric -scrap piece or 1/8th yard)
- Black fabric (I prefer to use a velvet) -scrap piece or 1/8th yard
- For your fabric check out www.knitfabric.com
- Batting
- small black headband
- basic sewing notions (thread, scissors, ruler, ect.)

DIY Minnie Mouse Ears Instructions:
Step 1: Let’s start with cutting your fabric. First, you’ll need to cut out 2 squares of your polka dot fabric measuring 5×5 inches. Next, cut a piece of batting the same size. (You are welcome to make your bow bigger or smaller for your headband based on personal preference. This is just the size I like best.)
Step 2: Then cut a strip of polka dot fabric to be 2.5×4 inches. This will be for the center of the bow. Finally, cut four circles of black fabric and 2 circles of the batting fabric. You can use anything round to trace around. (I created an easy template for myself by tracing around a ribbon spool.)


DIY Minnie Mouse Ears Sewing
Step 3: Next we’ll move on to sewing the headband. First, take your two squares of polka dot fabric and face them right sides together.
Step 4: Next, place them on top of a square of batting. Then pin it in place. Sew (or serge) around all four sides of the square using a 1/4 inch seam. However, BE SURE TO LEAVE a 1 INCH OPENING so you can turn it right side out. I like to round my corners as well, but this is totally optional.


DIY Minnie Mouse Headband Ironing
Step 5: Flip your square right side out and turn the raw edge from the opening in towards the inside. Next, give it a nice press with the hot iron. (You can choose to sew the opening closed, but I find it unnecessary as it will eventually be covered up by the centerpiece of the headband bow.)

DIY Minnie Mouse Headband Folding
Step 6: Next, accordion fold the center of square (starting where your opening is) to create your bow for the headband. Then wrap a piece of thread around the middle tightly, several times and tie a knot in the back.


DIY Minnie Mouse Headband Center Piece
Step 7: Now we’ll create the center piece for the headband bow. First, take your strip of fabric and fold it in half hot dog style, right sides together. Then sew down the long side of the fabric, creating a narrow tube.

Step 8: Turn the tube right side out. Line the seam up in the back middle, and give it a good press with the iron.

Step 9: Next, fold the strip in half so that the raw edges are touching and the seam line is on the outside. Then sew the short ends together using a 1/2 inch seam allowance.

Step 10: Next, flip your little ring right side out so the seam lines are hidden in the inside. Finally, insert the ring around the bow and position it in the center. Look how cute that bow is! Now you can slide the bow onto your headband.


Step 11: Next we’ll create the ears. Take 2 of your black circles and place them right sides together. Pin on top of a circle of batting. Sew around the outside, being sure to leave a small opening.

Step 12: Flip your circle right sides out through the opening you left. Now tuck in the raw edges of the opening and fold that portion of the ear up 1/2 inch towards the back side of the ear. Then sew in place using BLACK thread to hide your stitches. Now, you have just created a channel that you can slide your headband through. Afterwards, do the same thing with the other ear and you are finished.

Step 13: You can adjust the bow and ears to your liking simply by sliding them along the headband until they are positioned correctly.

There you have it! You created a Minnie Mouse Bow and Ears headband and it wasn’t that difficult was it?

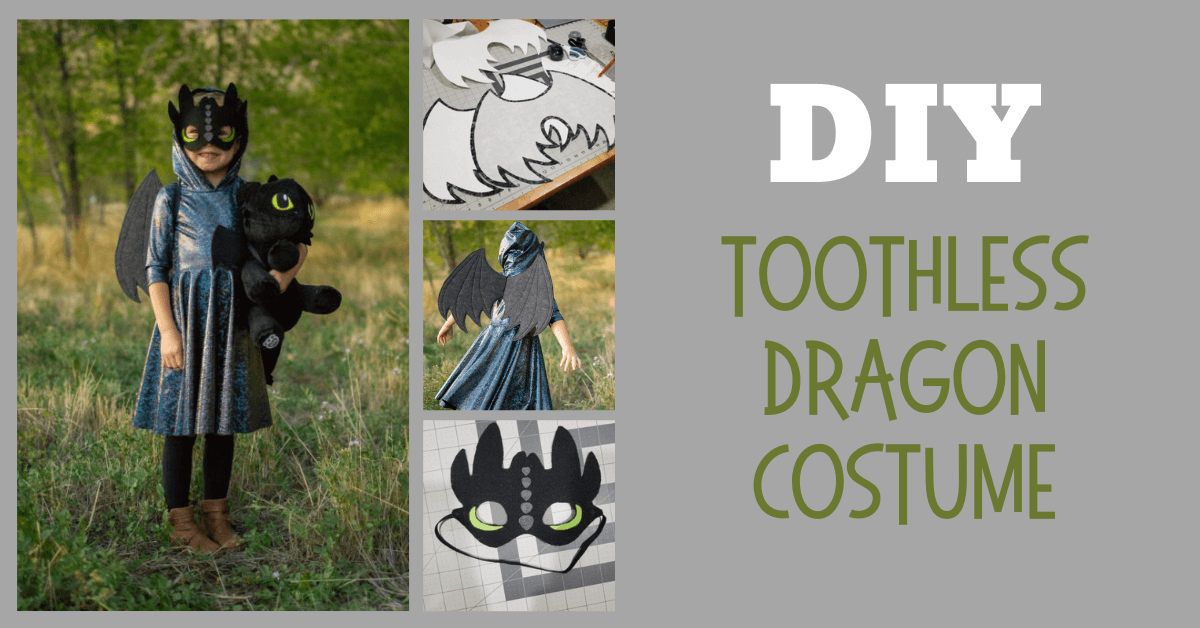
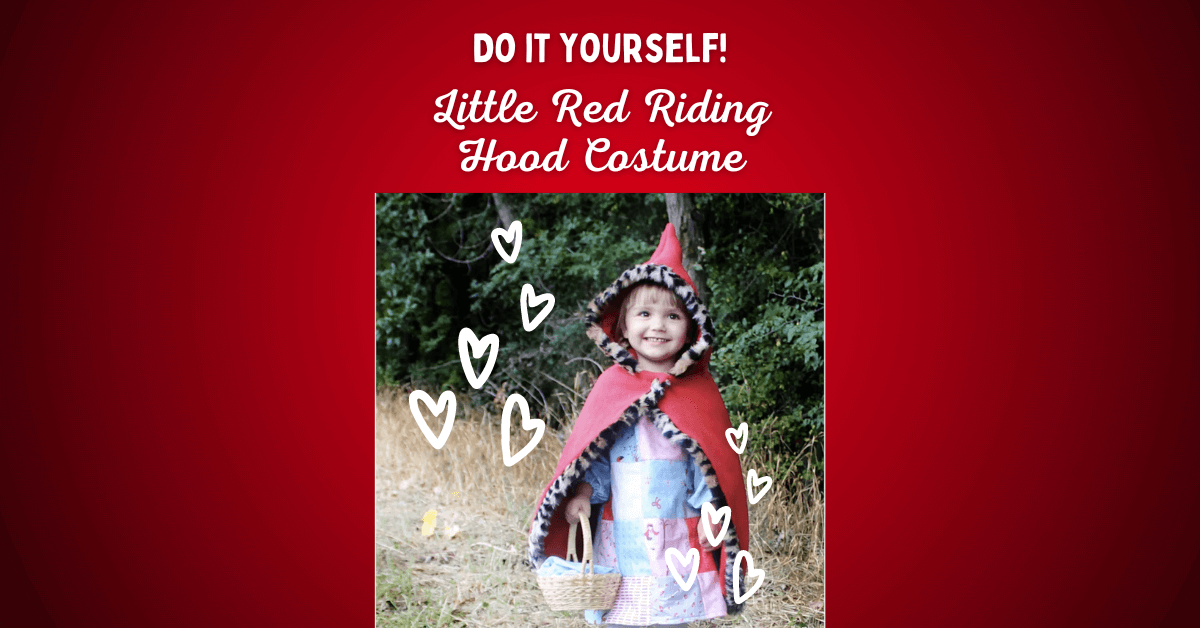
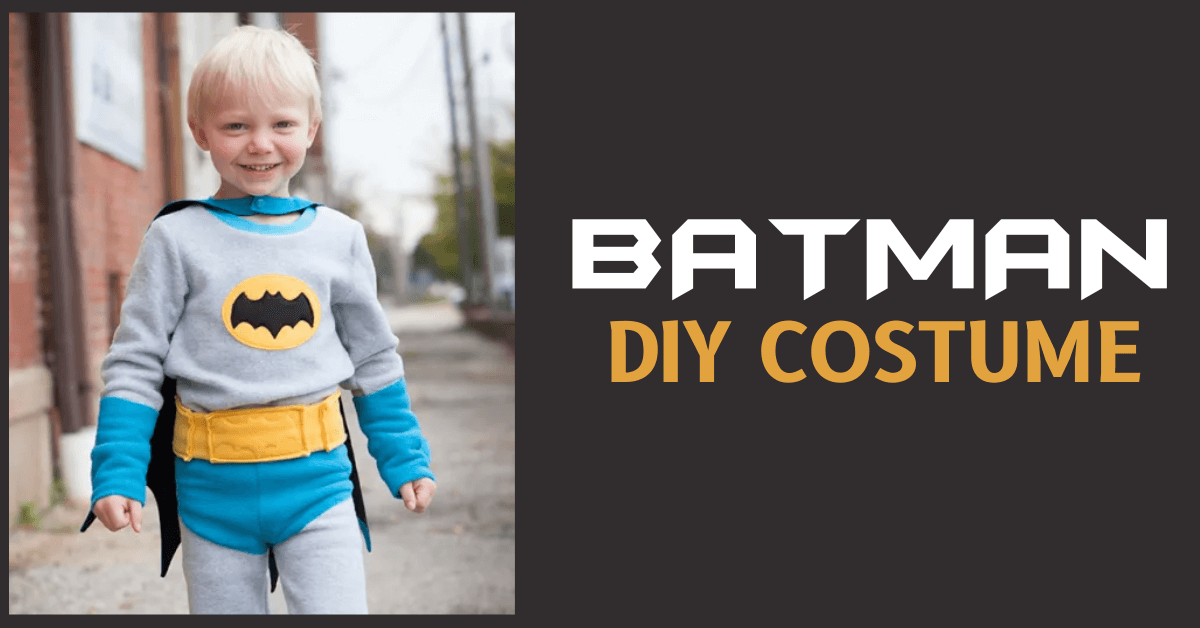
Other Disney Inspired Tutorials


Thank you for joining us today to learn how to make some minnie mouse ears. These headbands will be perfect for going to Disney! Thank you to Laurel for this excellent tutorial.
Be sure to come visit us at the Peek-a-Boo Pattern Shop Facebook Group for help sewing or to share what you make.