DIY Drawstring Backpack | How to Make a Drawstring Backpack
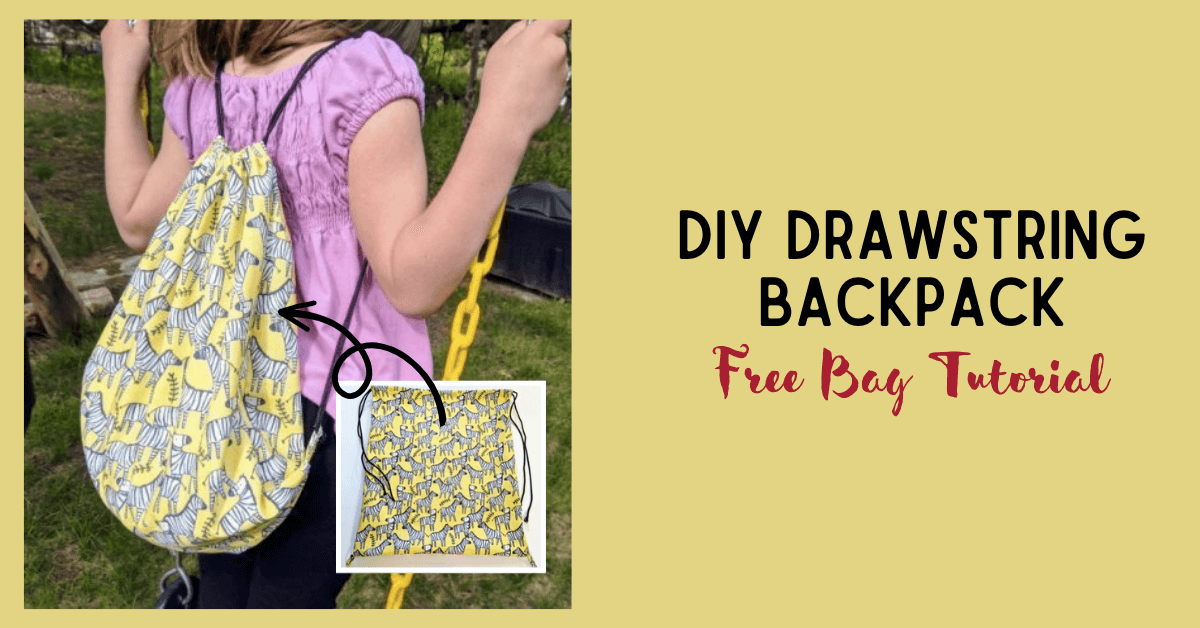
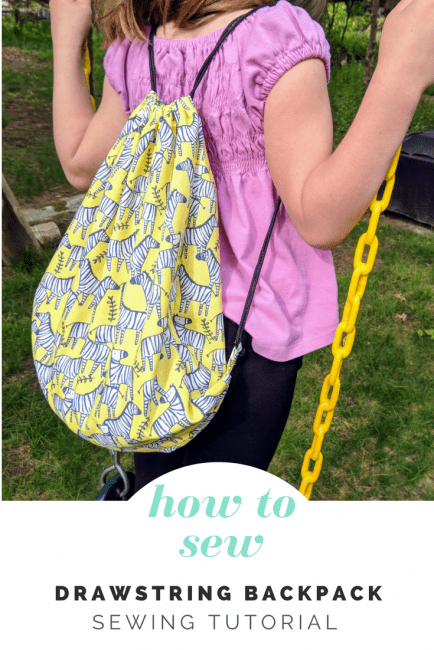
Today I’m going to show you how to make a drawstring backpack! A drawstring backpack is one of my all-time favorite beginner sewing projects; it’s a simple sewing project yet nice enough bag for gift giving! Making a drawstring backpack is also a great way to show off some beautiful fabric.
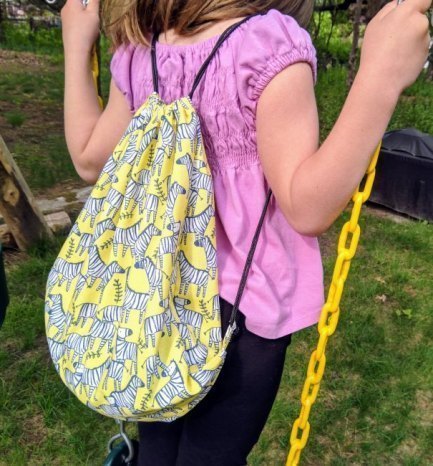
I ended up making three bags so that each one of my little girls could bring a bag to the zoo. As always, for your fabric needs, check out www.knitfabric.com. This drawstring backpack bag is sized for kids. If making an adult bag, add a few inches in both width and length. The drawstring backpack finished size is 13.5in W x 15.5in L.
How to Make a Drawstring Backpack
Materials & Fabric to Make the Drawstring Bag:
- Two pieces of main fabric for the bag, cut 15in W x 17.25in L (or one piece of fabric, cut 15in W x 33.5in L)
- Two strips of fabric, cut 1.5in W x 2.75in L for the loops
- Polyester cord, approximately 3 yards (up to 4 yards depending on child size)
- Two strips of fabric, cut 1.5in W x 2.75in L for the loops
- Sewing Machine / Thread / Etc.
This cording is also known as parachute cord; it’s inexpensive and widely available at craft stores.
DIY Drawstring Backpack Tutorial
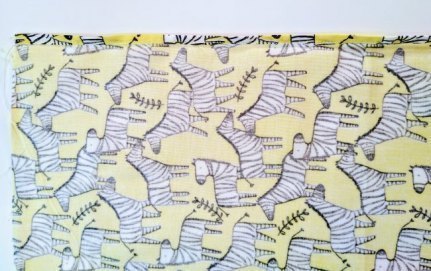
In the past, I’ve sewn several drawstring bags and the edge of each channel opening always seemed to fray with use. I decided to fix that problem with this tutorial. The first step is to seal in the long edge of each fabric piece by pressing the fabric to the wrong side 1/4in. Fold over again 1/4in and press. This encases the raw edge which will be very helpful with the drawstring backpack in the end.
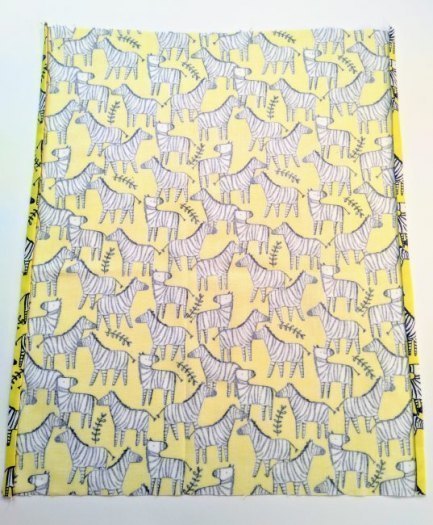
Unfold the fabric edge back once and edge stitch down that first fold that was made. The reason for this is that we don’t want this stitching to show on the outside of the drawstring backpack.
Then, fold that fabric edge back the way it was after it was pressed twice to the wrong side. This stitching will be hidden at the end when the drawstring backpack is sewn together. Repeat with the other long side on this fabric piece. Next, repeat these steps with the other bag piece, so all long sides have been encased this way.
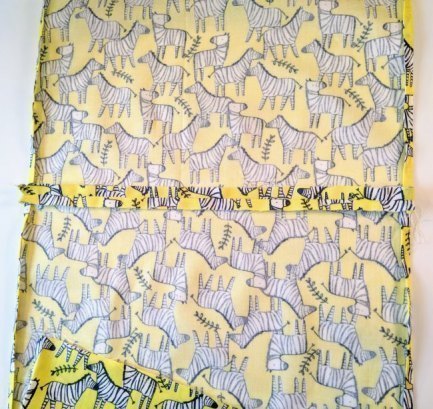
Next, sew the two pieces of fabric together at the bottom – right sides together with a 1/2in seam allowance. If you are using one long piece of fabric, skip this step!
After that, press the seam of the drawstring backpack open like this:
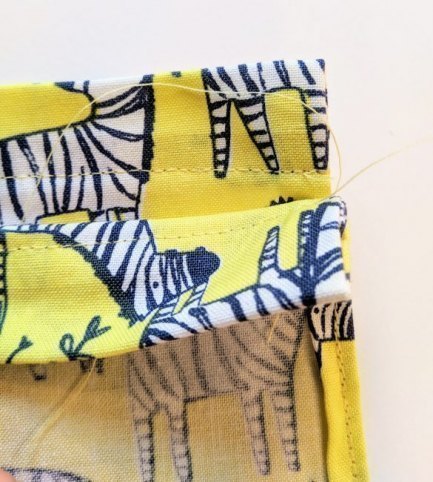
Make the Top Channel
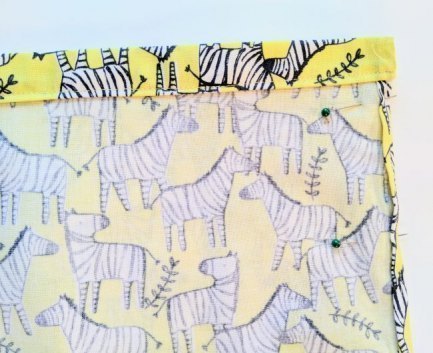
Next, make the top channel for the drawstring on both the front and back of the drawstring backpack. Fold the top edge over 1/4″ and press to the wrong side, and do this again. Press and fold one more time 3/4″ to the wrong side. This is the drawstring channel. Edge stitch the drawstring channel down, repeat this process for the back of the drawstring backpack.
*Tip: use a straight pin to push any raw edging in toward the middle of the drawstring channel before you secure it. Sometimes a tiny little bit of the edge fabric will poke out, so pushing it back in ensures that the drawstring channel won’t fray.
DIY Drawstring Backpack Loops
Now make the two loops that will hold the drawstring in place on either side the drawstring backpack bottom. Press the two small 1.5in W x 2.75in L fabric strips in half the long way, with the right side of the fabric facing out. Then, unfold and press each side the middle like this:
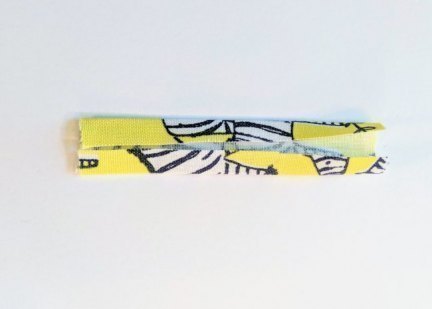
Fold this fabric strip in half along the middle and sew close to the edge to create the piece for the loop.

Sew Up the DIY Drawstring Backpack
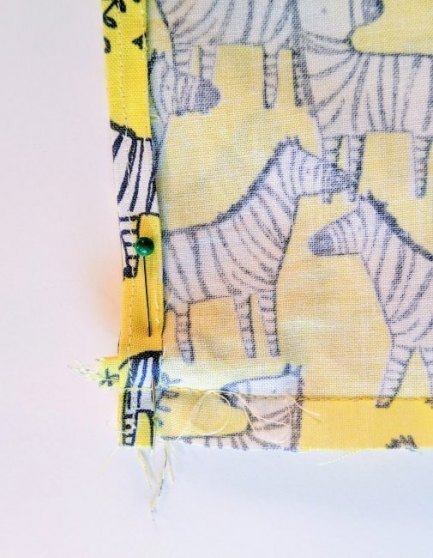
It’s time to insert the drawstring loops and sew up the diy drawstring backpack! Pin the sides of the backpack together, right sides together. At the corner of the bottom, insert the loop (folded in half first), facing the inside.
The fold of your loop should be pointing toward the middle of the bag, the raw edges should be sticking out beyond this edge as below. Make sure to have the raw edges stick out beyond the edge of the backpack about 1/4″, which ensures that the loop will be securely sewn. Below you can see my loop inserted, edges extending out beyond the side slightly (I should have had them extend out more, which I did for the second loop).
Here is the tricky part of the bag- probably the most important to the success of this project! Using a scant 1/4″ seam, sew over the loop, all the way up to the drawstring channel and stop right below the drawstring channel.
The channel needs to remain free so that the drawstring can be threaded through at the end. You could also start right under the drawstring channel and sew down to the bottom and over the loop, depending on how well your machine starts off on a thick section of fabric layers.
Sew back and forth several times when you get to the loop and also when you get to the top right below the channel.
This is what it will look like after the sides have been sewn. I stopped right below the drawstring channel, and I actually ended up sewing right between 1/8″ and 1/4″ seam allowance.
Turn the drawstring backpack right side out.
DIY Drawstring Backpack Cording
Cut two pieces of polyester cord for the drawstring, each piece 50 inches long.
*Note: (50in long fit my 8 year old perfectly! In my photos, my 5 year old is wearing her backpack, and the string is a bit long. I might shorten it for her, so for an average 5 year old 46-48in might be a better fit. Experiment to see what works best before this final stage where the strings will be attached to the bottom.)
Thread your drawstring, attached to a safety pin, through one side and all the way around. Then, start at the opposite side you did before, repeat and the bag will look like this.
Close the bag, and bring your drawstrings through the loop on each side. Tie a knot in the drawstring. Sew across the loop right next to the string (you can see where I pinned it below), trying to catch the string as you sew. This will secure the string in place. Melt the ends of the cord with a lighter to make sure you prevent fraying.

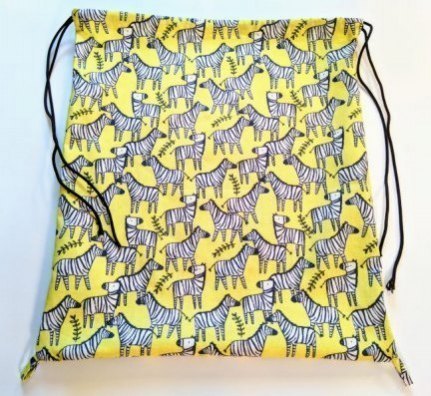
All done! You can make a drawstring backpack! Now you can take your bag anywhere.
You're done - now you know how to make a drawstring backpack! This is the perfect size for a casual backpack to go on an adventure. It's also an easy project that even a beginner can handle. Feel free to take this tutorial and add to it - make a lined bag, use some accent fabric, applique, add reinforcement for durability, etc. The possibilities are endless for your finished product.
Can the Design of the Backpack be Customized?
Yes, the design of the drawstring backpack can be customized according to your preferences. You can choose different fabrics, colors, and patterns to create a unique and personalized backpack that suits your style. Get creative and make it truly one-of-a-kind!
Backpack Patterns
We sure appreciate Karrie coming to give us this tutorial on how to make this backpack. If you’ve ventured this far into making a backpack then we have a few other tutorials and patterns that you might be interested in:
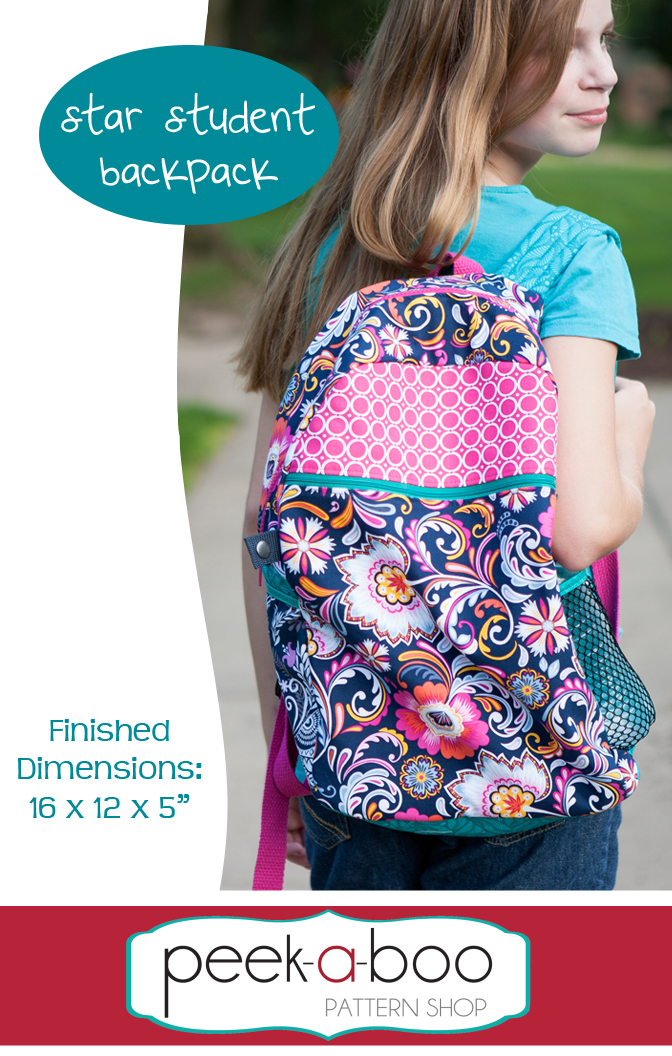
(1) Star Student Backpack
The Star Student Backpack is our premier backpack pattern at Peek-a-Boo Pattern Shop. This bag features a zip closure, front pocket with zipper closure, optional water bottle pocket, hang loop, padded back and straps, and optional tabs to attach the Star Student Lunch Box. Finished backpack measures 16x12x5″ and is roomy enough to fit a standard size binder, pencil box, text book and a jacket.
You can make this bag primarily with quilting cotton or woven fabric although you’ll need something a little stronger (duck canvas or home decor fabric) for the bottom.
Everyone loves the Star Student Backpack:
- “Fabulous results. The instructions were easy to follow. Although there were many steps, none were too challenging. My young children were even able to help!” – Natalie
- “Fantastic sew. Let me tell you about this bag!!! I am a beginner and it was a breeze. The instructions were clear and I whipped up a fantastic bag and can’t wait to make more.” – Raven
- “Awesome backpack. I love bags and I needed to add a backpack to my list. I have a smaller backpack from another vendor but it is for smaller child. I made this backpack for a coworker’s daughter who is in middle school. She loves it. I used Pellon FlexFoam to give the back more stability since I used quilting cotton. It came out great. Thanks, PAB!!! Heading to buy the lunchbox.” – Danielle
Get your copy of the Star Student Backpack!
(2) Lil’ Adventurer Backpack
We also have the Lil’ Adventurer Backpack bag over at Peek-a-Boo Pattern Shop.
The Lil’ Adventurer Backpack Pattern is the perfect bag for any toddler or preschooler! This backpack PDF Sewing Pattern features adjustable straps, drawstring closure with top flap, optional piping, and a front pocket. Perfect for carrying all of your little ones essentials to daycare, dance class, preschool, Grandma’s house and any other adventure! This a quick-sew and makes a great afternoon project!

They also love this one:
- “I LOVED making this for my son! It only uses a small bit of fabric and the cinch top and little front pocket are so great. It’s perfect for my little preschooler. He loves it too. Fairly quick sew, great instruction, excellent project.” – Catie
- ” Precious! Bought this pattern for my granddaughter and she loved it. It was so easy to follow and the instructions were written perfectly. The pictures were an asset. Abandoned a JoAnn pattern that was too complicated and missing instructions and bought this one and will definitely make more. My only suggestion would be to use batting to quilt the fabric before assembly for a little more weight.” – April
Get your copy of the Lil’ Adventurer Backpack today!
Thanks again for joining us for this DIY drawstring backpack tutorial. Also, be sure to join our sewing community in our Peek-a-Boo Pattern Shop Facebook Group or follow us on Instagram or Pinterest. If you enjoyed this tutorial, make sure to sign up for our email newsletter below so you can see everything else we come out with and get 25+ Free PDF Patterns.