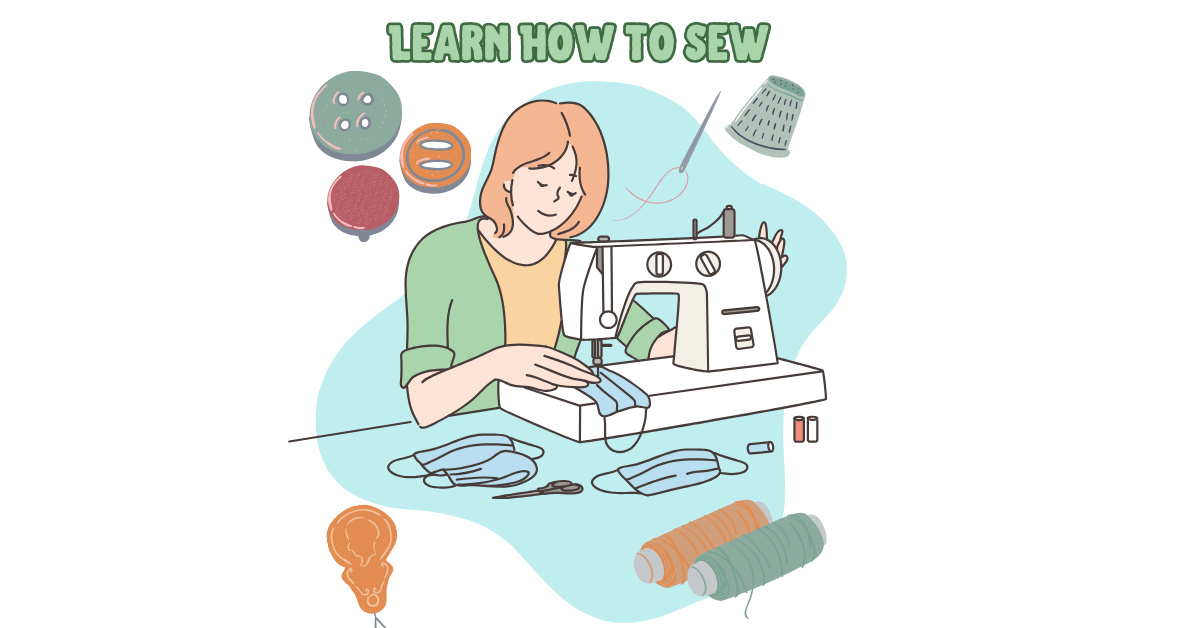
Learn How to Sew | 9 Topics to Get You Started
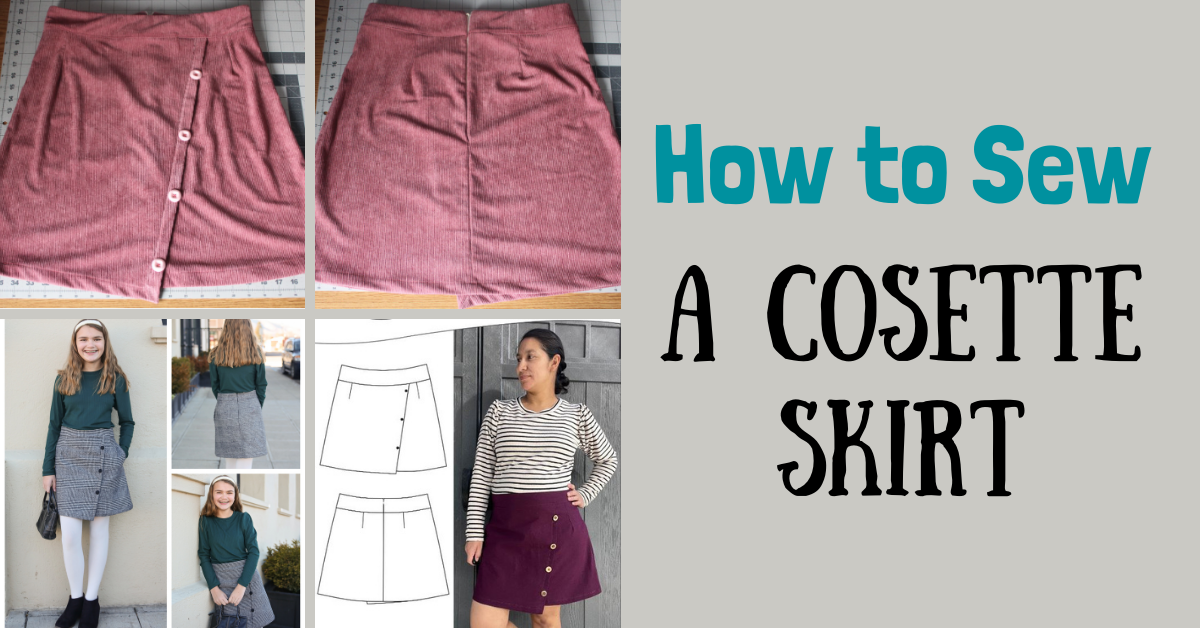
Cosette Skirt Sew-Along
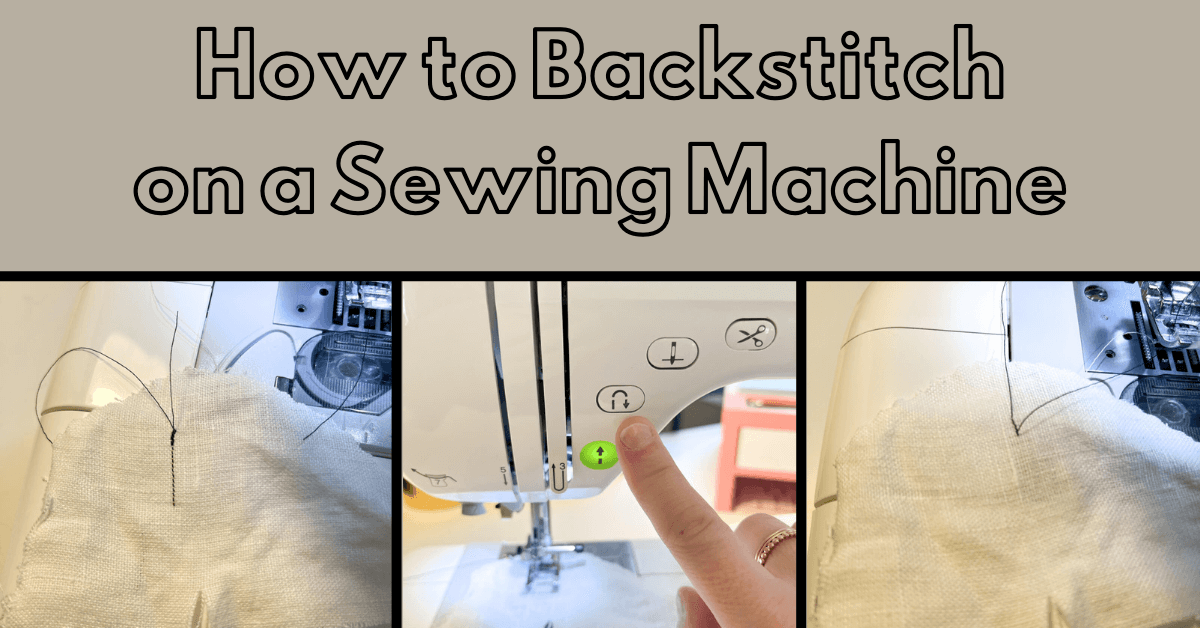
How to Backstitch on a Sewing Machine
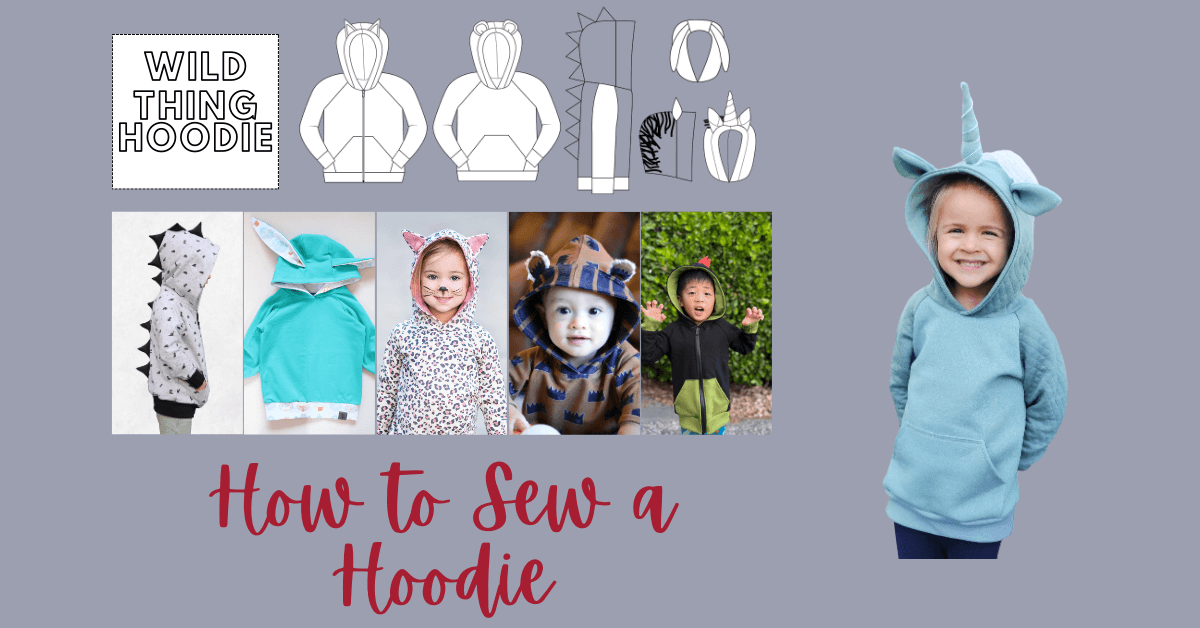
How to Sew a Hoodie | Wild Thing Hoodie Sew Along

Fabric Care Guide
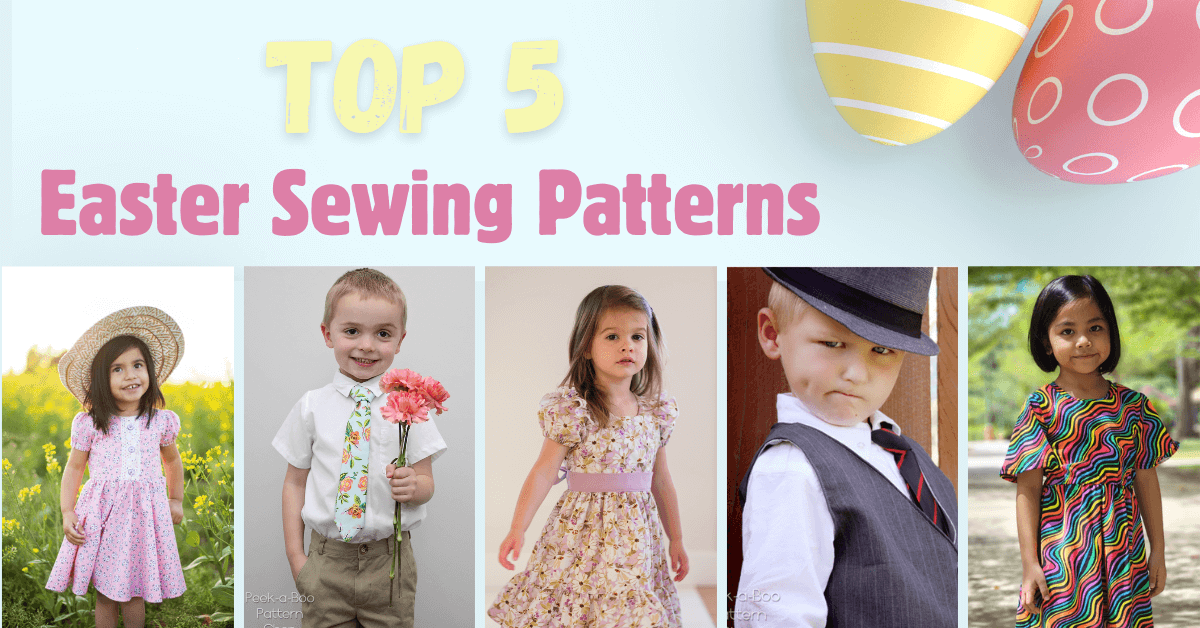
Top 5 Easter Patterns for Girls and Boys
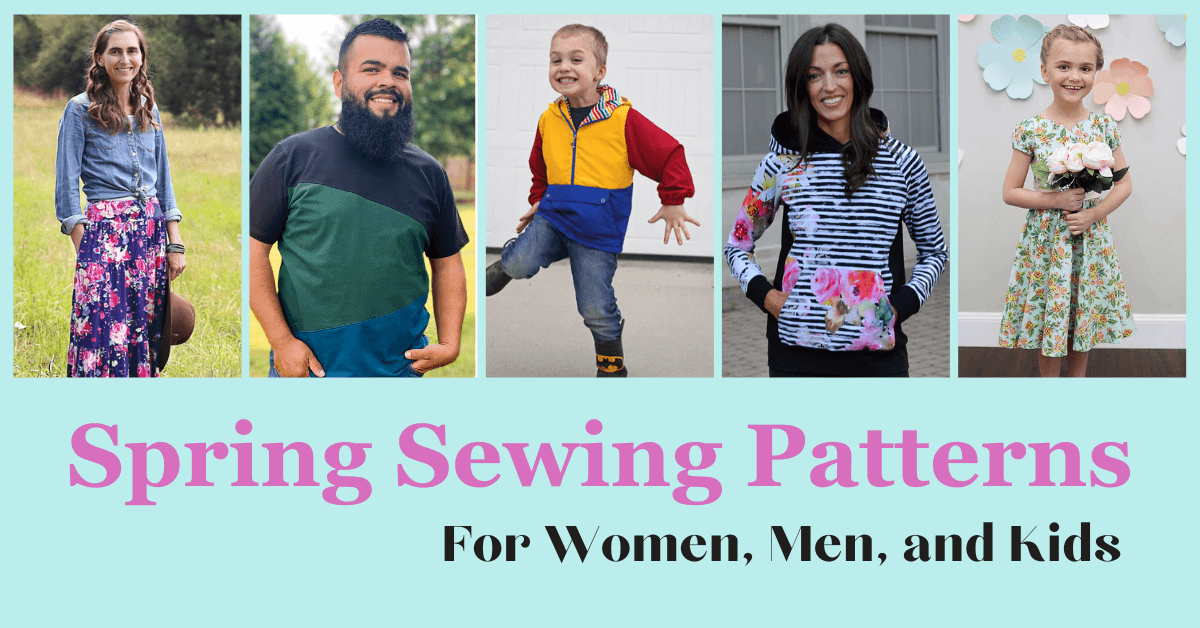
Top 10 Spring Sewing Patterns: Peek-a-Boo Pattern Shop
Sewing Machine Guide | Buying and Using Sewing Machines
Sewing Patterns Made Easy | Digital Patterns for Beginners