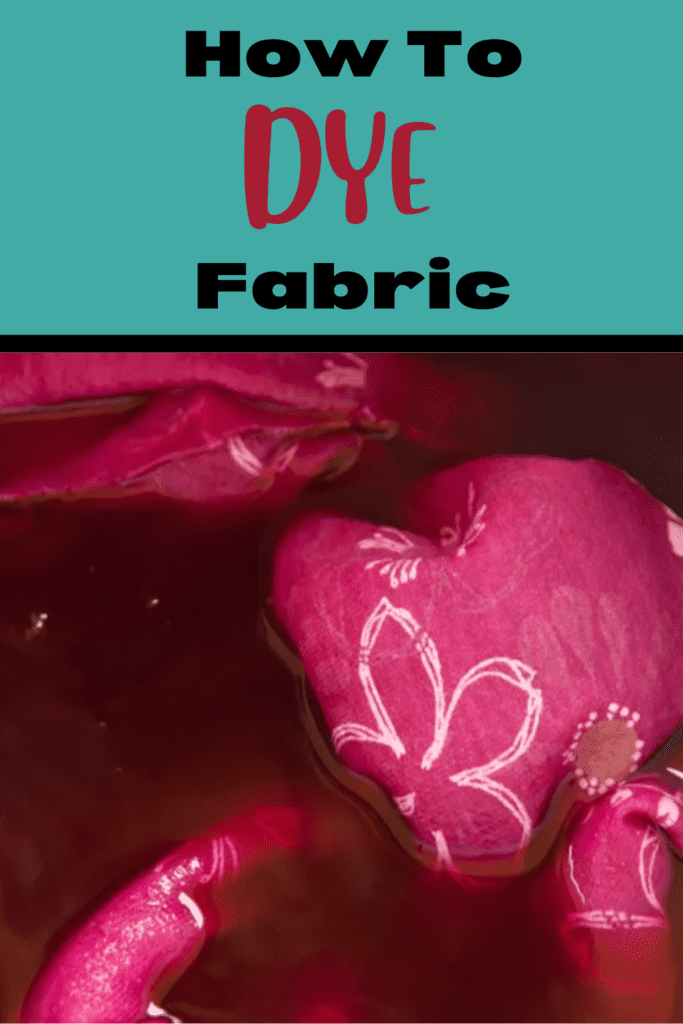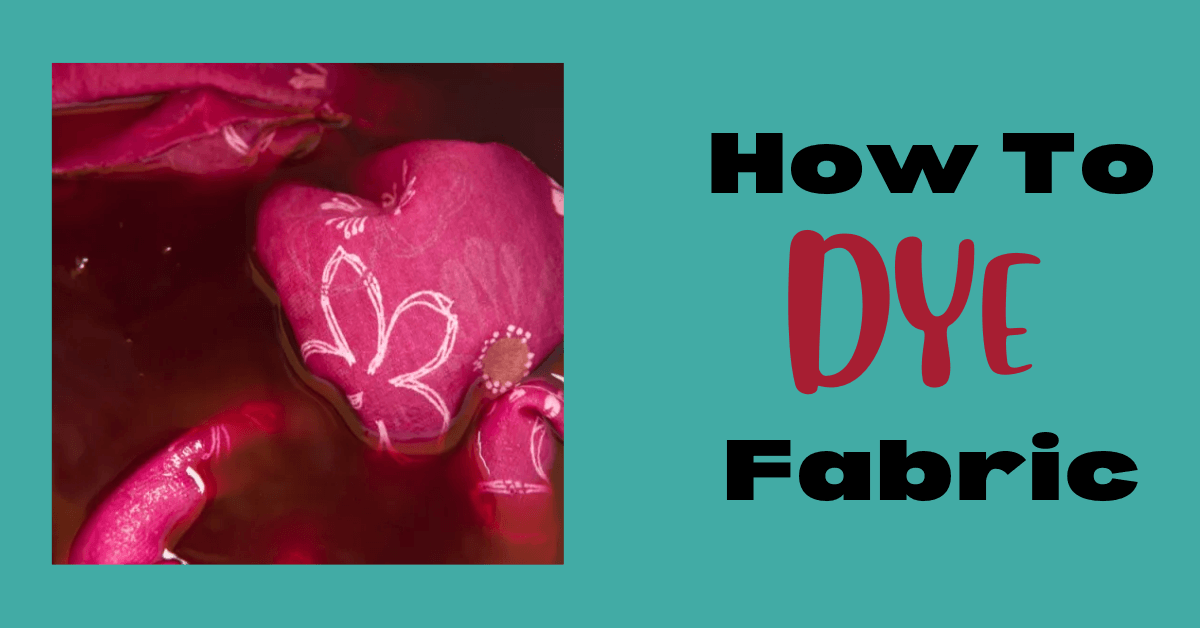
How to Dye Fabric Free Tutorial
Today, I’m going to teach you how to dye fabric. Everyone has been talking about the dollar fabric at Walmart. Everyone. I finally remembered to look and found some dollar a yard fabric. The problem was that it was ugly…and a bit see through. This fabric wasn’t attractive and wasn’t going to work for my project so I decided to learn how to dye the fabric.
I’ve got some experience with fabric dye now so today I’m going to show you what I did to dye this fabric, the steps I learned to do and/or avoid when dyeing fabric, and things you should keep in mind.
How to Dye Fabric
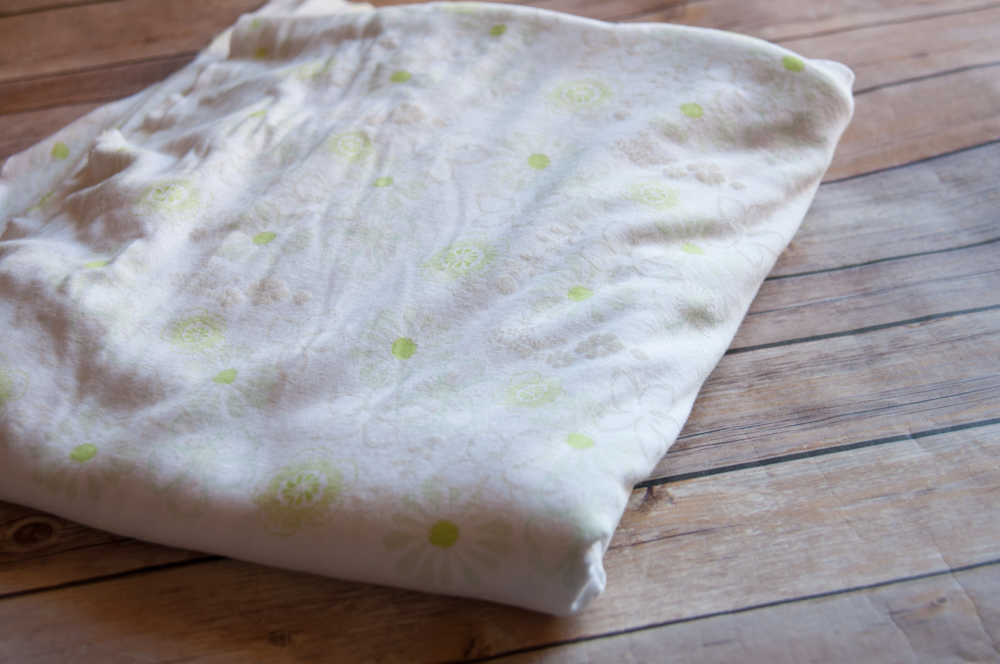
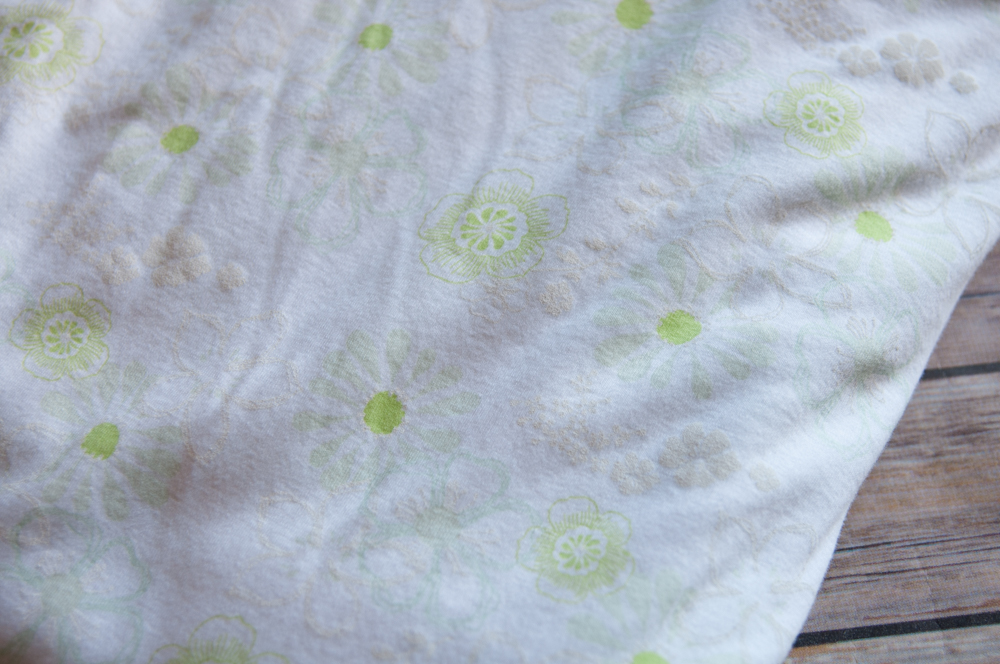
Of course, before you start out you need to get some fabric to dye. As mentioned above, I’ve seen a number of people talking about getting fabric for a dollar a yard. Here’s my find below:
I have seen people dye their fabric, and I even adventured once in my youth and dyed ballet slippers to go along with my Tinkerbell costume. Let’s take you back to 1998 for a brief second…

Right – so back to the present where I have little experience dyeing fabric. 🙂
How to Dye Fabric: Supplies
- Fabric
- Tap water
- Rit Dye | Liquid Dye Solution
- Salt to add to the dye
- Bucket/Tub/Stainless Steel Sink for the dye bath
- Stirring Stick for the dye
- Washing Machine
- Mild Detergent
- Paper Towels for Cleanup
- PATIENCE!
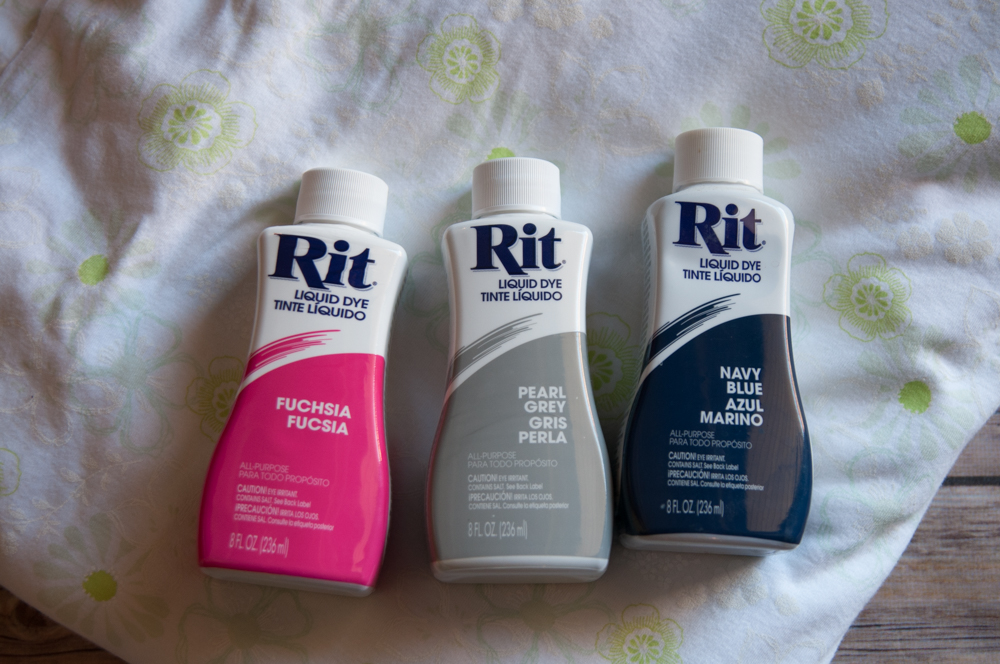
Step 1: Choose Your Fabric Dye
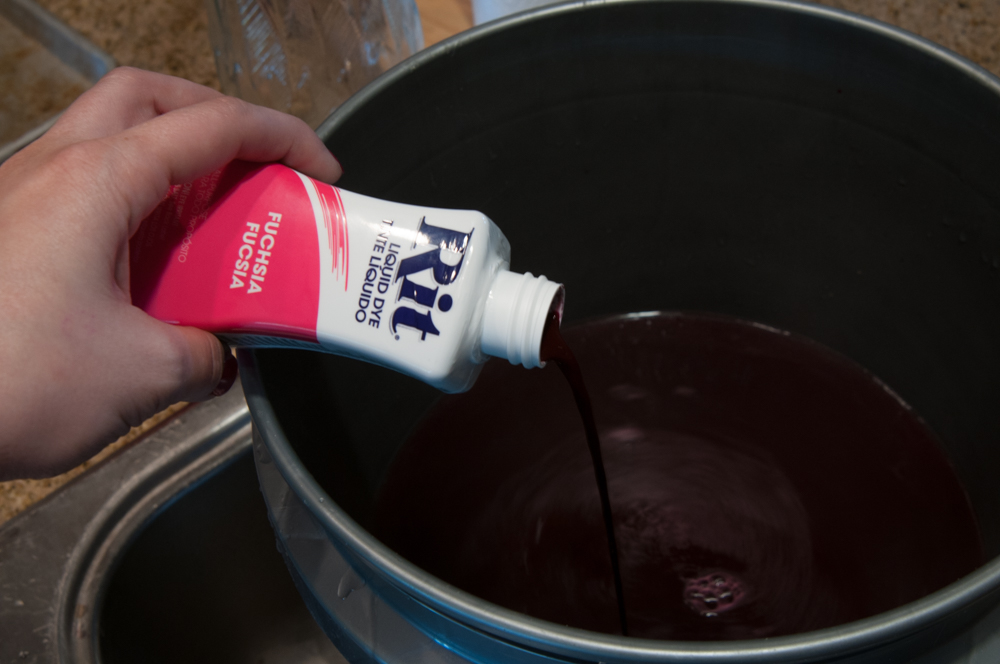
This is the fabric dye I used. The Rit Dye has tens of thousands of reviews on Amazon. It comes in a ton of different colors and works well for different applications. They also provide a lot of detail concerning fabric dyeing on their website ritdye.com. Rit also makes specific fabric dye for synthetic fabrics.
Step 2: Wash and Dry Your Fabric Before Dyeing
Begin by washing and drying your fabric for best results. You should always pre-wash your fabric. Doing a pre-wash on a gentle cycle helps remove finishes and stains and gets and chemicals from production out. It also shrinks your fabric. Make sure you dry the fabric too before proceeding.
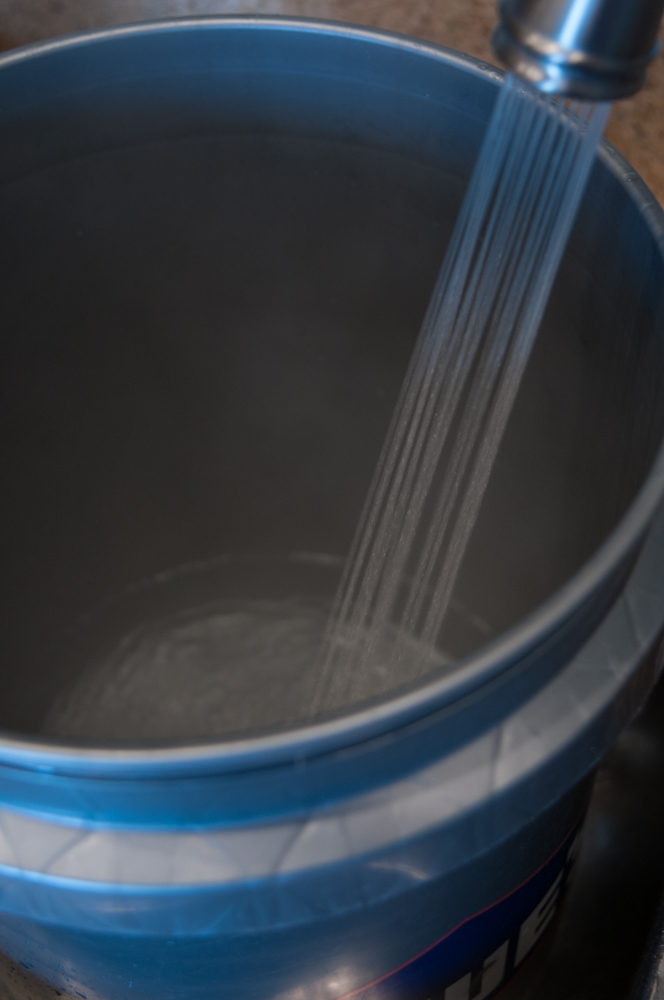
Step 3: Fill Your Dyebath Bucket With Water and Fabric Dye
Next, I'm going to show you the "bucket method." I find this to be the best method, rather than taking a risk that the color of the dye will stain my sink. Some people use a stainless steel sink though - apparently with good results.
Anyway, grab a clean 5-gallon bucket and fill it with hot water. This is your dyebath. The Rit Dye gives instructions on the back of the bottle and instructs you to use the “hottest water safe for fabric.” I used about three gallons of water for two yards of fabric.
You need enough water for the fabric to move freely throughout the water – you want to be sure the mixture completely covers the fabric. The Rit dye I used required one cup of salt to make the color vibrant. This is optional, but it kind of like adding the vinegar to the water when you are dyeing eggs. It boosts the color.

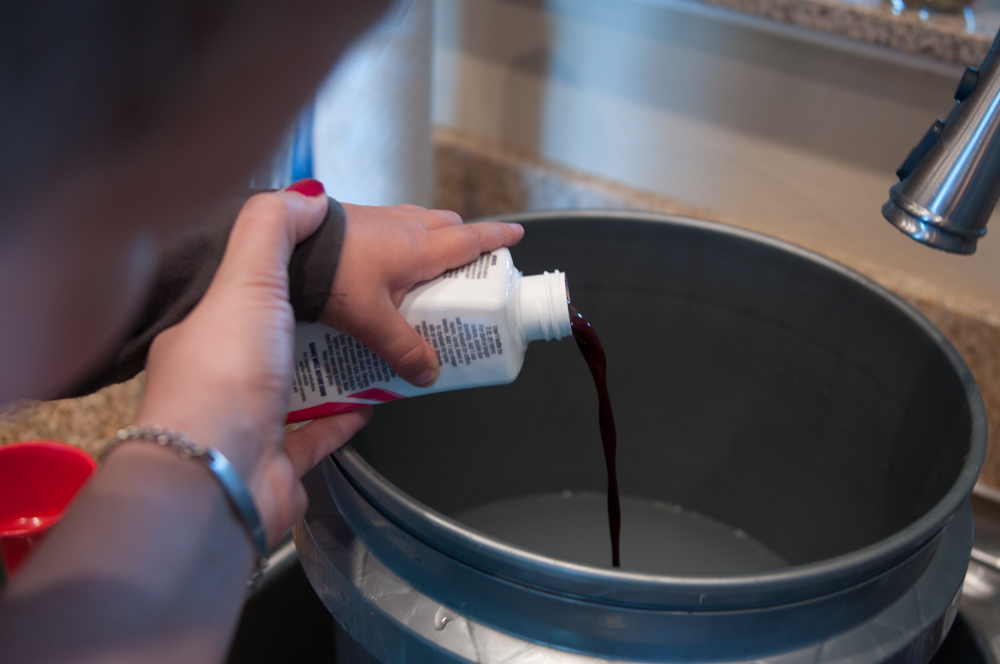
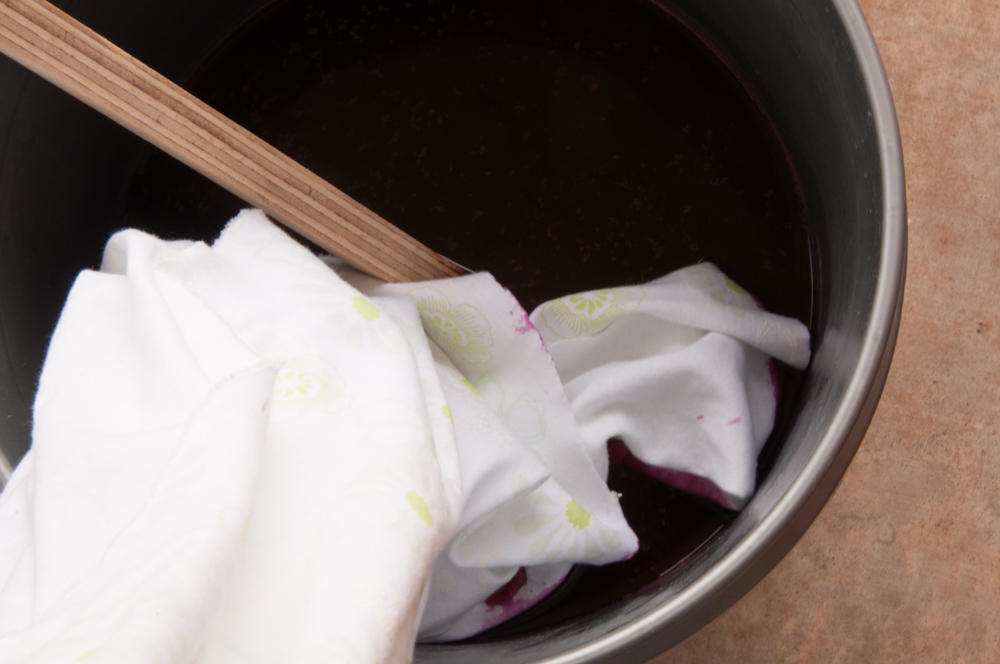
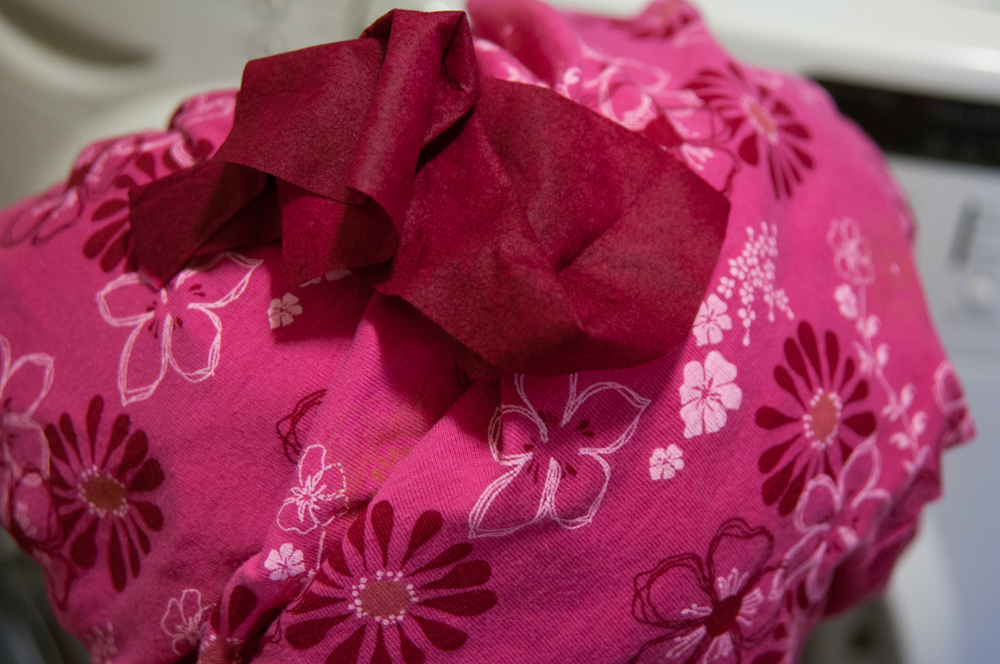
Add your dye. I dumped it all in. Mags was my helper during this project. Careful! If you spill at this point it’s a huge mess. You should be wearing rubber gloves to dye the fabric (ignore the photo below 🙂
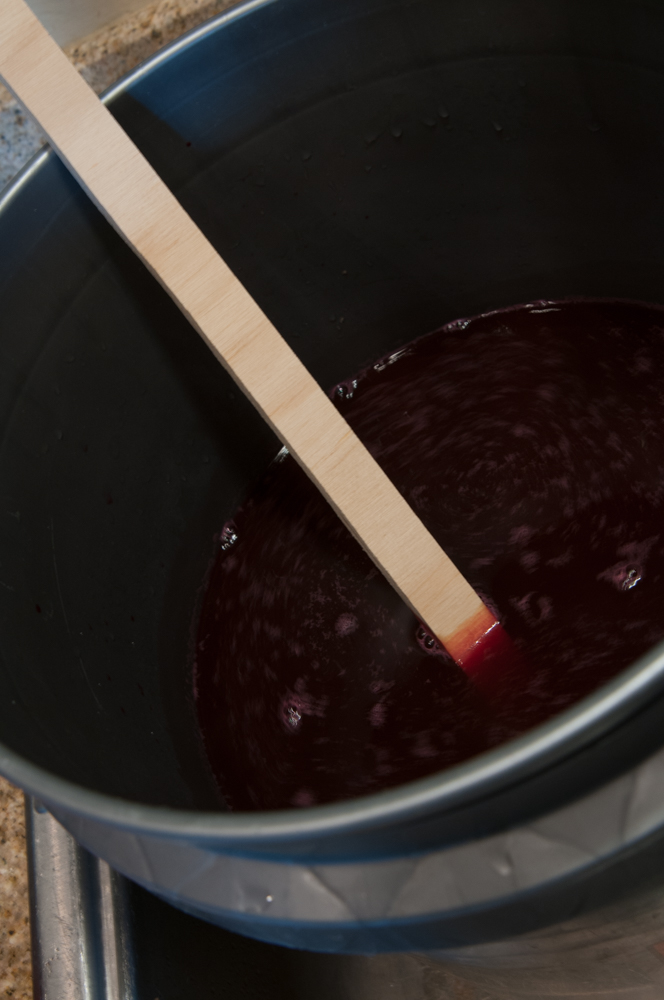
Step 4: Time to Mix
Mix: To mix my dye I just grabbed a piece of scrap wood and mixed away.
If you have the space, I would go outside for mixing the dye. Mags was super interested in this part so it was just easier to be on the back patio than leaning over the sink.
Mags put the fabric in the dye a little at a time. This was where we started to see the pattern of the fabric start to emerge.
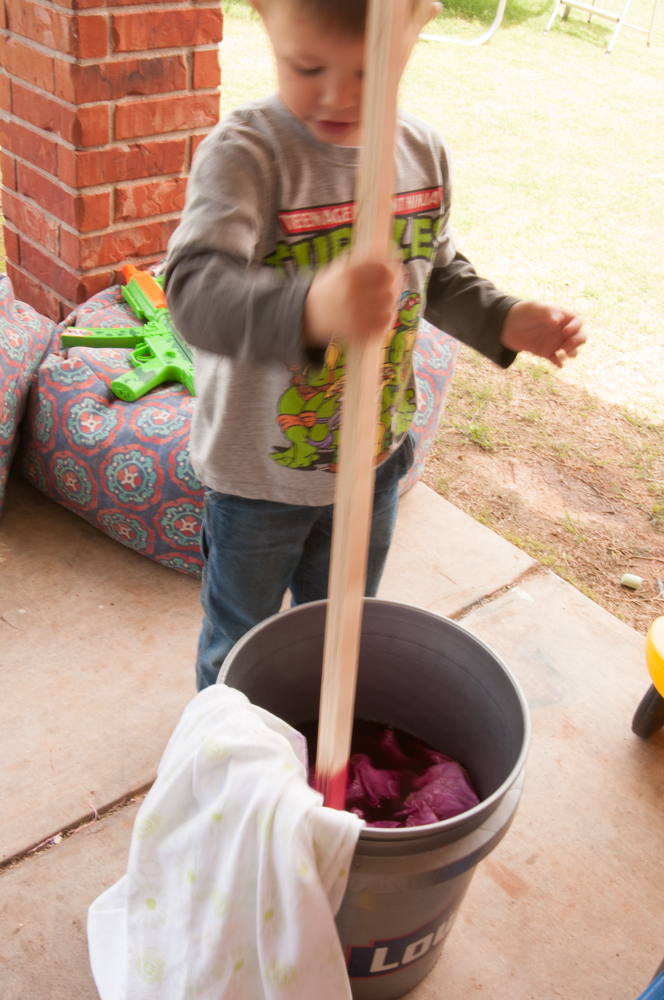

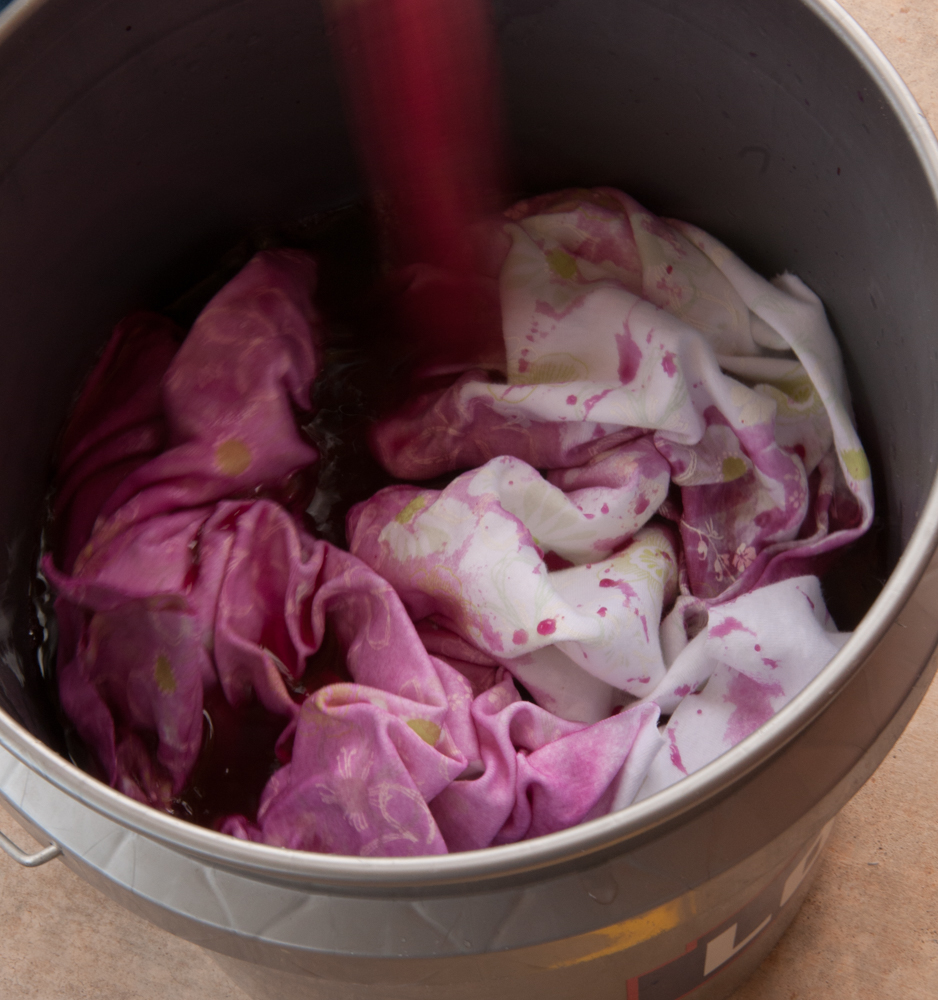
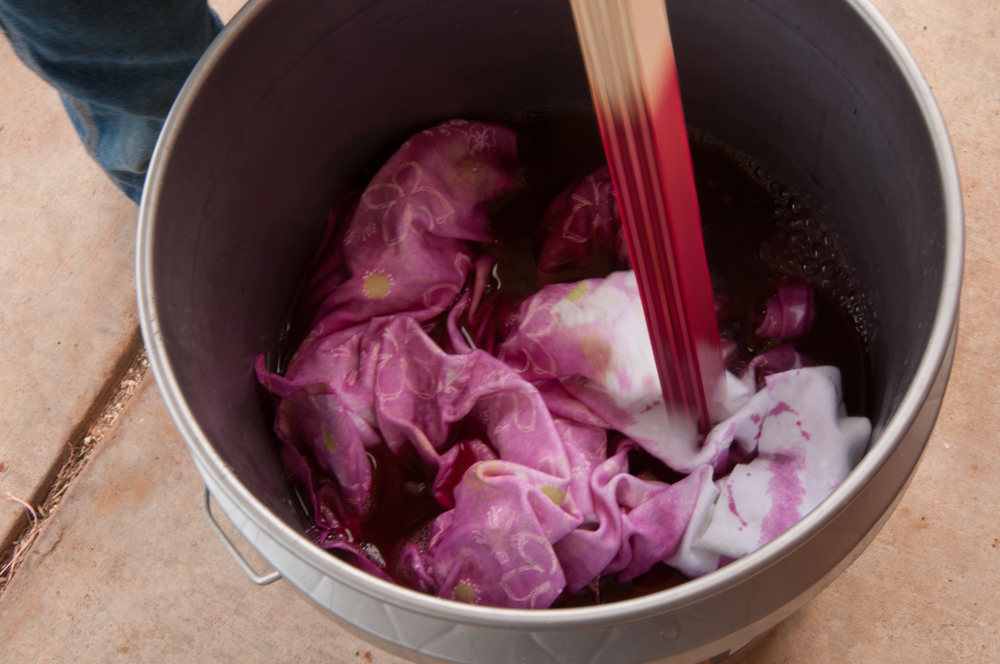
Once the fabric is all in, MIX!
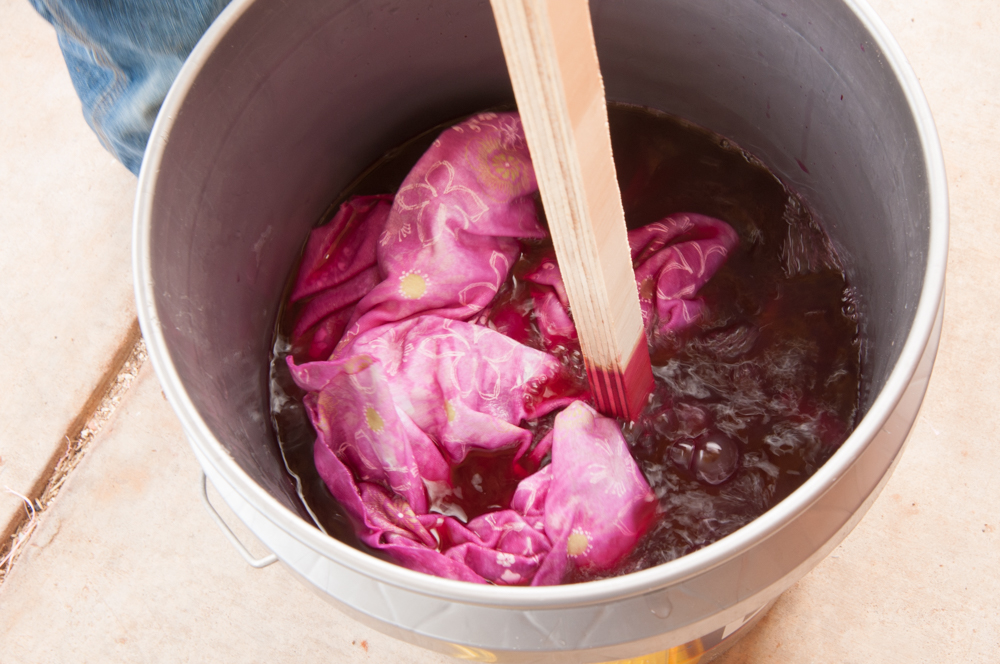
You want to be sure each and every part of the fabric soaks up the color.
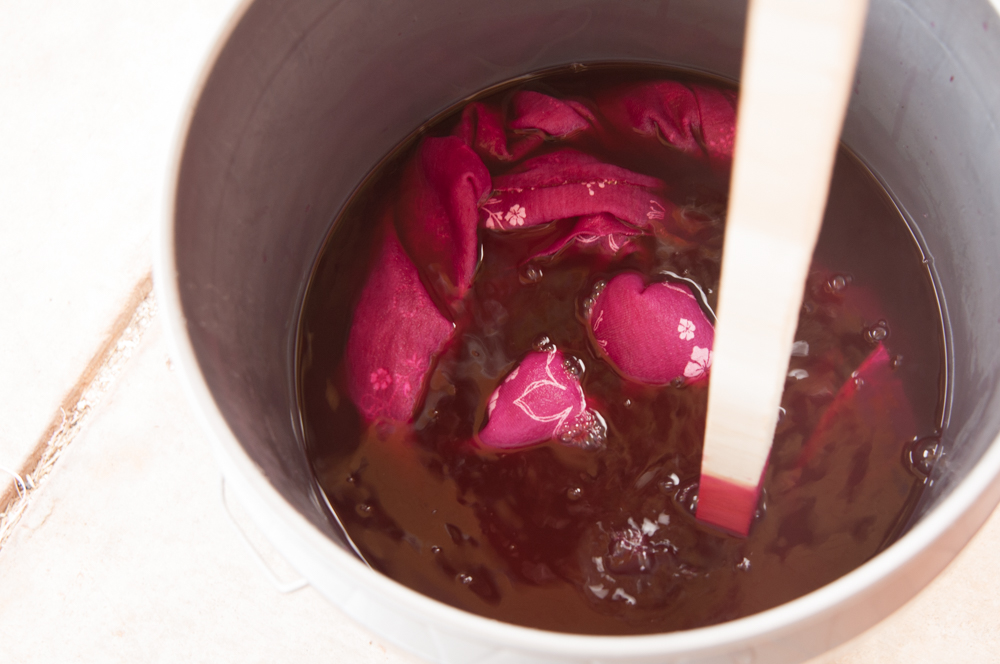
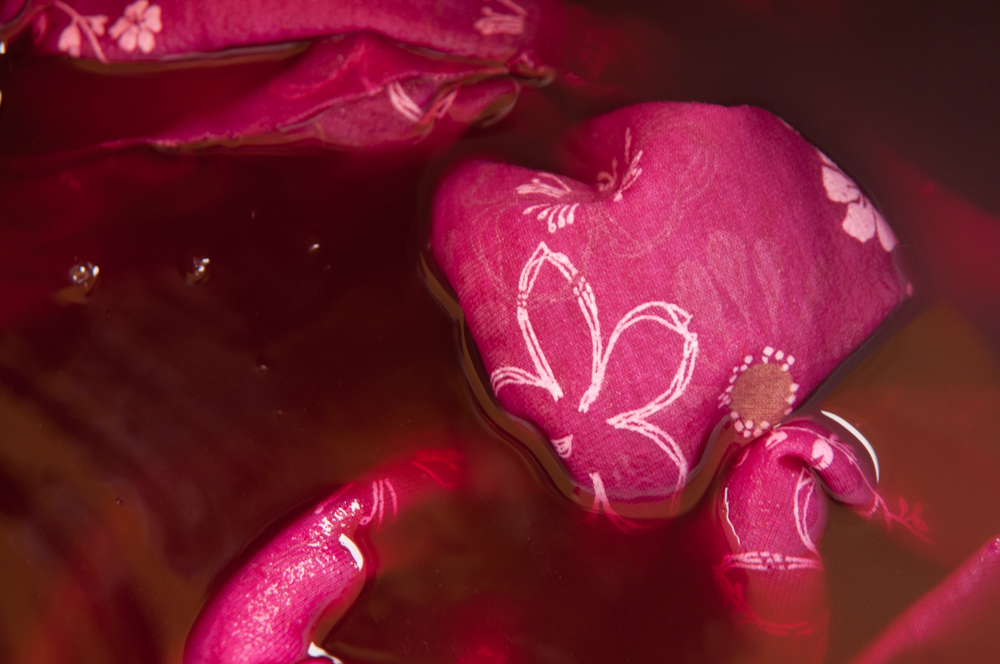
Step 5: Wait For Fabric Dyeing to Complete
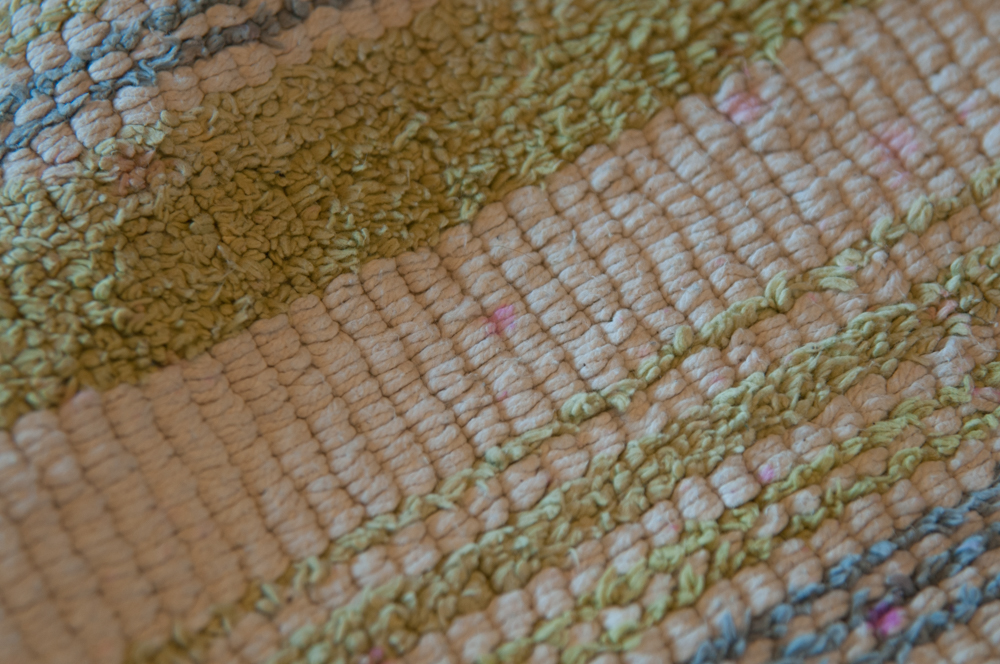
Now comes the hard part….waiting and waiting and waiting for the fabric. I was bad at waiting to I grabbed the old rug from the bathroom that had spots from Stella’s magenta hair dye and worked on a second dyeing project.
I had no more big buckets so I used a small trash can and followed the same method, but did not add the salt just to test out how the fabric would dye without salt.
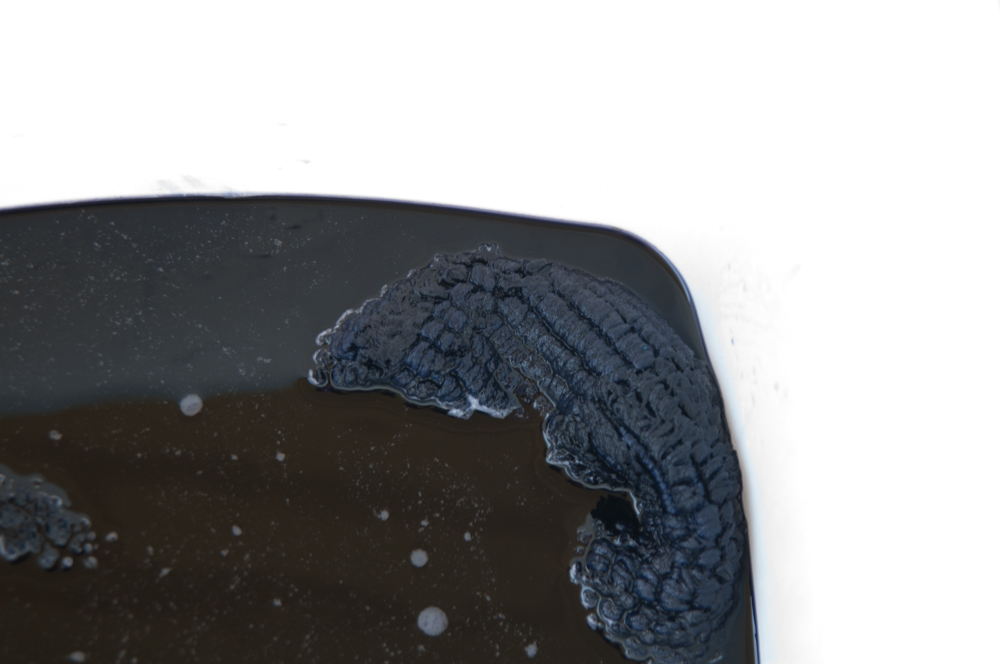
They both sat f.o.r.e.v.e.r. in the dye. It was very difficult to keep kids away and to not mess with the dye or fabric.
The next morning…
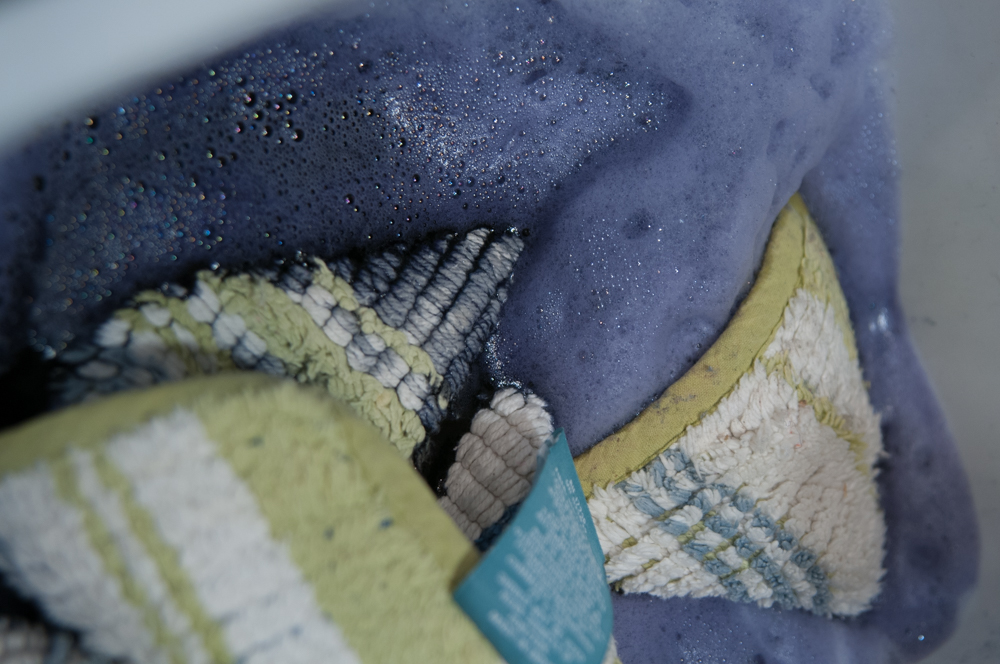
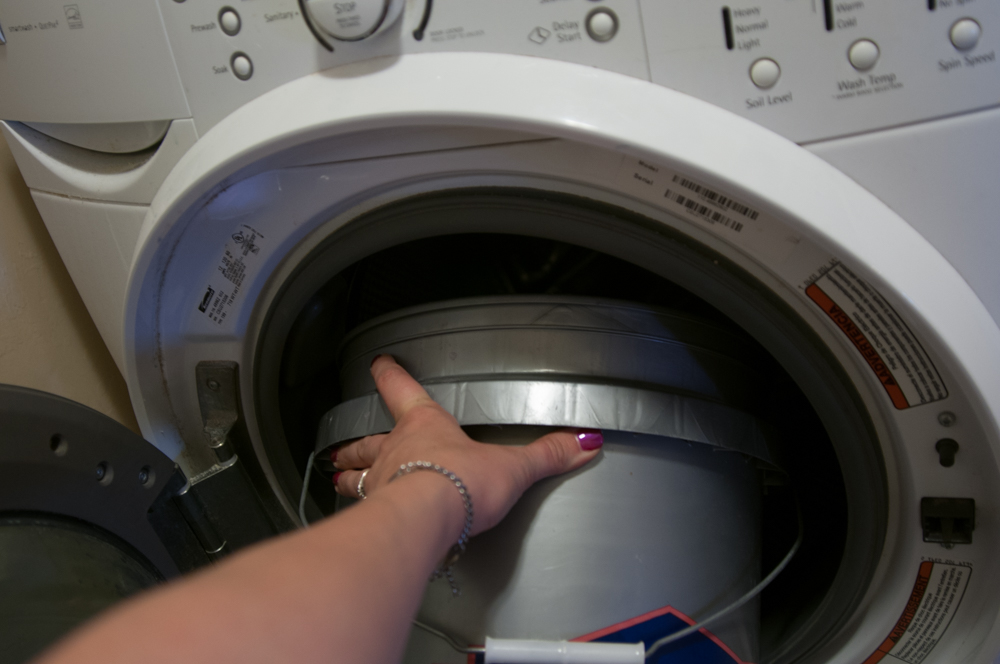
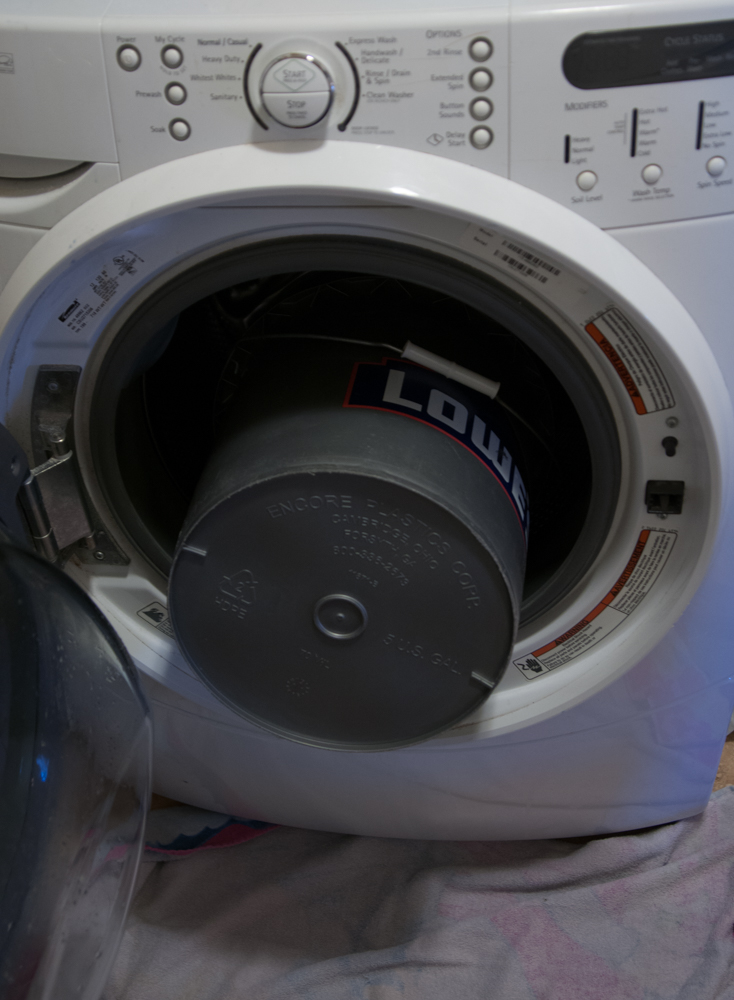
I have heard my mother tell me to never dye in my own washing machine, but the internet is full of people who do all the time. I should have listened to my mother….or had a plan that was better than the one I schemed up. I just dumped the whole bucket of dye and fabric in my front loading machine. You can do this, but I would dump the excess dye first.
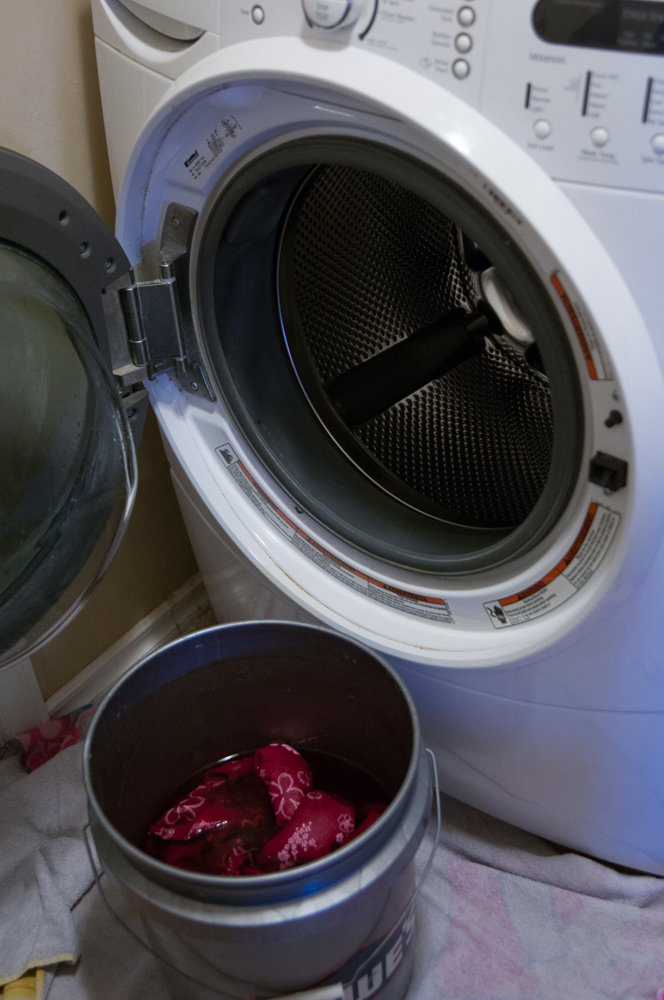
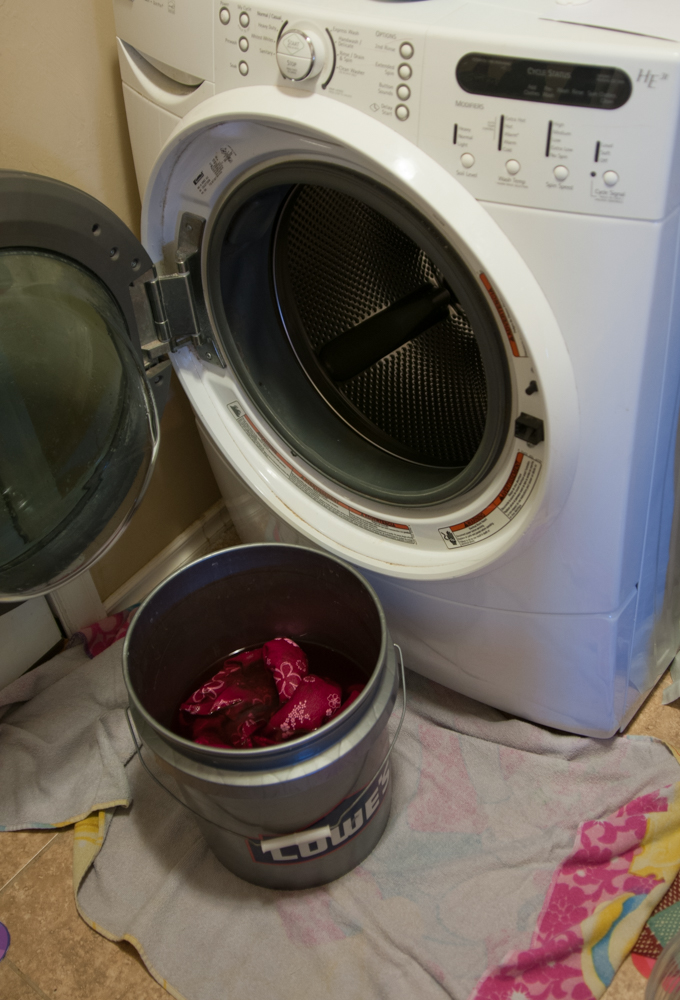
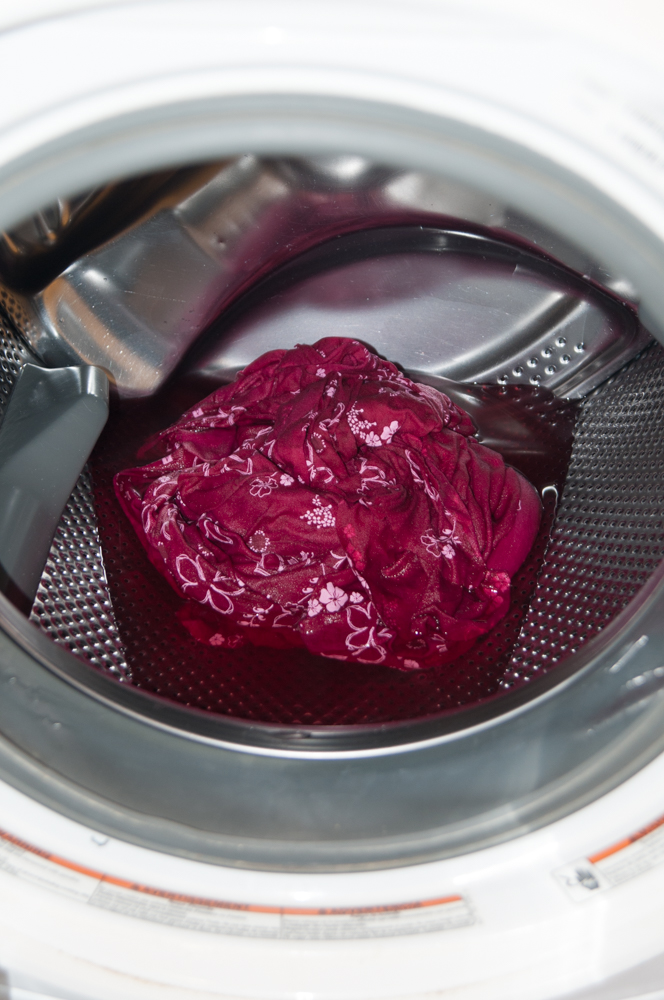
Be sure to put down an old towel in case you spill. Now wash your dyed fabric on hot on the longest cycle it can do. Mine was about an hour and a half. I picked up the fabric after that load and my hands turned pink. 🙁 I washed again and a third time putting in color catchers and finally go to the point where I could handle the fabric without it bleeding out. I dried on high heat and held my breath.
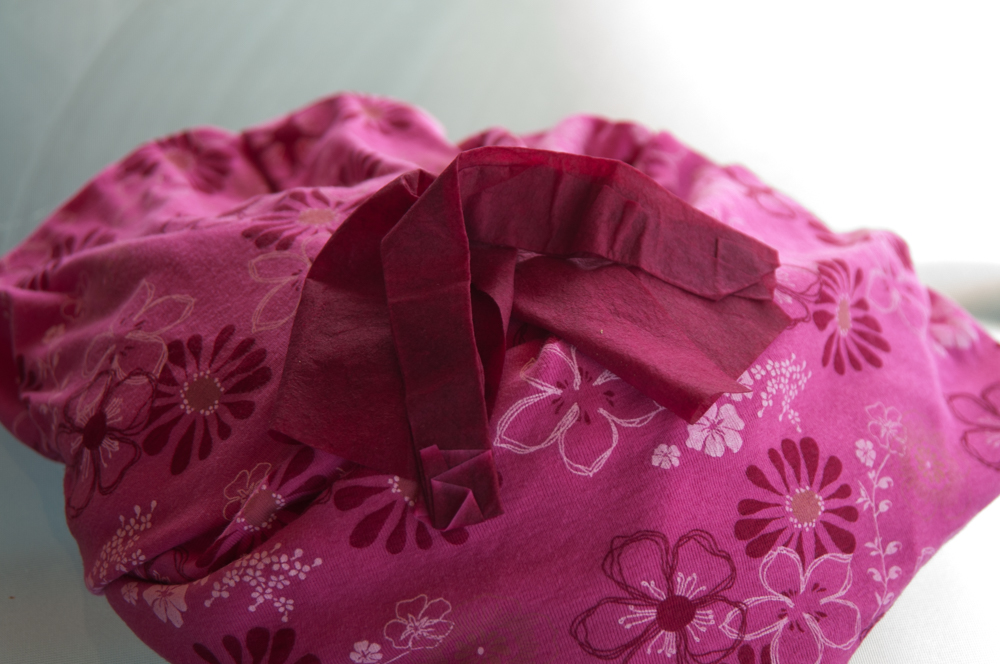
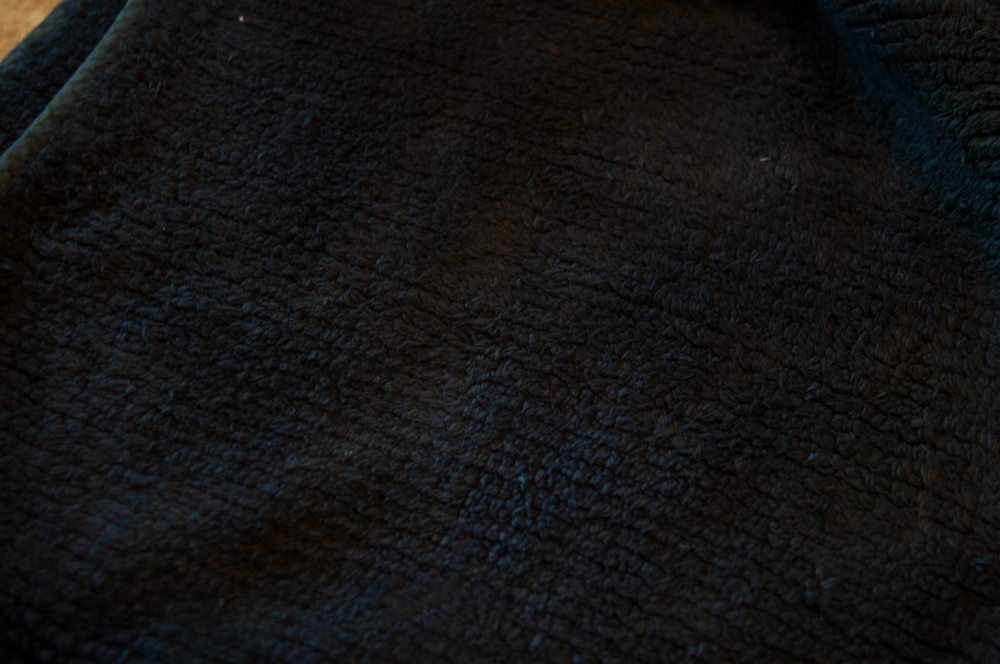
The dyed fabric turned out beautifully! I included a few of the color catchers to show you what I meant about the bleeding. The color is fabulous and the pattern is now visible. Stella now loves this fabric!
Now, after the fabric dye incident, my machine was in need of a deep clean. I ran the cleaning cycle with bleach twice to get it ready for the rug.
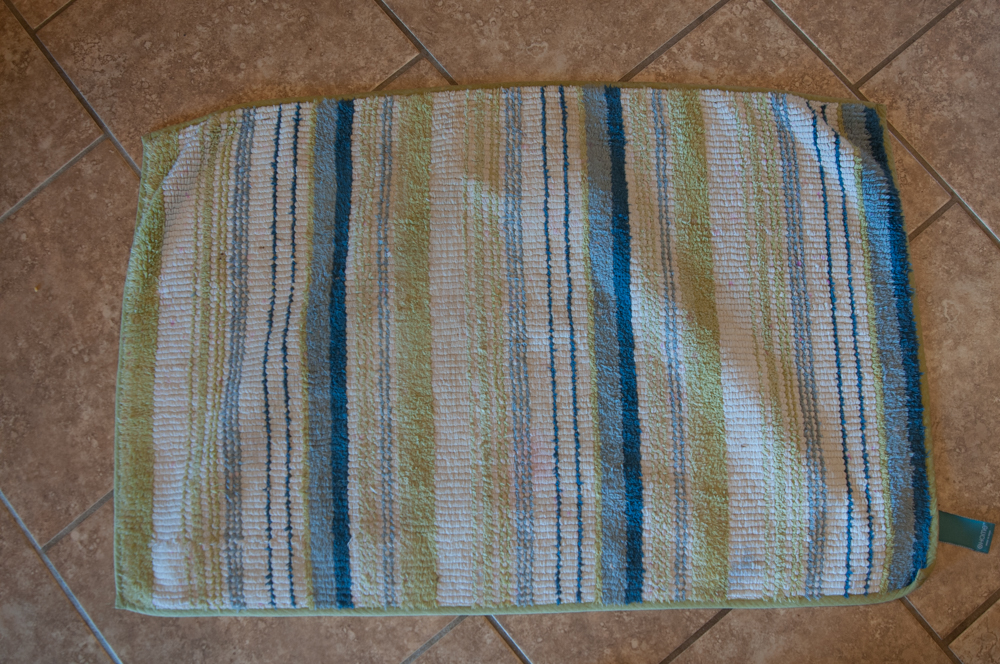
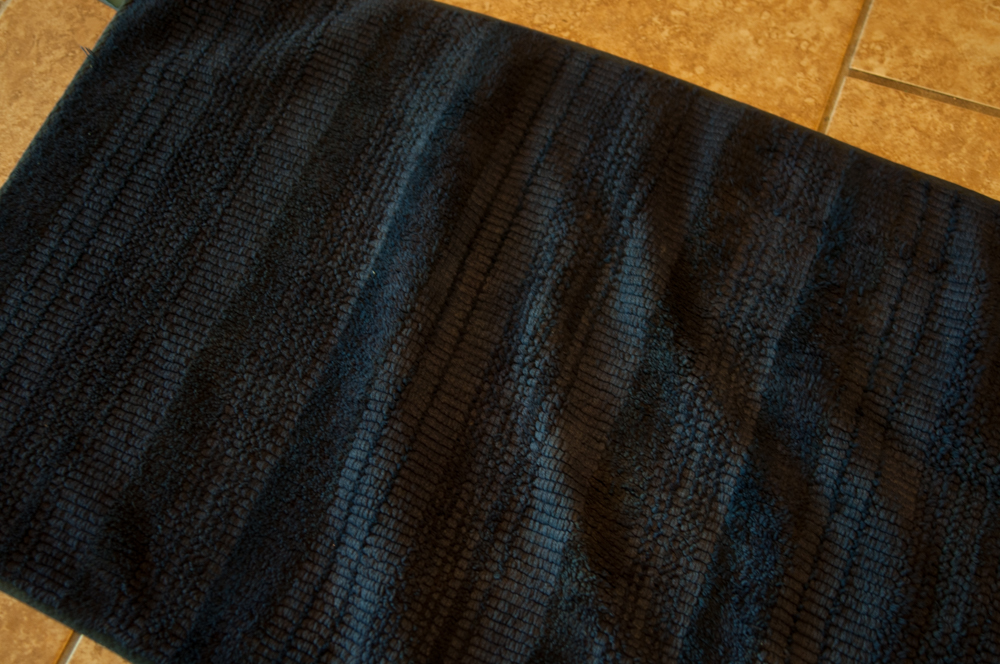
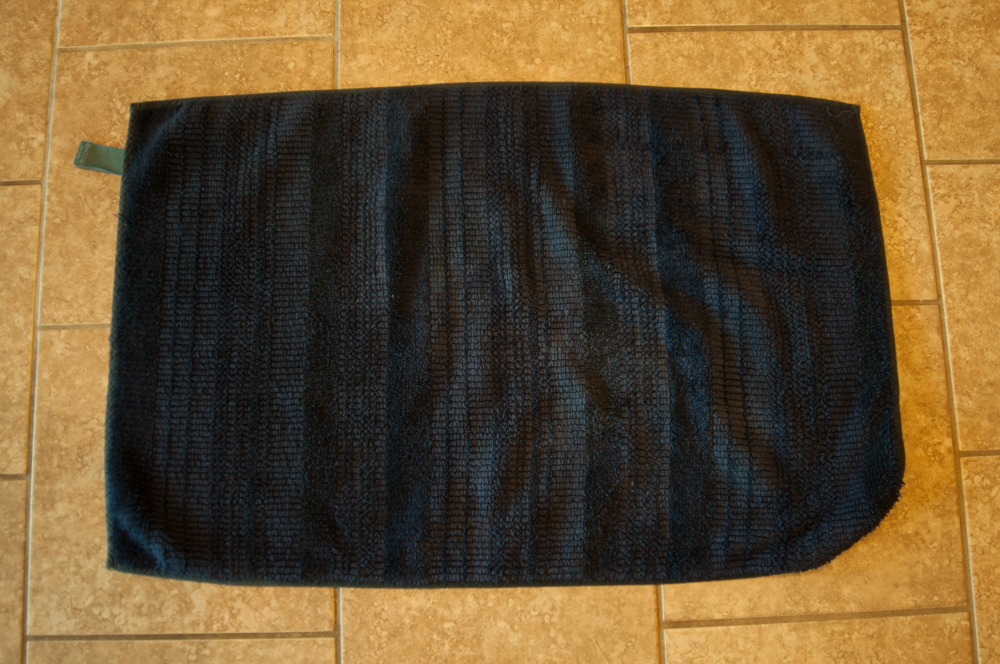
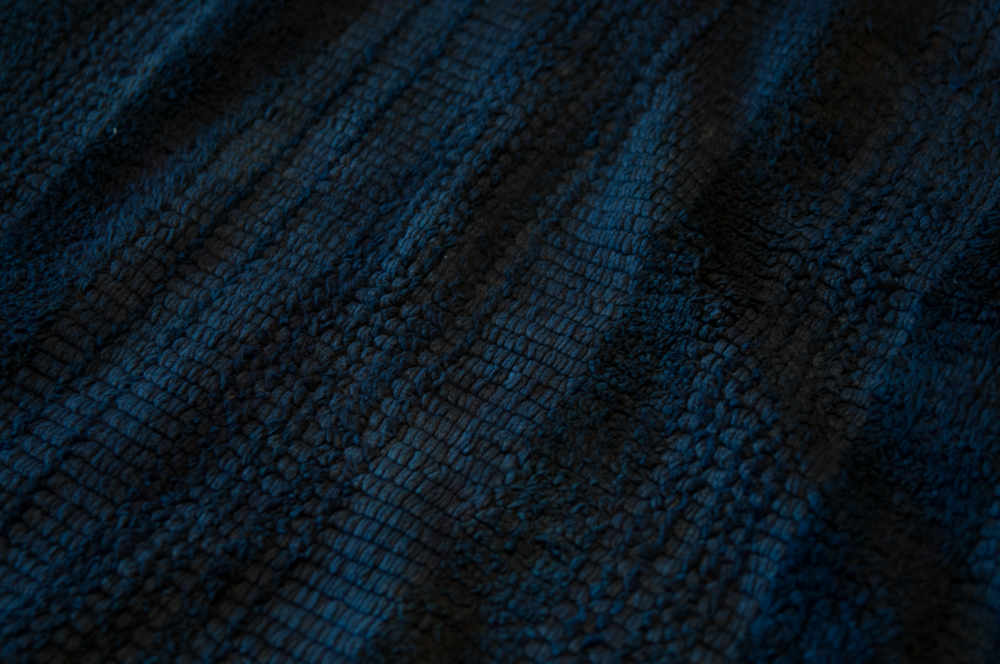
Using Fabric Dye on a Rug
I followed the same steps to dye my rug and had the same issues with my machine except this time everything was navy. Eek! The major difference was the salt and the bucket and boy could I tell. See the shading and the difference in tone? Not where the stripes are because I love that, but where it didn’t soak into the fabric evenly. It’s not terrible, but it’s not great either. The salt made a big difference.
So, I learned that adding salt to your water and using containers matter. My mother was right about the mess, and I can’t wait to dye something else. Watch out dollar fabric – I’m getting the dye and comin’ for ya!
We sure appreciate Betty and all her information on how to dye dollar store fabric in a few easy steps. The same methods can be used for many other fabrics or clothes. That being said, there’s always a few questions about this process – here’s a few FAQ:
Frequently Asked Questions When Dyeing Fabric
What’s the Best Way to Dye Fabric With a Washing Machine?
Betty mentioned that she had a little bit of trouble with the recently dyed fabric in her washing machine and it made a bit of a mess with the color. However, like she mentioned people do it all the time so it can be done and may be less messy than using water in a bucket. If you decide to attempt to dye fabric in your washing machine then I would recommend going to ritdye.com/washingmachine.
At this website, Rit has detailed instructions on using a washing machine – what they call the “most convenient dyeing method.” Rit has been doing this since the 1950’s and will show you the best to dye fabric in your washing machine for your specific type of fabric and your specific type of washing machine. They go over the supplies needed and important cleaning tips to get any excess dye from the machine.
What Types of Fabric Can I Dye?
There are many types of fabric! The standard Rit Dye shown above is not recommended for synthetic fibers (fibers that contain more than 35% polyester, acrylic or acetate). If you’re interested in dyeing these fabrics then you need to get Rit DyeMore Synthetic Fabric. This dye is specifically made for these synthetic fibers. There are some additional steps when dyeing synthetic fabric. Read the instructions carefully but you’ll generally need to do it with a steel pot on the stove to maintain high water temperature throughout the dyeing process.
Of course, the methods we shared today were intended to color fabric. The same dyes can be used to color an existing garment or clothes. Of course, multi-colored logos, buttons, and other items on clothing may be adversely affected.
Am I Limited to the Fabric Colors Sold in Stores for Dye?
No! Rit has an amazing “color formulas” section on their website where they show you how to mix each dye and obtain the specific color you want. They have hundreds of different colors that you can make with their dye.
What About Tie Dye?
Well, if you enjoyed this tutorial you might also enjoy our tutorial on Tie Dye. If you’re happy with everything Rit then you might also check out their Tie Dye Accessory Kit. This color kit comes with all the supplies you need for tie dye including the bottles, rubber bands, gloves, and even a microwavable tray to speed up the dyeing process.
Are Any Other Products Helpful When I Dye Fabric?
We’ve gone over all the basics today but there are other products available. Rit sells a ColorStay product that helps the color Dye stand the test of time. It’s designed to lock in color which keeps products looking their best for a long time. It reduces bleeding, fading, and enhances the color of the product.
They also sell a Color Remover that helps you remove existing color from fabric before you dye it. This can help remove stains. It doesn’t include bleach which allows you to safely apply fabric dye after you use it.
Finally, Rit has a number of other supplements that you can use to get what you want. For instance, they have a Whitener & Brightener which helps whiten your whites without bleach and can be used in the washing machine.
The Dye is Bleeding
Rit recommends using Rit ColorStay Dye Fixative immediately after dyeing but before rinsing and laundering cotton, linen, silk, wool, ramie, or rayon fabric. They also recommend, for all other fibers, that you rinse the fabric in warm water to gradually cooler water until the water runs clear and free of color.
As Betty shared above, you can also employ color catchers to help prevent the color from bleeding.
The Dye Isn’t Covering the Fabric Evenly
If you having issues with your fabric not dyeing evenly then there might be too much fabric in too small of dye bath. You need to make sure that your dye bath is large enough for the fabric to move around freely in the water. You can also stir the water and fabric while it’s being dyed to help promote even dye throughout the fabric.
Can I Use Food Coloring to Dye Clothes
There are a number of different tutorials on line where people have used food coloring to dye a fabric or clothing. We don’t have experience in this and won’t make any firm recommendations but food coloring apparently works best with fibers like wool, silk, and cashmere but does not work well with fabrics like cotton or linen. For more information, take a look at this Article. Again, use this dye method at your own risk.
Can I Use Dye to Cover a Spot That Was Bleached?
No. Bleached fabrics are more difficult to dye. Bleached areas on fabrics or clothes will still come out looking lighter than other areas when you apply dye to the entire thing.
We hope you enjoyed all of our info on fabric dye and the process of dyeing fabric. If you need assistance with your sewing projects or want to share what you make, be sure to join our sewing community at the Peek-a-Boo Pattern Shop Facebook Group.
Also, as always, be sure to visit our shops. We offer hundreds of amazing sewing patterns at Peek-a-Boo Pattern Shop and a huge variety of fabric at KnitFabric.com. At KnitFabric.com our fabric is higher quality, at better prices, with flat rate shipping. Also, before you leave, make sure to check out some of our other articles.
Should I wear Rubber Gloves?
When dying fabric, rubber gloves work well for protecting your hands from the fabric dye. They also work well as an insulator to keep your hands protected from the hot weather. We would recommend using them when dying fabric.